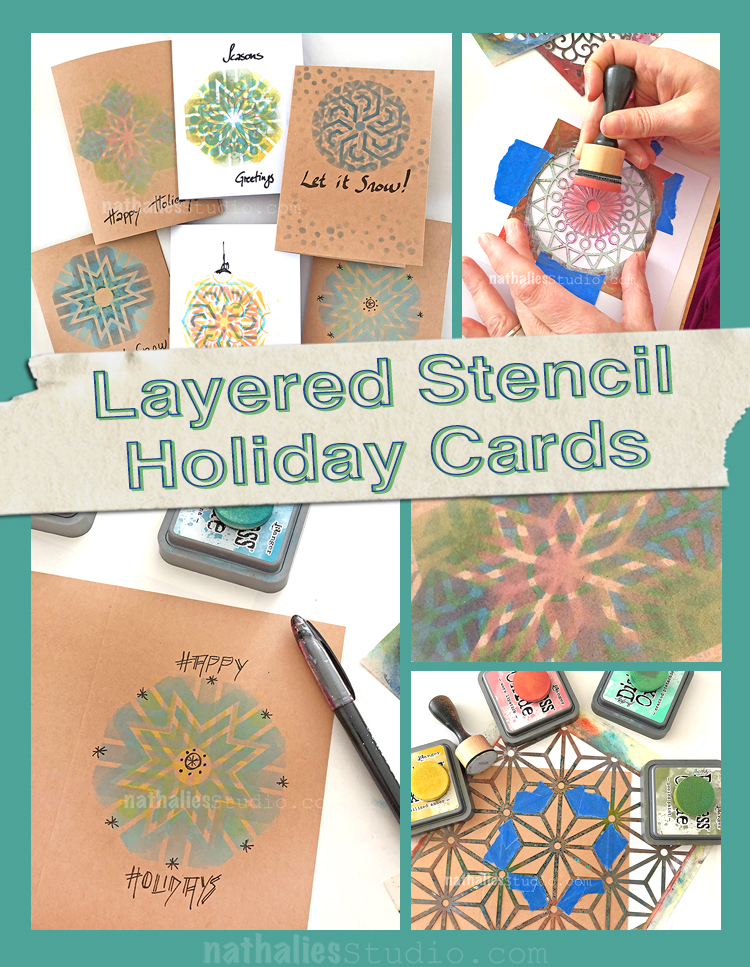
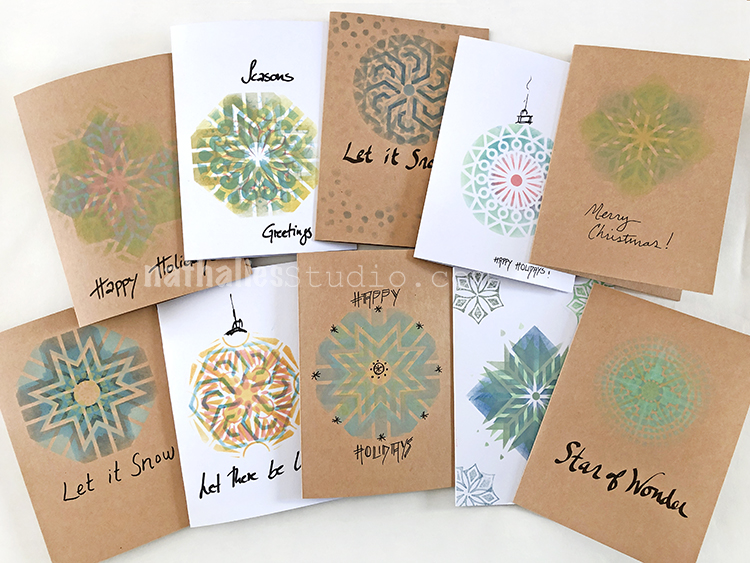
Last week Kim and I got together to make some holiday cards based on this snowflake card I made for my Deck of Cards Challenge – Kim was really excited about playing with the process. It is so simple and easy and wow does it make some gorgeous cards. We made a stack of layered stencil cards – snowflake inspired designs, patterns that reminded us of stars, and just festive layers of color and shape that would bring joy to the season.
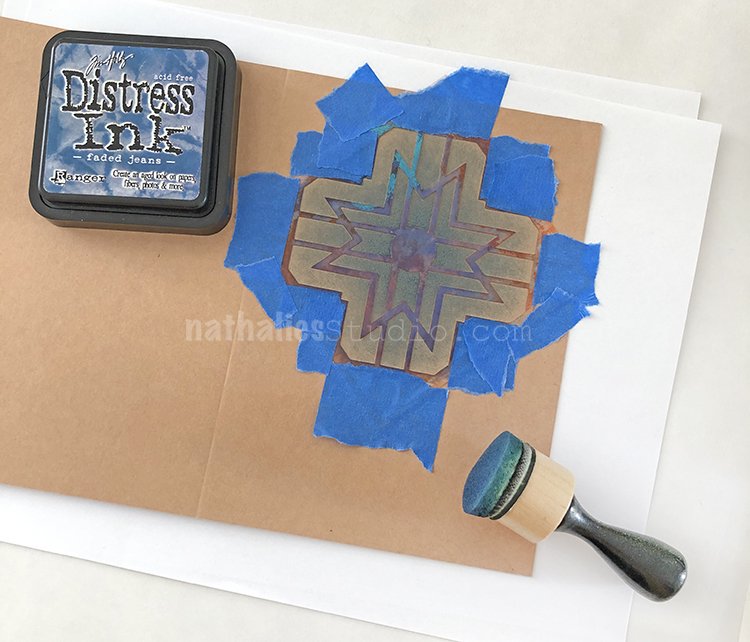
All you need is: blank cards, stencils with a radial pattern, Distress Inks, ink blending tools, masking tape, and some pens or markers to finish them off.
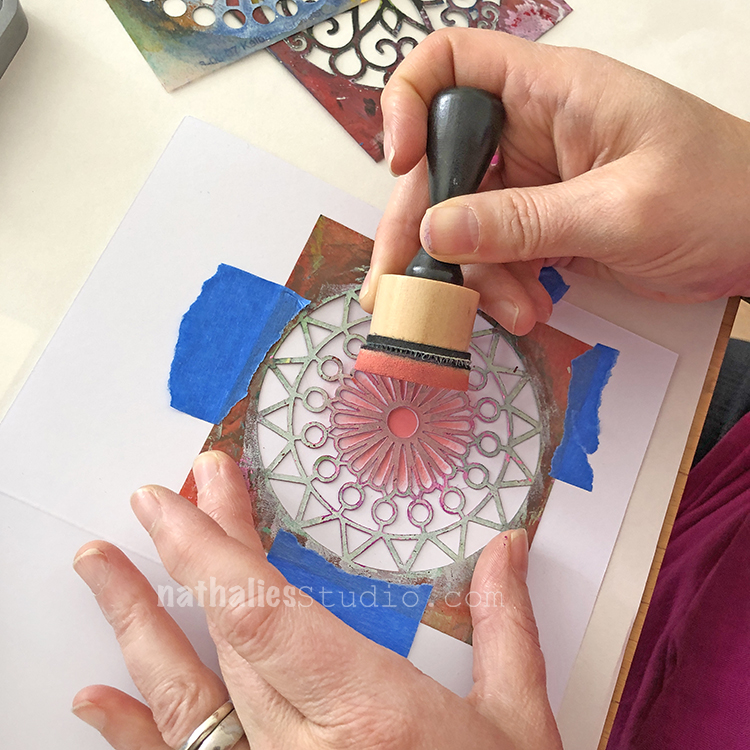
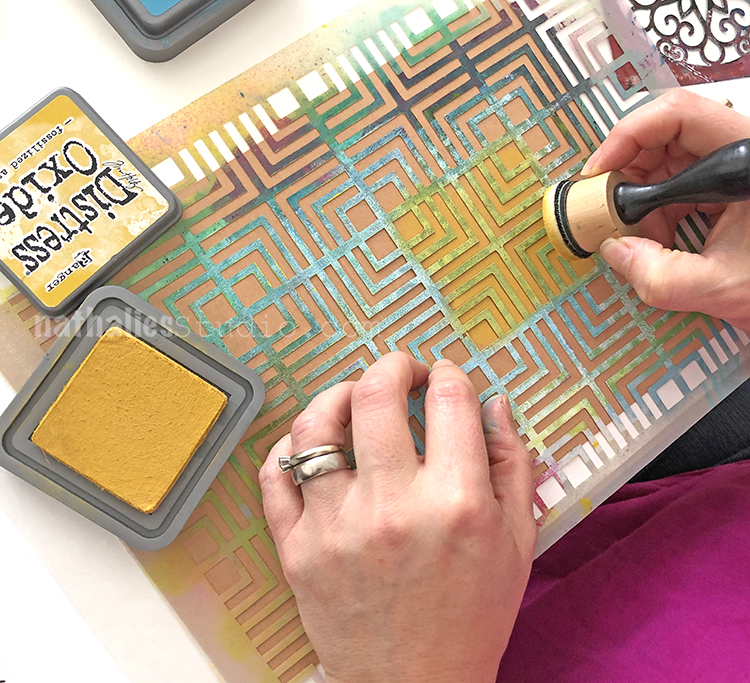
We began applying the Distress ink through a stencil, held in place with masking tape, onto the front of a blank card. Here is my Valley Road stencil.
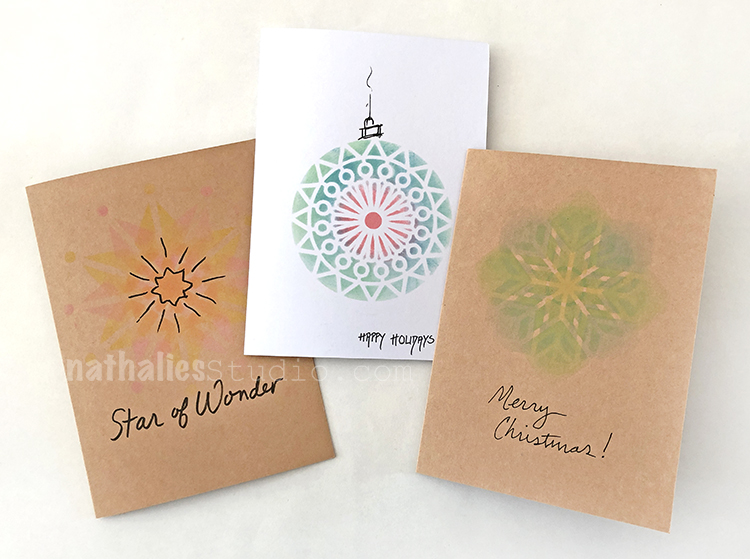
This one we blended out the color – the inks work really well for blending – and kept the design a single layer. I would later add a top to the design as if it were a tree ornament.
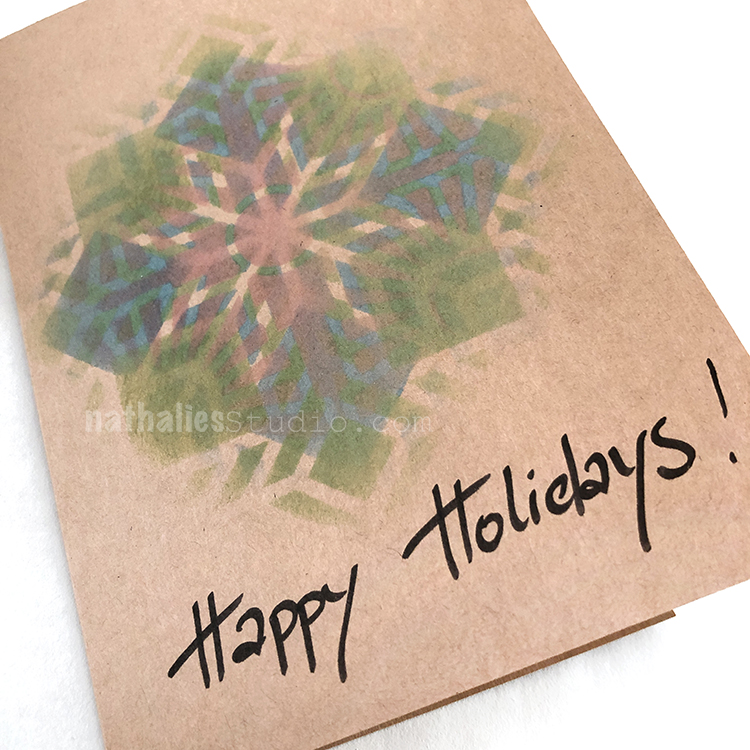
But the real magic happens when you start building up layers of color and pattern. Here is my Toledo stencil as a first layer in blue.
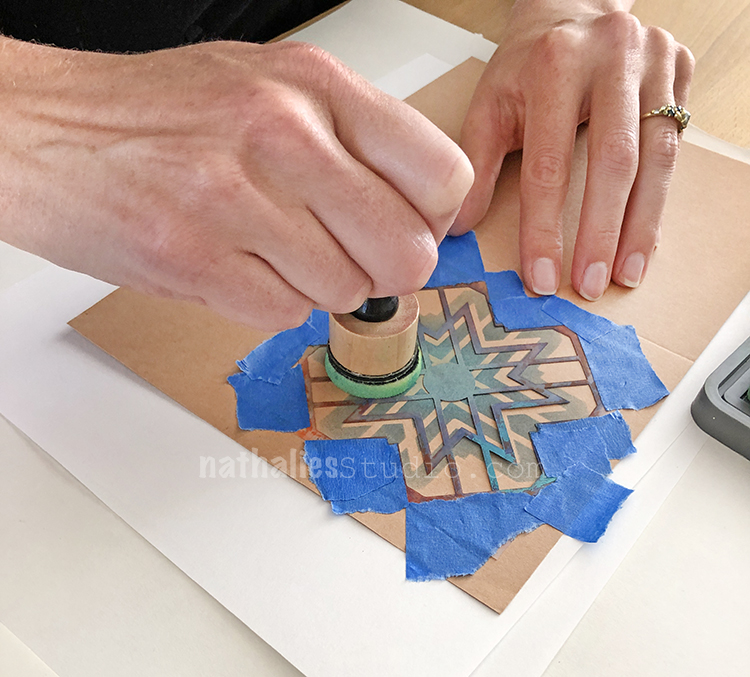
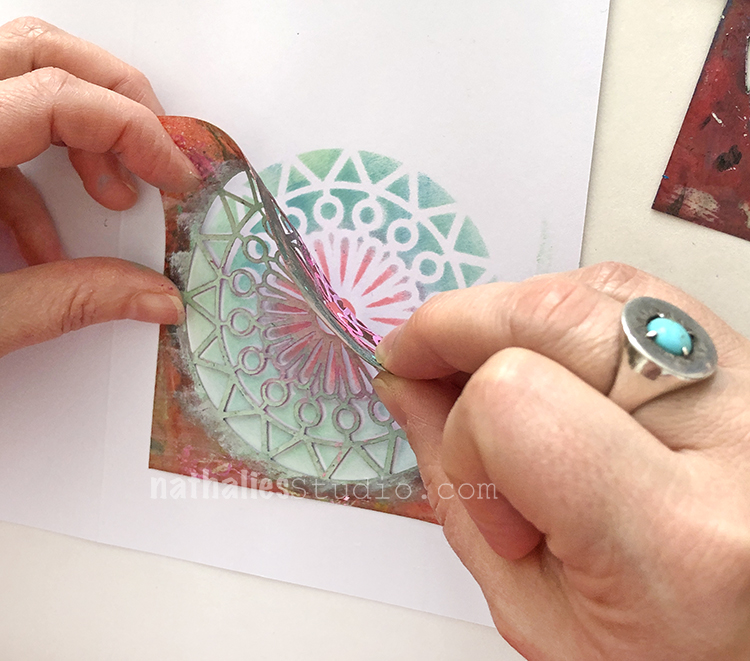
Then we rotated the stencil and added another layer in green. Be sure to have several different ink blending pads for different colors – so you do not contaminate the colors.
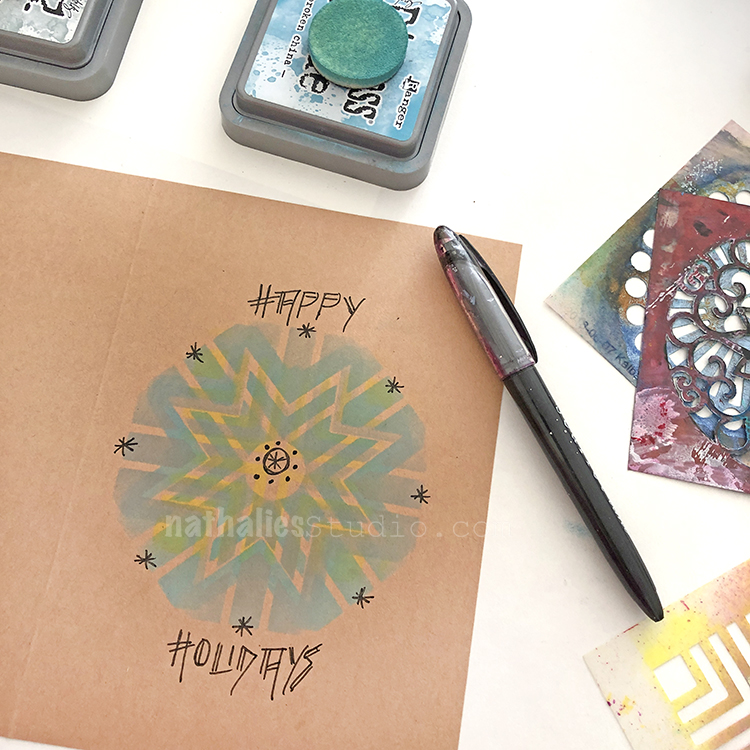
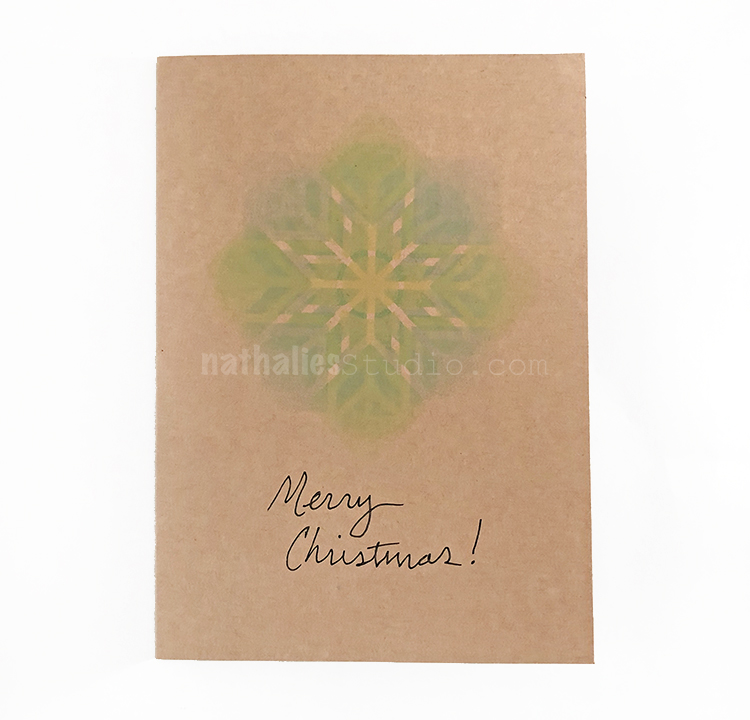
The resulting layers of color and pattern have a softness that is quite lovely. Here I added in some extra sparkle and lettering with a fine point pen.
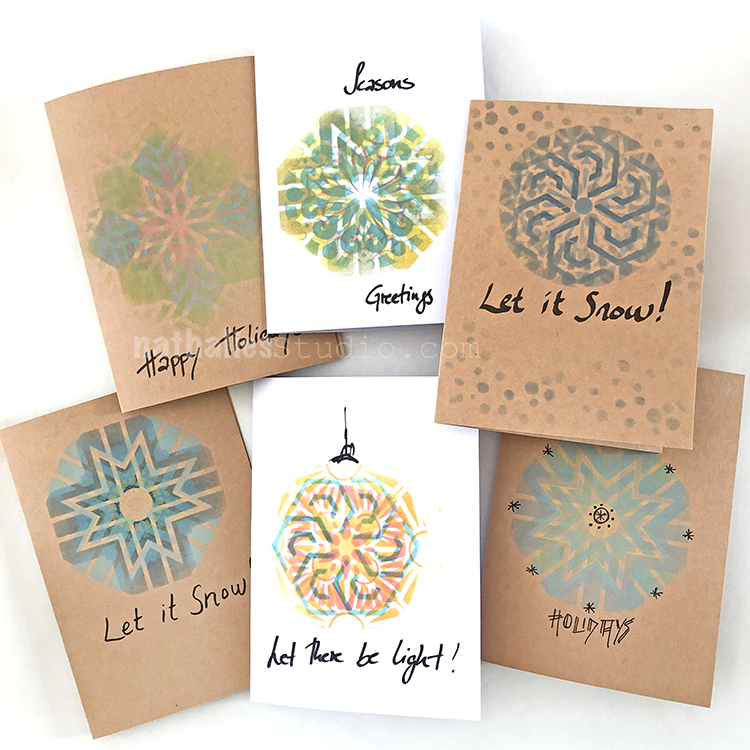
In this way, layering up different stencils with different colors, we created some beautiful holiday cards.
Sometimes we used larger stencils like my Manhattan stencil here, and only stenciled a small part of them.
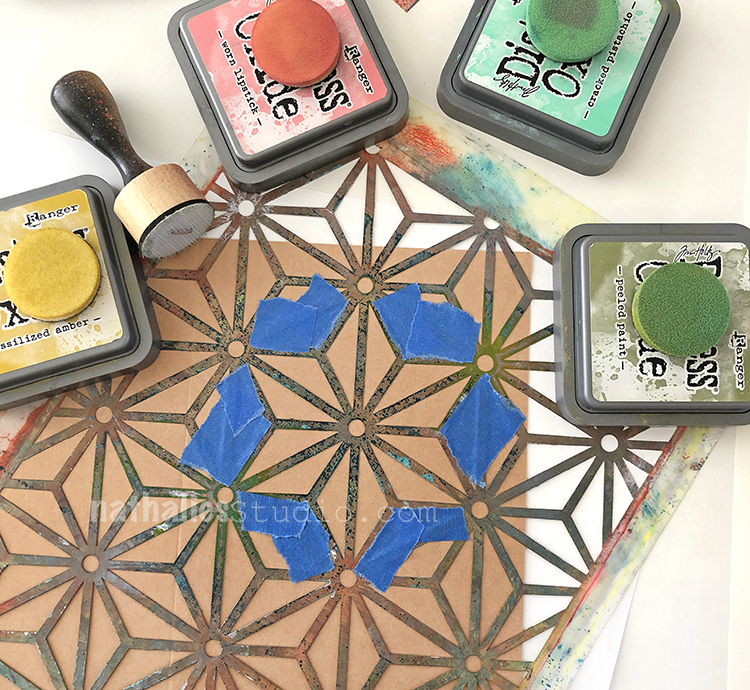
Here we taped off a part of my Star Struck stencil.
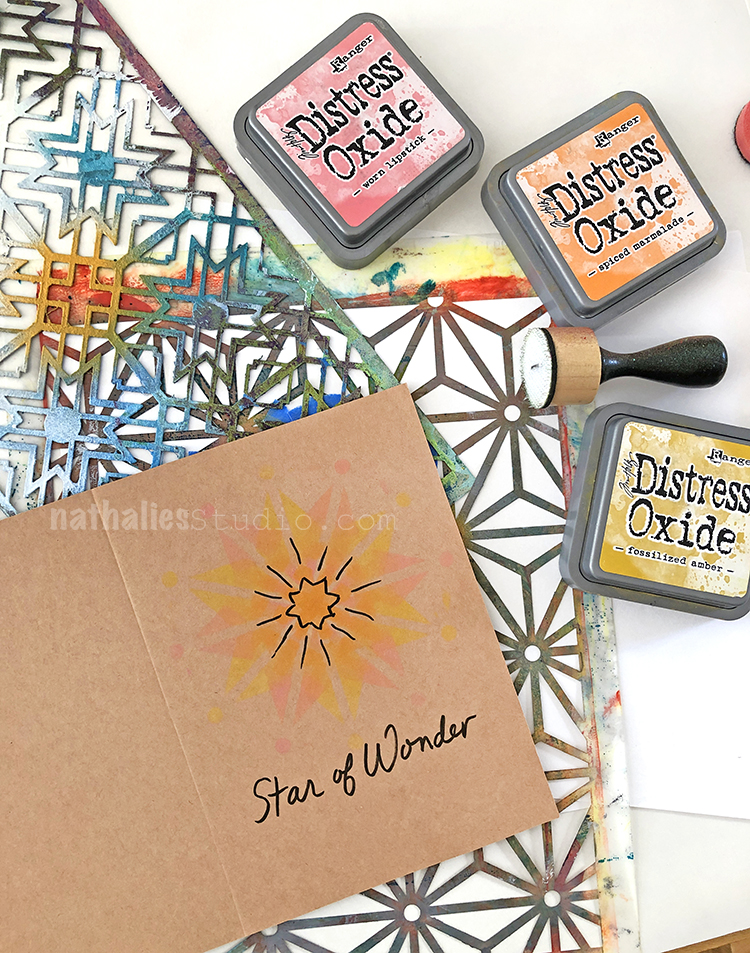
We found that about 3 layers of pattern and color gave us the most successful designs. We also played with the color wheel – the above cards use all warm colors, just perfect for a star.
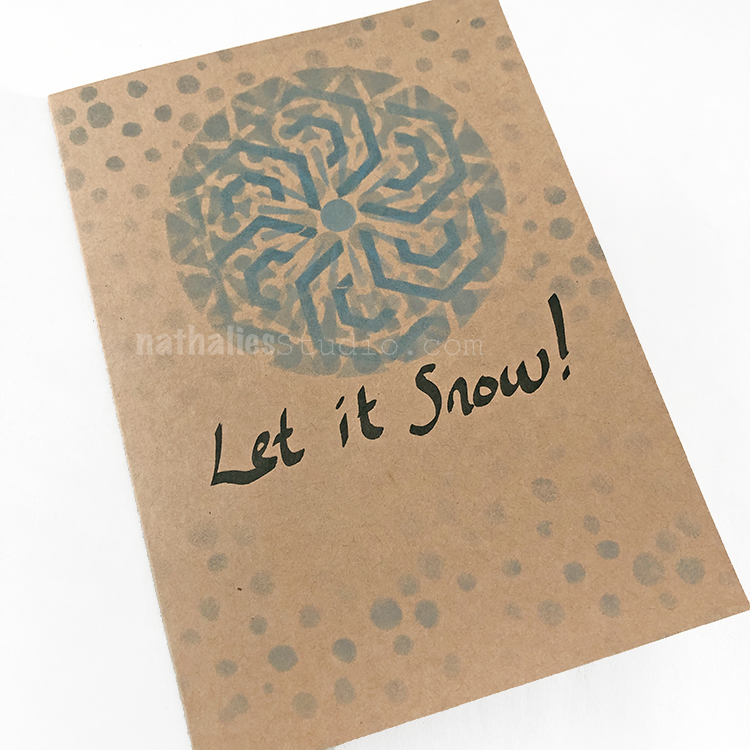
The above card was made by layering up my Valley Road, Flower Maze, and Grove Street stencils. To really push the snow element, we added my What’s the Point stencil for the dots.
We hope you give this technique a try – get some stencils and ink and try layering up some designs. You will love the results!
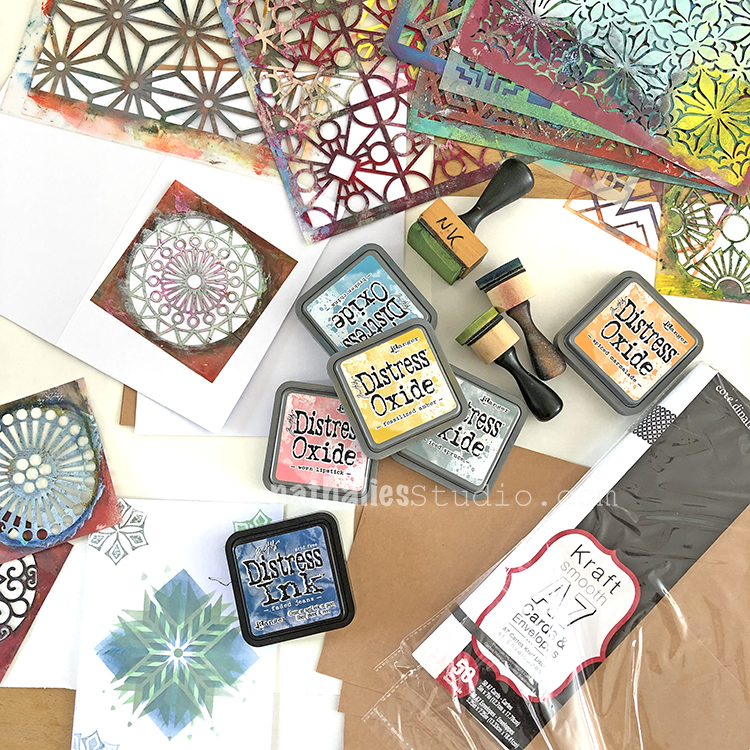
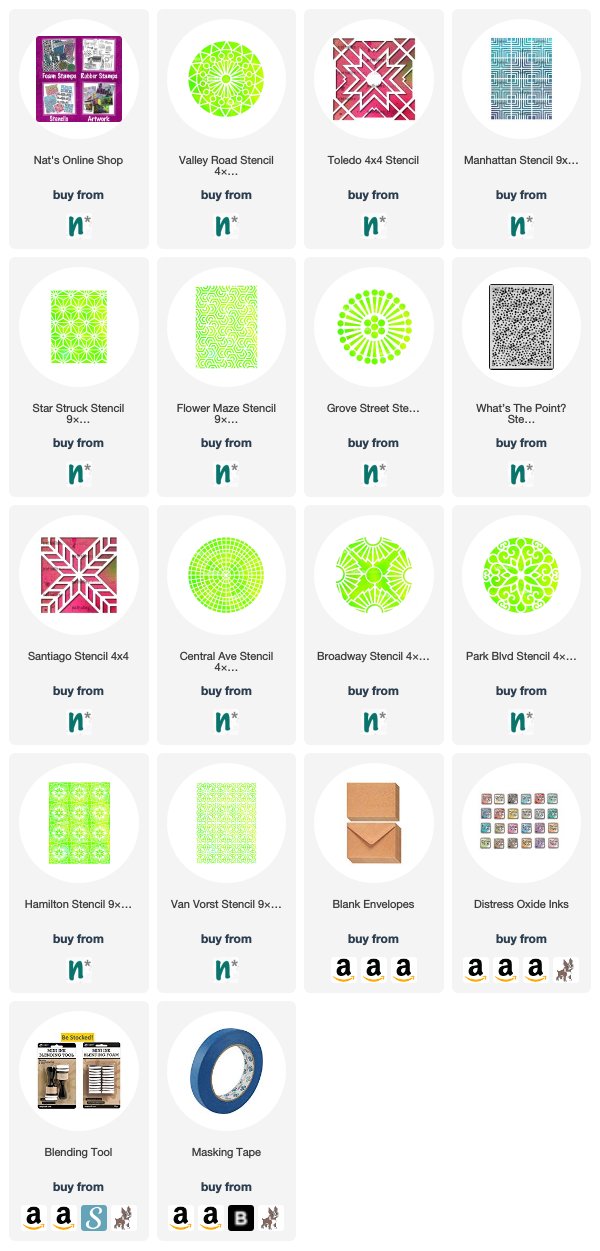
Here are some of the supplies we used for these cards:

Have you stopped by my shop yet for my Five Day Frenzy Sale? You can save 25% off ALL physical products – my biggest sale of the year! It’s a great way to take part in Small Business Saturday – we appreciate your support :) Just use the coupon code FRENZYFIVE at checkout to save. Enjoy!