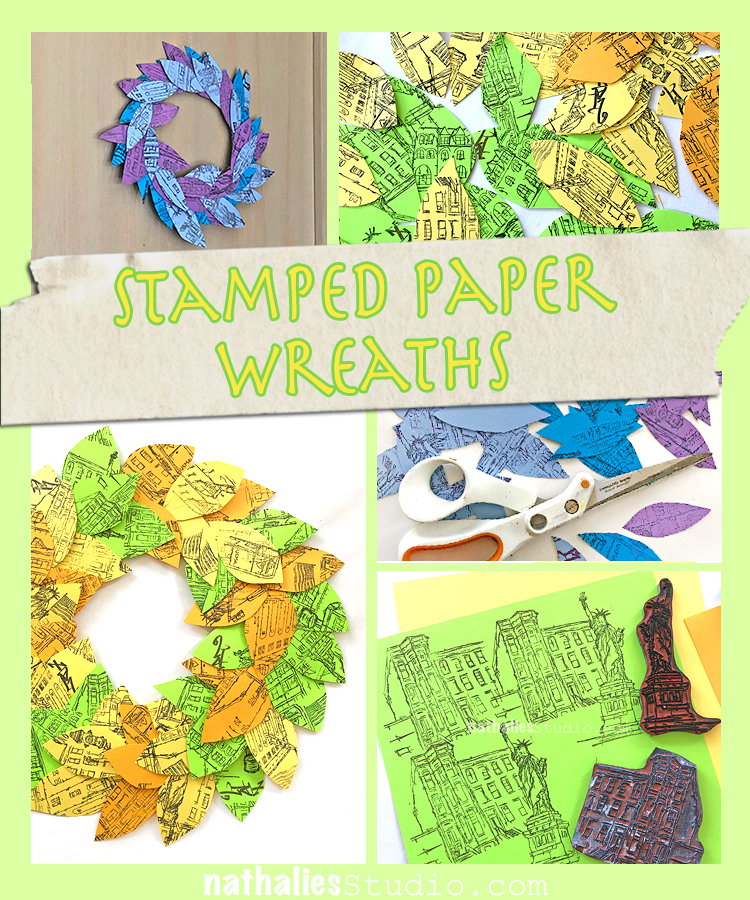
Last week Kim and I decided to do a little Spring Play Date with my rubber stamps. We saw some cool pictures of paper wreaths online and thought we would try our own. We had just an hour or so and had fun making ours and dreaming of beautiful spring weather :)
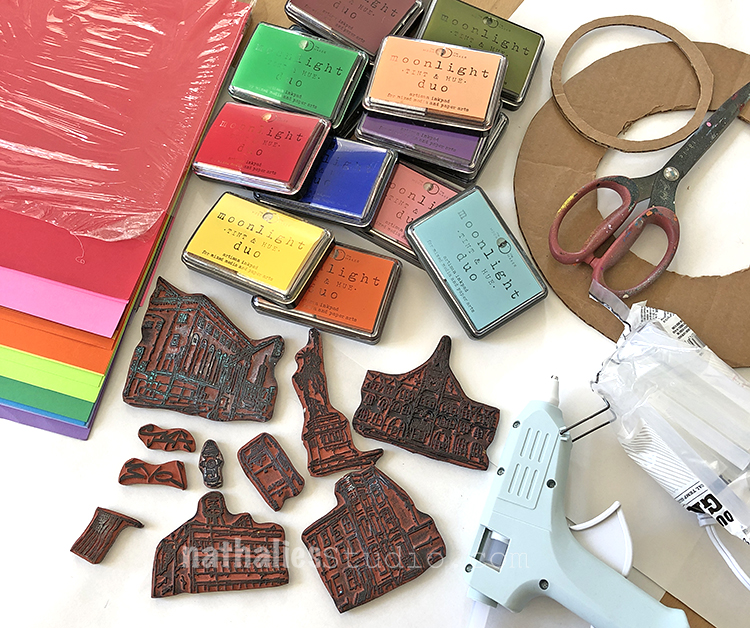
You will need rubber stamps (we used my Stroll Through the Hood 1 and 2 stamp sets including the Powerhouse, Main Station, Brownstone, Warehouse, Lady Liberty, Mailbox, Hydrant, US Flag, Art Tag, and Love Tag stamps), ink pads, colorful paper, scissors, glue gun, and a cardboard ring. We cut our cardboard rings from old boxes, using plates to trace a circle and then cutting out the center.
Choose paper (and maybe even inks if you have a lot of colored ink pads) in an analogous color scheme – colors that are next to each other on the color wheel.
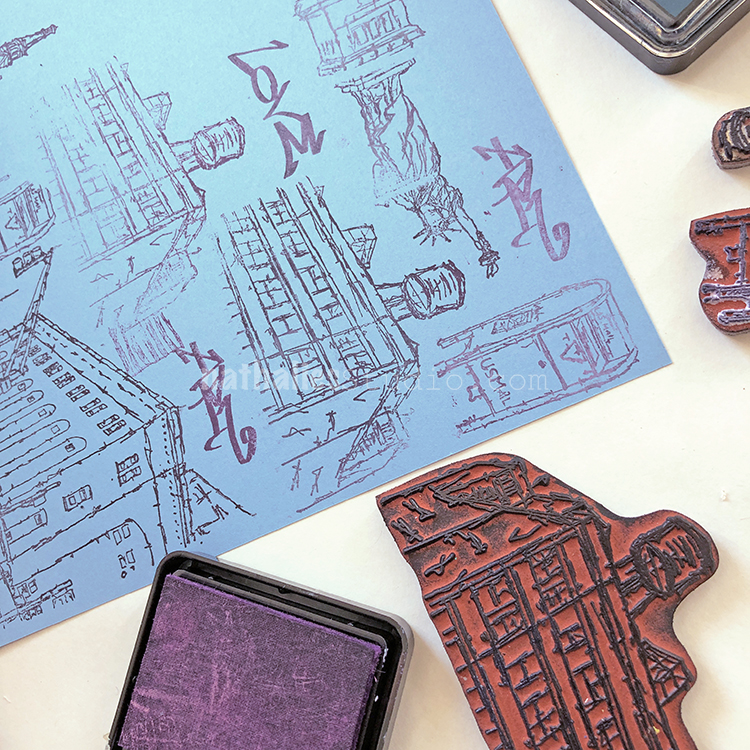
Then start stamping! Fill up the entire page with stamped images. It doesn’t matter how they line up – the point is to have some design and pattern all over the paper. Here is my Warehouse stamp in action.
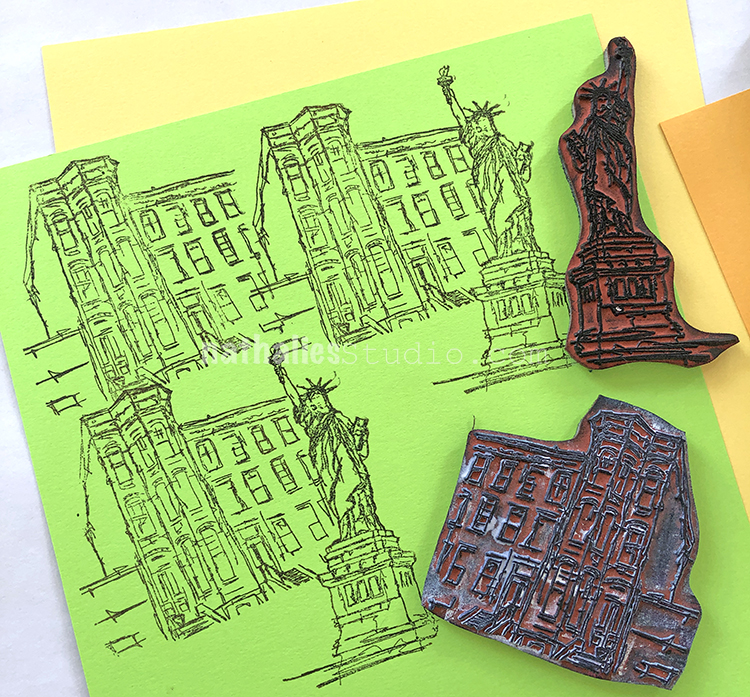
Here is Lady Liberty and Brownstone filling a page.
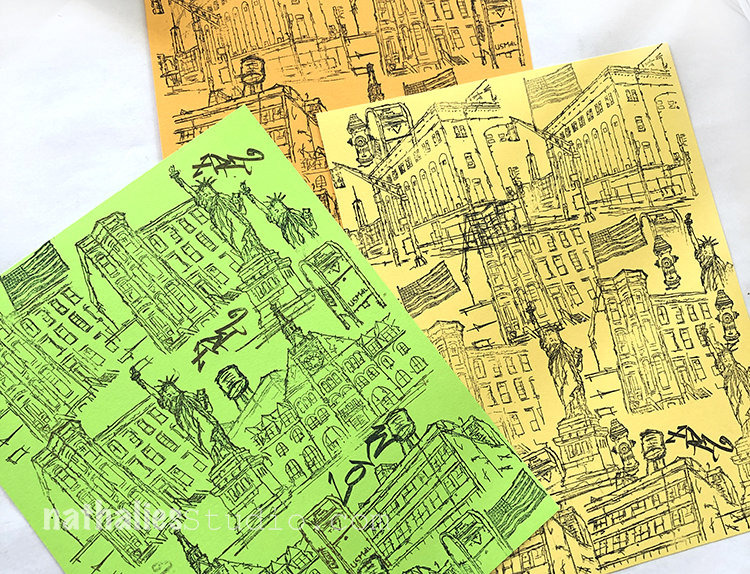
We recommend stamping 3-4 sheets of paper.
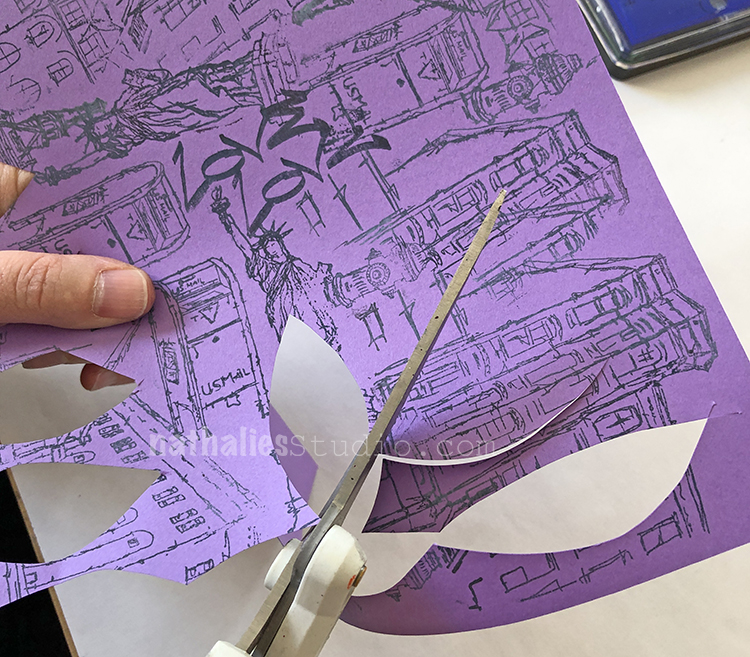
Then cut out leaf shapes. 2-3″ works for a smaller wreath and 3-4″ works for a larger wreath.
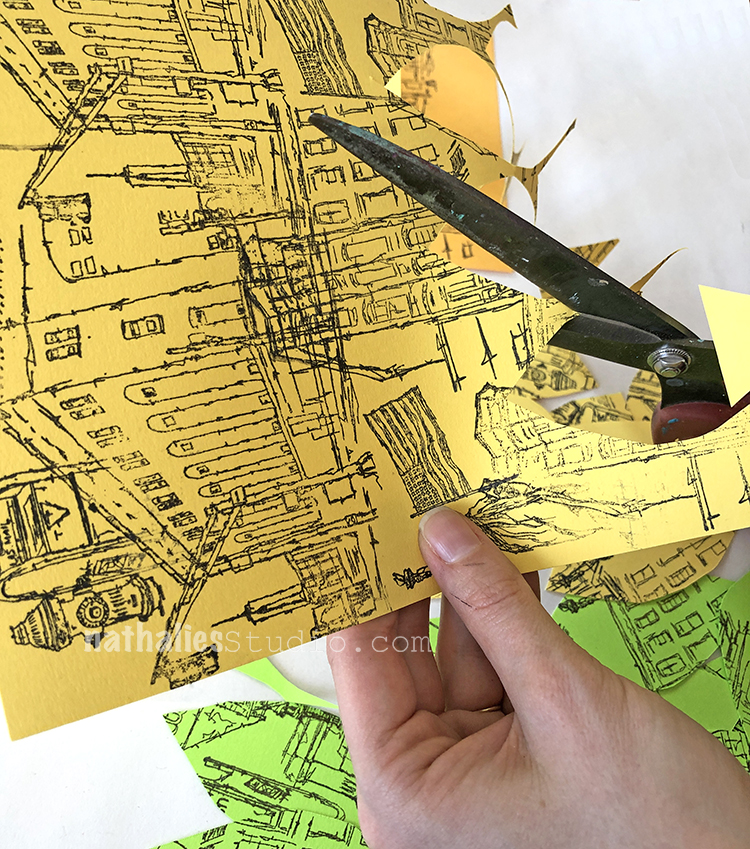
Try to get as many out of a sheet as you can. It’s ok to cut through your stamped images at odd places.
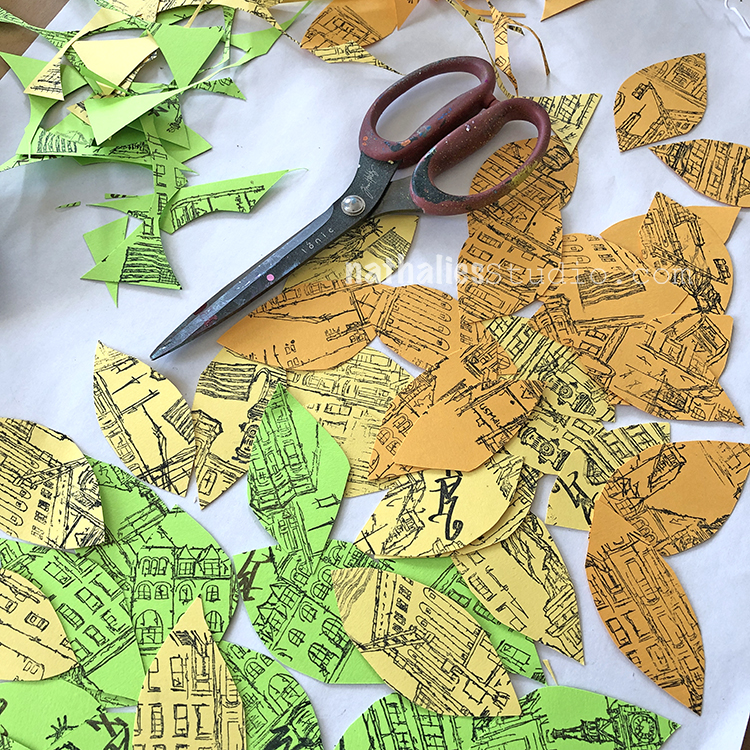
In the end you will have a pile of leaves.
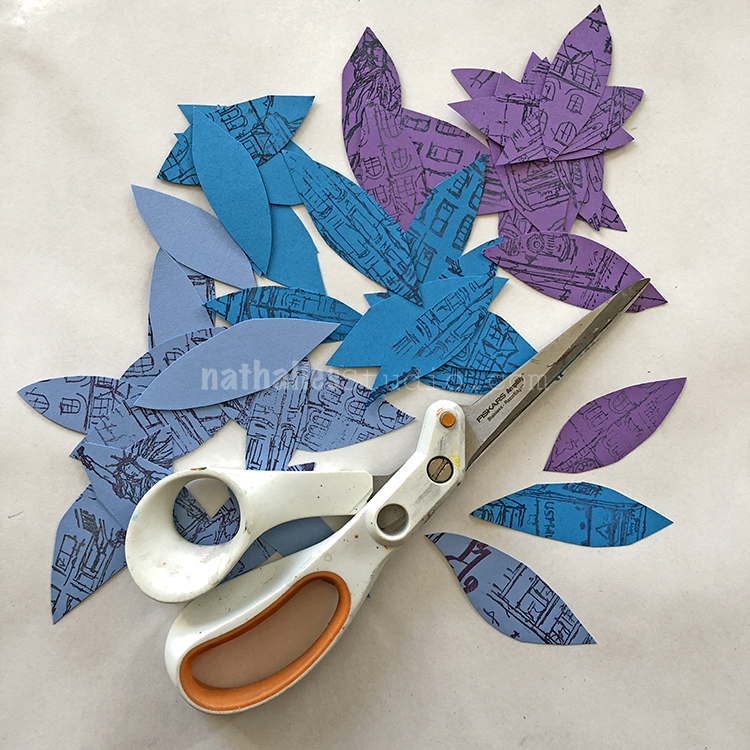
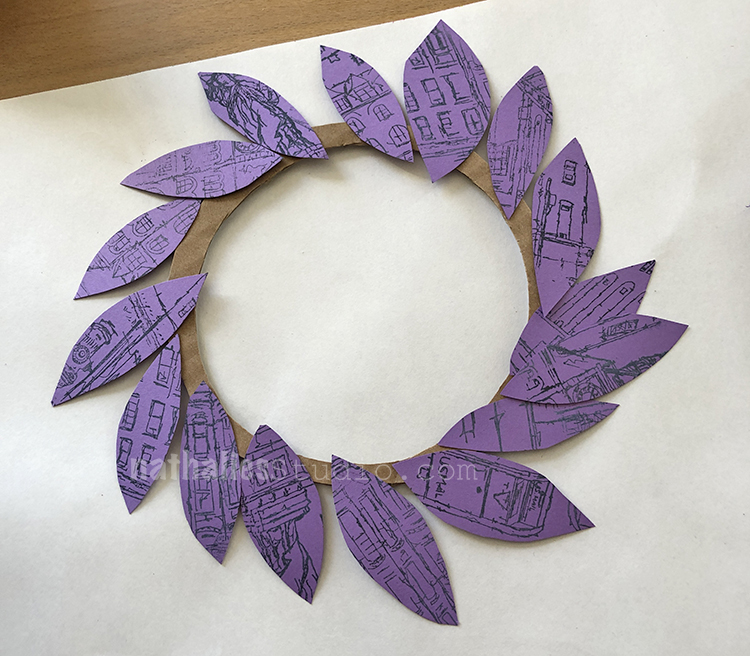
Try arranging the leaves on the cardboard ring to see how they fit.
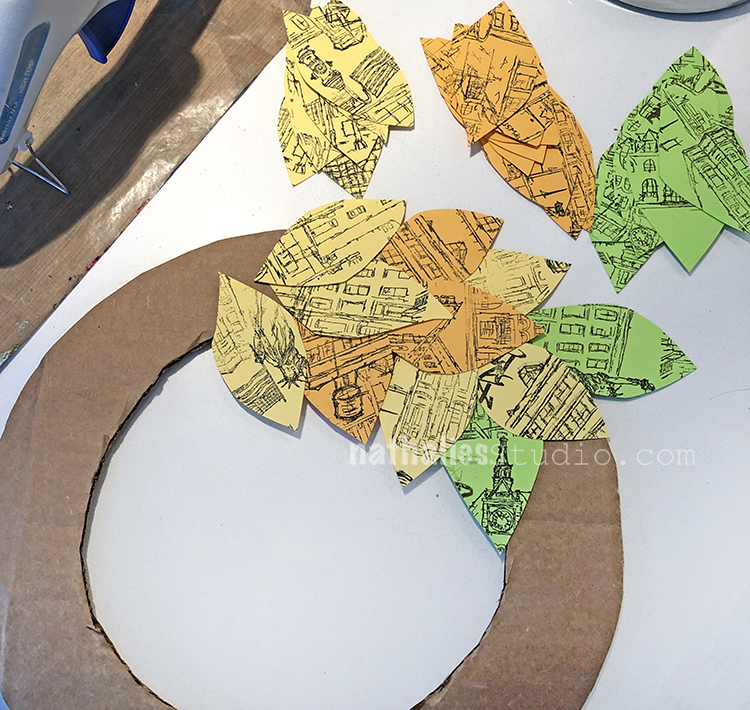
You can experiment with color patterns too.
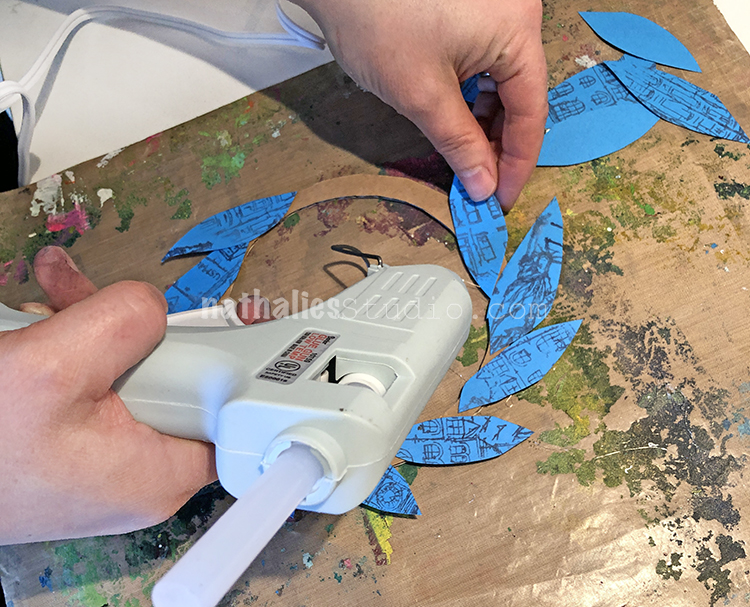
Use a glue gun to adhere the leaves in place. I finally bought a glue gun – yes can you believe this is my first ever glue gun? lol
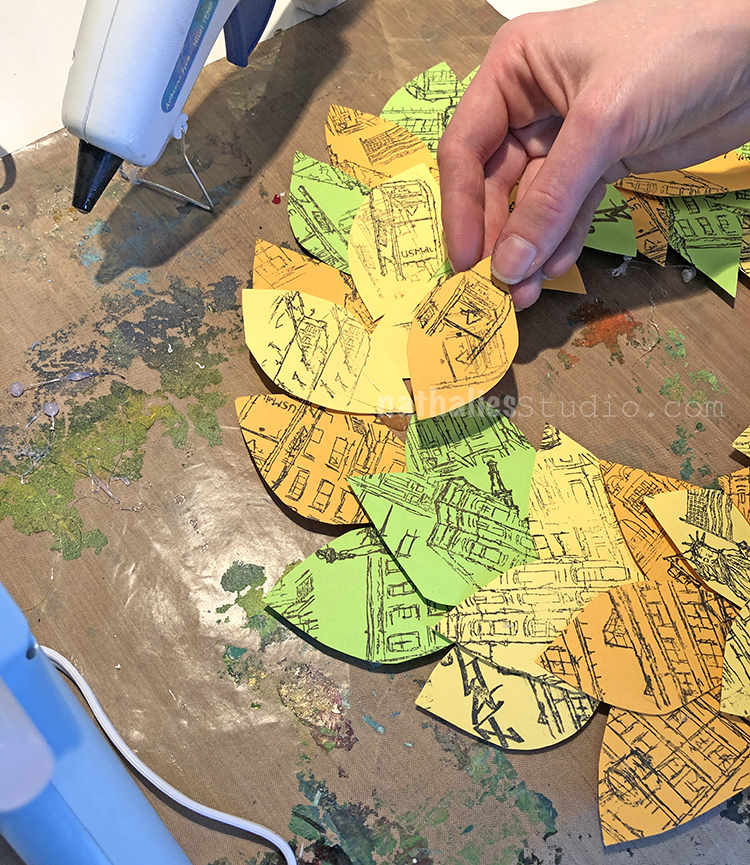
Three leaves across seemed to cover the cardboard.
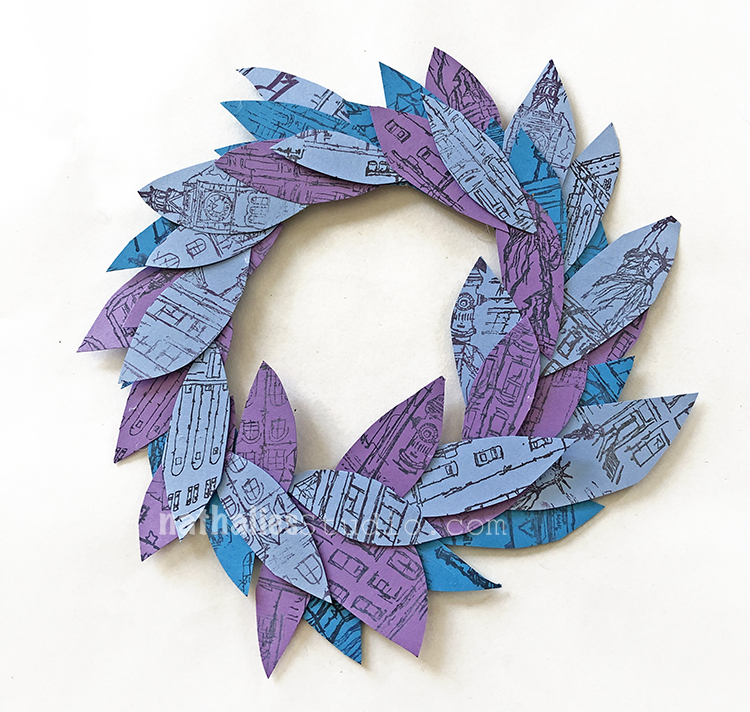
In the end you will have a charming little spring decoration.
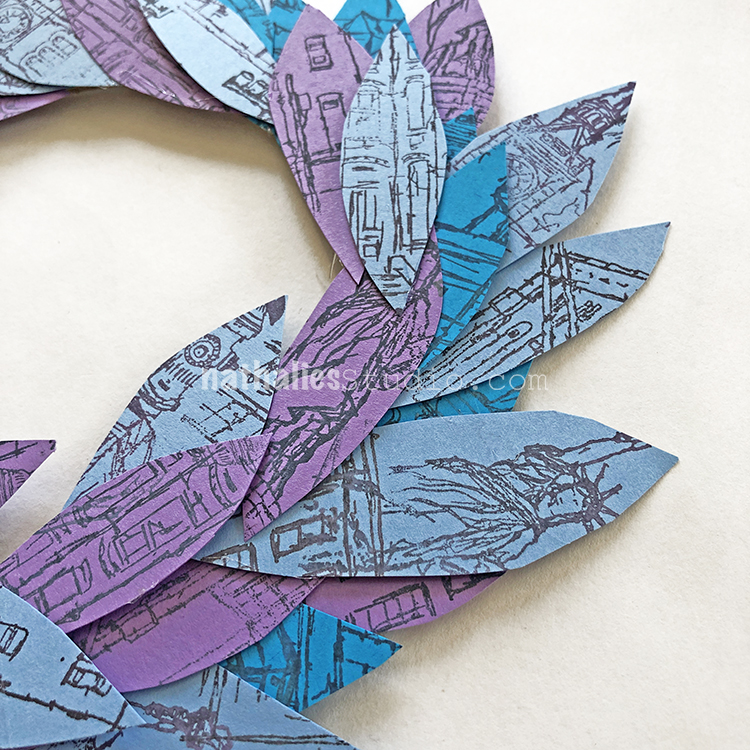
Look at all the stamp images peeking through.
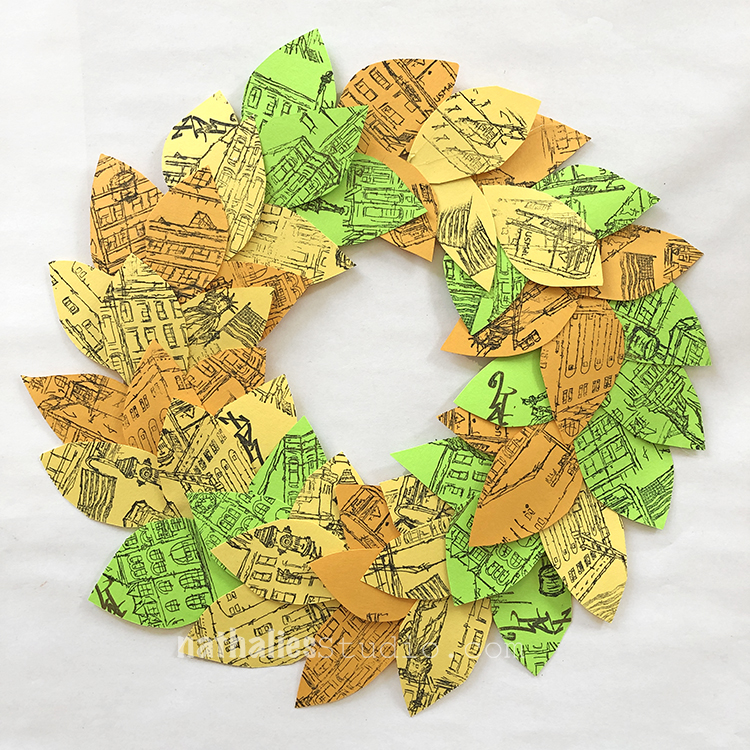
The big one is just right for hanging on a door.
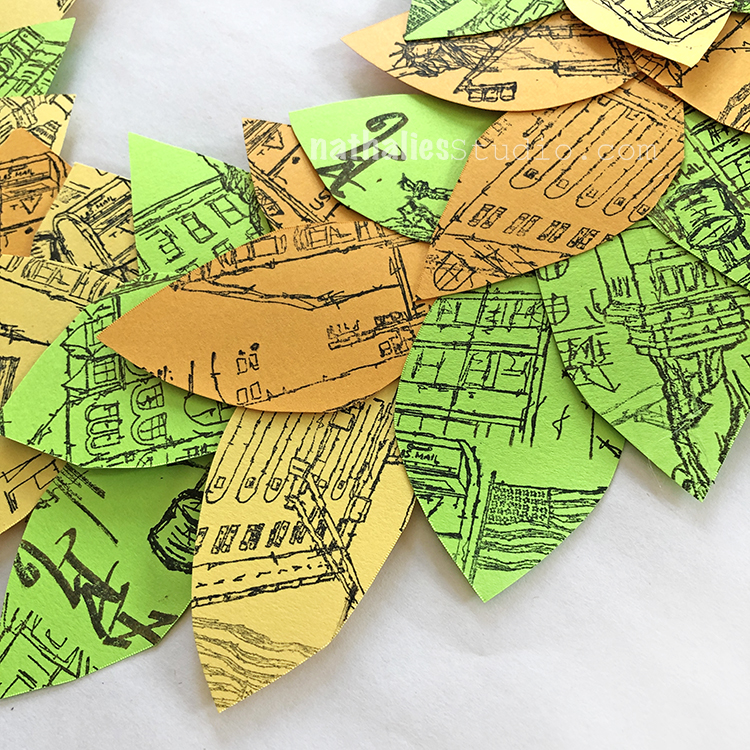
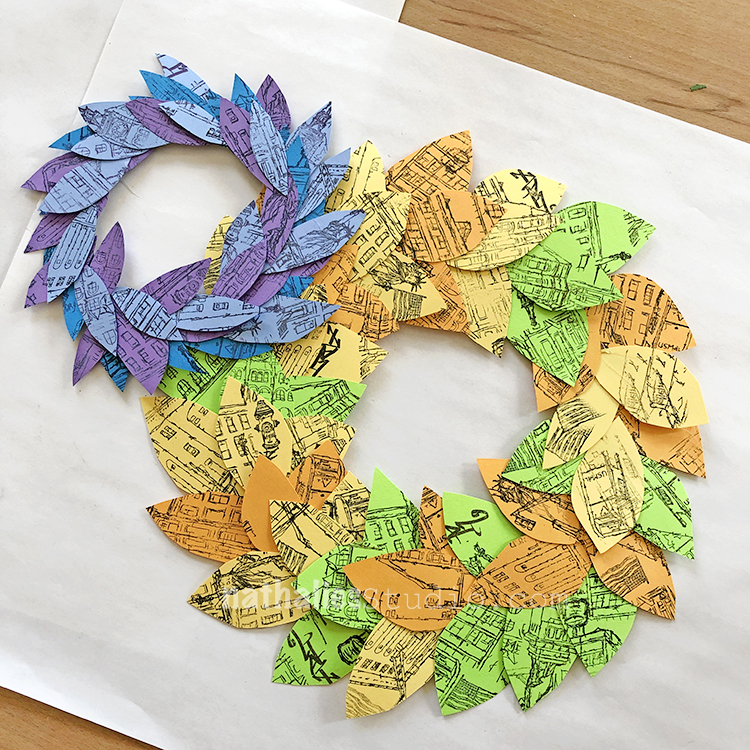
Two paper wreathes, ready for spring.
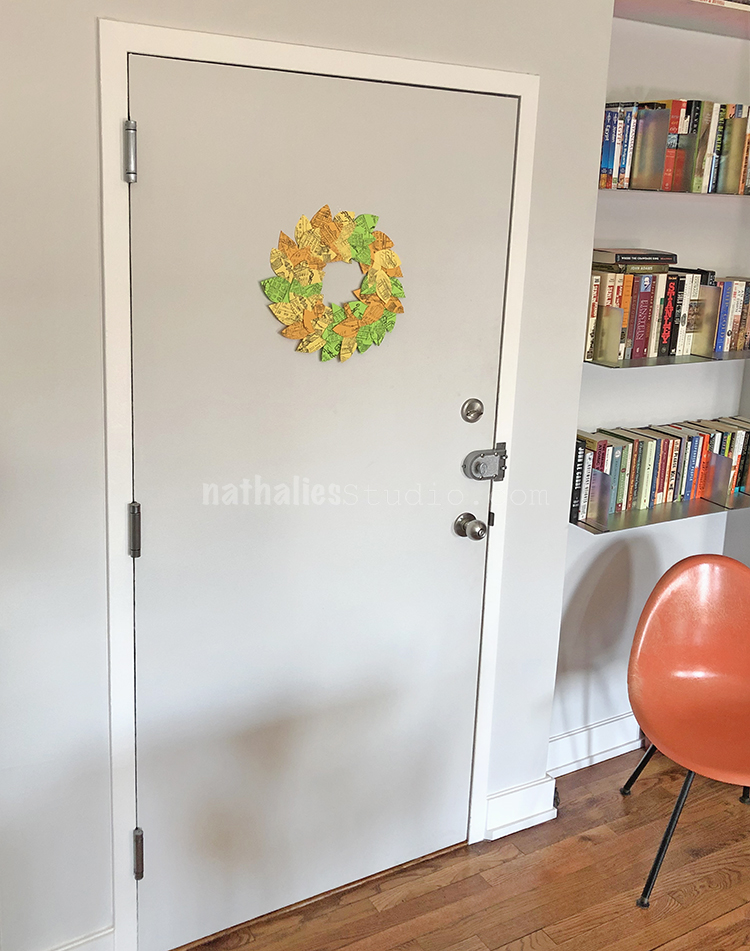
One on the inside of Kim’s front door.
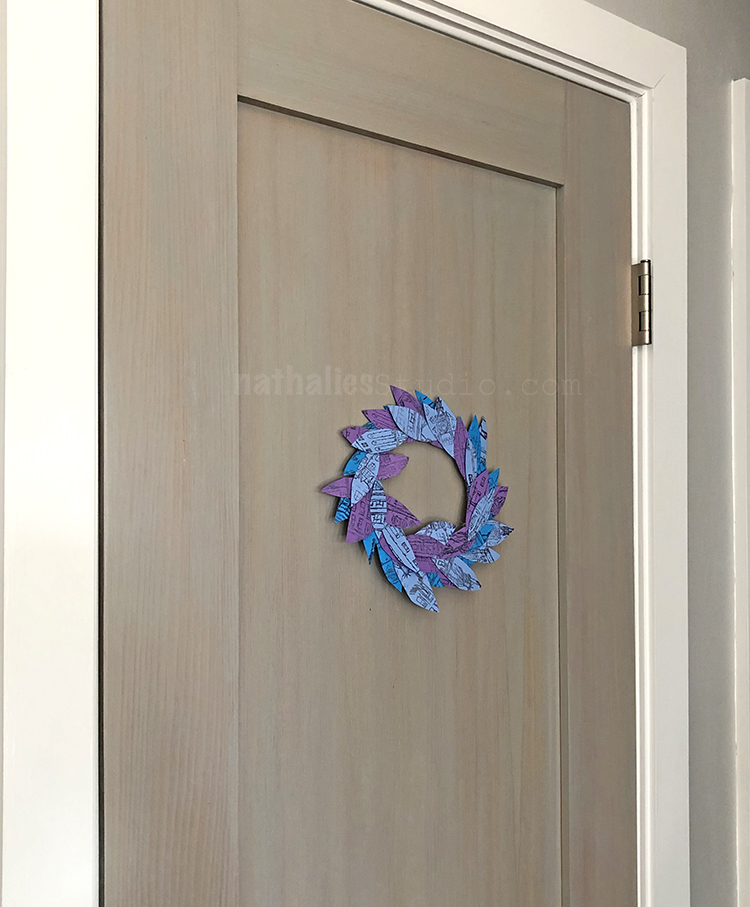
Looks nice on a smaller door here.
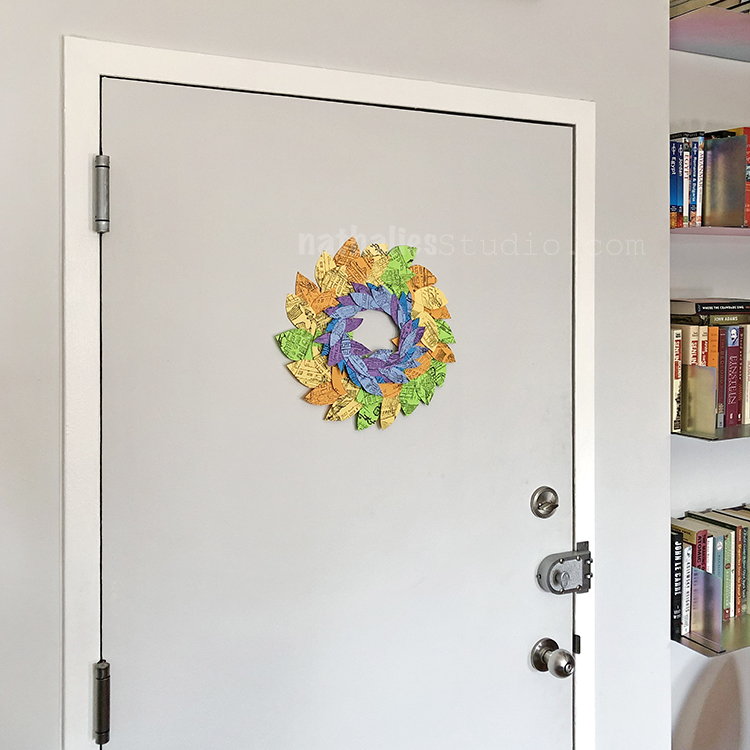
You can even layer them up for more impact.
This was a great way to use up some colored paper we had on hand and to have some fun stamping. I love how the stamps give it some more visual interest, and you could really play with ink colors and different papers if you wanted to. I hope you try it!
You can find my rubber stamps in my online shop. Here are some of the supplies that we used in this play date:


Comments (1)
stephanie
| #
your art play date projects are always an inspiration! thanks Nat
Reply