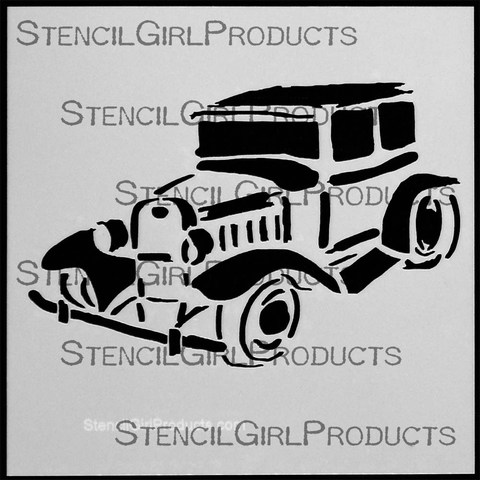
Welcome to my first Stencil Blog Hop! I invited four wonderful artist friends to hop along with me today and play with my StencilGirl Products Oldtimer Stencil which is a 6 x 6 Stencil:
You have four chances to win this stencil. Leave a comment on each of the listed blogs (Jamie’s comment function didn’t work in the morning – so if you posted on all blogs a comment that worked I will count them as if you did comment on hers too;) ) and on my blog and let us know how you like the projects and I will pick randomly one lucky winner. You have time to comment till July 30th, 2013 – midnight EST.
Edited August 4, 2013: The winner is Gerd Andersen – Congratulations. Gerd please email me with your postal address so I can get this stencil sent out to you :), Nat
Here are my friends joining me:
Jessica Sporn who does wonderful Mixed Media art and has her own amazing range of StencilGirl Product Stencils.
Stephanie Schütze – a super talented Scrapbooker from Switzerland
Jamie Dougherty – who is a super good workshop teacher and does stunning Mixed Media- and Scrapbooking-Projects
Maria McGuire – she does beautiful scrapbooking and Mixed Media Projects and coordinates also the awesome StencilGirl Products Blog called StencilGirl Talk
I am a big fan of oldtimer cars and so I knew I wanted to do this stencil for all kinds of projects. Check out some samples here:
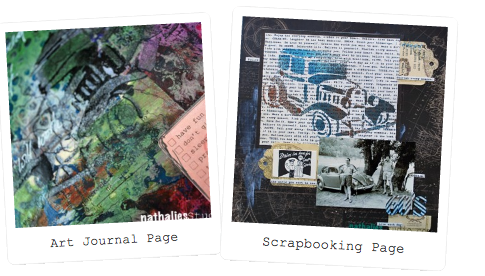
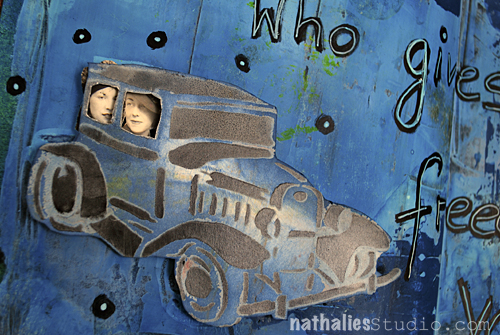
Here is what I created for today:
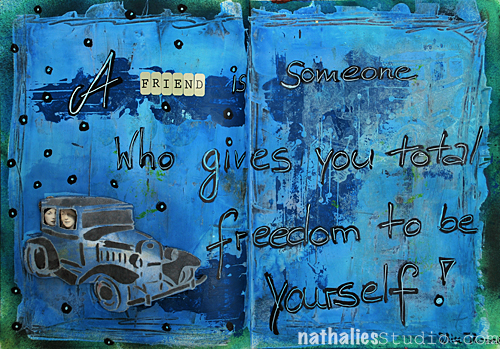
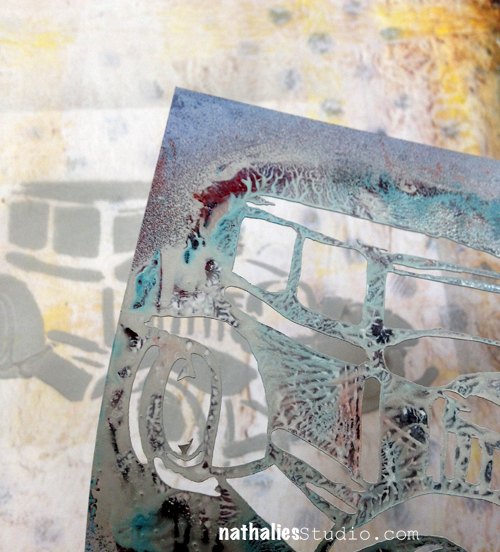
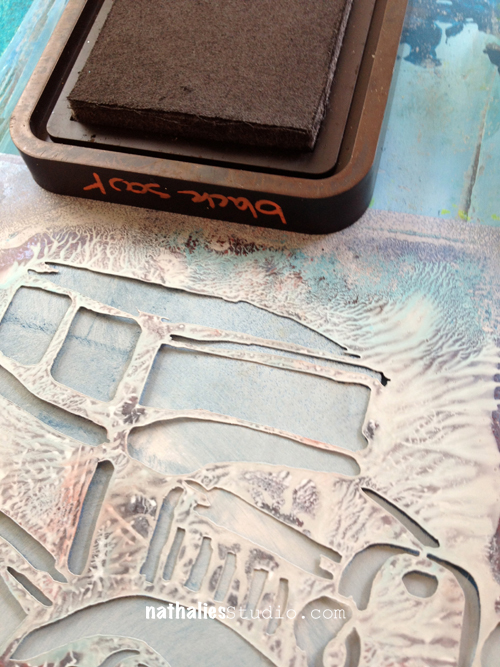
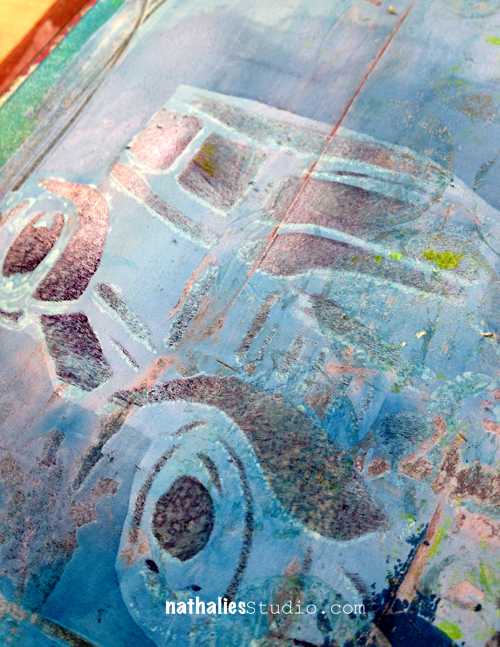
I do love to create some depth with my stencils -so here is how I did it here. I sprayed through the Stencil with Liquitex Spraypaints- but you can use any other paint media.
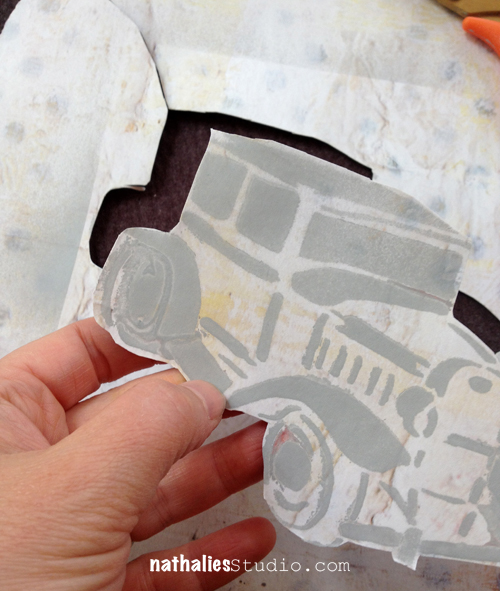
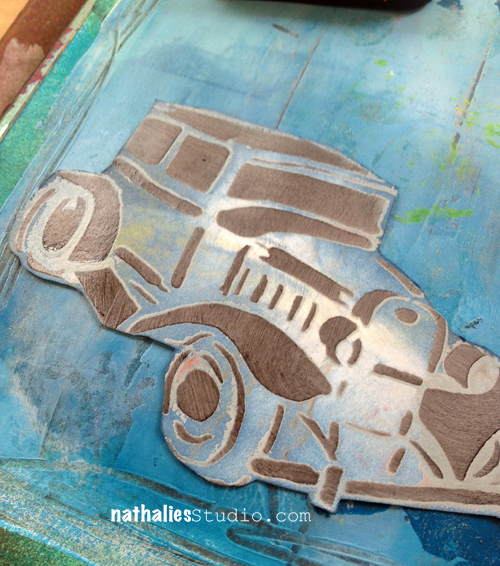
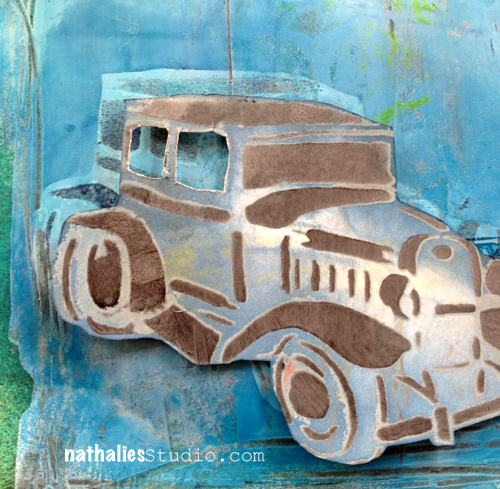
Then I cut out the car – just around the outline
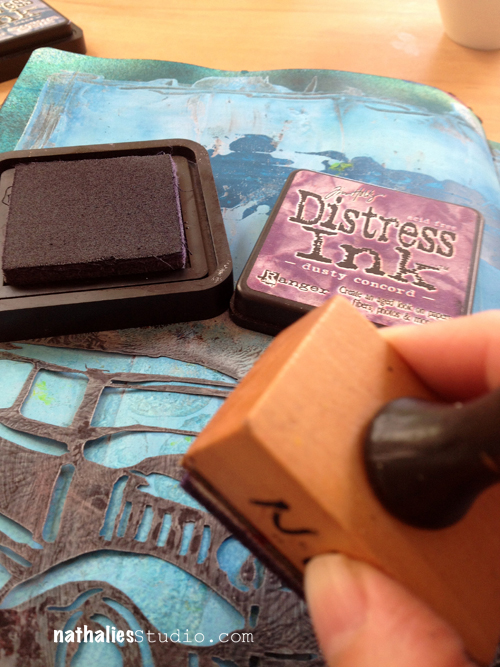
I picked a page in my art journal where I had already played a bit with a background and gathered some repositionable double sided adhesive, distress ink and a blending tool.
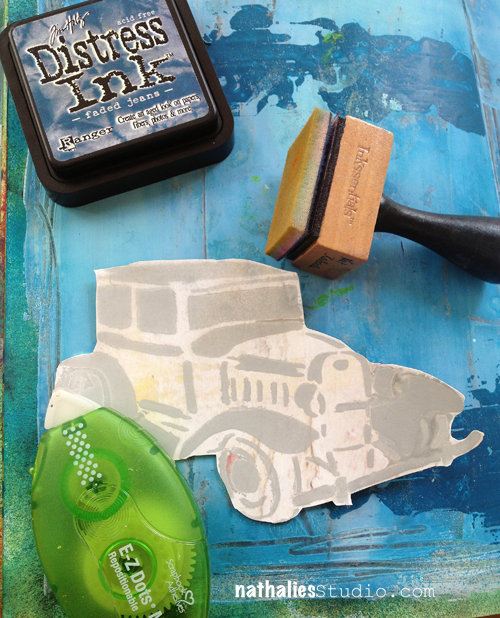
I adhered the old timer with the repositionable adhesive and then applied a bit darker distress ink with the blending tool – to outline the car.
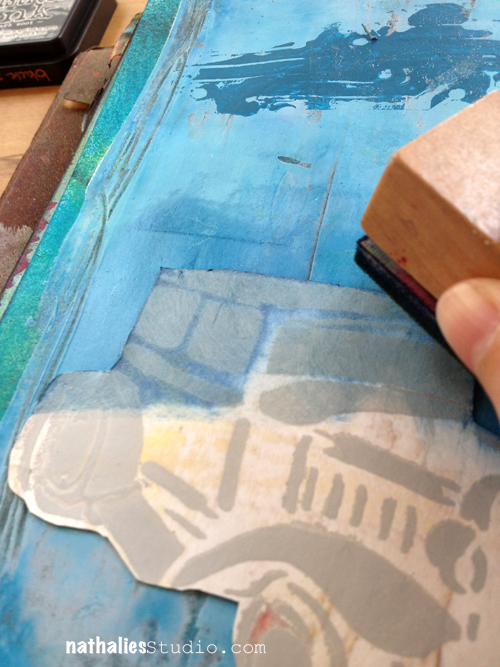
I used another distress ink color and the stencil again, which I laid over the car again and went over it again with the blending tool.
As you can see it gave a another shadow- as the first sprayed stencil image still peaks through- and it adds already more depth to the oldtimer
Now I peeled of the oldtimer car and then carefully rubbed off the adhesive dots.
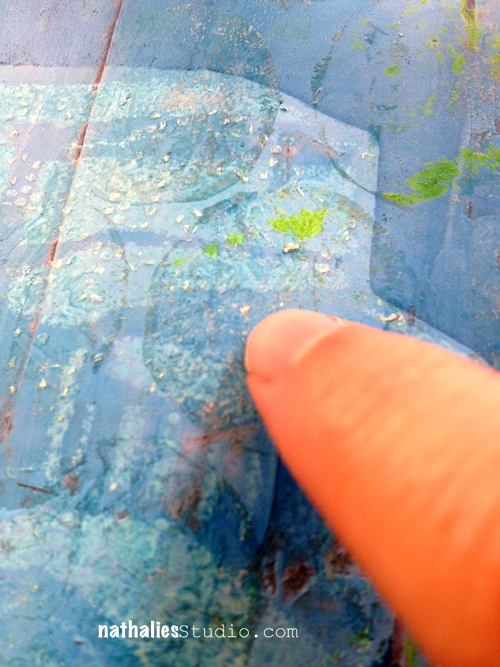
Next I placed the car directly onto the background into the before outlined borders-
I do this so later when you raise the car with foam pads- there is a shadow visible.
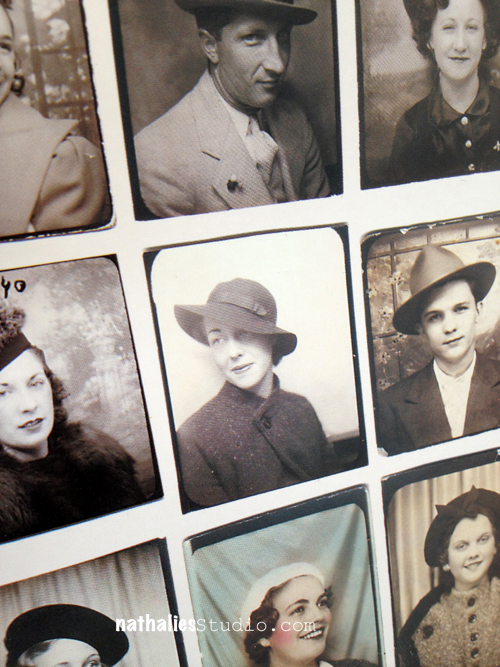
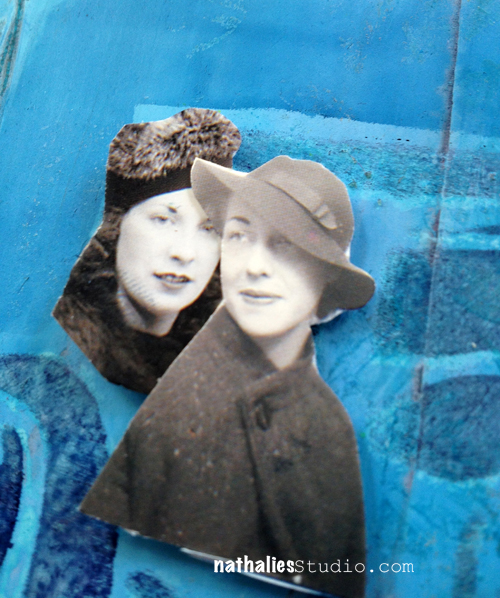
Then I cut out some faces that would fit behind the windows
and I cut out two windows of the oldtimer car on the paper
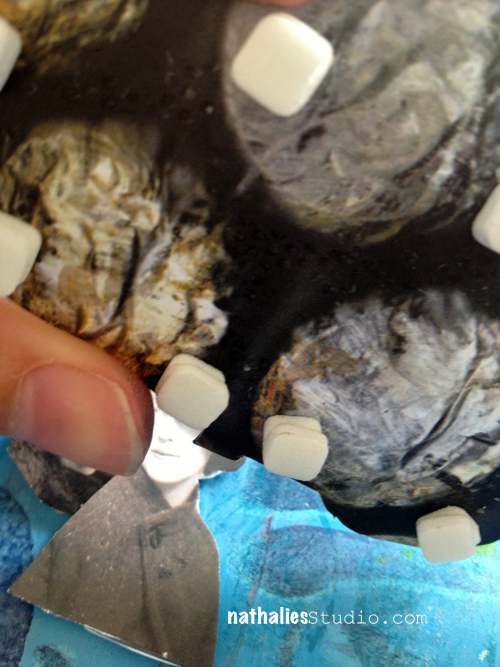
I applied foam pads to the backs of the faces
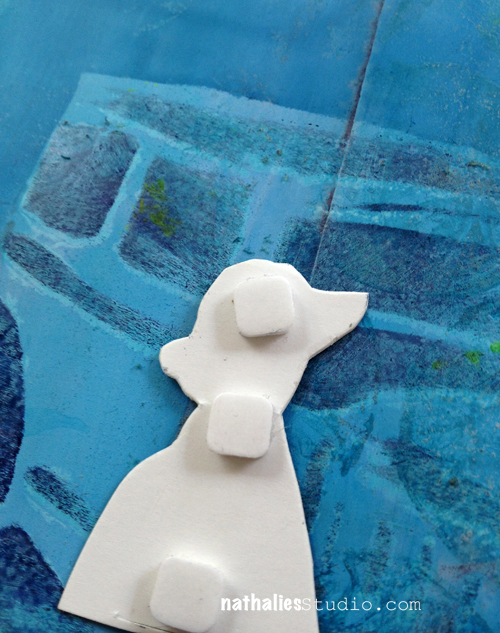
adhered them using the image of the oldtimer on the background and slightly a bit off
then I stacked two foam pads on top of each other- to give more height -to the back of the oldtimer car on the paper
and adhered the car also slightly off
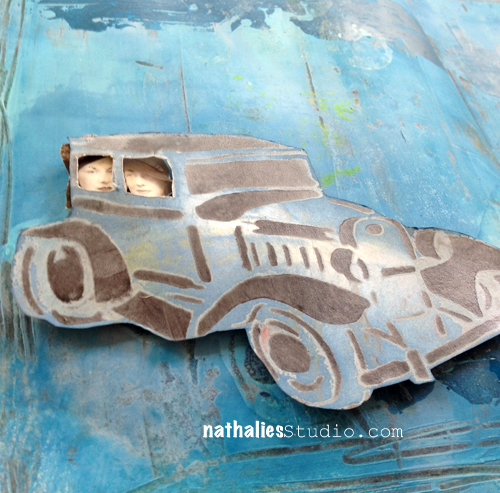
and there you have it :) I think it is a great way to add dimension and depth with stencils.
Here are the supplies I used:

|
|
 |
 |
 |
|
 |
 |
|
|
|
Now hop on over to my friends and check what they did and comment for some changes to win the stencil :)
Edited August 4, 2013: The winner is Gerd Andersen – Congratulations. Gerd please email me with your postal address so I can get this stencil sent out to you :), Nat
Nat
![]()
Comments (39)
Laura Strack
| #
Very cool stencil! Love the Blog Hop and glad you only have a limited number of blogs to visit.. Sometimes blog hops have way too many post to visit. Have a great day!!
Reply
angi eharis
| #
i can’t believe what u did, it looks awesome! i think the fun part of this blog is seeing what each artist does, u are all totally using different techniques which i love! i did go to jamies blog also, hers was simple but gorgeous too, i think i have one more! tx for sharing and inspiring! aloha, angi in hana
Reply
Gail Bassett
| #
I love the way you added depth to your car, and thanks for the tutorial on how it was done.
Reply
Lura Brown
| #
thank you so much for the great tutorial. ya know i love ya girl. hope to see you again at the jan CHA! thanks for the blog hop, hoping for a win. xoxo
i will go to all the artists and know jamie well. all artists amazing. xox
Reply
Gill
| #
I visited Jamie but couldn’t leave a comment!
I like her project using wood!
Reply
Gill
| #
This is fabulous! I love what you did with the stencil!
Thank you for sharing the process!
Reply
Maria McGuire
| #
I love your step outs Nat! But…I have to say my FAVORITE part is adding the people into the car-SO FUN!!!! Love the sentiment you used too! Thanks so much for having my “hop” along with you!!!
Reply
Kris
| #
I find your use of texture, depth, and vivid colors inspiring and as always it was awesome to see your process on this cool stencil.
Reply
textilerecycler
| #
You are talking my language with this one! Love the vintage look, photos and car…and the tute was great! Thanks for posting.
Reply
Patricia Wolf
| #
Love this stencil so much and the way you used it is so creative!
Thanks for the chance to win it. Now I’m off to see the other blogs.
Reply
Stephanie
| #
Wow great techniques and awesome result! Eine tolle Arbeit und von den Ideen muss ich einige mitnehmen! :-) Lieben Dank dass ich mitmachen durfte, hat Riesen Spass gemacht mit dem oldtimer stencil zu arbeiten! Liebe Grüsse, Stephanie
Reply
Sue Clarke
| #
Nice. Reminds me of the movie theater canvas that you made for me. It still hangs in a place of honor in my kitchen and the Tim Holtz film strip has stayed in place. I just ordered the typewriter stencil and now I need this one too.
Reply
Mary C. Nasser
| #
Love the dimensions and the rich color you got, Nathalie!
So inspiring!
And how fun to put the people’s portraits in the old time car, too! :)
Reply
lacyquilter
| #
Great spread and I love the stenciled car on the text in the scrapbook page. I love stencils and don’t think you can ever have enough.
Reply
Carolyn Dube
| #
Your stencil is fabulous! Love how you gave it such depth and dimension! Great quote too!
Reply
Corrine
| #
Sweet ride around town for those two ladies. I love seeing them peering out from the car….great quote too. xox
Reply
Shirley
| #
I bet you’re so excited for your stencils to be sent out into the big world! I’m excited for you. Love your examples…TFS!
Reply
Jean A Marmo
| #
You do such amazing work! Every time i read the blog I learn something new! Love this stencil!
Reply
Kathy P
| #
Wow, Nat— you rocked this! Love the dimensional look you got with your stencil!
Reply
Gerd Andersson
| #
Clever ideas in your tutorial! I love the outcome! And of course I love the stencil! My father had two Mercedes from 1951, so I can recognize the picture. Sadly, both of them got destroyed in terrible accidents, one in Germany and the other in Tunisia.
Reply
nathalie-kalbach
| #
HiGerd, you were drawn as the winner of the oldtimer Stencil – please email me your postal address – so I can have the stencil sent out to you!
Thank you! :)
Hugs
Nat
Reply
Lissa goldsmith
| #
You are amazing! I love the stencil and would love to try creating with it!!
Reply
Jessica Sporn
| #
Your post is so full of techniques and strategies for adding texture and depth. Wow, I am so inspired. I am also honored and happy to be part of this blog hop. Thanks Nat!
Reply
Gunvor
| #
Thanks for arranging a blog hop! I so look forward to loads of inspiration from new (to me) artists! and i love the way you added dimension – great technique and now on my “must try” list
Reply
Jennifer Palmer
| #
Hi Nat
I really love that stencil and what you have done. Your page made me quite teary as my dad used to restore vintage cars. I would spend hours helping him hours spent in his shed . One car was a 1927 Chevolet it had a rumble seat and I spent hours driving that car up and down the driveway.
They are so precious those memories now as he passed away and even after all these years anything with vintage cars makes me smile and tear up.
So thanks for the memories and love the art and will check out your friends art too.
Jenny Palmer
waves from Tassie
Reply
Joan von Metzinger
| #
Thanks for sharing and thanks for doing the blog hop….Love meeting new designers/mixed media artists!
Reply