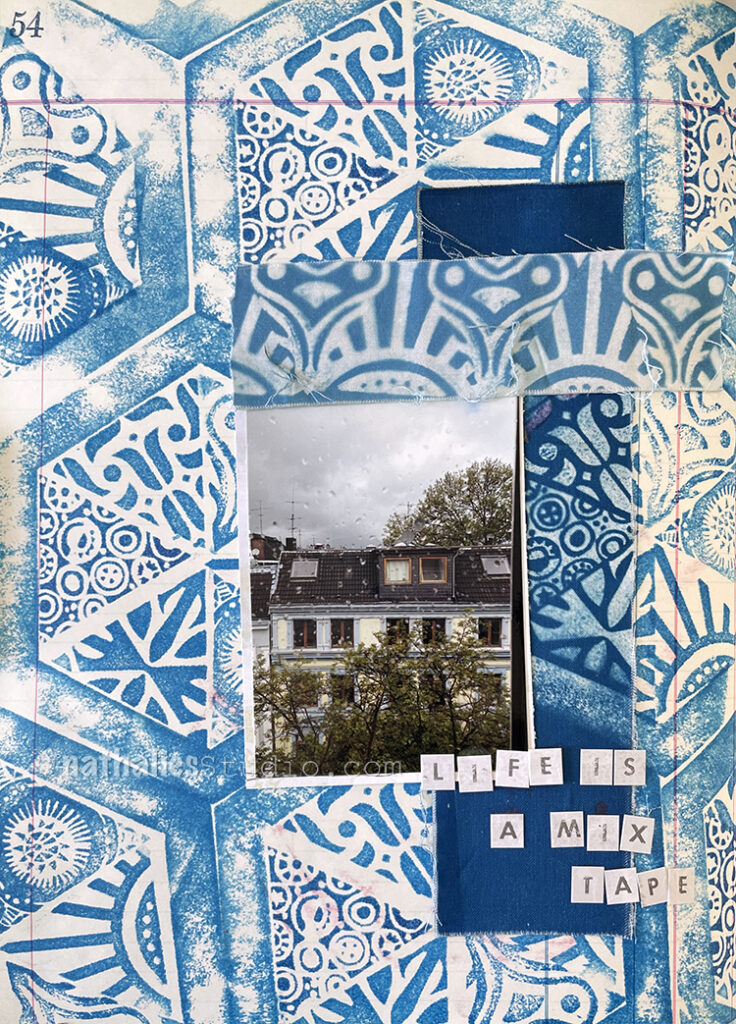
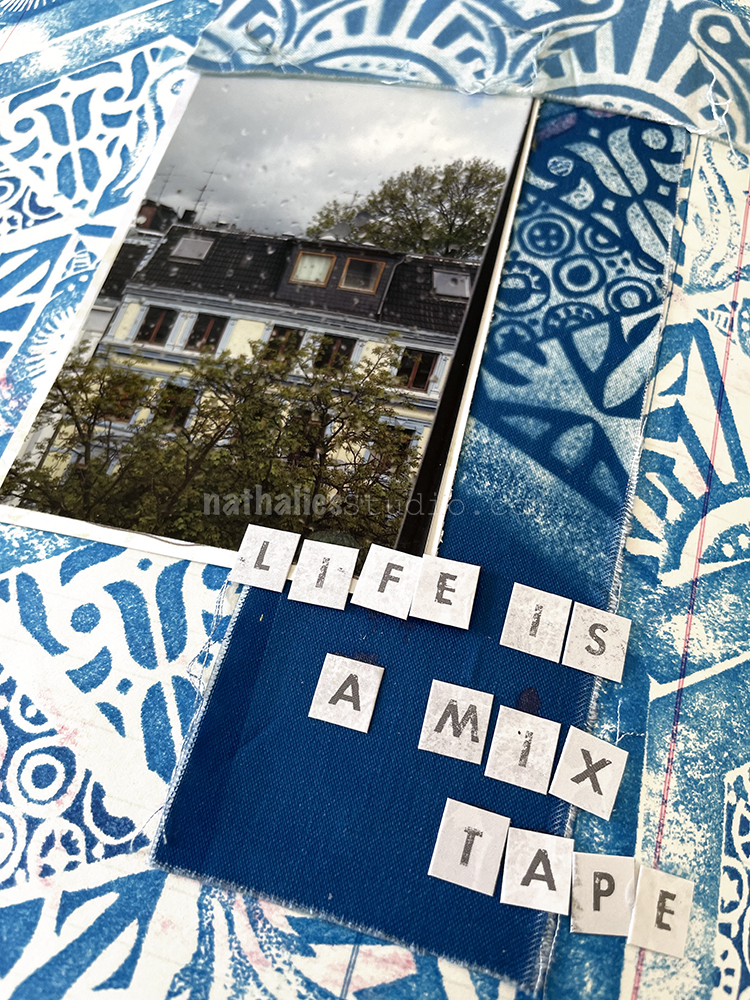
I found this old photo of my view out of my old studio in Hamburg Germany and I was reminiscing about the different views I’ve had from my studio windows… often on the top floor, just like now again, but always different. All this while I was listening to a spotify play list …the modern version of a mix tape that a friend of mine just made for me with music he discovered during the pandemic and thought I would like. J. has always been my music guy since we both share a lot of the same taste, so I am excited! It also made me very happy and grateful for the wonderful friendship where someone takes the time needed and puts a tape together for you. Remember those olden times?
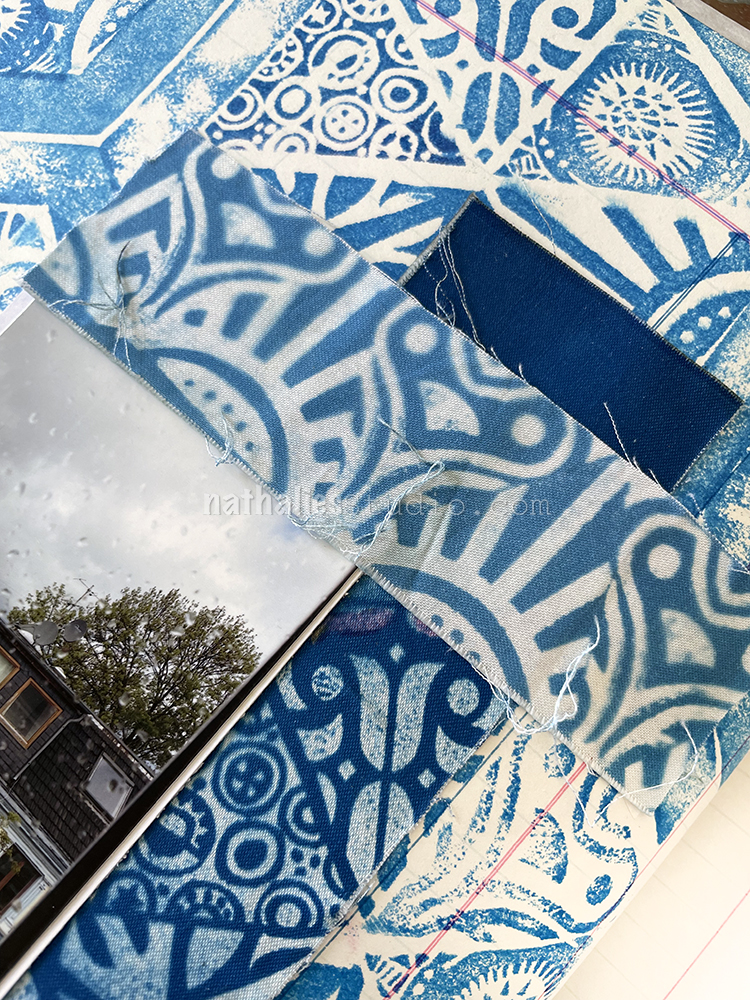
Anyway… LOL The background was stamped with Versafine ink with the wonderful Triple Play foam stamps Birgit Koopsen, Marsha Valk and I created for our workshop Beyond the Paper – check it out. I added some sun printed fabric which I show how to create in the workshop using the same stamp.
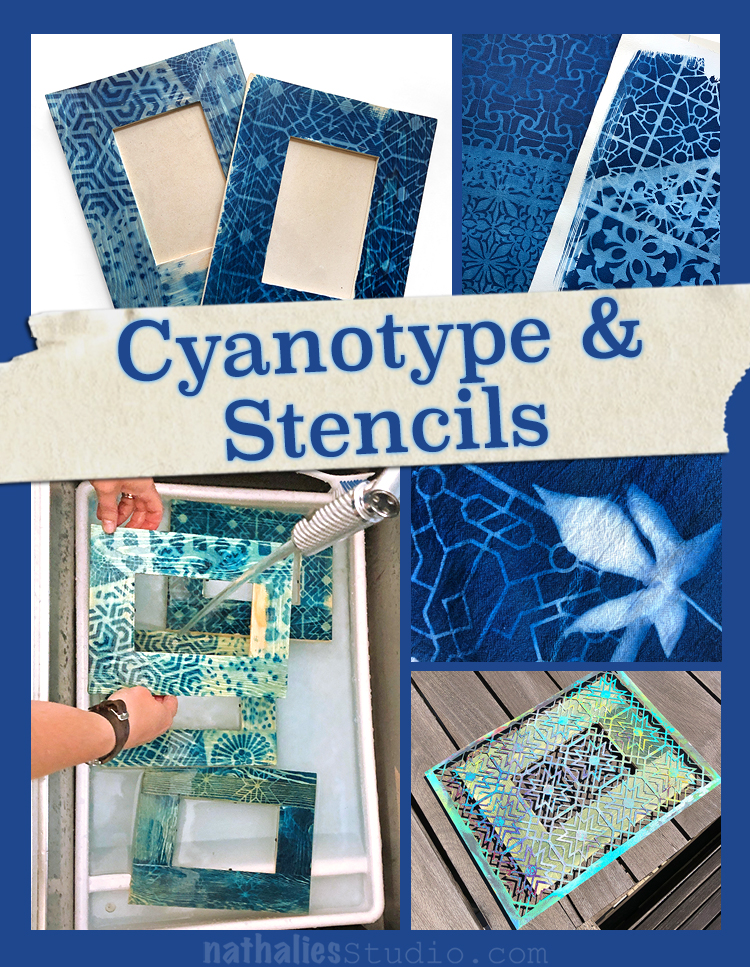
This was such an interesting and exciting play date with Kim – so excited to share it with you today! I have wanted to try cyanotype (aka Sun Printing) for a long time and we finally did. Now this did require some prep ahead of time, and it definitely is an active process, but the results are very cool.
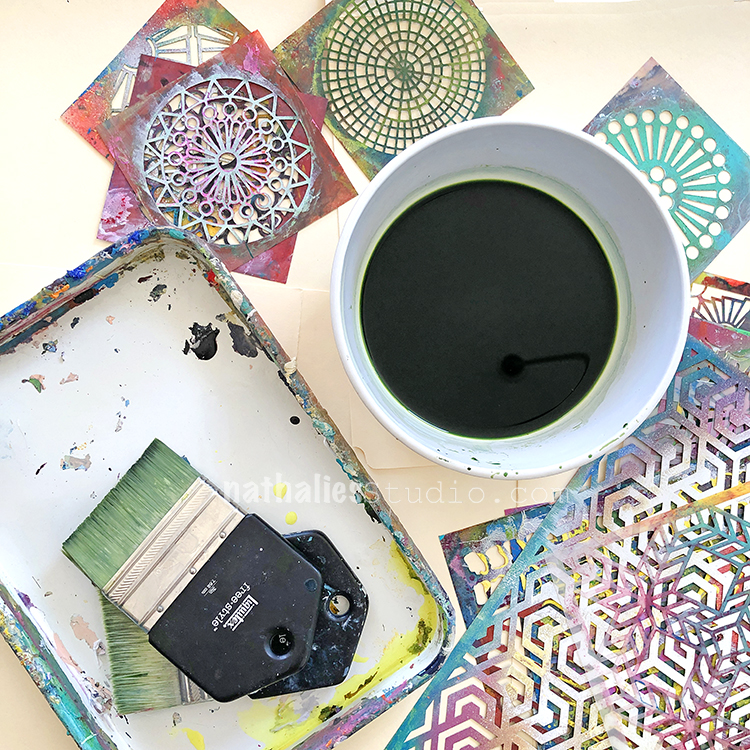
I purchased a cyanotype kit on amazon (link below) that was a 2 part mixture. You can find the chemicals a lot of places, just be sure to follow the directions on the packaging. My kit required some prep 24 hours before we did the actual “printing”. As for supplies, we used the cyanotype kit, large paddle brushes, gunked up stencils (YES – this is one argument for not cleaning them lol), and a surface to print on. We chose wood frames, some fabric, and watercolor paper. Following the directions of our kit, we painted the surface with the mixture in a dimly lit room and let them dry. Ours worked best when we allowed them to fully dry.
Then it is time to head outside on a nice sunny day. We first did the frames. Here you can see 2 frames covered with an array of stencils. If it is windy you will need to weigh the stencils down.
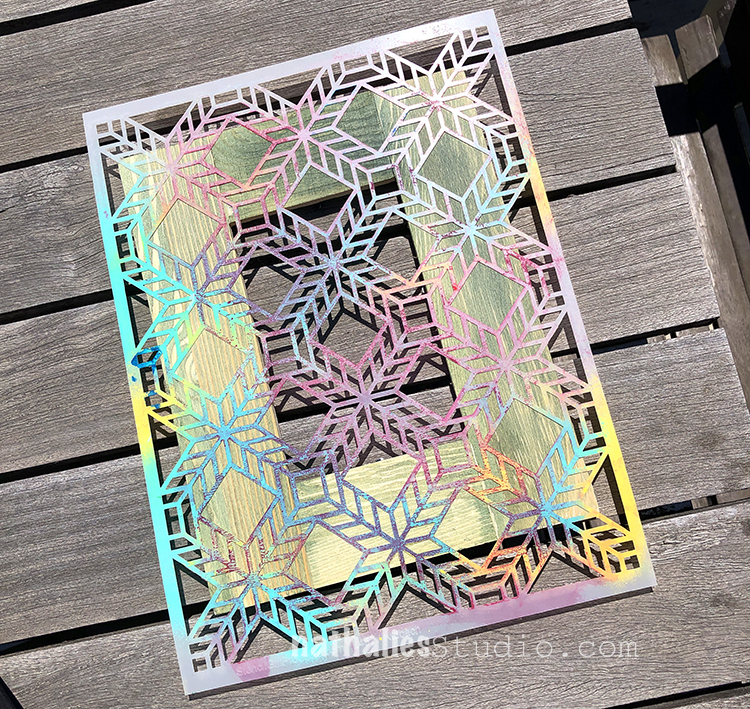
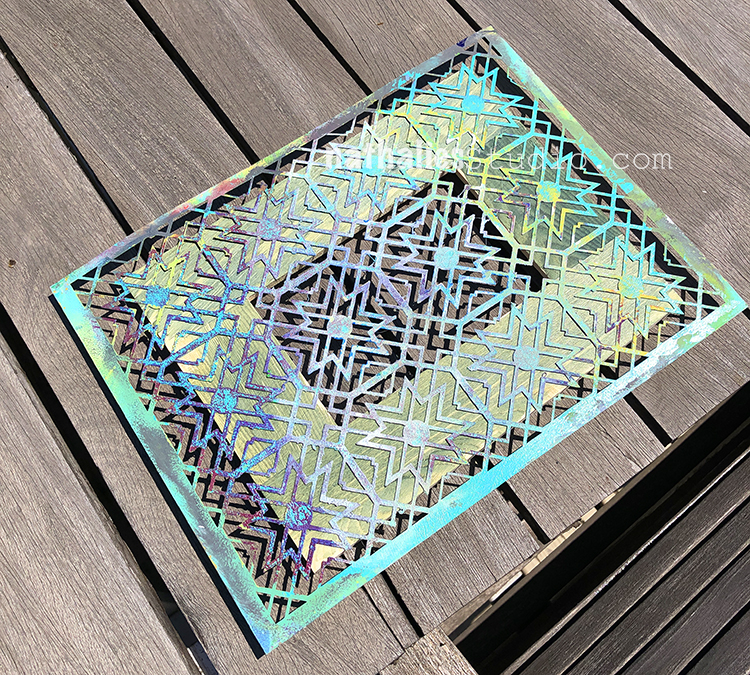
Here is my Santiago stencil on the frame, catching the sunlight. Our mixture was a greenish yellow when it went on and slowly turned to a bronze color when it had been exposed to enough light.
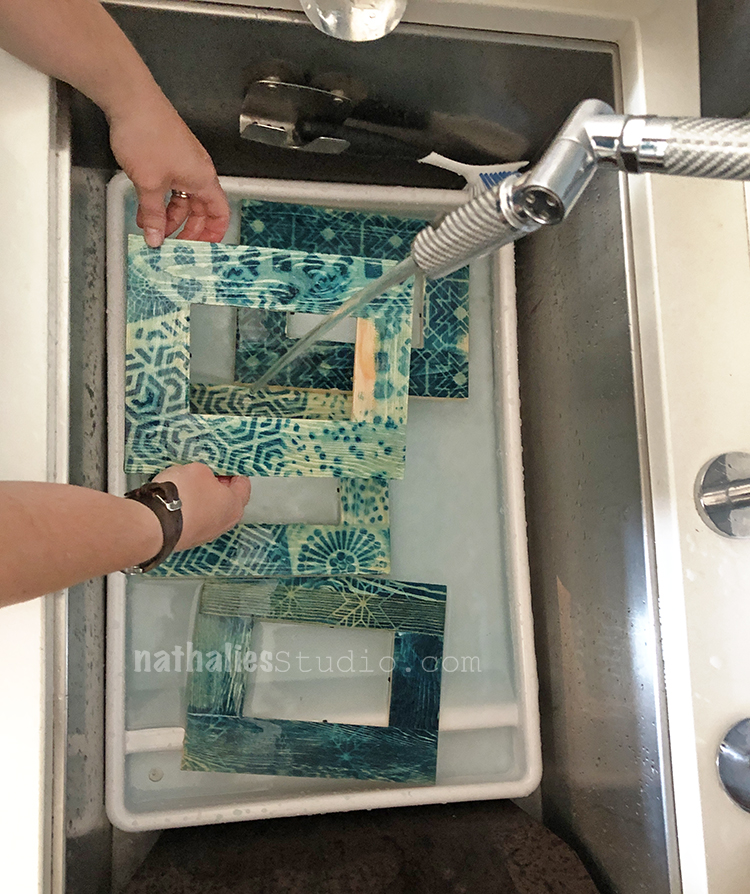
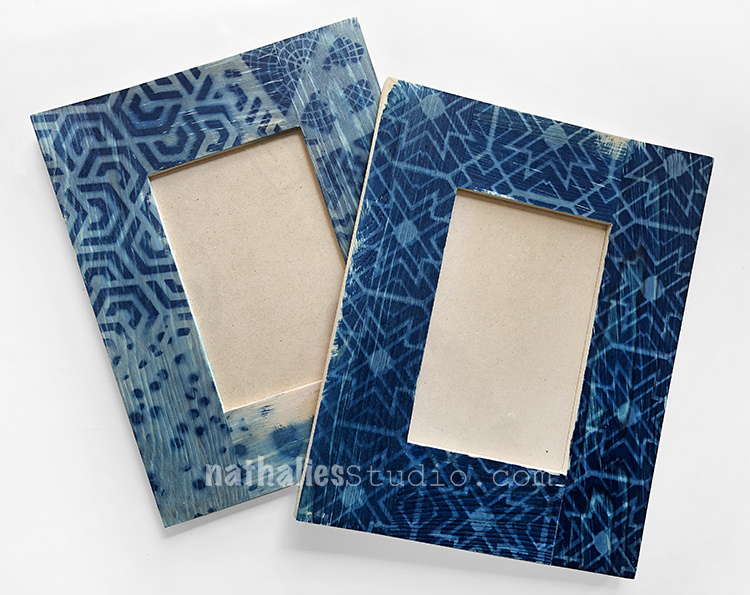
When they have exposed enough, you race them inside and rinse them until the water turns clear. The covered areas will wash away to reveal the wood color and the areas exposed to sunlight will begin to turn a beautiful blue.
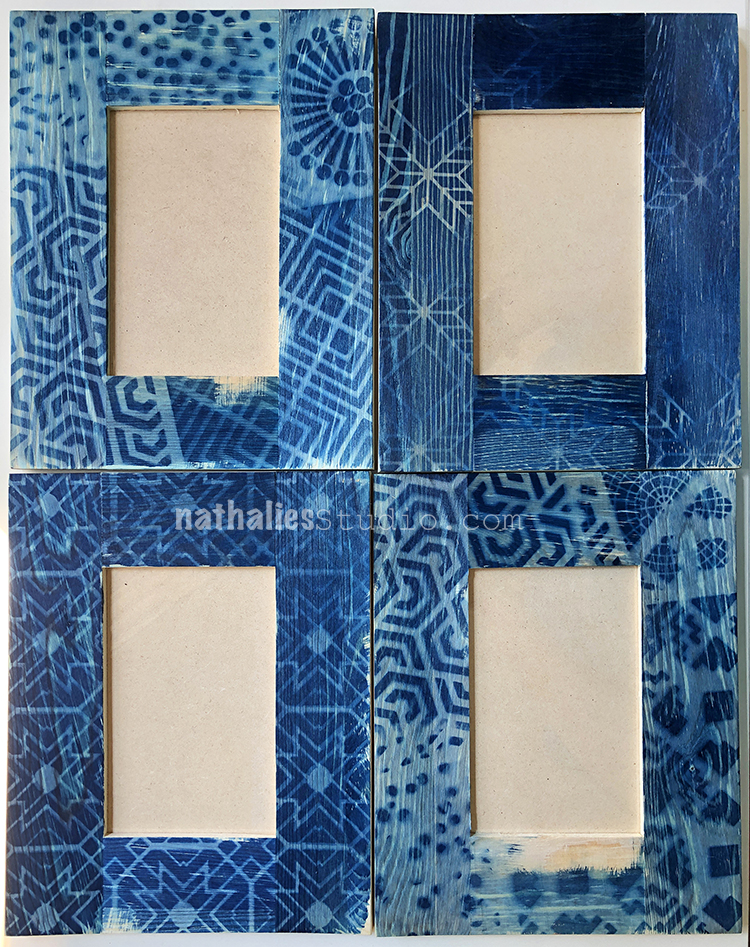
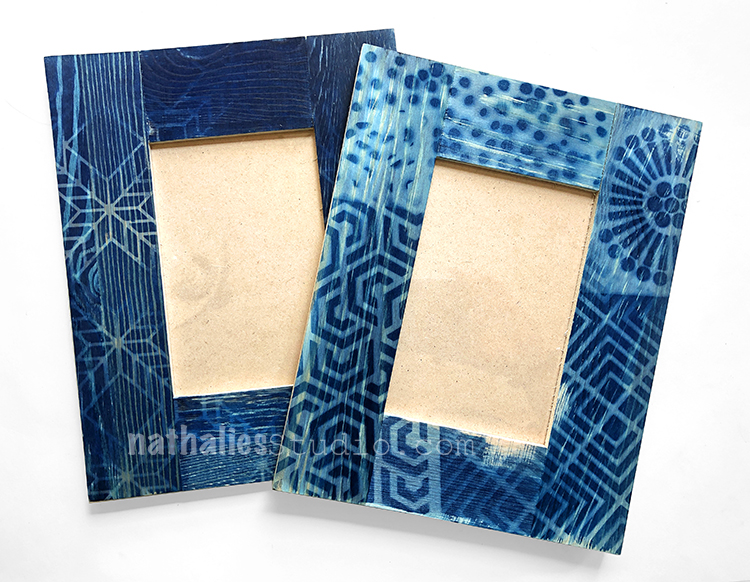
Over the next few hours they will cure to full color and look just gorgeous!
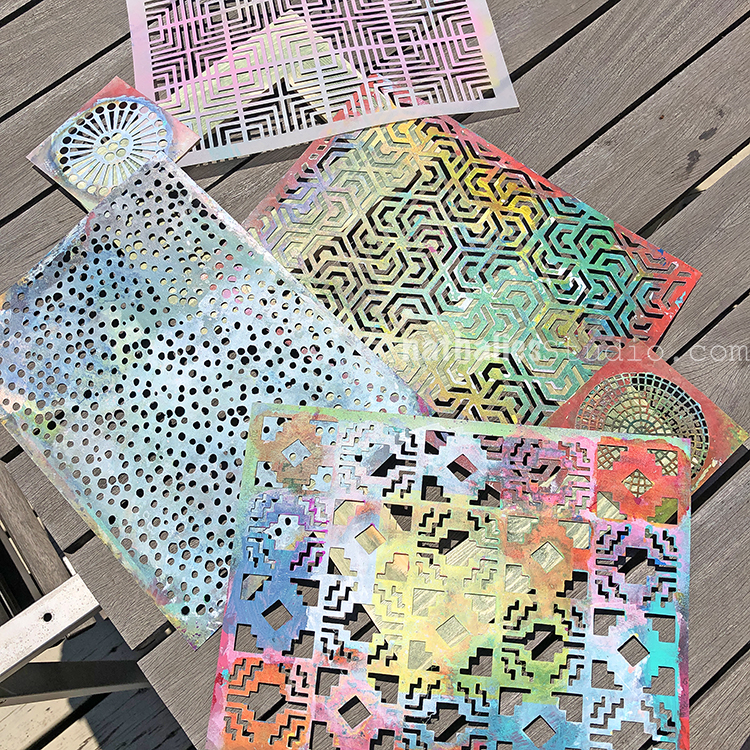
Stencils with thicker lines worked a bit better and we learned that it is safer to weigh the stencil down in case wind picks up.
I just love the variety you can get and it all just works together because of that wonderful blue.
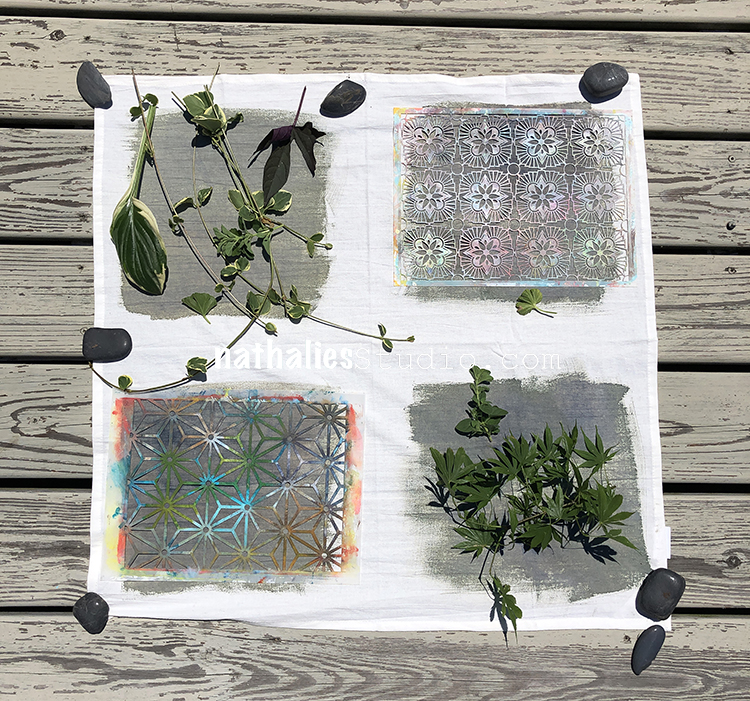
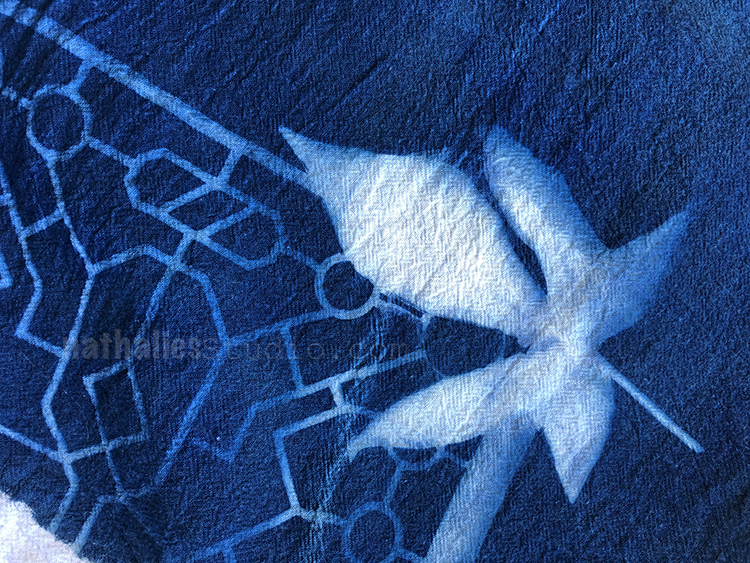
We also tried fabric with stencils (Hamilton and Star Struck here) and leaves. Weigh everything down and try to find flat leaves so you get defined edges. The fabric and paper exposure was really quick – so have a plan and all your stencils and objects ready to immediately put down on the fabric when you bring it outside.
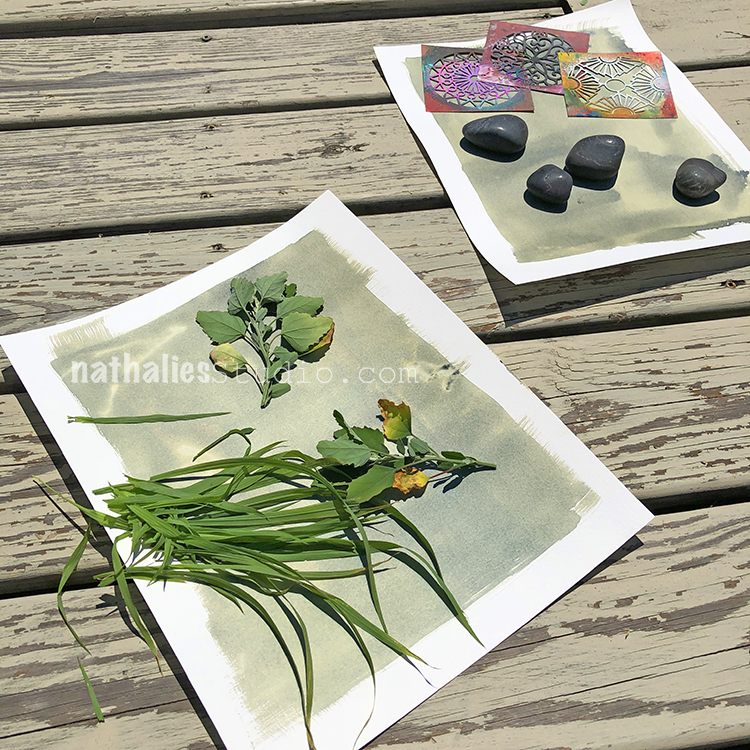
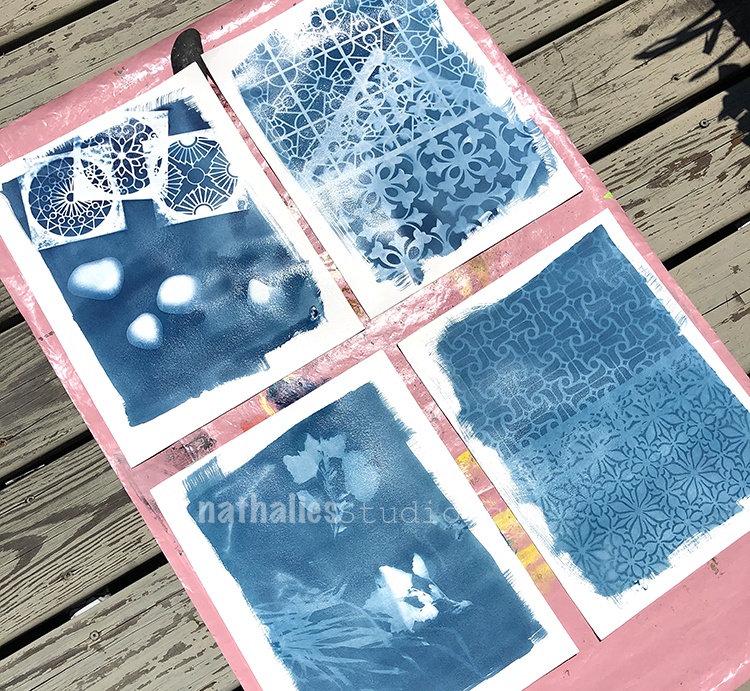
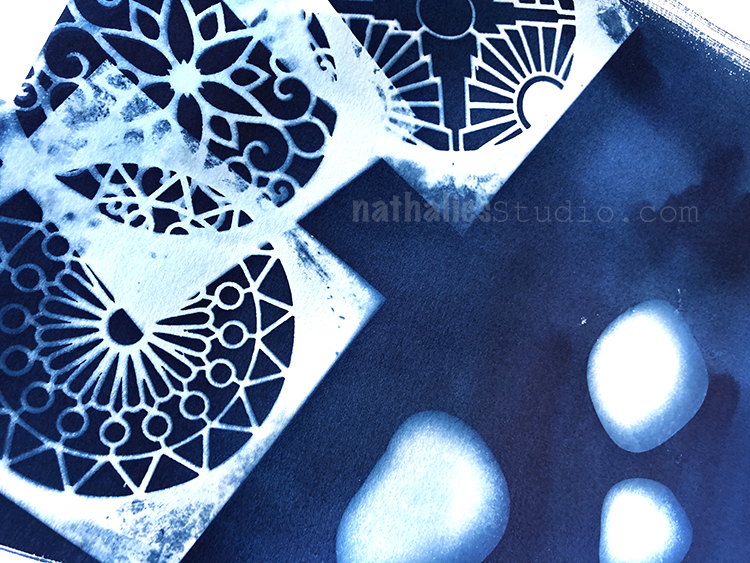
Here is some paper with leaves and grass – all of these blew in the wind very easily so we did not get a good print here. I would put rocks on them next time. The top paper had some stencils and rocks. Setting up multiple papers at once was a bit hectic as they started changing very fast. Make a plan, have plenty of extra material (stencils, leaves, rocks, etc) and expect to just roll with it.
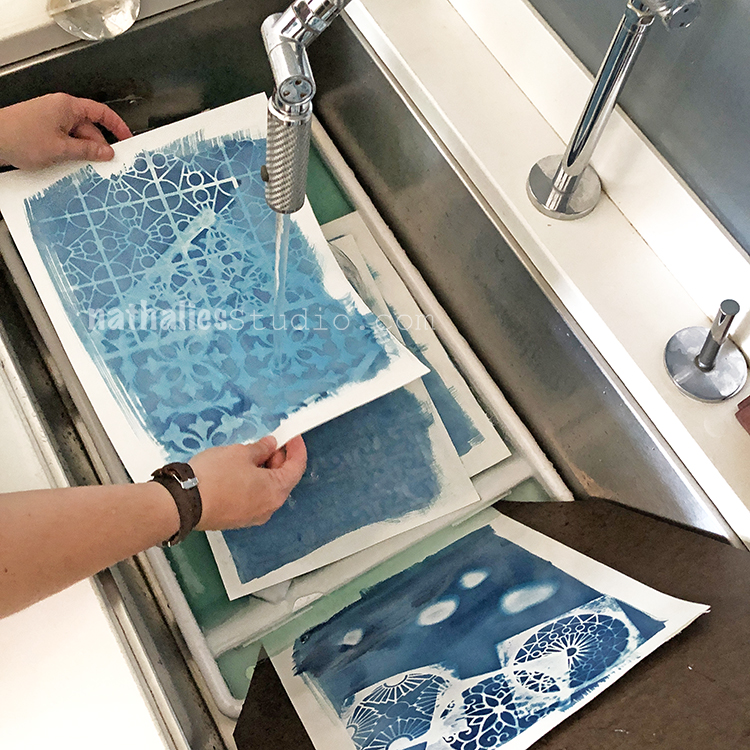
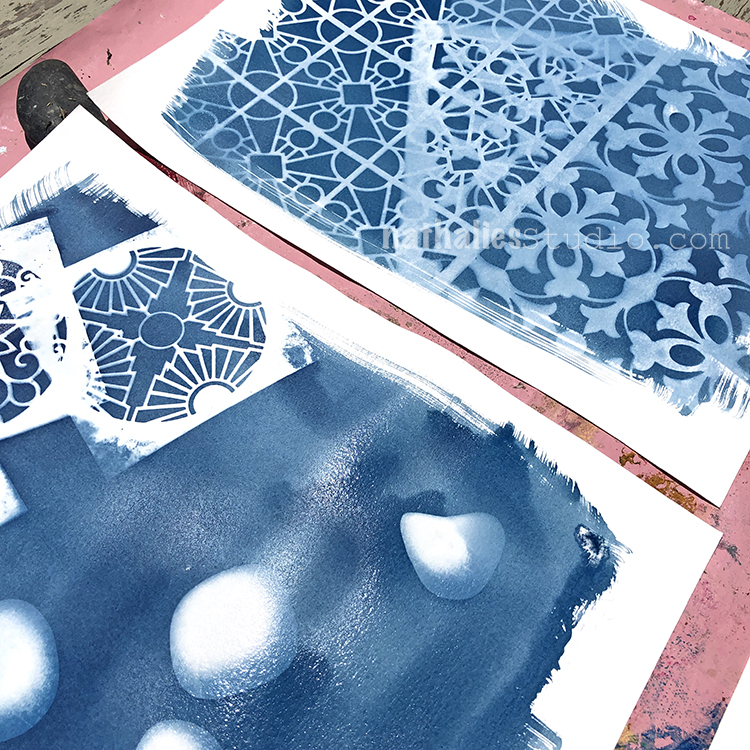
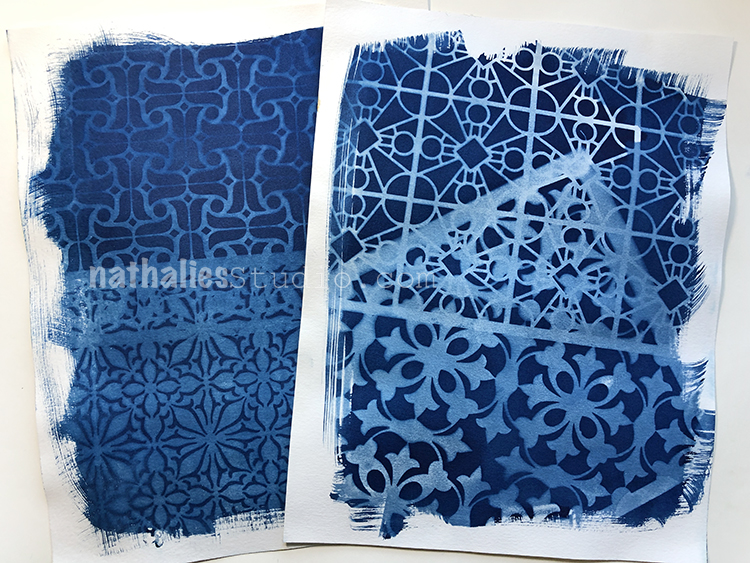
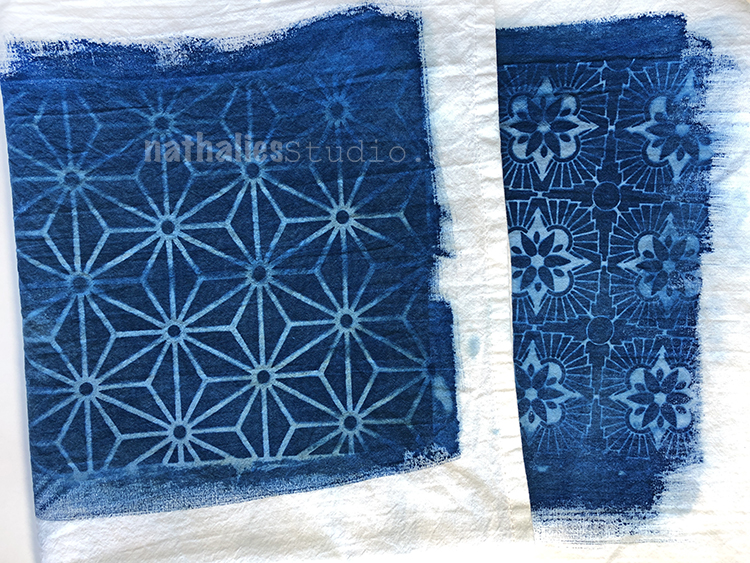
The paper process was the same – rinse immediately after bringing inside. Here you see a print I made with my Buenos Aires and Versailles stencils getting a rinse.
We let them dry in the sun and you can see some interesting results.
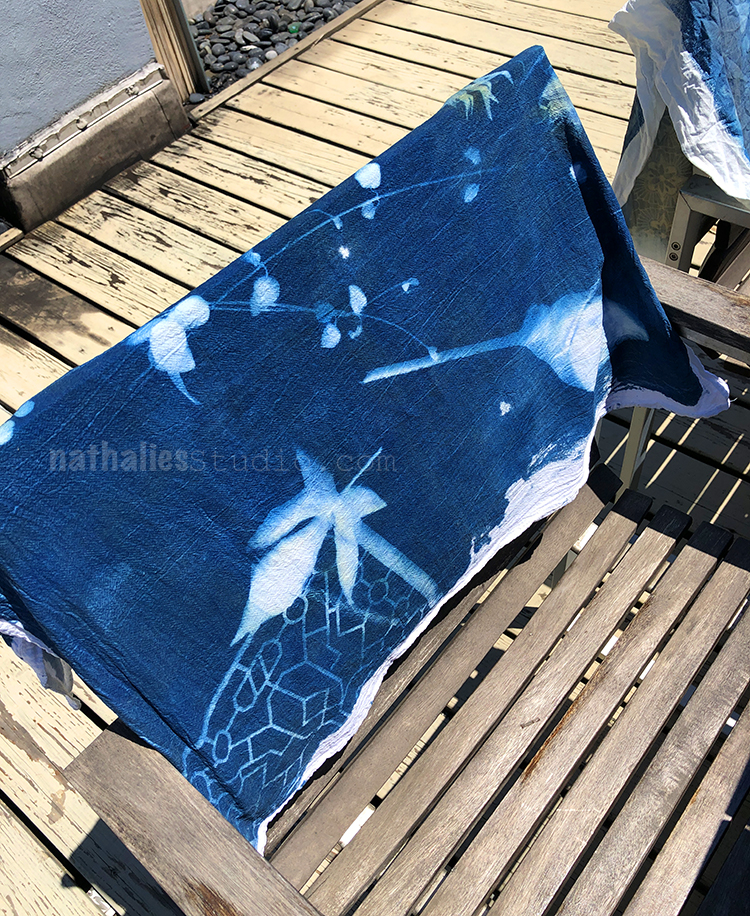
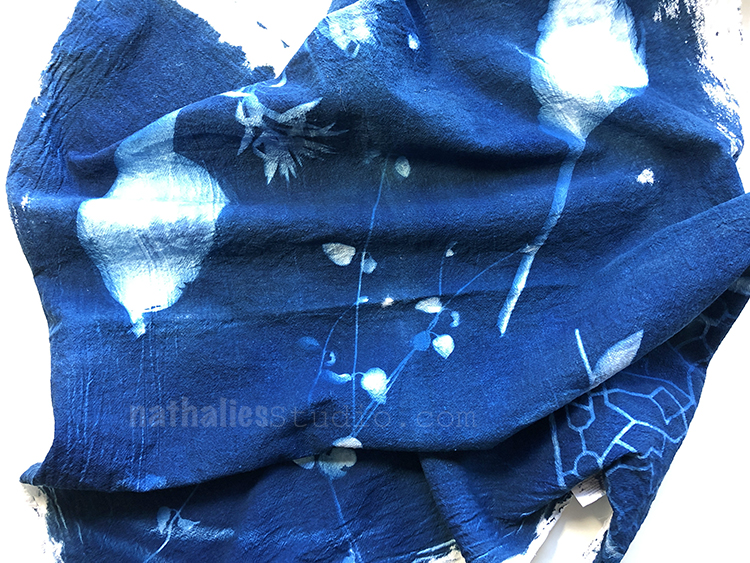
We rinsed and dried the fabric as well. Here you see some leaves, vines, and a peek of my Exchange Place stencil in the corner.
These were pretty unplanned compositions. It is worth getting familiar with the process and just playing at first. Kim and I are planning a second play date now that we know how it works and then we can better prepare for what we make in the end.
Regardless, it was really awesome to see the potential and beauty of cyanotype printing.
We are imagining all sorts of fabric and clothing projects :)
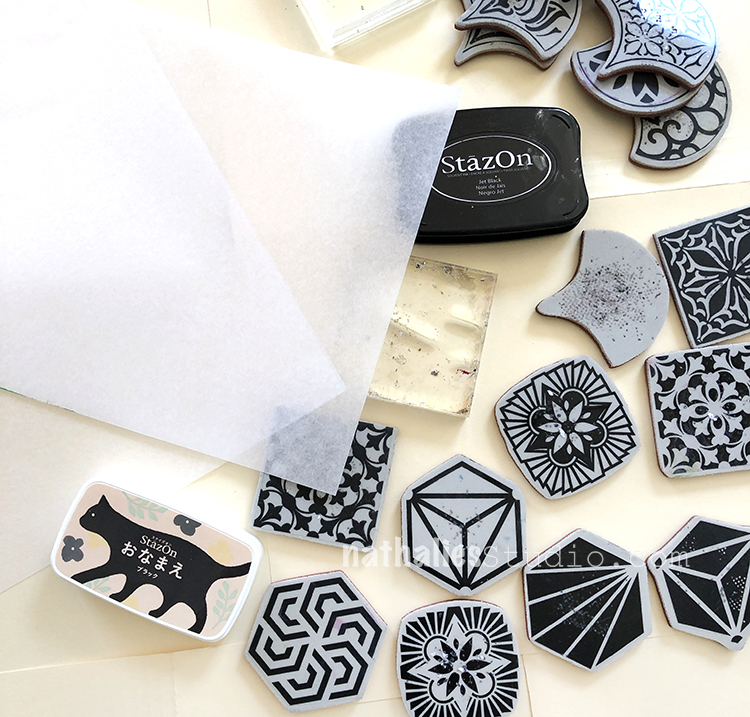
Another variation we did: stamping with my new rubber stamp sets and black stazon ink onto transparency film.
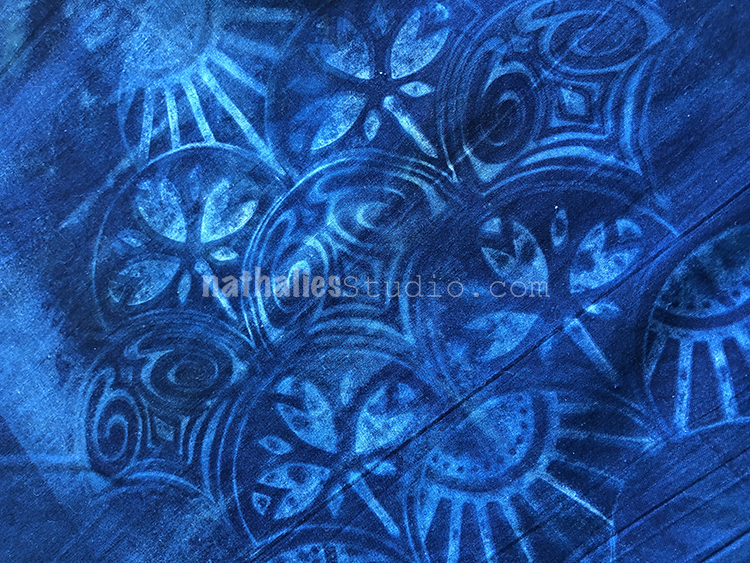
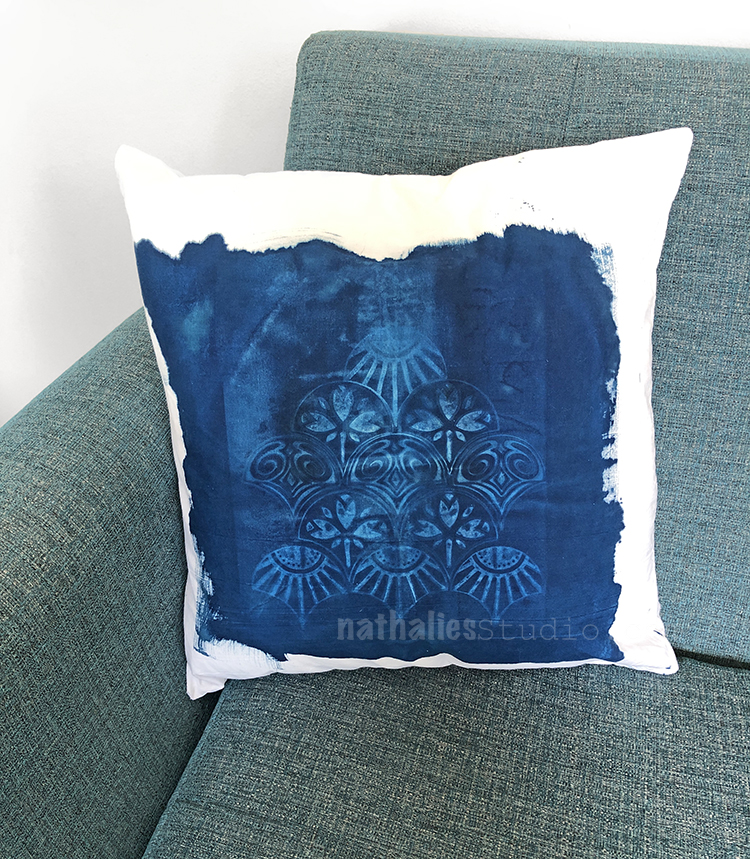
I stamped the film with my Fantastic Large stamps and then put it on top of a treated pillowcase… It blew off several times in the breeze hence the “double vision” look to the print.
But still a really cool idea for future cyano projects!
So as you can see there is so much potential to using this medium with your stamps and stencils. We are just getting started and will definitely share future adventures with you as well. Don’t be intimidated by the process – it isn’t that hard and the results can be sooooooo nice and surprising some times. I hope you give it a try!
Comments (1)
Sue Clarke
| #
I love that sentiment…a friend really likes you when they make a mix tape/CD for you!
Fun LO Nat.
Reply