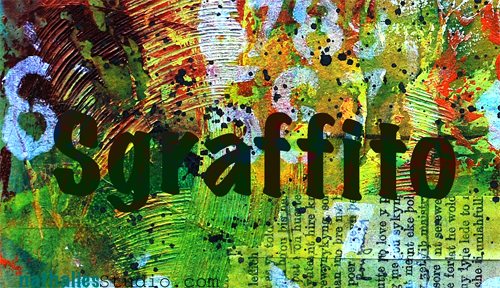
Sgraffito is an art term describing a technique used e.g in plaster, pottery, glass or paint. Basically one or several layers of the medium are revealed by scratching into the top surface. The term comes from the Italian word sgraffiare and means to scratch. Not sure if that will help me with my next Italian vacation but hey… you never know ;)
Now why is that something that might interest me? It is cool because you can create TEXTURE- yum yum! Do you need to have more reasons?
You actually saw some stuff already where I used the sgraffito technique- like on this piece from a post here playing with the Derwent Artbars. I used a tool that Derwent especially made for this, called the scraper.
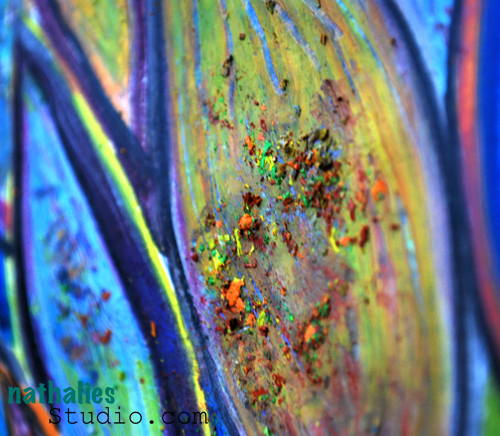
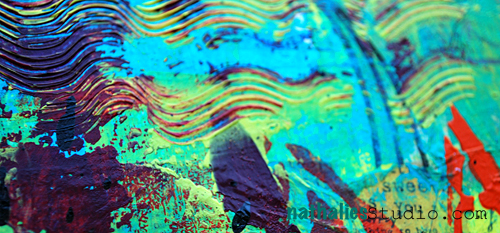
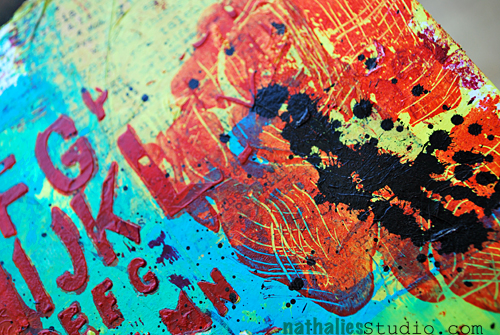
But there is more…Scratching into still wet acrylic paint – Texture heaven. You can use all kinds of tools for it – like a plastic fork, the end of your brush, palette knifes…ah there are many many possibilities.
It is fun to add some sgraffito marks to your backgrounds or art journal pages – Let’s do a quick background video – I have a list of all supplies used below :) :
I love to use Liquitex Heavy Body Paint with the Sgraffito techniques, because they are – as the name might give it away ;) – heavy bodied paint.
I already have something in mind where I will use this background as a foundation – you will see it soon.
And if you want to learn more about acrylic paint techniques and a LOT of background techniques with them…
well….;) I can recommend my Über*Media Acrylic Paint Workshop. You don’t have to have Heavy Body Acrylic Paints….but I will show you how you can overcome that problem of having none anyway so you can still do sgraffito. But hey- Sgraffito is only one of more than a 100 techniques in that workshop :)
I just love Acrylic Paint :)
Hope you enjoyed the little video :)
Nat
Related articles
- For the Love of Acrylic Paint (nathaliesstudio.com)
- On a Paint Media High (nathaliesstudio.com)
- Weckruf (Wake-Up Call) or…A FAST Forward Making off a Canvas (nathaliesstudio.com)





Comments (24)
windinn
| #
What fun to watch this, and wonderful results. That background ROCKS!
Reply
Connie Permenter
| #
Wonderful Techinques and I am going to purchase some of those Liquidtex Heavybody paints … Could you tell the the colors you used ? Thanks so much for sharing!
Reply
nathalie-kalbach
| #
thank you Connie, I do not recall all the colors I used but you can see the range of colors they have at Liquitex: http://www.liquitex.com/ Have fun!
Reply
Denise
| #
Great technique, even better your use of color. Thank you
Reply
Jessica
| #
This was such a great video. Thank you so much! It helped inspire this page and I linked to your blog too. Thanks again for all you do! http://jessicasporn.blogspot.com/2012/06/mashup-wednesday.html
Reply
Jo Murray
| #
WOW!!!! That is gorgeous…. how could you possibly improve it?
Reply
pamplamoussejuice
| #
Background?! I would have been done with it after all that! I think it looks fabulous all by itself!
Reply
ajsartjournal
| #
Great video Nathalie, thanks for sharing.
AJ
Reply
Lisa crofts
| #
what a fabulous video. Nathalie I love the look of all the liquetex paint and tools. I “need” that splatter brush too.
Reply
Daniela
| #
Danke für den tollen Artikel – und den Tipp mit dem kostenlosen Muster :-)
LG Danny
Reply
Lisa Flaherty
| #
What a great technique, Nat! I love the possibilities of the different things you could use to scratch through the paint. The printed tissue paper layer adds nice depth to your wonderfully colored and textured piece! Also, I wanted to tell you how I much I enjoy your videos. Your fun, whimsical nature comes through in the production. Also, how amazingly clear the close-ups of your work are! What is the video camera that you use? Can’t wait to see more!
Reply
nathalie-kalbach
| #
Lisa, I use a Logitech Camera Vision Pro – it is a really good camera- I like it a lot.
Reply
jjsobeyj
| #
Well, now I need to go look for one of those splatter brushes – that made me all kinds of happy watching that! (I’ve tried with regular brushes, and wasn’t that excited about the effect)
Reply
kittybg
| #
I went to a WS on Friday and we did sgrafitto with Golden Open acrylics. If you like sgrafitto, you’ll love Golden Open. (No, Golden doesn’t pay me :D Also, I prefer liquids better because I need my acrylics to dry quickly and open takes a whole day.)
Bye, Kitty
Reply
nathalie-kalbach
| #
Interesting :) I do know Golden Open Acrylics – but I feel the effect that I want to archive texture wise is more beautiful and more me with the Liquitex Heavy Body. And I do use all kinds of acrylic paints too ;) They do dry quick- but that is then when you can use a Retarder to mix in for longer opening time. I guess every artist has their own loves ;) Thanks for your comment, Kitty
nat
Reply
Dottie
| #
Love this piece!! The colors and the texture are wonderful and fun. Need some heavy bodied acrylic paints. Thanks again for sharing you expertise.
Reply
Bev W.
| #
I’m in acrylic heaven:) Thanks for the vid Nat!! Your such an inspiration!
Reply
Irma
| #
Danke für den Link! Ich habe die Probe einfach mal angefordert und hoffe jetzt ganz dolle, dass ich zu den Glücklichen gehöre…
Sonnige Grüße – Irma
Reply
Jan B
| #
Gah! I just LOVE your videos, love watching you work. Amazing piece! (I’m loving your Acrylics class by the way…working through at my own pace and having fun playing with paint and color.) You’re SO inspiring! :)
Reply
Anne Porretta
| #
This looks like so much fun! I have lots of acrylic paint but not heavy body. Off to the store and off to creativity. Thanks for great post, Nathalie!
Reply
Catherine (scared of gold paint) Scanlon
| #
Simply amazing, I need to get some heavy body’s too…great video Nat!
Reply
Riikka
| #
Love <3
Reply
france papillon
| #
i’m in love. once more! girl your productivity amazes me!!!
one question: what surface are you working on? doesn’t seem to be paper…
off to get inky!!!
Reply
nathalie-kalbach
| #
I used a paper block for acrylic and gouache painting with 250g. It is block made for the art supply store in my hood. I love that it is still thin enough that you can use it in an artjournal- but total sturdy and it is adhered on all four sides to the block- so you have to cut it off, which prevents wrapping. Not sure which real paper company stands behind it.
Reply