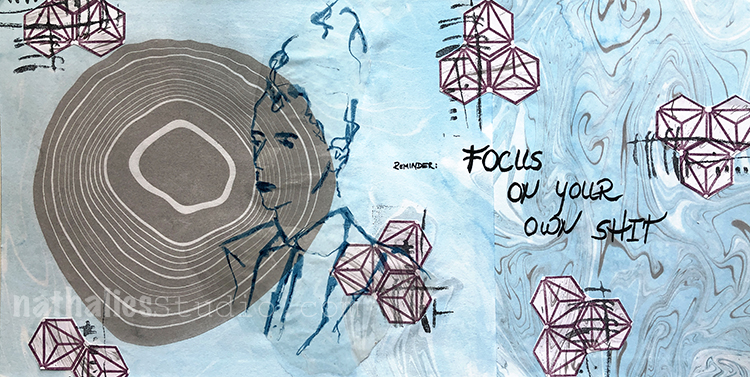
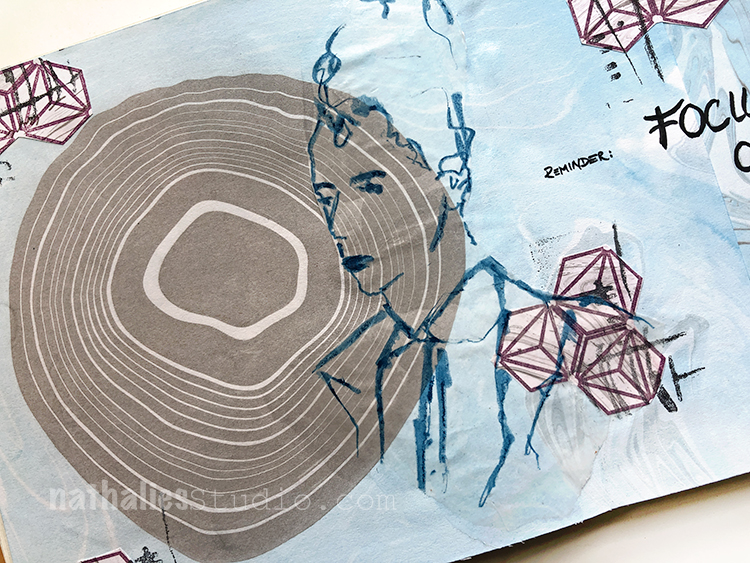
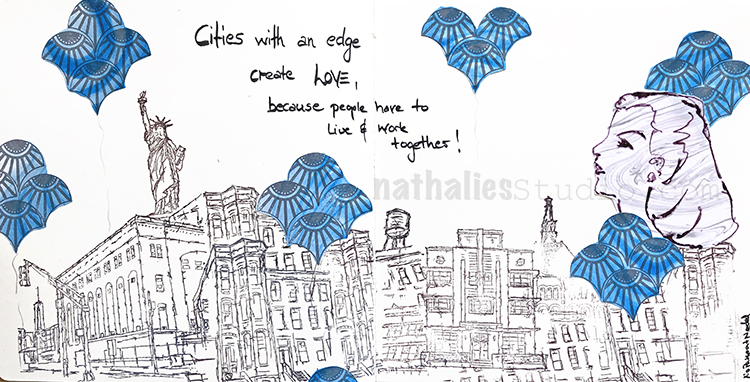
I used my Suminagahsi paper -and pasted two different sheets into my journal as the background. And I added a sketch on Deli paper.
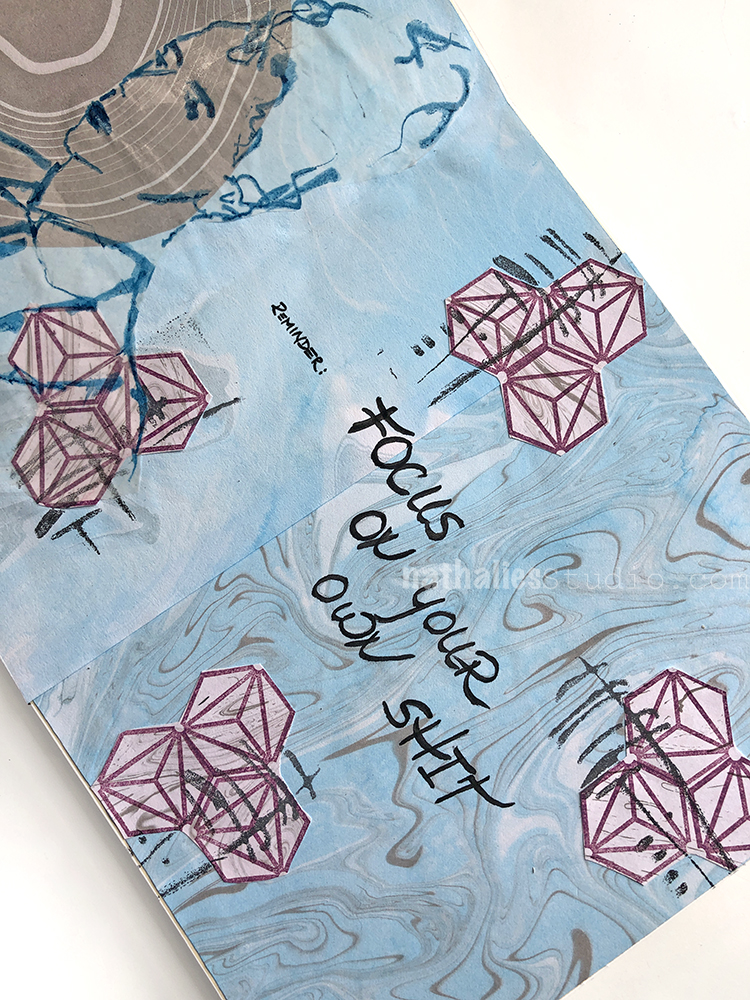
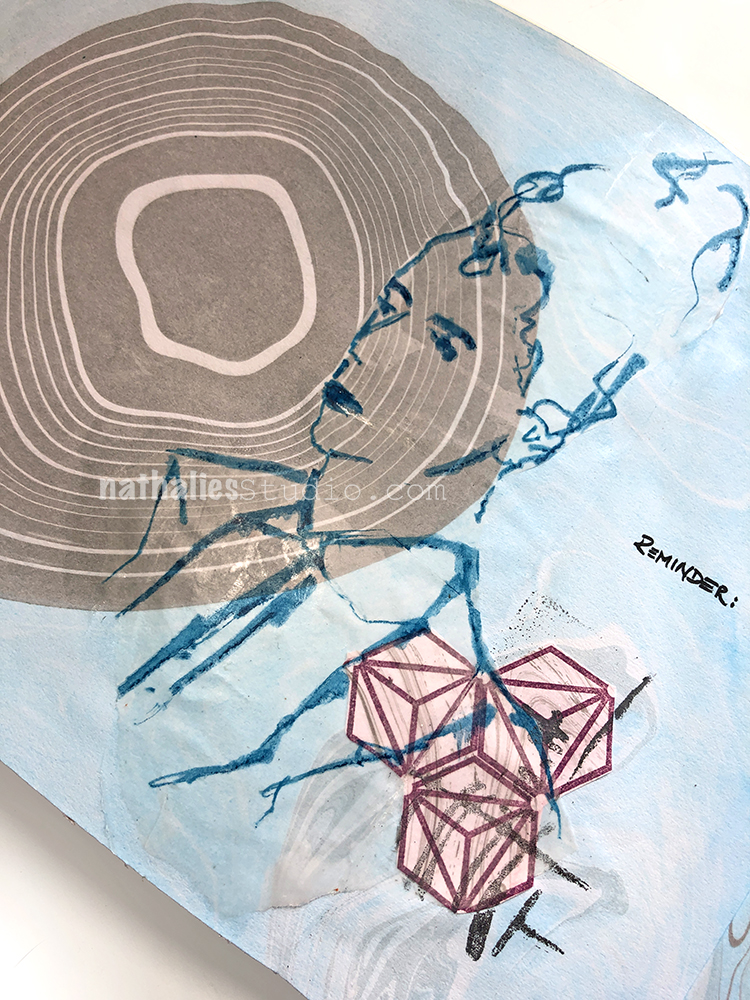
I stamped on one of the Suminagahsi papers with my Hex Small stamp and cut them out. After adding them to the page I also stamped my Gnarly foam stamp over top to tie everything together.
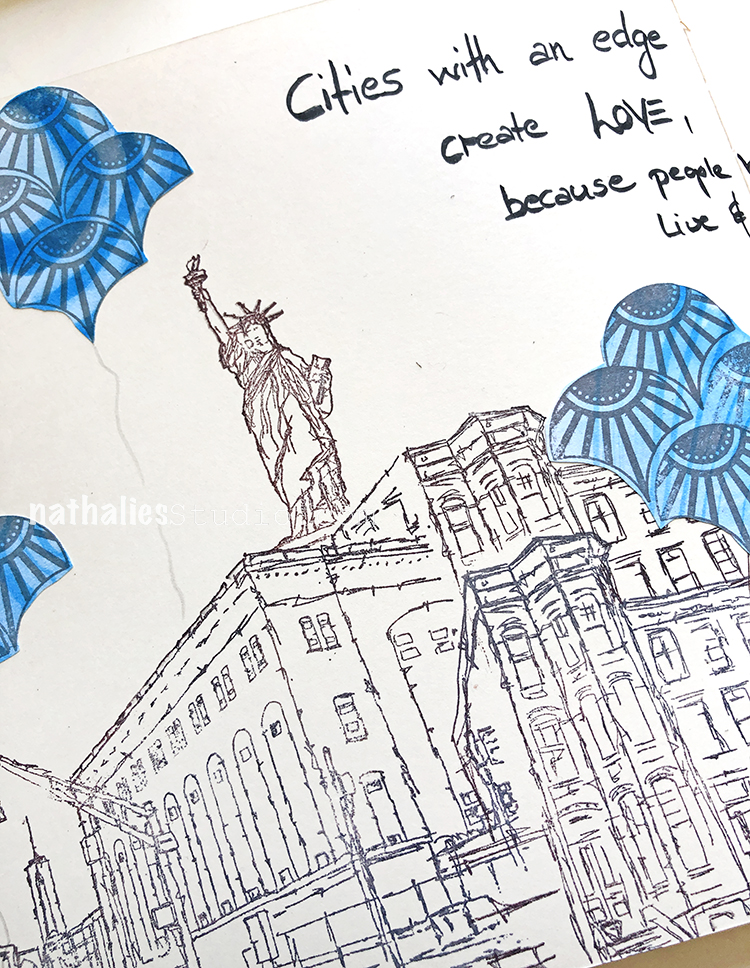
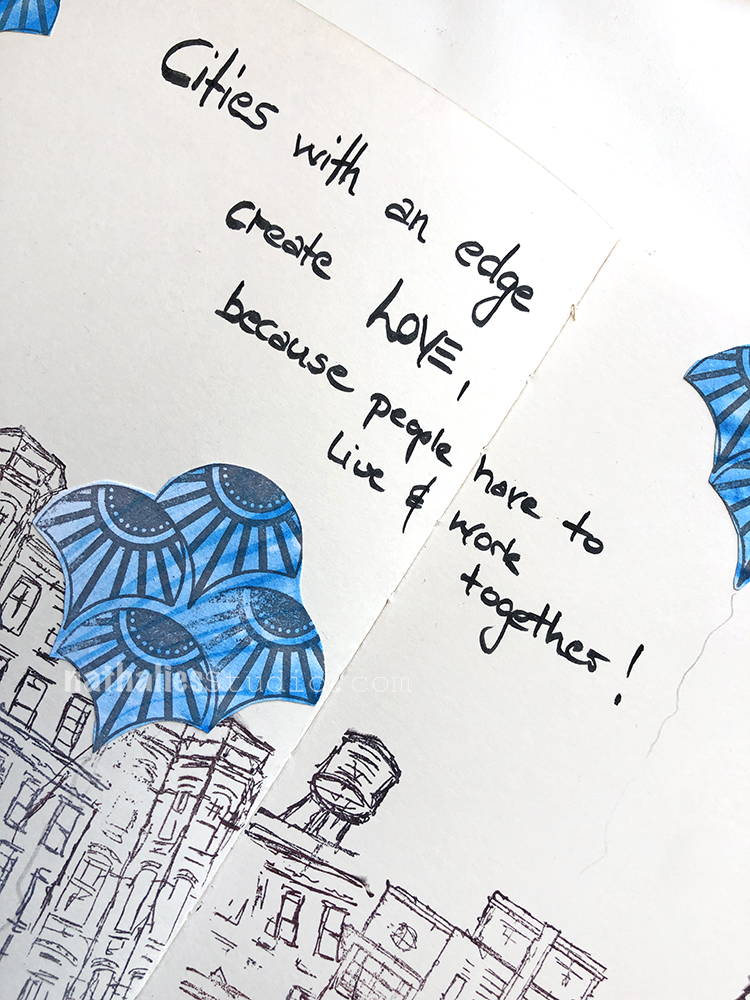
“Cities with an edge create love, because people have to live & work together!”
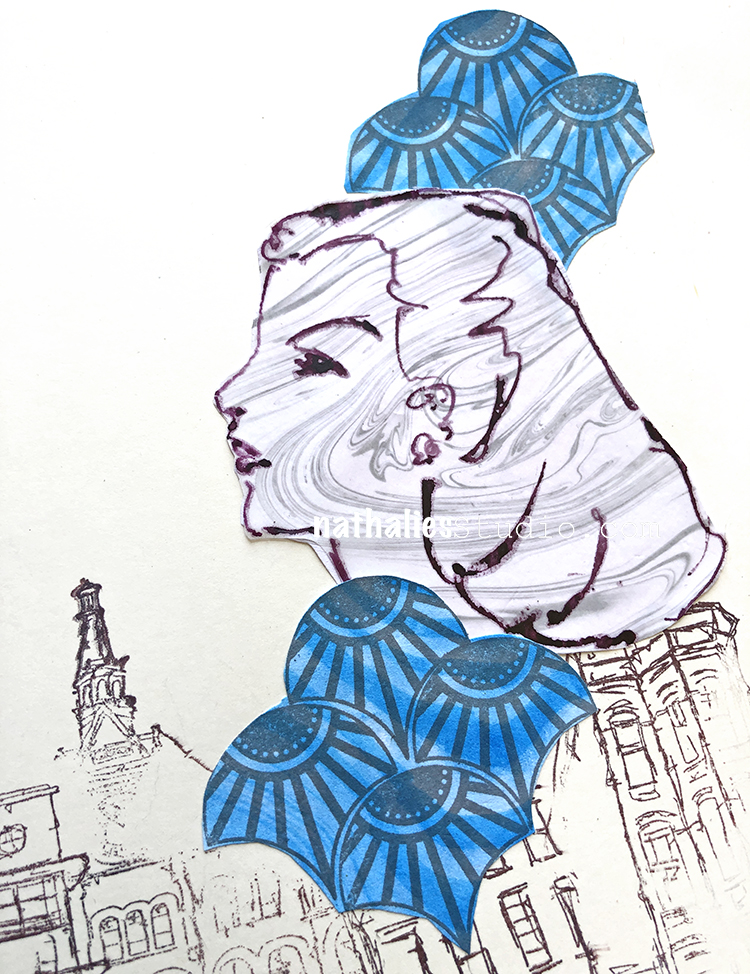
I used my suminagashi paper that I marbled for collage – both in the figure and in the blue “balloons” that I stamped with my Fan-tastic Small rubber stamps.
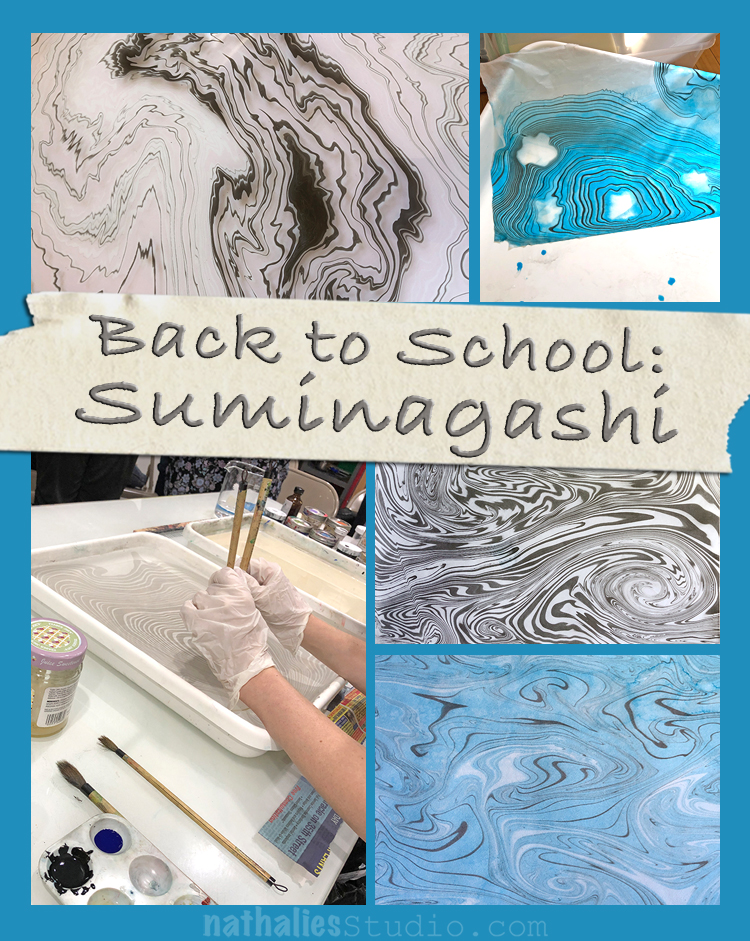
A couple weeks ago Kim and I went to a lecture about Marbling Paper at Kremer Pigments in NYC. It was a great lecture by Sarah Oppenheimer and I learned a ton.
While I love the Western style of paper marbling I was totally taken by Suminagashi – which is the Japanese paper marbling technique where you basically float sumi ink on top of water.
We couldn’t try the technique ourself since it was a lecture and demo but I knew I had to try this at home.
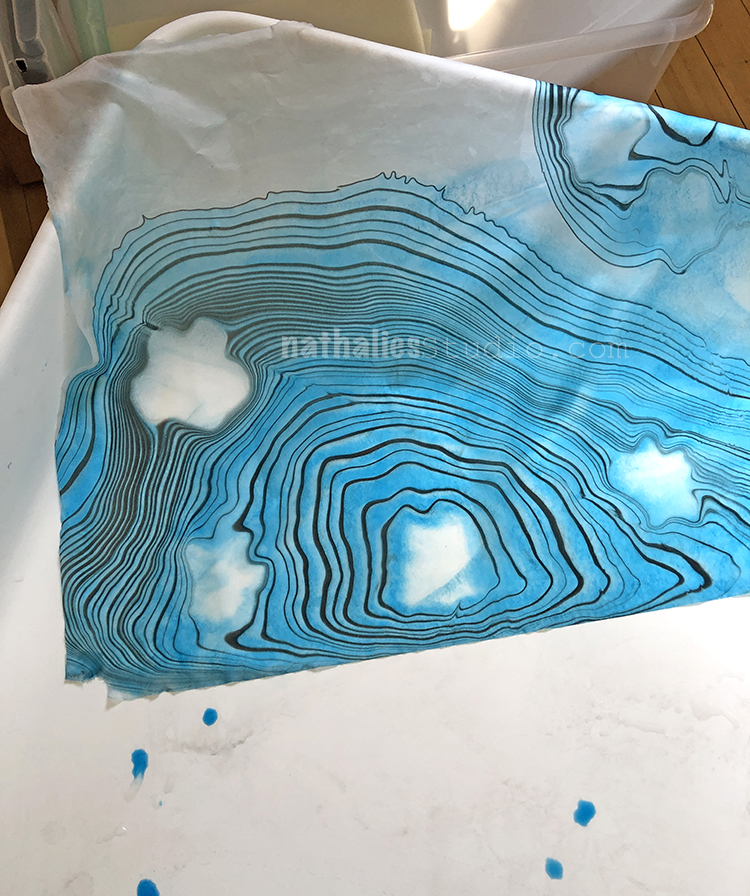
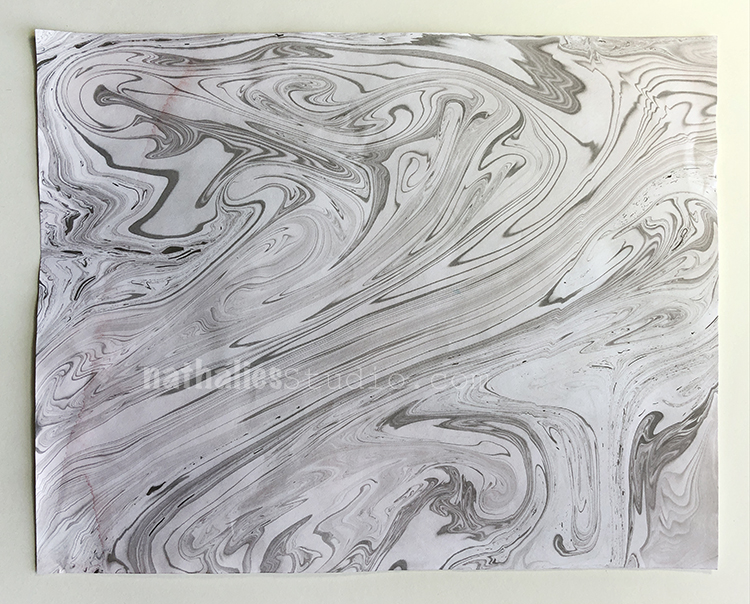
The pictures you see – starting with the one above are all from my second try. The first try was a total disaster and I didn’t take photos because basically I just used “bad words” and tried to figure out what was going on. My ink would mostly blob to the bottom of the container , the ink would just run off my paper …water everywhere- ink everywhere – you get the picture.
But ..of course I wouldn’t give up – after some digging for information of what possibly could have gone wrong and some research and reading I was ready for the second try and that was wayyyyy better.
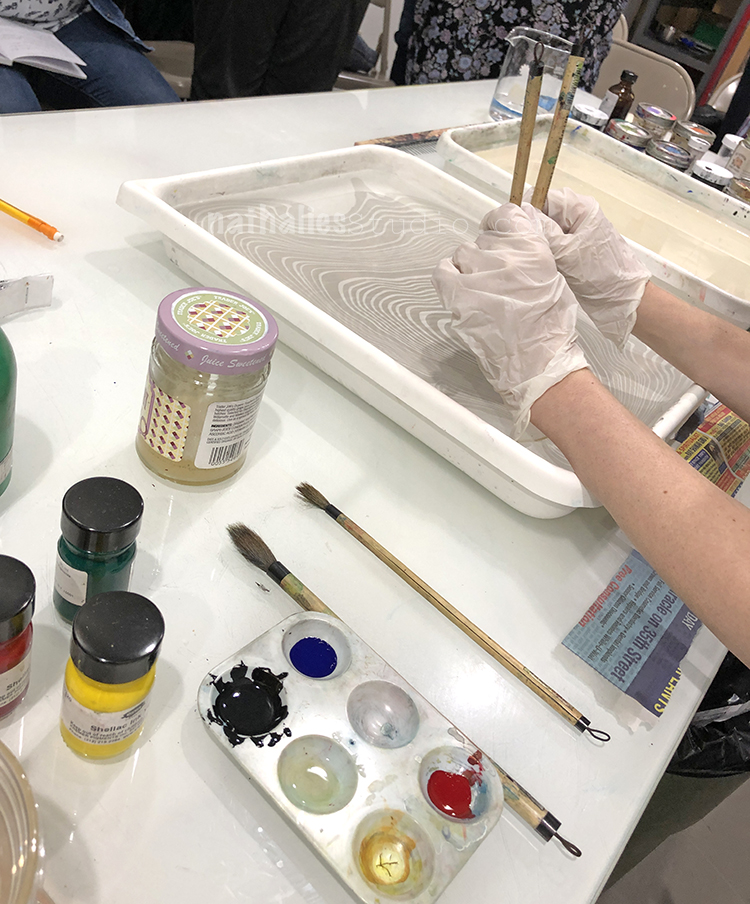
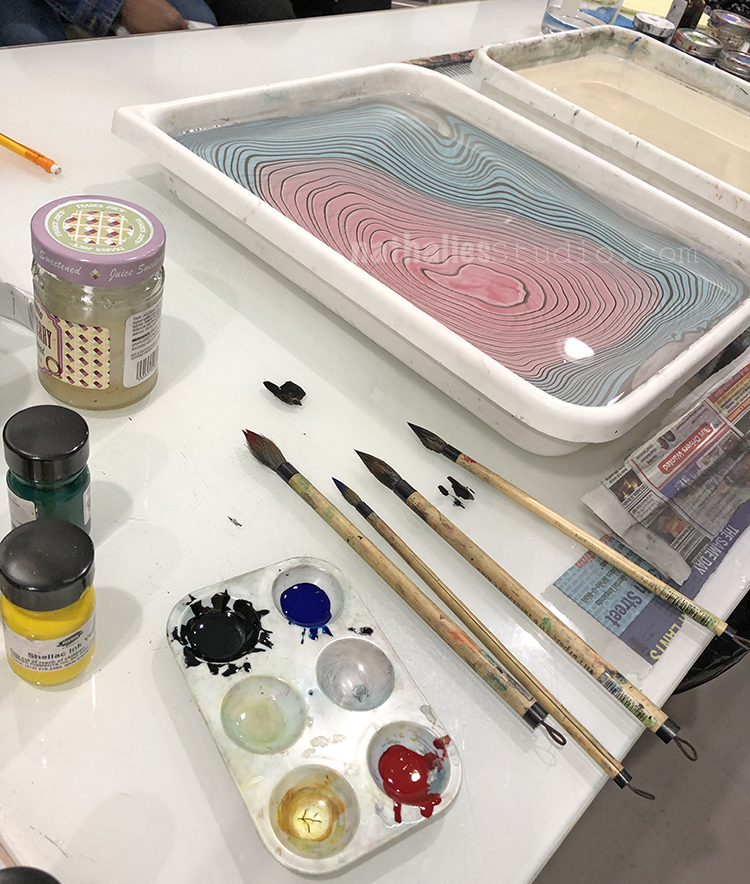
For this second trial I used Sumi Ink – which is the black ink you see in the pictures as well as some Shellac Inks by Kremer Pigments. You also need a surfactant (which can be watercolor medium, dishwash soap, a marbling surfactant, soap nut ….and it is a trial and error to see how well they work) and two or more Sumi brushes. The problems of my first trial were a mixture of wrong surfactant and also dipping the brushes way too far into the water.
Basically you start with for example two or three brushes- here in the picture above you see a sample where I worked with three brushes . One will be dipped into the surfactant and the other ones in ink. Then you patiently dip just the very tip of the brush onto the water surface and alternate between the brushes – meaning between the colors and the surfactant.
At some point you will have tons of rings on your water surface and you can then either manipulate the “design” with some “wind” – meaning carefully blowing the surface or using a hair of your scalp to go through it. Then you lay paper -preferably washi paper on top of the surface and slowly pull it off.
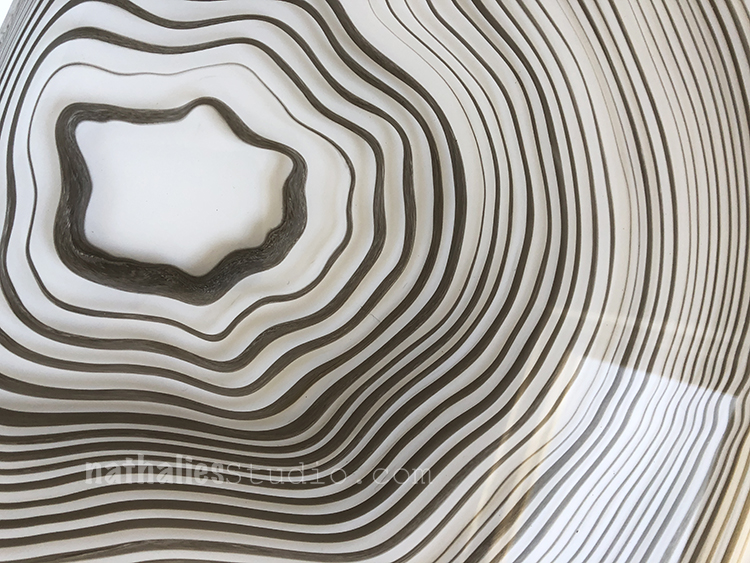
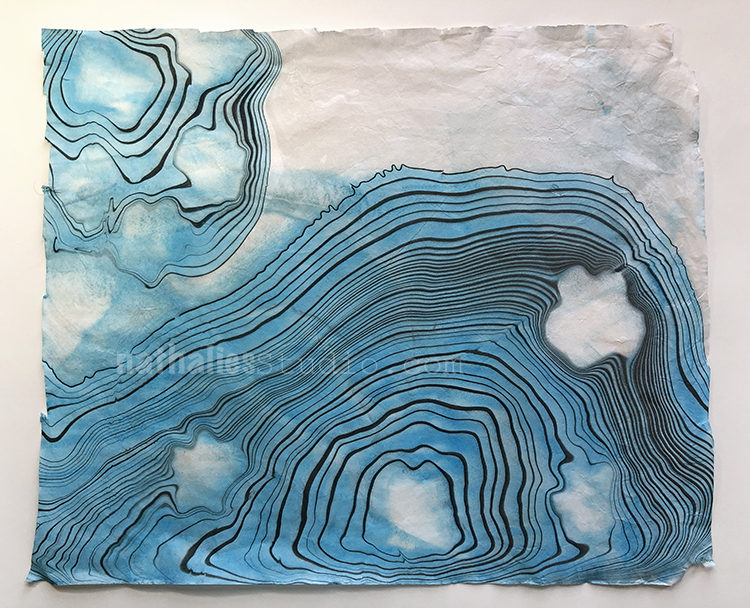
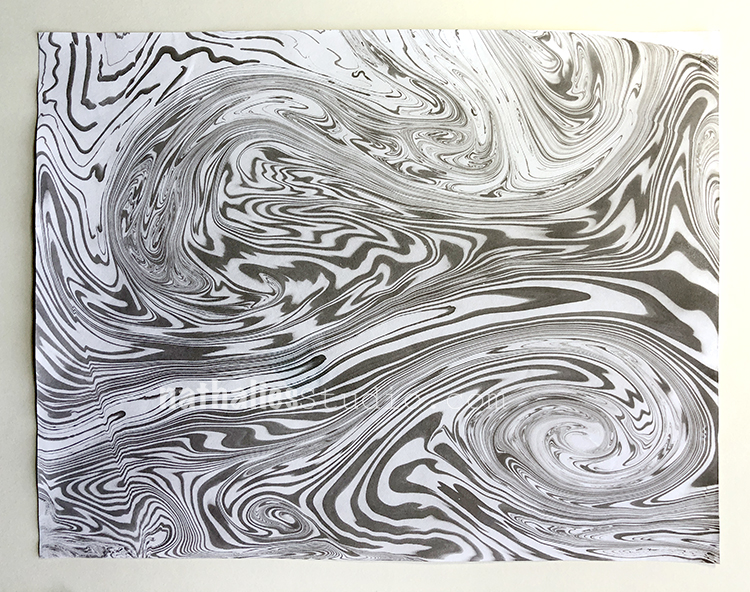
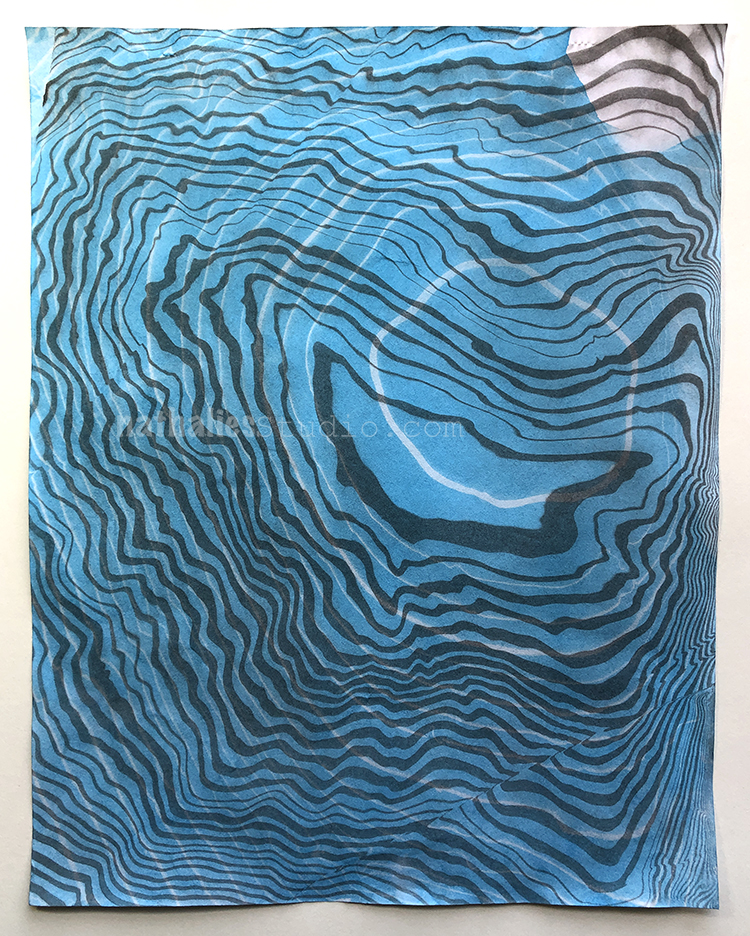
Does that sound stressful to you? LOL- not at all- all good. The washi paper as the one above was my favorite result but also the most complicated to handle. Taking it off of the water and not ripping it – not folding it and just handle it in any normal way was sooo tough – little bit of stress here …but I think next time and with more practice that will work well. Having some non-washi paper on hand definitely helped.
Look at the gorgeous pattern and the texture of the washi paper- I cannot wait to use this as collage paper but that will take a bit hahahah- I need to pet it a bit more before i can let go ;)
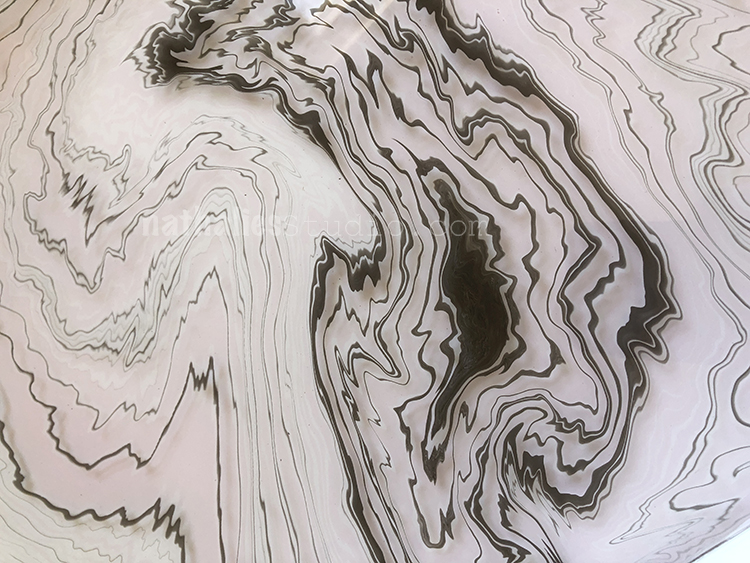
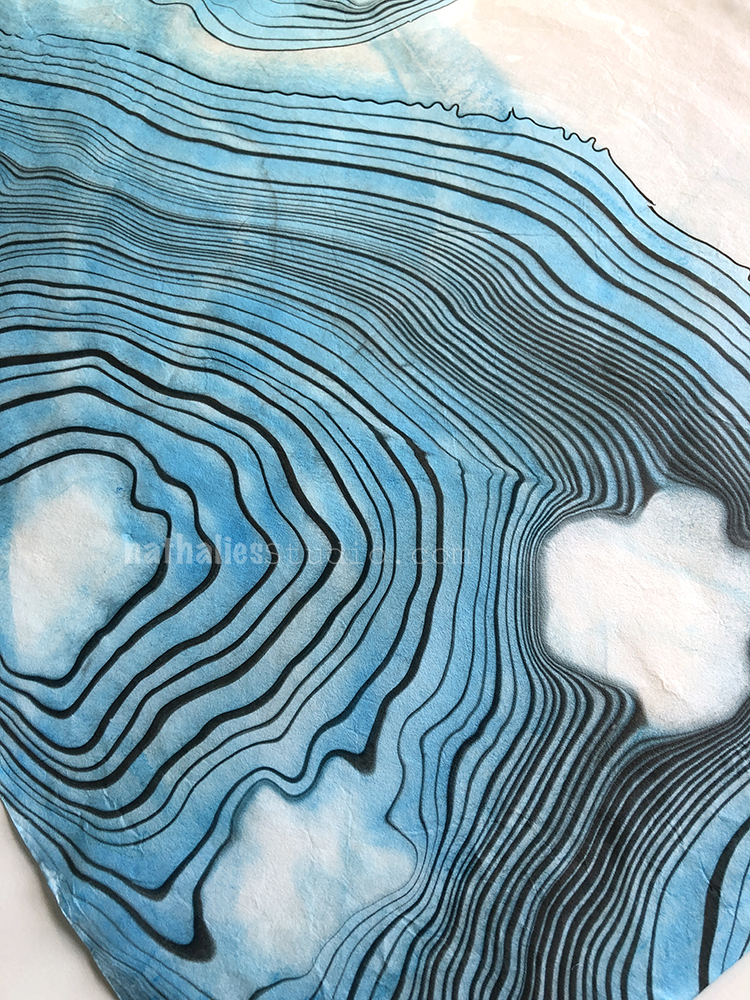
The one above was after I blew onto the surface before adding the paper on top – I love how the rings just went nuts and zig-zaggy . BTW this was done with red and black ink. The colors will always be very very washed out and muted, which is the charm of this. For me this creates so many opportunities to incorporate the paper into my artwork without being overpowering.
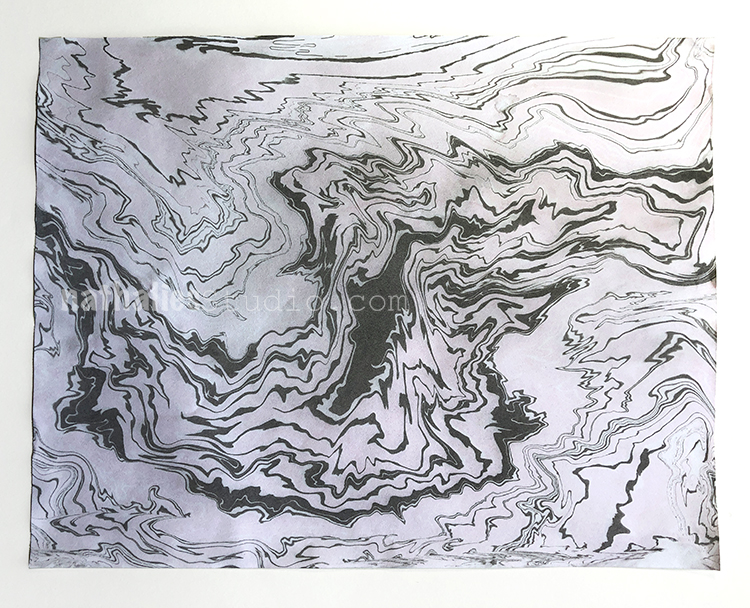
For this one above I used a hair of mine and swirled it through. Apparently the oil on your hair makes sure that the rings won’t get interrupted as it would if you would use something else like a comb – but don’t quote me on this- I haven’t tried a ton yet because I first wanted to get a feel of how things work …without having the ink coming off the paper or just sitting in the bottom of the tray.
It was so much fun and I love the couple papers I made with my first sitting. I could have done way more papers but the problem was basically space – next time I def. have to set myself a bit better up – close to the sink and also with some better space for the paper to dry.
I would also love to try some other colors and actually also different inks- for example also acrylic inks. I am not sure if it will work but hey – that doesn’t stop me ;)
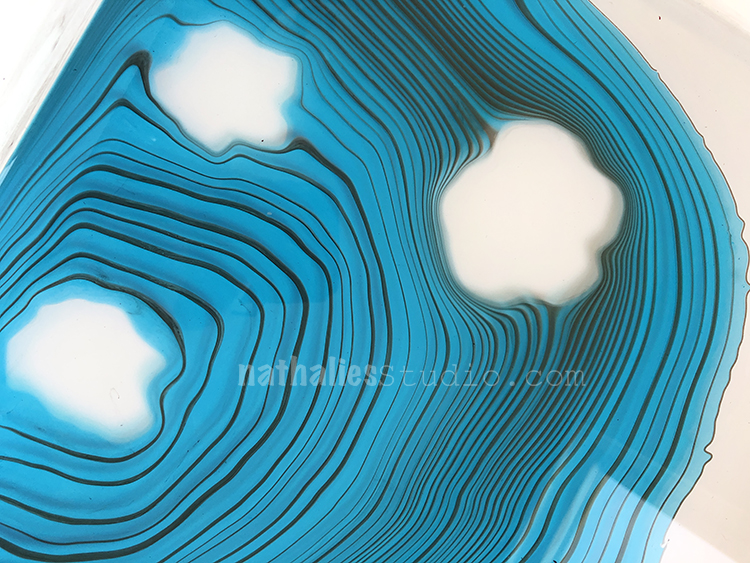
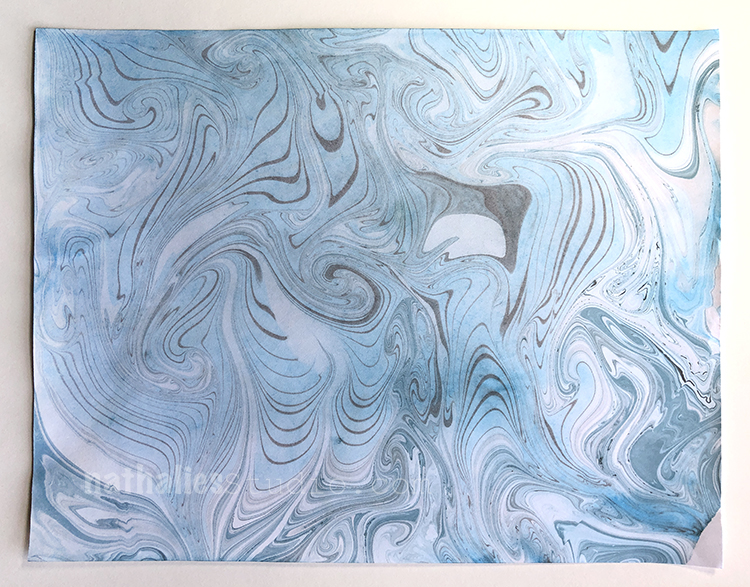
The blue came out quite nice
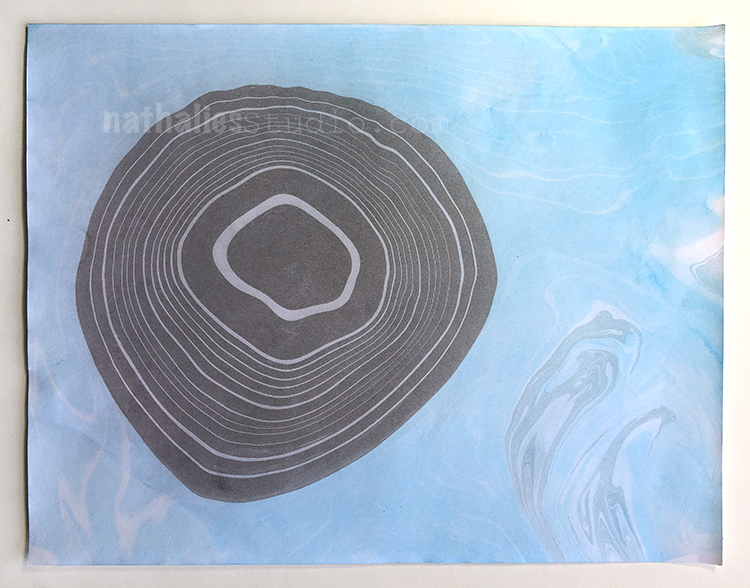
And then this one – I pulled the blue ones on the top and then instead of cleaning and skimming the water right away I added some black ink with surfactant and then printed again – I love the result.
The one on top is a layered print – first I printed black and white and then blue and white on top . I love it- but have to practice this also a bit more to get some better prints.
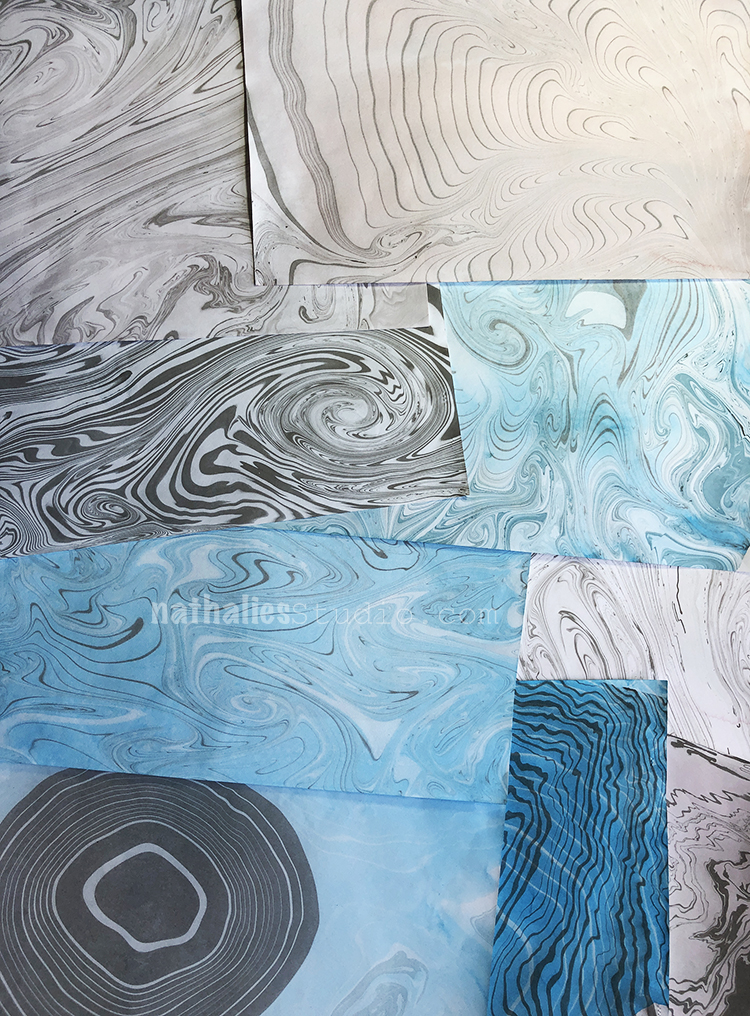
And there you go – a pile of paper that I love. I cannot wait to do this again. If you want to try it yourself find different videos about Suminagashi – and start maybe with a small container and dishwasher soap and see if it works – It seems to be quite a trial and error if you do not want to dive right away in the “traditional right way” but I have to say – I enjoy that journey because that gives me the possibility to adjust to my own needs and to what I have.
I cannot wait to show you some art journal spreads I used them for.
Do you like those prints and how could you see yourself using them?
Nathalie, this is so cool. Did you do some journaling with them? Also did you ever try acrylic inks. I just saw this post recently and am intrigued. I have tried marveled paper but never this.
I love that you have documented your experiences so well. I would love to see an update . Surely you’ve had lots of practice since . Where did you get those lovely white trays that you are working in.. seems so much better than the clear plastic bins that I have been using…
Nat, I loved your papers.. I have done suminigashi before and here are some suggestions: PAPER-Masa and Canson’s Mi Tientes work well. You can get both at Dick Blick. To dry your paper try blotting your print (don’t rub, blot) with paper towels with no pattern on it like Viva or blotter paper. Your print will dry in about 15 minutes if you blot it first. INK-acrylic inks will not work with plain water. You must use a thickened water like for regular marbling and you must put a mordant on the paper to make it stick. You can use printer’s ink or India ink but you will need to thin it with a dispersant. A good source for Sumi ink in colors is a small kit you can get either at Dick Blick or Amazon. Search for Suminagashi and the kit should appear. Blick also has a nice tutorial on their web site. Hope these tips help and have fun with suminagashi.


Nathalie, this is so cool. Did you do some journaling with them? Also did you ever try acrylic inks. I just saw this post recently and am intrigued. I have tried marveled paper but never this.
Reply