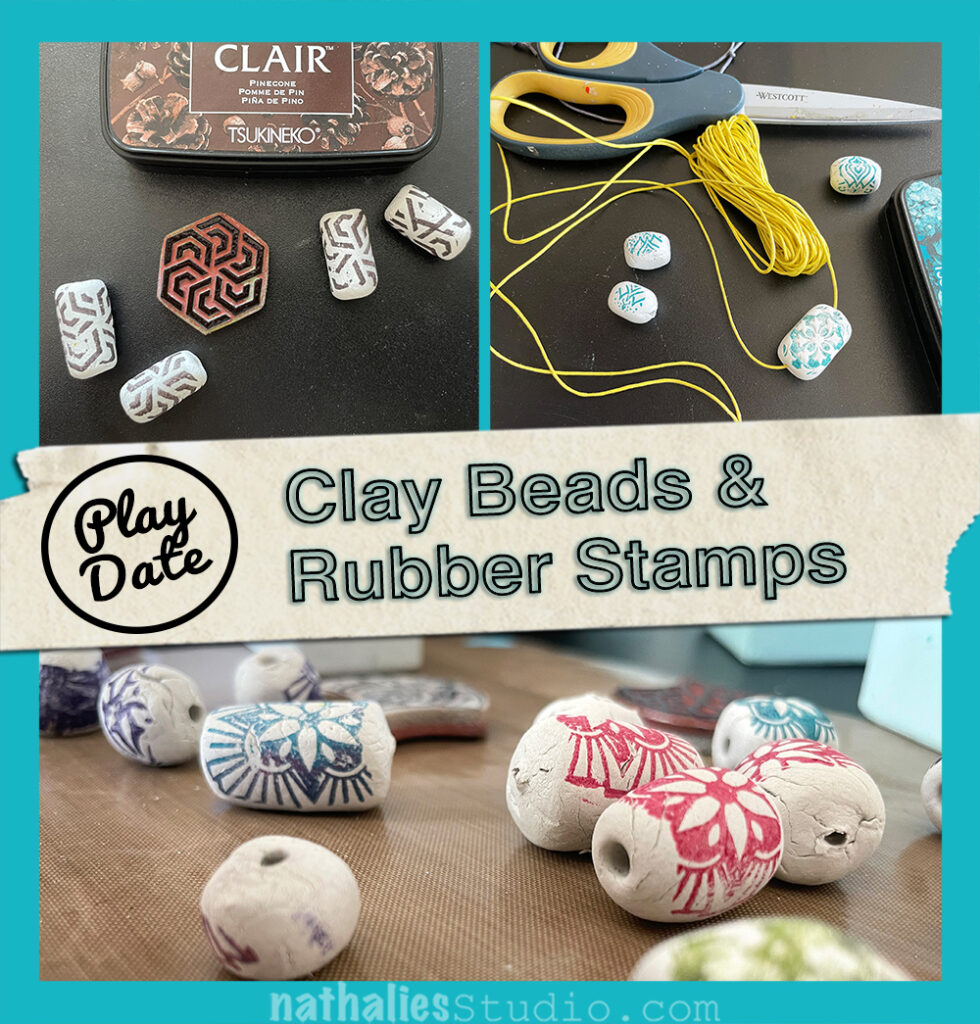
Last month I had a few old friends visit from Germany so Kim and I scheduled our play date with one of my guests: Sandra! We knew she would have fun with it as she teaches art classes and is always looking for inspo herself. So we set up a big table where we could all sit, poured ourselves some coffee and even had a little plate of treats too. It was great to get together and create, gab, and LAUGH :)
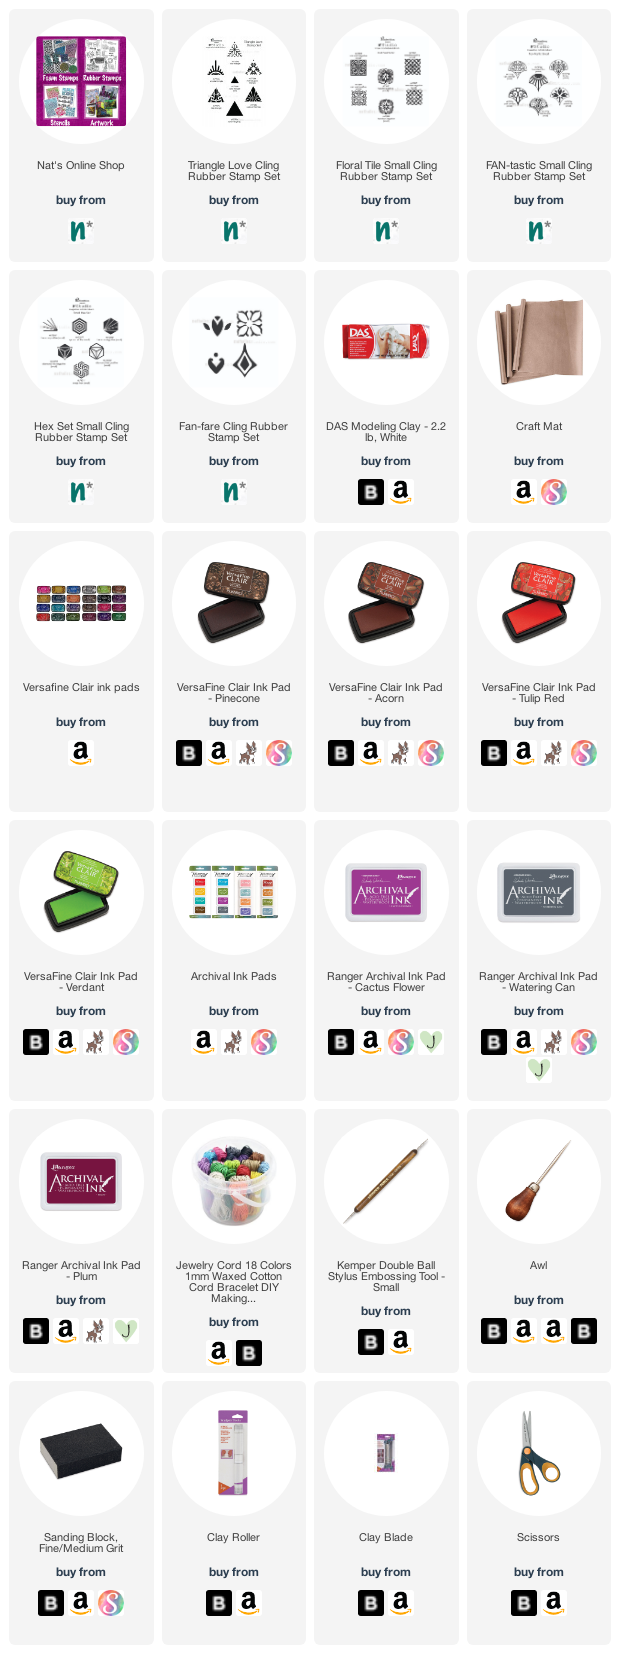
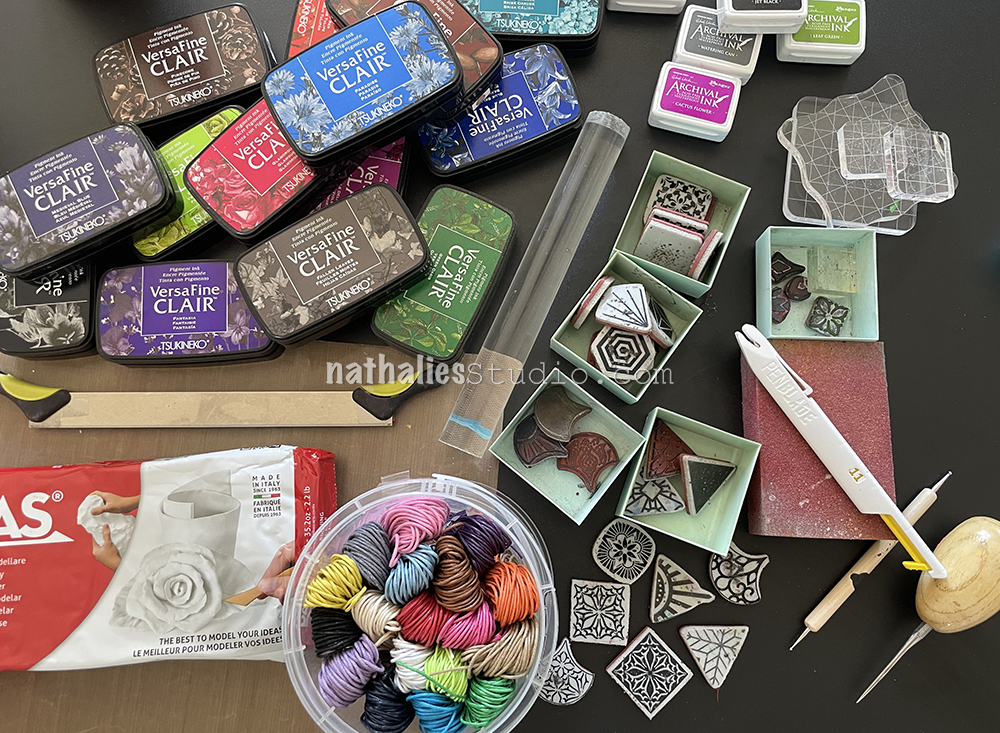
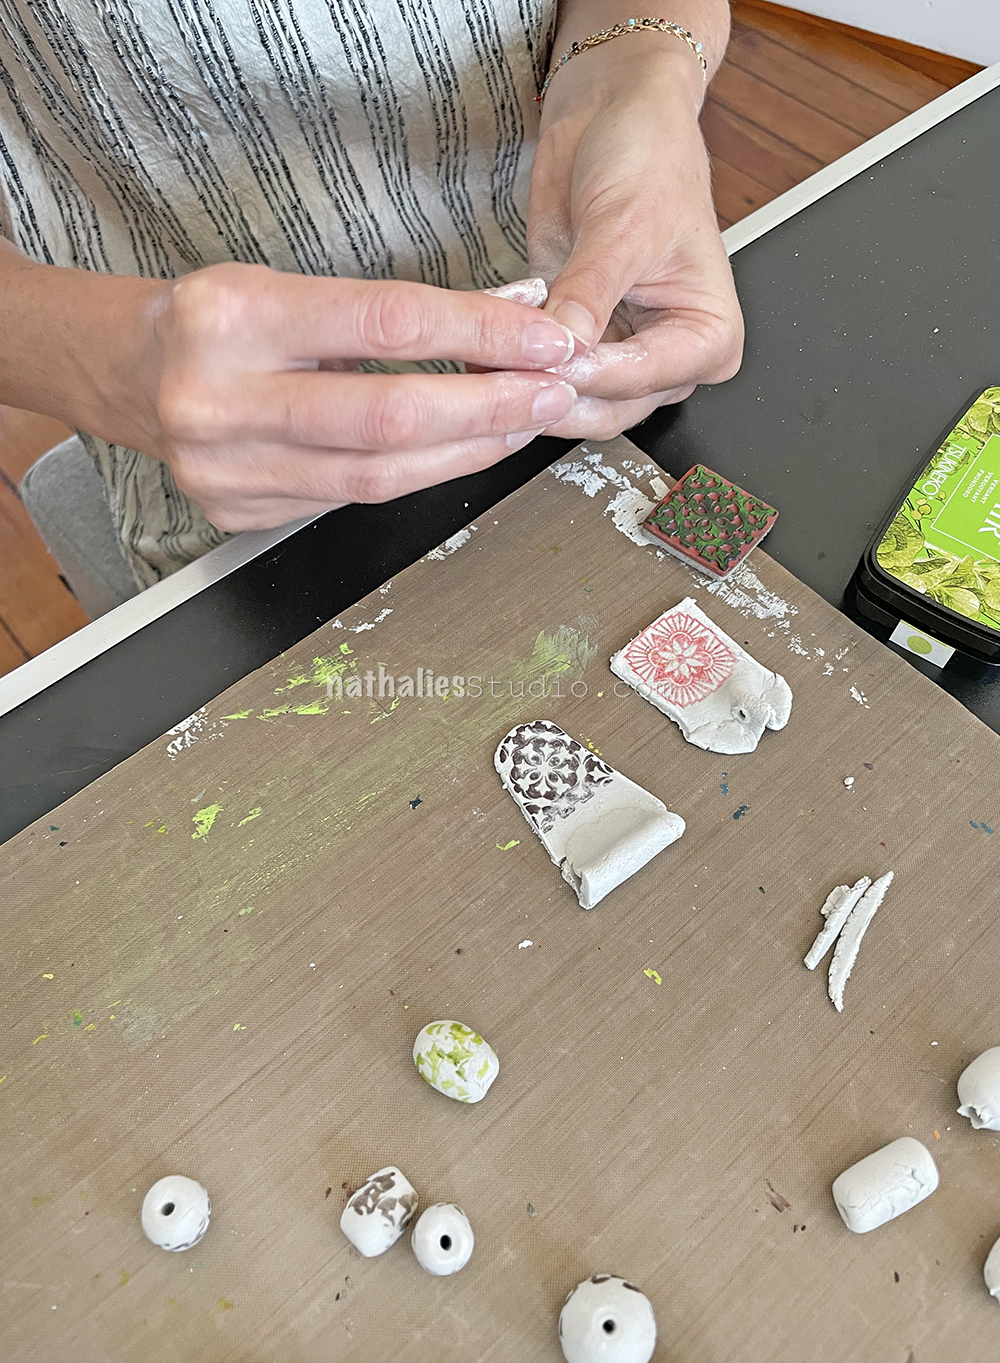
Our project was to make air dry clay beads, decorate them with my rubber stamps, and then string them to create funky necklaces. Wanna play along? You will need: air dry clay, jewelry cord, rubber stamps (small patterns work great for these), a selection of ink pads, an awl (or toothpick/ball tool/tapestry needle) to make holes, a small rolling pin, a clay cutting knife, a sanding block, scissors, and a craft sheet.
Working on the craft sheet we created some plain beads. Round, oval, barrel, square sided etc are all easy to do. Make a bunch!
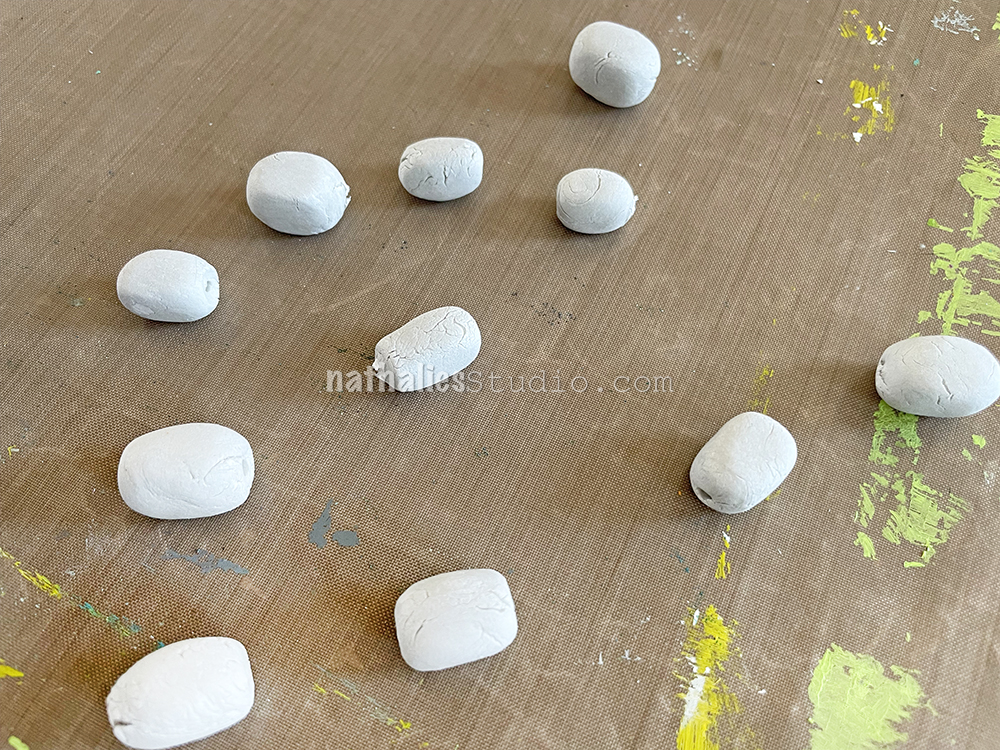
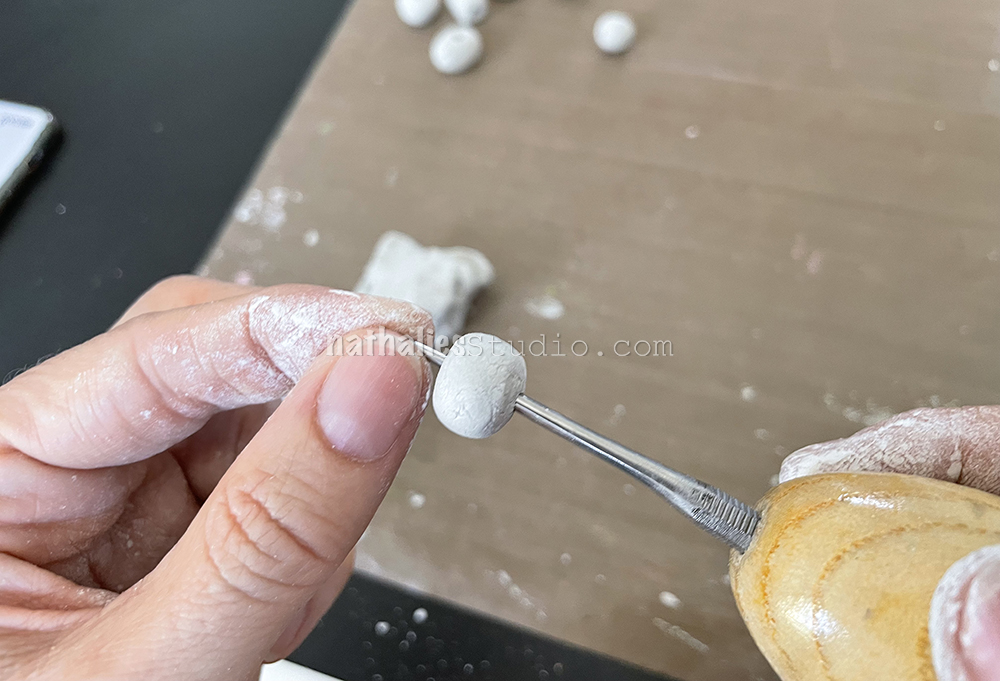
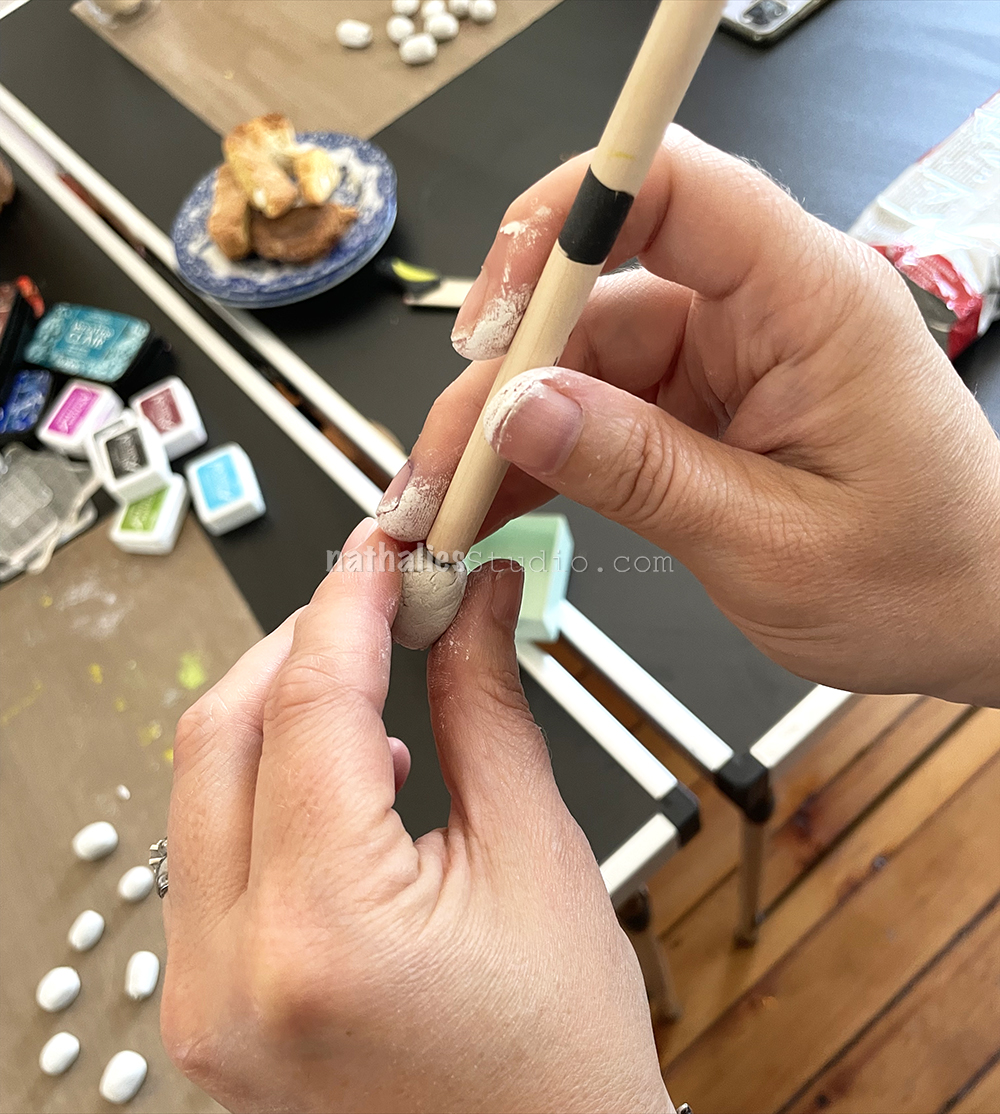
Before they get too dry, poke a hole in them that is big enough for whatever cord you have. We used an awl to poke the holes and then a ball tipped tool to make the ends a bit nicer. You could use a skewer or toothpick or even a heavy tapestry needle to make your holes. Then it is time to let them dry.
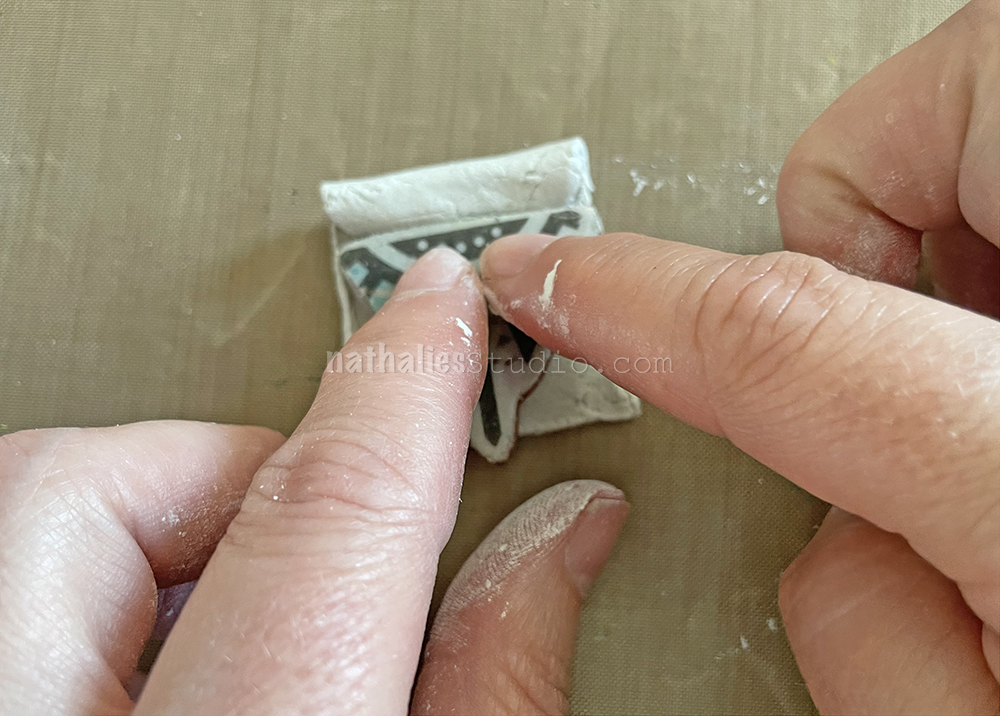
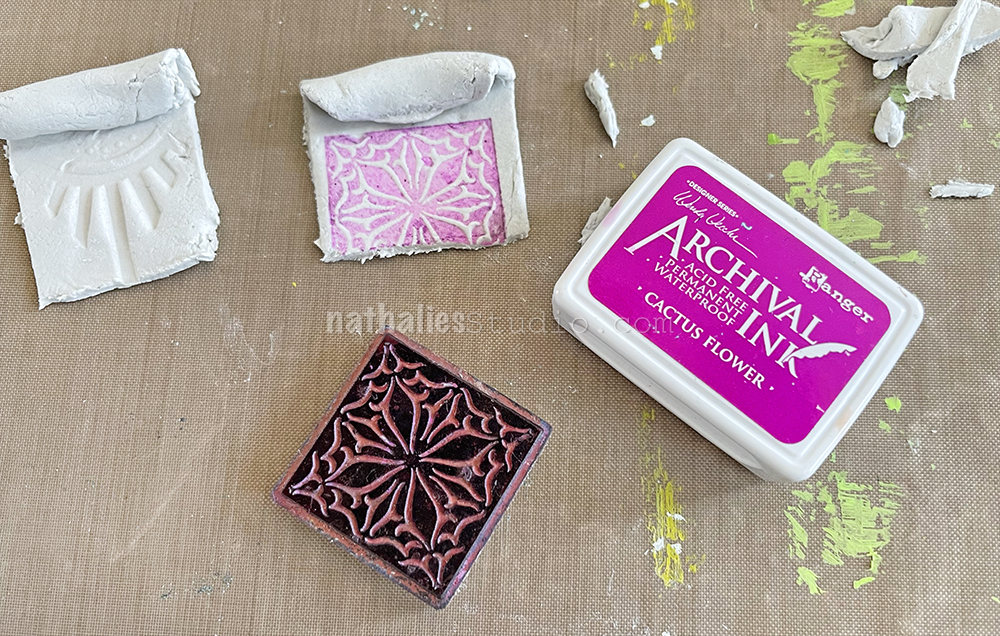
We also experimented with rolling out the clay to create larger pendent pieces with a rolled top edge.
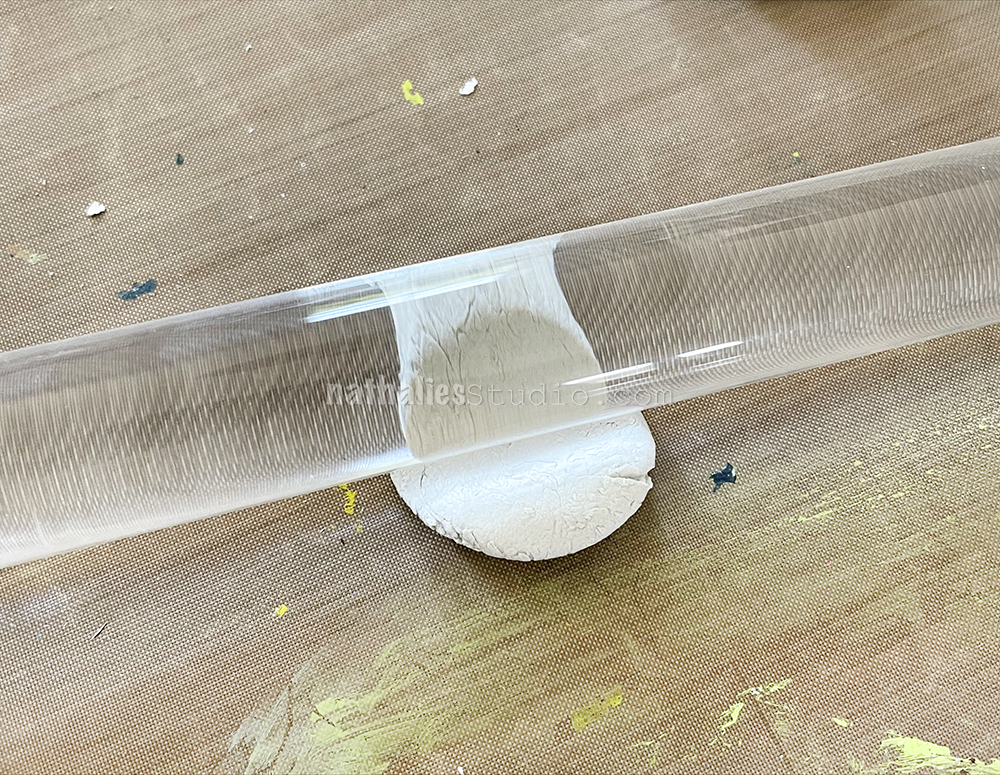
This was trickier to do and if your clay dries out, the edges get a bit rough. You could use a clay blade to clean up the edges or a wet finger to smooth things out.
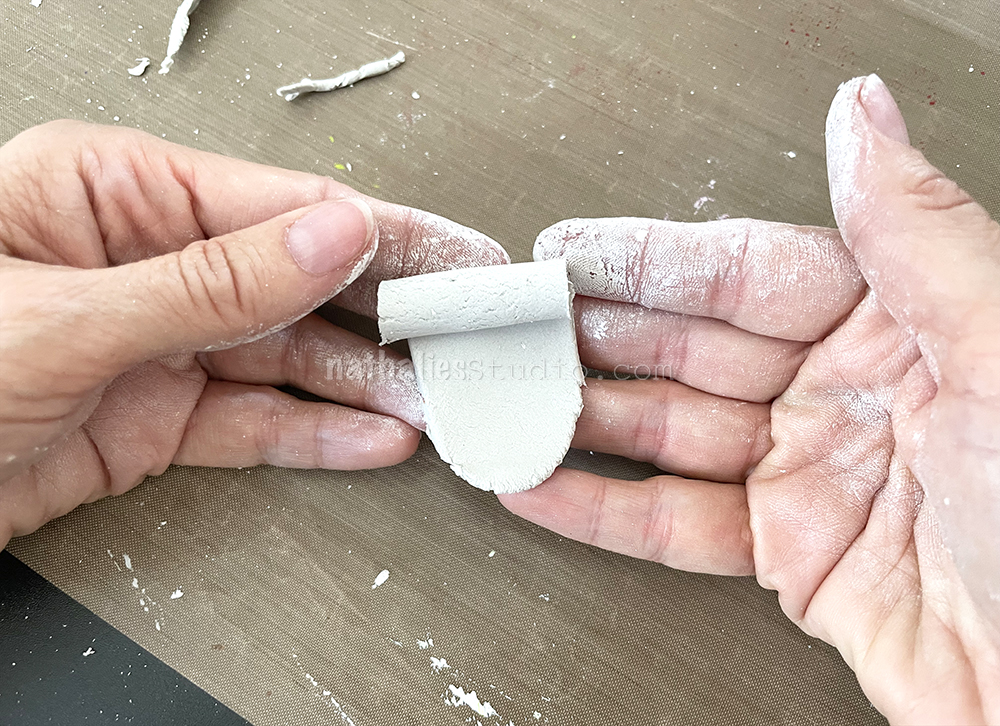
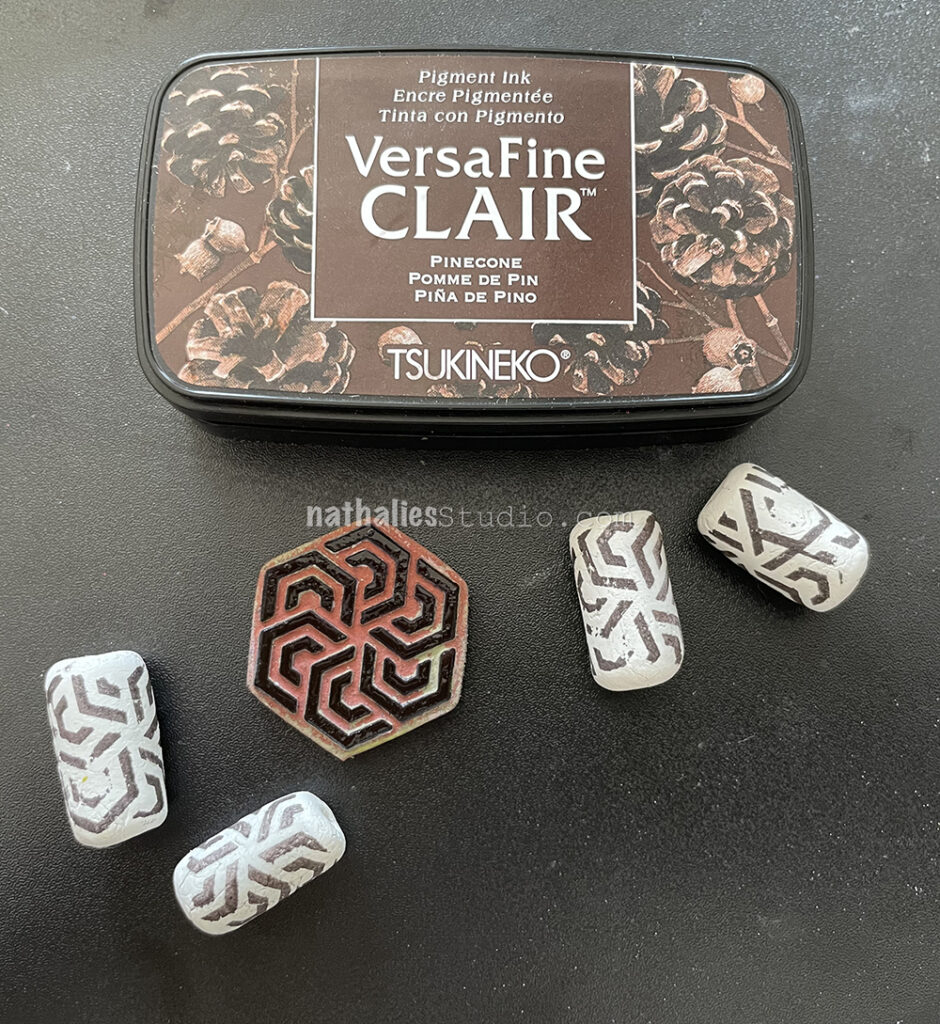
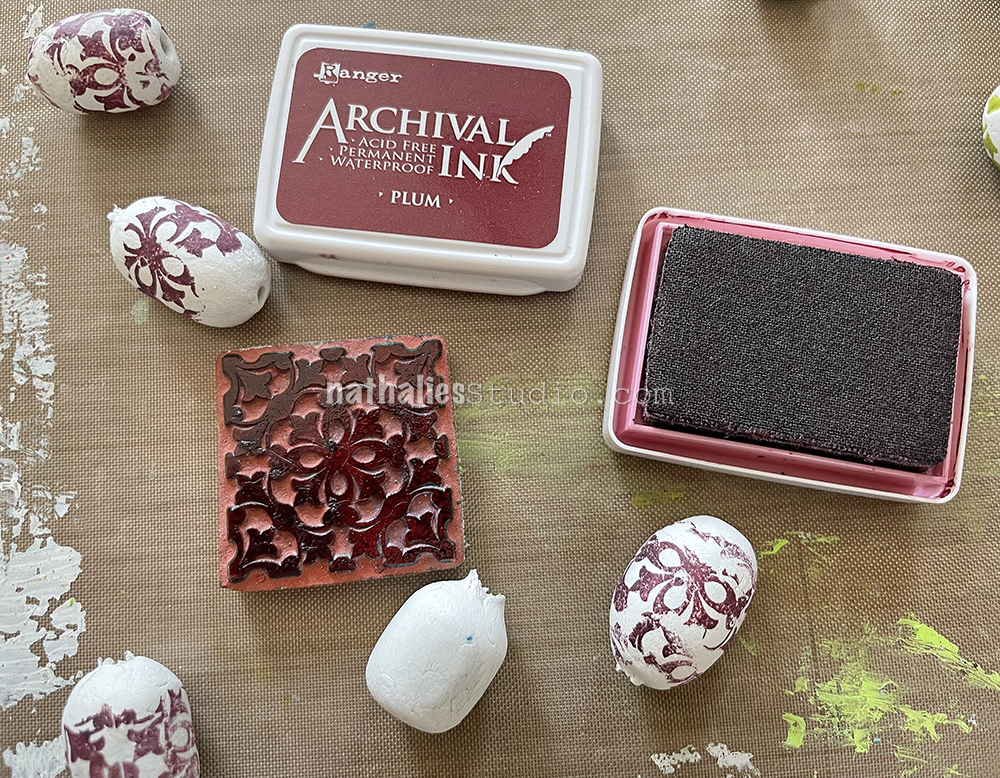
The idea is to create a flat surface to stamp on. We played with both my Triangle Love and Floral Tile Small stamp sets and used both Archival and Versafine Clair ink pads. You want an ink that dries permanent. We stamped into the still pliable clay, creating a small amount of relief too.
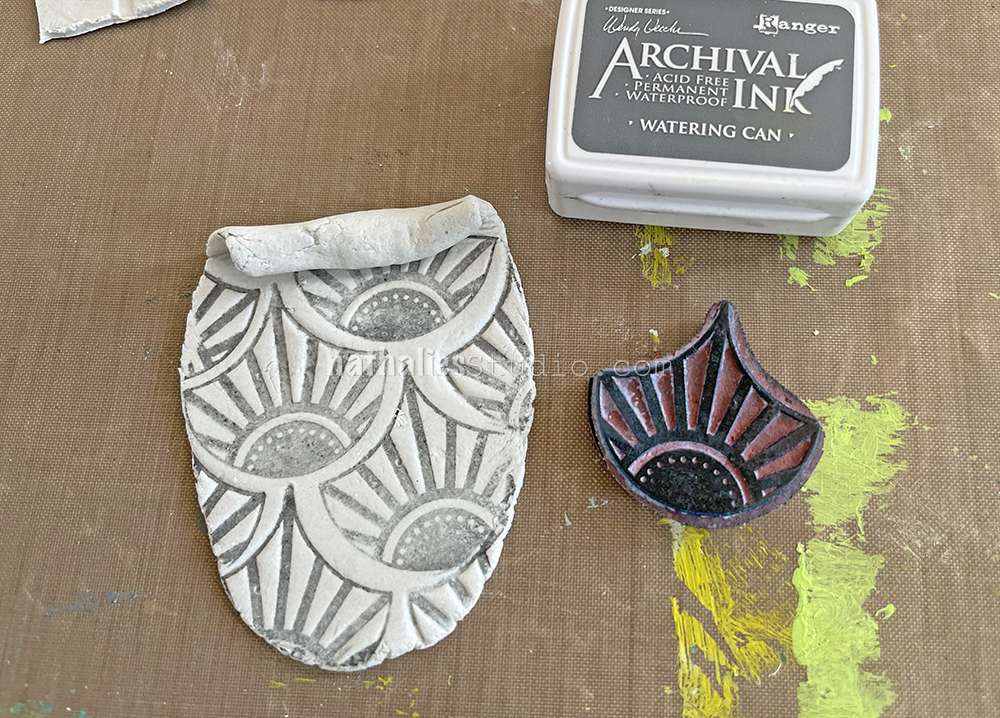
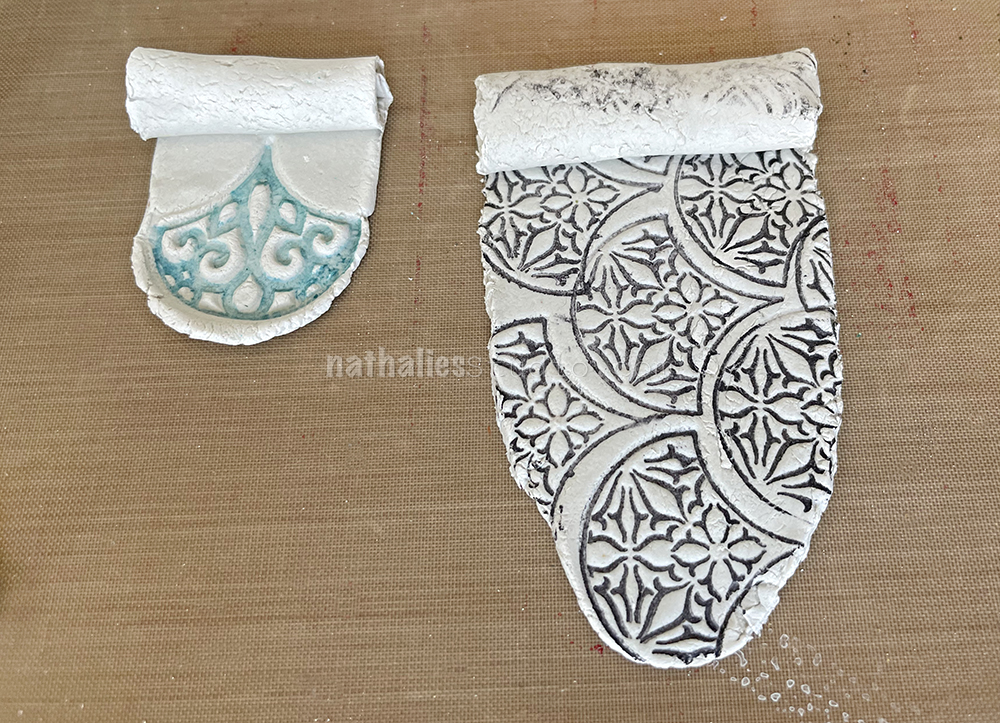
You can go pretty big with these and then use a stamp like my Fantastic Small set to tile up an allover design.
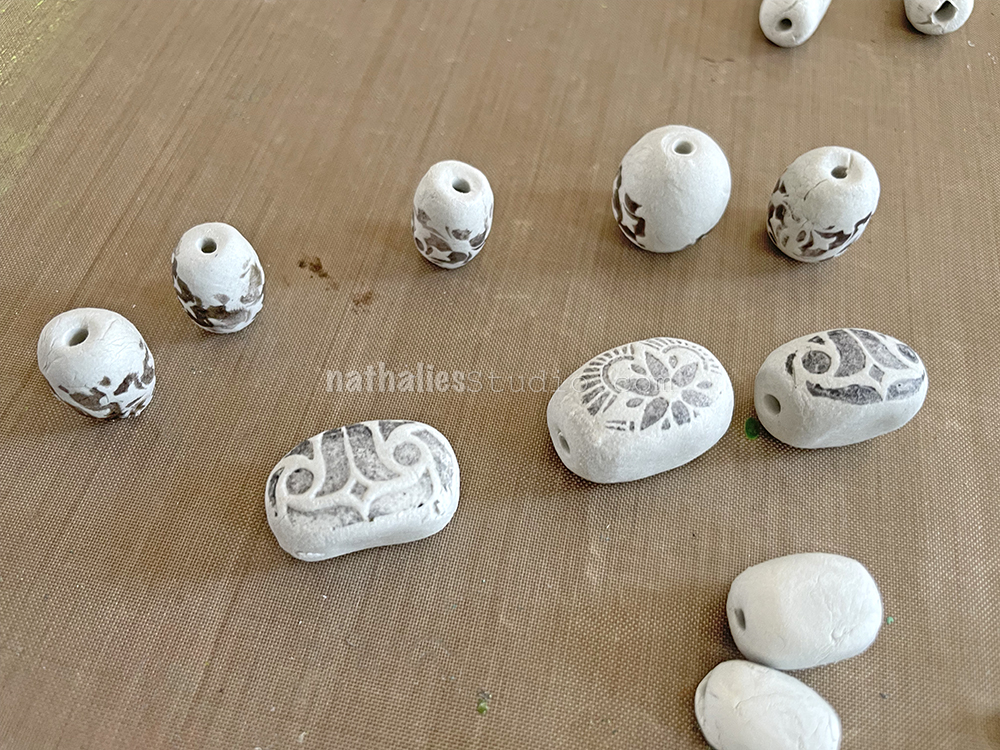
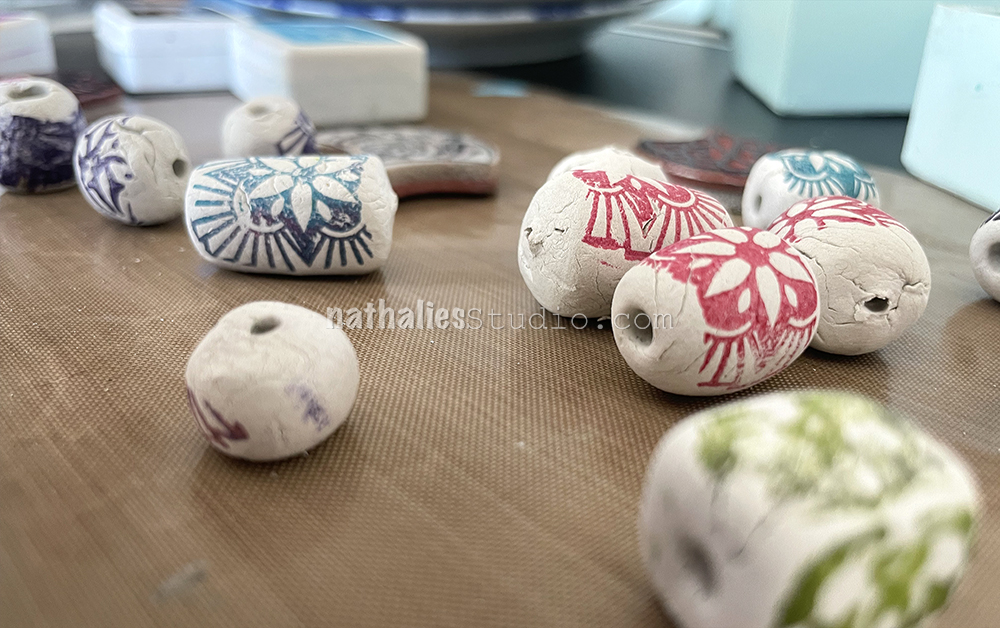
When our plain beads dried, it was time to stamp on them. Barrel shaped beads can just be rolled across an inked stamp. Here a stamp from my Hex Set Small creates a cool geometric feel.
A stamp from my Floral Tile Small set adds a bit of abstract floral design to oval beads. They don’t need to be perfect impressions to create a cool look.
With three people making we created a big variety of beads.
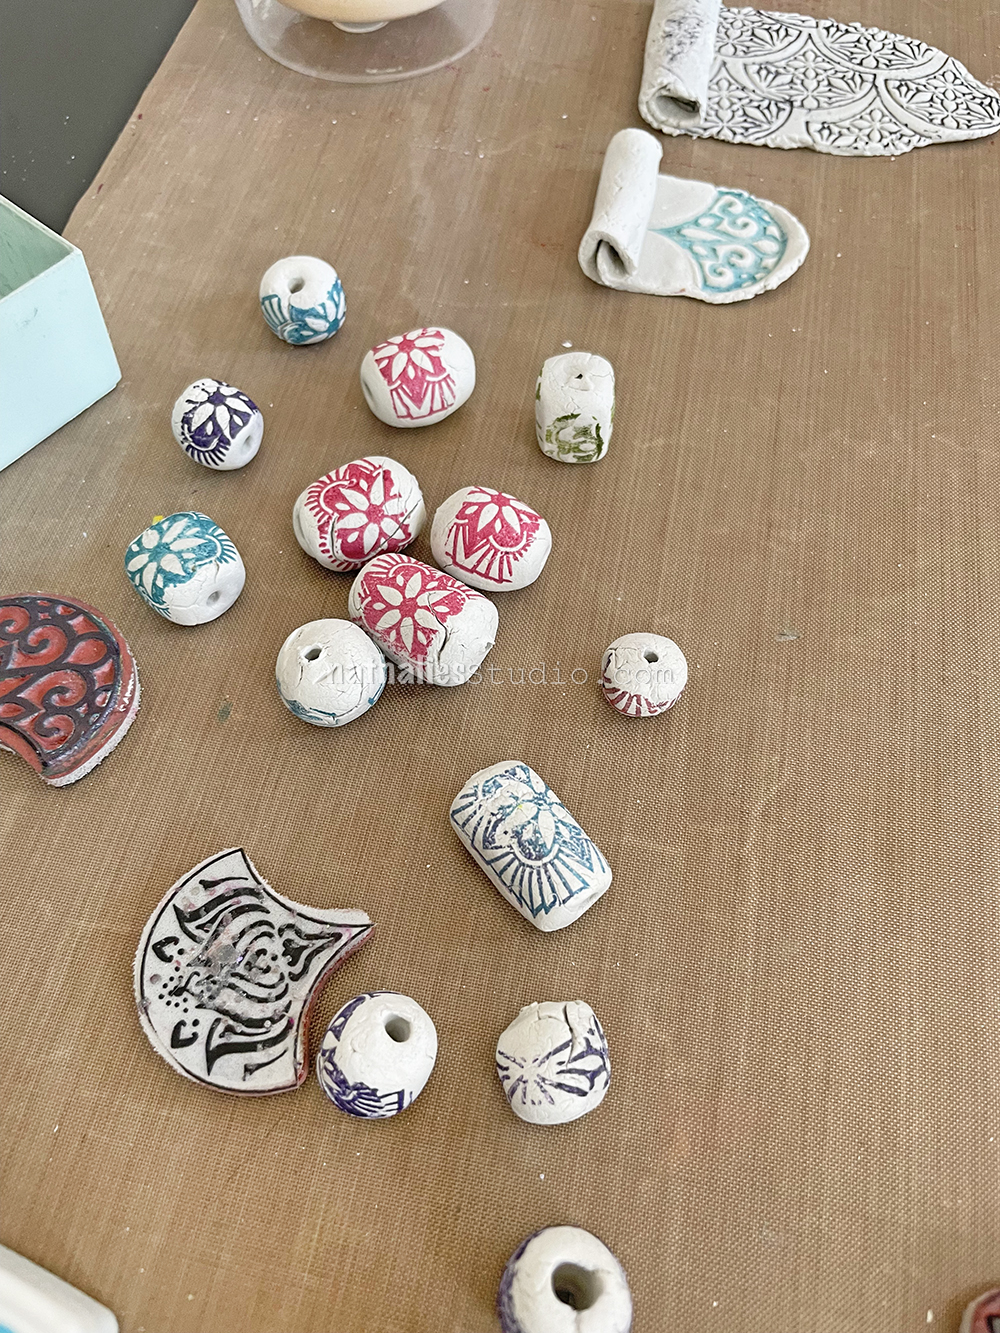
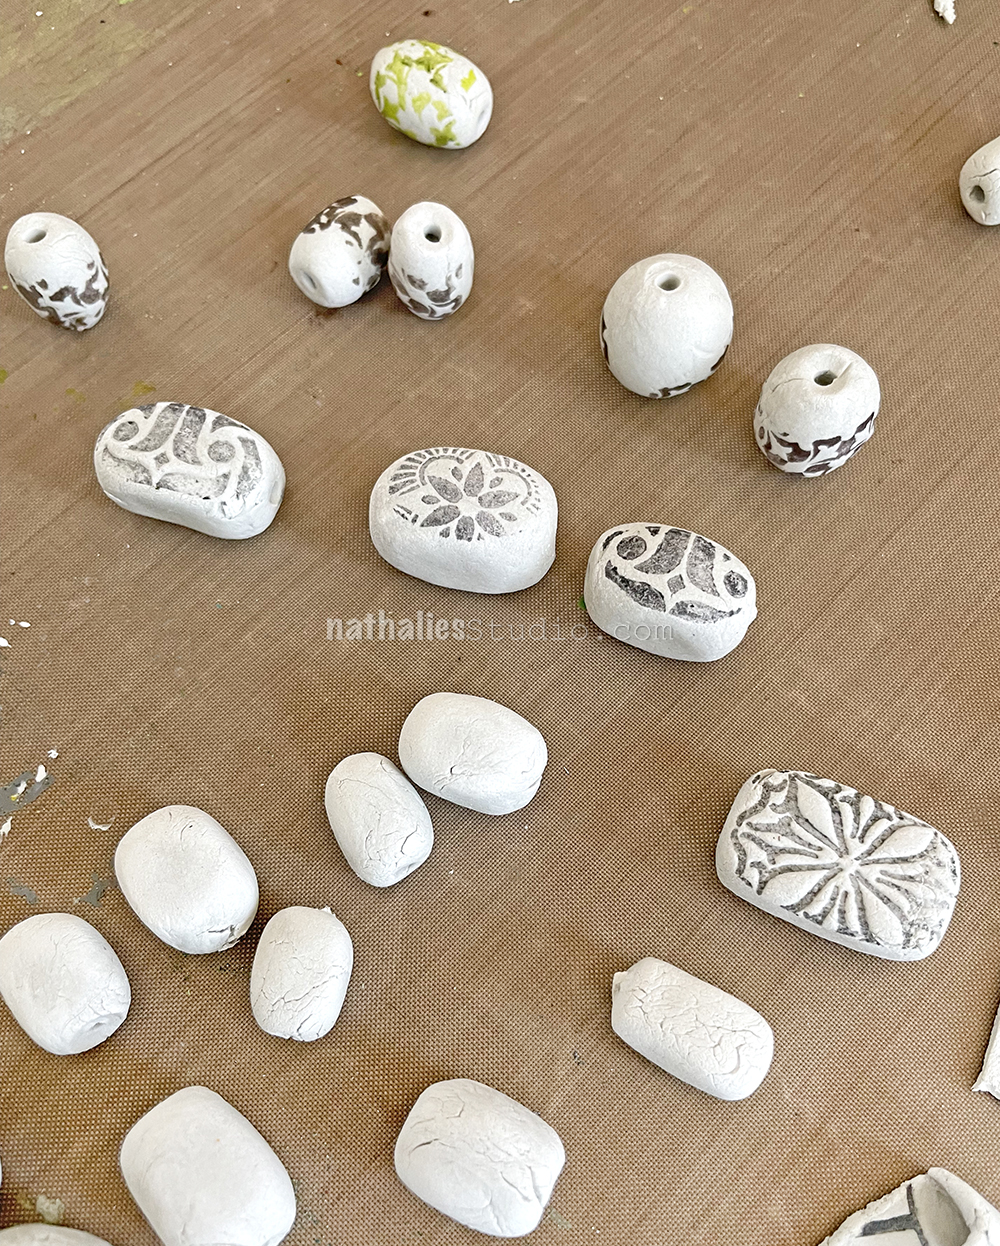
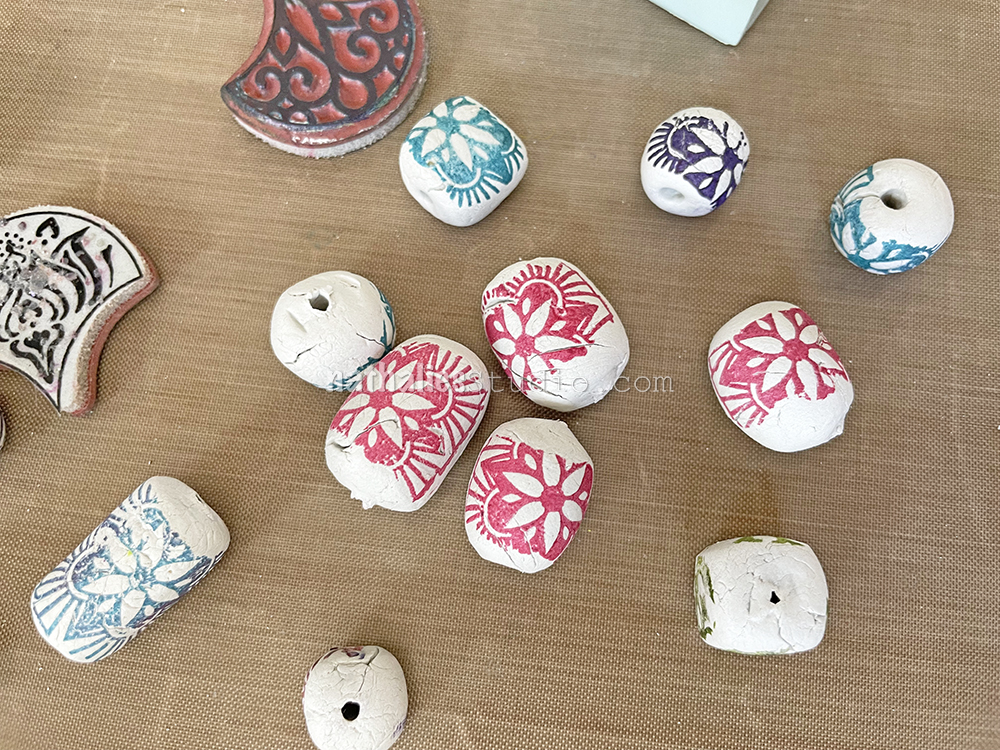
Love all the different color and pattern combinations that each of us chose, whether it was cool gray, shades of brown…
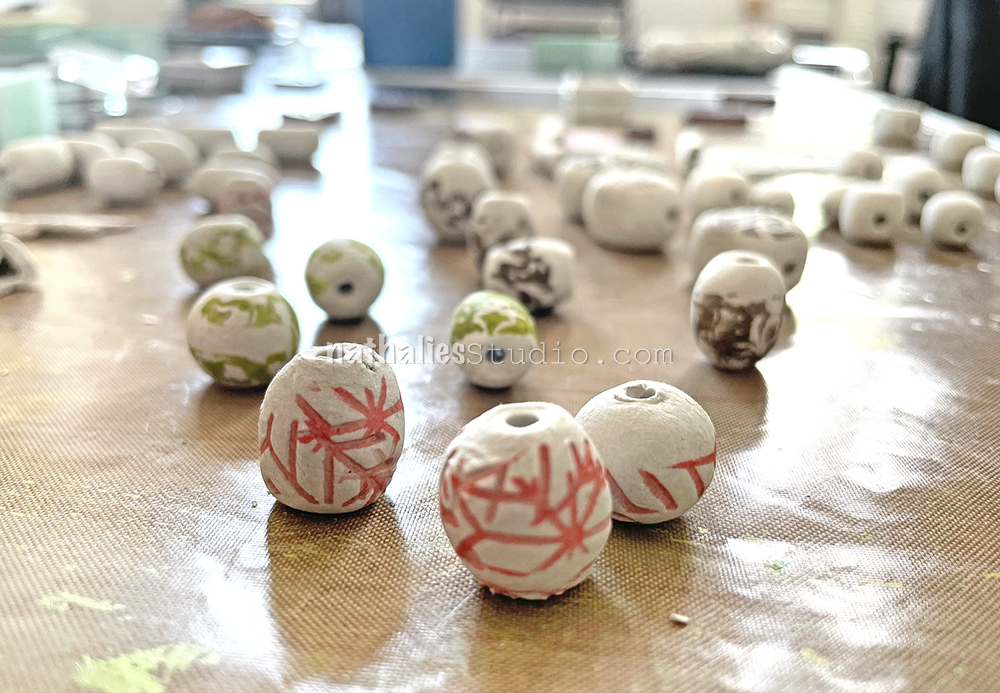
… vermillion and chartreuse…
… and vibrant pinks and blues and violet!
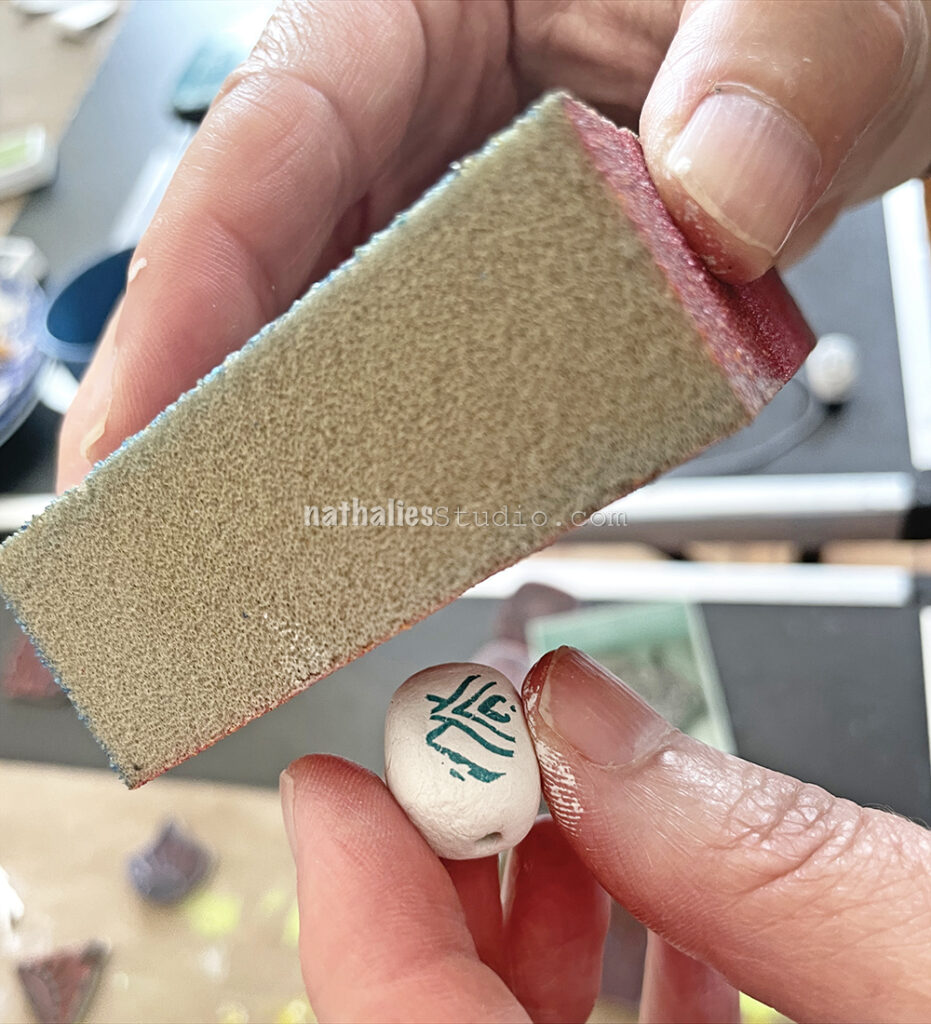
If you have rough spots on your beads, you can sand them with a sanding block for a smooth finish.
Once you’ve decorated your beads, it’s time to think about the next step – stringing them to make a wearable necklace. We got a little tub of colorful waxed cotton jewelry cord so that we had lots of colors to choose from.
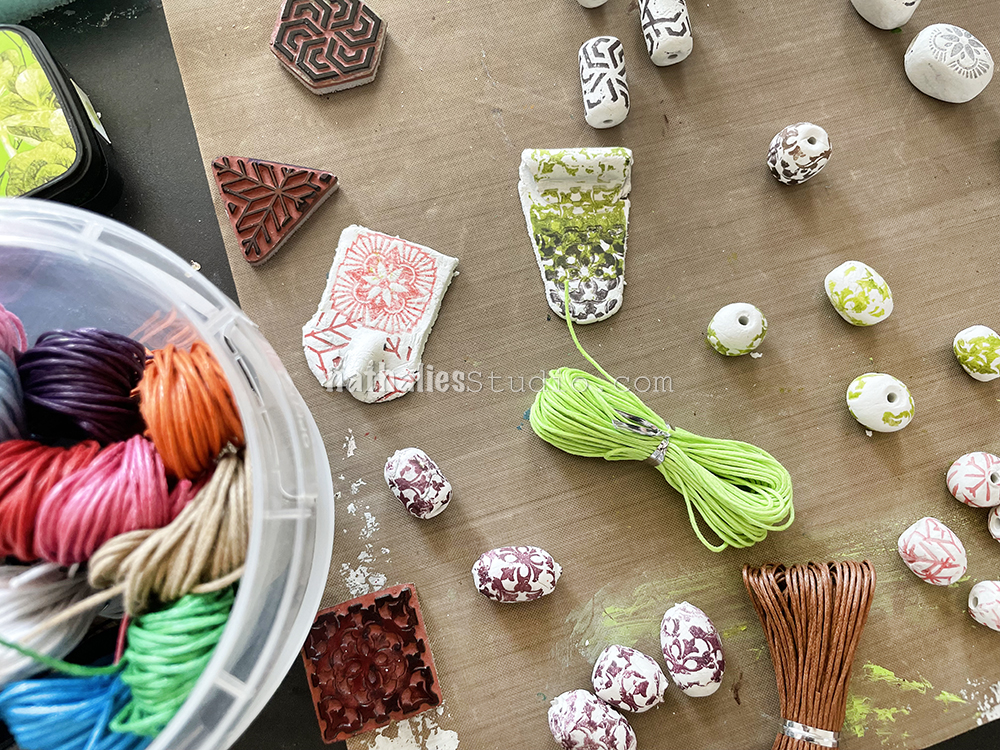
When you choose your cord, unwind a longer piece than you think you will possibly need. You may want to tie knots around the individual beads and that will take extra cord. We also planned to slip these over our heads in the end, so allow enough to do that once you’ve tied it.
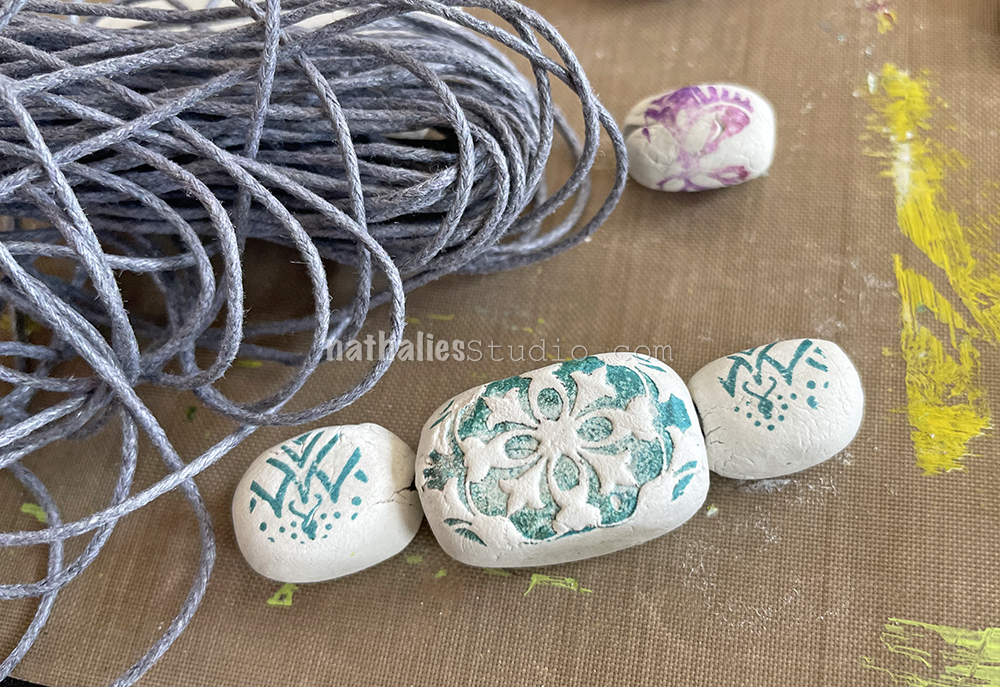

If you’ve made a lot of beads like we did, there are so many ways to combine colors and patterns.
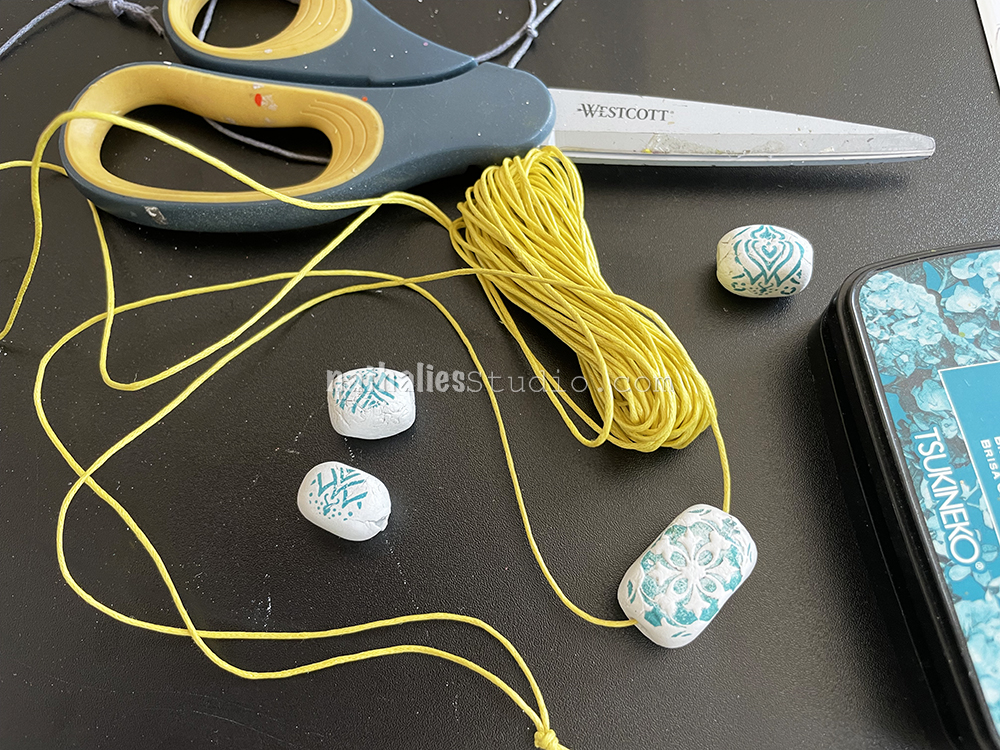
Play around and see what you like. You can always switch things up later if you have extra cord and beads.
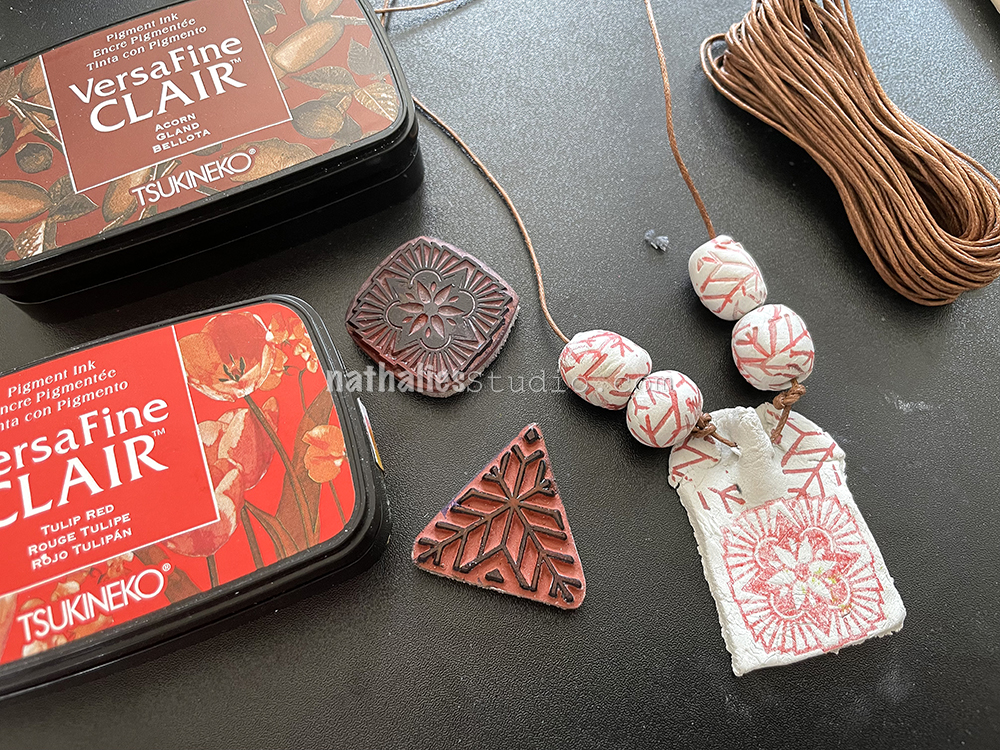
And if you still need a bit more color in there, don’t be afraid to use the ink pads to add a little more color here and there.
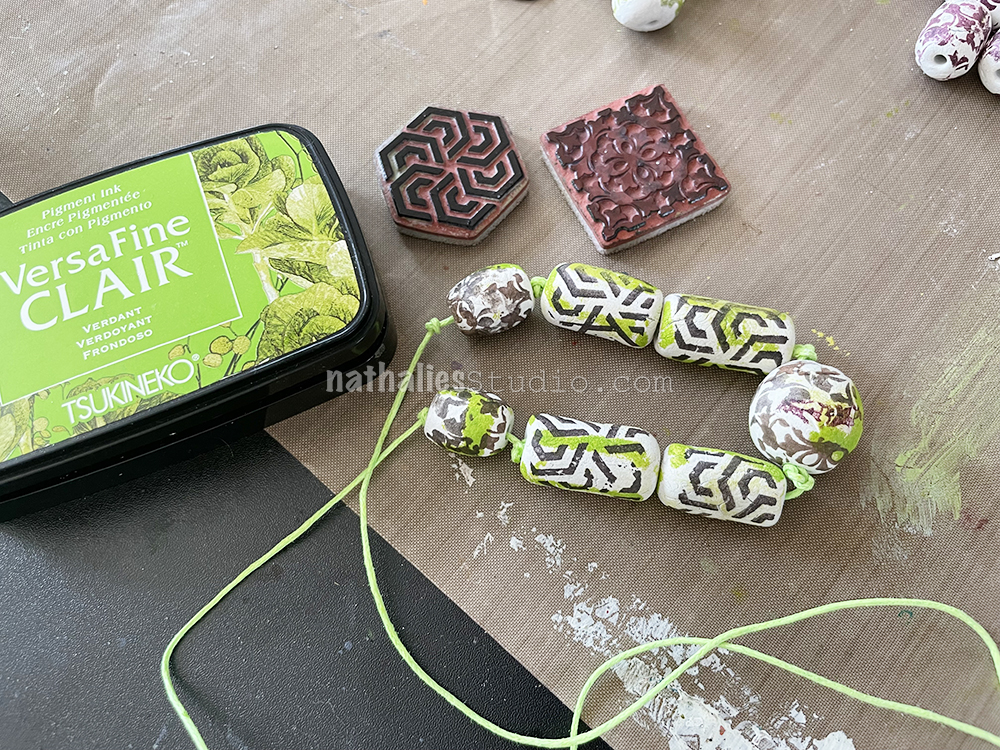
This was a really great play date to do with a group of friends. It was fairly easy to create some striking designs and everyone went home with a wearable creation.
Give it a try! Here are the supplies we used:
