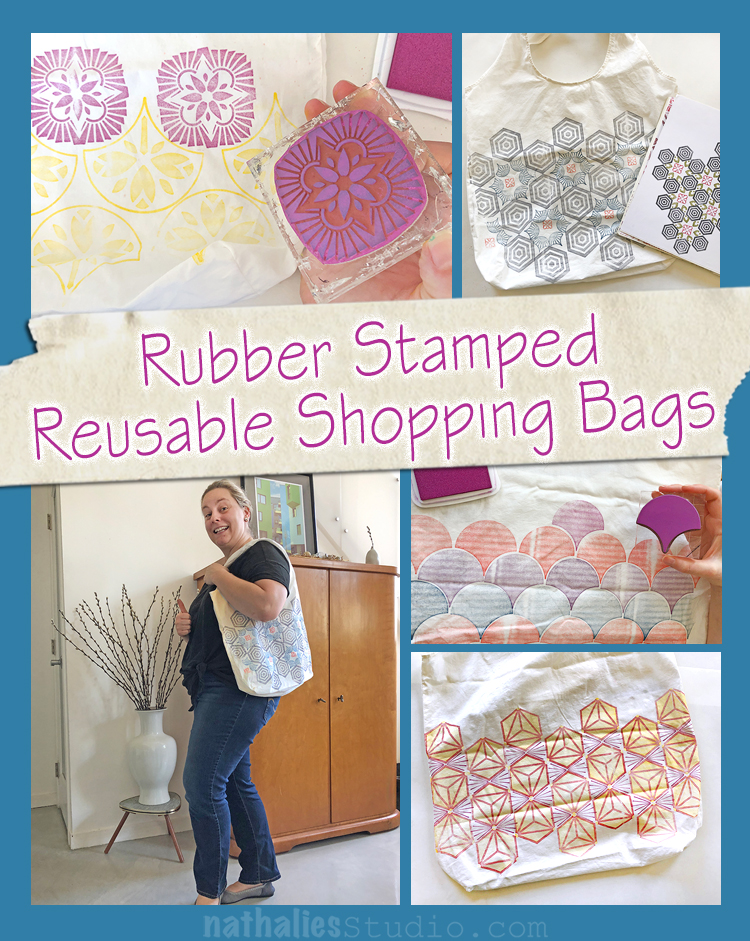
After getting into making patterns with my rubber stamp sets, I knew I wanted to take that idea and use it on a couple fabric projects. Kim and I got together to put some of those lovely patterns to use on reusable shopping bags. Our neighborhood is getting rid of plastic bags in June so we wanted to be ready to shop with a unique tote or two.
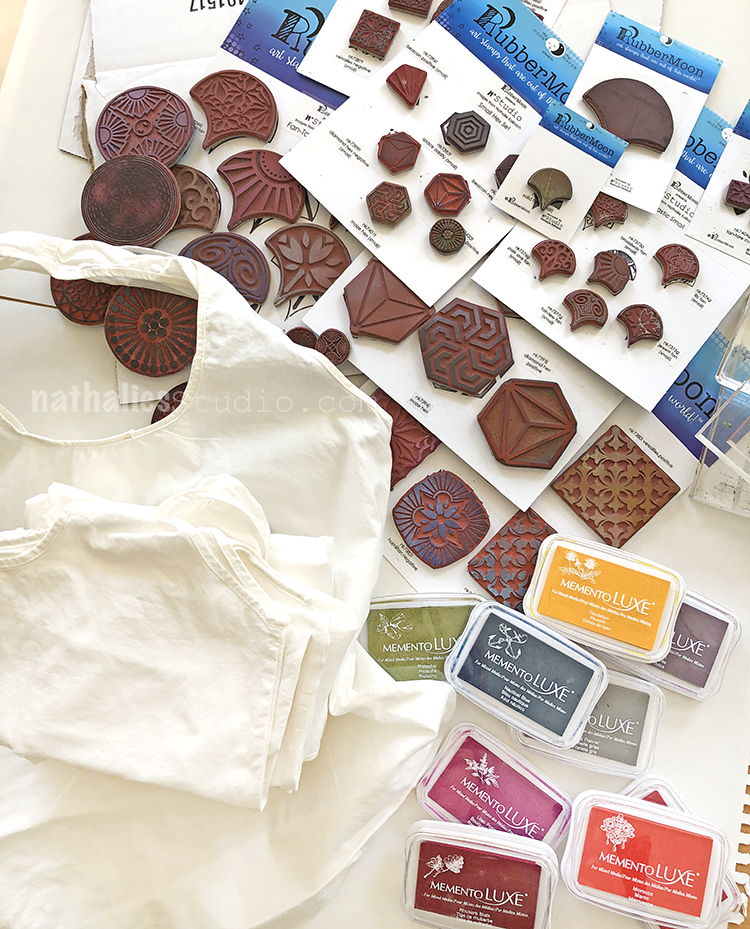
The supplies couldn’t be simpler: white (pre-washed and pre-ironed) cotton tote bags, a selection of my rubber stamps, and ink pads that are for stamping on fabric. We used Tsukineko Momento Luxe inks – you can find the links for those below.
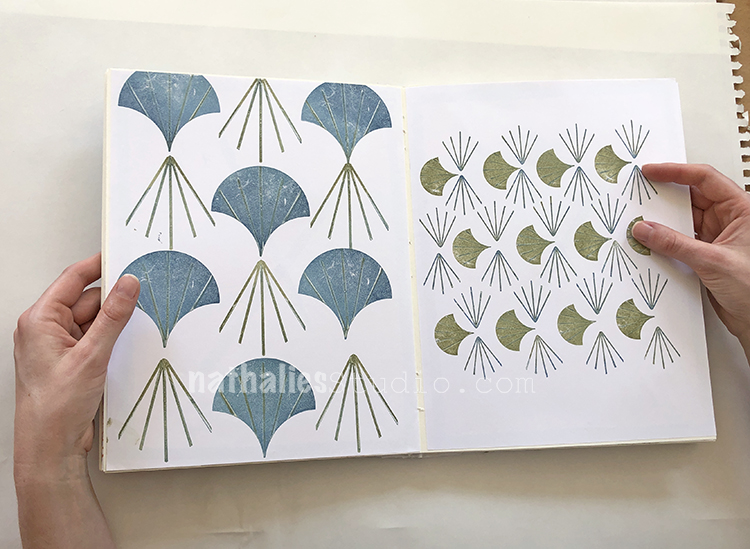
We both took a minute to page through the pattern book I made with all those Nat’s April Patterns. It has become a great source to go to for inspiration.
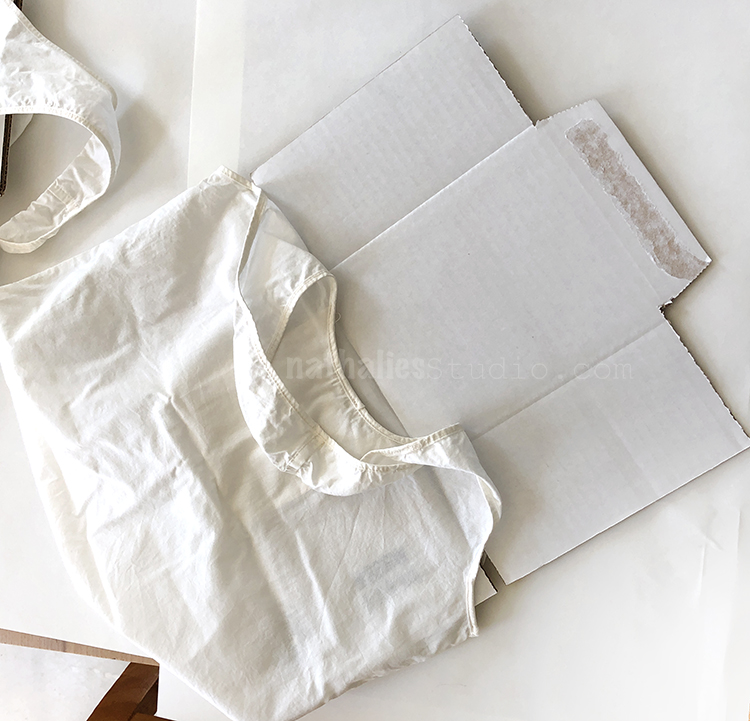
Before you begin stamping, put some cardboard or a magazine in between the layers of your bag so it doesn’t bleed through. Be careful of any creases or gaps or textures in this – it can show up in your stamping. It is best to find something smooth for in there.
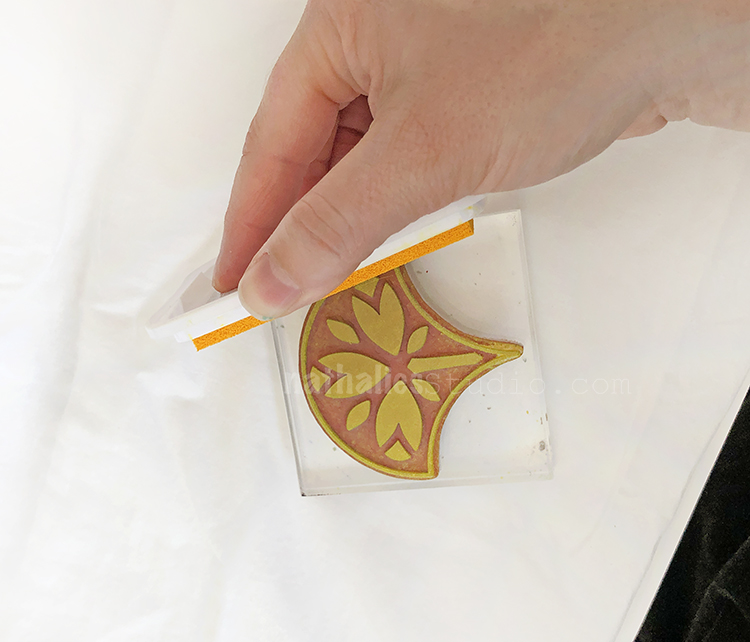
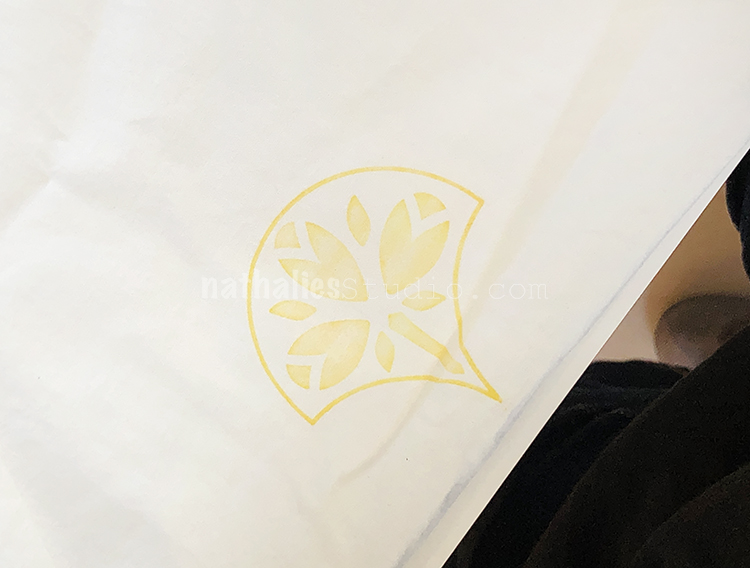
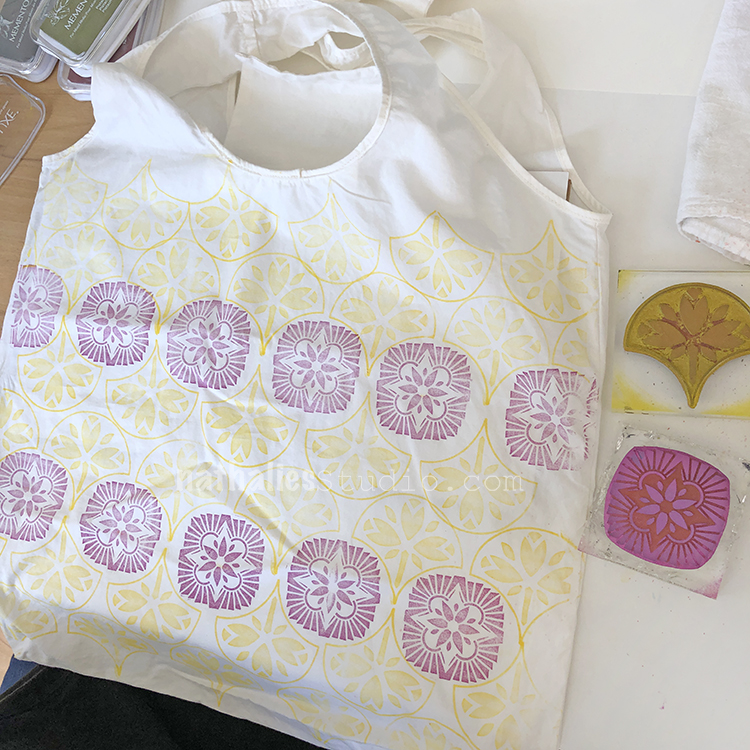
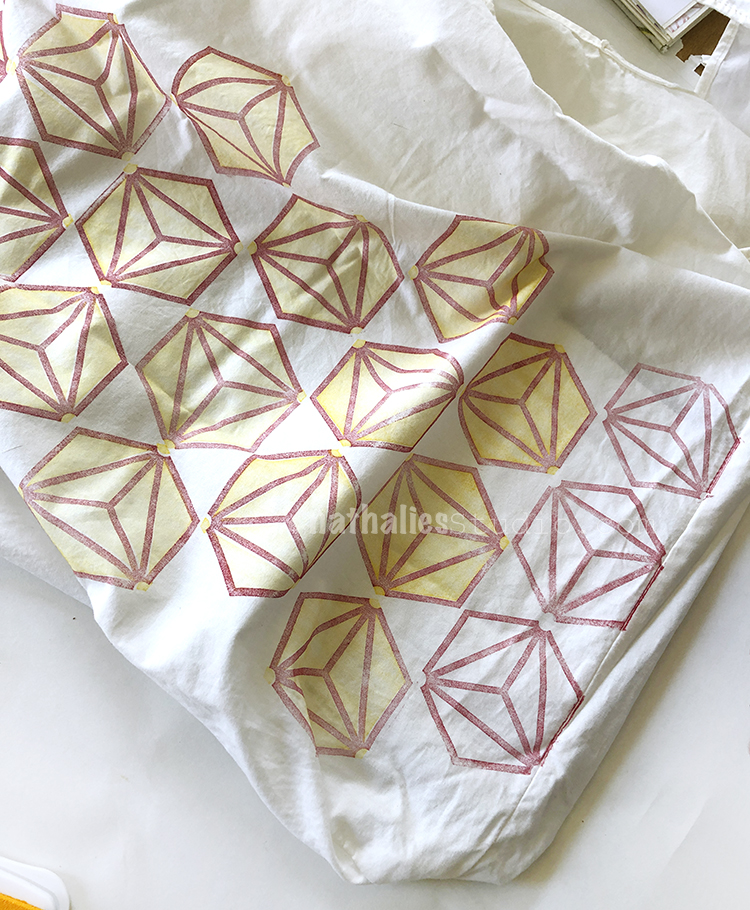
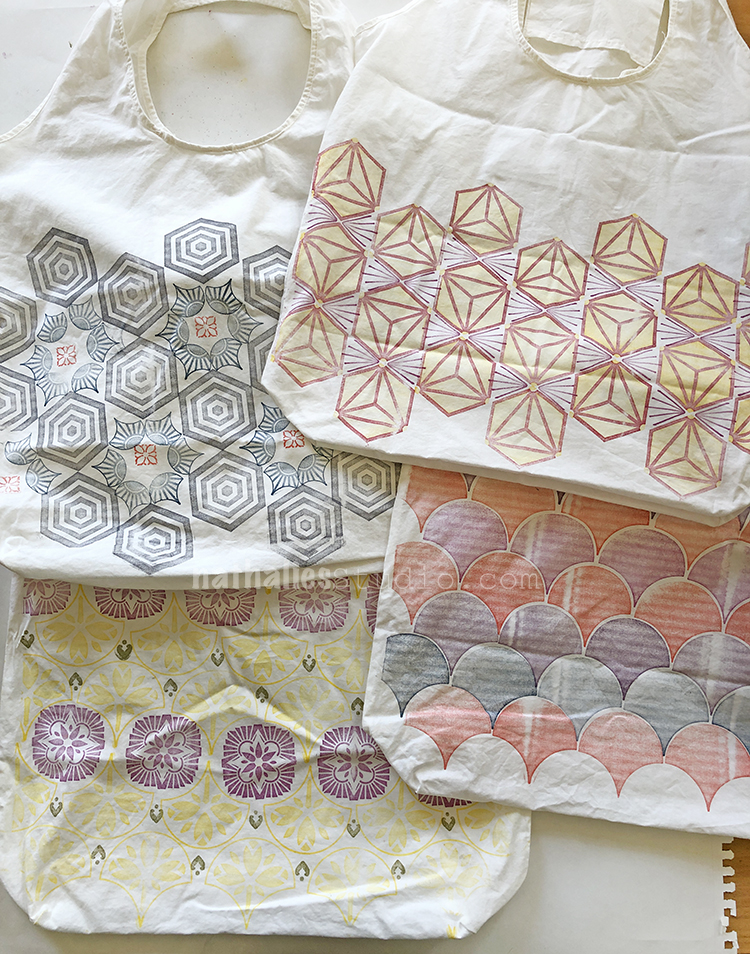
I started with the Jewett stamp from my Fan-tastic Large set and inked it up in yellow. The fabric ink is kind of sticky and you have to be a bit fast and also thorough with the inking.
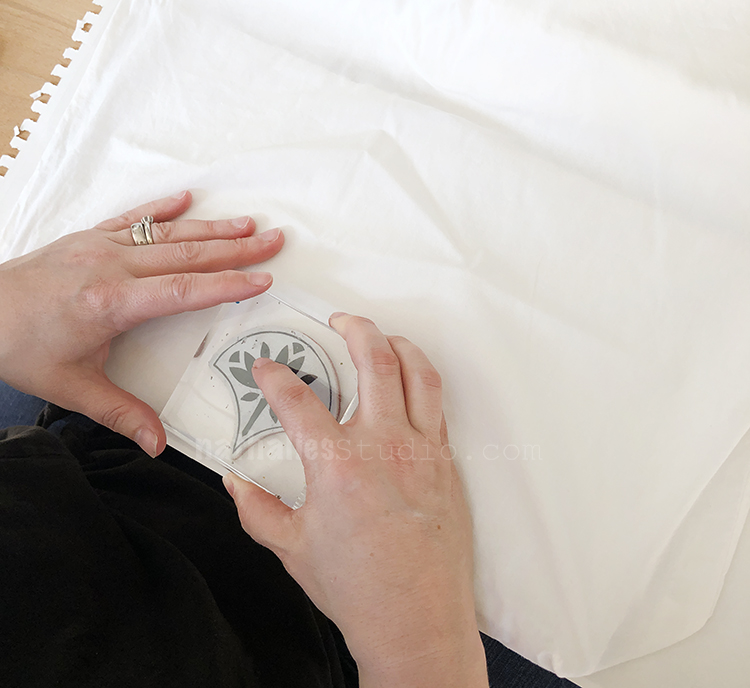
It is easiest to start your pattern in the center of the bag and then work your way out. That way it will be even left to right and you can decide how close to the edges you want to go.
The ink colors can be light in some cases and bolder in others.
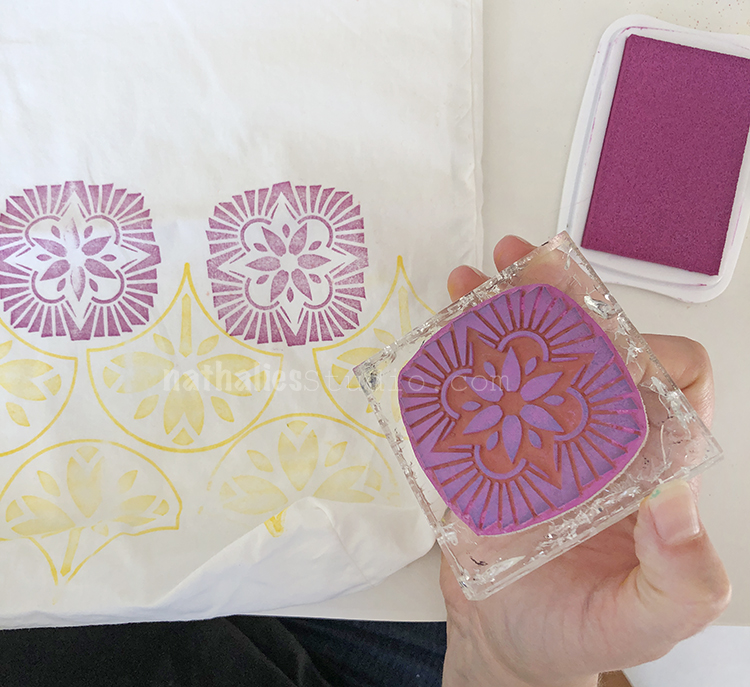
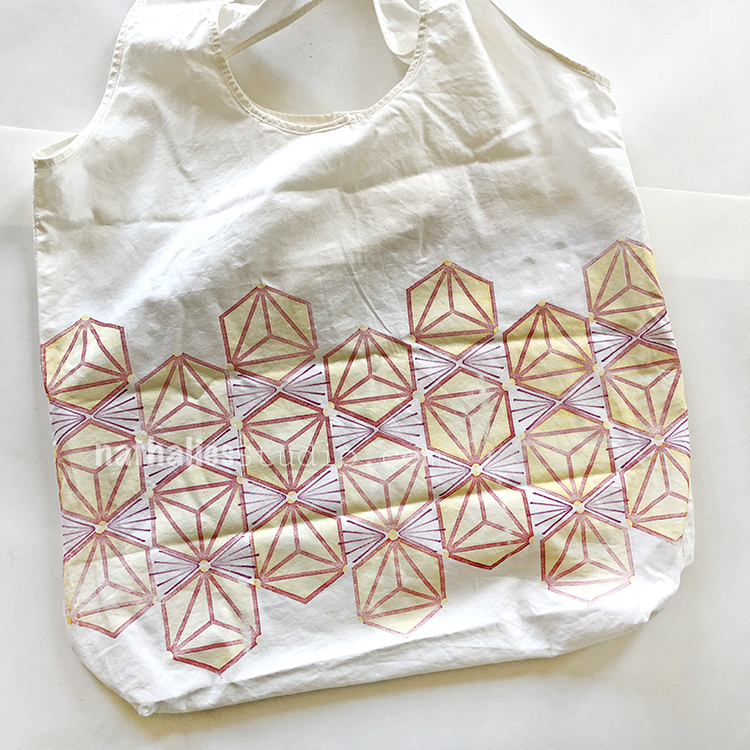
After two layers of the Fan-tastic Jewett Fan, I switched to the Hamilton design from the Floral Tile Large set and started stamping in a magenta color.
Looks great already but needs something more…
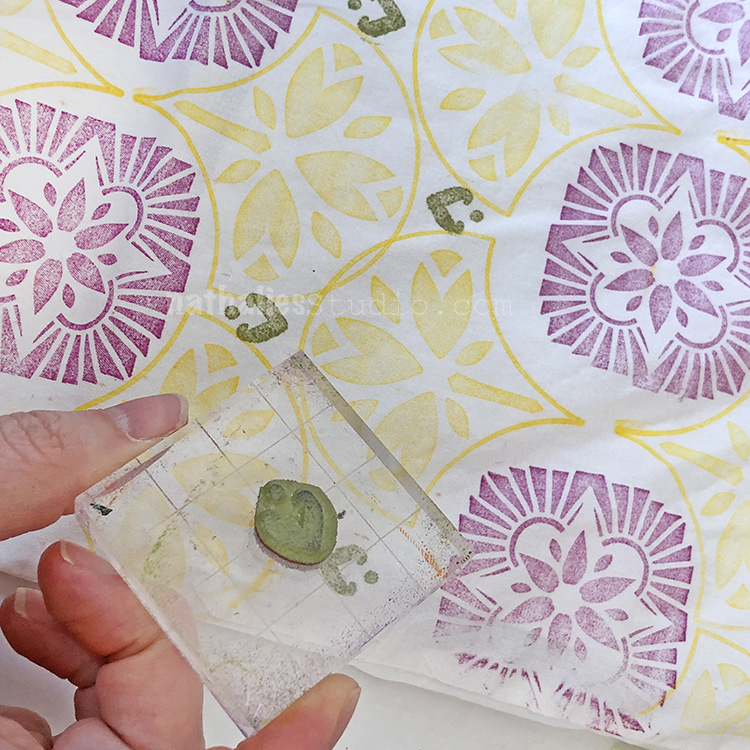
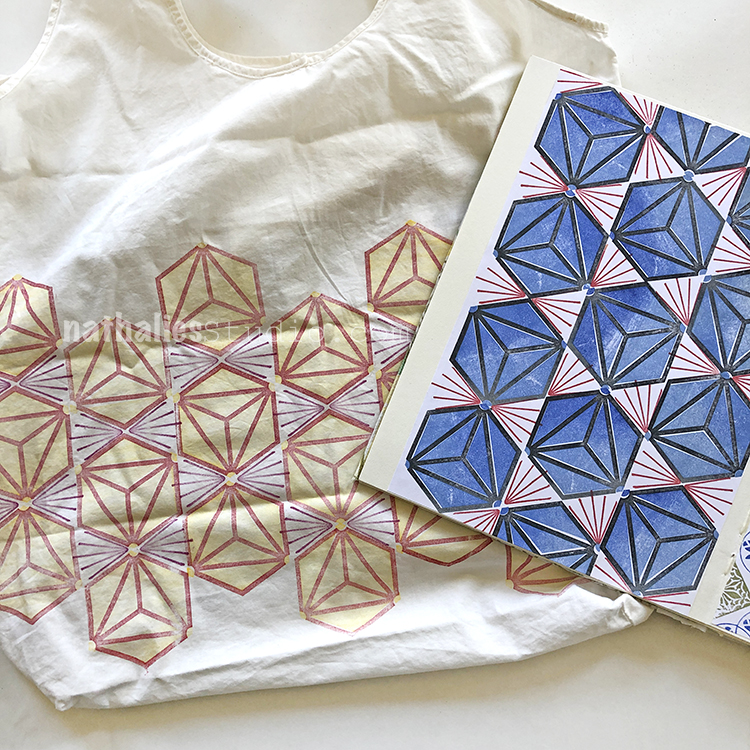
I finished off the pattern with a stamp from the Fanfare set.
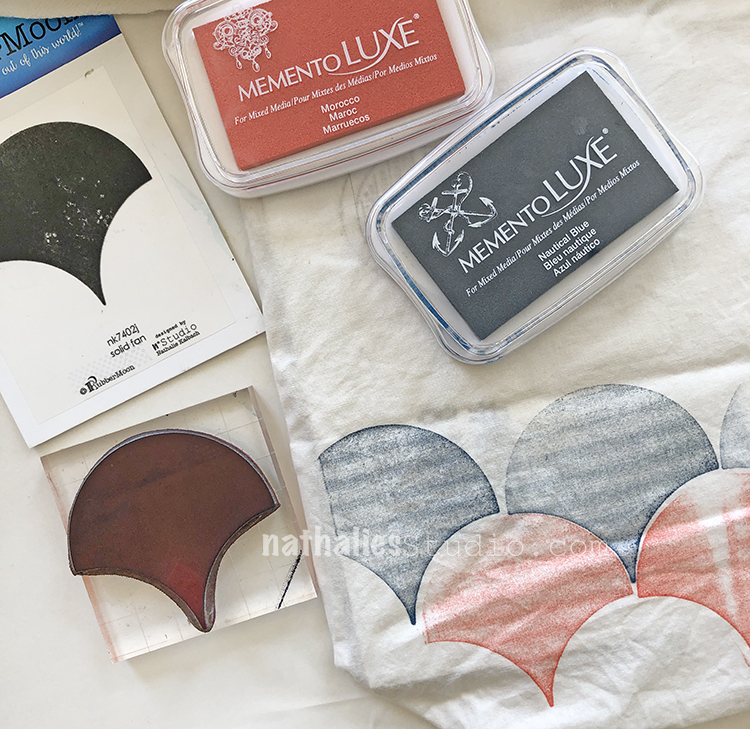
Kim jumped in with my Solid Fan in the large size to do a simple but cool scallop pattern.
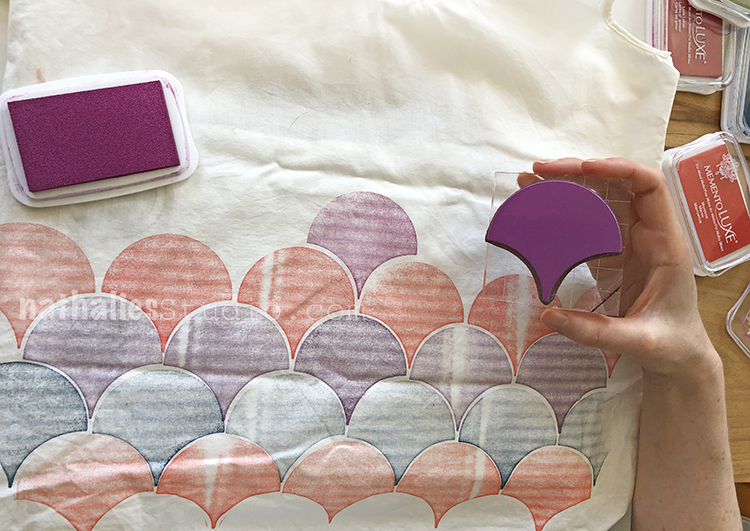
She chose a lot of different fun colors – don’t forget to clean your stamps in between colors. Also, you can see that with the solid stamp, the texture of the cardboard insert shows a bit – not a bad effect but something to consider when choosing a liner.
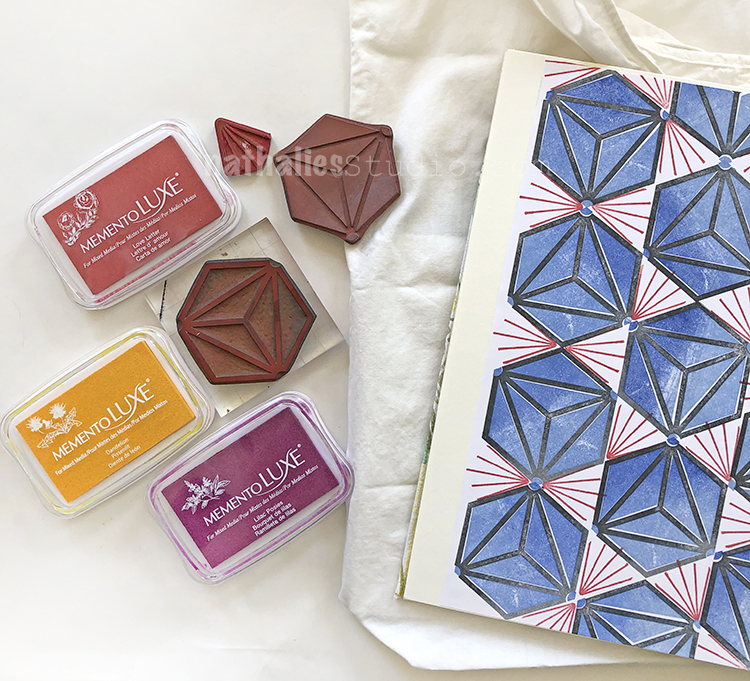
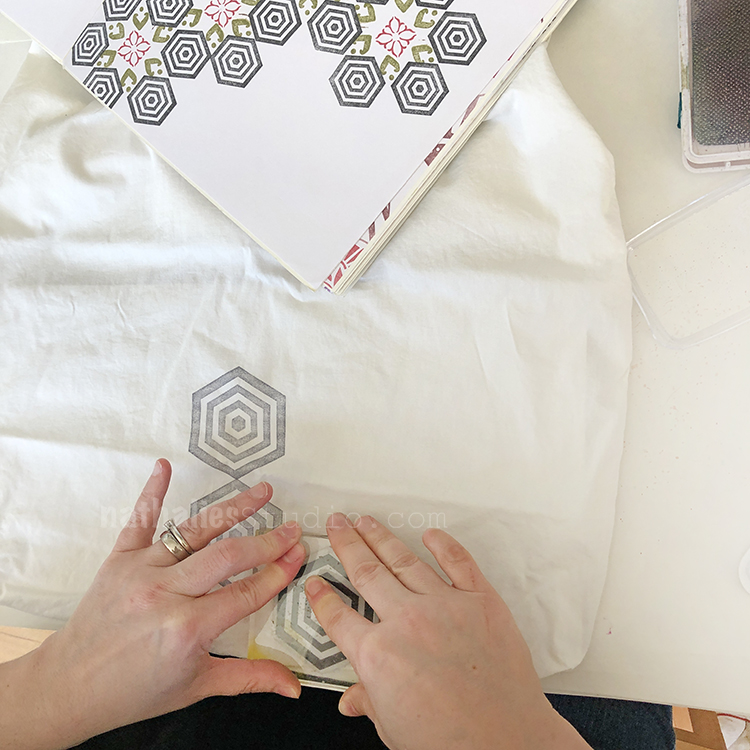
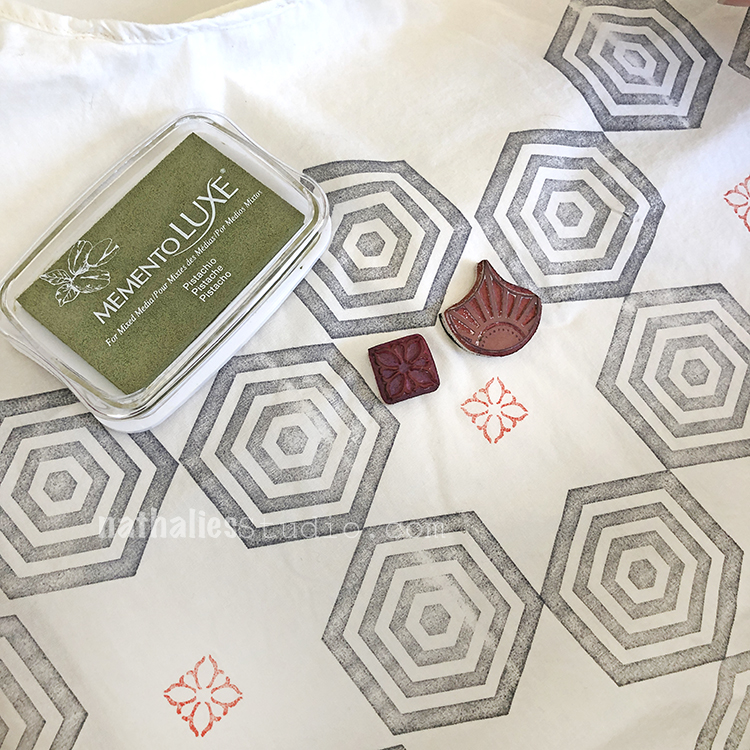
Kim found another pattern in my book that she really liked. She chose three ink colors. And the pattern needed one stamp from the Small Hex set and the two Diamond Hex stamps from the Large Hex set.
She started with the red ink and then filled in with yellow.
Looks awesome! And shows you don’t have to cover the entire bag.
Kim’s bag and the pattern inspiration.
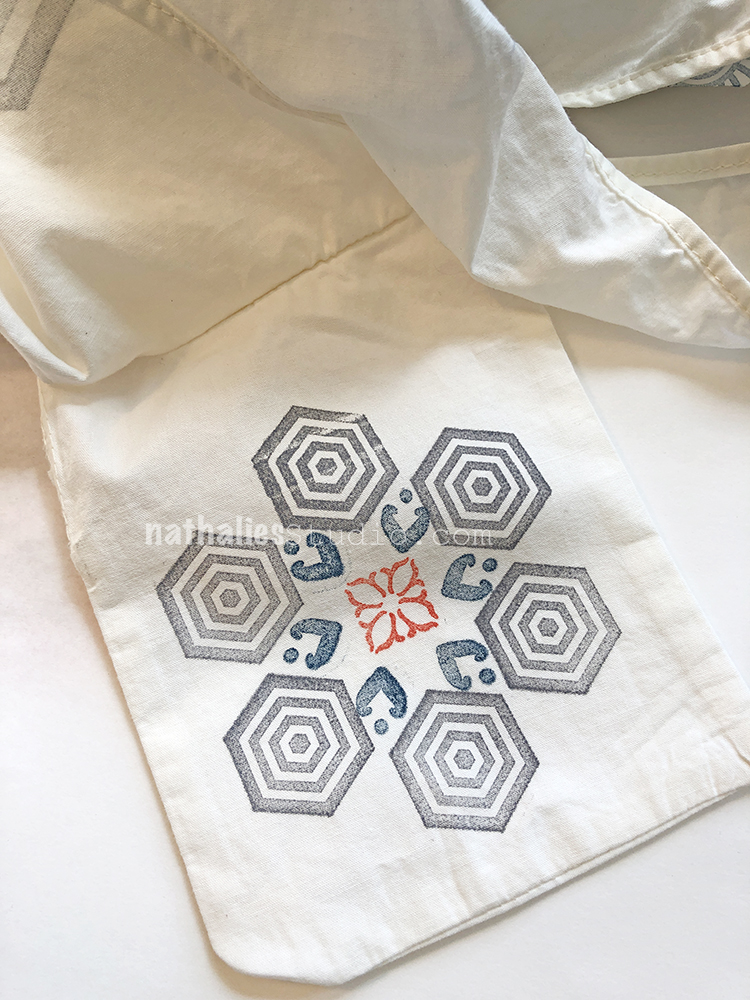
For my second bag I chose a pattern and decided to make it bigger. Tip: You will get a lot more done if you go with a larger stamp ;)
I began with the Space Oddity stamp from the Large Hex set, added a red Fan-fare stamp in the middle, and then I took a minute to choose my next stamp. More Fan-fare or the Broadway Fan from the Fan-tastic Small set?
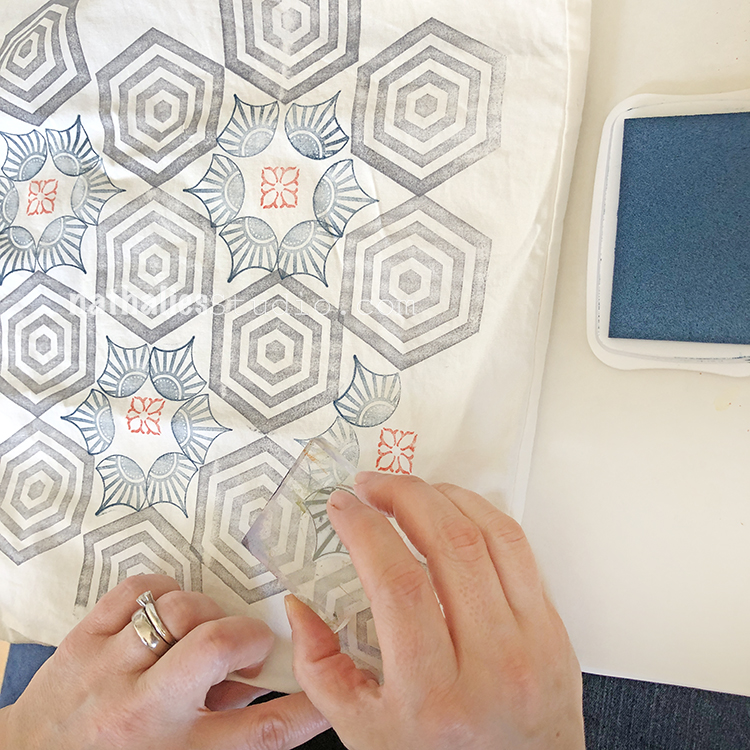
I went with Broadway Fan :)
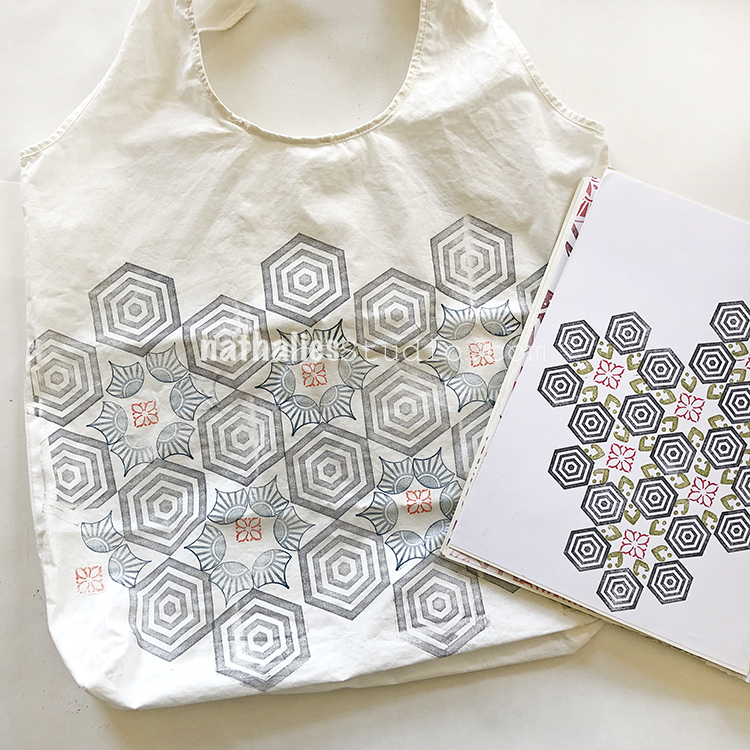
And here is the finished bag next to the inspiration.
Our bags included a little pocket pouch to fold the bag into for storage. We decided to stamp that too. Here I used the Fan-fare stamps and the Small Hex set.
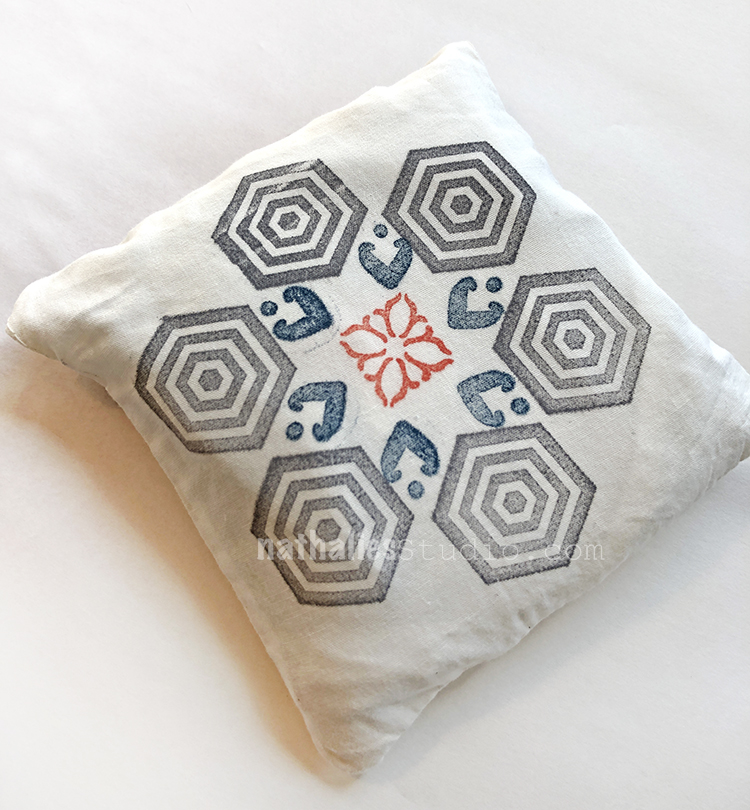
Then you can store them like this.
They look pretty awesome! Remember to follow your ink instructions for setting the ink. Every fabric ink is different. These will need to be ironed to heat set the ink.
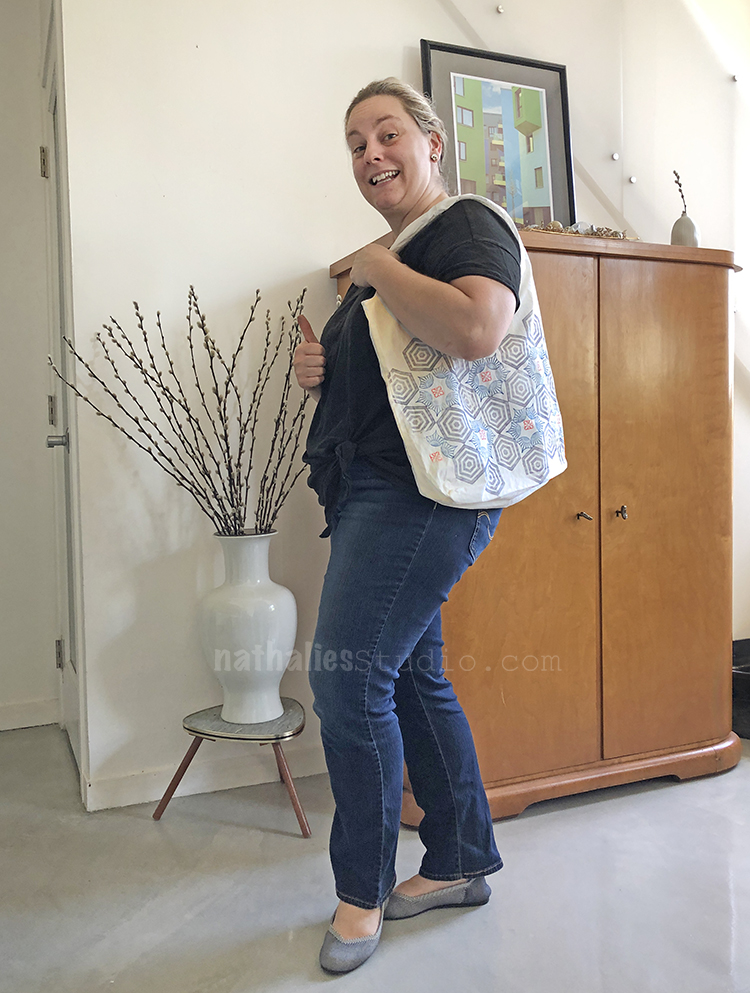
I’m ready for a plastic bag free Jersey City :)
Here are some of the supplies that we used:
Comments (2)
Gillian Callaghan
| #
Thank you for sharing these ideas.
Reply
Mary Cheng
| #
This is fabulous!
I sew Boomerang bags http://www.boomerangbags.org for our local community to make people aware of plastic bag issues in our environment.
I think printing with your foamies will add an artistic touch to our bags! I will give it a go with the inks you mentioned. I do have some of you foamies and hope there is more at a local craft fair next week!
Thank you Nathalie
Reply