Blog: Challenge

Stencilbop Challenge Prompts 12, 13, & 14

Here is a recap of prompts 12, 13 and 14:
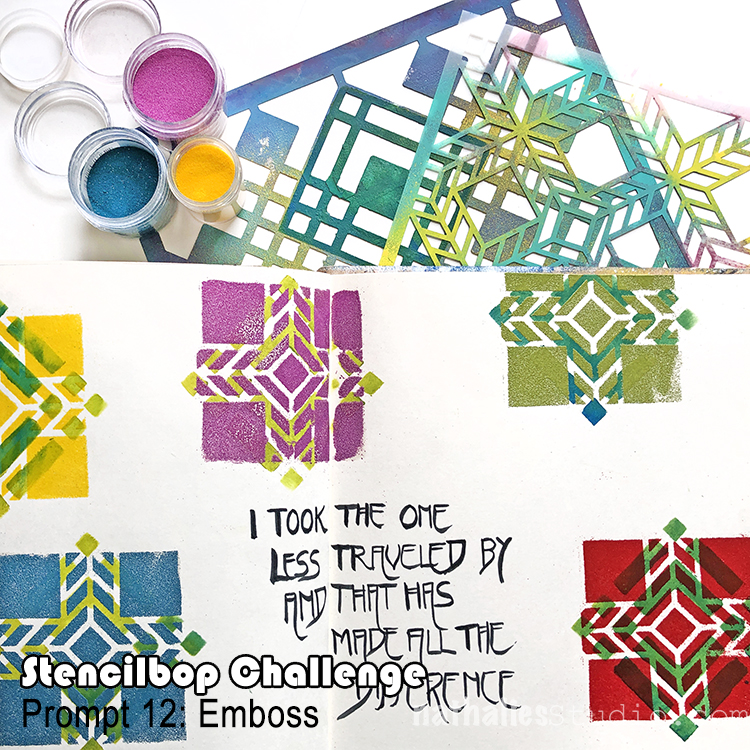
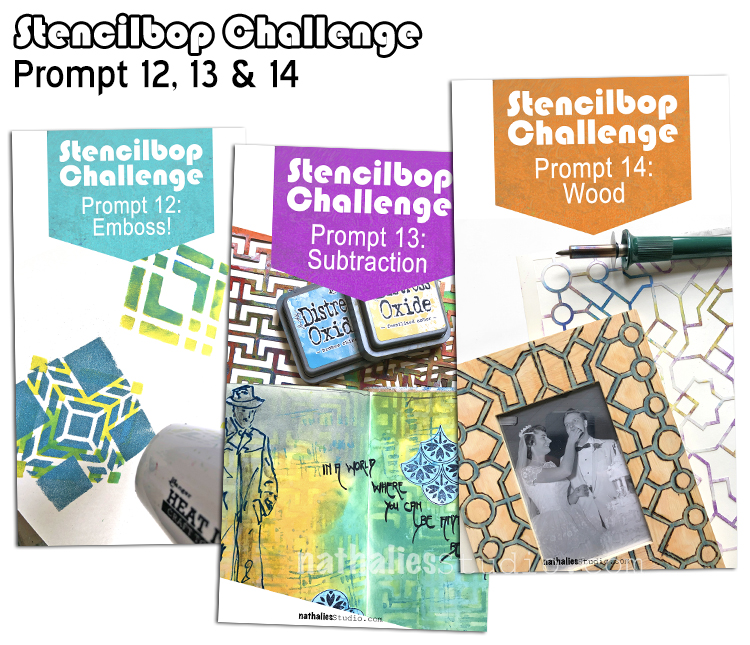
August 12 – Emboss!

Heat embossing has always been a way to add texture to my mixed media and art journaling – seeing the embossing powder turn into a glossy plastic haptic surface is pretty fun! 
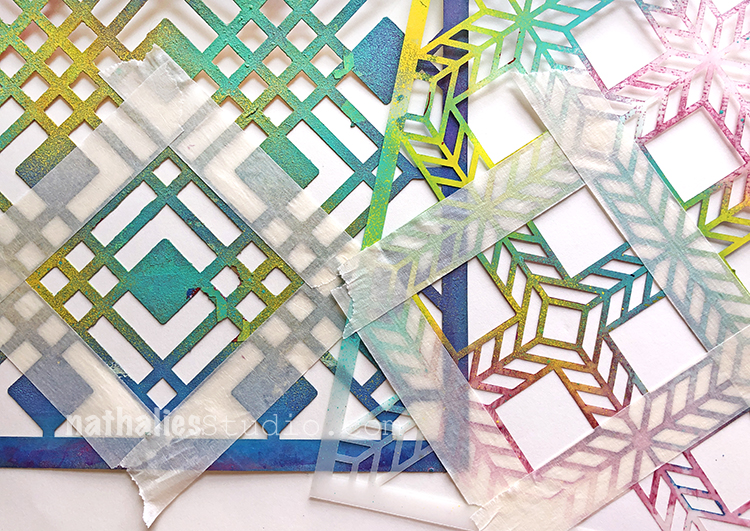
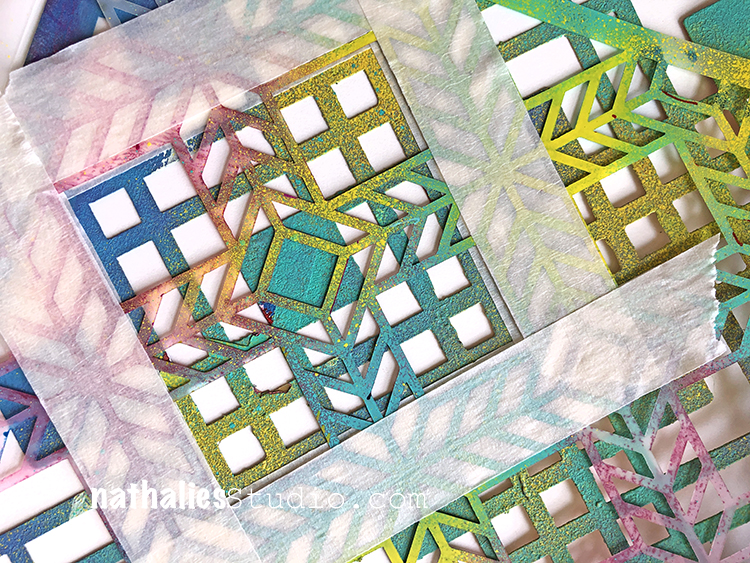
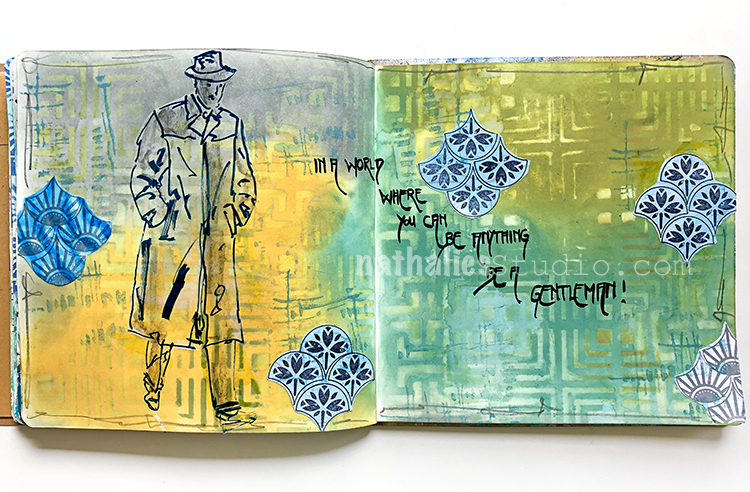
For this spread I used my Chicago and my Santiago Stencil and defined a big square by taping the edges of the design with masking tape. 
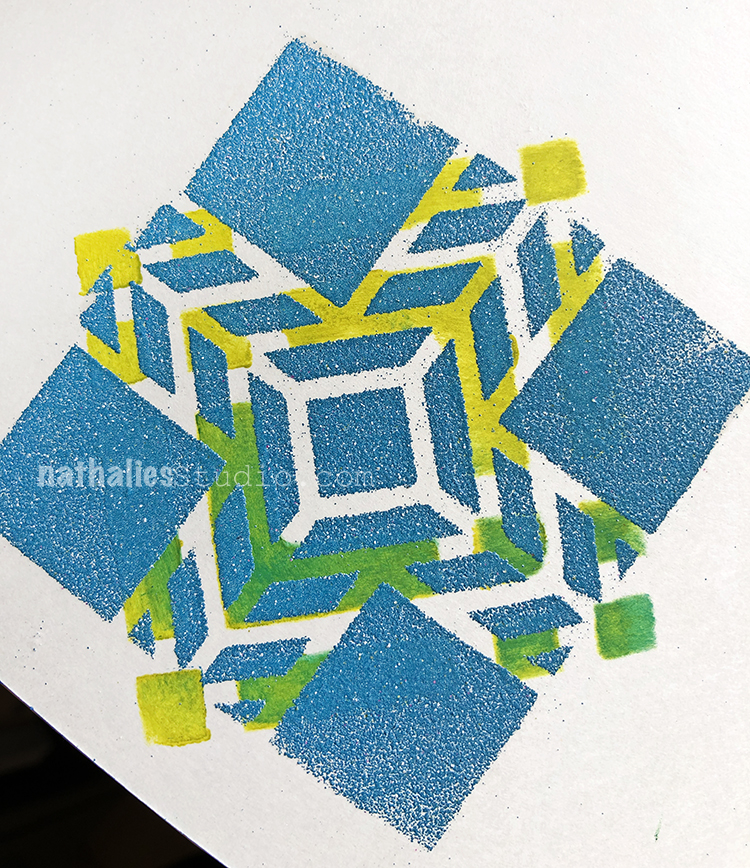
I used acrylic paint through the square off part of my Chicago stencil. Then I layered the squared off area of the Santiago stencil on top and applied embossing ink through the opening. I sprinkled embossing powder on top- used the heat gun and voila. 
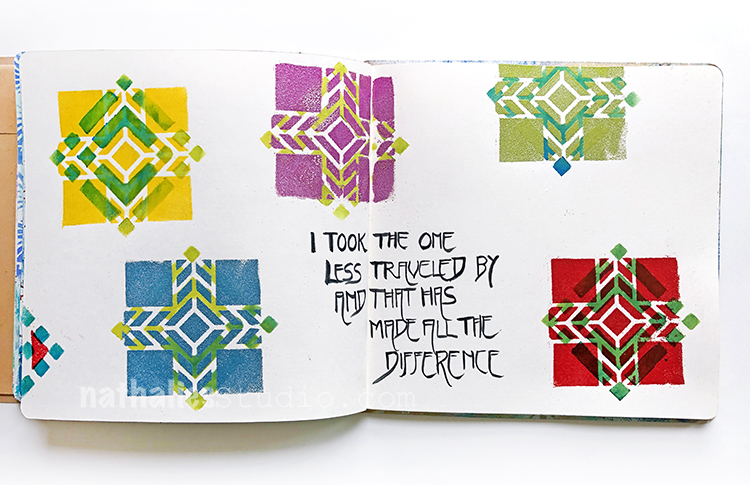
Fun to try out different color combinations!
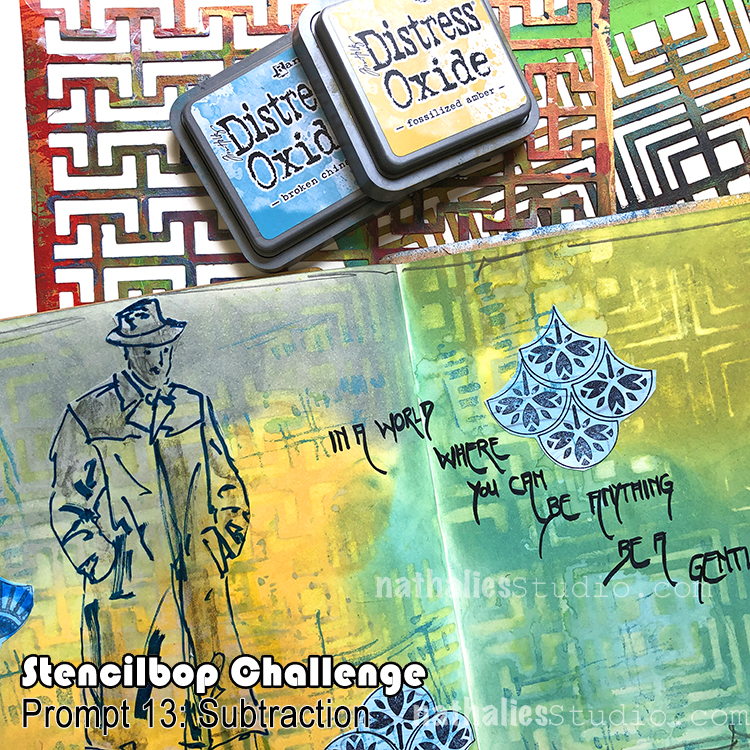
August 13 – Subtraction

Usually paint gets applied through a stencil to create a pattern but you can also take paint off through a stencil to create a pattern. 
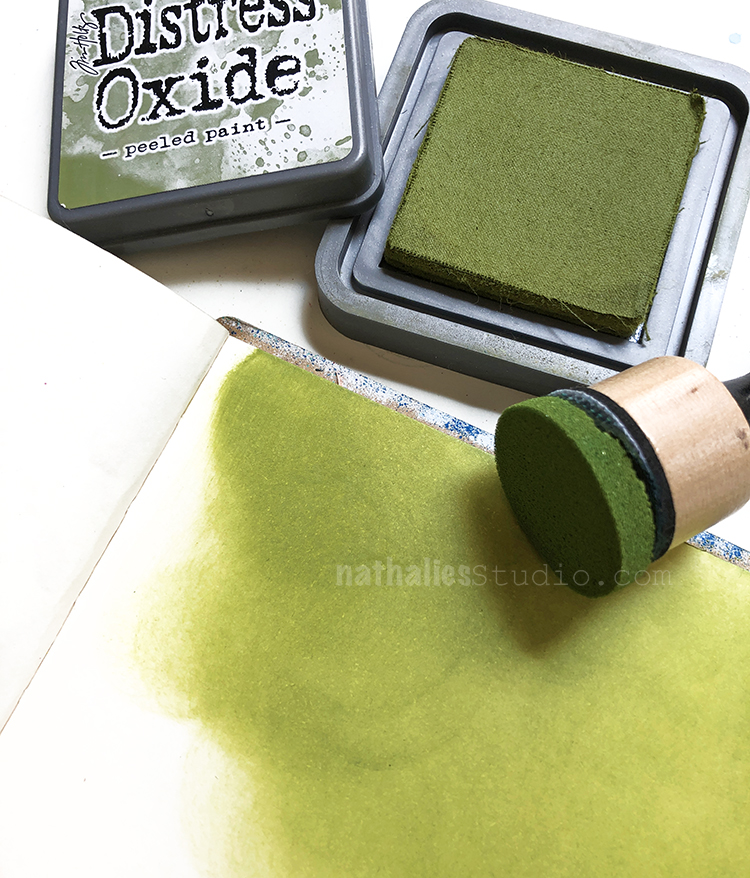
When you do so with acrylic paint you usually layer the stencil on top of still wet acrylic paint and then take the paint off through the stencil. Here I applied some Distress Oxide inks on top of the paper.
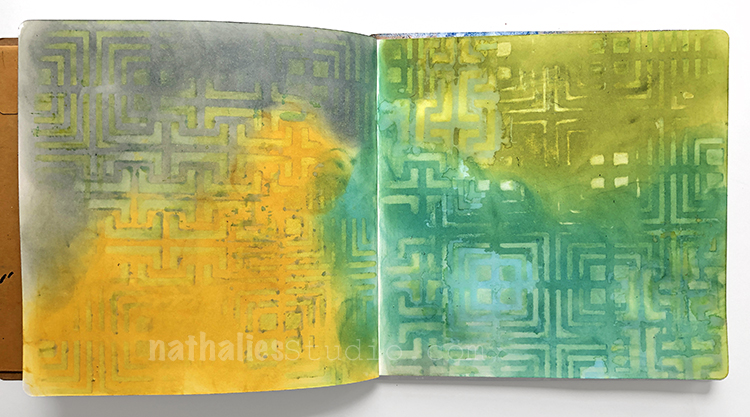
Since those can be reactivated with water, I used a slightly moist rag and rubbed the ink off through the Manhattan and Hamburg stencils. 
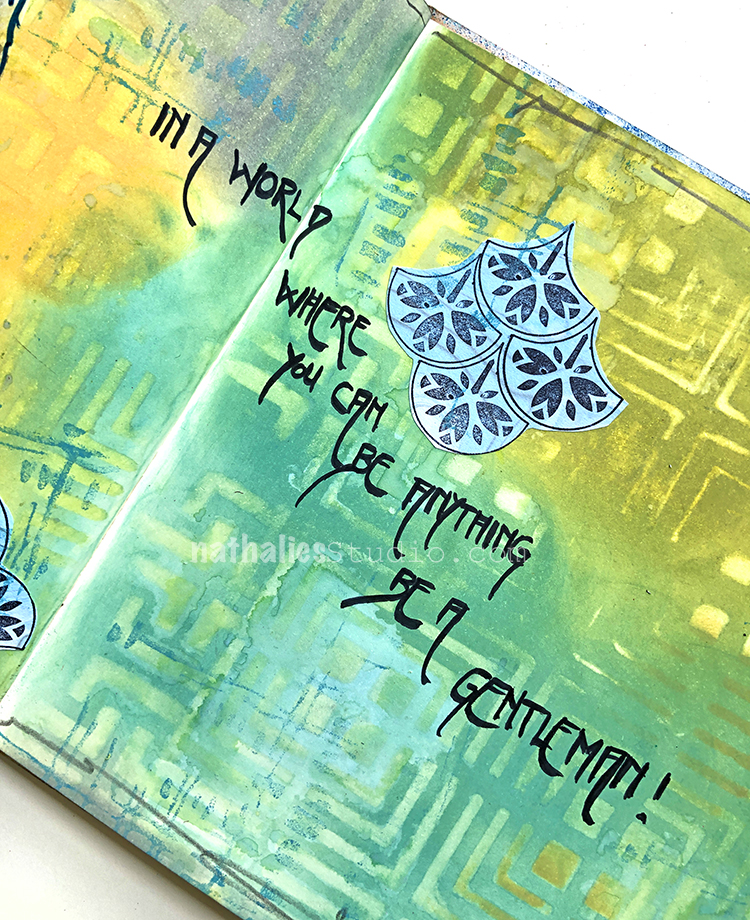
The result is subtle but so effective especially when you then also add some areas of the usual way of stenciling to create a reverse/non reverse effect. 
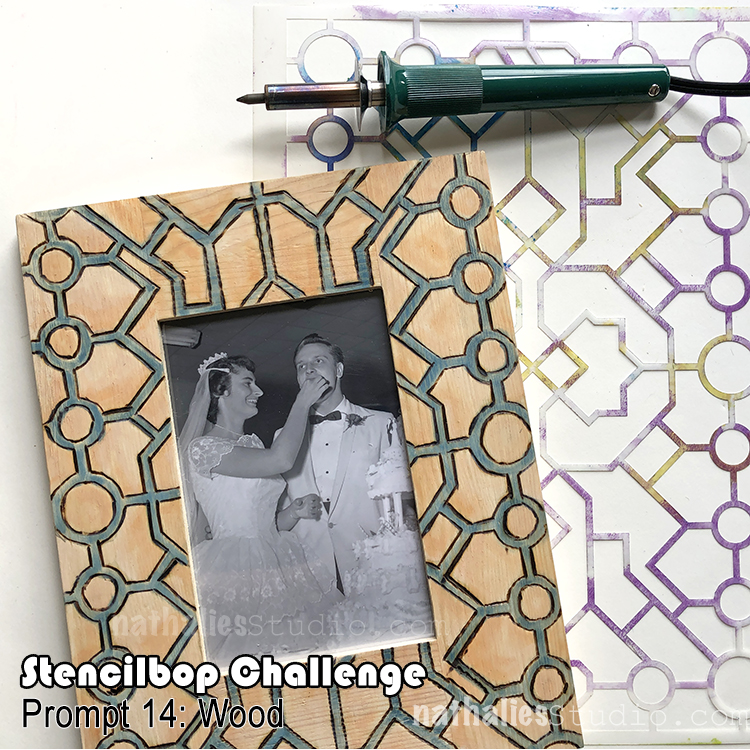
August 14 – Wood

Leaving the art journal for this one. My parents in law are celebrating their wedding anniversary next week and I thought it would be fun to create a fun pattern on a wooden frame using my Exchange Place Stencil. 
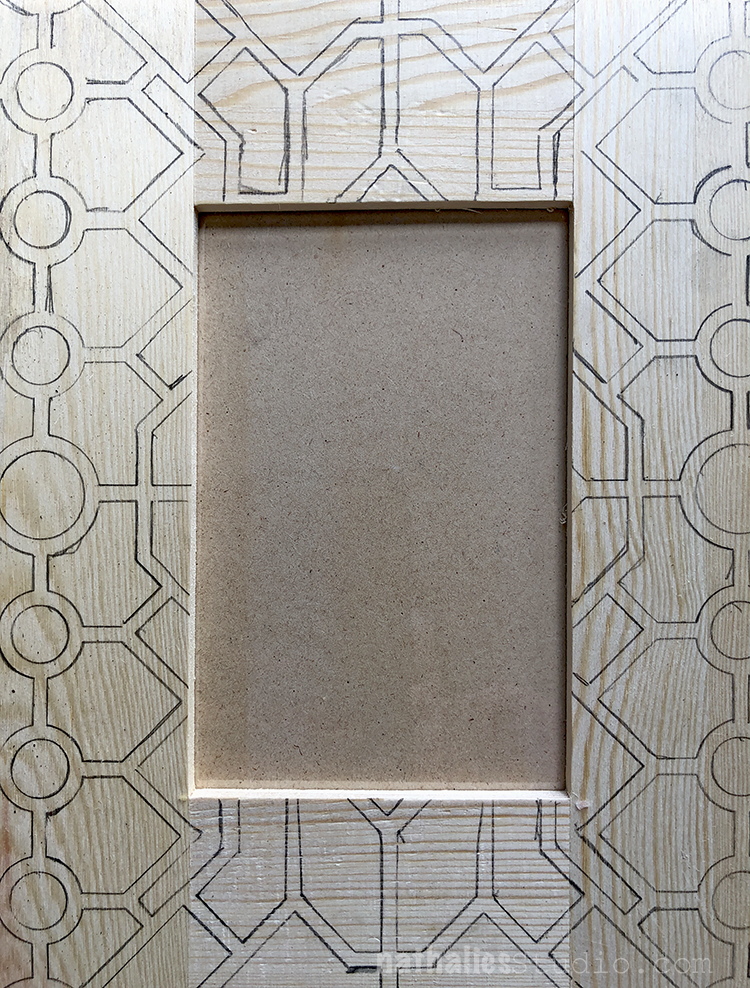
I love the stencil and it is perfect with it’s bigger opening for this project. I traced the pattern through the stencil with a pencil onto the frame.
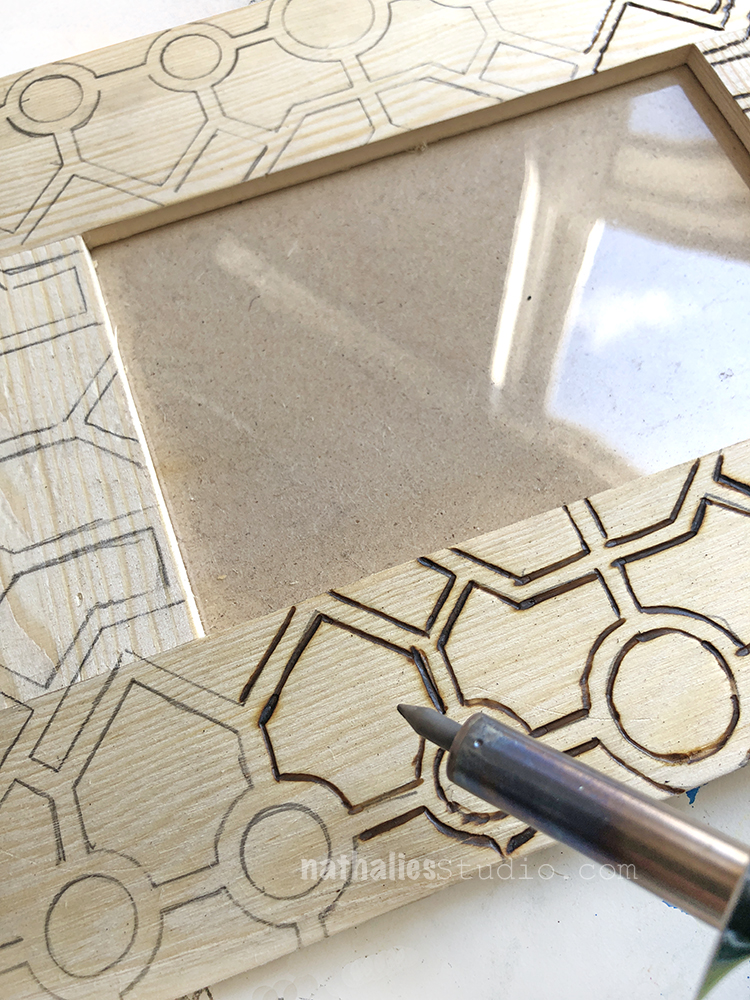
Then I simply followed the line with my wood burning tool.
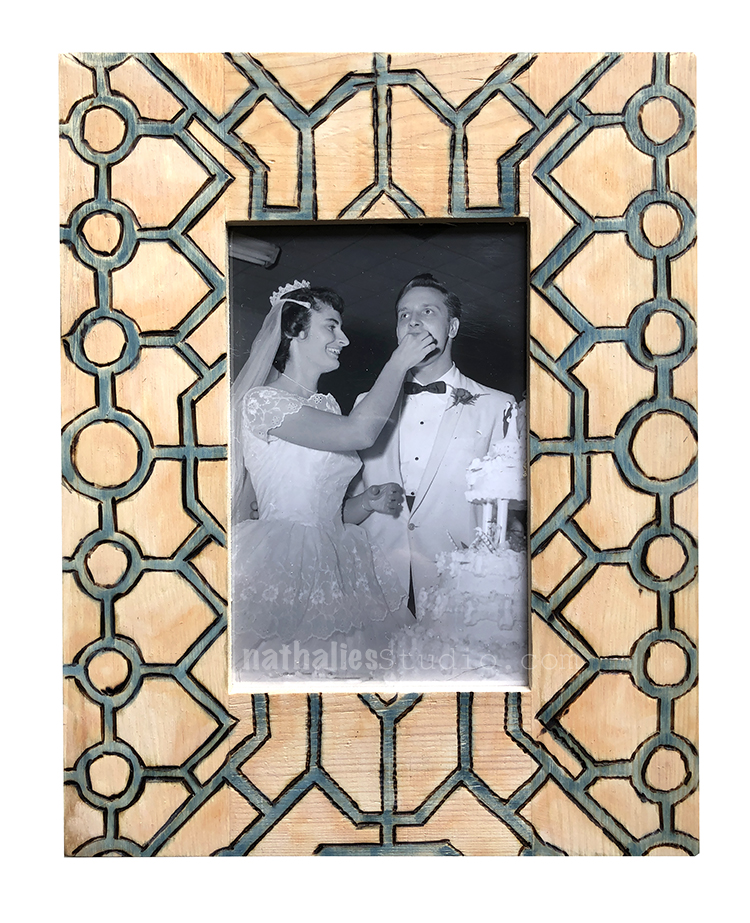
I used some ink pads to add a little bit of color to the pattern but to not loose the wood effect. 

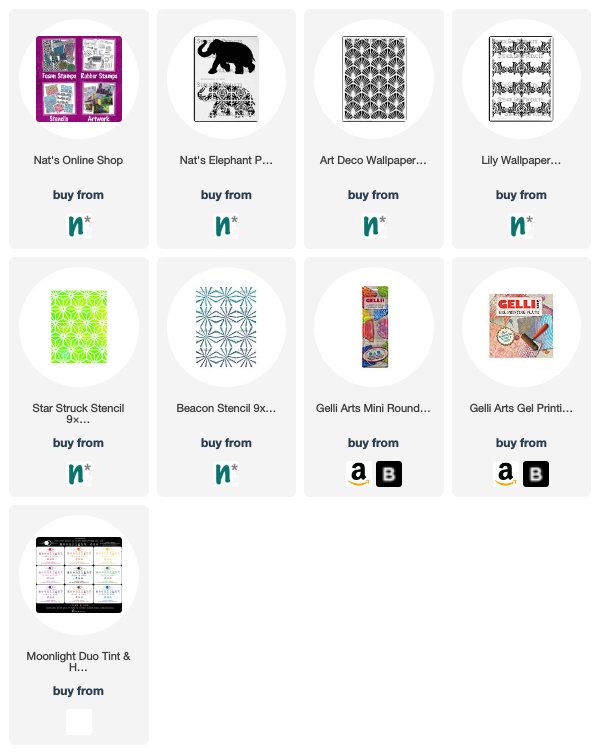
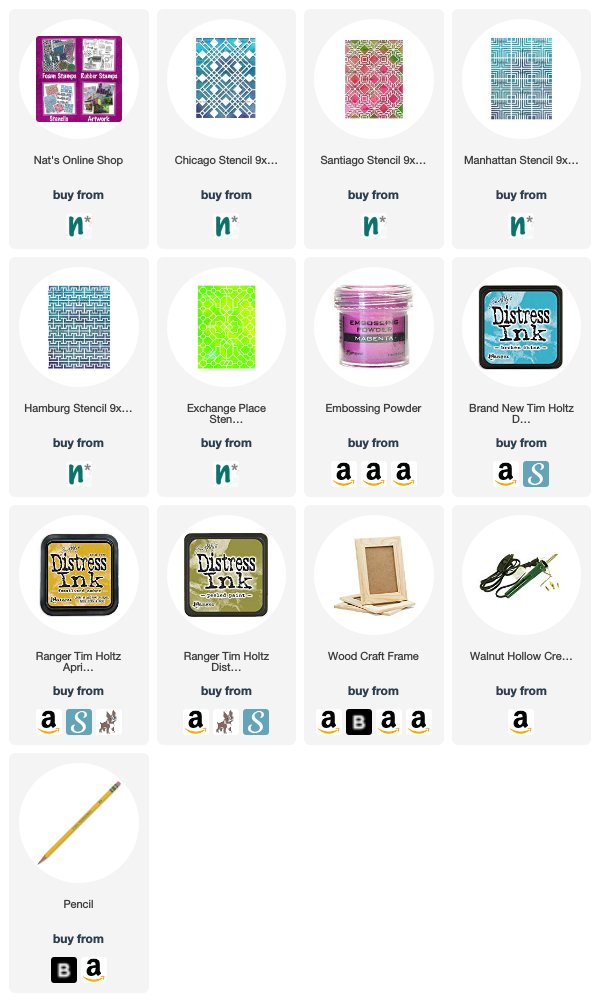
Here are some of the supplies I used in these prompts:
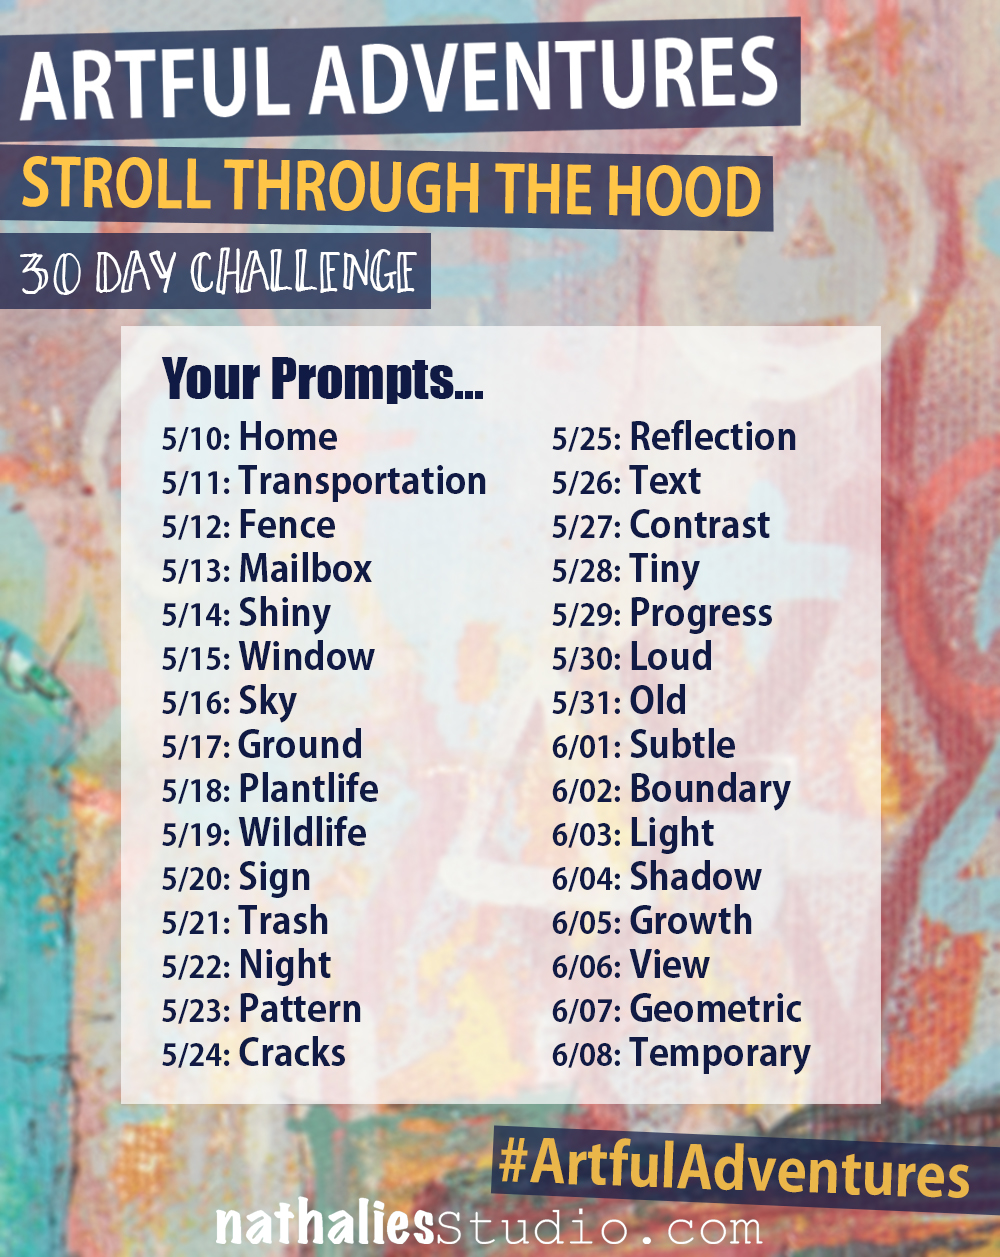
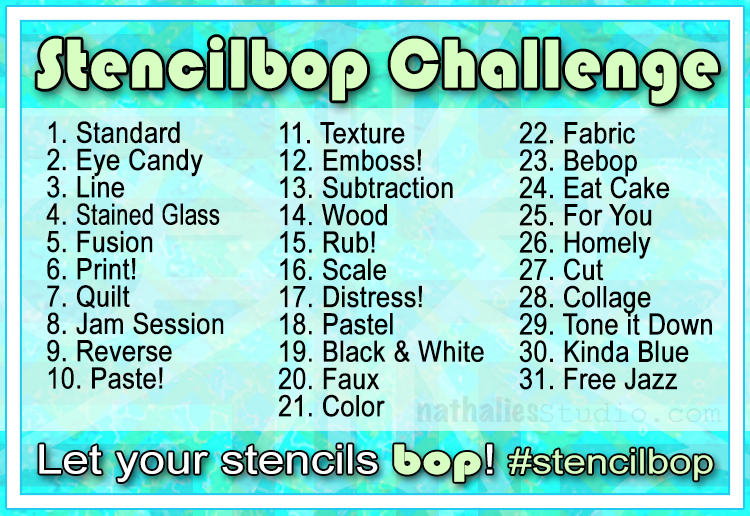
Play along with us on on my insta feed! Here is the prompt list:
Leave a comment

Stencilbop Challenge Prompts 10 & 11

Here is a recap of prompts 10 and 11:
August 10 – Paste

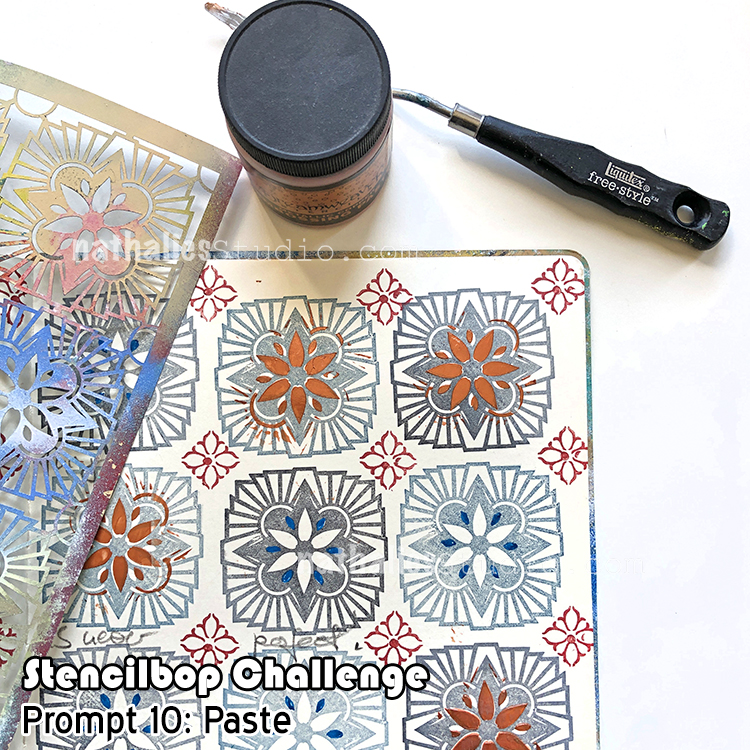
There is something utterly satisfying about spreading modeling paste or embossing paste through a stencil and create a nice small crisp raised pattern on top of a flat surface ….or it might be that I am just weird. But try it yourself ;) 

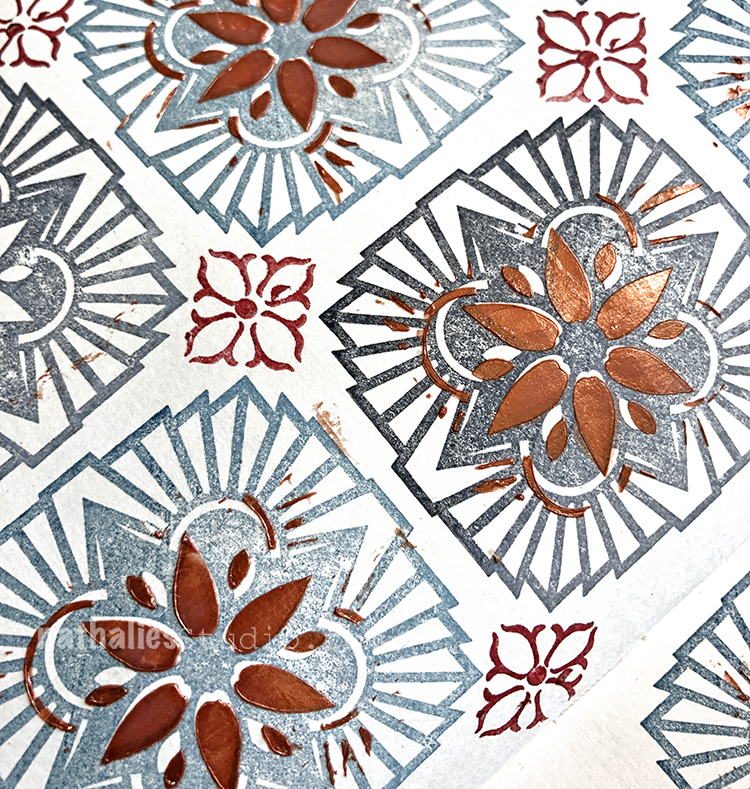
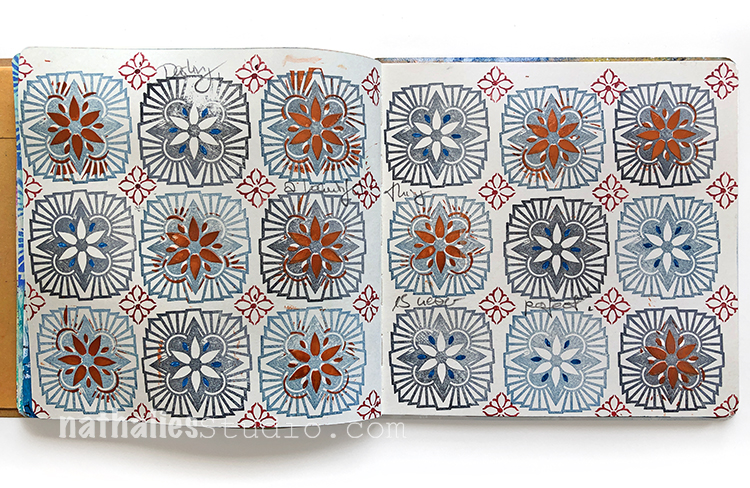
I used my Hamilton stencil on top of my Hamilton stamp – the middle part is almost identical in size. I found some metallic embossing paste in my stash and applied it with a palette knife over the middle. 

I love how this turned out. A little bit of sparkle and a little bit of texture- nom!

August 11 – Texture

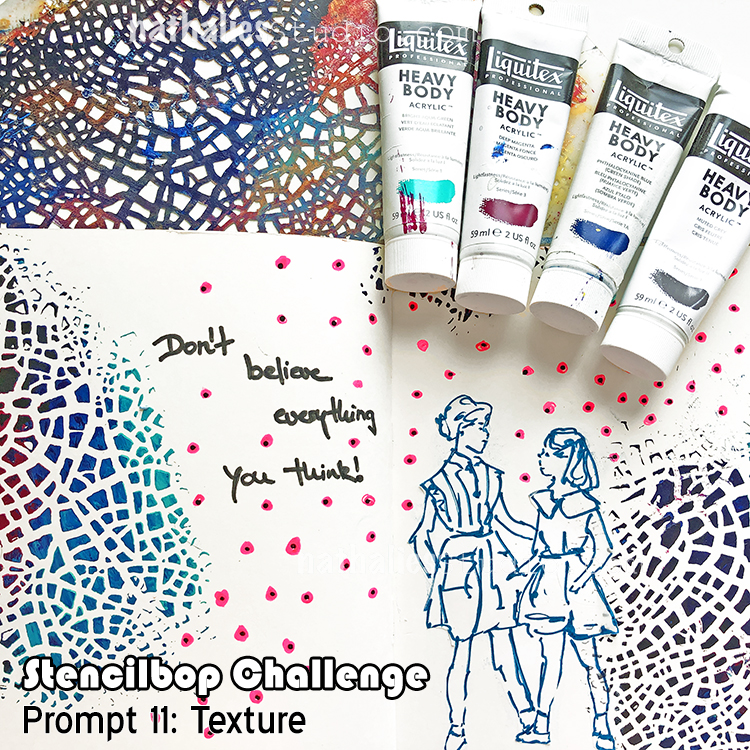
Texture is – besides Color – one of my favorite elements to use in my artwork and it is no coincidence that one of my very first stencils I designed in 2013 was my Crackle Stencil. 

I loved adding crackle texture to my artwork but boy did I dislike how long the different applications with mediums took – or how messy it was with some of the “old school” ways like Vaseline and acrylic paint. And so I was dreaming of a Crackle stencil – there was none out there and I am so glad Stencil Girl liked my idea and design. 

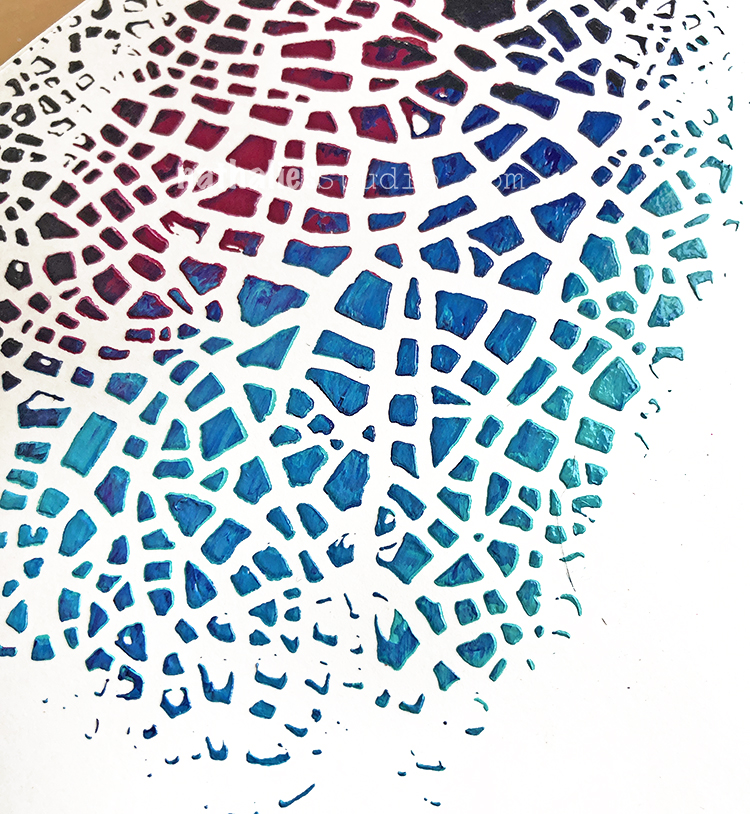
To this day it is one of my favorite and apparently one of your favorite stencils of mine as well. It has found a home more than any other stencils of mine. One of my favorite ways to this day to use the Crackle stencils is with heavy bodied acrylic paint. Simply spread over the stencil with a palette knife- let dry and there crackle bliss!

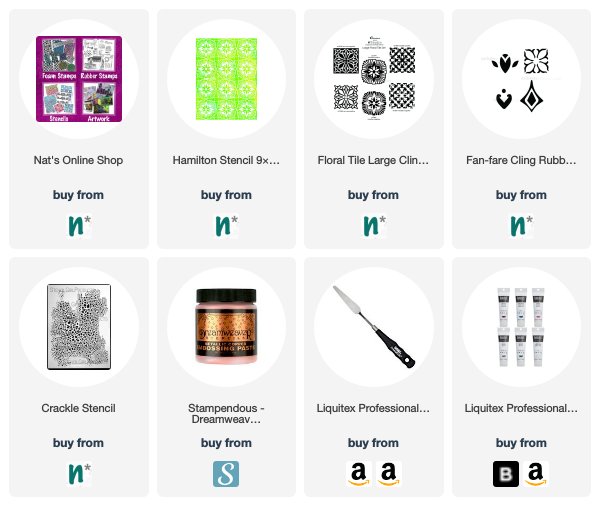
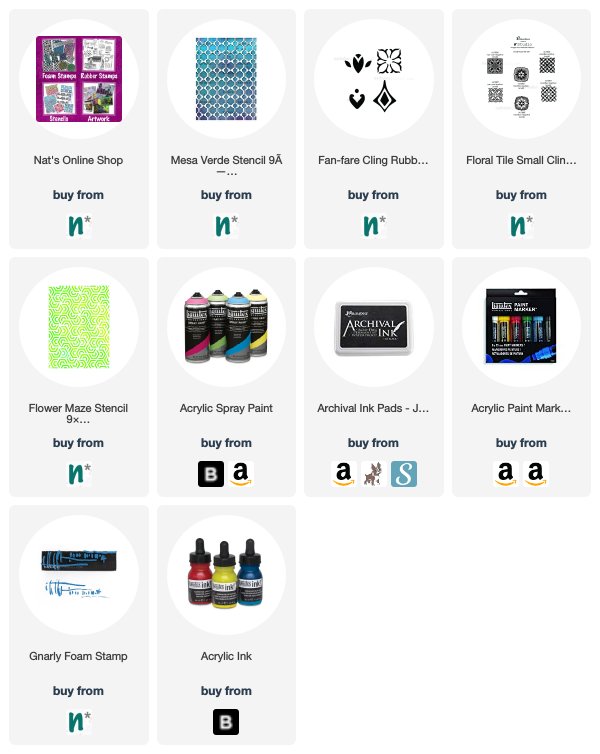
Here are some of the supplies I used:

Here are the daily prompts. I hope you play along with us on on my insta feed!

Leave a comment

Stencilbop Challenge Prompts 8 & 9

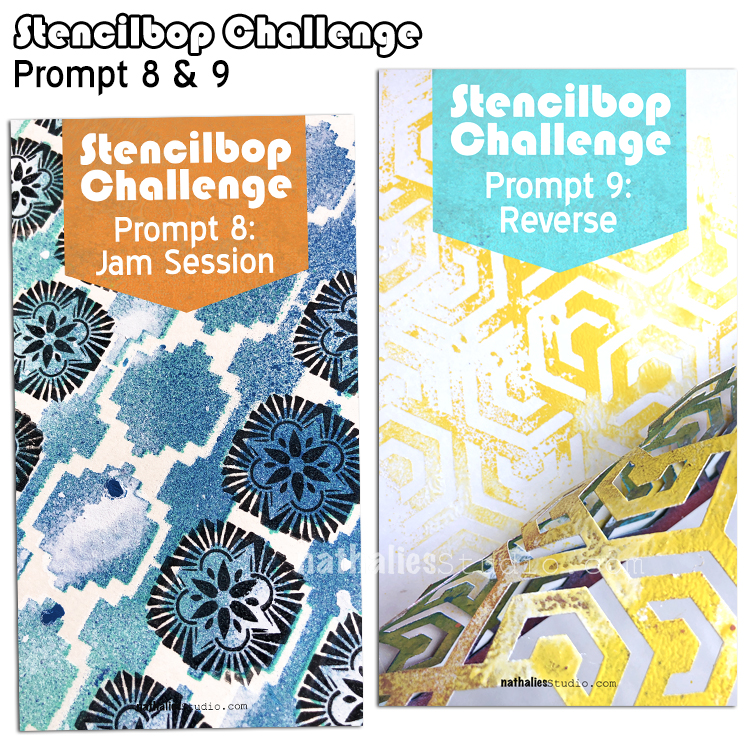
Here is a recap of Prompts 8 and 9:

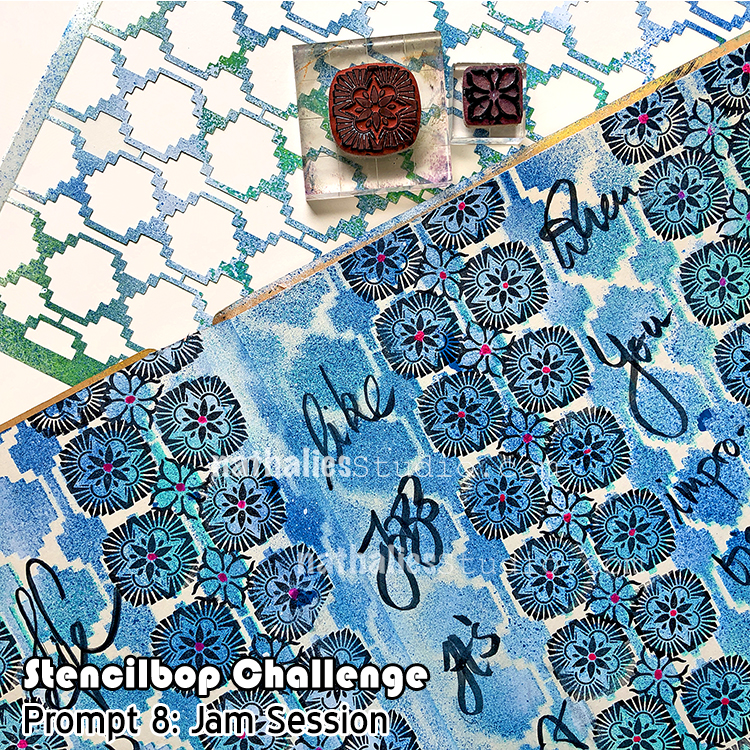
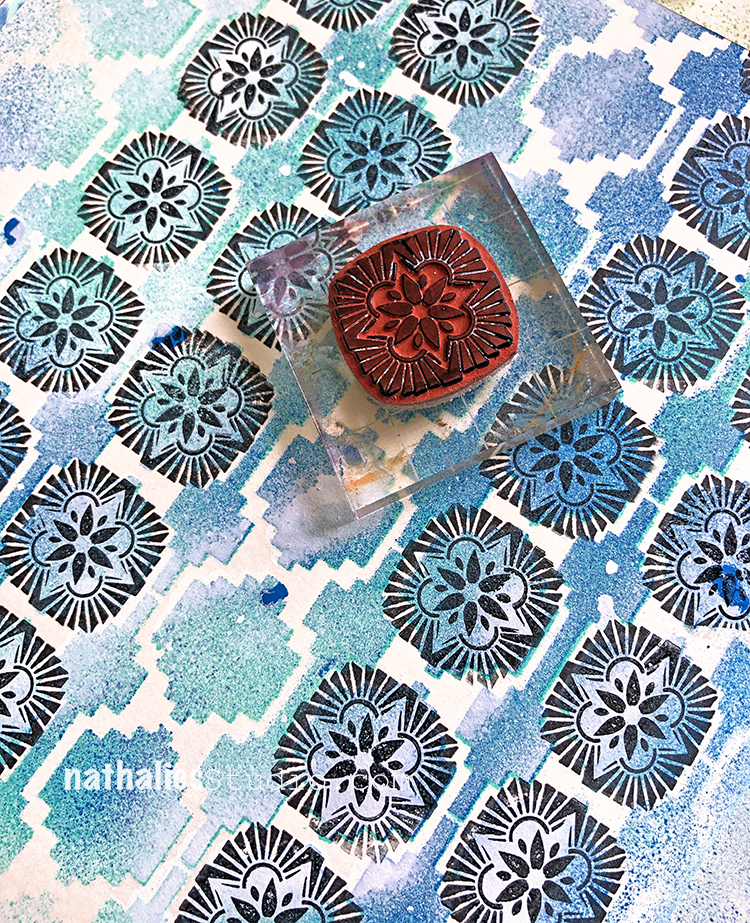
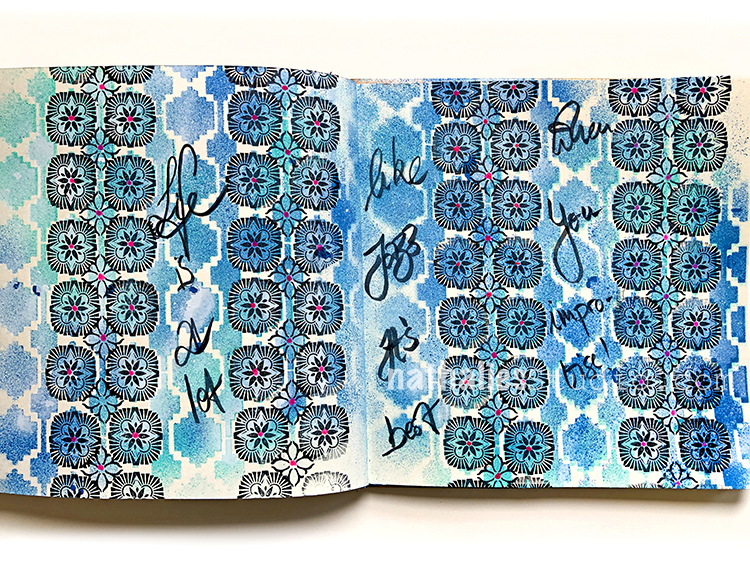
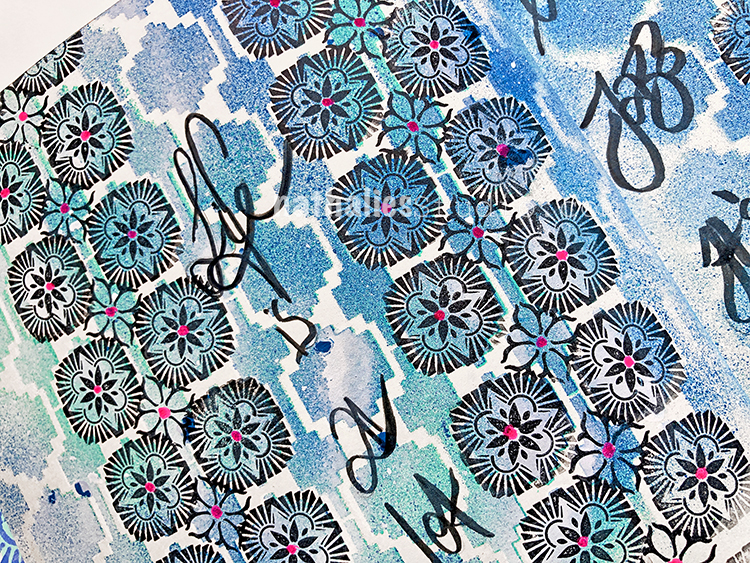
August 8 – Jam Session

Mixed Media always has been my super love – mixing different materials, paint media and tools is just my jam. 

Besides looking for which paint media work together with a stencil , I love to go on a hunt and see which of my stamps fit with my stencils to get to a total new pattern. Here is combined my Mesa Verde Stencil with one of my Floral Tile rubber stamps and Fan-Fare Rubber stamps. 

I love how this came together. As for paint media, I used Spray paint over the stencil, an inkpad for the stamping and an acrylic ink marker for the little dots. 

Can’t wait to see how you interpret the theme Jam Session.

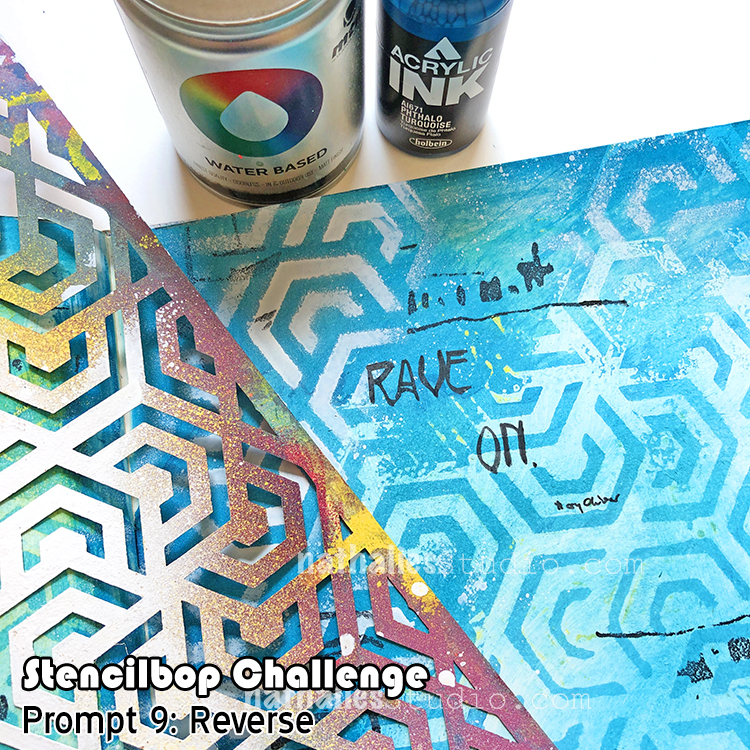
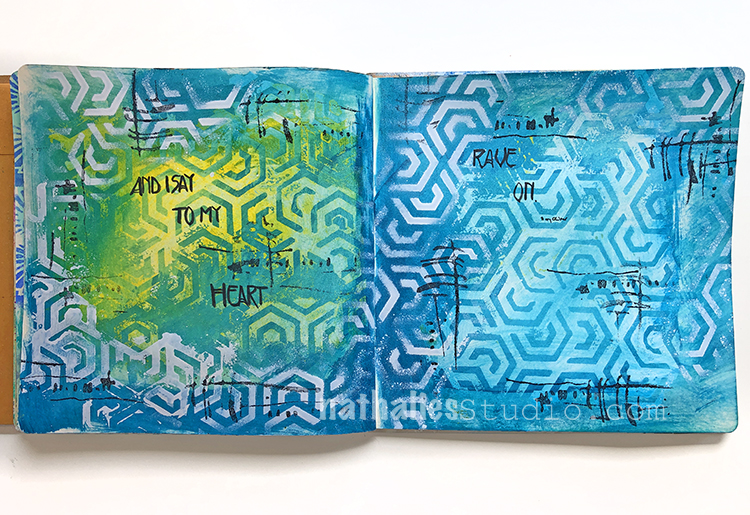
August 9 – Reverse

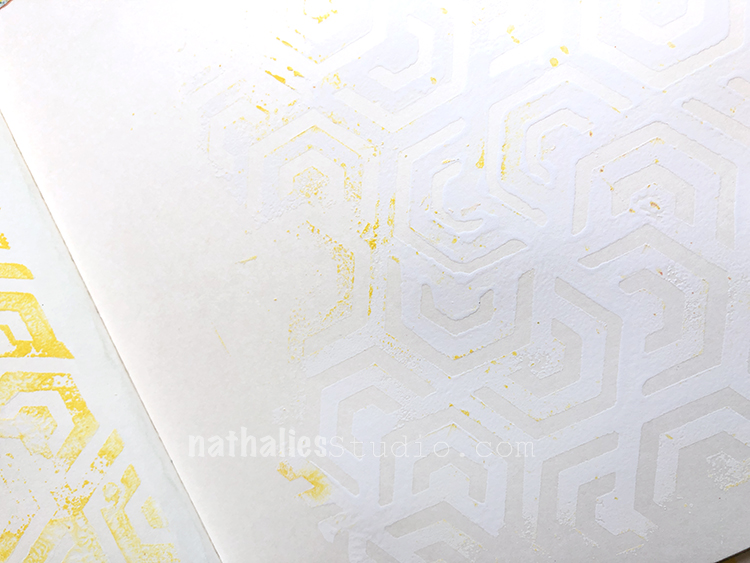
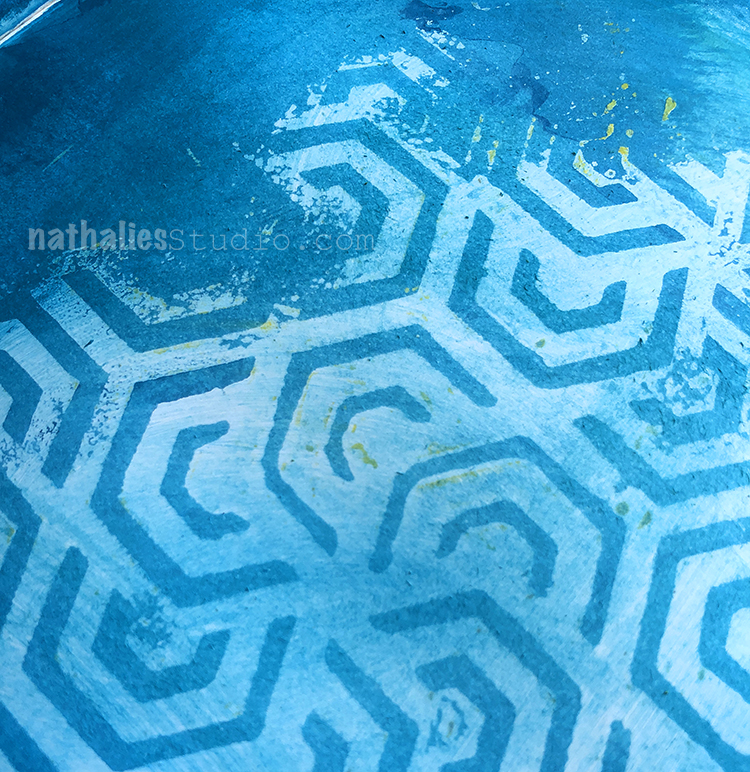
I love using the reverse of the stencil – meaning the opposite of what the stencil usually shows when applying paint media over it. Sometimes that can be archived by stenciling and then taking the stencil that still has some paint on top and printing with it. 

For this spread I sprayed over my Flower Maze stencil on a different piece of substrate and then flipped the stencil over and printed onto my art journal. I love using white as well as other colors.

The reason I love to use spray paint is that the pattern is applied in a nice thick “plasticky” way, which actually is perfect when you apply thin paint or ink on top. The spray painted pattern will resist the ink longer and can be wiped off the pattern making for a nice and really cool effect. 

Here are some of the supplies I used:

Here are the daily prompts. I hope you play along with us on on my insta feed!

Leave a comment

Stencilbop Challenge Prompts 5,6 & 7

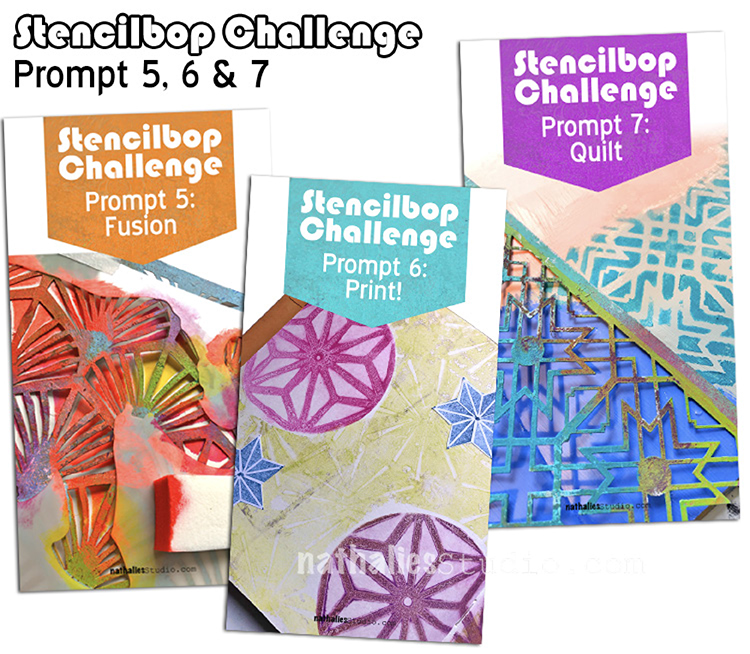
Here is an overview of Prompts 5, 6 & 7:

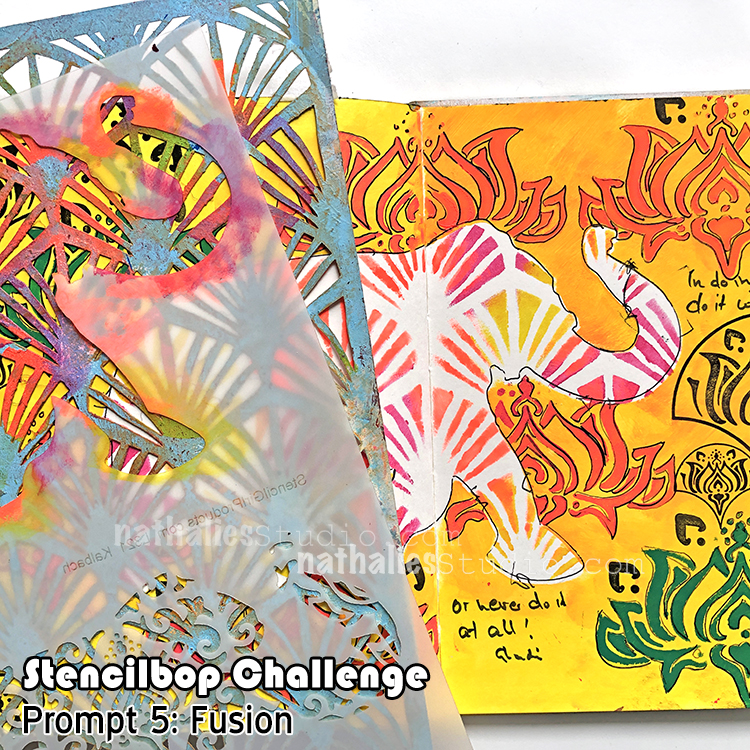
August 5 – Fusion

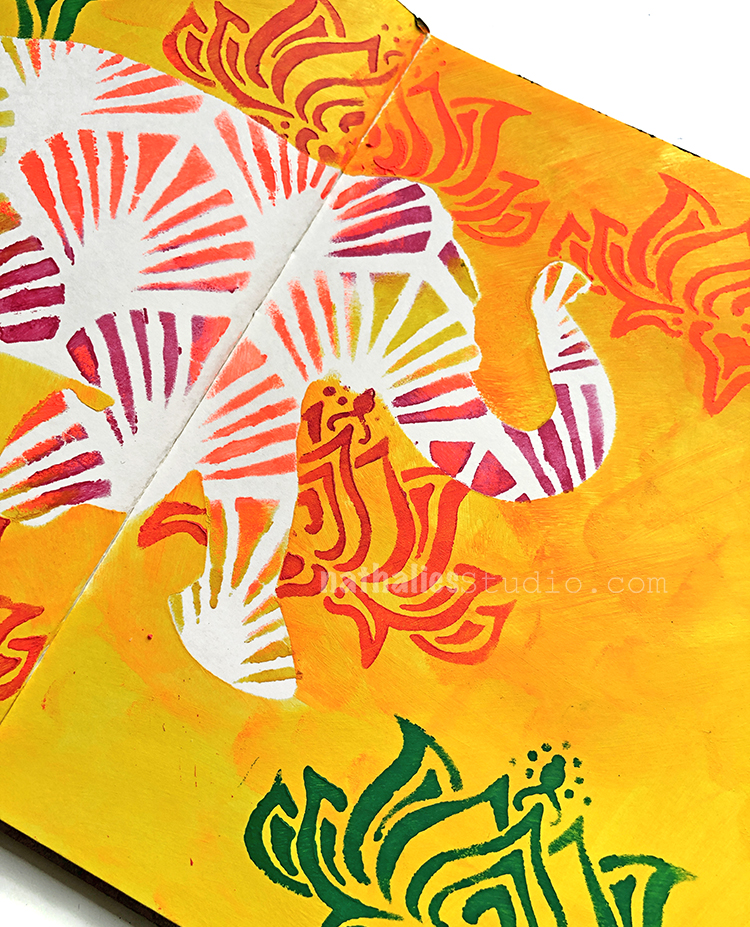
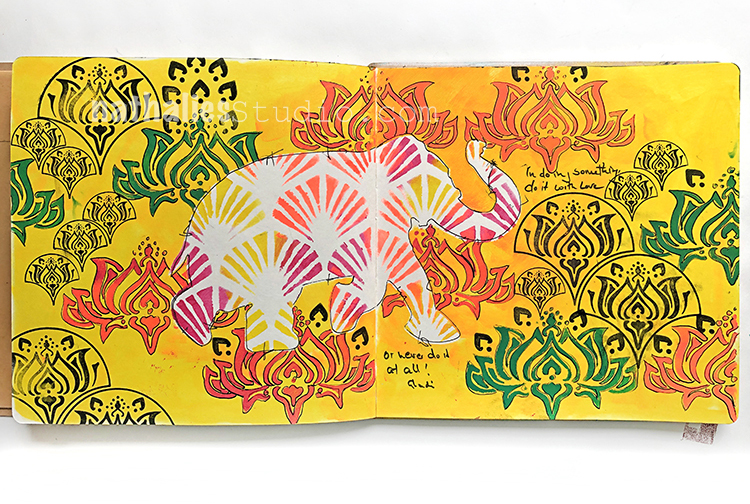
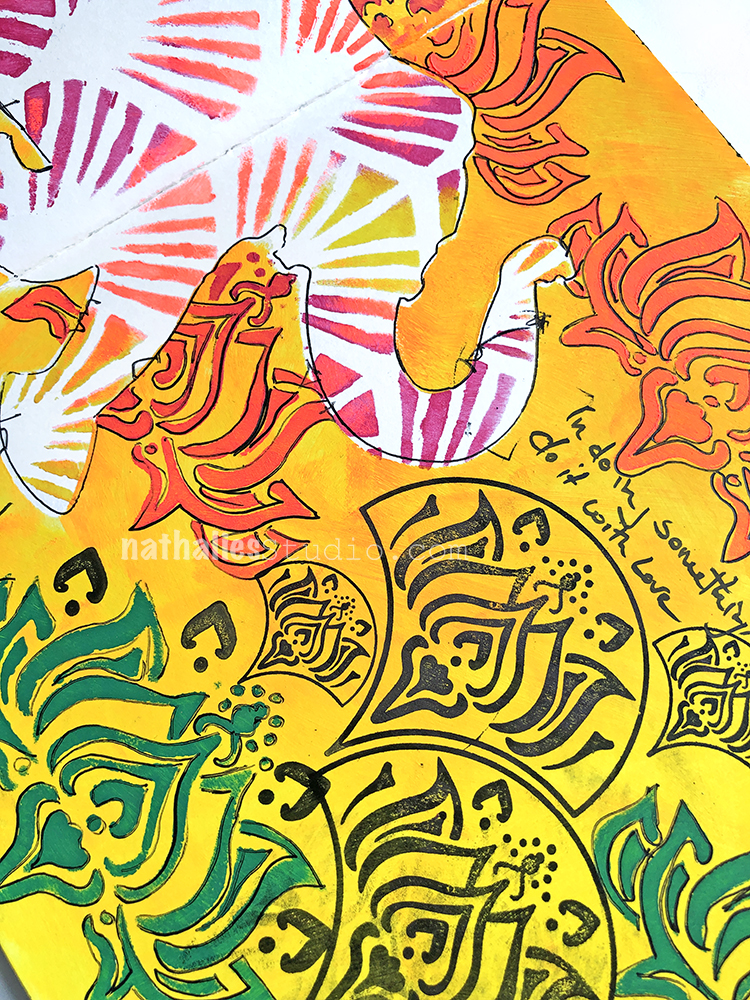
I love layering stencils with bigger openings with small pattern stencils. For this art journaling spread I used my Elephant Parade Stencil on top of my Art Deco Wallpaper stencil.

It is such an easy way to combine or fuse stencils.

Later I used the mask of the elephant, which is also included in this stencils to trace the elephant and also to stencil with my Lily Wallpaper Stencil for the background. 

August 6 – Print!

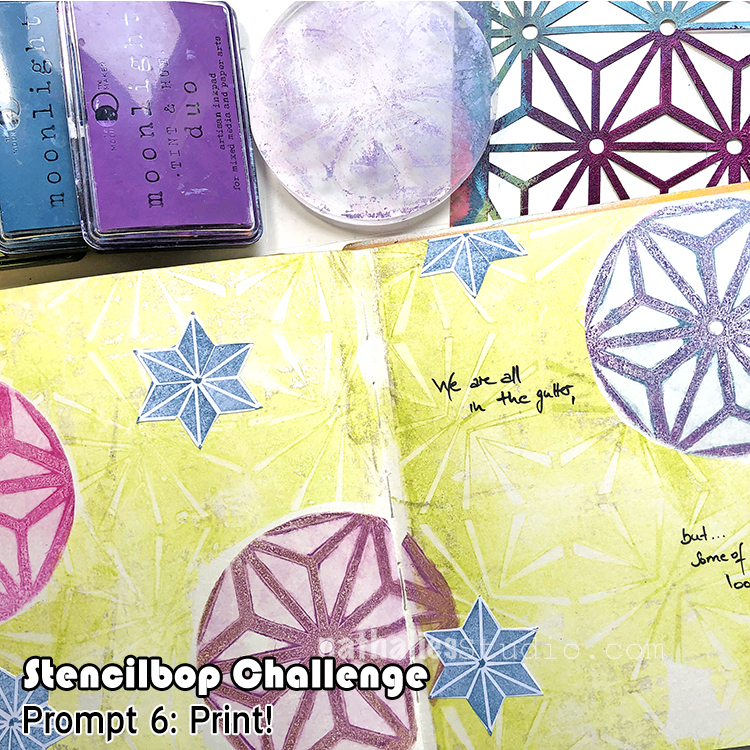
Using stencils with a printing plate like the Gelli Plate is super fun. One technique I do enjoy a lot is using different plates and inkpads with stencils and then print into my art journal. 

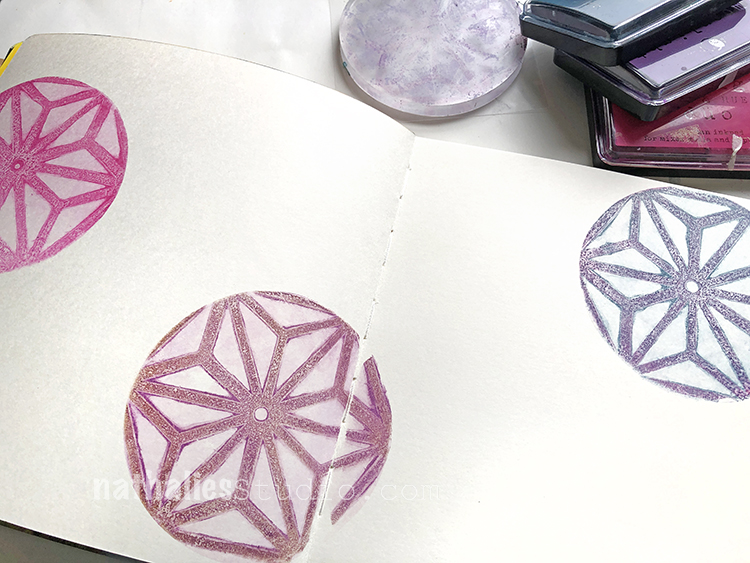
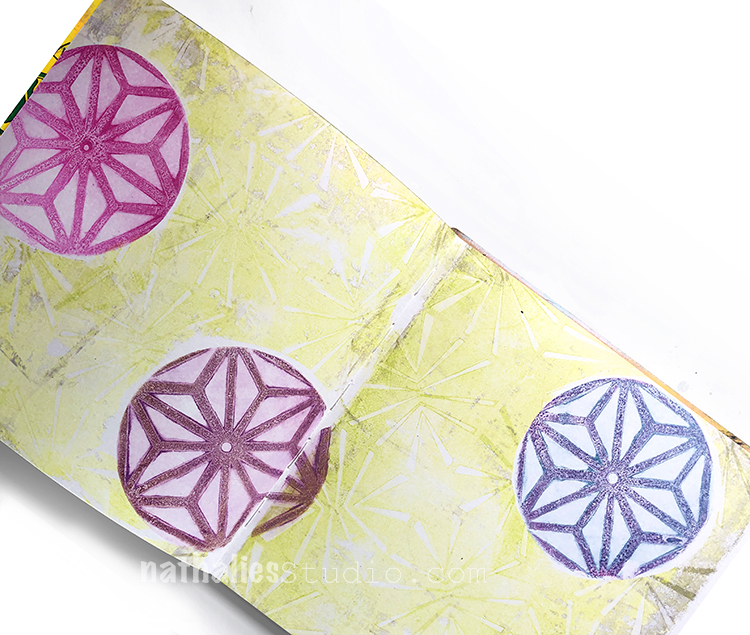
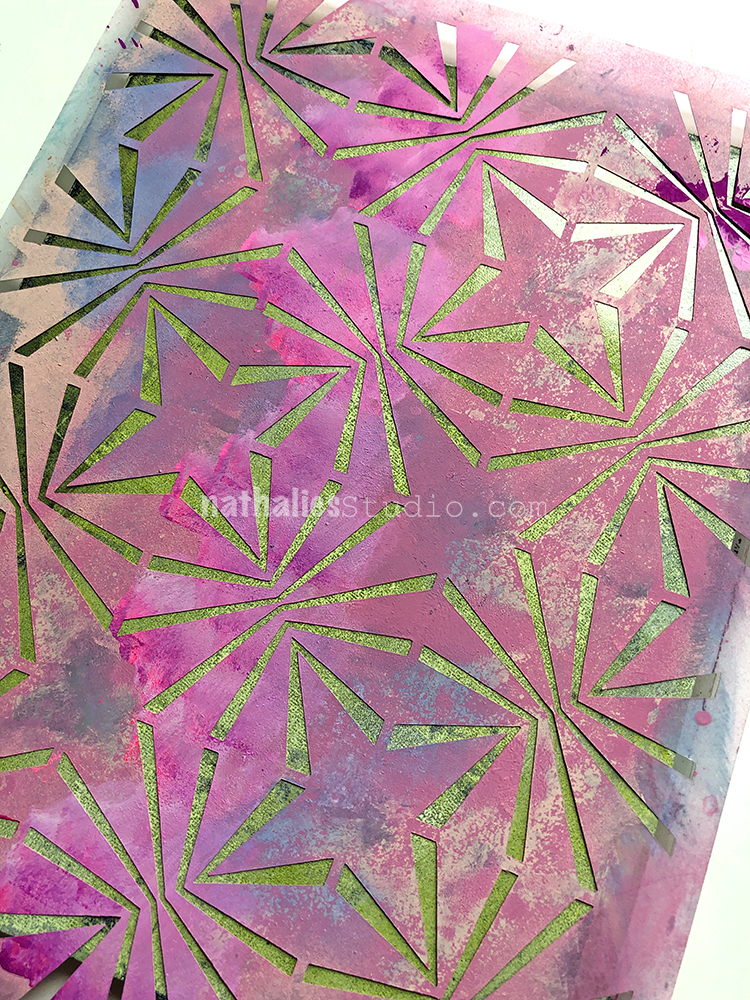
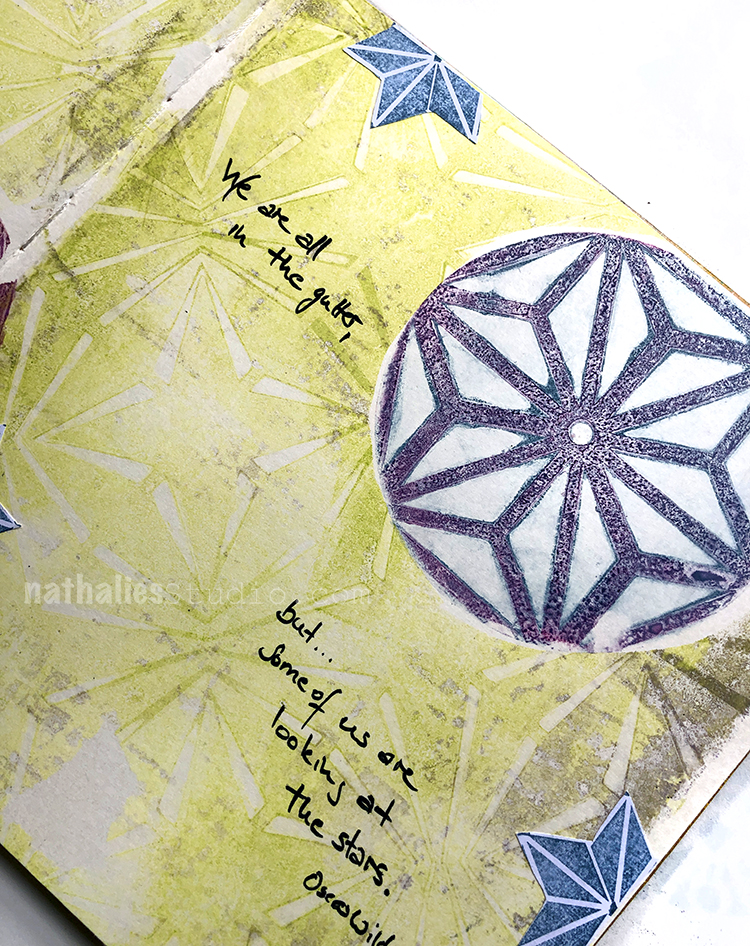
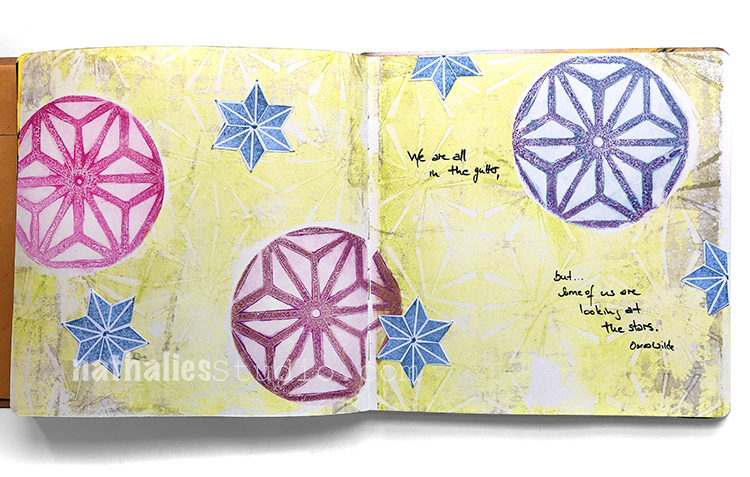
For this spread I used a small round gel plate and first added some ink onto the plate. I used a hybrid inkpad by Moonlight Duo which doesn’t dry too fast, it also creates some nice gradients in color due to its dual pads. I applied my Star Struck Stencil, and printed off to another piece of paper (you can make cards or use those prints as collage paper). Then I lifted the stencil and turned the plate around to print on top of my journal page. 

I did this in different colors and then masked off those areas in my art journal – repeating the same process with a bigger gel plate and my Beacon Stencil

Here is the finished page:

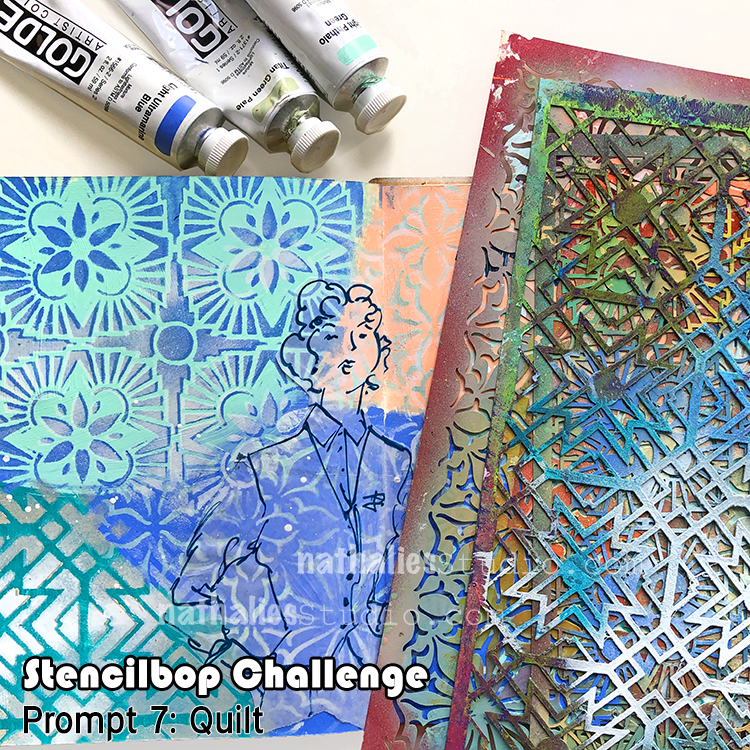
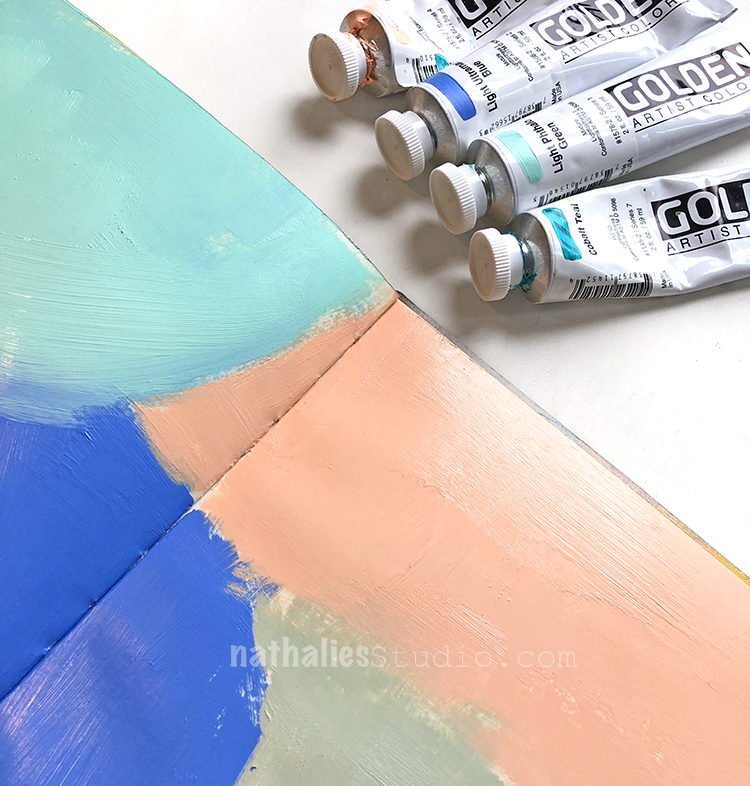
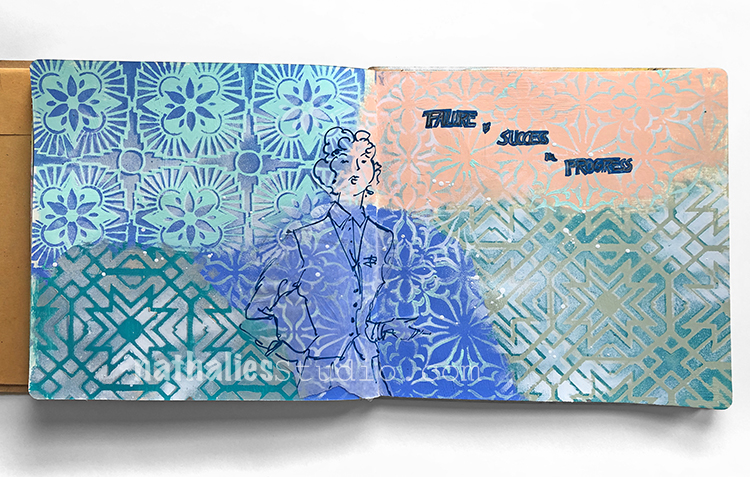
August 7 – Quilt

Now I cannot sew very well …might have to do with my dislike of rulers and measurements ;) But inspired by the different colors and patterns quilts are often made of, I use this process quite often in my art journals. 

I paint the background in different color swatches…

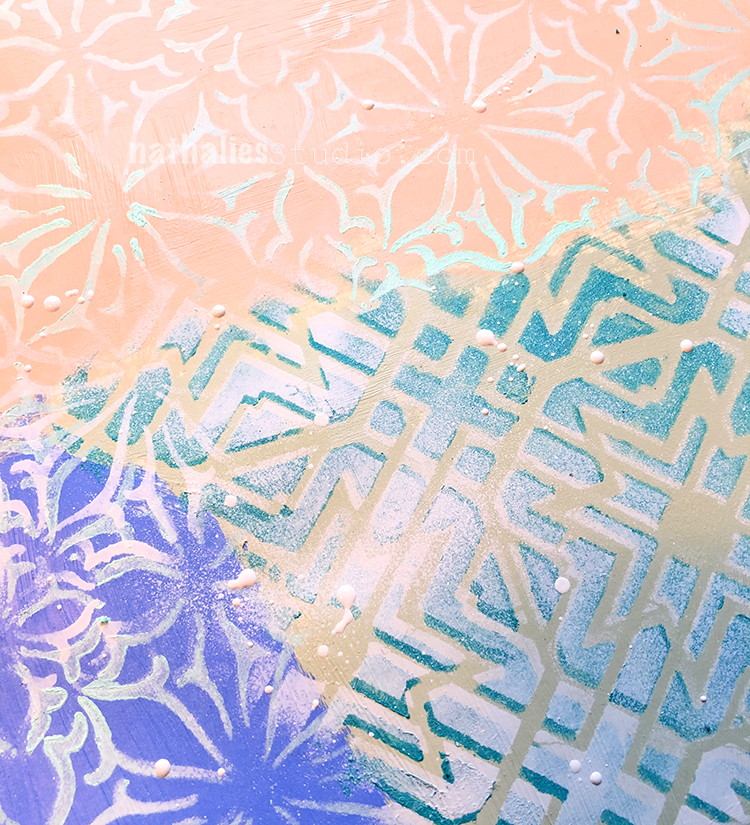
and then apply different stencils on top of those swatches using any of the other colors that I had used before. Here I used my Hamilton, Van Vorst, and Toledo 9×12 stencils.

This way I make sure the repetition of color ties the design together. A fun and easy way to create the foundation for an art journal spread. 

Here are some of the supplies I used in these prompts:

Here are the daily prompts. I hope you play along with us on on my insta feed!

Leave a comment

Join the Artful Adventure! Challenge & Free Class

I invite you to an Artful Adventure Challenge with a Free Class !

Play along with me on this 30 Day Challenge, beginning on May 10th, 2017 and culminating in the release of my new book Artful Adventures in Mixed Media: Techniques Inspired by Observation and Experience on June 8, 2017!

Go on an Artful Adventure with me and join into a Free Classroom with some fun tutorials!

With the challenge find inspiration by taking a “Stroll Through The Hood” and observing the details of the world around you. Anyone can join in on the fun by following our list of daily prompts. Each day you will have a new word to inspire you. Go for a stroll outside, snap a photo of something that you feel illustrates the word of the day, and build a collection of visual material to inspire your artwork, art journaling, and mixed media projects. Along the way you’ll discover things about your Hood that you may have never noticed before, and you’ll learn to find inspiration just outside your door. Use #ArtfulAdventures on social media and share your photos and the projects you were inspired to make.

Go even further and sign up to access the FREE classroom going along with the challenge. The classroom will offer several tutorials by me, my photos for the challenge with explanation what inspires me, some surprise guests with tutorials, a place for sharing, a community environment, and multiple chances to win a free copy of my new book Artful Adventures in Mixed Media..  Join me on my #ArtfulAdventures as I show you how I transform my prompt-inspired photos into artwork. Share your photos in the daily lesson prompts and see what others are observing in their “Hoods”. Comment and discuss with a whole bunch of people who are taking the challenge with you.

I hope you will join the fun! It’s free- so …come on :)

Comments (4)

  • Stephanie

    |

    Woot! I’m signed up too

    Reply

  • jamcam2022

    |

    Just signed up for class – don’t know how much I will be able to participate but am anxious to see what you share. Can’t wait to get your new book!!!

    Reply

    • nathalie-kalbach

      |

      Yeah- so good to have you JoAnn! Have a wonderful weekend!

      Reply

Leave a comment

Find Out Fridays or …A Challenge is a Challenge

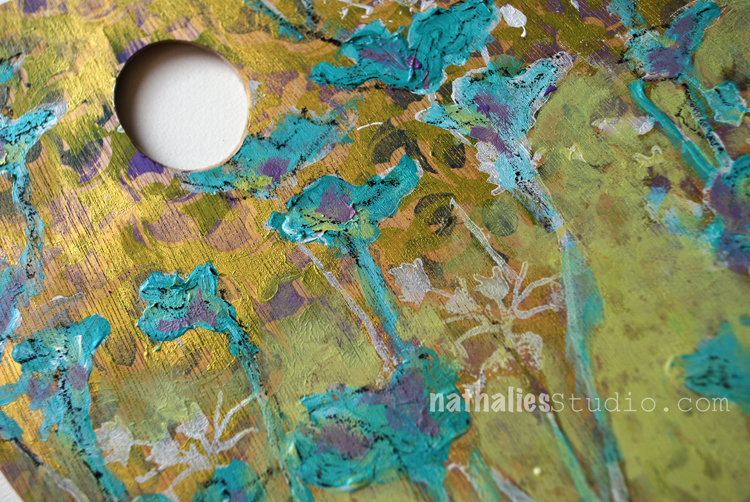
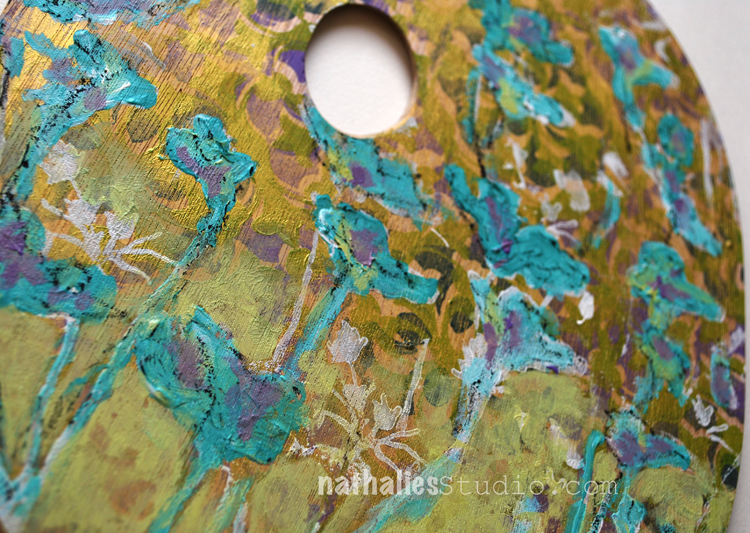
A couple months ago Donna Downey sent me an email and asked if I was up for a challenge. She would send me 4 supplies one month for her Find Out Fridays Challenge and I would have to record the unpacking and creating with those supplies. I was allowed to add whatever I wanted from my own stash. Now …I thought why not and said yes :) And then the package came …and I realized …a challenge is a challenge. LOL. It was pretty pretty hard to be honest and I didn’t want to add gazillion of things from my own stash as that felt like cheating for me …but see yourself ;)

Here are some photos:

It was actually fun and super out of my box- thank you Donna for making me get out of my comfort zone- We all need that once in a while :)

In addition to the Find out Fridays kit, I used the following supplies, some affiliate links:


What would you have created with the supplies?

Have a wonderful day

Comments (4)

  • Laura Weed

    |

    Wow, Nathalie!! What a cool project. I think you did an amazing job with a surprise package! Thanks for sharing!!

    Reply

    • nathalie-kalbach

      |

      Thank you Laura :) Thanks for coming by and have a gorgeous weekend!

      Reply

  • Jean Goza

    |

    Very cool project! The gold gesso is now on my “want” list. Love the effect.

    Reply

    • nathalie-kalbach

      |

      Thank you Jean! The gold gesso definitely is yummie :) I like it a lot!

      Reply

Leave a comment