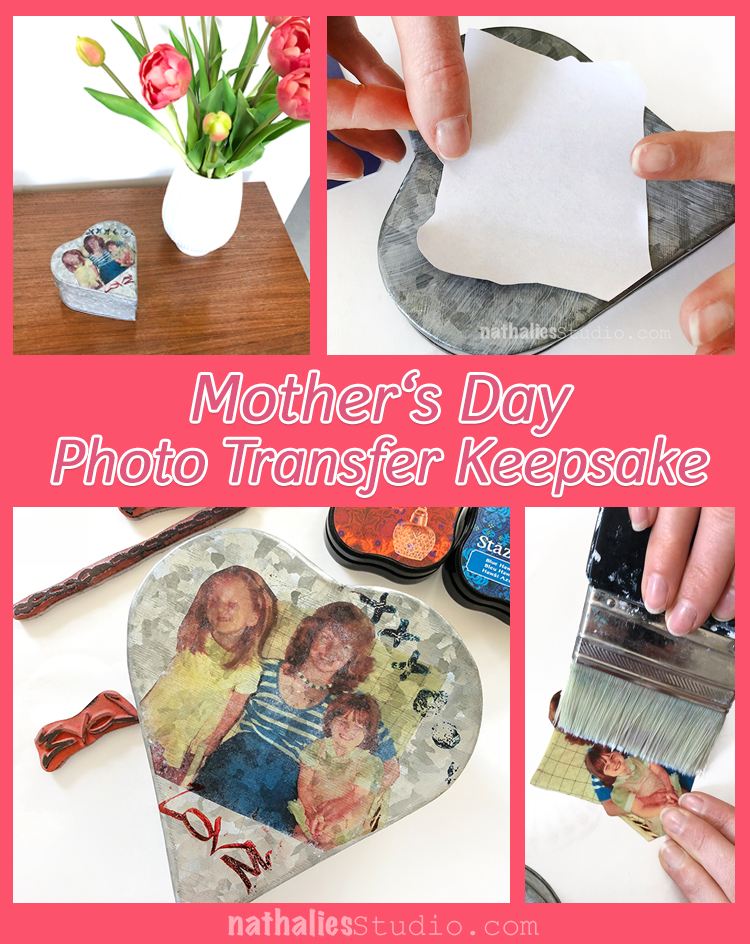
A while ago I made some photo transfers on galvanized metal plates and Kim really liked the look and so she asked if I could show her how to do it so that she could make a cute gift for her Mom for Mother’s Day.
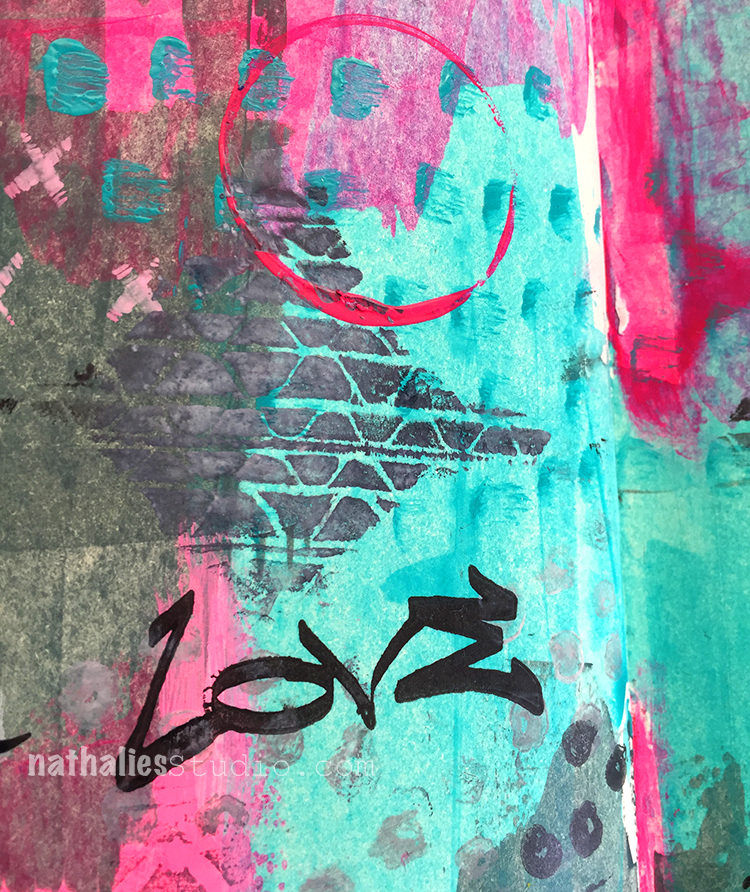
The fun part about doing a transfer on the metal is that you have the metallic sheen in the transfer but also the visual texture of the tin adding almost a painterly quality.

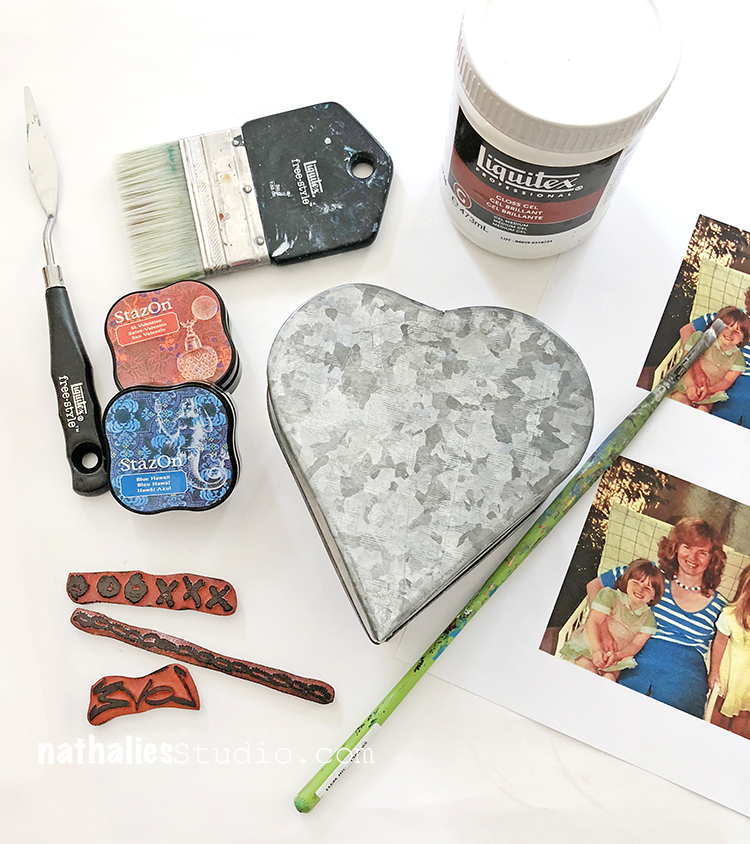
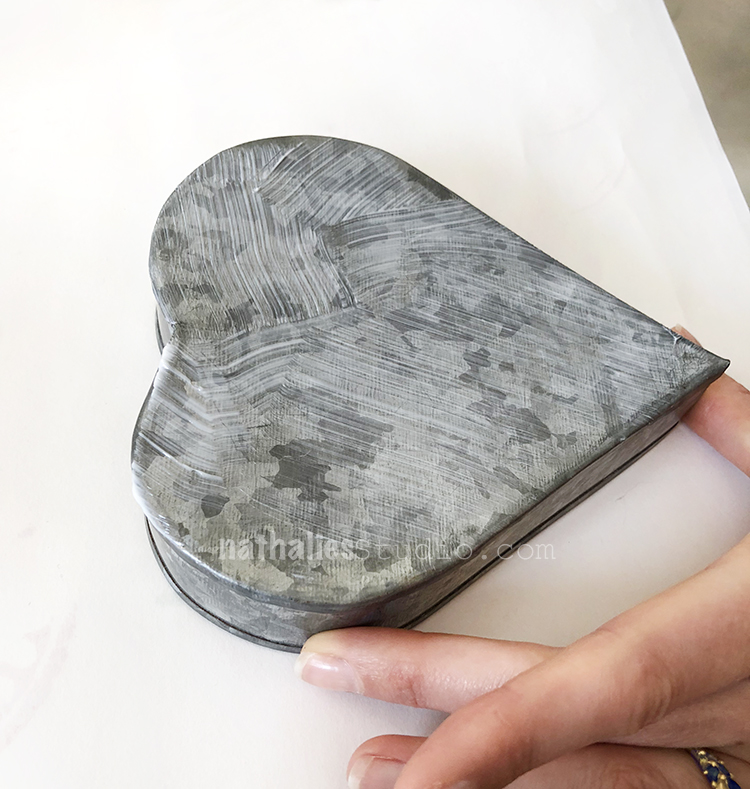
Gloss Gel, a brush, a galvanized tin and photo as well optional some stamps and a stamping pad are the supplies needed. Kim decided on a galvanized heart box for the transfer.
Something that is really important regarding the photo is that you need a high contrast laser print and that you will need to reverse the image before you have it printed out because the transfer will mirror your photo, words, buildings, people etc.
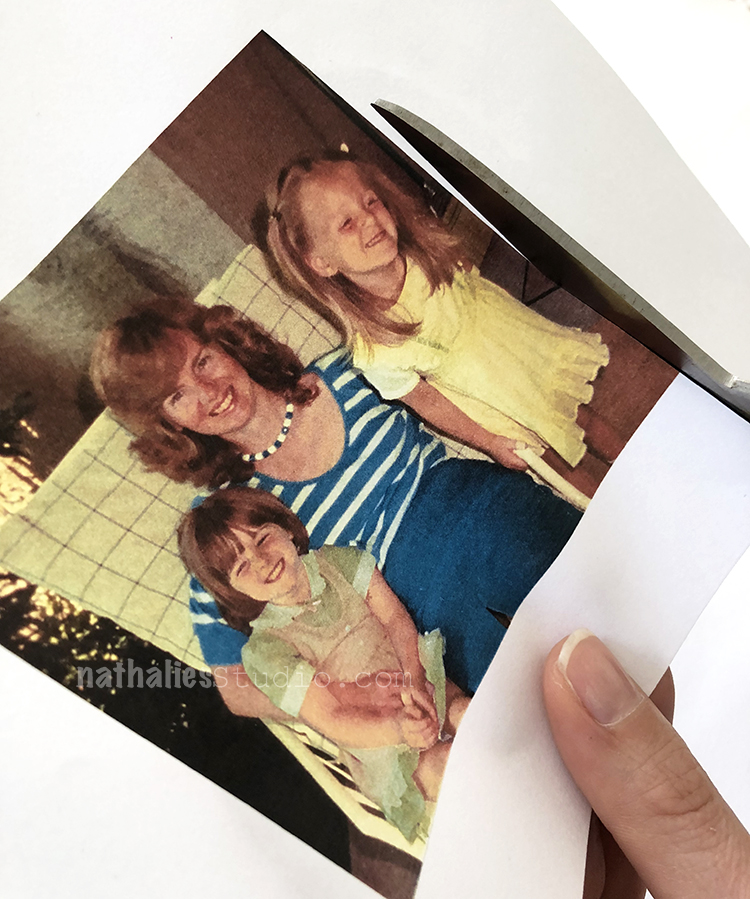
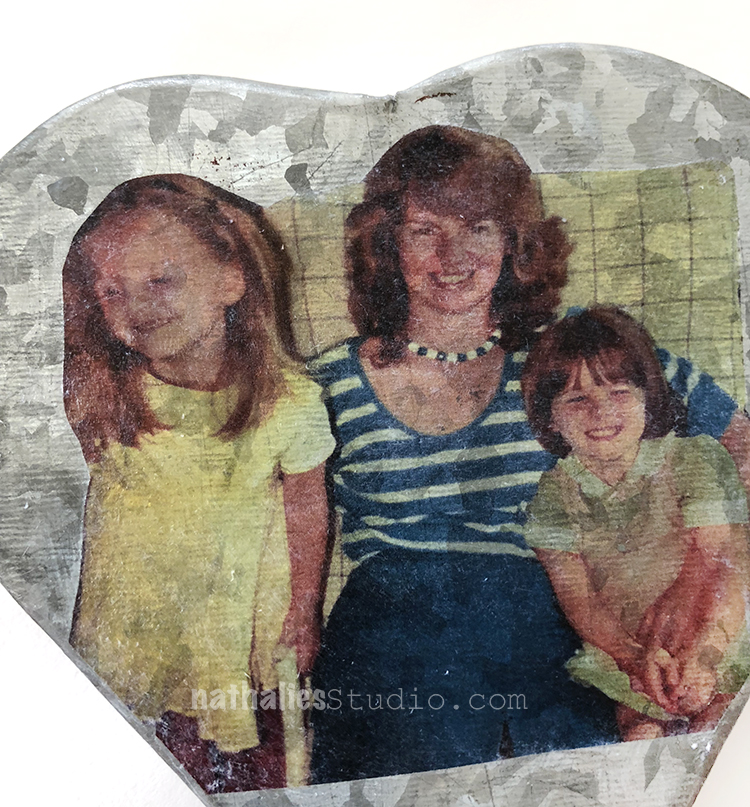
Cut the image to size – Kim cut along the edges of this photo -aren’t her sister, she and her Mom the cutest?
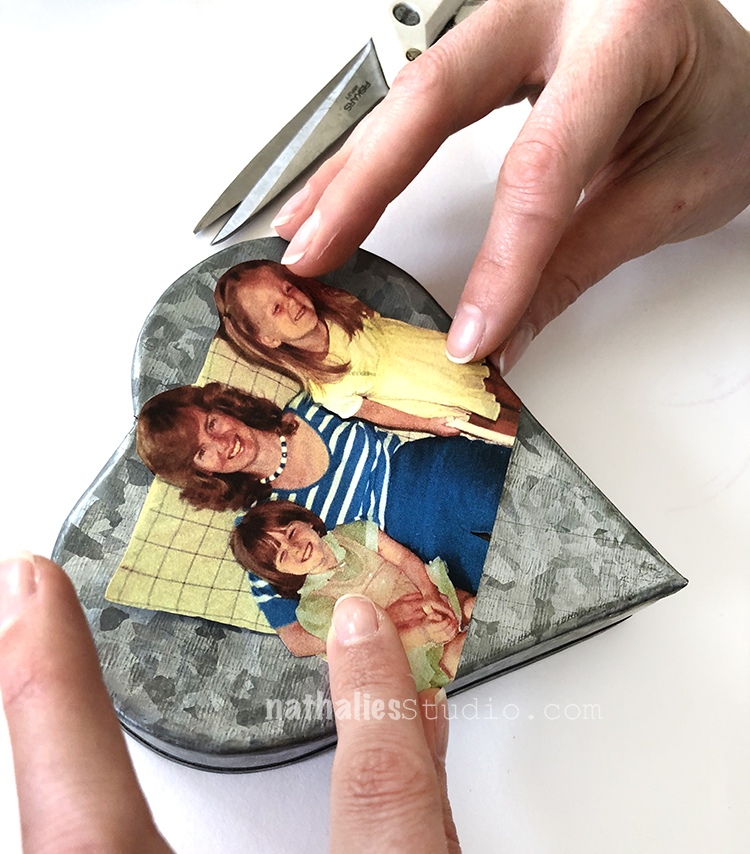
She made sure the photo would fit onto the heart shaped lid of a tin box.
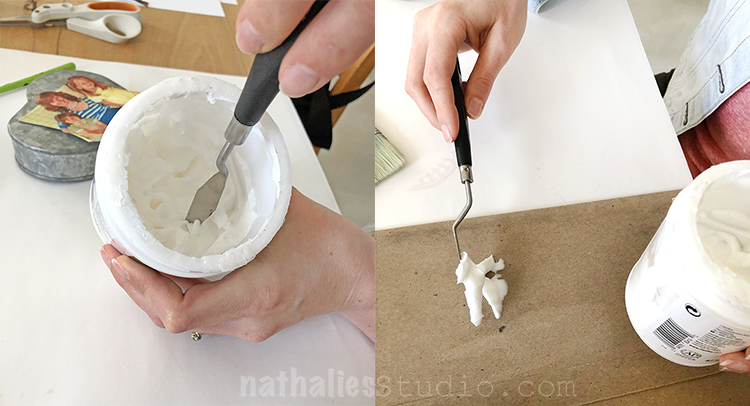
Scoop some of the Liquitex Gloss Gel out of the jar. You can later put the unused gel back into the jar. The reason why I like to use glossy Gel Medium is that the glossier the medium, the more translucent the transfer will become.
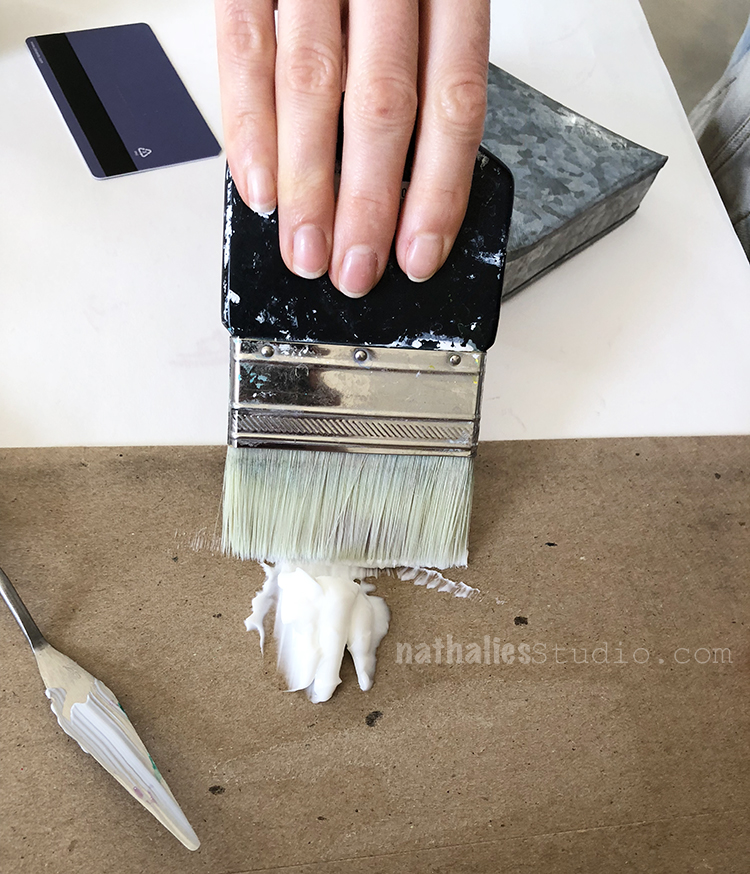
Using a paddle brush to cover the tin (you can use any brush- but I prefer the paddle brush because it helps with an even distribution of the medium and and makes it easer to smooth out brushstrokes)
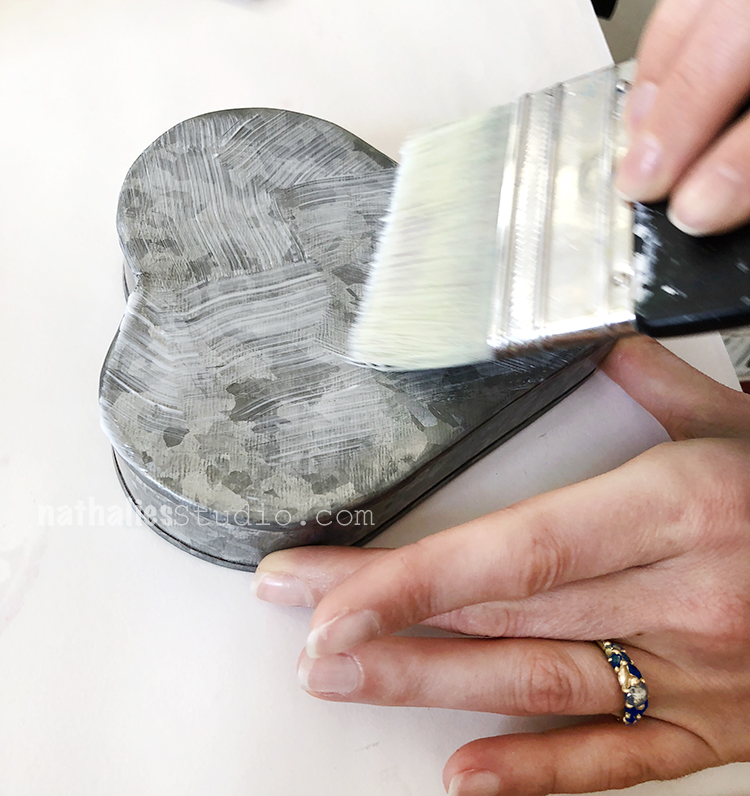
Even though the photo is smaller then the lid Kim covered it entirely because will even the glossy sheen once the gel is dried.
Then spread the gel also over the photo. You don’t want to cover any of the surfaces to thickly and you need to work fast to prevent the gel from drying.

Then place the image facing down onto the tin
and burnish it down. Carefully get rid of any bubbles that may have accumulated beneath the image by using a plastic card or squeegee.
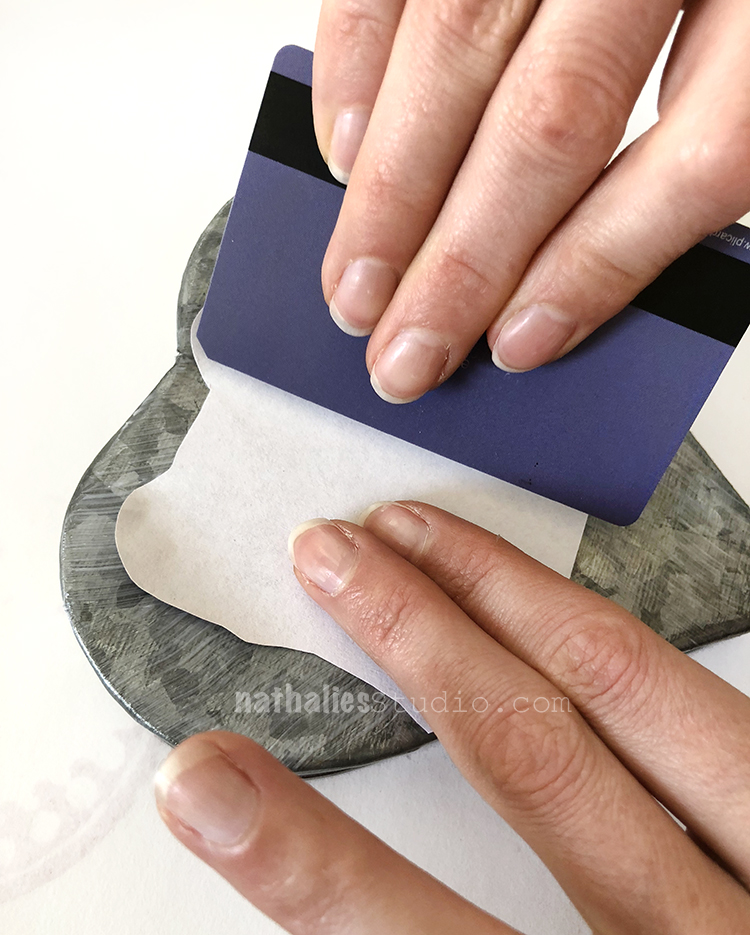
Start at the center and work towards the outer edges of the adhered image.
Set the tin aside and let it dry for several hours.
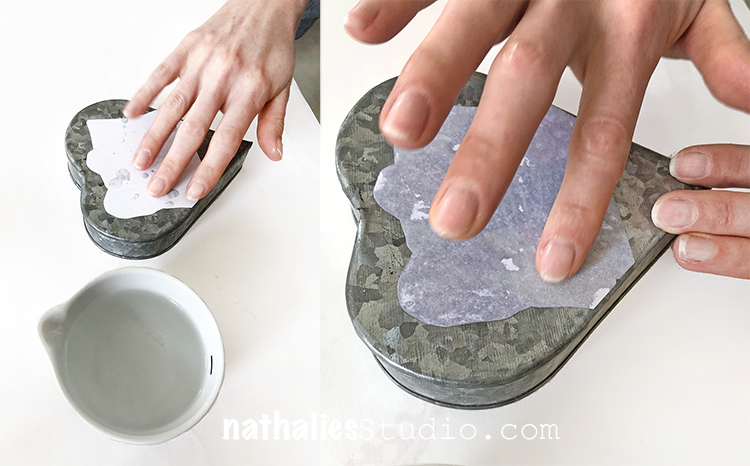
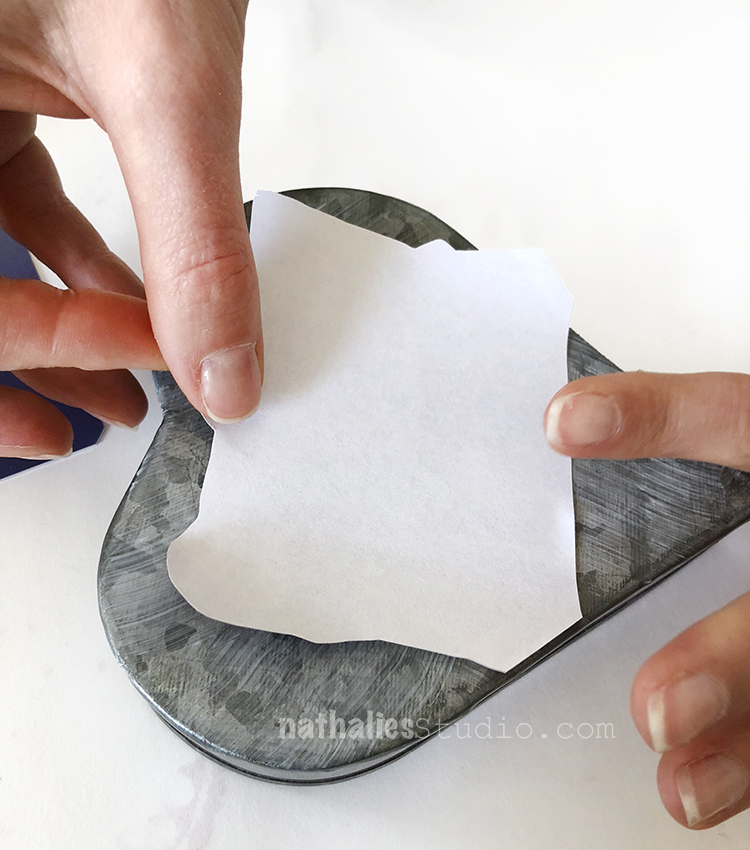
Wet the back of the image transfer paper applying some water with your fingertips.
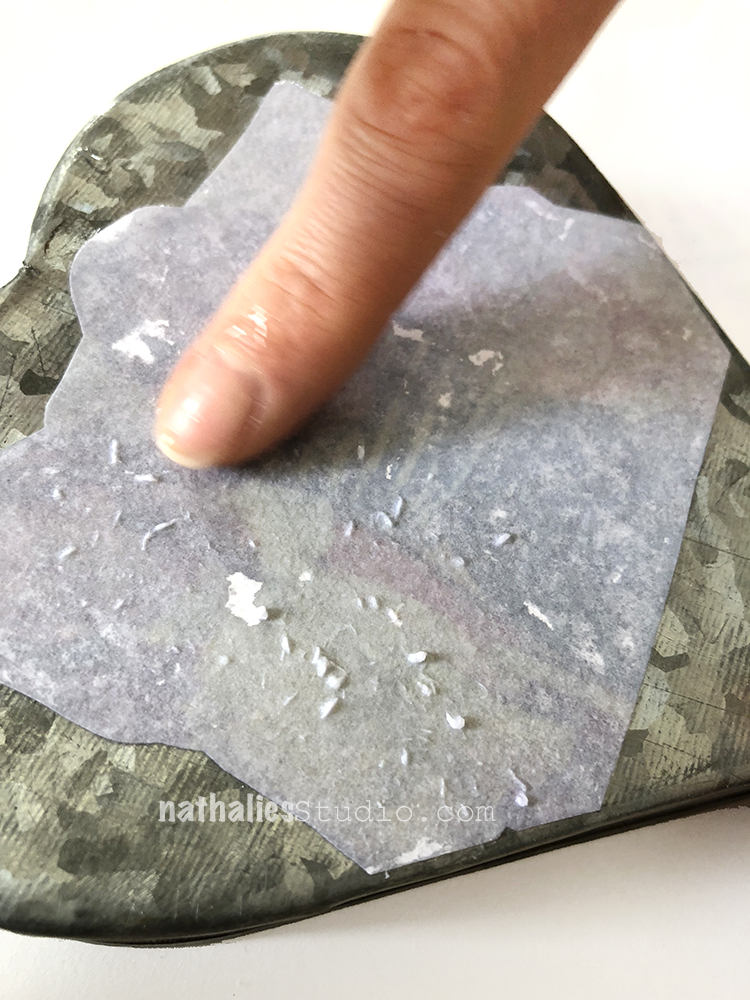
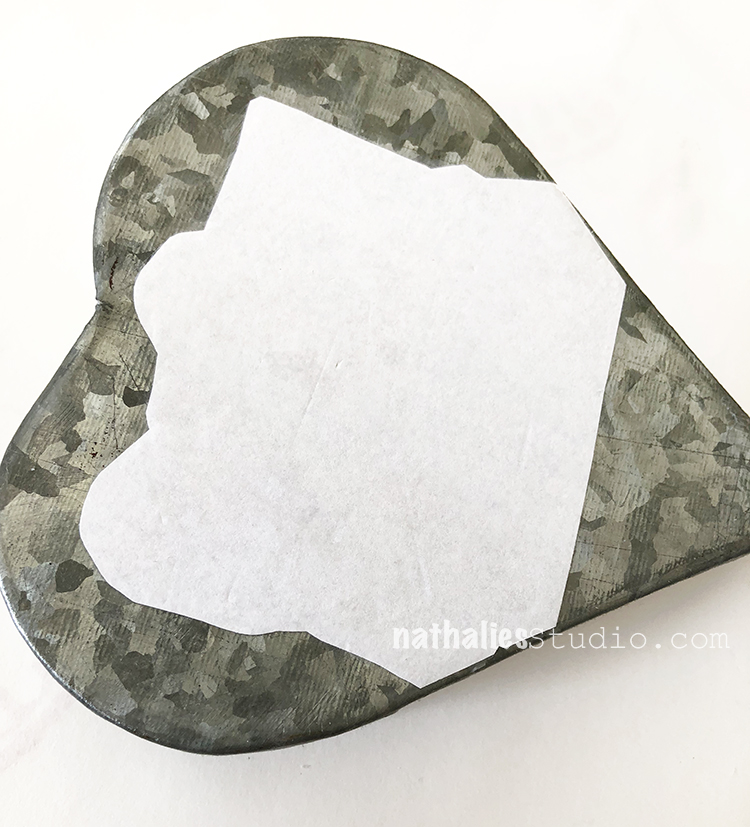
Start rubbing the back of the paper off in a gentle circular motion.
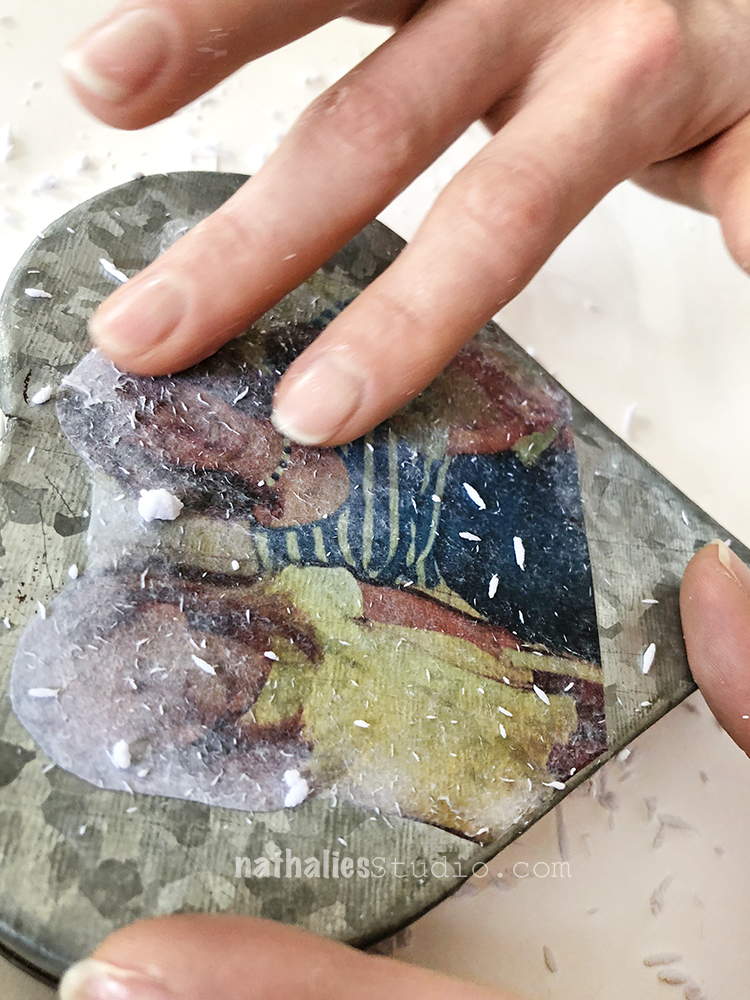
The image with start to appear as the paper pulp is removed. Work one area at a time until most of the paper is rubbed out. Let the image dry in between. The remaining paper will reappear and will show you which areas might need more rubbing. Work gently and stop before the transfer gets scratched or damaged by further rubbing.
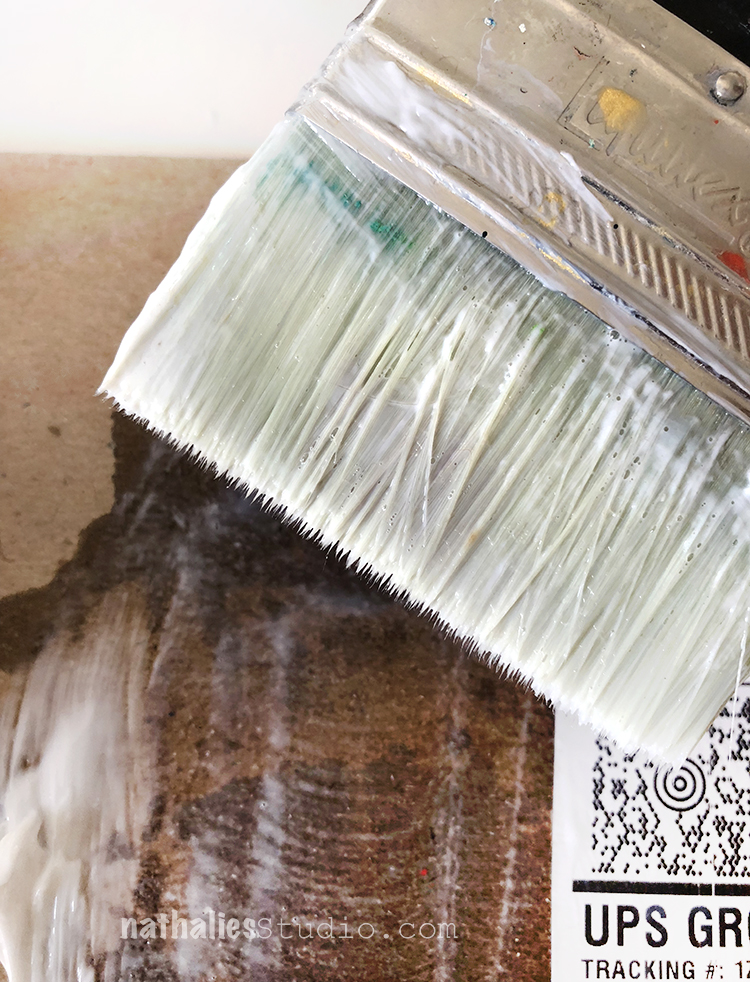
Apply a final coating of a little bit thinned down Gloss Gel to the entire lid of the tin. Make sure to carefully work the gel into any areas where are tiny bit of paper might remain. The Gloss Gel will seal the surface and make those bits of paper invisible once dried.
Let dry.
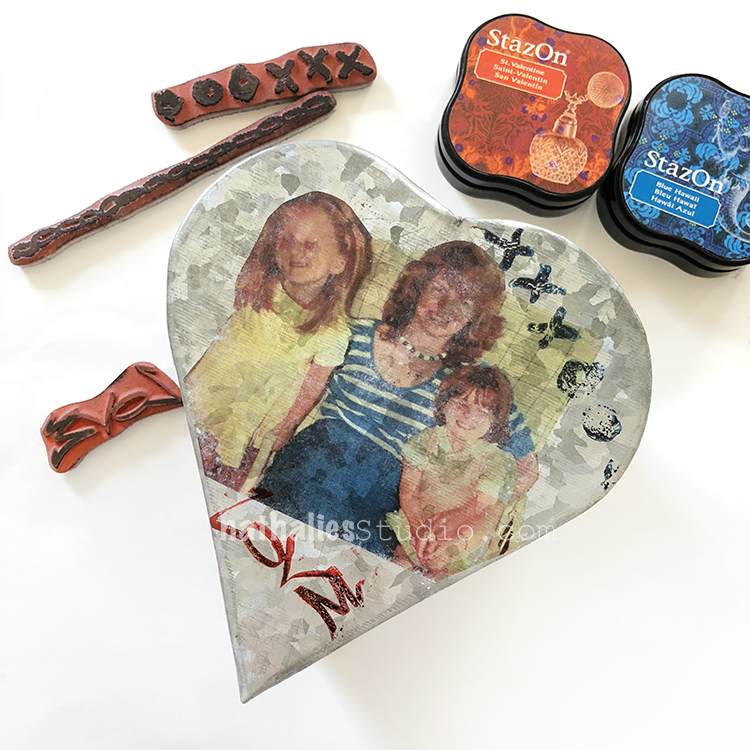
Kim then added some stamping with StazOn and my Love Tag and Love Knots stamps.
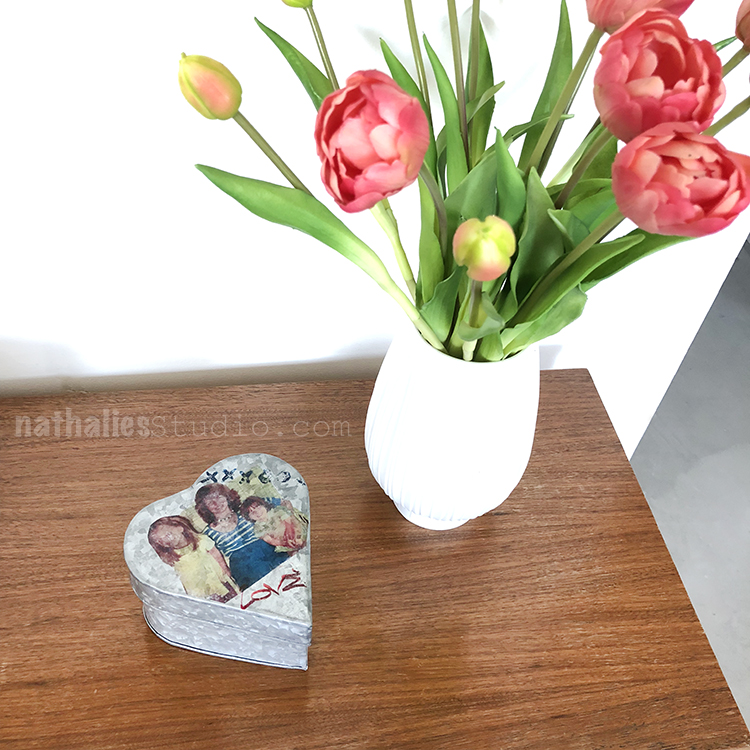
And there you go, a personal little keepsake box filled with some sweets, a bunch of flowers and you are ready to go for Mother’s Day.
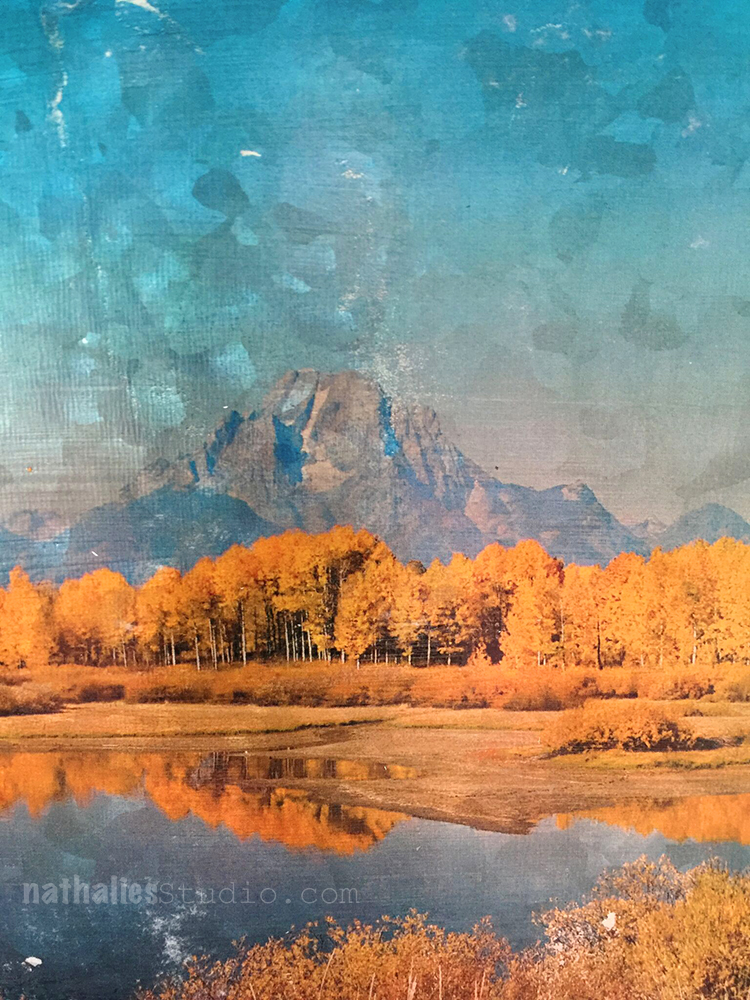
I love the transfer on metal – there are many options using tin – for example tin plates with a transfer for a journal or else! Hope you give it a try if not for Mother’s Day then maybe some other time :)
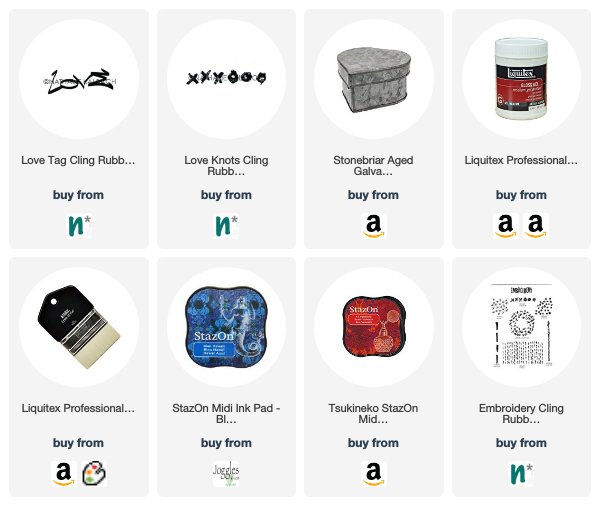
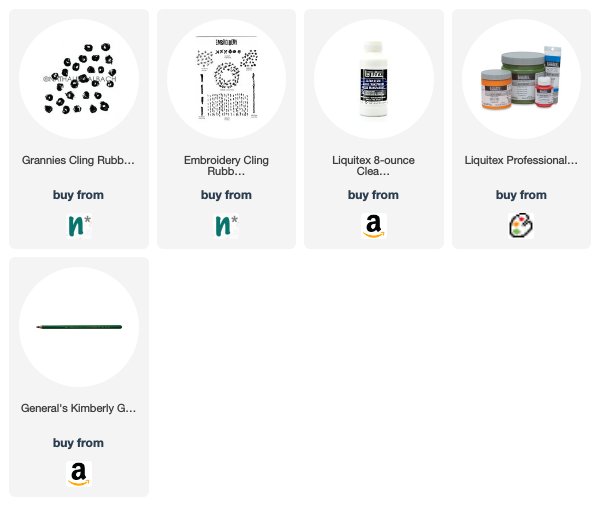
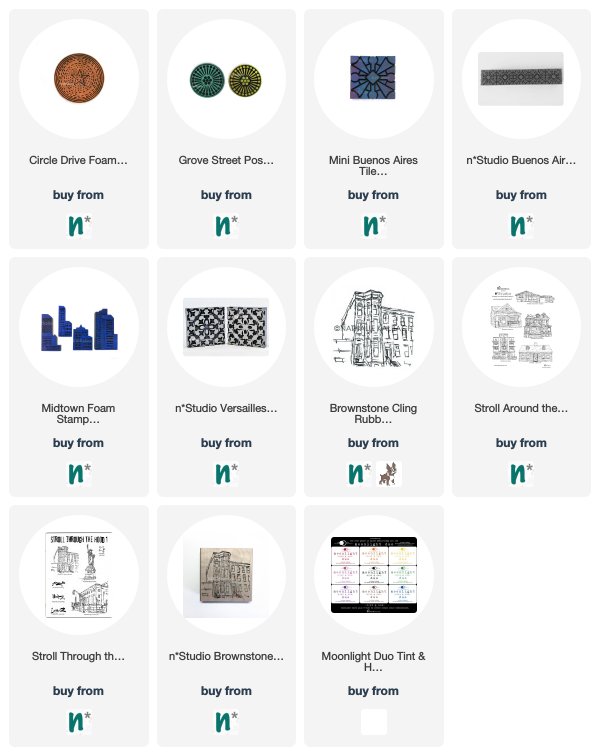
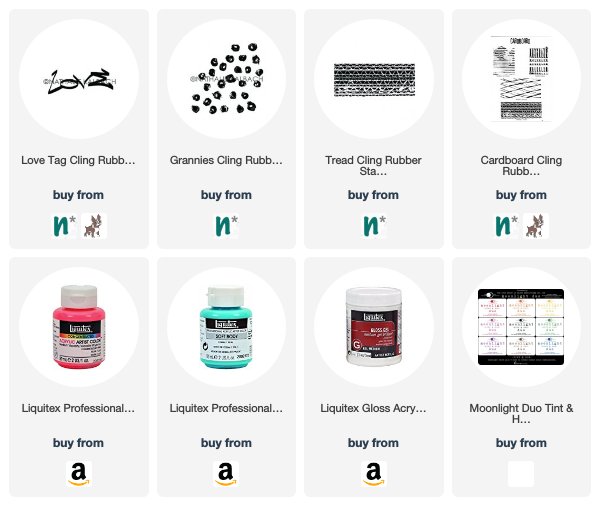
Here are some of the supplies Kim used for her Keepsake box


Comments (1)
stephanie
| #
what a great project! thanks.
Reply