Blog: Play Date

Stamped Paper Wreaths – DIY Play Date

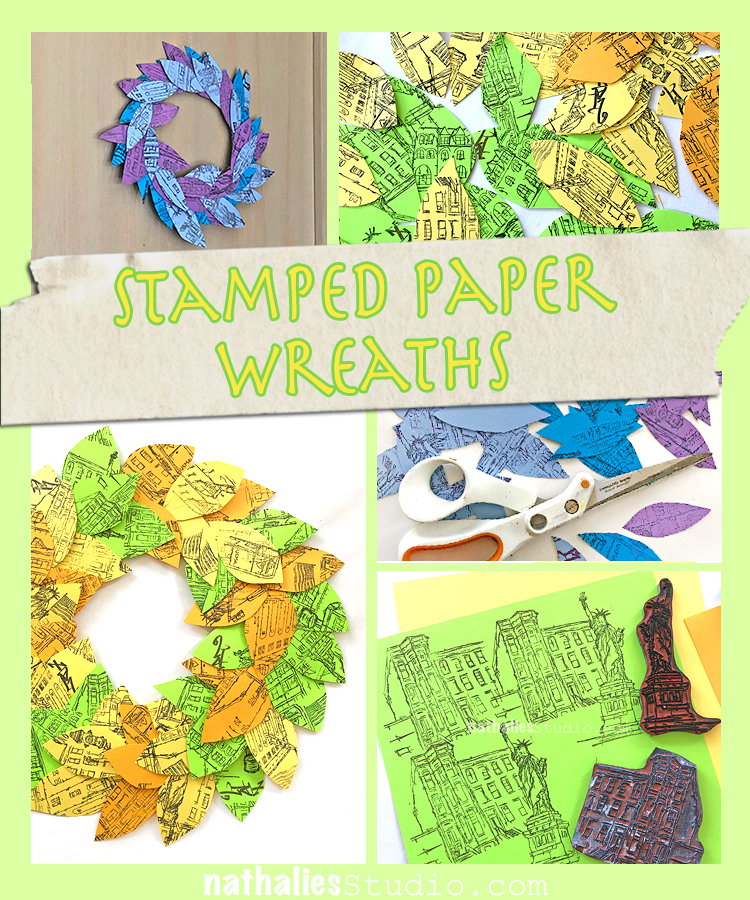
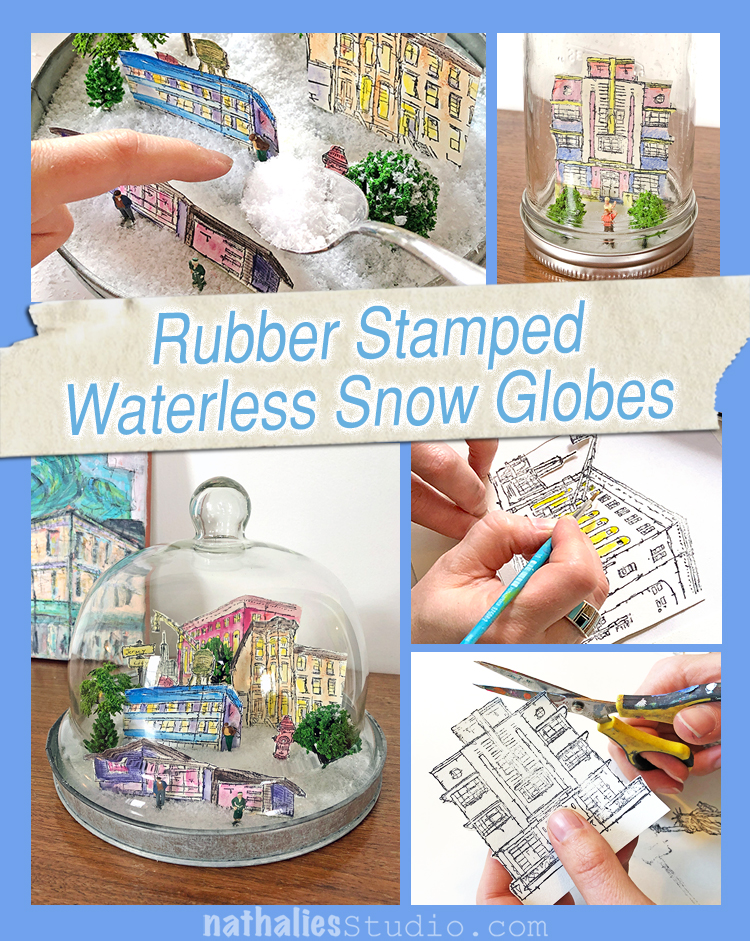
Last week Kim and I decided to do a little Spring Play Date with my rubber stamps. We saw some cool pictures of paper wreaths online and thought we would try our own. We had just an hour or so and had fun making ours and dreaming of beautiful spring weather :)

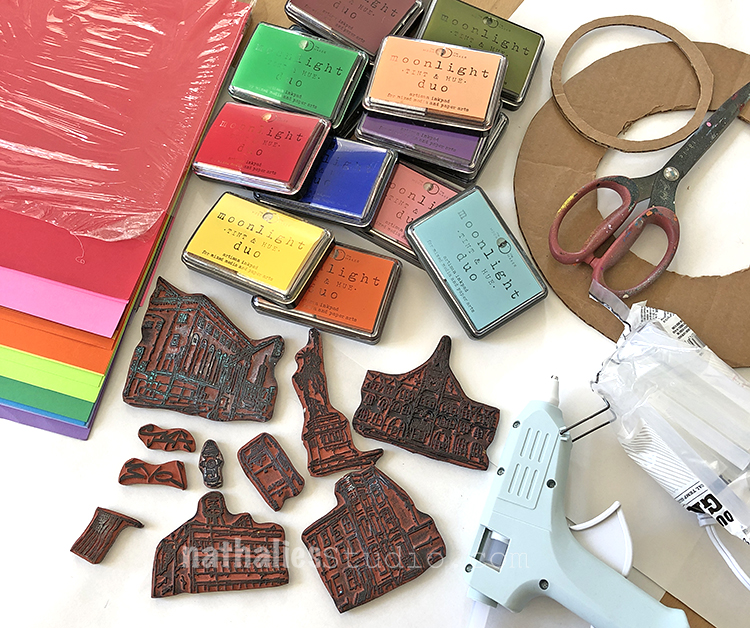
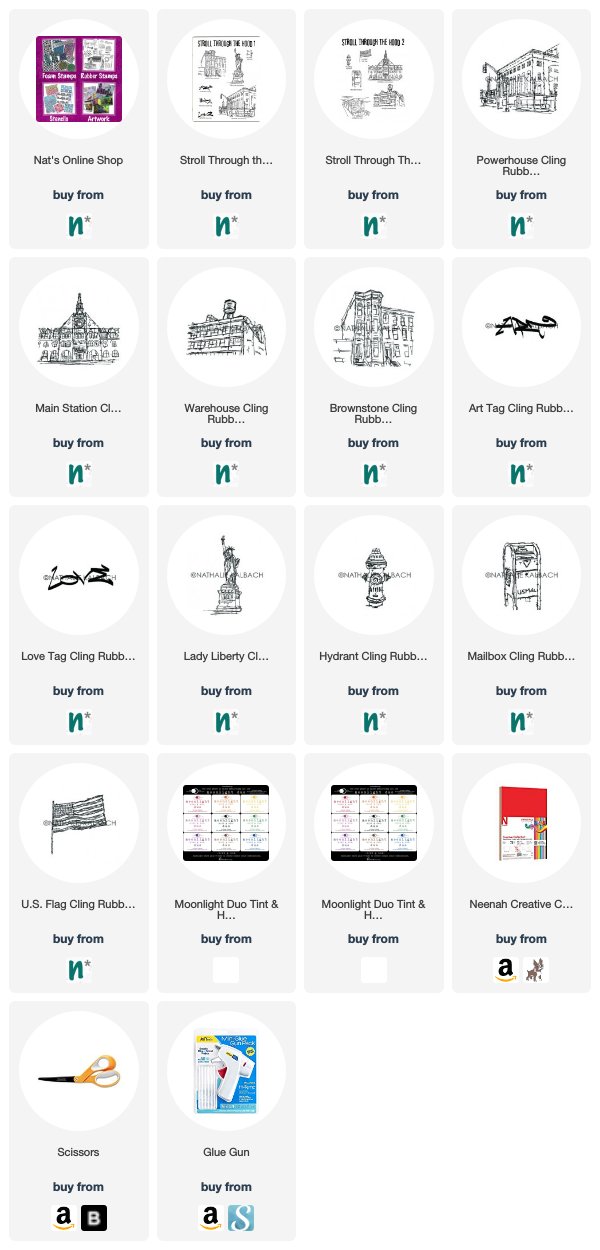
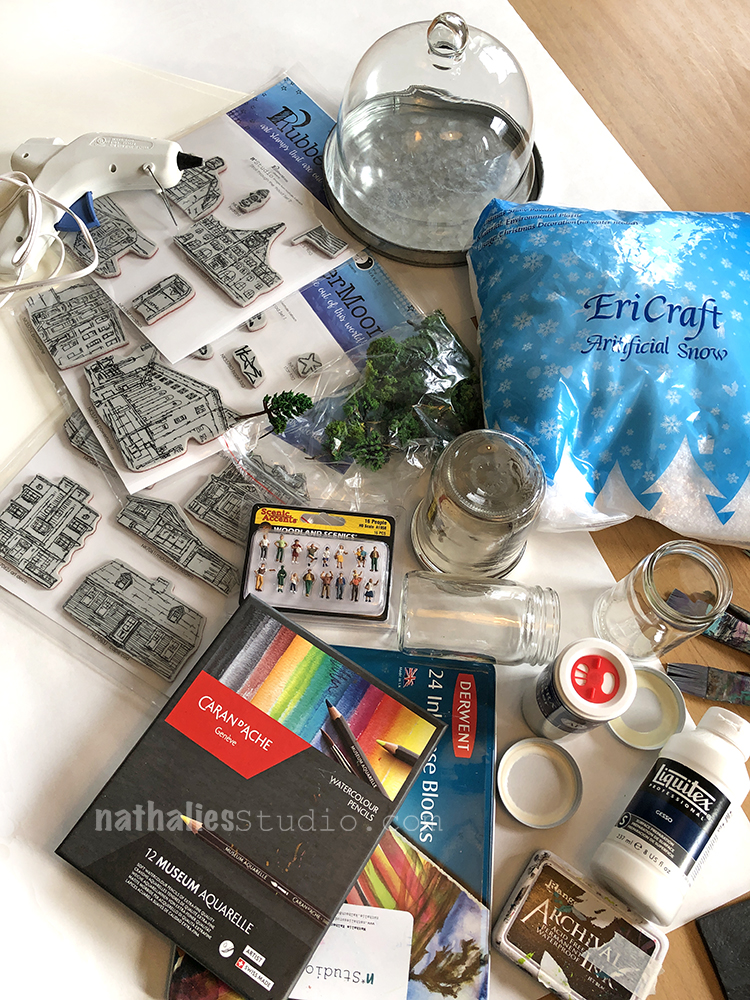
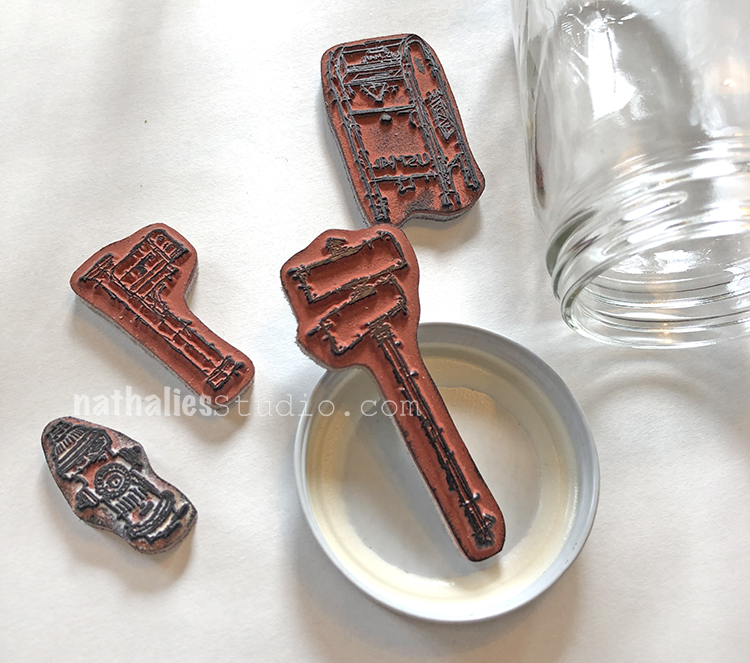
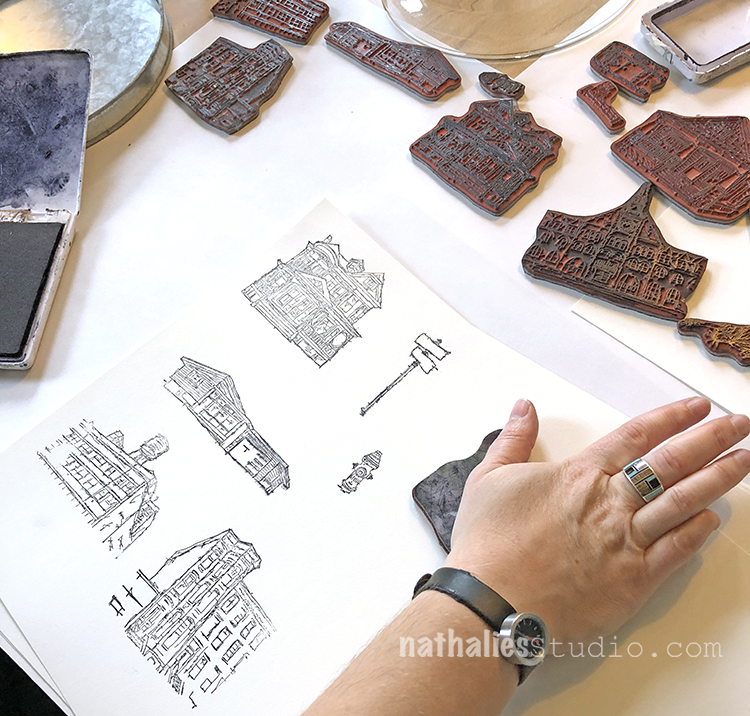
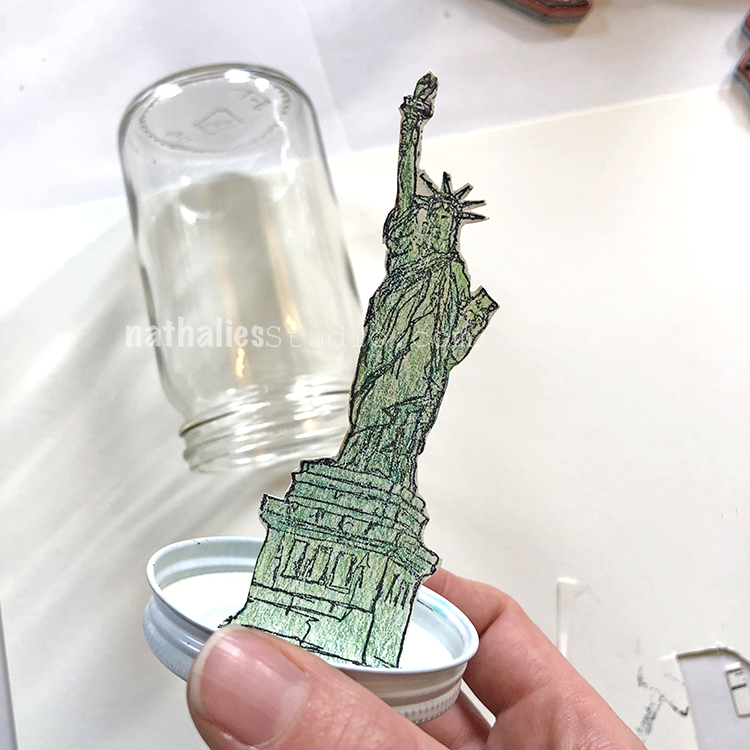
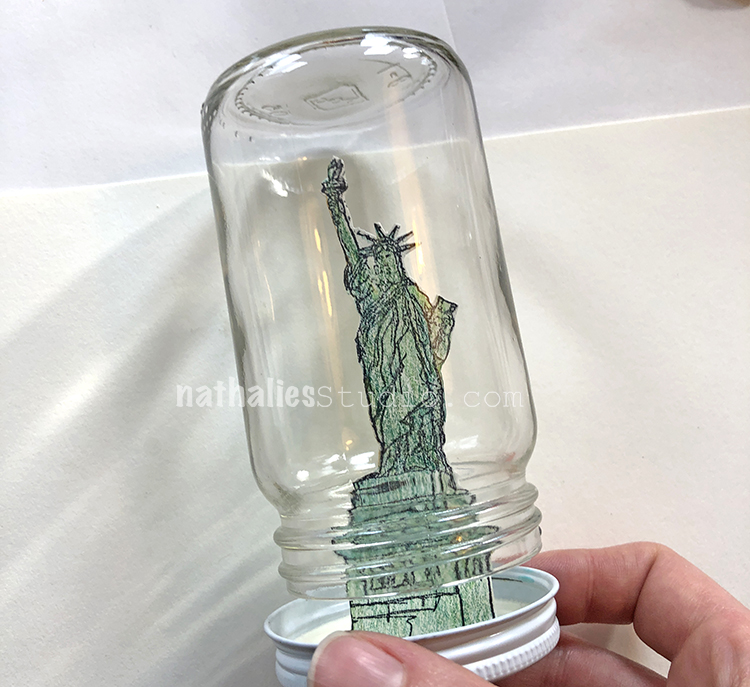
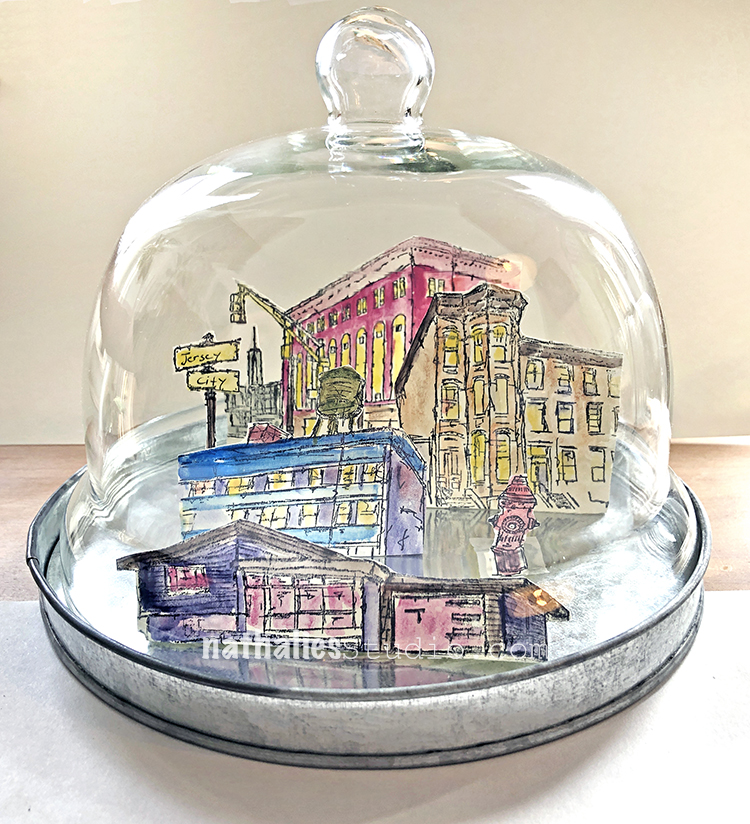
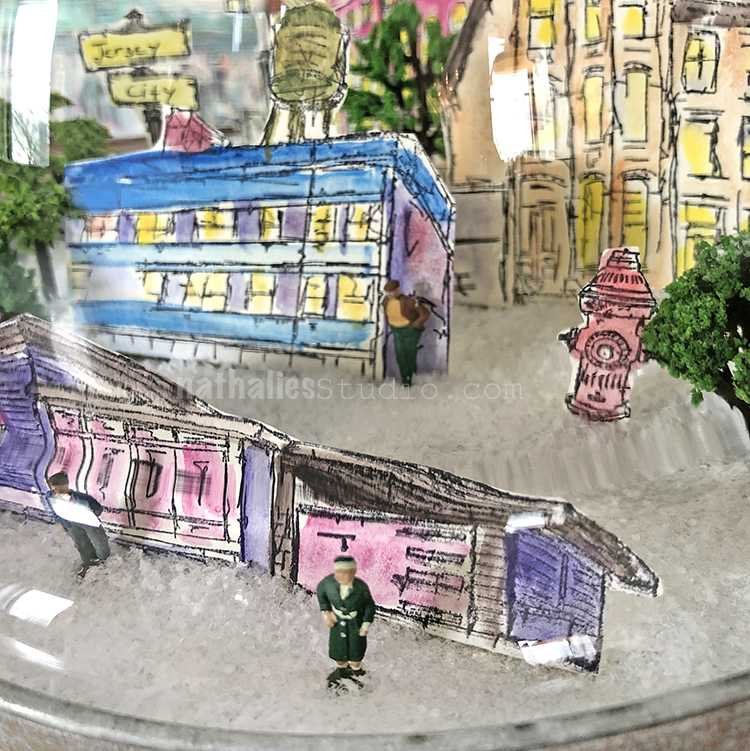
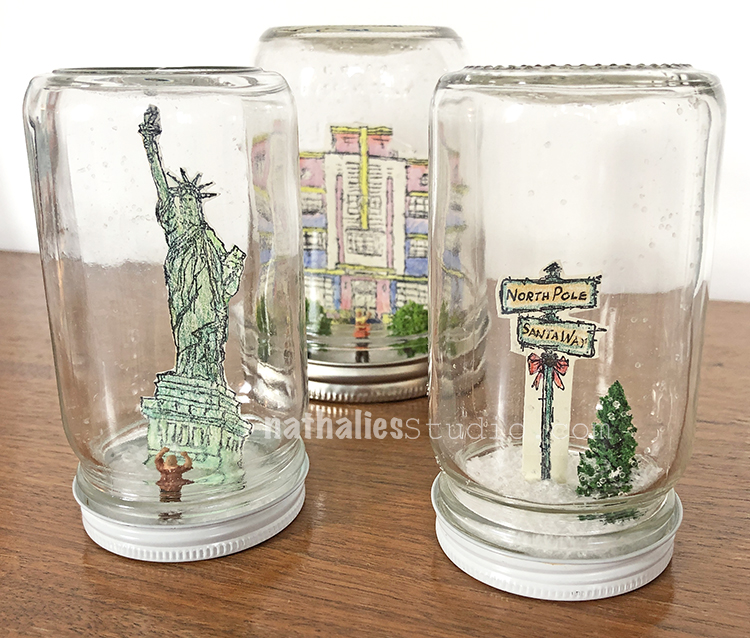
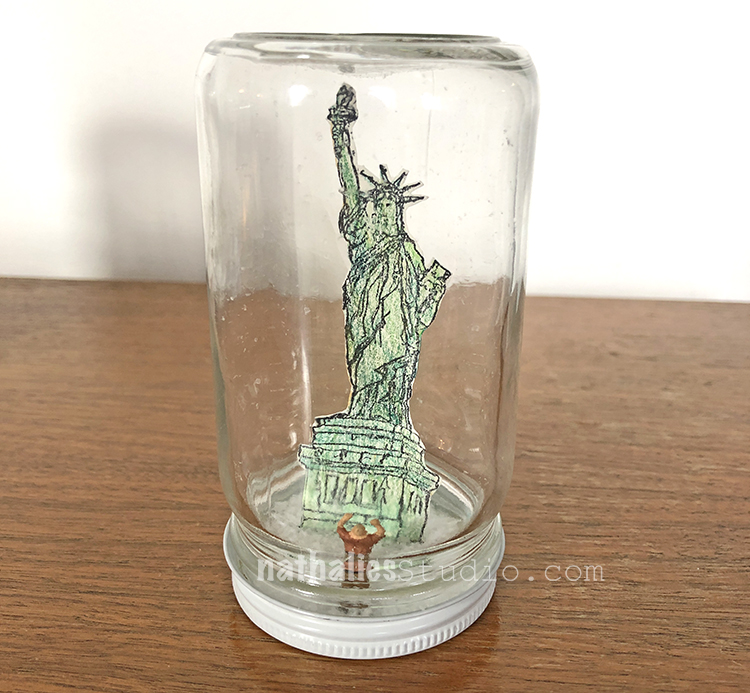
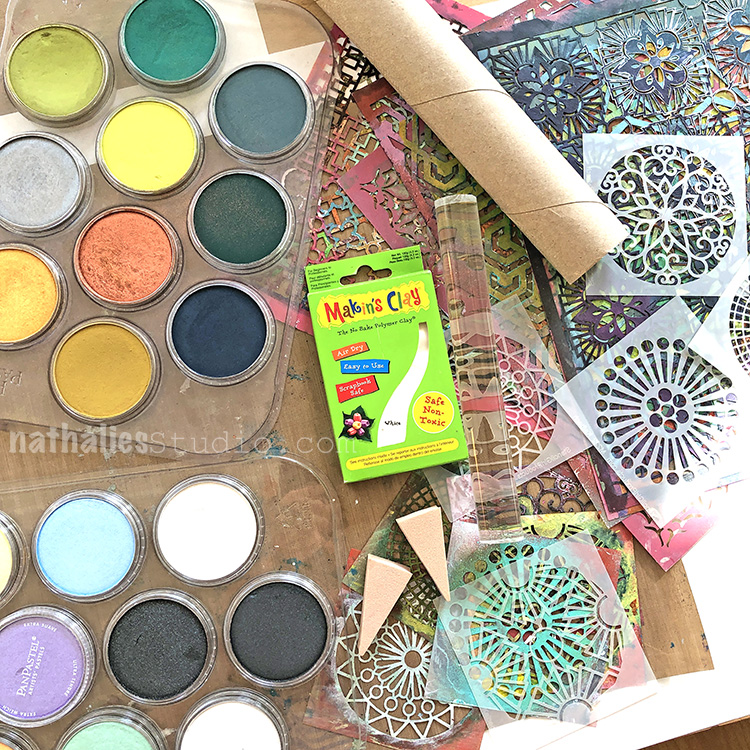
You will need rubber stamps (we used my Stroll Through the Hood 1 and 2 stamp sets including the Powerhouse, Main Station, Brownstone, Warehouse, Lady Liberty, Mailbox, Hydrant, US Flag, Art Tag, and Love Tag stamps), ink pads, colorful paper, scissors, glue gun, and a cardboard ring. We cut our cardboard rings from old boxes, using plates to trace a circle and then cutting out the center.

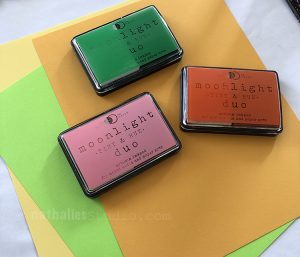
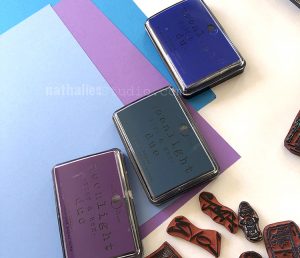
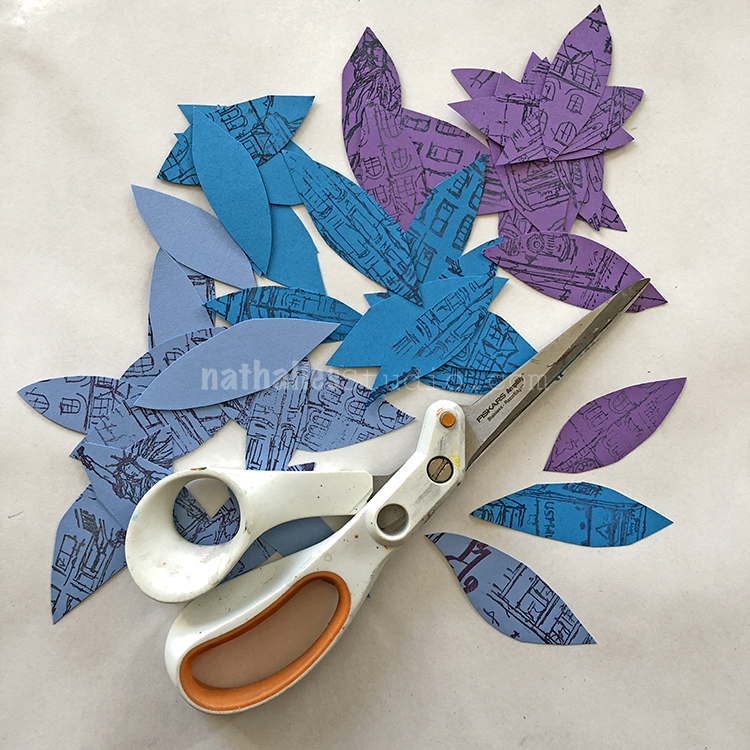
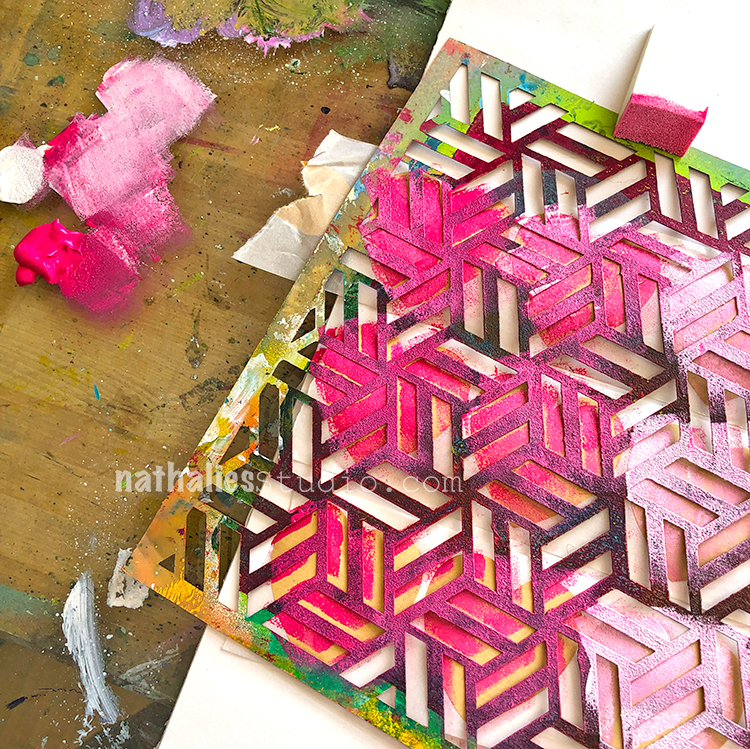
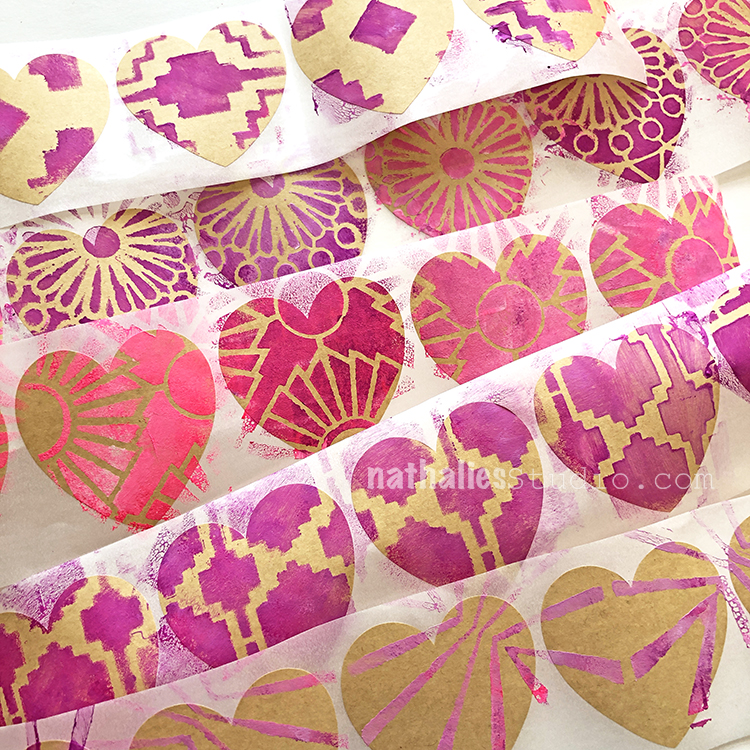
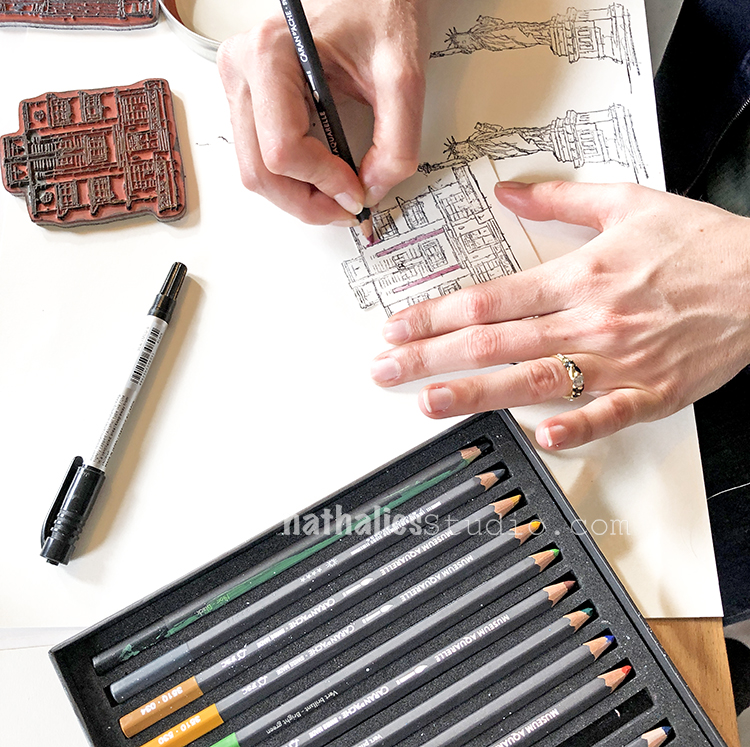
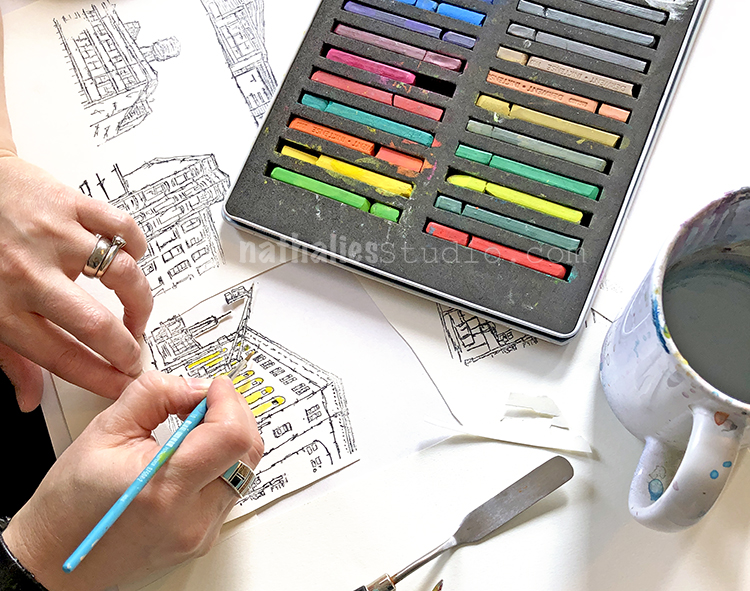
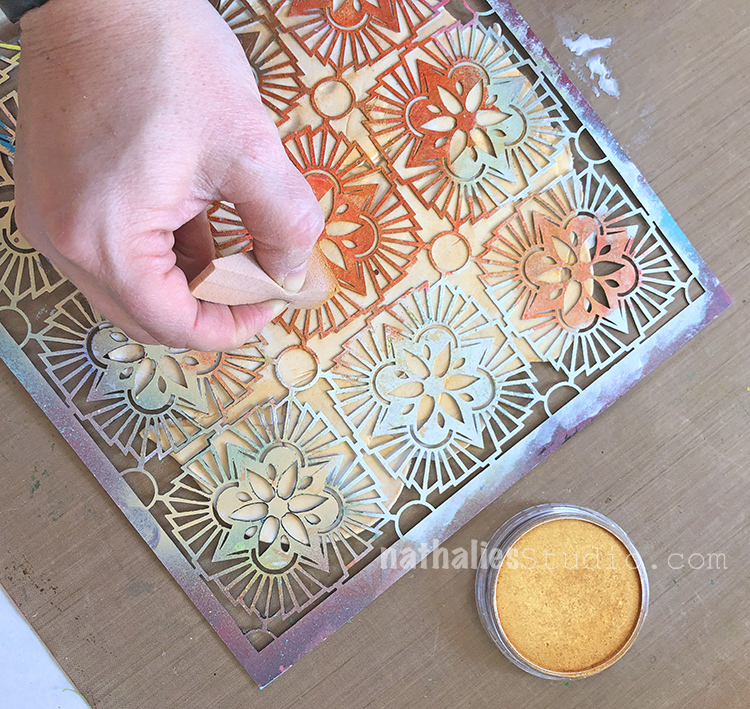
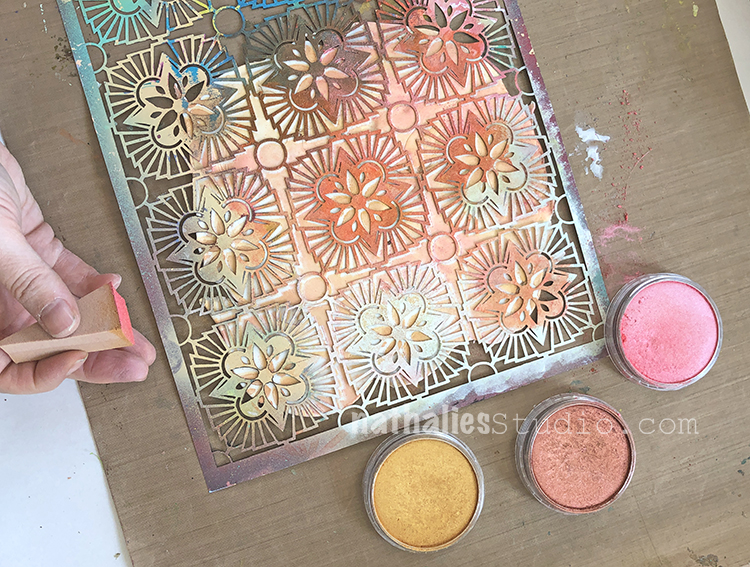
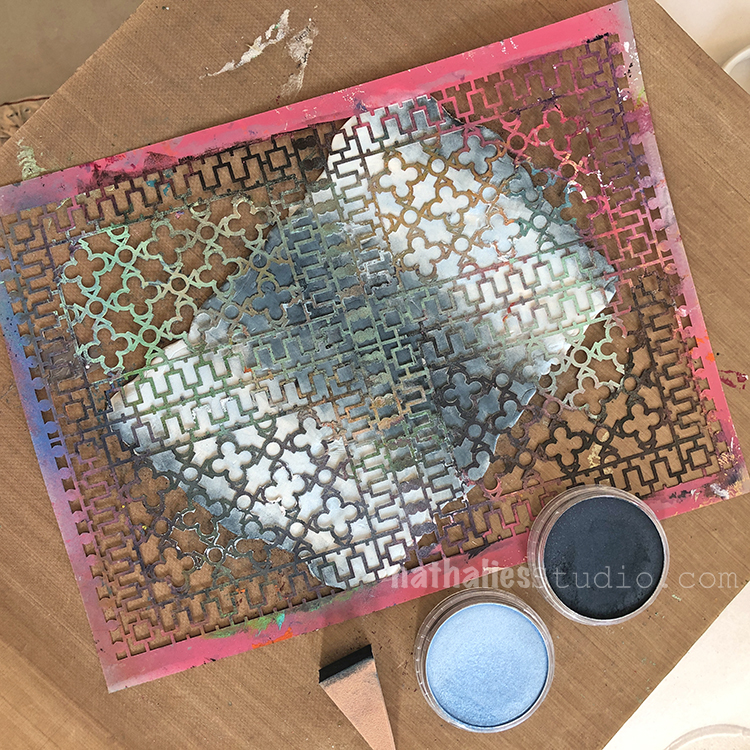
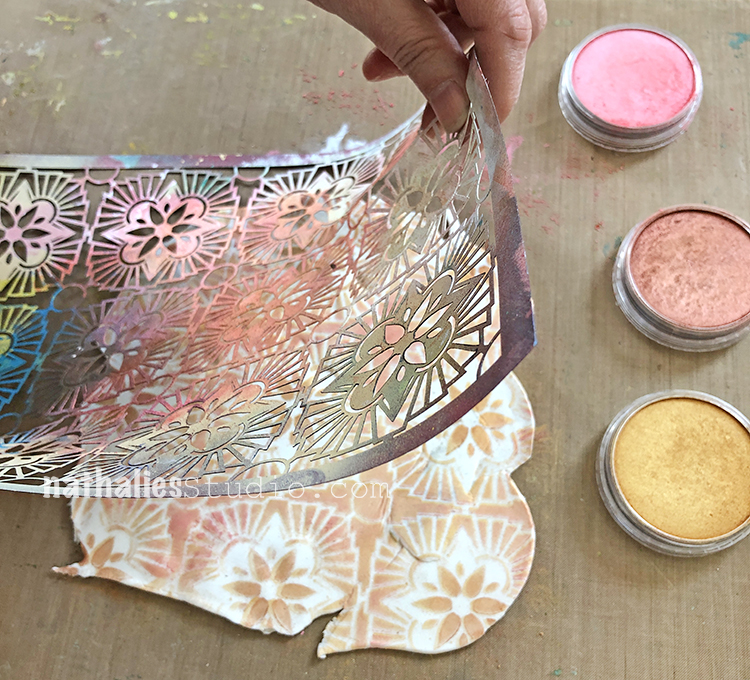
Choose paper (and maybe even inks if you have a lot of colored ink pads) in an analogous color scheme – colors that are next to each other on the color wheel.

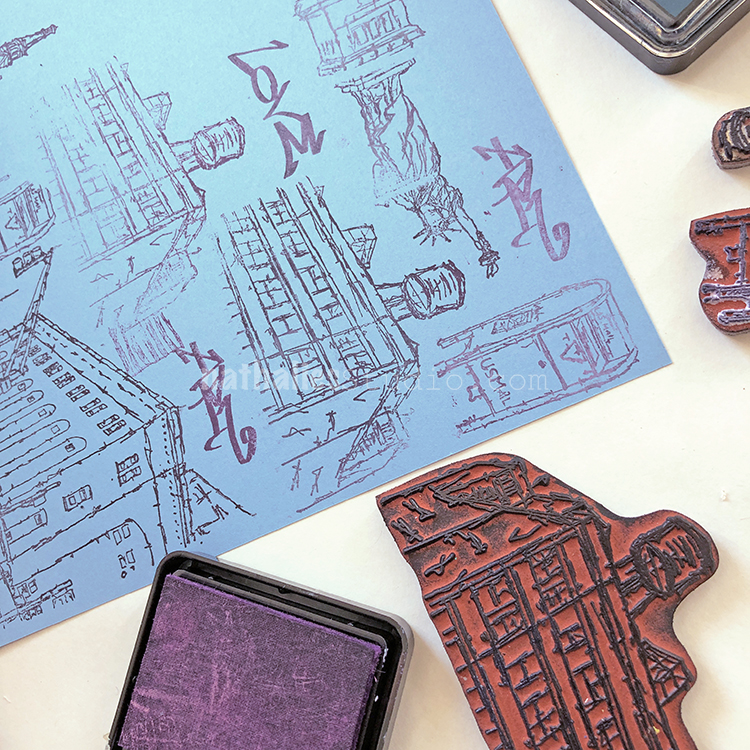
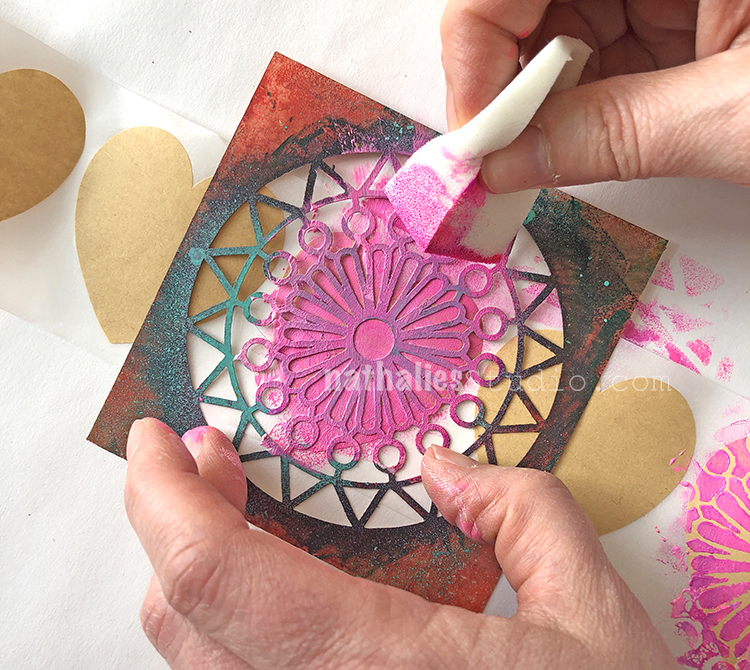
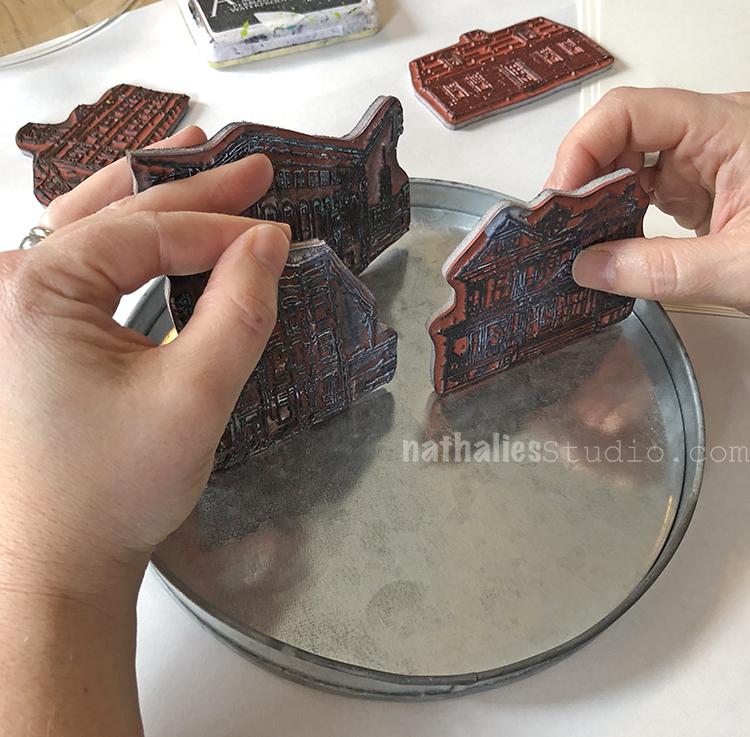
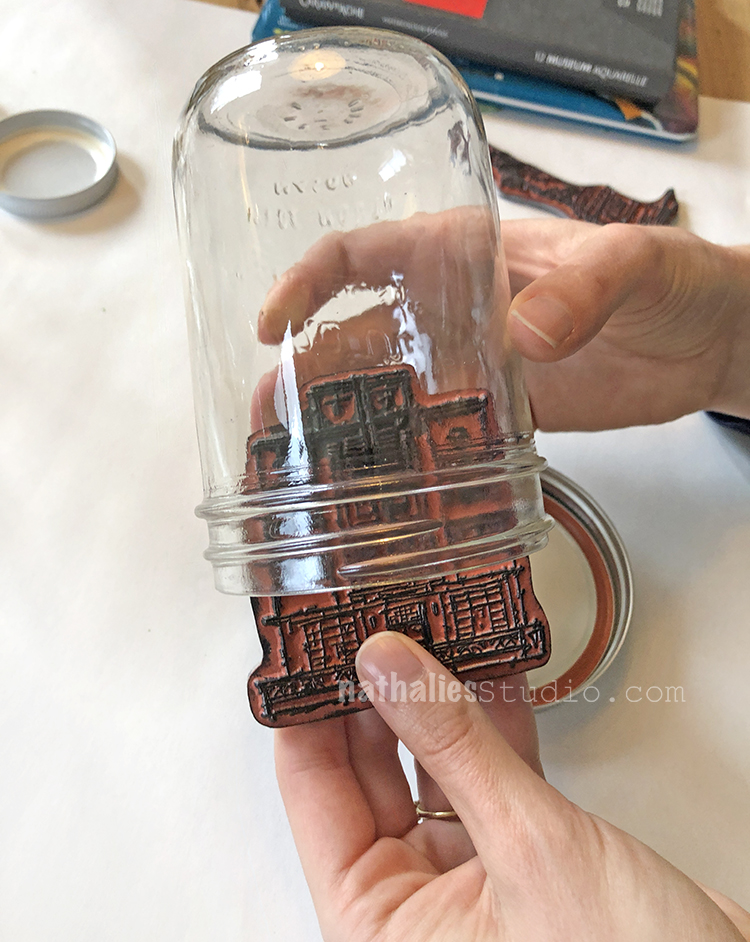
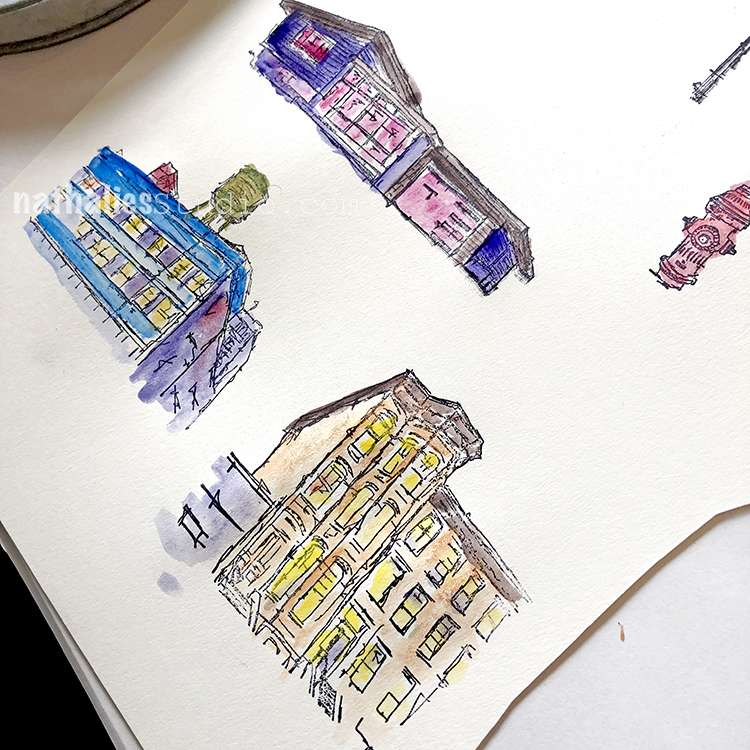
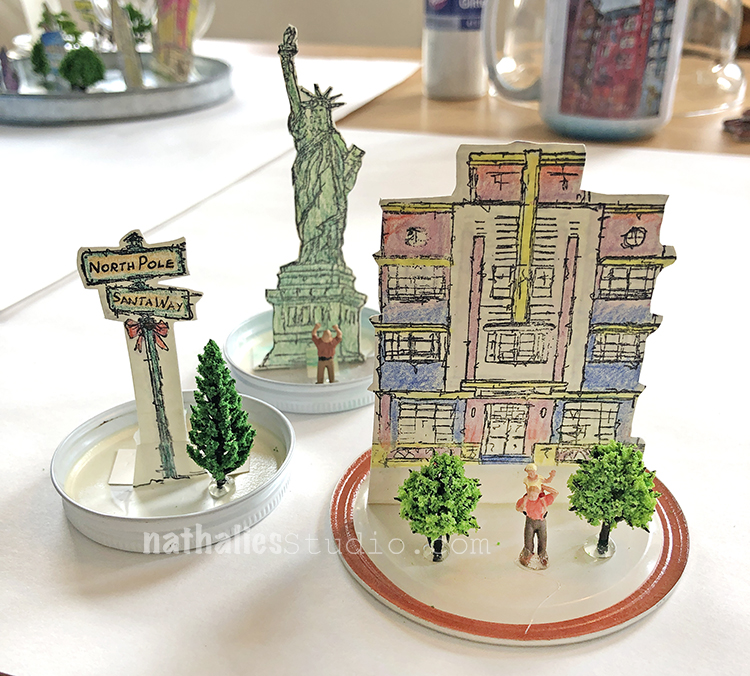
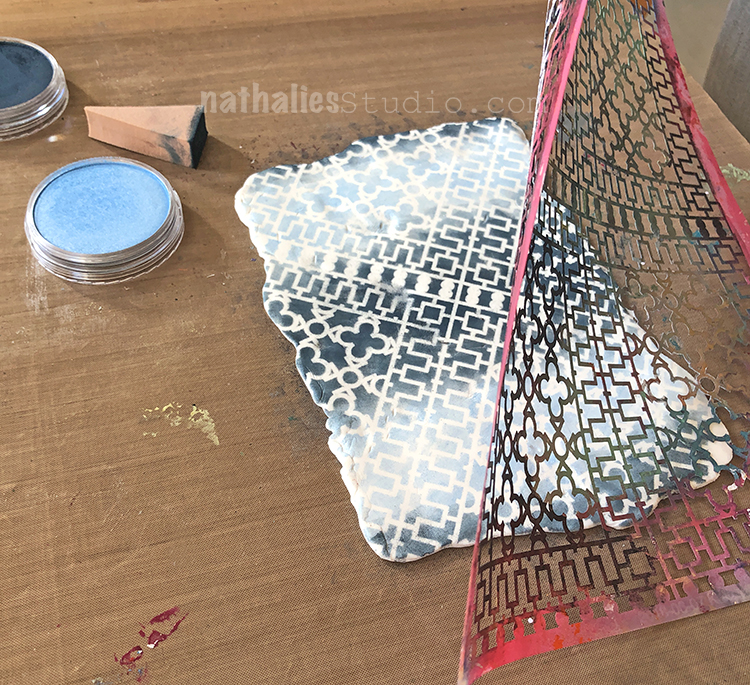
Then start stamping! Fill up the entire page with stamped images. It doesn’t matter how they line up – the point is to have some design and pattern all over the paper. Here is my Warehouse stamp in action.

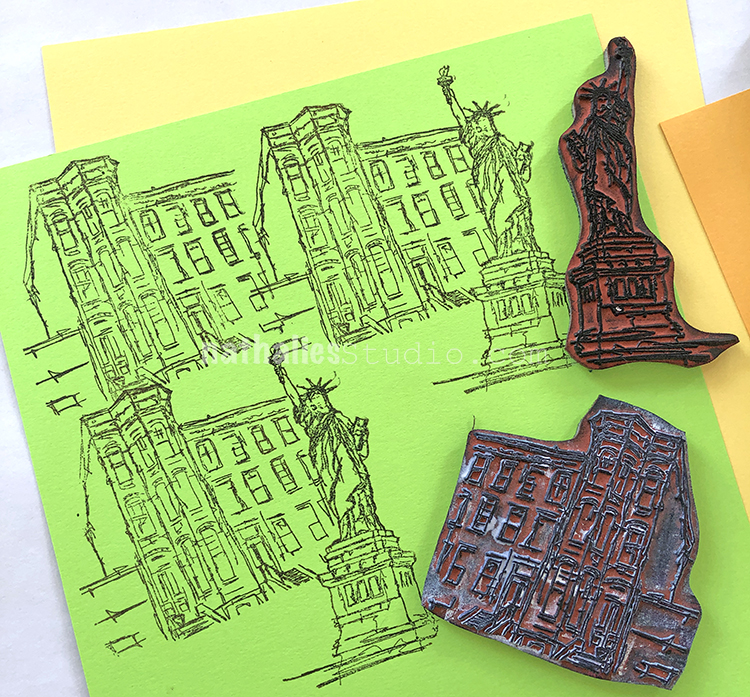
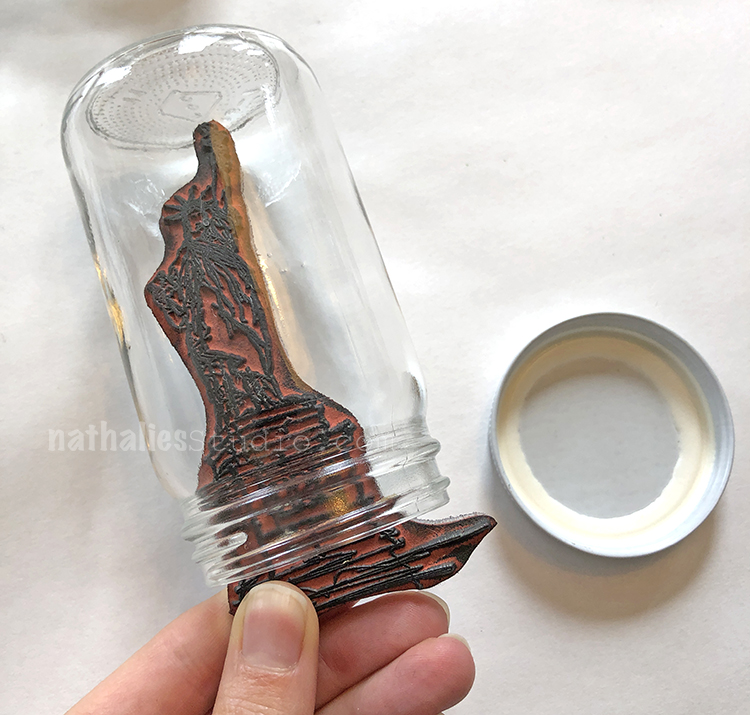
Here is Lady Liberty and Brownstone filling a page.

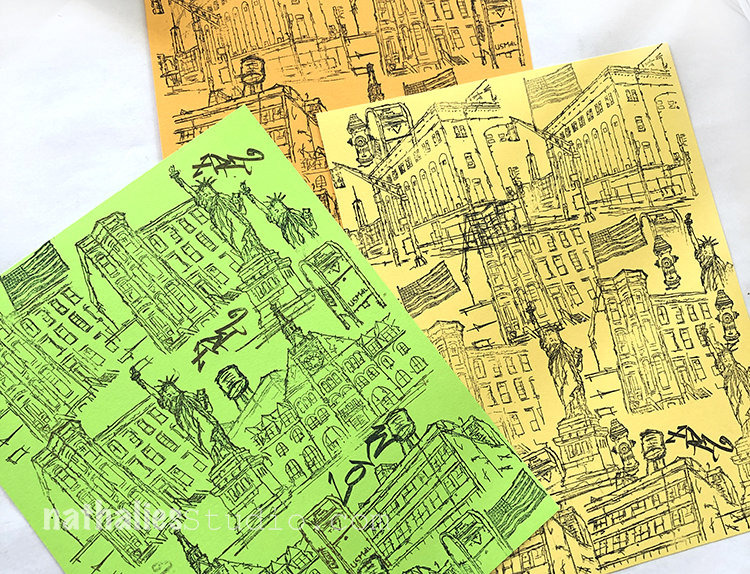
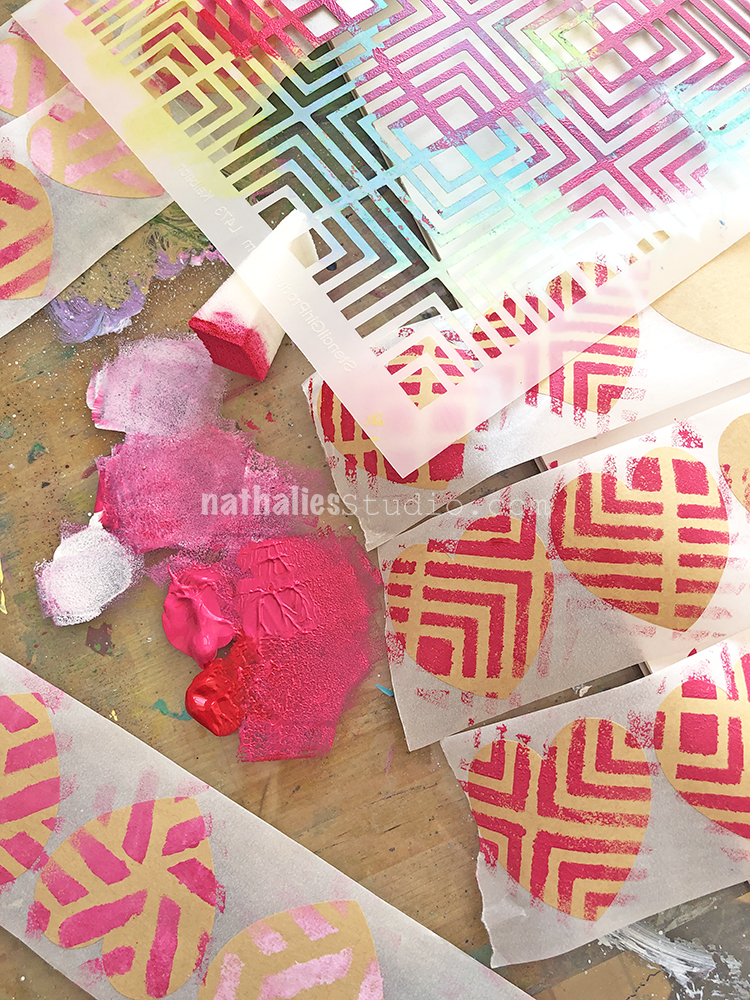
We recommend stamping 3-4 sheets of paper.

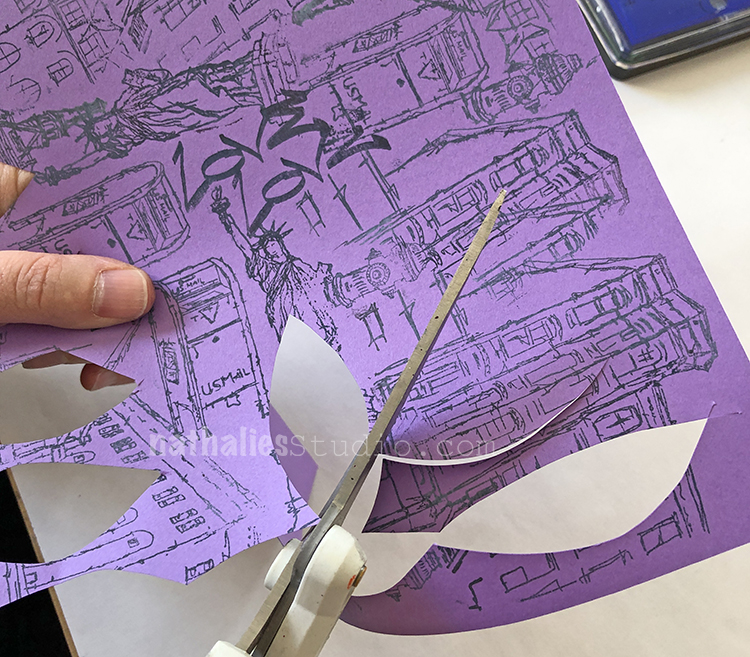
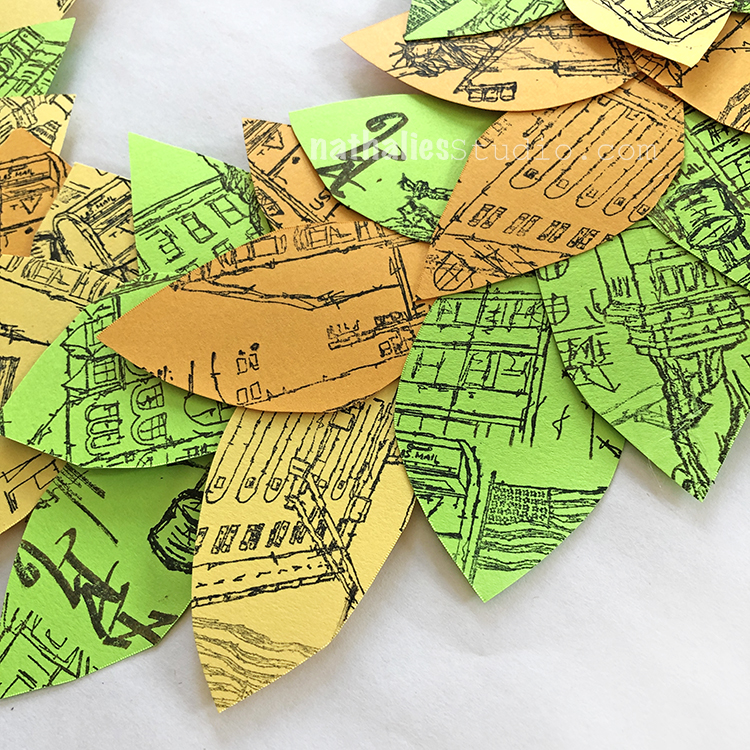
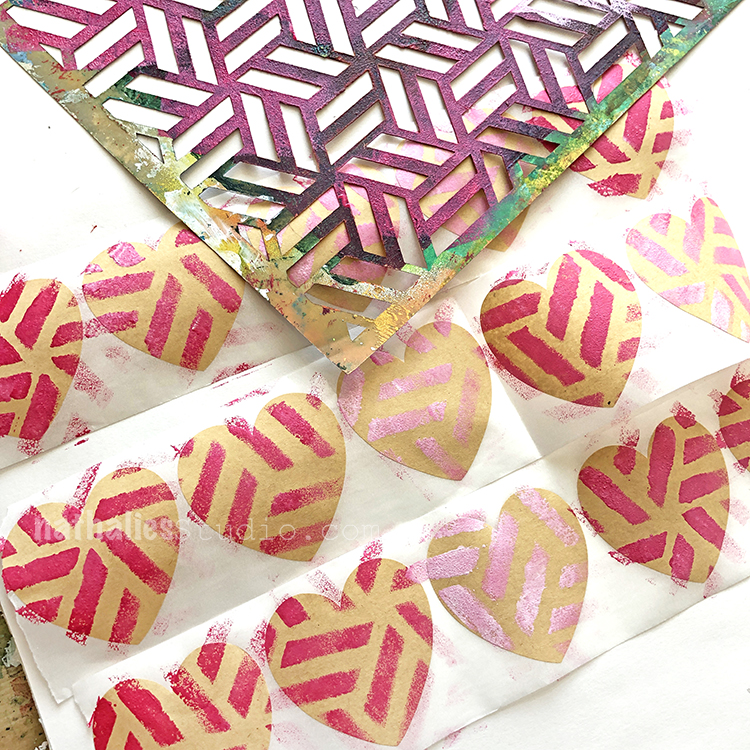
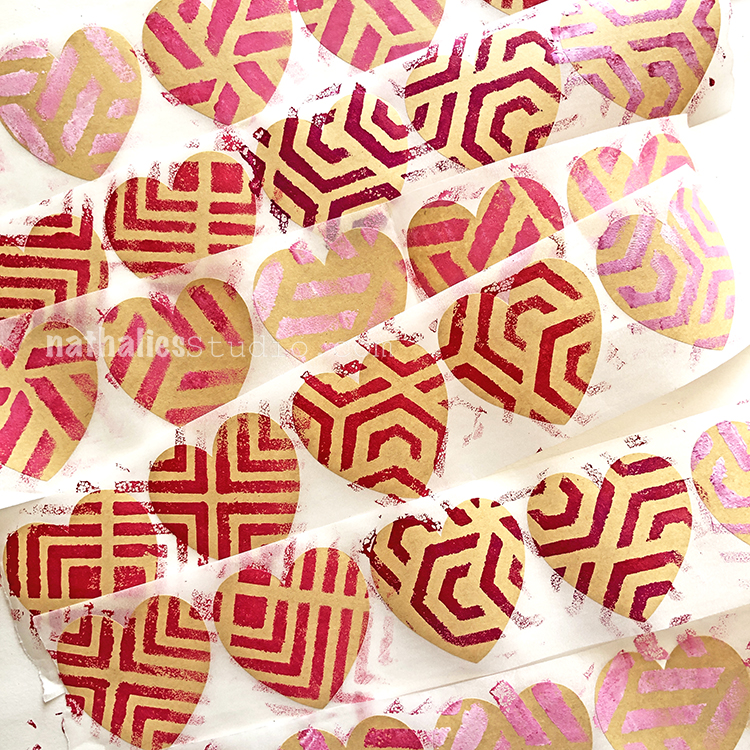
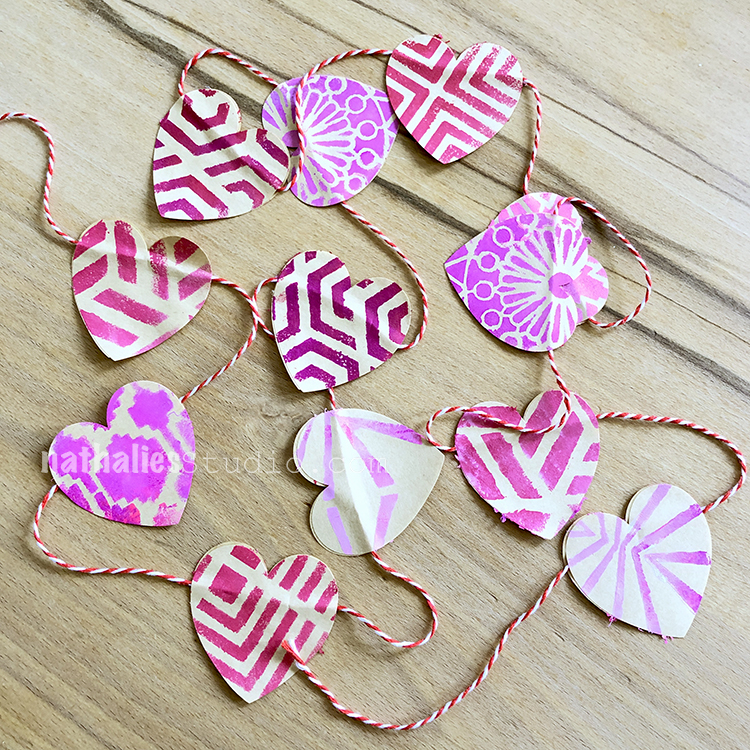
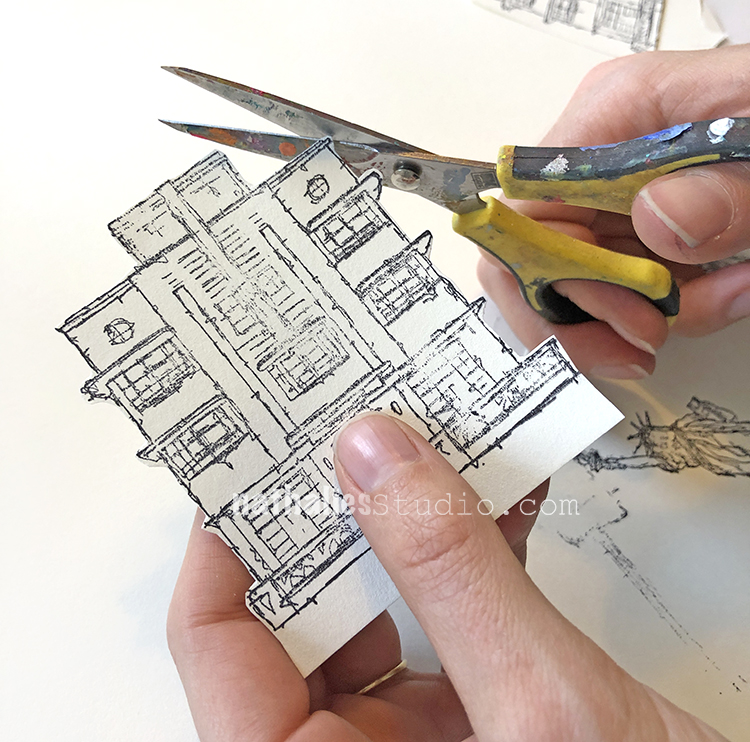
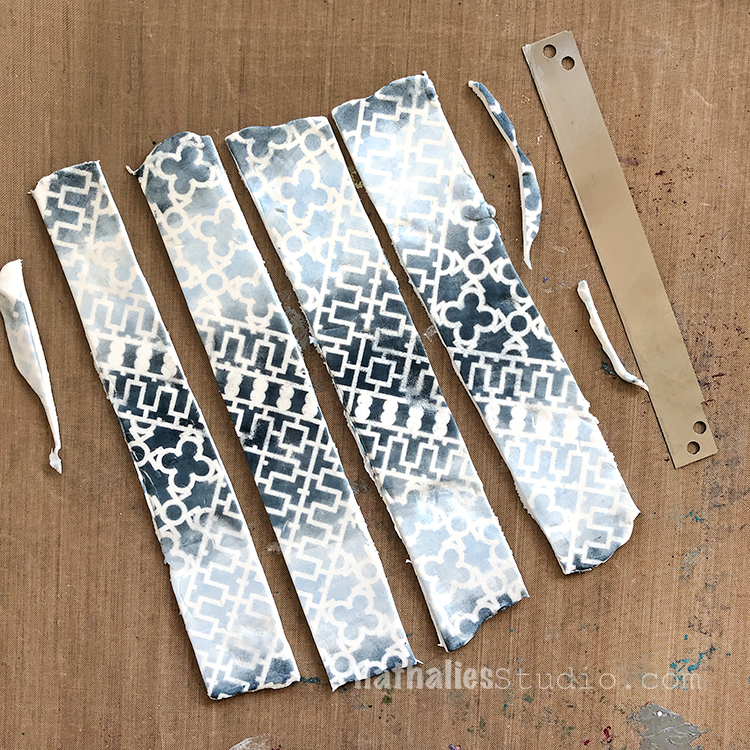
Then cut out leaf shapes. 2-3″ works for a smaller wreath and 3-4″ works for a larger wreath.

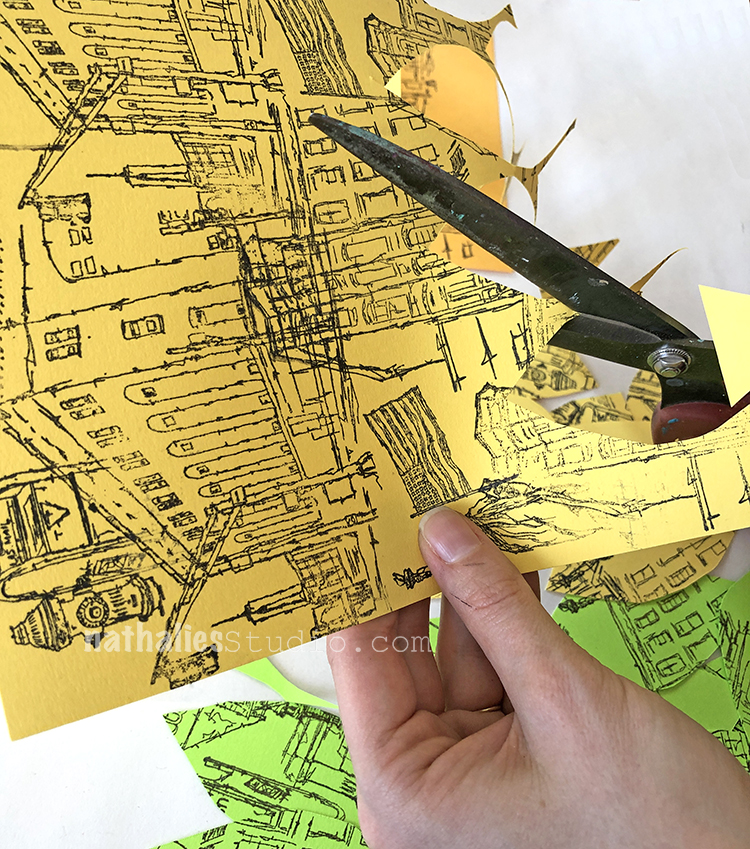
Try to get as many out of a sheet as you can. It’s ok to cut through your stamped images at odd places.

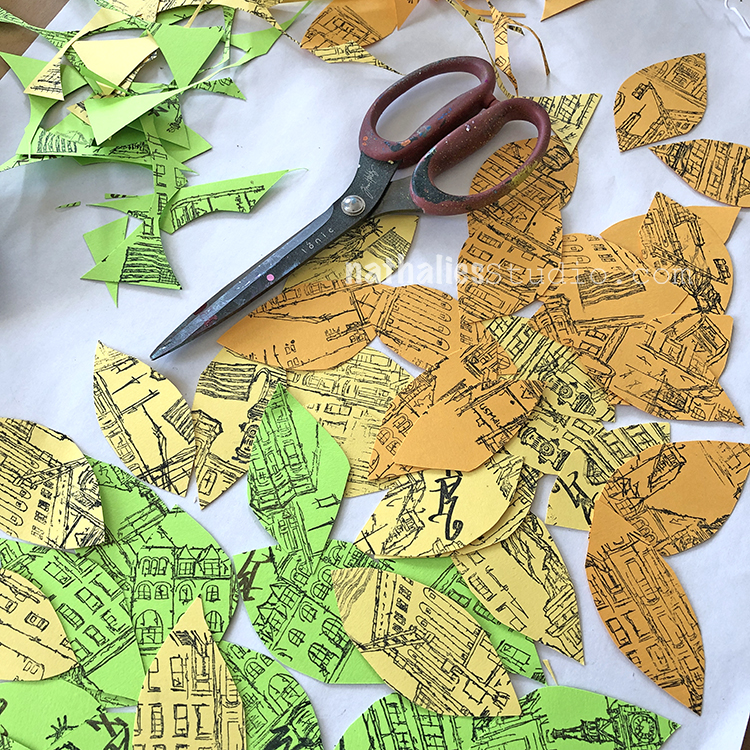
In the end you will have a pile of leaves.

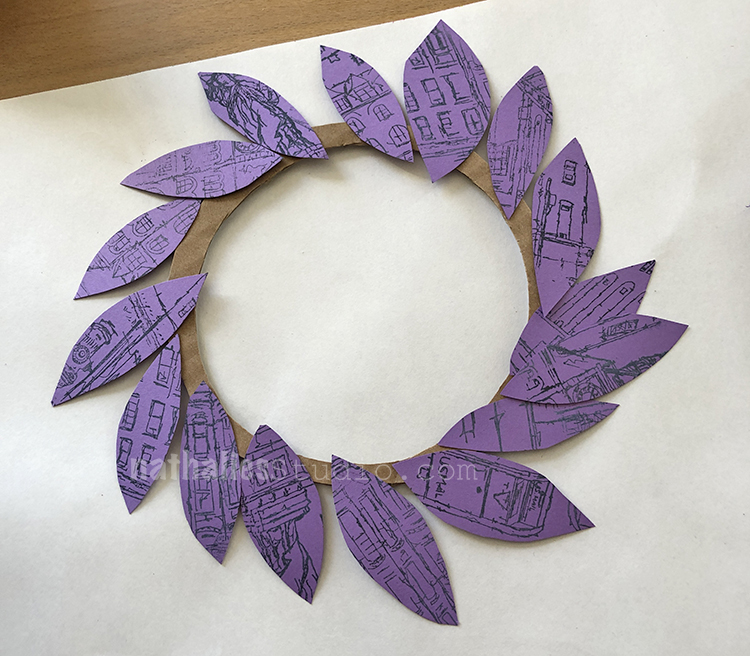
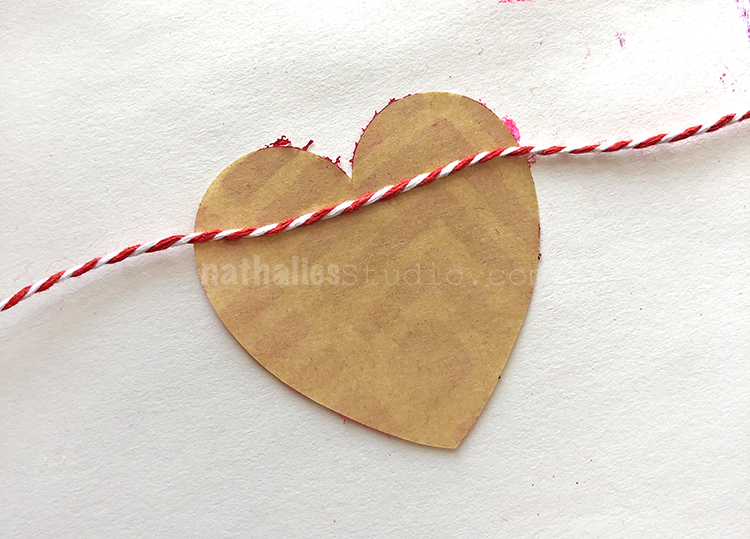
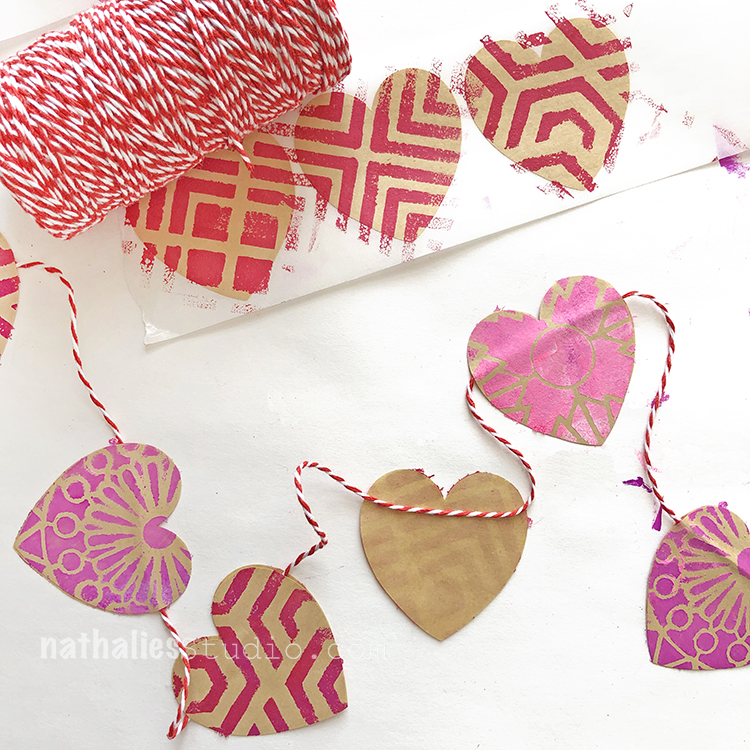
Try arranging the leaves on the cardboard ring to see how they fit.

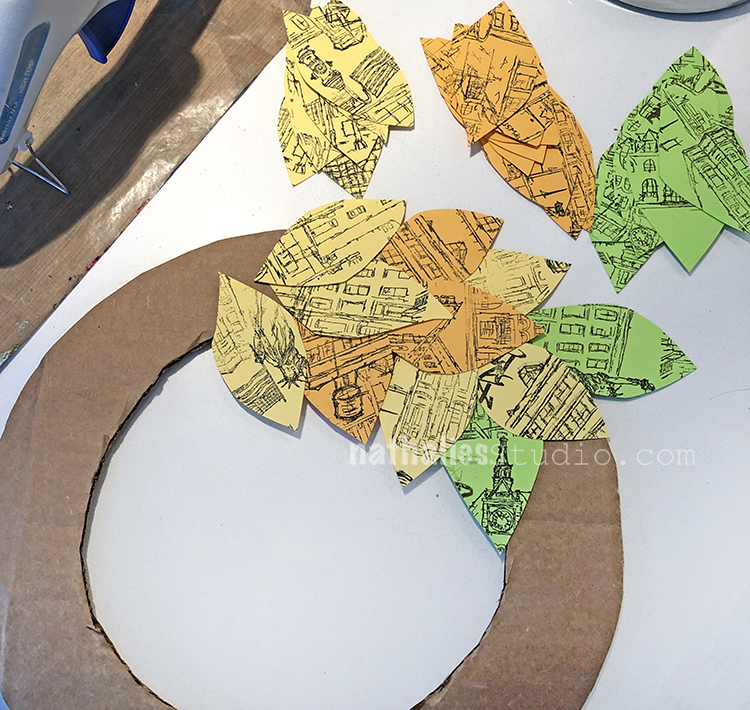
You can experiment with color patterns too.

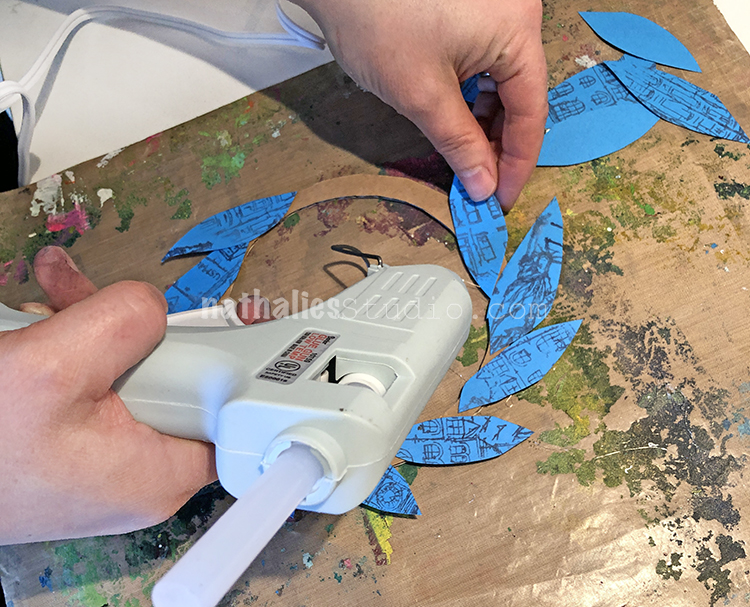
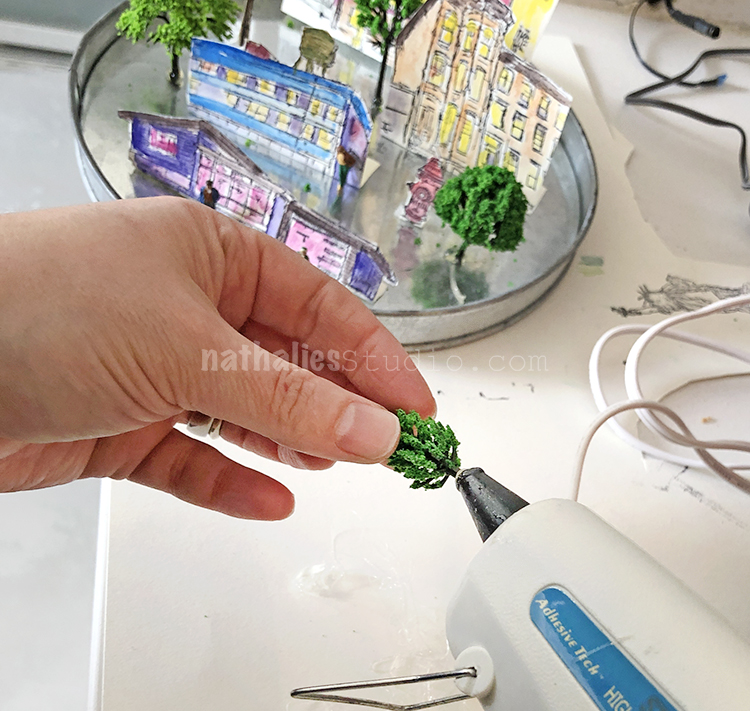
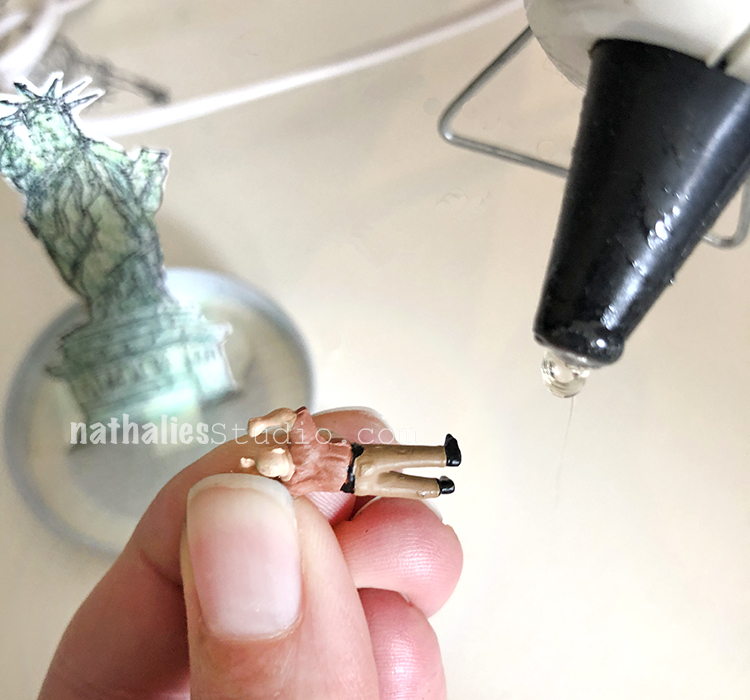
Use a glue gun to adhere the leaves in place. I finally bought a glue gun – yes can you believe this is my first ever glue gun? lol

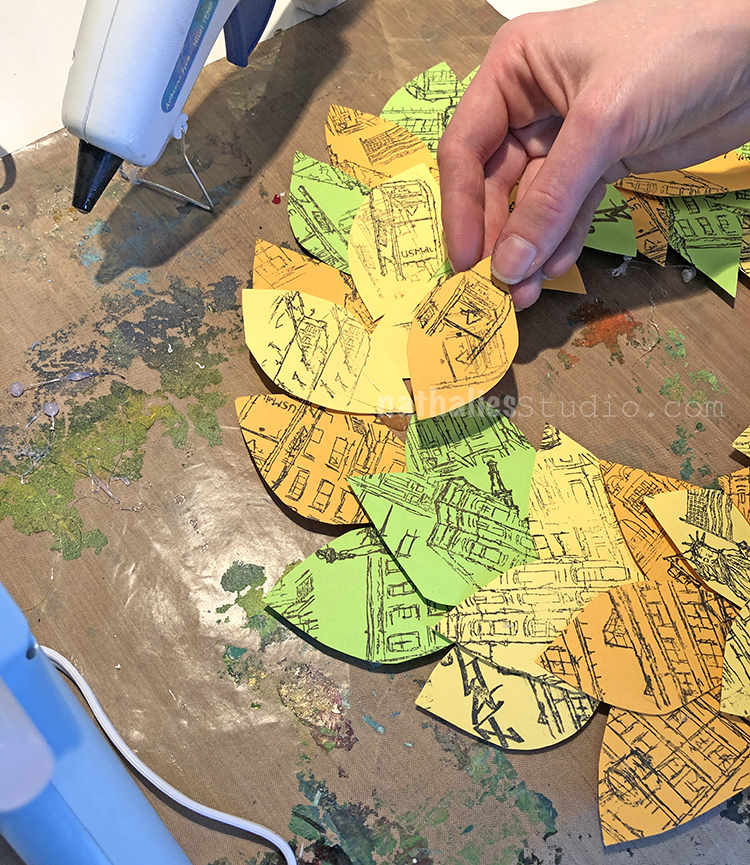
Three leaves across seemed to cover the cardboard.

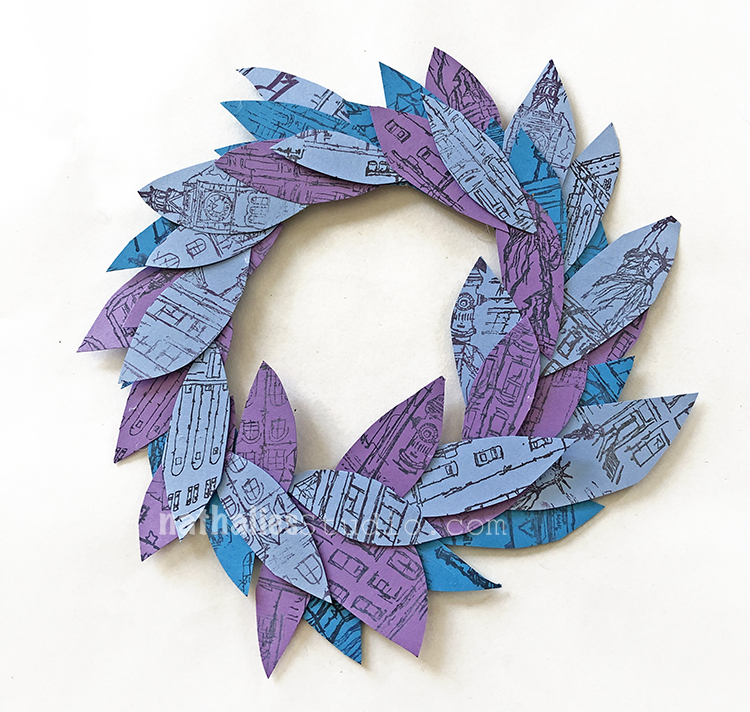
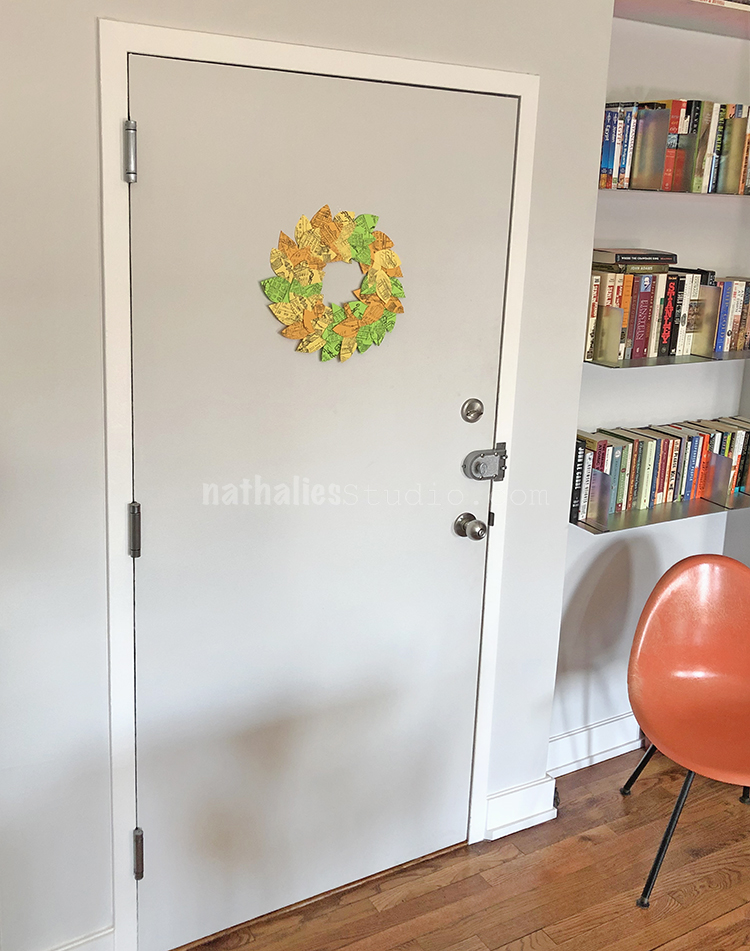
In the end you will have a charming little spring decoration.

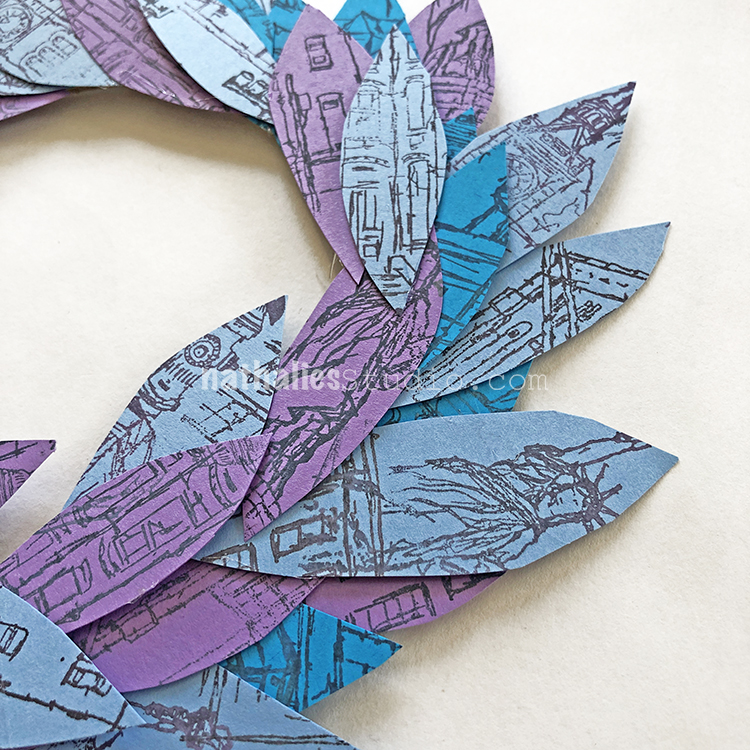
Look at all the stamp images peeking through.

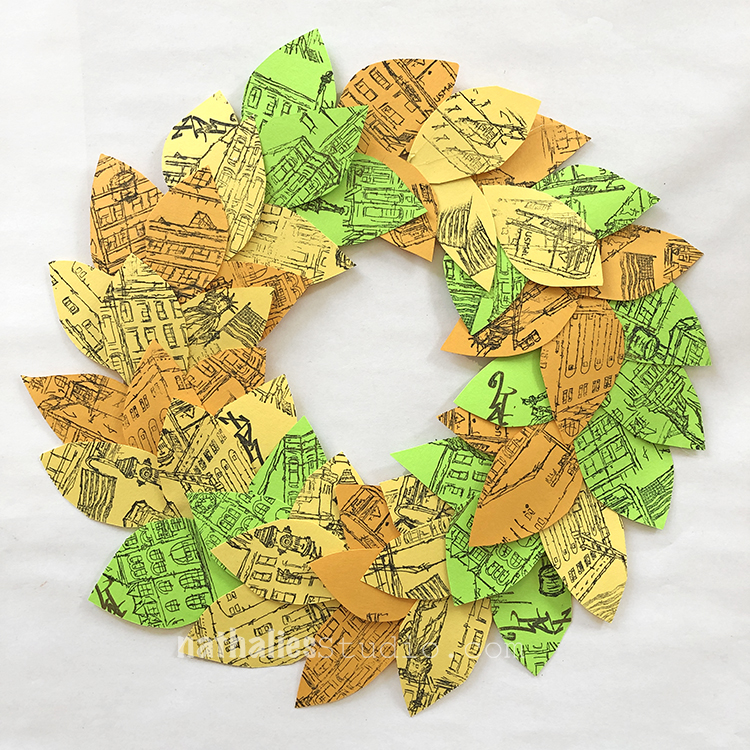
The big one is just right for hanging on a door.

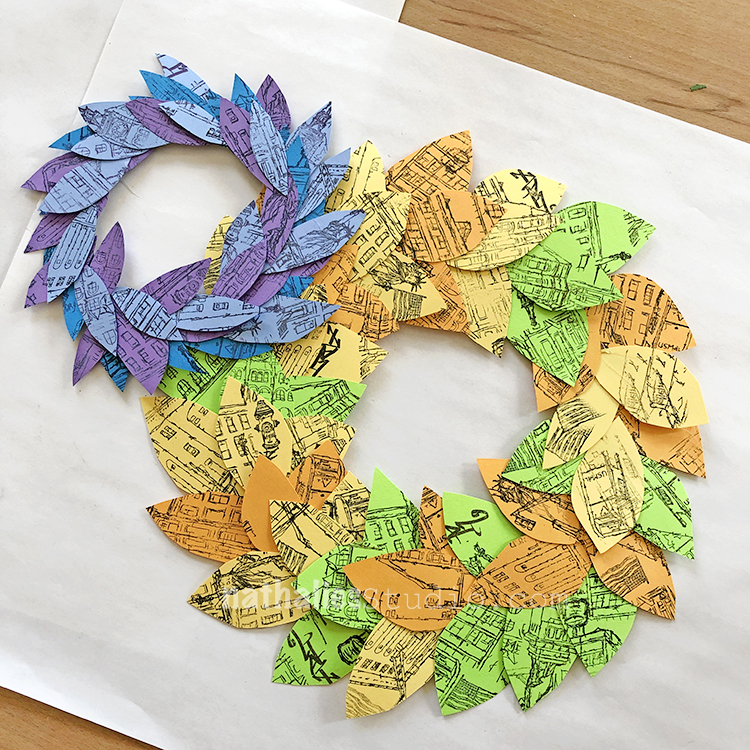
Two paper wreathes, ready for spring.

One on the inside of Kim’s front door.

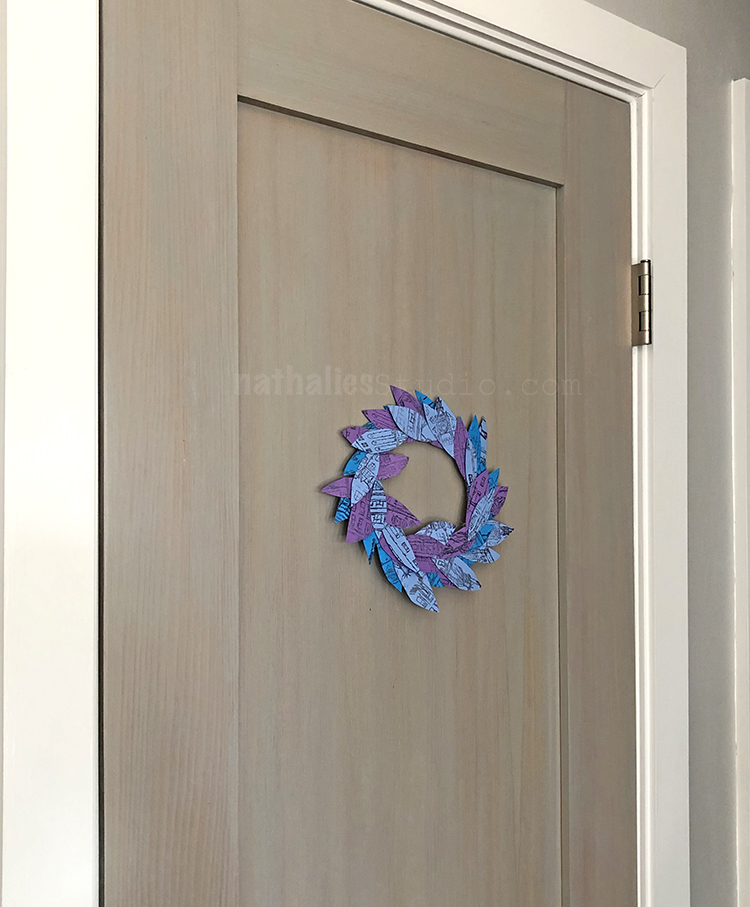
Looks nice on a smaller door here.

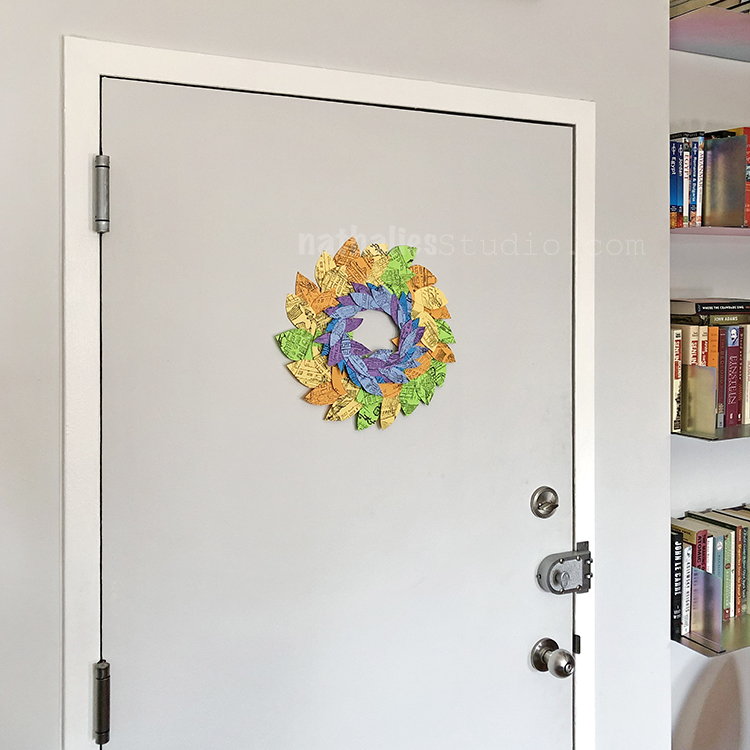
You can even layer them up for more impact.

This was a great way to use up some colored paper we had on hand and to have some fun stamping. I love how the stamps give it some more visual interest, and you could really play with ink colors and different papers if you wanted to. I hope you try it!

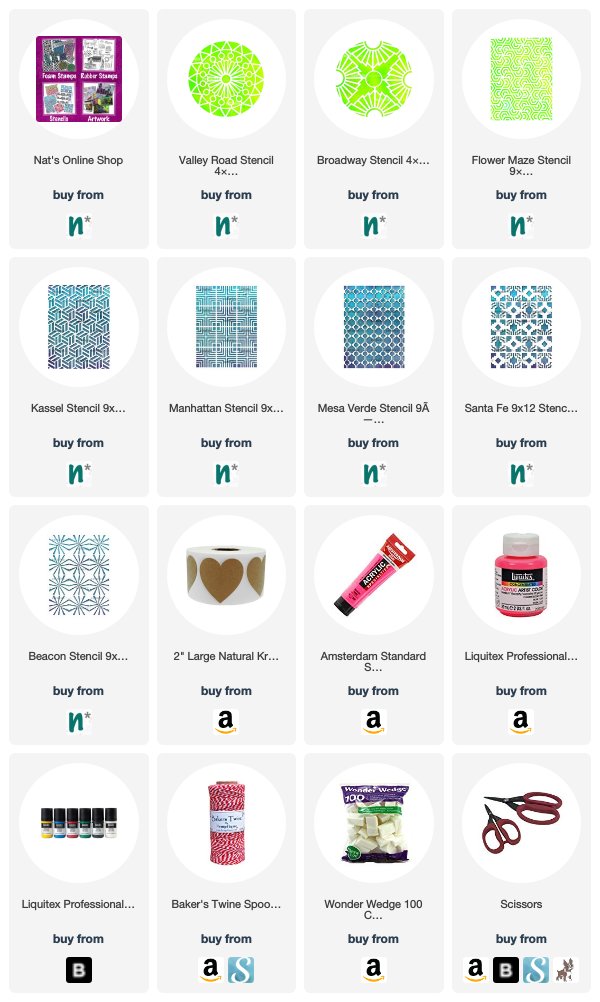
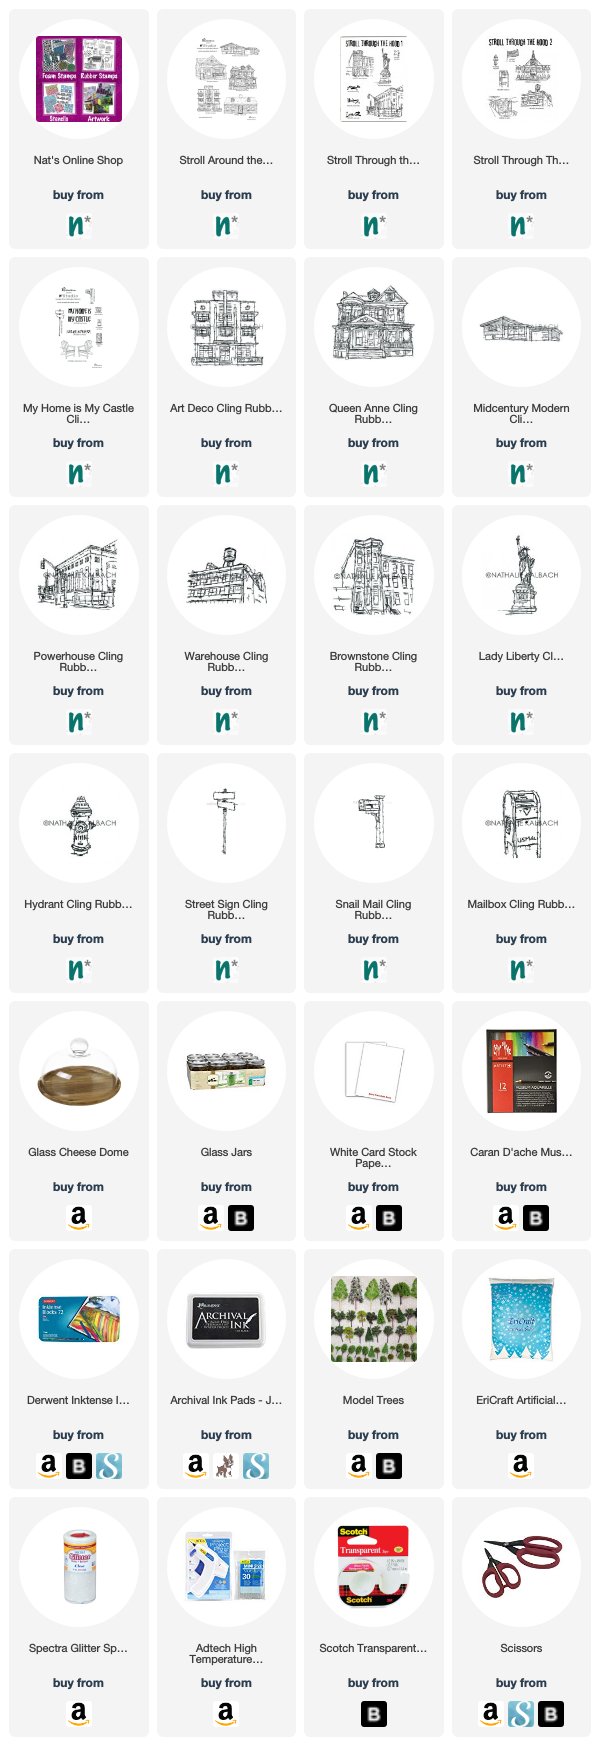
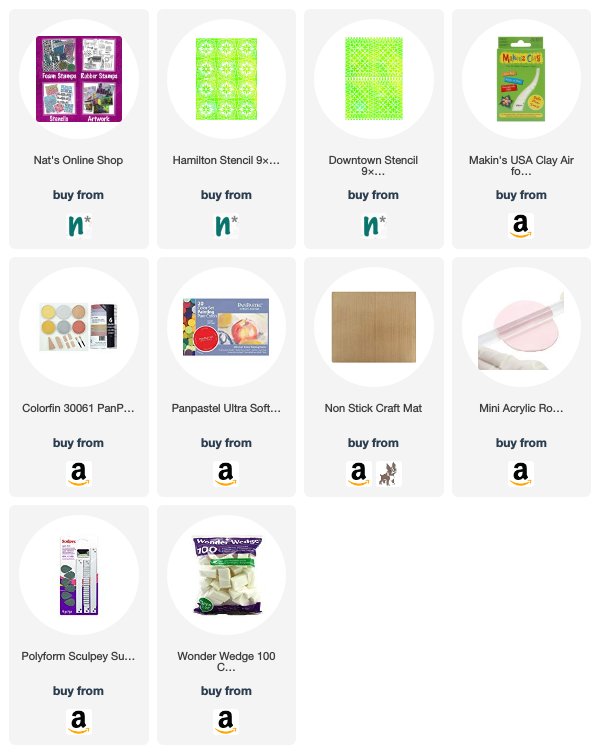
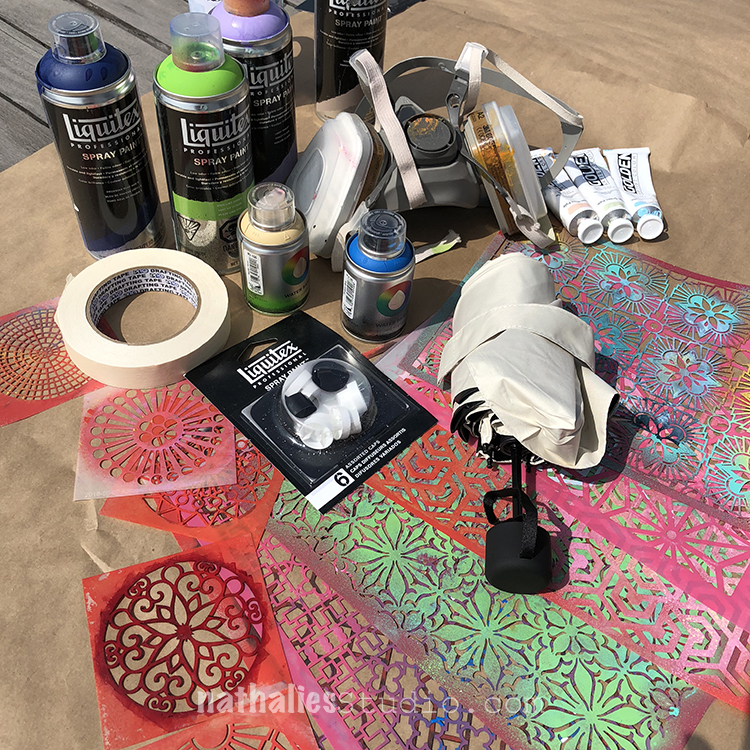
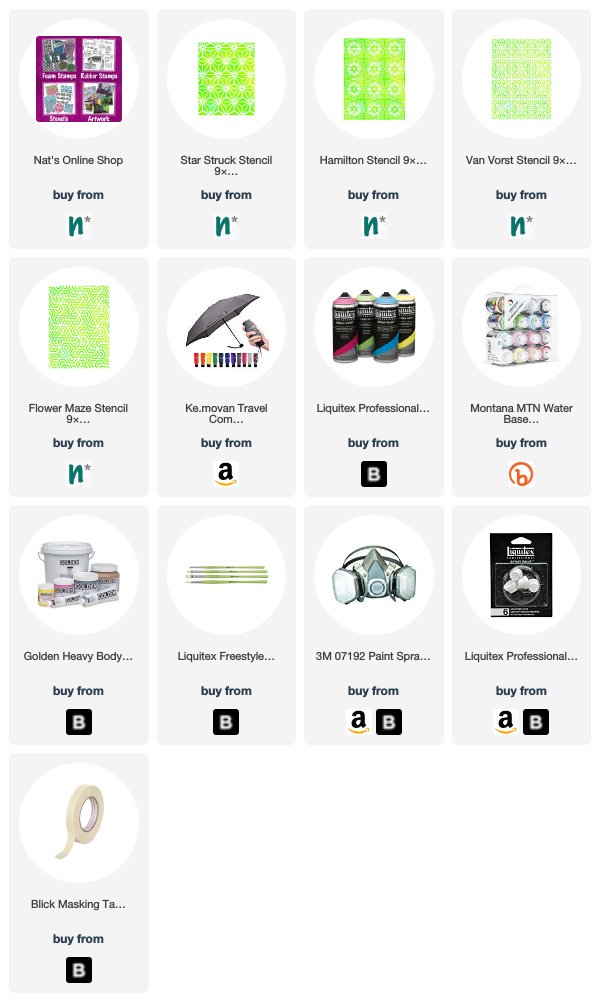
You can find my rubber stamps in my online shop. Here are some of the supplies that we used in this play date:


Comments (1)

  • stephanie

    |

    your art play date projects are always an inspiration! thanks Nat

    Reply

Leave a comment

Stenciled Valentine’s Garland – DIY Play Date

For the upcoming Valentine’s Day holiday Kim and I had a little play date to get in the spirit. This was super easy – done in an hour – and a fun way to use some stencils!

We got some heart stickers (2″ across), baker’s twine, my stencils, and acrylic paint in pinks, reds, and violet.

Then we started stenciling onto the hearts. Here I’m using my Broadway stencil and different pinks.

Choose a stencil with a pattern that isn’t too big, but the main point is to get some cool designs onto the hearts.

Kim used the Kassel stencil and lined up a bunch of heart stickers underneath.

This was a good way to do a lot of hearts at the same time and works nicely with a 9×12 stencil.

You can also work heart by heart and line up the stencil better. Here I am using my Valley Road stencil.

Here are some with my Manhattan stencil.

Look at all these fun designs! They are (top to bottom) Santa Fe, Valley Road, Broadway, Mesa Verde, and Beacon.

And more from Kim – Manhattan, Kassel, and Flower Maze.

Cut a length of the baker’s twine – however long you want your garland. Then put a heart sticker down and stick the twine to it. Stick the twine close to the top so the heart hangs the right way.

Then stick another heart on top to sandwich the twine. We spaced the hearts out with about 3-4″ in between each one.

Looks nice above a fireplace…

And on the bookshelf!

You could hang it on a chandelier or in a doorway or even on a little indoor tree.

We hope you try this one – it was great to play with color and pattern and the results are very cute :) Enjoy!

You can find my stencils in my Online Shop. Here are some of the supplies that we used:


Leave a comment

Rubber Stamped Waterless Snow Globes – DIY Playdate

This is my favorite Play Date with Kim yet!!! Seriously, I geeked out on this and had too much fun making a little Winter Wonderland under glass. We knew we wanted to do snow globes and waterless is the way to go – easy peasy and sooooooo cute! Here we go – waterless snow globes filled with little rubber stamped scenes to warm your heart this holiday season and into the winter beyond.

You’ll need a jar or cool glass cheese dome like I found. The size of the jar and lid will determine what rubber stamps you can use. We went right for my Stroll Around the Block house stamps, and the little street elements and buildings in my My Home is my CastleStroll Through the Hood 1 and 2 sets. Then we got some fake snow, some tiny trees and tiny people, heavy card stock, archival ink, colored pencils and ink blocks to color our stamped images, scotch tape, a hot glue gun and scissors. How many accessories you want to add is up to you – there are so many choices when it comes to miniature scenery – plants, animals, different people, etc.

My cheese dome was wide enough to have a little city scene in it, so I played with various arrangements to see what fit. Here I am testing out my Powerhouse, Queen Anne, and Brownstone stamps. You can use the stamps to see what will actually fit in your jars.

Kim had a canning jar that she found the Art Deco image would fit right into.

And another smaller jelly jar for a Lady Liberty snow scene :)

If you have small jars like baby food jars, you can choose small stamps like my Hydrant, Snail Mail, Mailbox, or Street Sign stamps.

Ok time to stamp! I’m using a few different stamps to build my snow globe neighborhood.

Next you cut them out, leaving a “foot” at the bottom to fold over and tape onto the lid. You can cut them out before or after you color them.

Color your stamped images with watercolor pencils – after all these snow globes won’t have any water :)

Kim added some seasonal details to the Street Sign stamp.

I love to use Derwent Inktense blocks with water and a brush, almost as watercolors to color in my stamps. They have beautiful rich colors and you can use a fine brush to get very detailed with them. Here I am adding some color to my Powerhouse stamp.

I chose a lot of different colors for my snow globe scene.

Use some tape to tape the image into the lid. Here is Lady Liberty, ready for winter I hope lol

She just fits.

Here is my scene and SQUEEEEEEL it is coming together so amazing!!! This was a test to make sure the lid fit.

Now I glued in some trees and shrubs with hot glue.

And people to bring your snow globe to life.

Kim put together 3 scenes.

Time for the blizzard!!!

Just spoon some snow into the jars.

Or gently spoon around the elements in the cheese dome.

On goes the lid

Kim assembled her North Pole snow globe :)

This is where we realized that for lidded jars, you may want to build your scene up a bit so it sits above the bumpy rim at the bottom of the jars. You could cut out a cardboard circle and paint it white and stick it in the lid first, then put buildings etc on top. We would definitely do that next time. Also if your jar has a colored lid, you may want to paint it with gesso before you begin.

But oh WOW this was sooooo fun! And looksie at my little winter wonderland!!! What a success and done in under 2 hours.

Take a stroll through my snow dome :)

Kim’s waterless snow globes – waaaaay cute!

That guy in the bottom cracks me up!

And for even more fun, I added a small battery operated tea light into the back of my snow globe so now it glows at night. Ooooooo!

I hope you try this project and I hope you have as much fun as we did. It’s a nifty way to get into the holiday spirit :)

In addition to my Rubber Stamps from my Online Shop, here are some of the supplies that we used:


Comments (4)

  • Sue Clarke

    |

    Love love love these Nat!
    Now maybe make some on shrinky material and you can use water too???
    Super fun project that you and Kim made.

    Reply

    • nathalie-kalbach

      |

      Great Idea Sue! We really wanted to have no glycerin or water involved – it was so much easier and gives more possibilities to add candles and use a cheese dome too :) It was so quick and I bet it is fun to make with kids too!

      Reply

  • stresso

    |

    oh my gosh – how fun!!!

    Reply

Leave a comment

Stenciled Napkin Rings for Thanksgiving – DIY Play Date

This week my friend Kim and I got together to have a little pre-Thanksgiving play date :) Our project idea was to make something new for the table for entertaining and we decided to make stenciled napkin rings. It was a fun and pretty simple technique and a new way to use stencils – with clay and pan pastels!

We got some air dry clay (this box was just right to make 4 napkin rings), Pan Pastels, a bunch of my stencils to choose from, a non stick craft mat, a small polymer clay rolling pin, and a paper towel tube for a mold.

First we flattened out the clay into a rectangle with our fingers and then smoothed the surface with the rolling pin. The rectangle needs to be big enough to cut into 4 long strips and to wrap around the tube, so we made ours about 6″ x 8″.

Time to choose a stencil. A small intricate pattern works best to fit the scale of the rings. I am using the Hamilton stencil.

And I decided to use warm, autumnal Pan Pastel colors. Pan Pastels are so lovely to work with, just take a cosmetic sponge and start dabbing on the pigment.

You can blend in other colors too.

Kim choose my Downtown stencil and some blue colors to match her dinnerware.

The big reveal! I love how the navy blue pattern pops.

Mine will look great with my ivory and gold china.

We used a polymer clay knife to cut the clay into strips and trim the uneven edges. Maybe use a ruler to make them equal… we didn’t… Oops! Also maybe smooth the edges as much as possible – it will look better in the end with smooth clean edges.

Prepare the mold by covering the tube with waxed paper.

And wrap the strips around, squishing the ends together. Be careful not to rub the pigment design too much – it will smear.

Let them dry overnight.

We dried them resting on the seam, just to encourage it to stay stuck.

The next day they were firm and ready to go.


You can spray them now with fixative to set the Pan Pastel pigment.

My table set with those pretty new stenciled napkin rings.

You can match them to your decor or go holiday-specific with your color choices.

The Pan Pastels I chose were metallic and look very festive.

Kim’s table in ivory and blues with a bold pattern napkin ring. So unique and a nice touch when you want your table to be memorable for Thanksgiving or any occasion.

We had fun making these – it was pretty quick and you don’t need a lot of supplies. And the Pan Pastels really made the stencil patterns crisp and clean. Give it a try for your tablescape this season!

You can find my stencils in my online shop. Here are some of the supplies that we used:


Comments (2)

  • Sue Clarke

    |

    Love that bold navy and the candle on the table made with one of your stamps as well.
    Wishing you a Happy Thanksgiving Nat and Kim!

    Reply

    • kimnstudio

      |

      Happy Thanksgiving Sue! Good eye spotting that candle – that was back from a previous play date with Nat and another project that I loved :)

      Reply

Leave a comment

Stenciled Umbrellas for a Rainy Day – DIY Play Date

Did you know you can stencil on an umbrella and turn it into a work of art? You can and it is a fun project. Kim and I got together on a sunny day to transform a couple umbrellas into something that will brighten any rainy day we encounter.

We chose white umbrellas as our “blank canvas” and some of Nat’s new stencil designs. We worked outside with acrylic spray paint (and proper protection – face mask) and each tried a different way to approach the project.

I began by painting my umbrella with heavy body paint to create a new background color.

I chose three different colors to alternate on the panels. This is a great way to make your umbrella any color you want.  BUT I learned the paint definitely stiffens the fabric and makes the umbrella hard to wrap up when you are all finished. I could almost not get the velcro tie around it in the end. Oops. It’s still doable, but tight.

Kim decided to spray paint directly on the fabric. She taped down the stencil and some paper as a mask. She began with my new Star Struck stencil and some blue paint.

The 9×12 stencils are a nice size to cover a large area with color and pattern.

She covered the top of 3 alternating panels with a couple colors of blue. The Star Struck stencil almost looks like umbrellas so it works nicely.

She then moved to the bottom to add more.

I chose my new Hamilton stencil – absolutely loving this pattern!!! I used a buff color on the blue panels.

I lined up the pattern and covered the whole panel with the design.

On some panels I used Hamilton and on others I used my new Van Vorst stencil – both are beautiful and delicate designs.

Here is my umbrella with the patterns. I might add more to the yellow panels – I chose a very subtle color for that one and it’s hard to see it once it dried.

Kim added green with my new Flower Maze stencil and just blended one pattern into the other.

Peekaboo :)

Looks great and all ready to brighten up a dreary day!

So you have lots of options when you start with a white umbrella. You could choose colors and coordinate it with your rain coat or rain boots or you could just aim to make something that makes you smile on a rainy day :)

You can find my new stencils in my shop here, as well as all my other products. Here are some of the supplies that we used:


Comments (4)

  • LindaLubovich

    |

    If you add textile medium to the acrylic paint you’ll avoid the stiffness you experienced when you base-coated your umbrella. Hi from San Jose.

    Reply

    • nathalie-kalbach

      |

      Great tip Linda, thank you! In this case on of the main problems was that I used heavy body paint which just made a too thick of a coating so that the string to tie it together became to short. Kim didn’t have the same problems using just spray paint.

      Reply

  • Sue Clarke

    |

    Clever and colorful…did you put anything on to preserve the paint…so it doesn’t run in the rain?

    Reply

    • nathalie-kalbach

      |

      thank you Sue. Since Acrylic paint is water proof I did nothing else to it- it should be stay as is :)

      Reply

Leave a comment