Blog: Rubber Moon

Feeling Pretty Solid… about Solid Stamps

Looking for something solid? Like a nice solid shape that you can depend on? How about some solid stamps like my Solid Square, Solid Triangle, or Solid Hex! Haha I’m just joking around but they are pretty nifty stamps to play with.

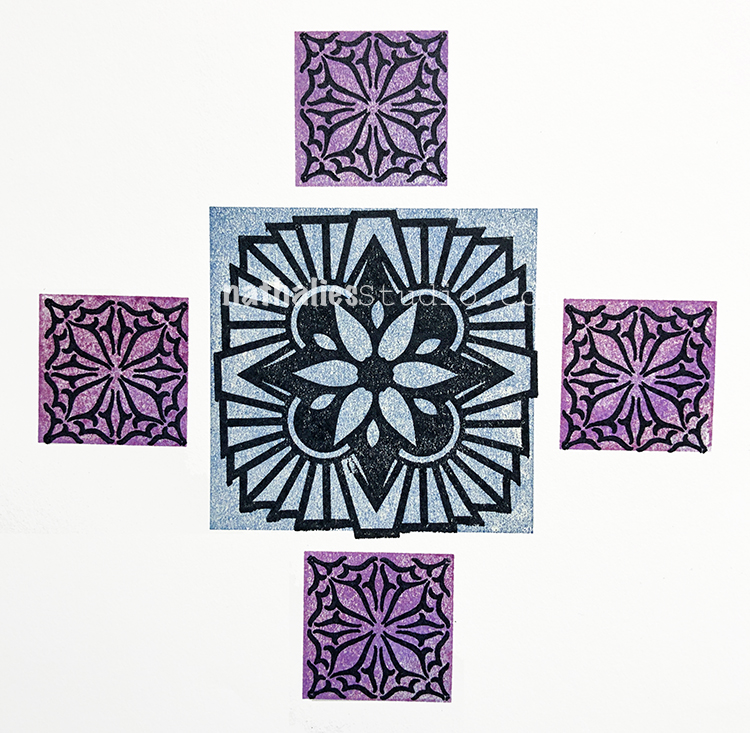
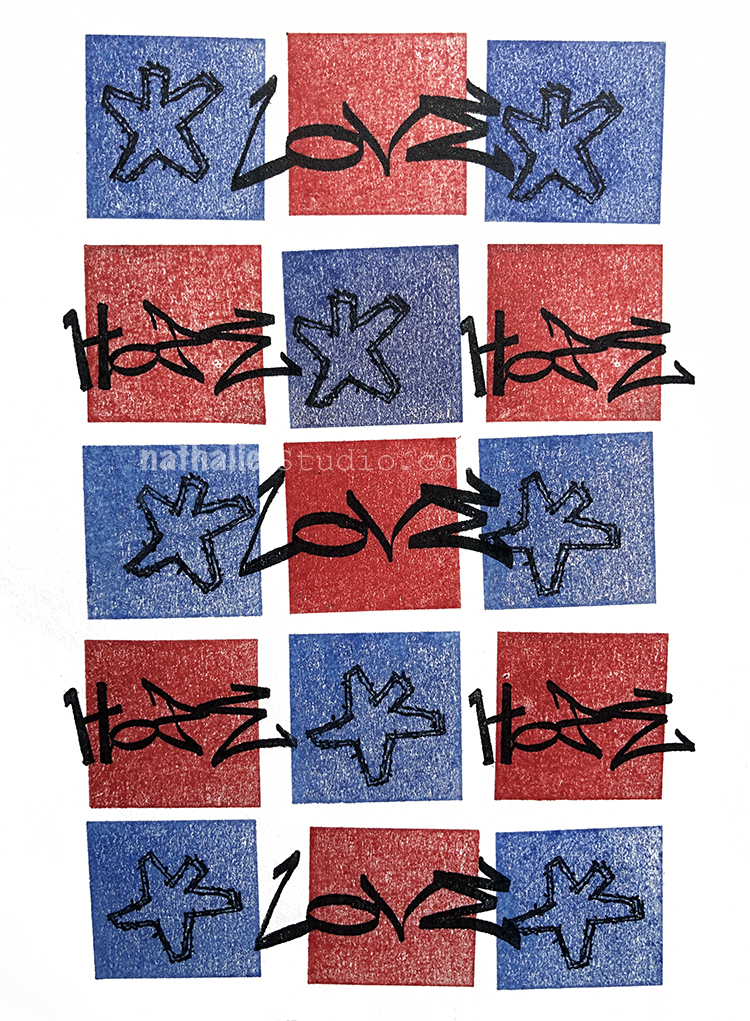
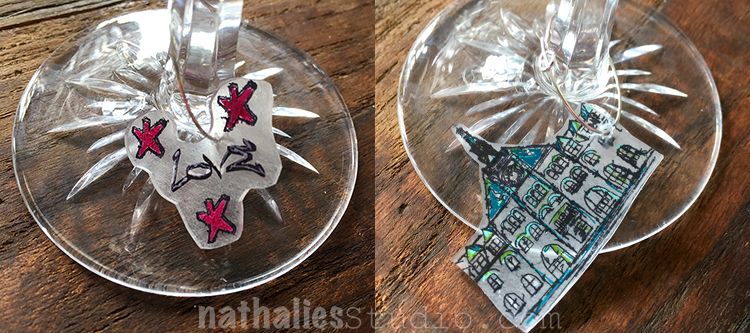
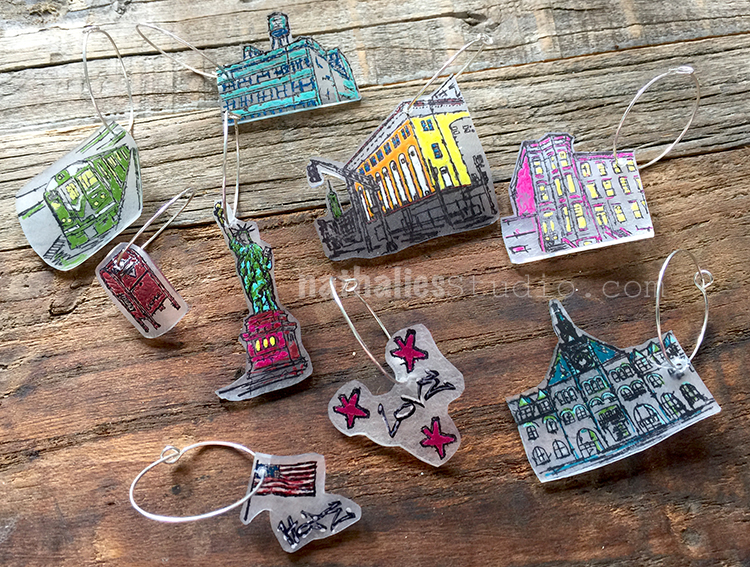
I designed them to be used underneath my other stamps of the same shape, so the Solid Square Small fits right under my Floral Tile Small set and the Solid Square Large fits the Floral Tile Large and so on. But they make a nice base for lots of stamps like my Love Tag, Hope Tag, and Star Tag.

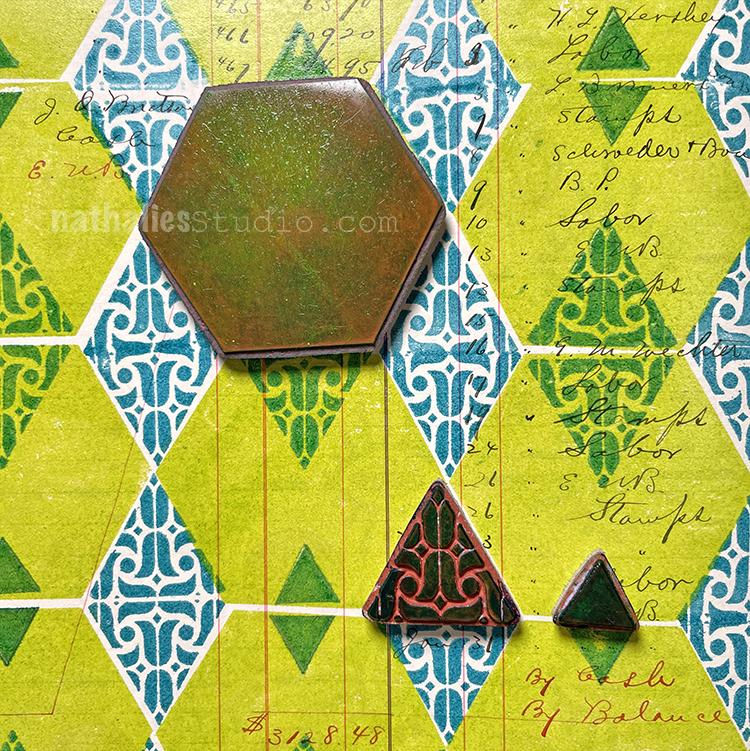
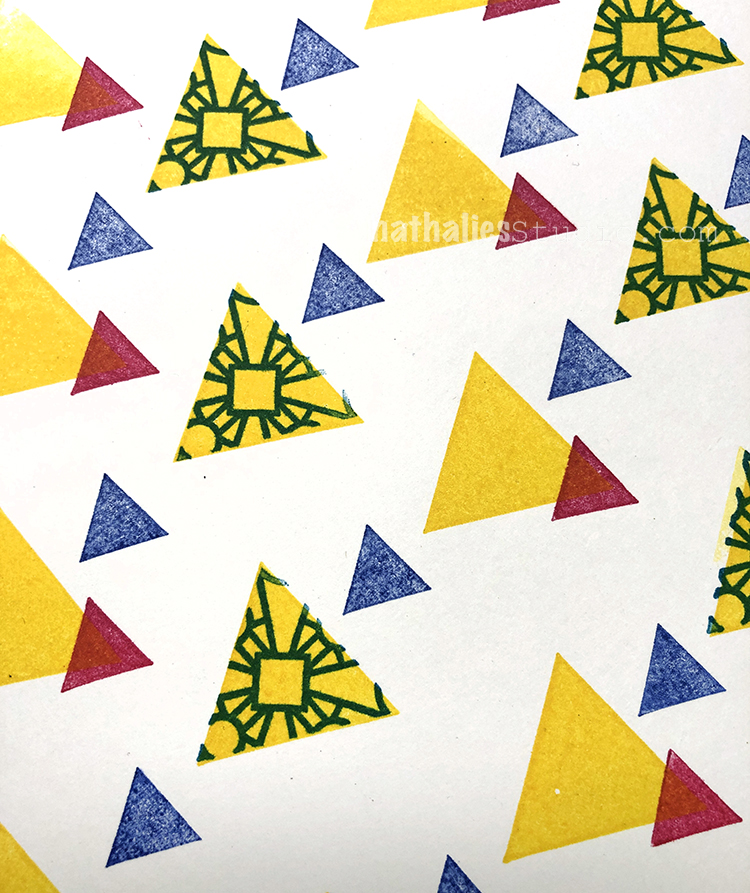
The shapes just kinda work together too and if you’re into making patterns or building backgrounds, Solid Hex Large, Solid Triangle Large, and Solid Triangle Small might be your new bff’s.

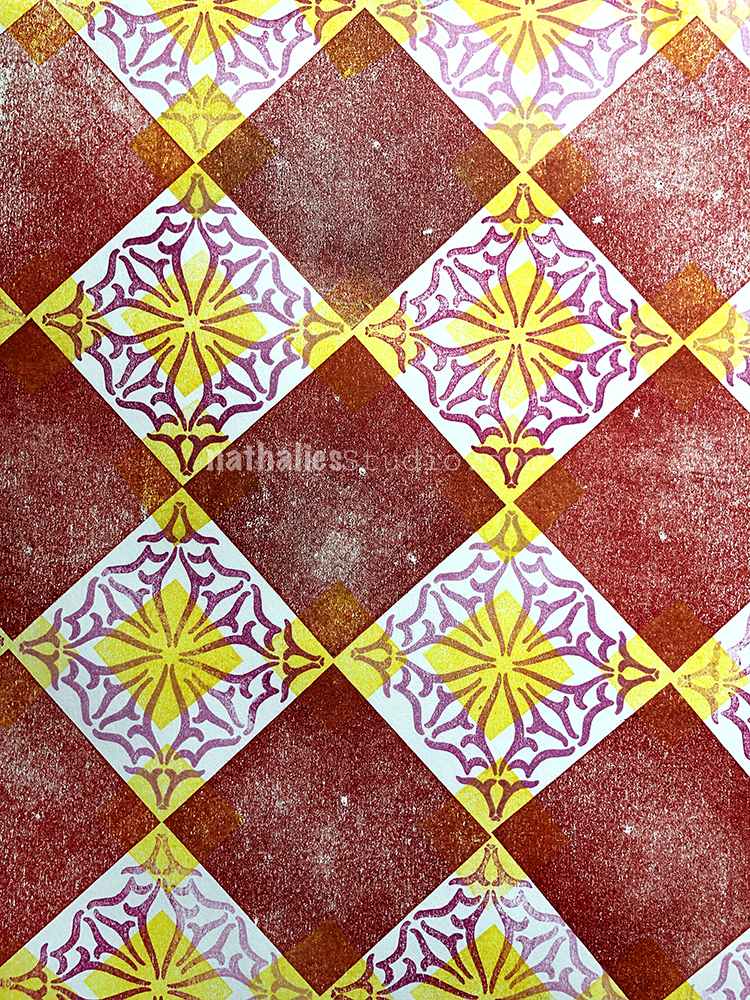
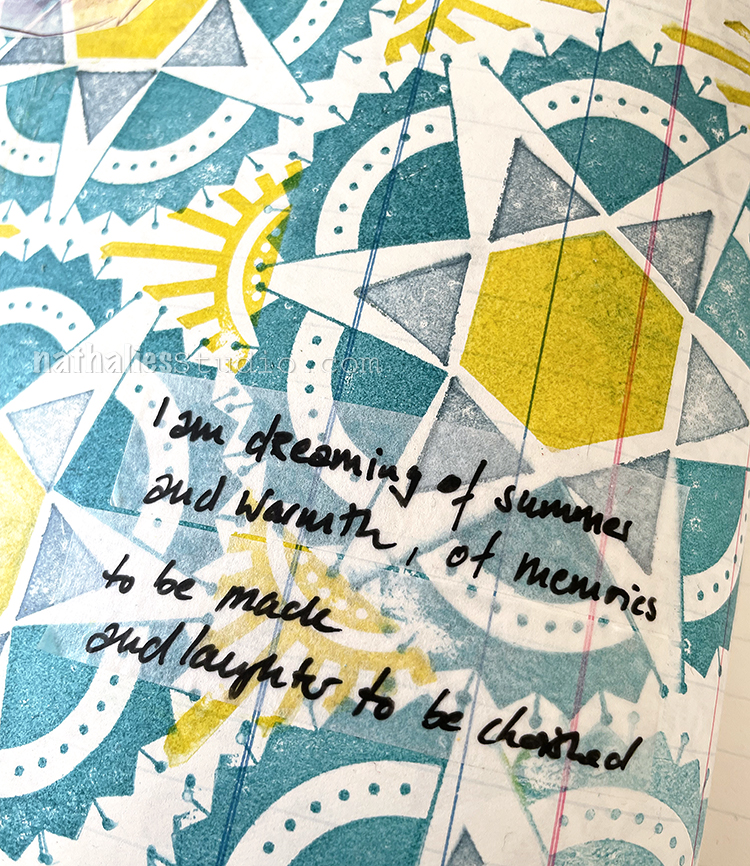
Mix them up and layer them. They are building blocks for something bigger.

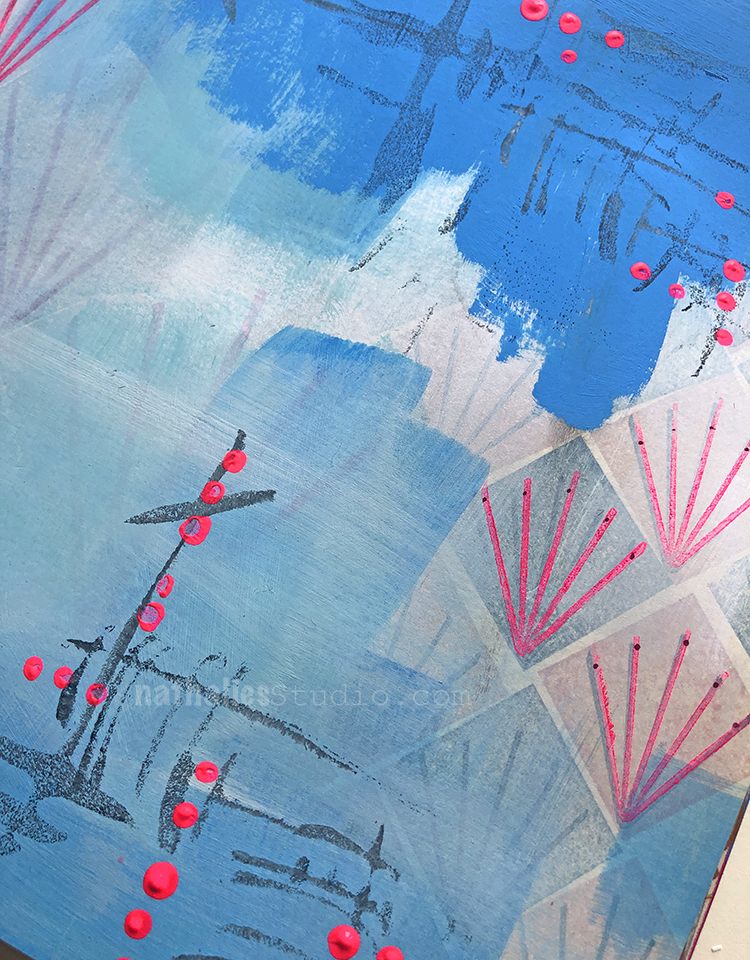
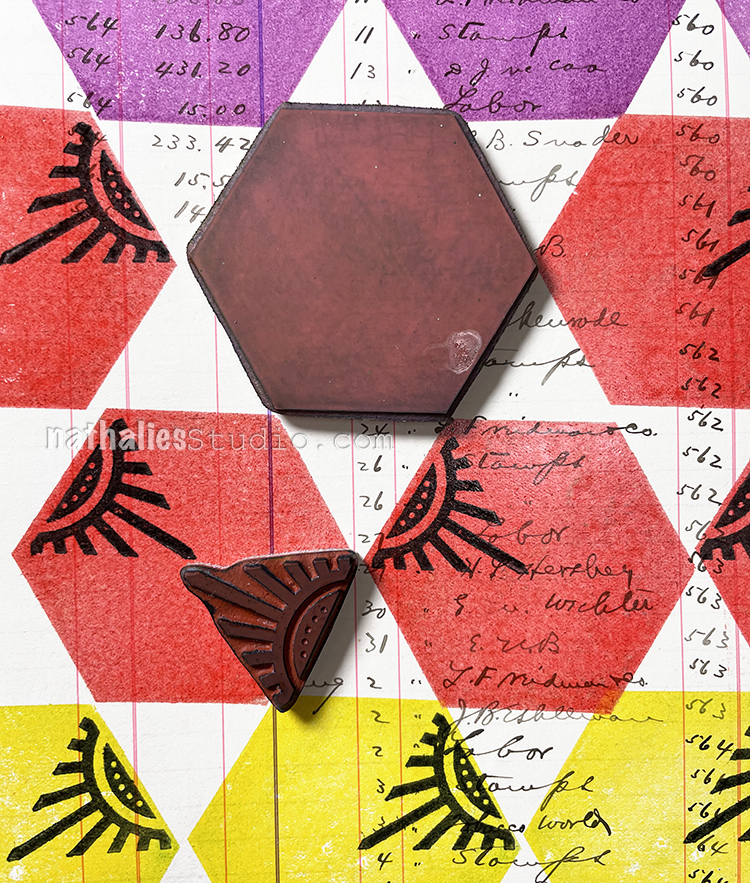
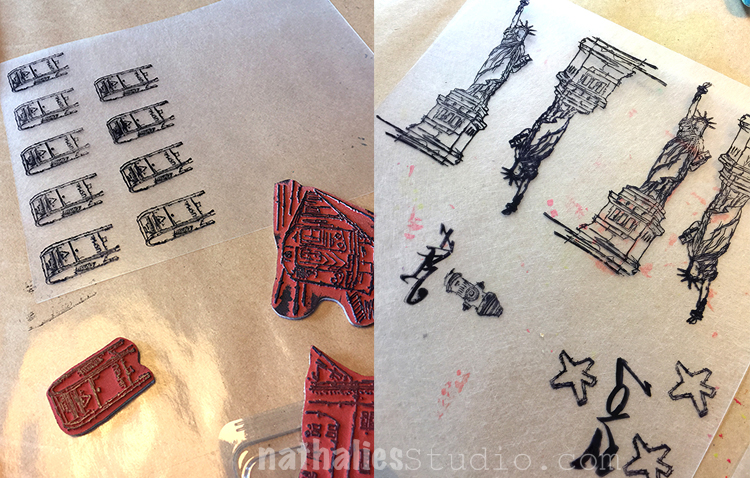
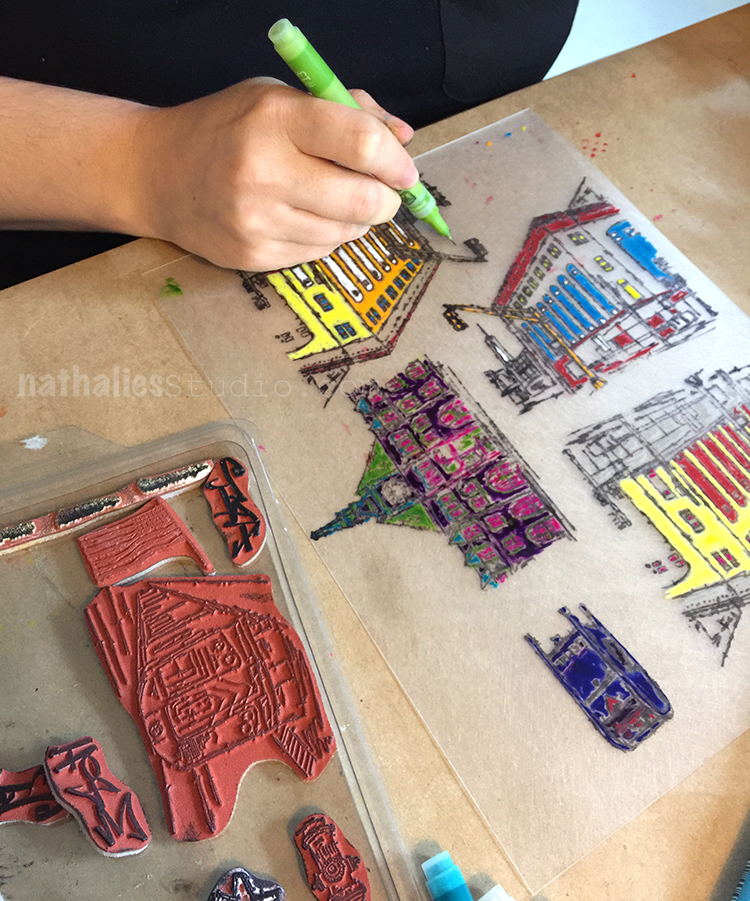
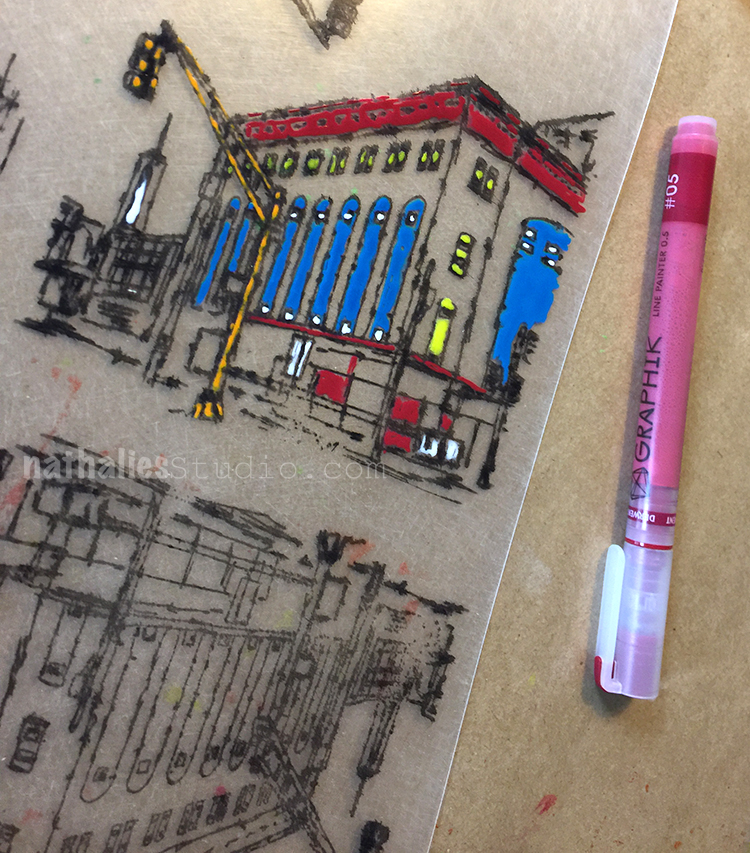
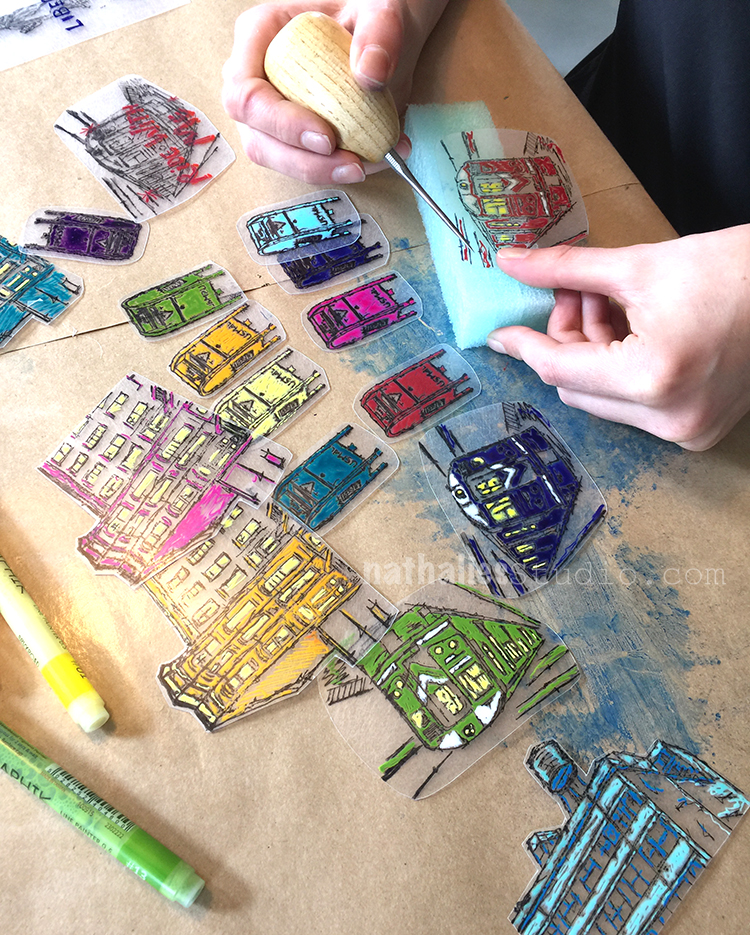
They can be a base for additional stamping with shape and pattern and in fact they can even be used to “kiss” other stamps before they go on the page. Check out that simple process here and enjoy the results:

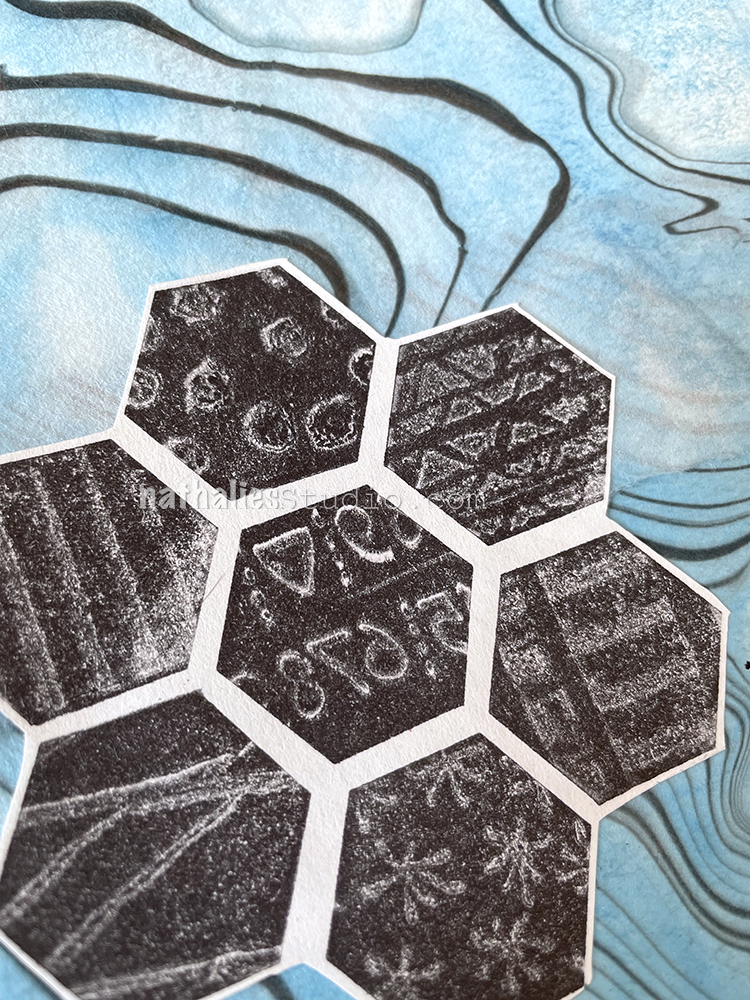
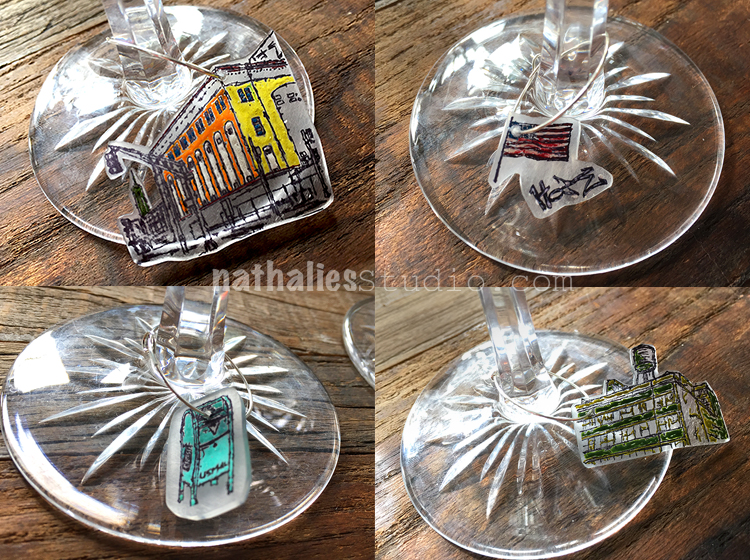
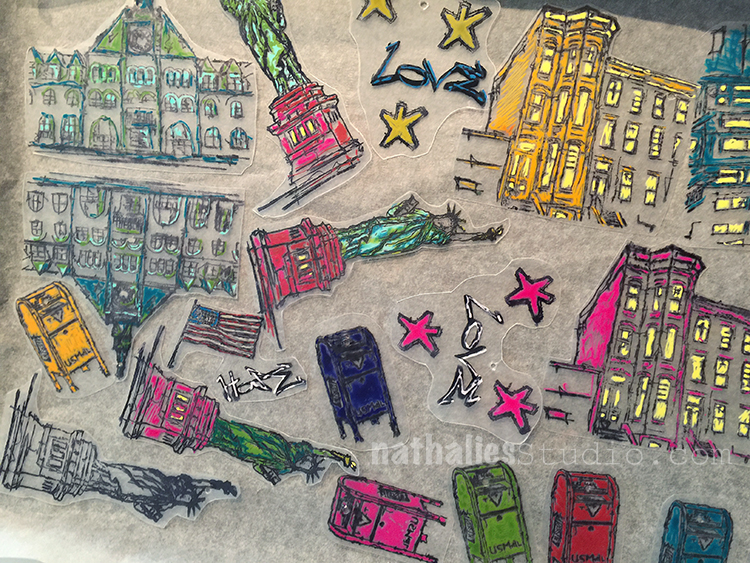
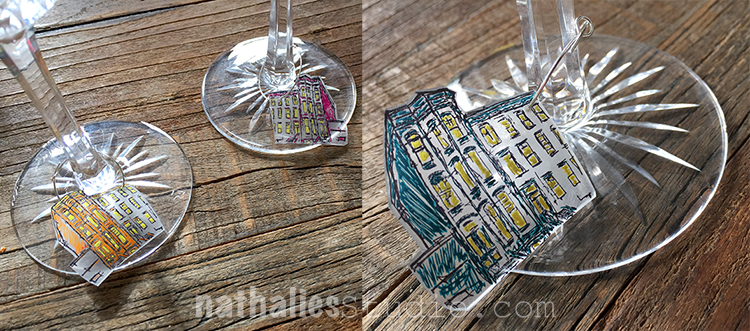
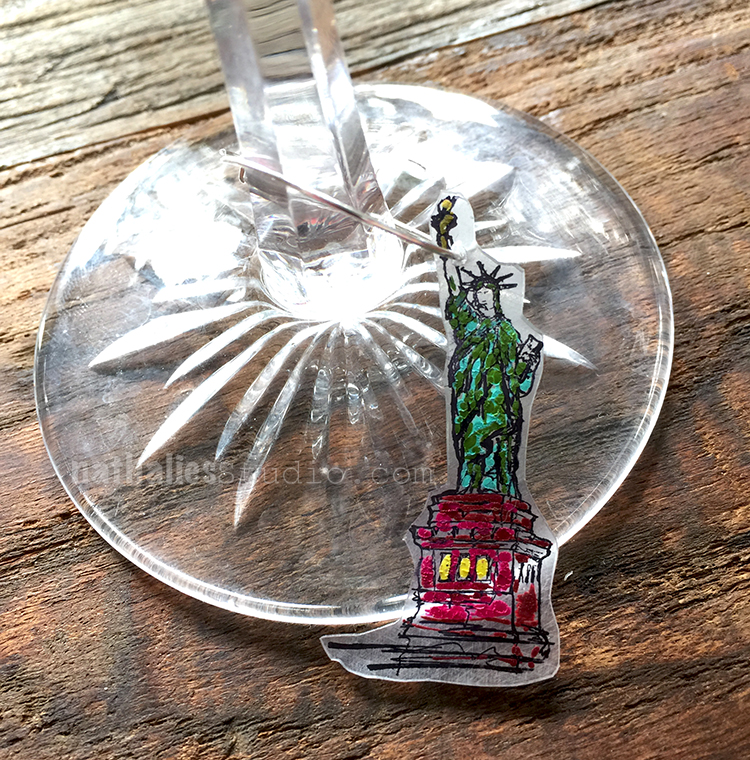
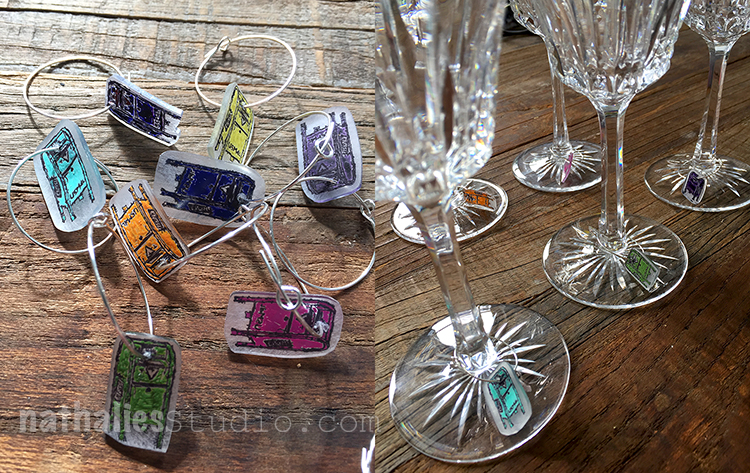
I used the Solid Hex Large and my Stroll Through the Hood stamps in unison and also my Embroidery and Cardboard sets too. It’s a fun way to get an old carbon copy look.

Solid stamps. Solid shapes. Solid recipe for mixed media success :)

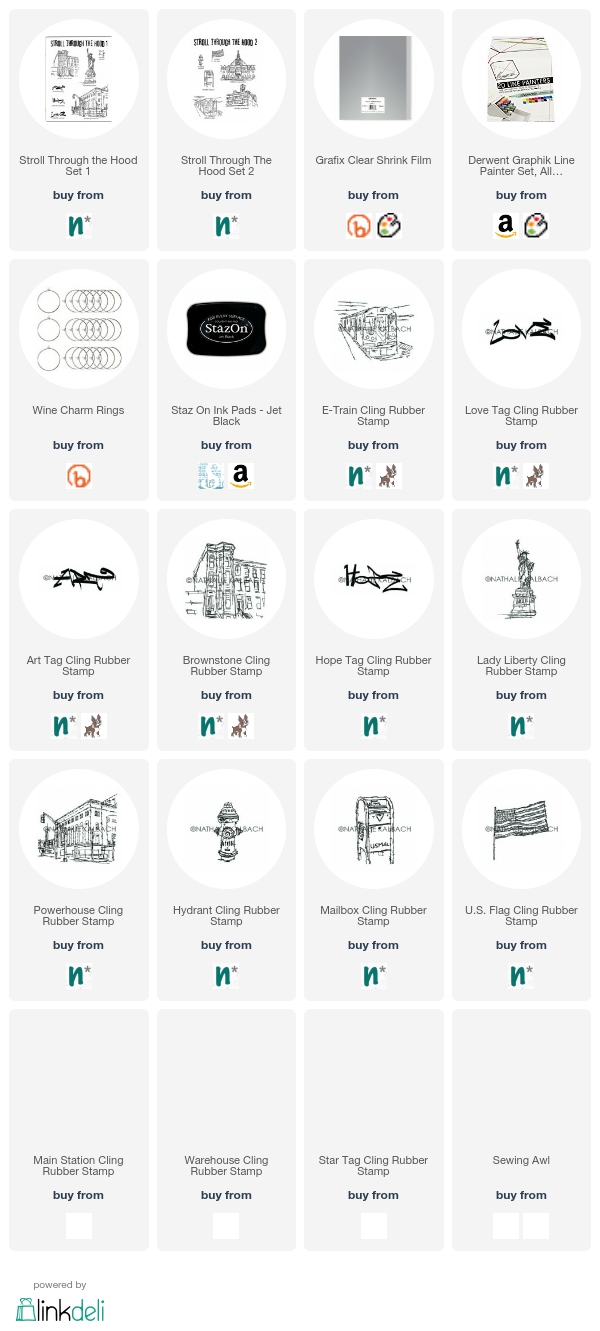
Here are some of the supplies I used in these projects:

Leave a comment

Summer Stamping: DIY Wine Charms

A couple of weeks ago my friend Kim and I spent a morning to make some fun DIY Wine Charms. With 4th July coming up and some wonderful evenings spent with friends outside we thought that my RubberMoon Stroll Through the Hood Sets would be perfect for making a couple wine charm sets.

We stamped using black Staz On on top of Shrink Film (complete supply list is below)

Colored the images in with some Derwent Graphik line painters.

Cut the images out

and poked a whole into them. (we learned we needed to make sure that the whole would be really big- since they shrink too – so hole punch whole is the perfect size)

We placed all the shrink plastic shapes onto a baking sheet and followed the directions on the packaging -backed it for a couple minutes and

pulled out the cutest little plastic pieces. See how much Lady Liberty shrinked. We shrieked in delight

and put some wine charm rings through them

We made an E-Train Set

and a Brownstone Set

A mixed set

and a mailbox set

and we could not stop. Guess what everyone is going to get for presents in my friend’s circle in the next couple months ;)

On this note “CHEERS” my friends and I hope you liked this little tutorial. Give it a try :)

Here are the supplies we used- some links are affiliate links


Comments (4)

  • Susan

    |

    Nathalie, these are darling! My kiddo just pulled out the shrinking supplies this morning!!!

    Reply

    • nathalie-kalbach

      |

      Thank you Susan! I bet it was fun playing with the shrinking supplies !

      Reply

  • Rae Missigman

    |

    oh I love these! I remember doing charms last Summer with the kids and we loved it! Thank you for reminding me I have a bunch of the supplies left in the closet and need to haul them out again this Summer break…now….what to make this time!!! :) You rock!

    Reply

    • nathalie-kalbach

      |

      thank you Rae! I bet you are doing some fun pieces with them :) how about some mini mark embellishments :)

      Reply

Leave a comment