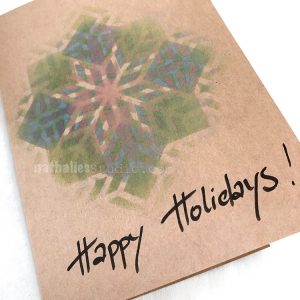
Today we have a little card making inspiration from Creative Squad member Judi Kauffman who is using my ATC Mixup stencil and some collaged paper bits to create a stunning layered design.
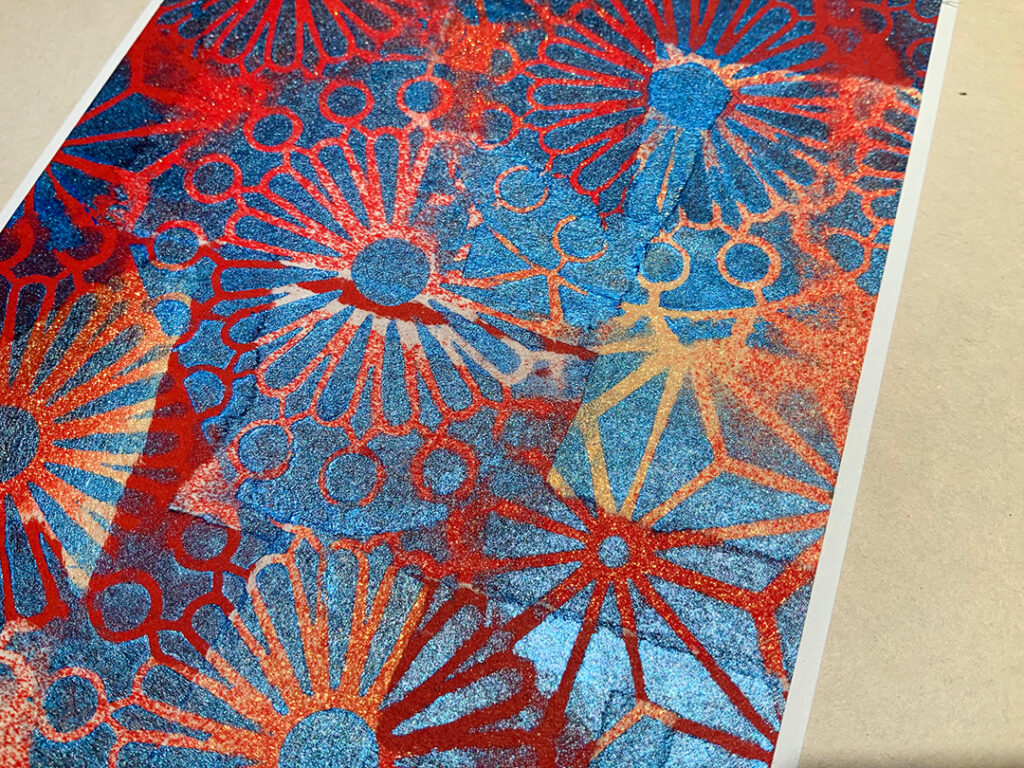
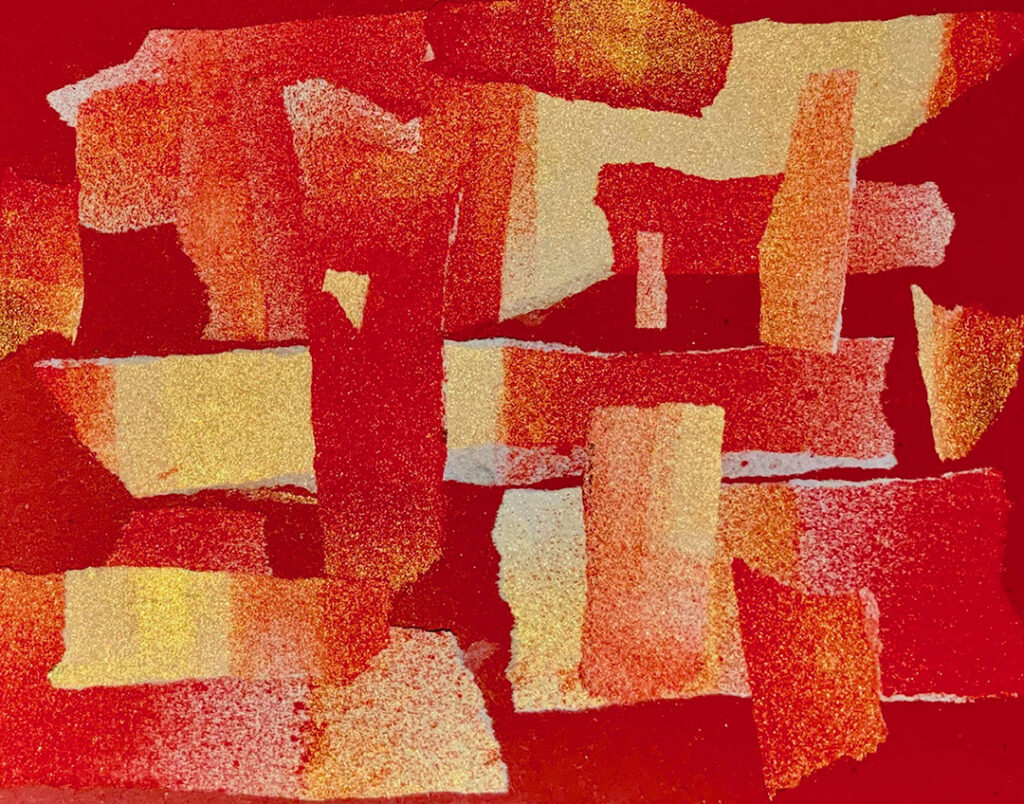
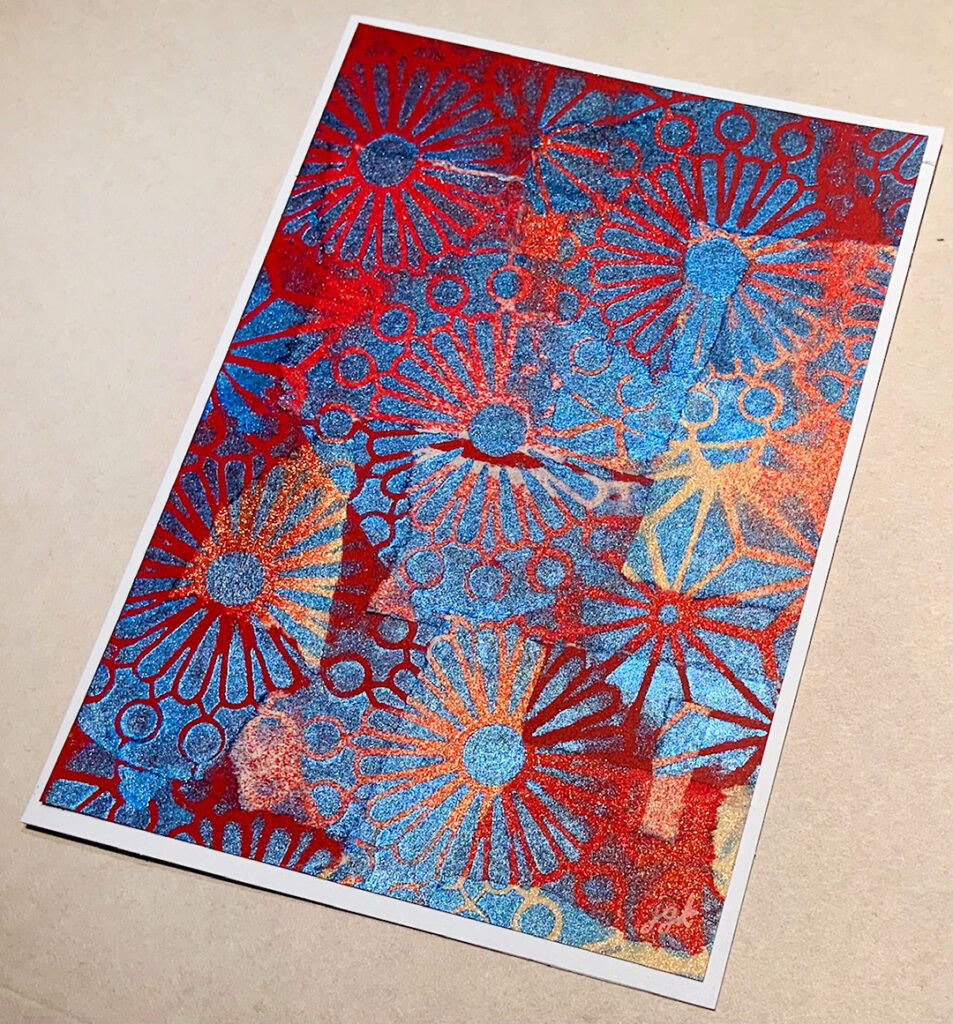
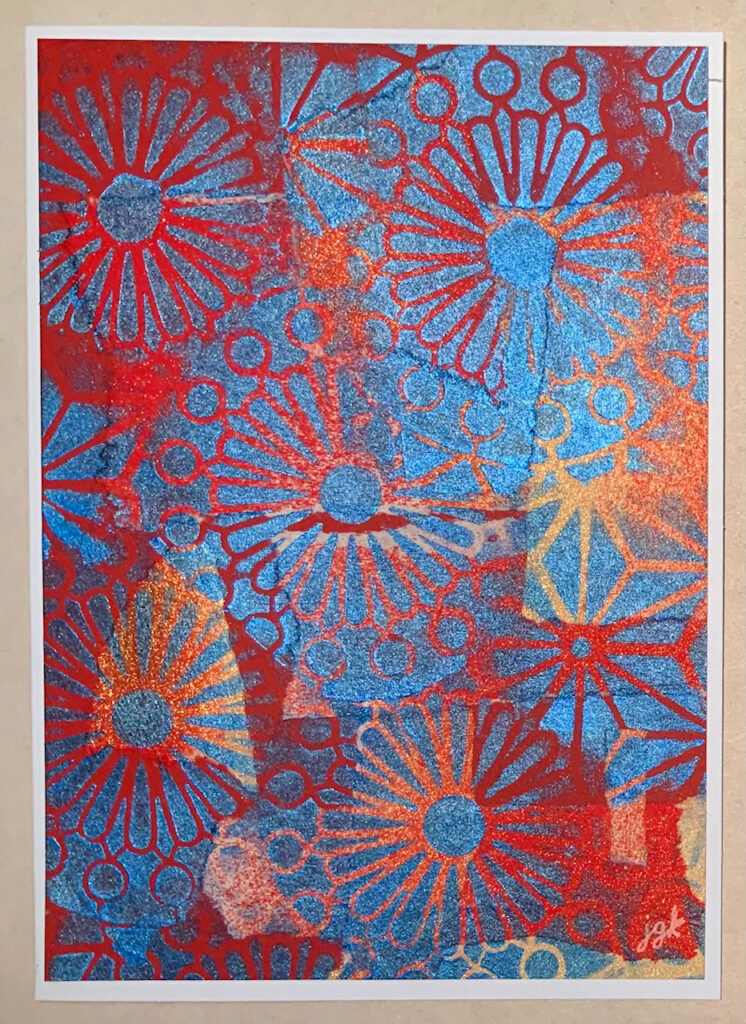
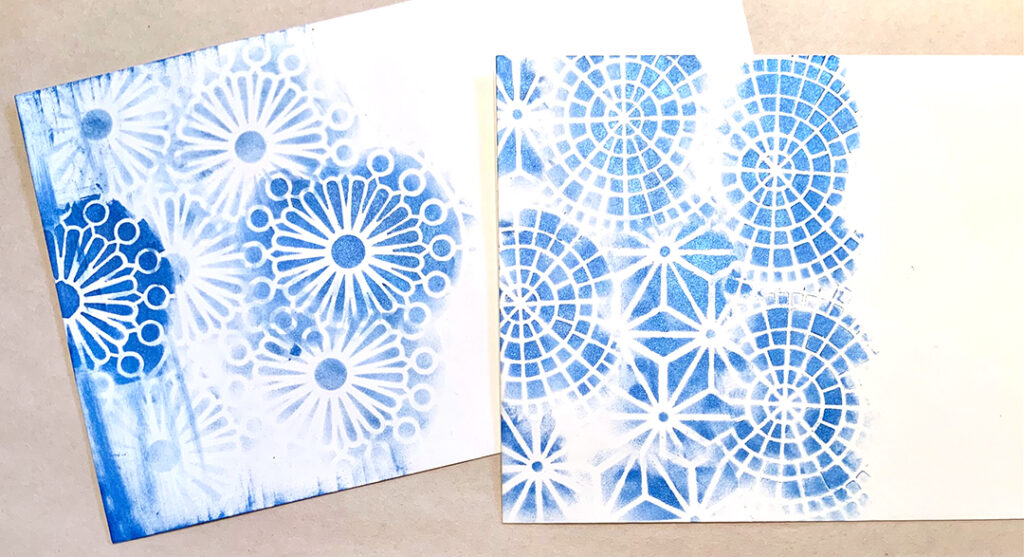
This is what I did this morning: I glued torn paper leftover from doing some spray painting onto 8.5×11 red cardstock.
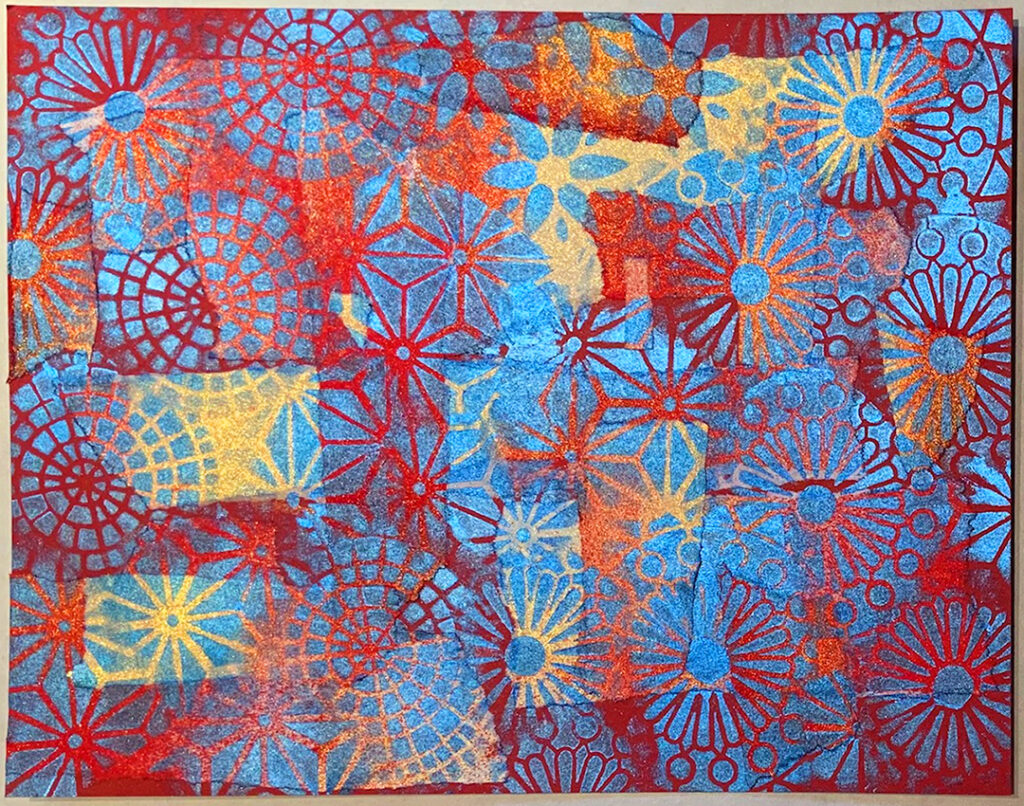
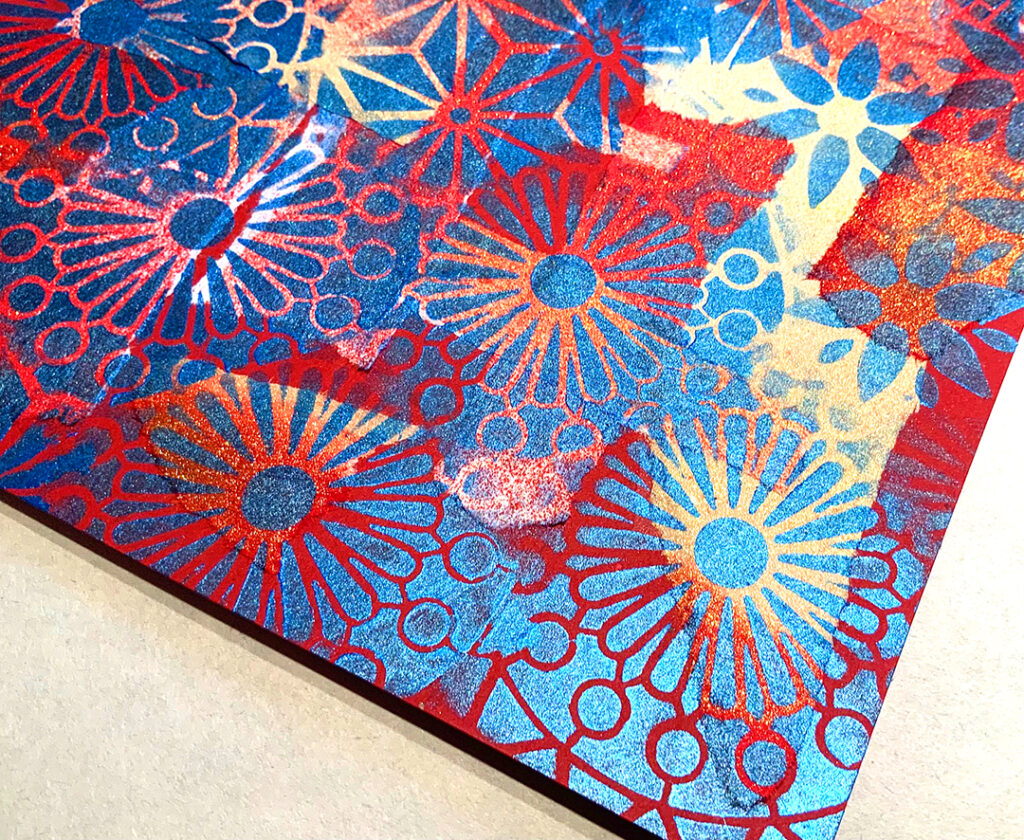
Then I stenciled onto the sheet with metallic blue acrylic paint and the ATC Mixup stencil. I turned the sheet into cards.
Thanks for sharing Judi – love this method of starting with a little random collage. It’s a great way to use up some of those painted papers and clean up sheets.
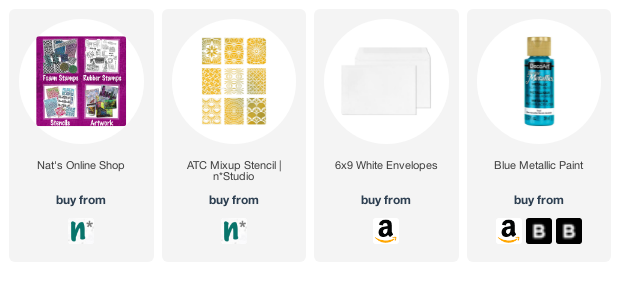
You can find all of my stencils in my Online Store. Here are some of the supplies that Judi used:
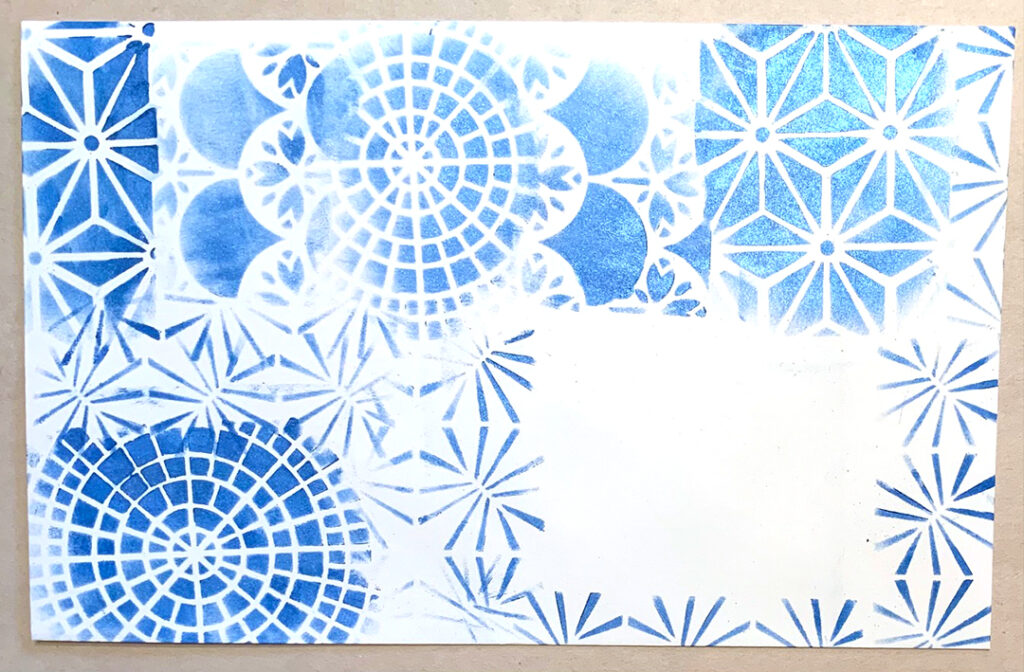
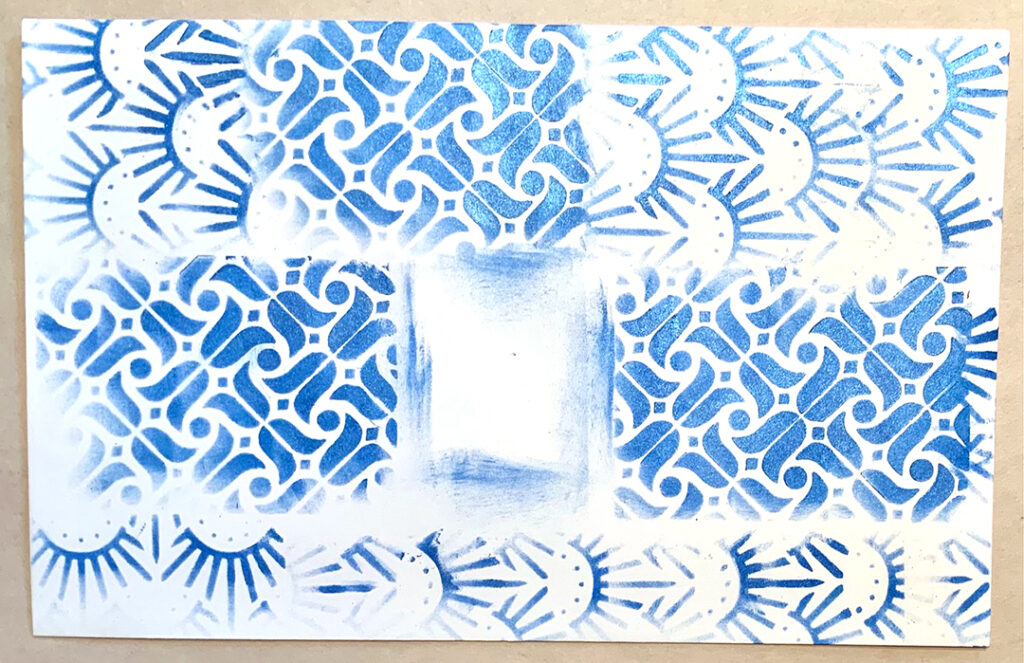
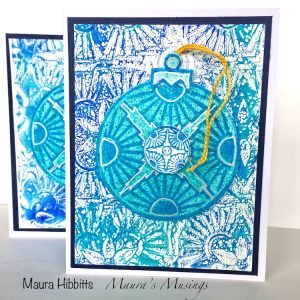
Are you sending out New Years or Thank You cards in the coming days? Don’t forget to give those envelopes some love too! Here is a nice idea from Creative Squad member Judi Kauffman who is using my ATC Mixup stencil to give plain white envelopes a little bit of pizzaz!
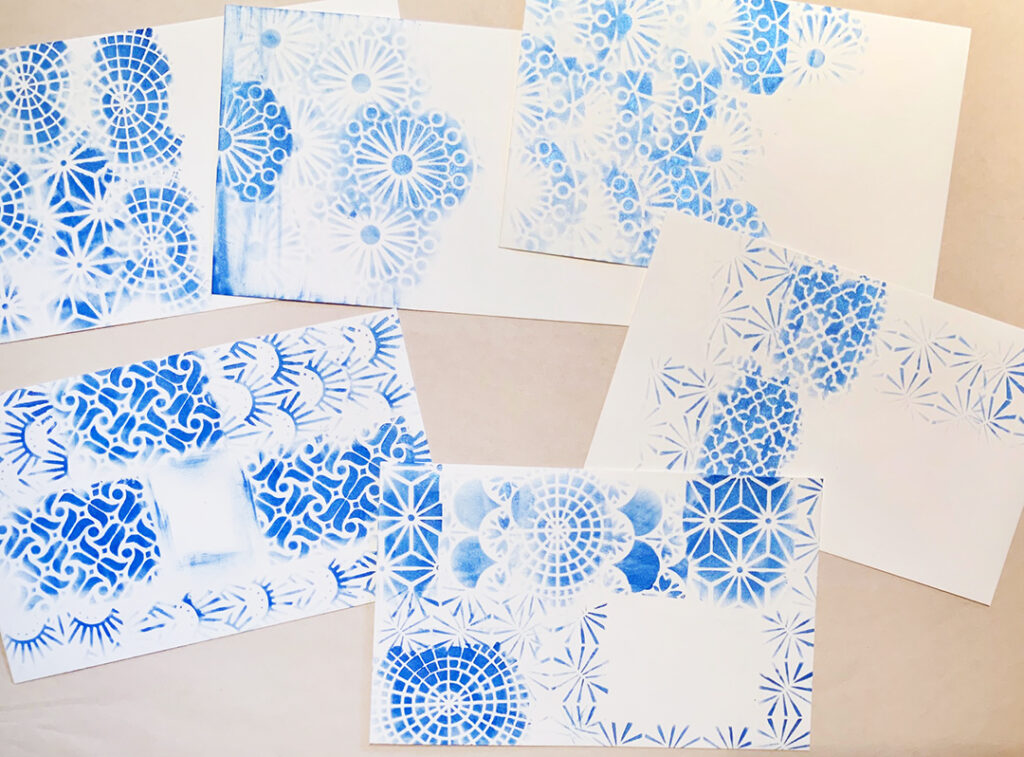
Here are some super fast envelopes for you. These are 6×9 envelopes for oversized cards, plenty of room for stenciling.
I’m crazy about the ATC Mixup stencil patterns. By not going to the straight side of any of the stencil patterns the soft edges make it nice to overlap the designs, I think!
Blue metallic paint shines only where it’s applied in the darkest areas – the rest of the time it mutes out and just looks blue.
Thanks for sharing Judi – love seeing how the patterns work together and it shows how handy the stencil is with 9 patterns on one sheet to choose from.
You can find all of my stencils in my Online Store. Here are some of the supplies that Judi used:
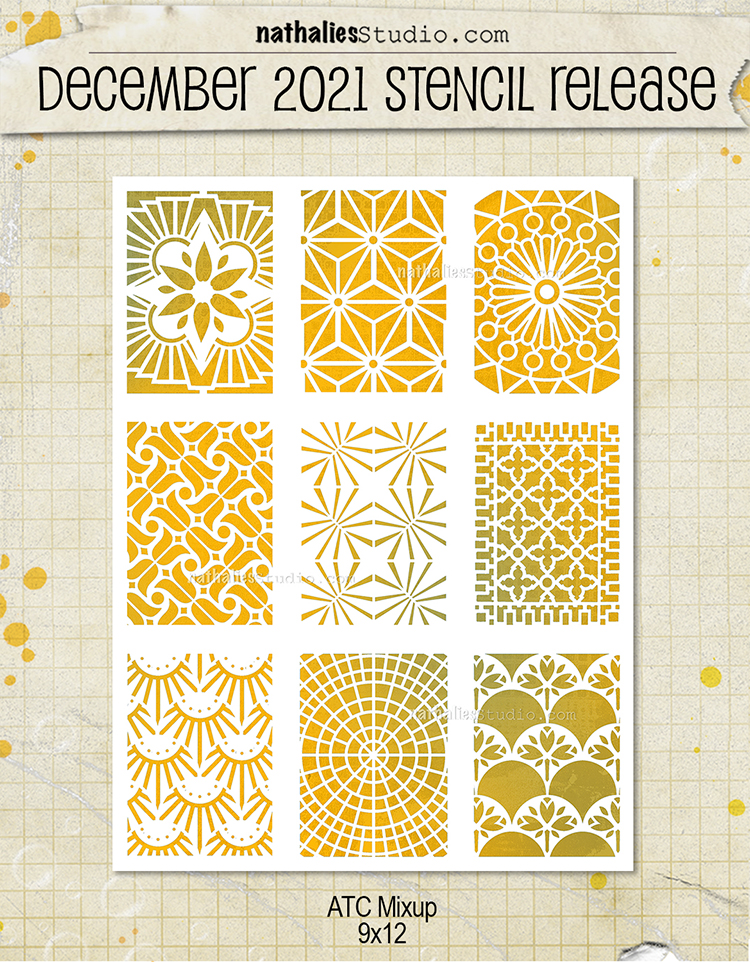
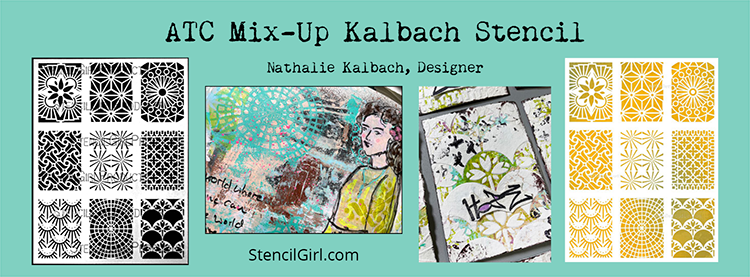
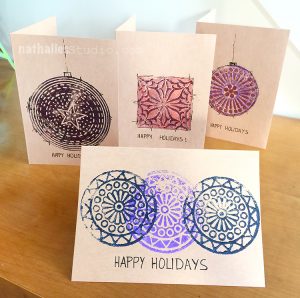
New stencil is dropping today in the shop: ATC Mixup – a 9×12 stencil that features 9 different ATC sized patterns. It’s a mix of radial and allover designs for backgrounds, focal points, and layering fun :)
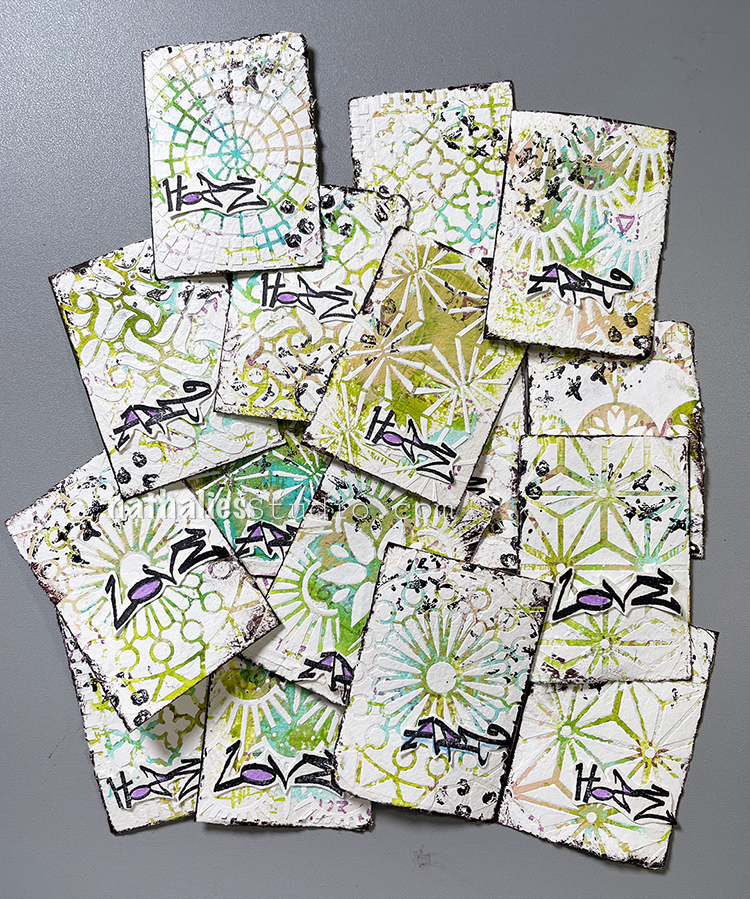
I made a whole bunch of ATCs (Artist Trading Cards) with just a couple sheets of paper and the stencil:
Do you trade ATCs with your artist friends? Even if you don’t, the ATC Mixup stencil is also excellent for churning out cards (tis the season, right?) and in your art journal when you want just a hint of pattern here and there. I was playing with it and liked the versatility all in one sheet:
You can pick up one of these new ATC Mixup stencils here in my shop and I hope you share what you’ve created online with me – just tag #natkalbach!
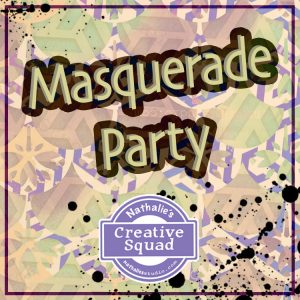
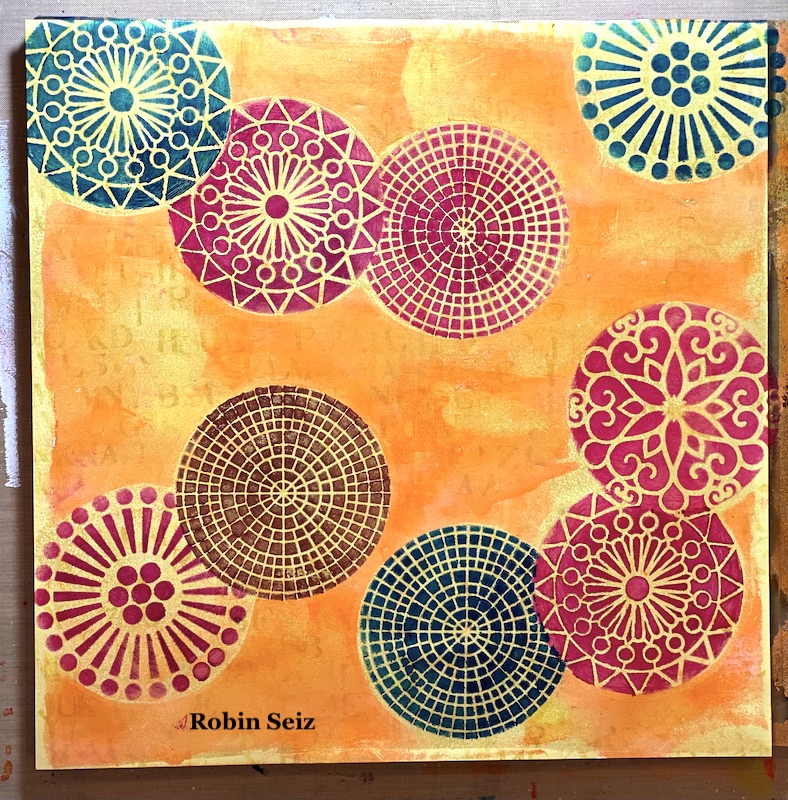
Hello from my Creative Squad! Today we have some fantastic cards from Robin Seiz who is using my Grove Street, Central Avenue, Valley Road, and Park Blvd stencils and our theme: Masquerade Party – Let’s play with disguises, the technique of masking, or maybe creating a bit of mystery this month. Not everything is what it seems, and it can be an interesting artistic trick to obscure or reveal in your artwork.
Hi friends, This month’s theme is Masquerade Party. I’m not a big fan of Halloween (I know I must be the only person in the US) LOL So I decided to interpret this theme in the broadest sense of the word. (One of the many great things about being on this Creative Squad is that we have license to do this! ) I thought about what the word Masquerade means — to conceal something — and I decided to use the mixed media “masking” technique for my project.
I find “masking” a bit challenging, both in terms of the layers of paint and really thinking through and planning in advance the results that I want. I am more of a “put it down and see what happens” artist typically, but that doesn’t really work with masking. How about you? Do you find masking easy or challenging?
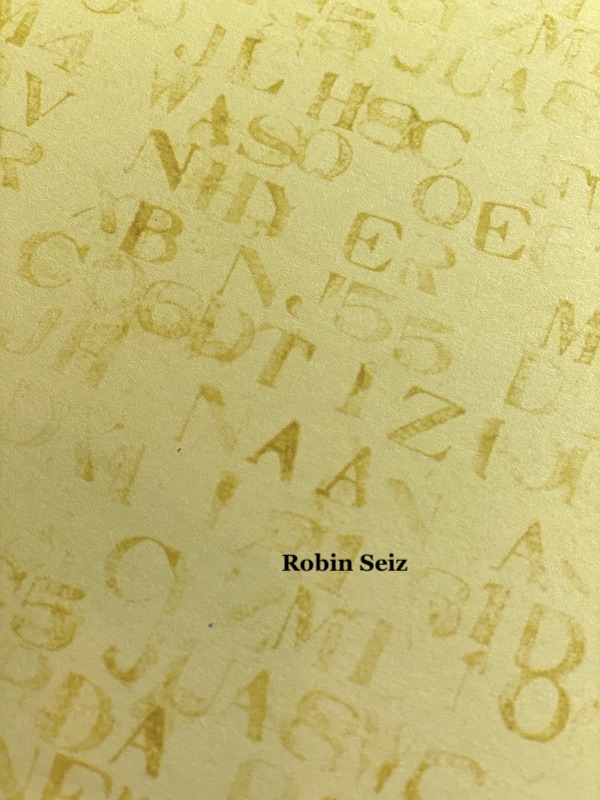
I am committed to working with supplies that I have in my studio rather than buying new things. As a result, I decided to use the paper from a 12×12 paper pad that I had on my shelf. I love using patterned paper for Gelli printing. The paper I chose dictated the size of the Gelli plate — 12×14.
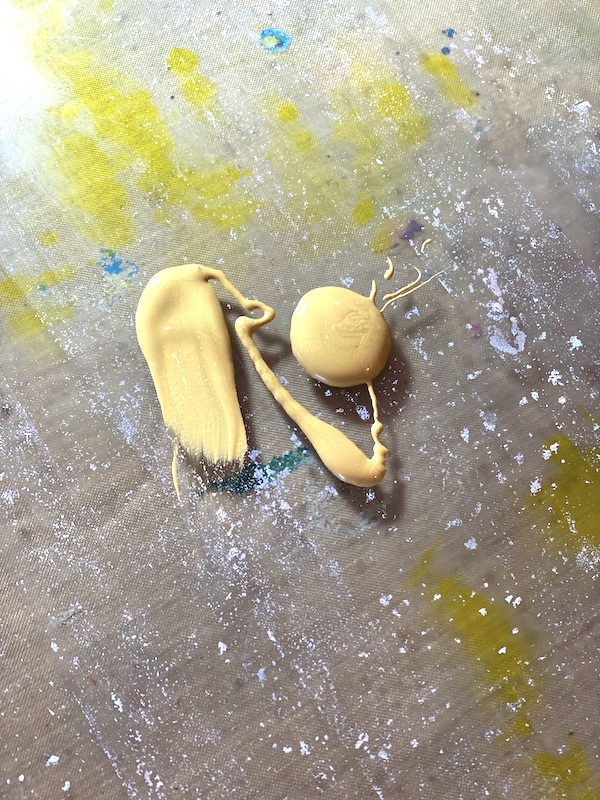
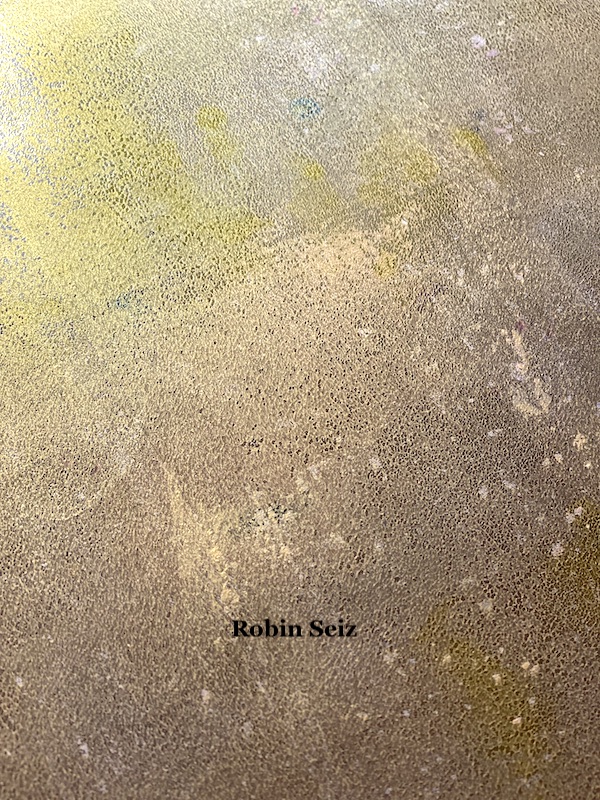
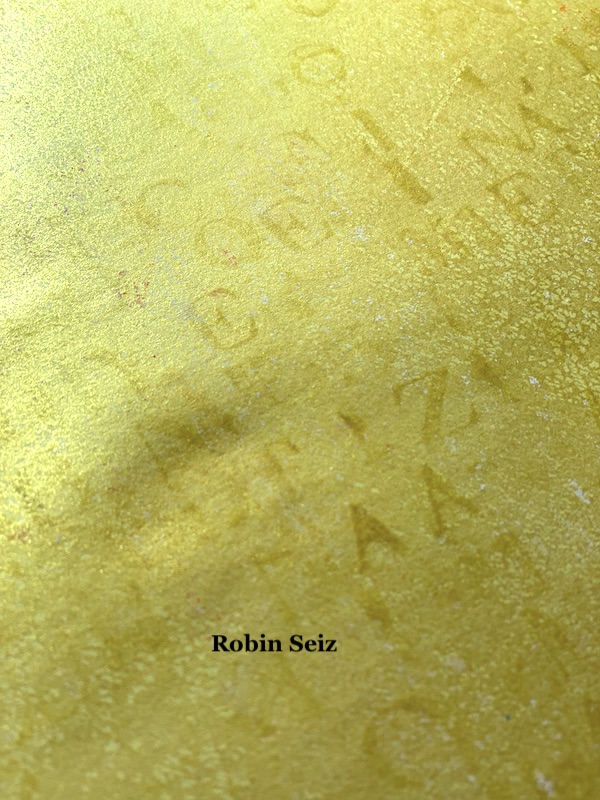
If you have read my recent blogs for the Creative Squad, you know that I have been loving Gold Gesso. I believe gold adds so much to a piece of art. I began this project by putting gold gesso down on the Gelli Plate and pulling a print. I wanted enough paint to have good coverage, but I also wanted the pattern to show through.
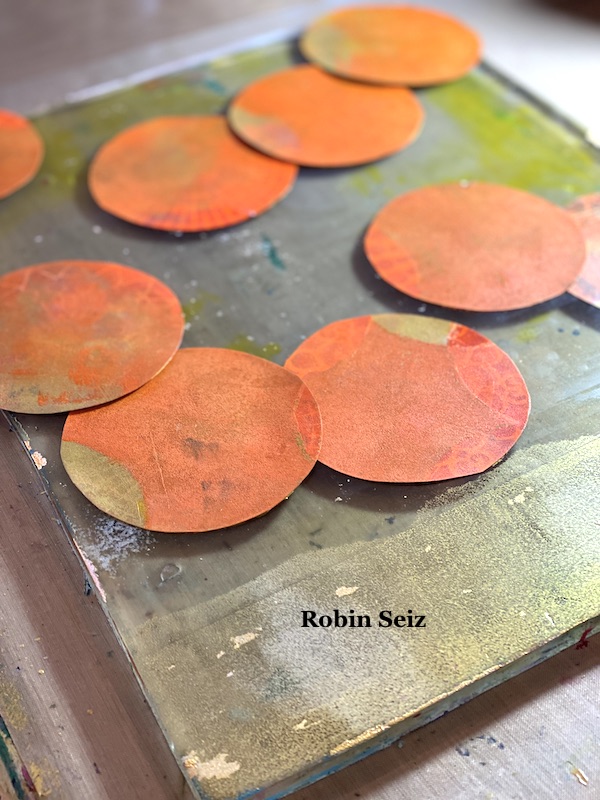
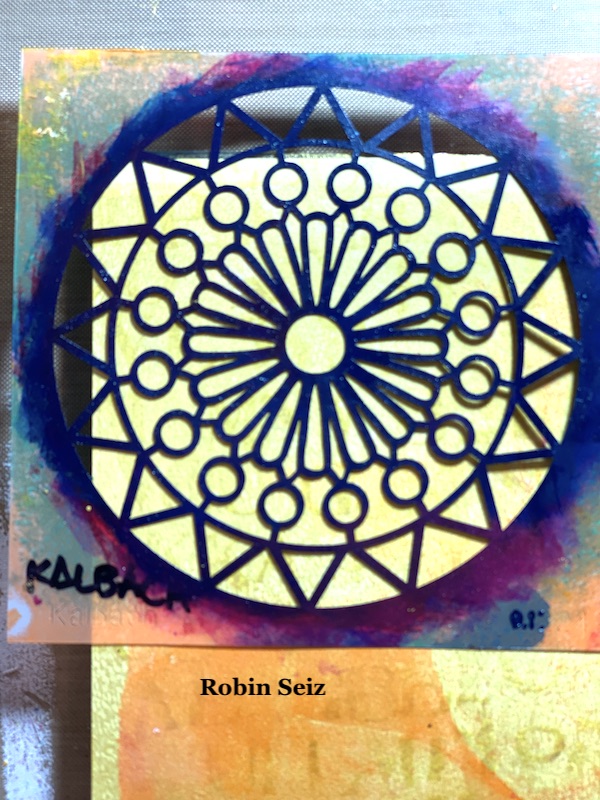
I cut out nine circles the same size as the patterns of the 4×4 stencils I planned to use (Grove Street, Central Avenue, Valley Road, and Park Blvd) These became my masks. Next I placed them down on the Gelli Plate, remembering that the pattern would be reversed when I printed it. Sometimes taking a “practice print” at this point is good. You can rearrange the masks if you don’t like how they turn out when printed. Once I was satisfied with the arrangement, I spread orange and yellow paint with a brayer over the masks.
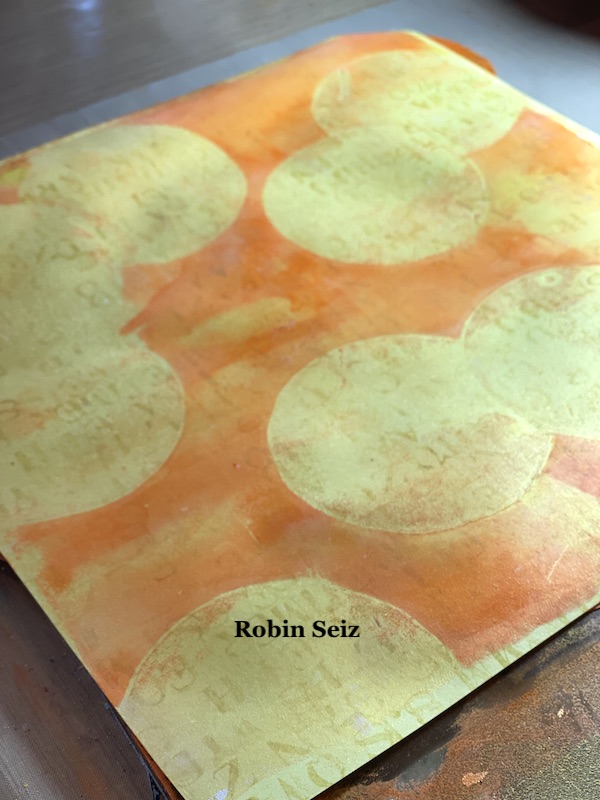
Next I removed the masks and now gold circles were visible where the masks had been. These circles were my guide to where I wanted the stencils and provided a lovely gold background for each stencil.
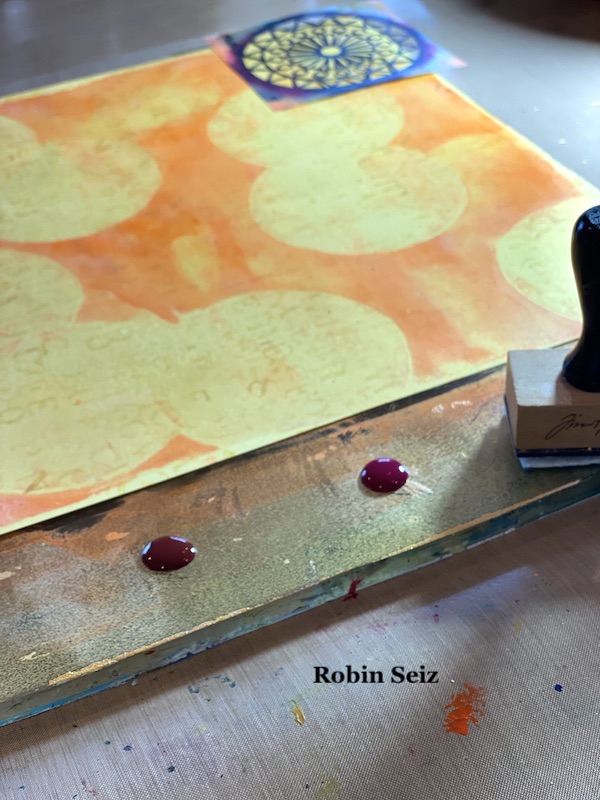
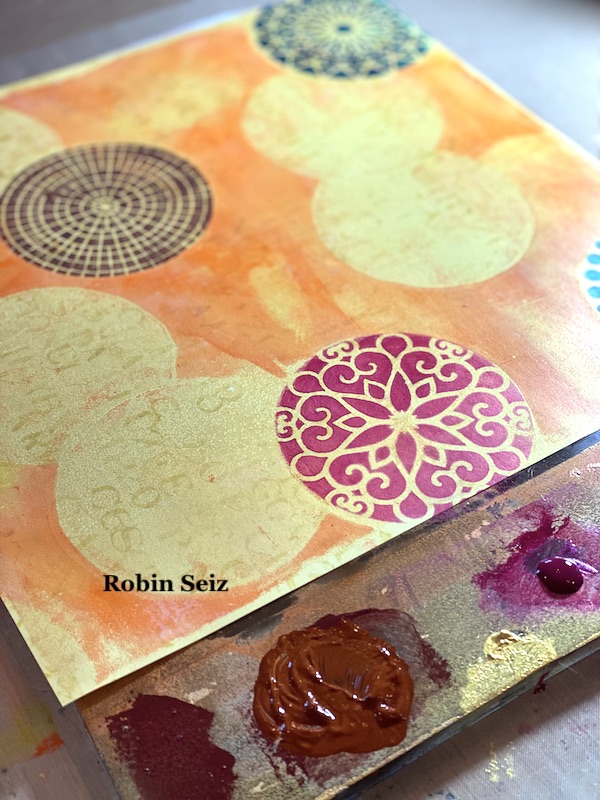
The next step is the one I find most challenging — determining which stencils to put down first. The rule of thumb in masking is to complete all the pieces in the foreground first. Once you do that, and your stencil is dry, you can then place the mask back over what you just stenciled to move on to the next piece that will be concealed. On my page, I started in the upper left hand corner with the blue Valley Road stencil.
Then I did the Magenta Park Blvd stencil on the right middle and then the brown Central Ave stencil on in the lower left hand corner because all of these were going to be in the foreground. Once these were dry, I could move on to masking each one and stenciling the ones next to them that would be concealed. (In this case the two Quinacridone Magenta Grove Street circles on the right middle and upper left and the Quinacridone Magenta Valley Road Stencil in the lower left).
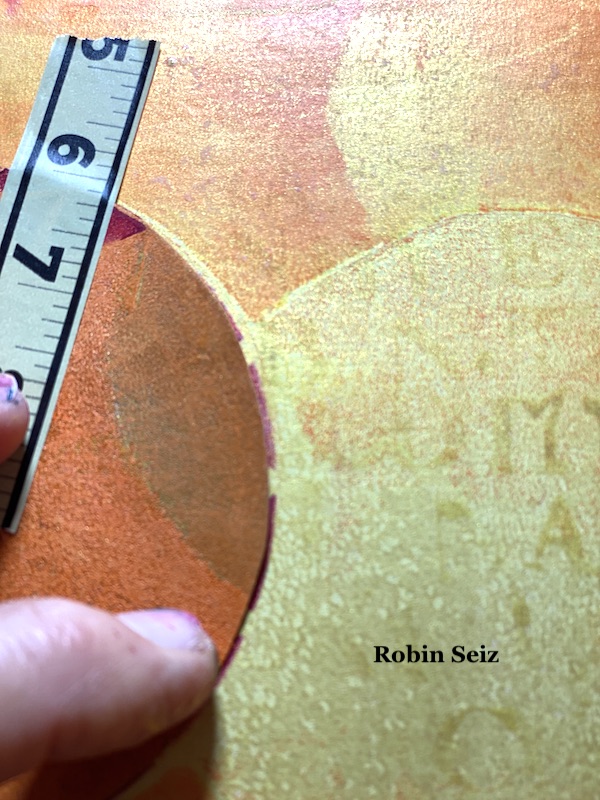
The most important thing to remember when you move to your second piece (or the piece that will be concealed) is to place the mask about 1/8” inside the first stencil — so 1/8” of the masked stencil is showing outside the mask. If you don’t do this, you will get a gap and the conceal won’t look natural. You will have white space (or in this case gold space) between the two pieces. I used washi tape to place the mask on the page.
Just a note about applying paint to the stencils. I first tried a makeup sponge, but found that I am too heavy handed and the paint tended to glob up. I used one of my Tim Holtz applicators that are made for distressed inks or alcohol inks. I found rubbing the paint over the stencil worked best for me and gave me a clearer image. You may be skilled at the make up sponge, but I’m a heavy paint user!!!! LOL
I repeated this technique, masking the second stencil so that the third would be concealed. (see the middle center three.)
I’m realizing this is a hard process to describe in words. I hope it’s clear. Just send me a note if you have questions.
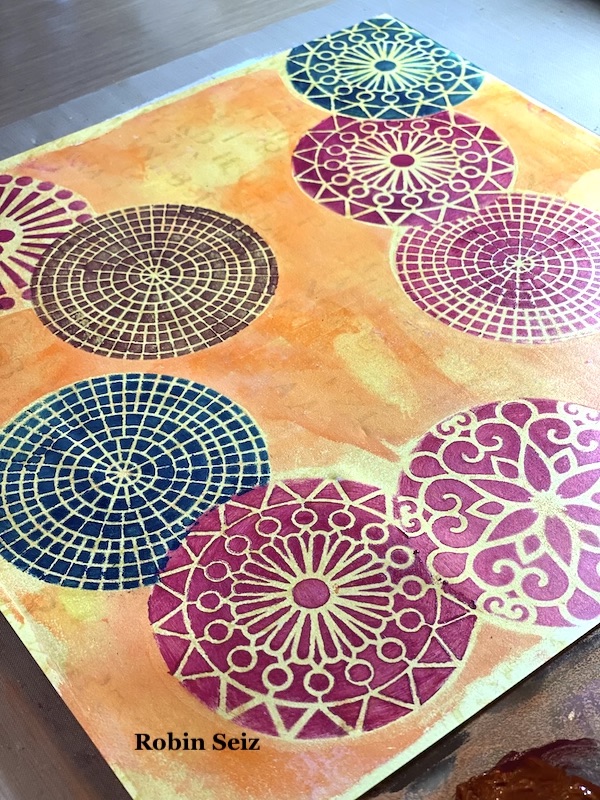
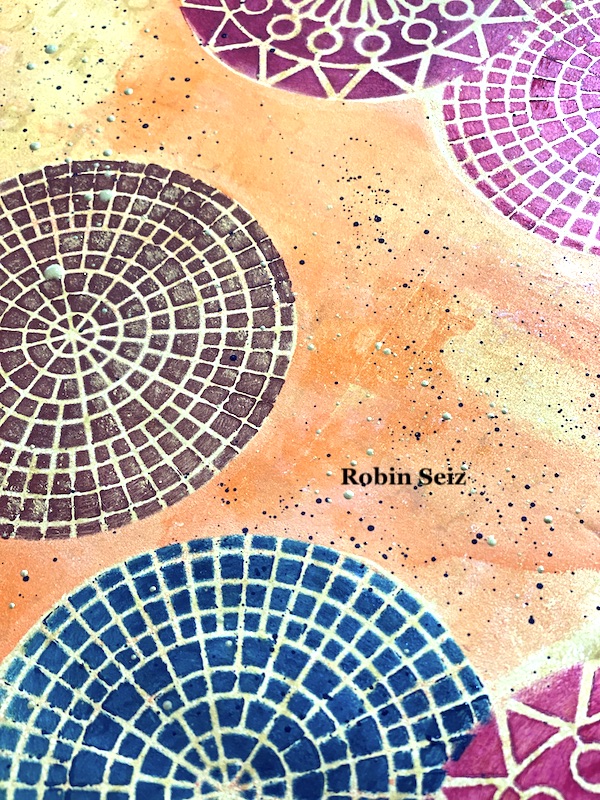
When I was finished with all the masking, the page looked like it needed a little something else. I laid down some black and gold splatter on the page. This always gives a piece a finished look.
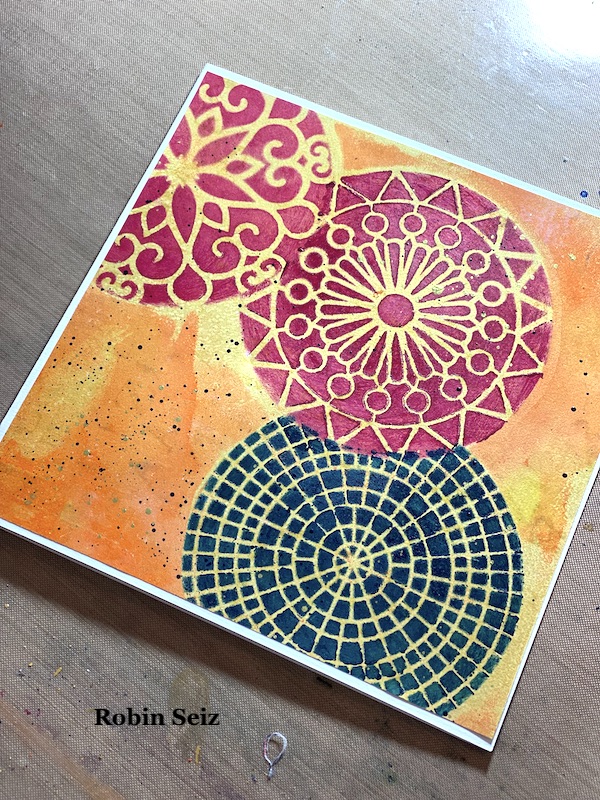
This page, since it’s large, could be used as a journal page, gift wrap, emphemera (if you cut out the stenciled pieces), or greeting cards. I chose to cut the paper into 4 sections and make 6×6 greeting cards. I love the size and how vibrant they turned out. I sometimes like my work more when I cut it into smaller pieces. Don’t be afraid to try this! You might be surprised at the results.
I hope you try this Masquerading project. Please post your projects. I can’t wait to see them!
Thank you Robin and I love that you chose the more abstract interpretation of this theme and showed us a masking technique!
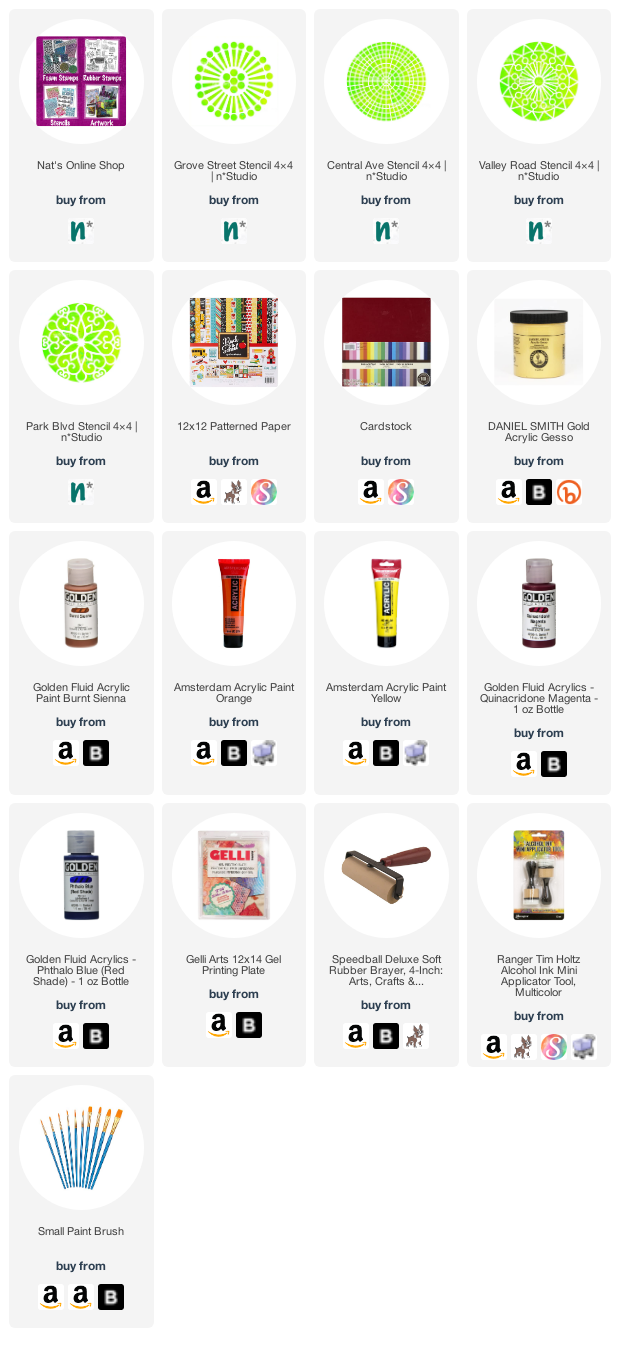
Give it a try: you can find all my Stencils in my Online Shop and here are some of the supplies Robin used:
Hello from my Creative Squad! Today we have a post and video from Riikka Kovasin who is sharing a trio of festive masks using my Art Deco Empire and Batik stencils and our theme: Masquerade Party – Let’s play with disguises, the technique of masking, or maybe creating a bit of mystery this month. Not everything is what it seems, and it can be an interesting artistic trick to obscure or reveal in your artwork.
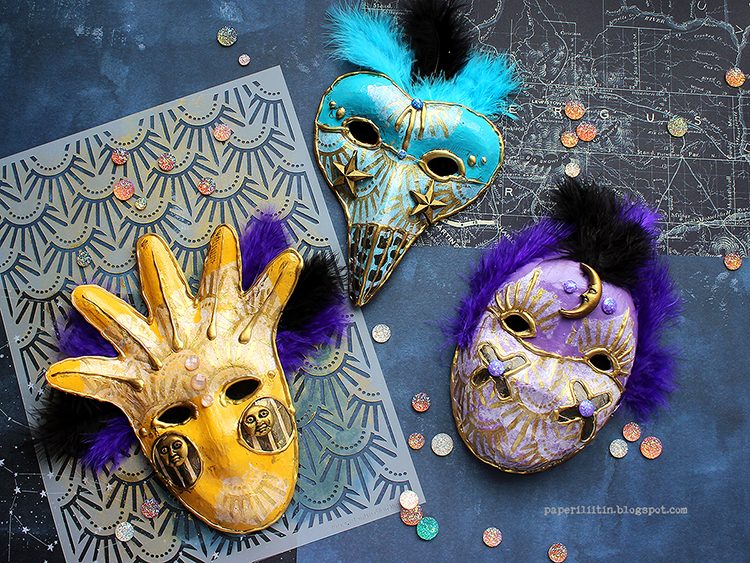
Sun, Moon and Stars
Hi there! It’s Riikka here today sharing my October project. As you can see, I took quite a literal approach to the “Masquerade Party” and decorated some small paper maché masks with acrylic paints and self-made decoupage paper.
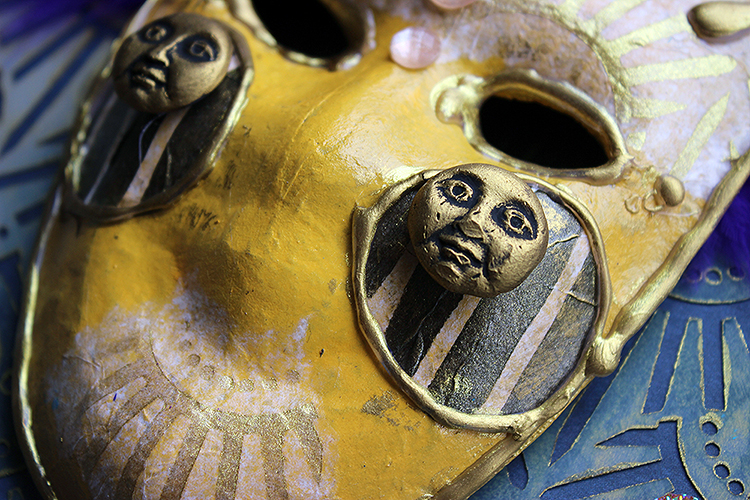
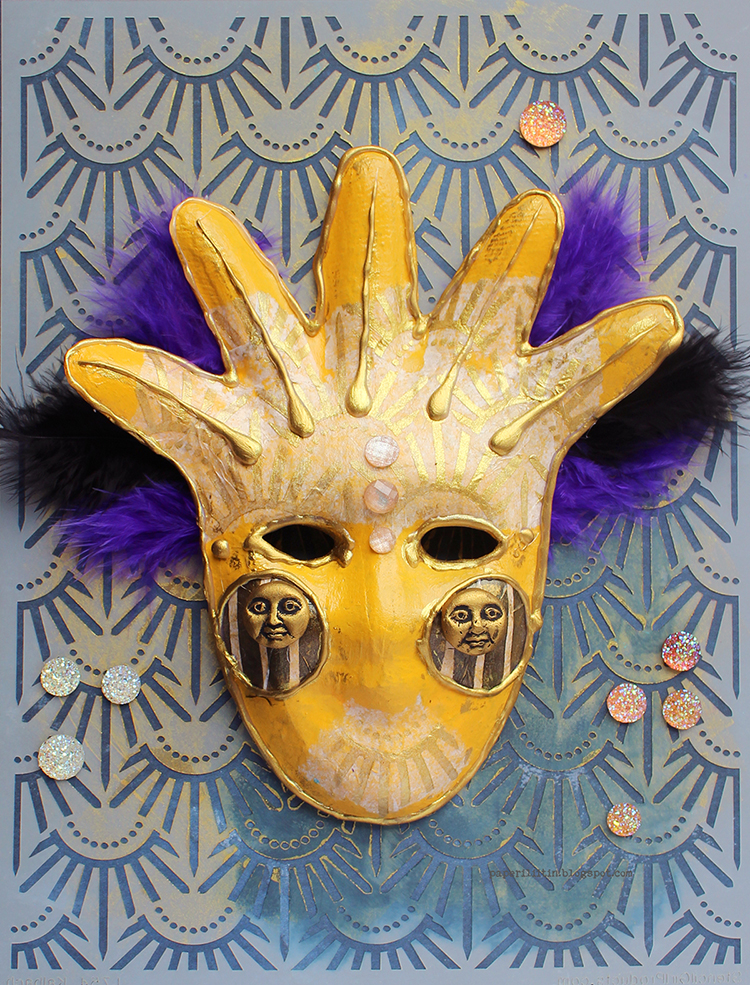
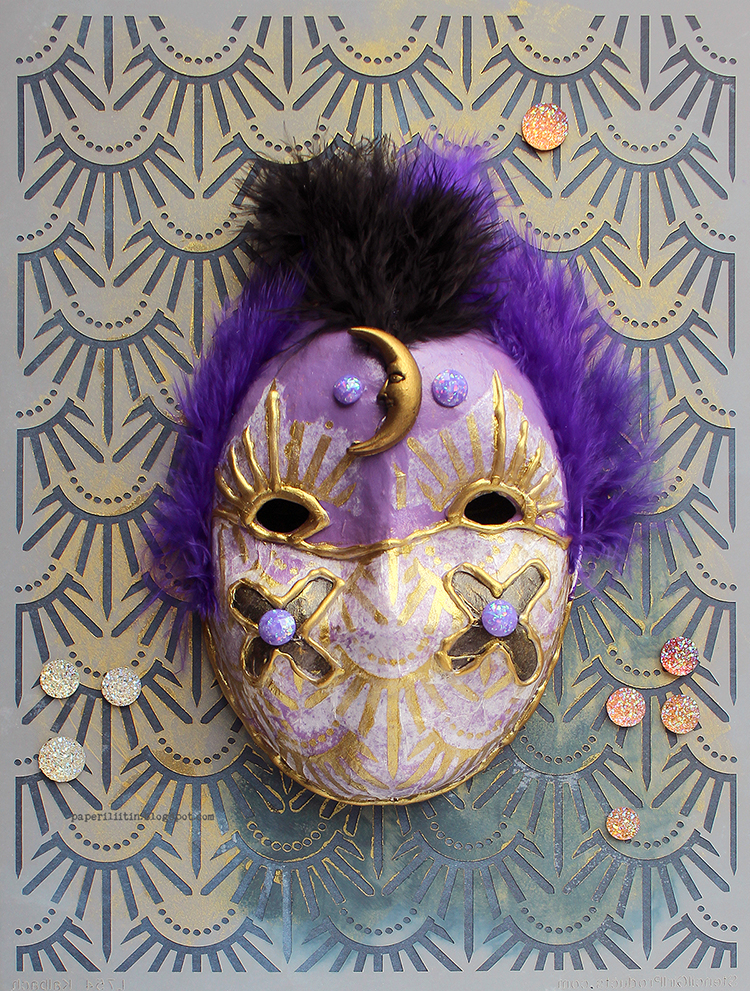
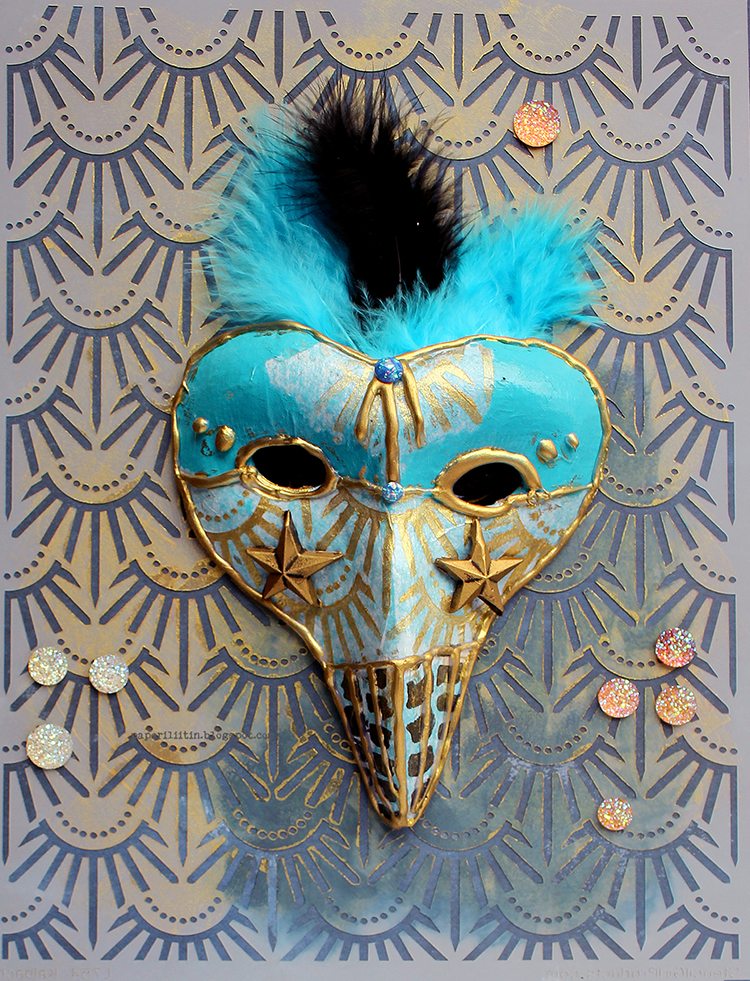
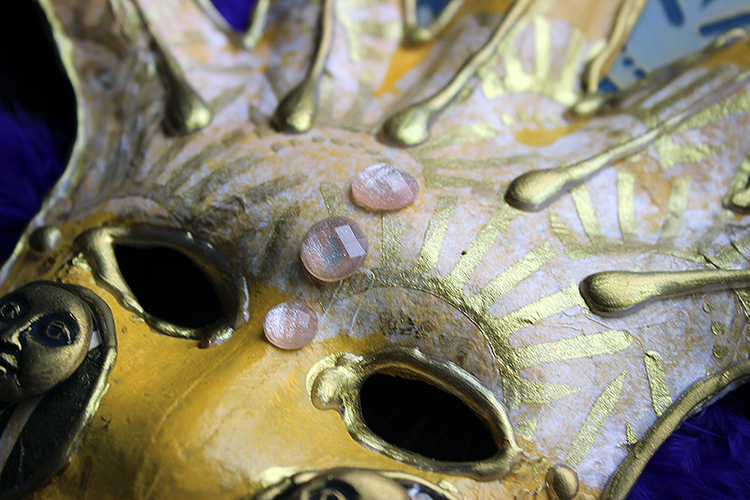
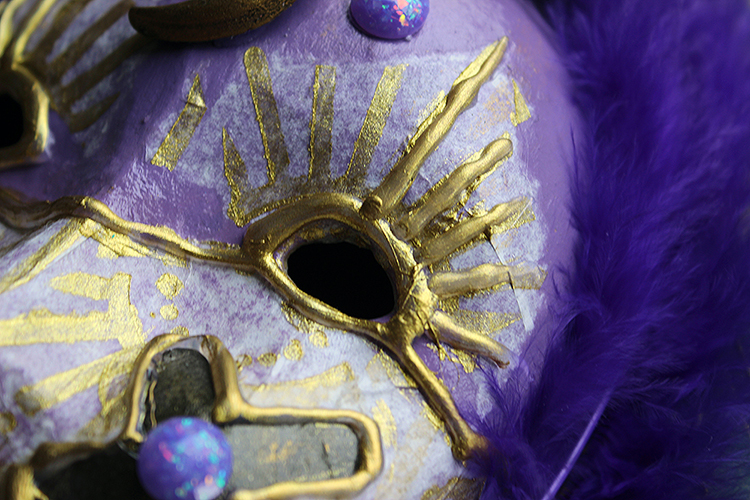
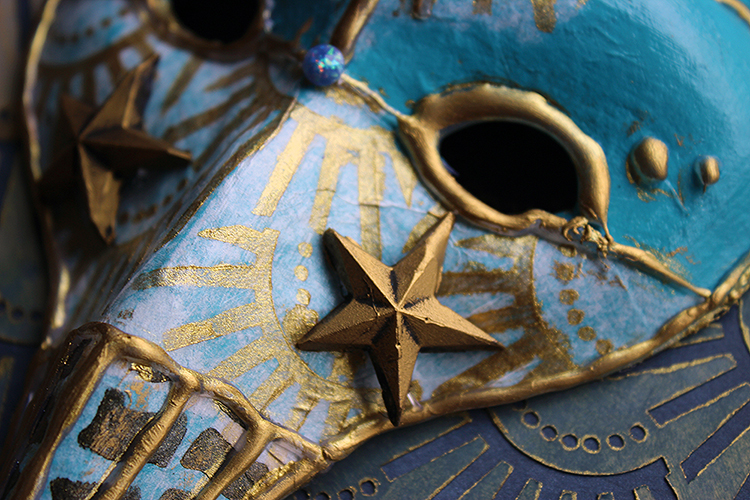
My inspiration for these masks were the Venetian carnival masks. Maybe it was the shape of the paper maché masks that led me there as they echo the shapes of the Venetian masks. The one I decided to make the sun has a little bit of harlequin in it whereas the one I decorated with stars has the “Dottore della Peste”, the plague doctor shape in it. With the carnival masks in mind I used bright colors and gold touches in the masks even though they are maybe a more modern addition to the whole thing. The traditional commedia del’arte masks where some of the masks have their origin were much simpler.
To get some pattern to my masks I used tissue paper as wrapping a stencil around such a dimensional shape can be quite challenging. Patterning tissue paper is an easier way to get pattern wrapped around the shape. Depending on the tissue paper, the color you’re laying it on top of, and the medium you use, you might get the paper to completely disappear. Here I used a soft body gel medium to adhere the pieces I first patterned using a golden acrylic paint and black gesso. For the patterns I used two Nathalie’s stencils – “Art Deco Empire” and “Batik”. I used golden acrylic with the “Art Deco Empire” as the pattern reminds me of a sunburst and black with the “Batik” to have some contrasting pieces for the masks. I used those just as accents, adding just a tiny detail to each mask.
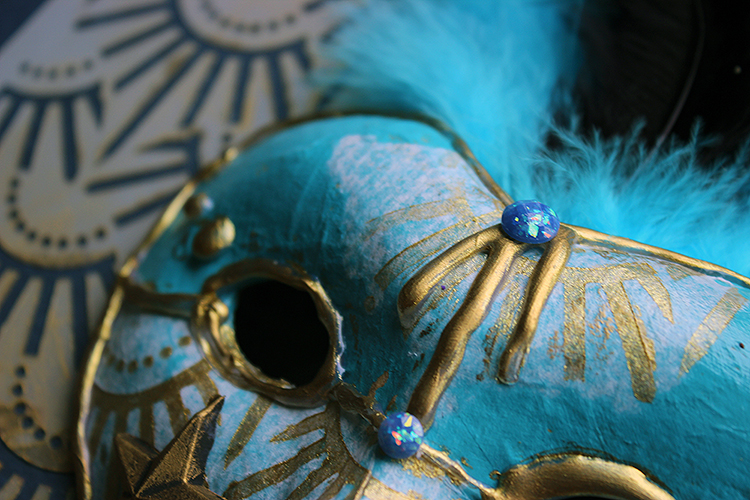
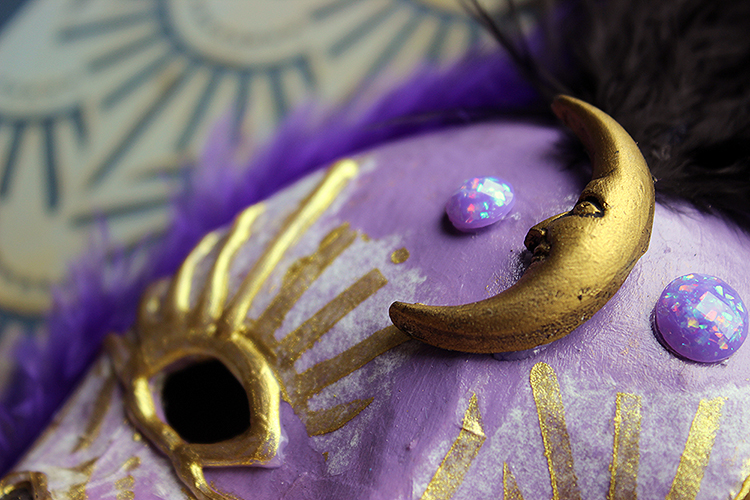
As you can see, the tissue paper doesn’t completely disappear in my masks. On top of the lighter surfaces of yellow and turquoise it’s a bit more faded to the background than with the lilac. If you are trying to hide the tissue paper completely, one way to help is to have a frayed edge rather than a straight cut one. An easy way to do it is to use a wet brush. Trace the desired shape onto the tissue paper with a wet brush and then you can tear the piece loose. Paper is most brittle and soft when it’s wet and you’ll be able to get exactly the shape you want, to control the place where the paper tears.
To keep with the Venetian theme, I decorated my masks with some crystals and feathers. I chose to cut out the part with the feathers from the video as they were giving me a hard time. Or rather, I couldn’t decide how to put them on the mask. I added some several times to the Moon mask before getting the idea of attaching the feathers to the back of the masks, which worked nicely. I should have taken a peek at the modern-day Venetian masks for inspiration at that point!
As I had three masks, I wanted something to combine them into a series. Inspired by the sun like appearance of one, I decided to make a celestial triplet of the Sun, the Moon and stars. I made the focal embellishments for each using a silicone mould and casted the decoration using hot glue. There’s a quick Reels in my Instagram account showing that, if you wish to see HERE. But it’s really easy! You just need to remember that the embellishment is out of hot glue so it will melt for example in case you dry the project with a heat tool!
Thank you for stopping by today! I’ll be seeing you again next month!
Thank you Riikka – gorgeous, rich colors on these masks and I love the drama you create with them!
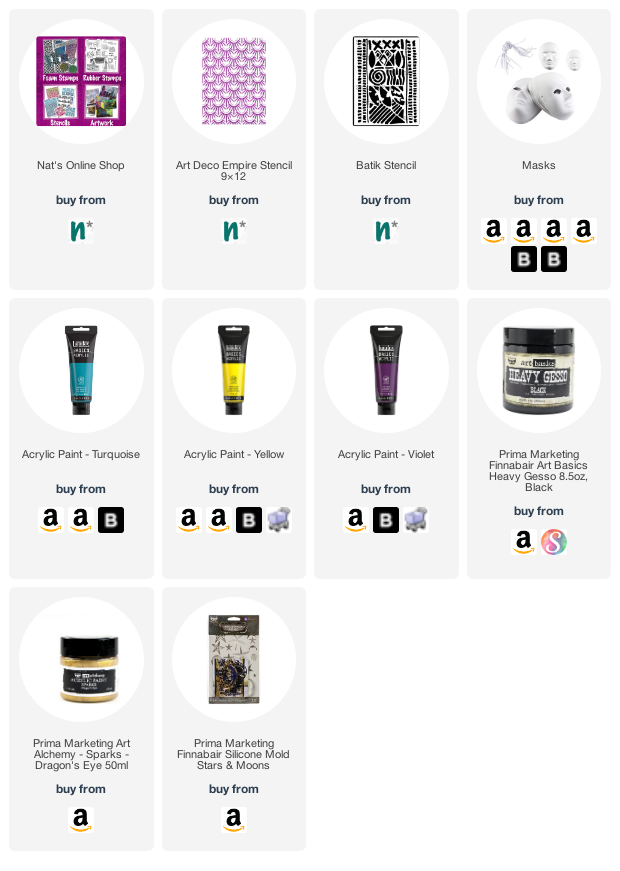
Give it a try: you can find all my Stencils in my Online Shop and here are some of the supplies Riikka used:
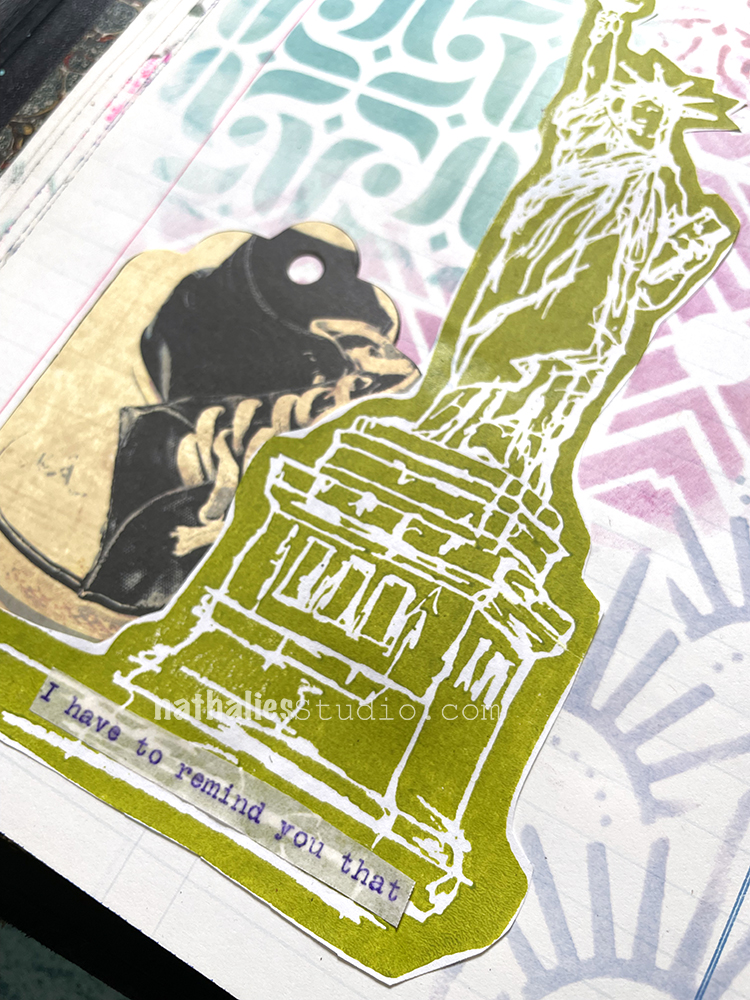
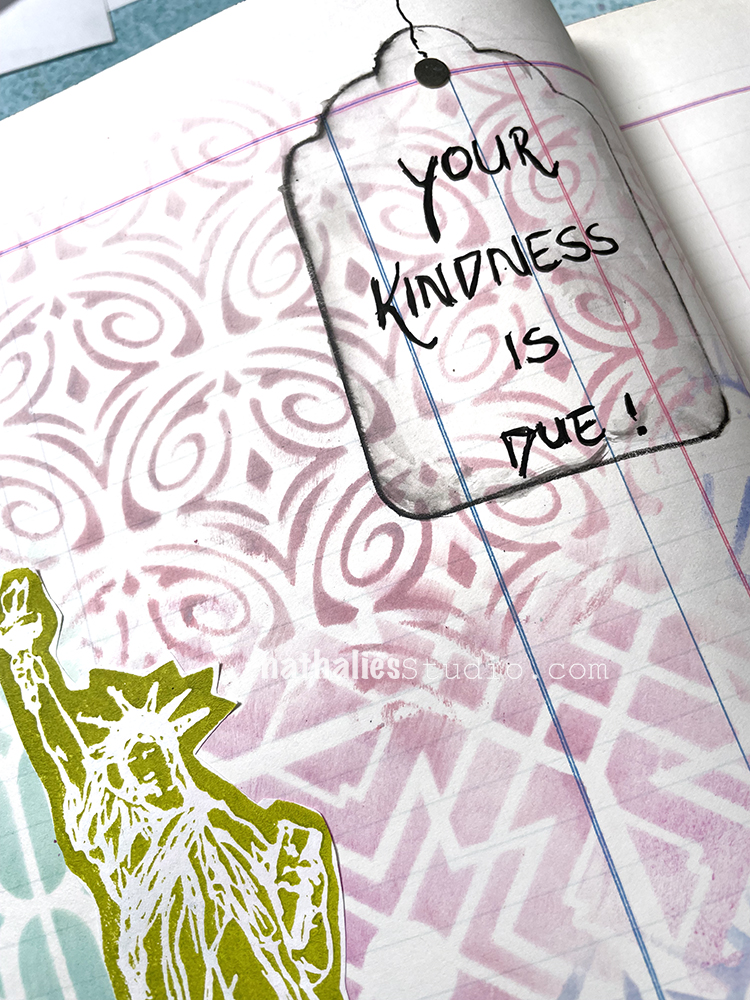
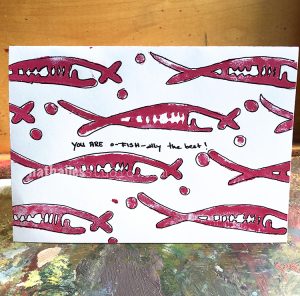
“I have to remind you that Your Kindness is Due! ” – We can definitely use some more kindness :)
I grabbed a bunch of different stencils (Art Deco Empire, Art Deco Fairview, Amsterdam, and Toledo) and I used them with a blender tool and Distress Inks and Distress Oxide Inks which I applied through the stencils.
Lady liberty is stamped with green acrylic paint onto printer paper and cut out. The “I have to remind you” is from an old letter copy that I cut out. The tag is old – no clue – it was in the magic drawer LOL. I adhered these all with my fav glue stick.
But before I collaged in the tag, I traced it with a Derwent water soluble sketching pencil on the top and dissolved some of the pencil with a brush inside the traced tag. Then I added journaling with a thin black Posca pen.
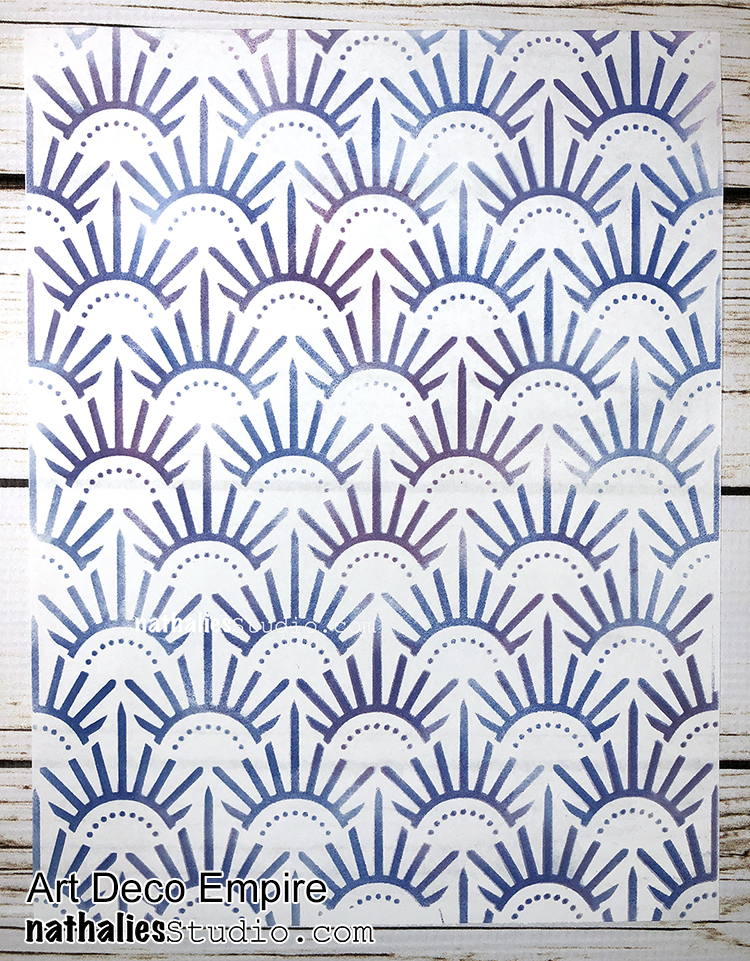
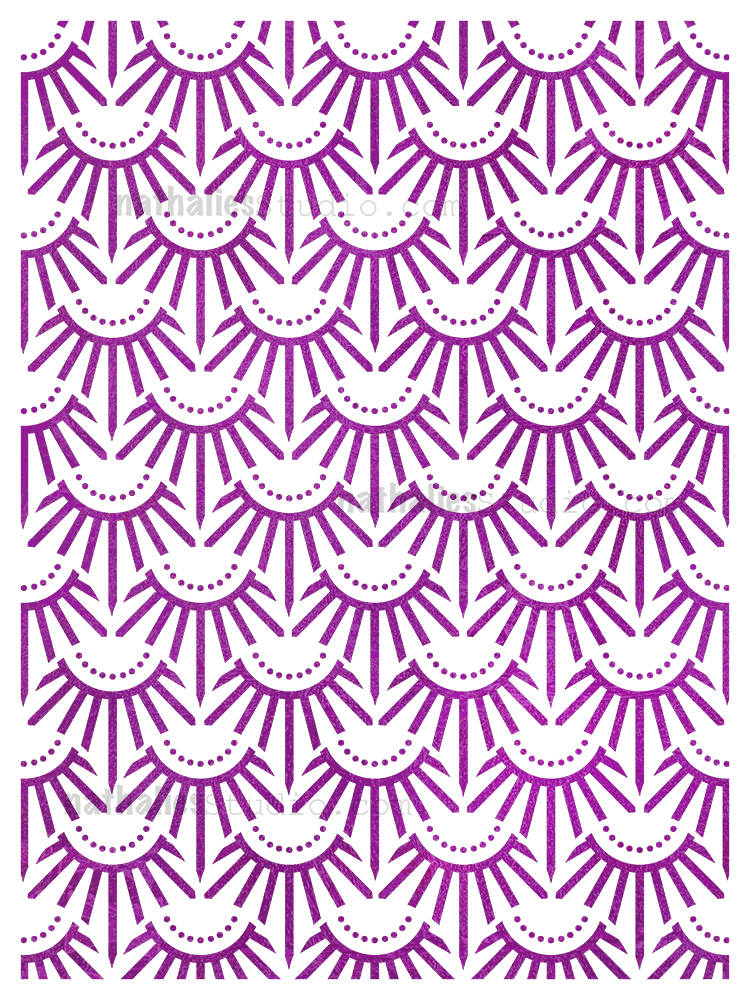
I love getting to turn some of my design ideas into stamps and stencils and sometimes, I crush hard on one or the other. Lately I’ve been feelin’ some serious love for Art Deco Empire – a stencil who’s story began with some photos of manholes and grates around NYC and Jersey City, evolved into a circular foam stamp set, then a fan shaped foam stamp set, and finally morphed into the Art Deco Empire stencil. I love how a design or pattern can flow through so many forms and in the end it becomes a suite of tools for me to use in my artwork. But today I am giving you an ode to Art Deco Empire :)
I think what I love most about the design is the classic art deco feel and how it reminds me of some of those building and architectural motifs from that era. I am a big fan of that time period when it comes to art and design.
But enough of my love letter lol – let’s just look at this guy in action:
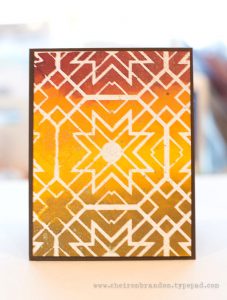
Here are a couple pieces I made for Creative JumpStart 2020 using Art Deco Empire as my background with acrylic paint on cardboard. I oriented it two different ways and I think it gives a different feel for each.
Acrylic ink and gouache also work great for creating a background with Art Deco Empire as you can see in my art journal page from this post. The pattern can stand on its own for sure.
My Creative Squad has also showed just what it can do:
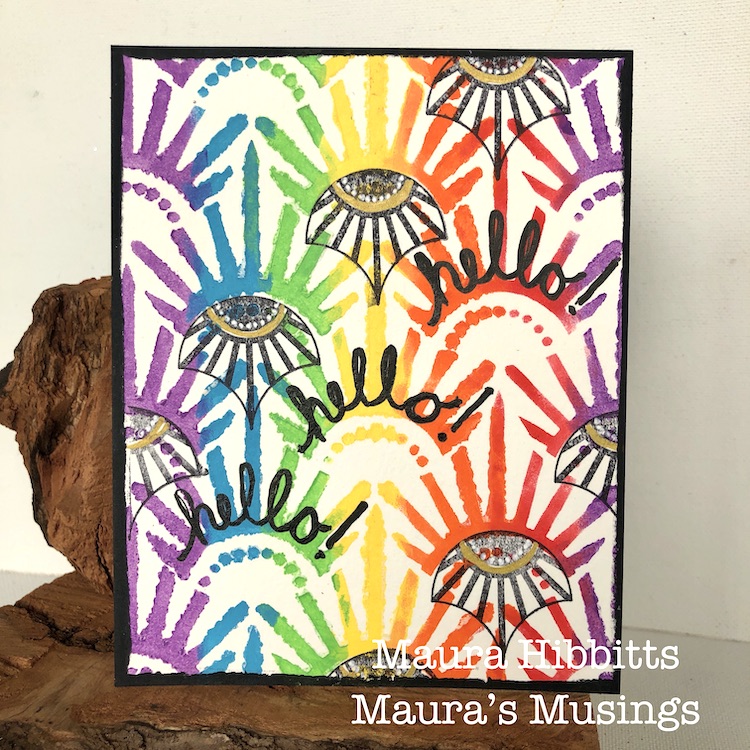
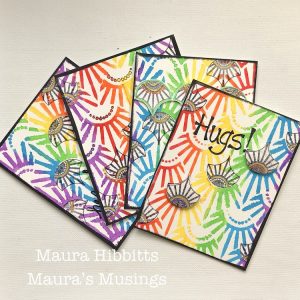
Maura Hibbitts created a series of super happy cards in this post using a rainbow of acrylic paint.
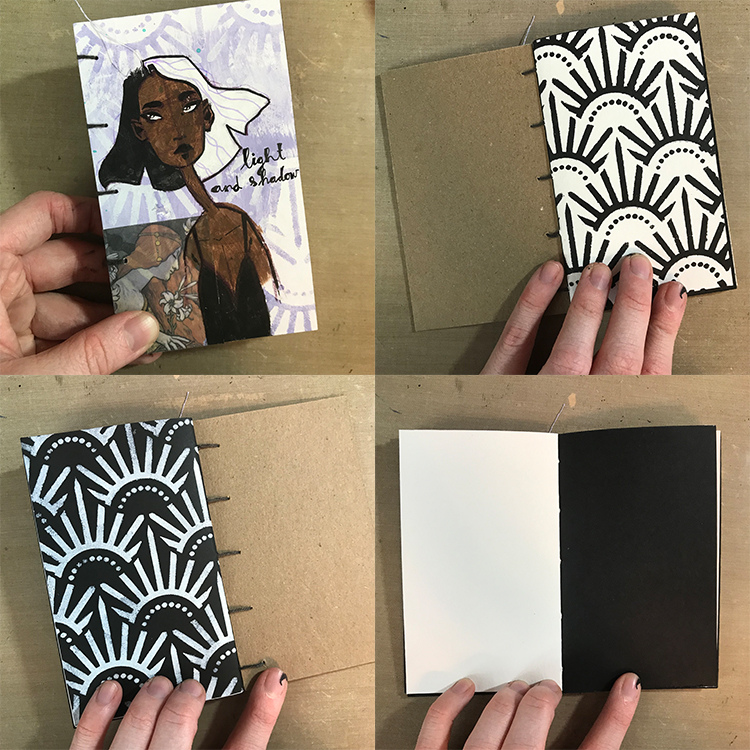
And here is a mini book and the start of an art journal page too:
Creative Squad member Jordan Hill also reaches for Art Deco Empire for backgrounds and pattern elements too:
In this mini book she chose it for the inside covers as well as a more subtle element on the front.
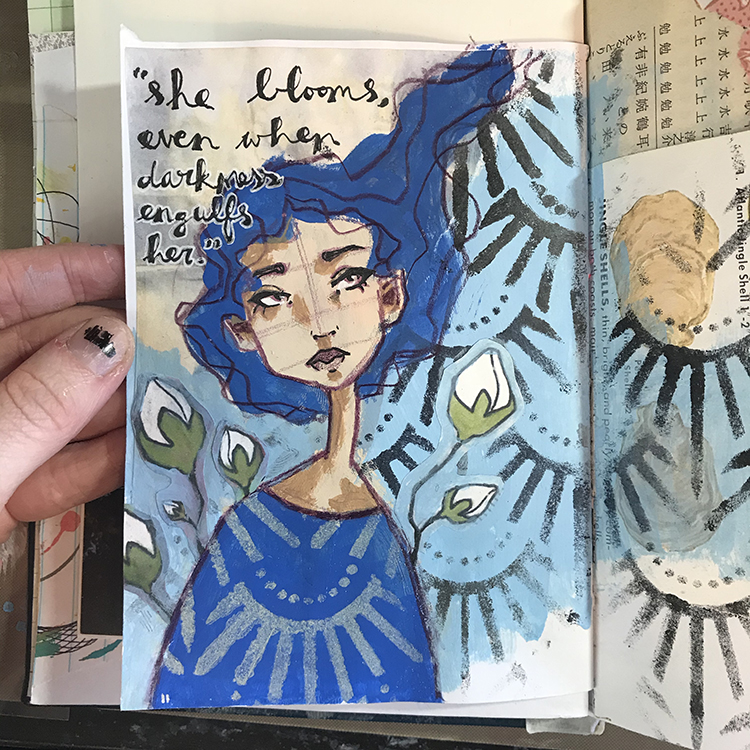
In this post by Jordan, she uses the Art Deco Empire stencil both for her background and a really cool top for her character – love it!!! Can I have a sweater like that? LOL
Thank you for hearing about my current stencil crush with Art Deco Empire – I hope it gets you in the creative mood! Here is one last look ;)
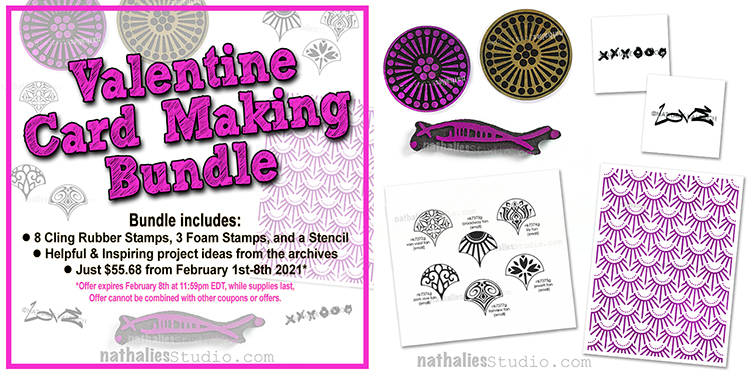
Are you ready for Valentine’s Day? I’ve put together this special product bundle to help you create tons of unique Valentine’s Day cards for all your sweethearts this year.
My Valentine Card Making Bundle includes a selection of foam stamps, rubber stamps, and a stencil, as well as some inspiring card making ideas from our archives to help you on your way.
The bundle is just $55.68, a big savings off the $69.60 regular price, and supplies are limited so hurry in to get your bundle before they run out for good. This offer expires February 8th at 11:59pm EDT, and cannot be combined with other coupons or offers.
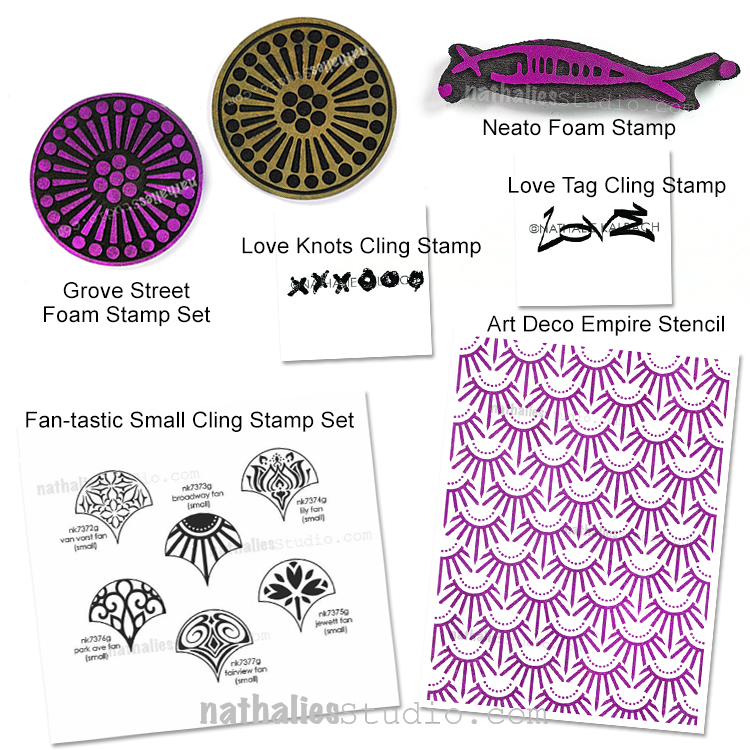
Here are the stamps and stencils that are included in the set*:
Grove Street Positive Negative Foam Stamp Set
Neato Foam Stamp Set
Fan-tastic Cling Rubber Stamp Set
Love Tag Cling Rubber Stamp
Love Knots Cling Rubber Stamp
Art Deco Empire 9×12 Stencil
In total you will receive 3 foam stamps, 8 cling rubber stamps, and a 9×12 stencil. *No product substitutions are permitted.
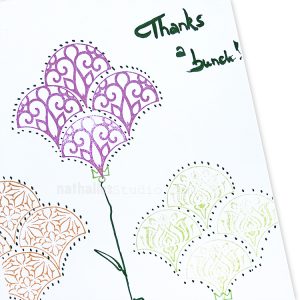
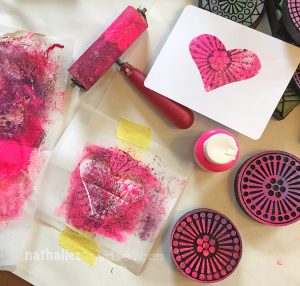
Once you purchase, you will receive an email with links to project ideas from the archives to get you started on your Valentine card making.
Here are some examples:
This bundle offer is only available through February 8th at 11:50pm EDT, while supplies last, no product substitutions are available.
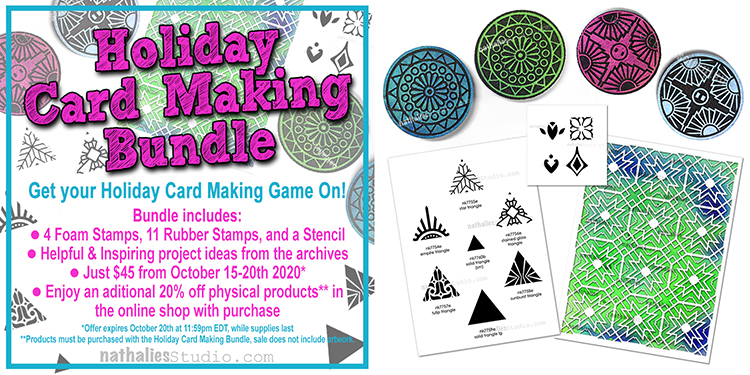
Are you ready to get your Holiday Card Making Game on??? I’ve put together this special product bundle to help you create tons of unique holiday cards for everyone on your list this year.
My Holiday Card Making Bundle includes a selection of foam stamps, rubber stamps, and a stencil, as well as some inspiring card making ideas from our archives to help you on your way.
The bundle is just $45, a big savings off the $71.60 regular price, and supplies are limited so hurry in to get your bundle before they run out for good. This offer expires October 20th at 11:59pm EDT.
Special 20% Off Deal: Also, during this offer, if you purchase the Holiday Card Making Bundle you may receive an additional 20% off any other physical products (foam stamps, rubber stamps, stencils, ink pads) that you order at the same time. Just use the coupon code holidaycard20 when you check out. Artwork is not included in this offer.
Here are the stamps and stencils that are included in the set:
Valley Road Positive Negative Foam Stamp Set
Broadway Positive Negative Foam Stamp Set
Triangle Love Cling Rubber Stamp Set
Fan-Fare Cling Rubber Stamp Set
Toledo 9×12 Stencil
In total you will receive 4 foam stamps, 11 cling rubber stamps, and a 9×12 stencil.
Once you purchase, you will receive an email with links to project ideas from the archives to get you started on your holiday card making.
Here are some of the tutorials from our archives that will come with the Holiday Card Making Bundle once purchased:
This bundle offer is only available through October 20th at 11:50pm EDT. And don’t forget to use the coupon code holidaycard20 to receive 20% off any additional physical items in your order.


Comments (1)
rebekah meier
| #
I love Judi’s work. You always get inspiration from anything she creates!
Reply