Creative Squad

Foam Stamplifier Challenge with the Creative Squad – Josefine Fouarge


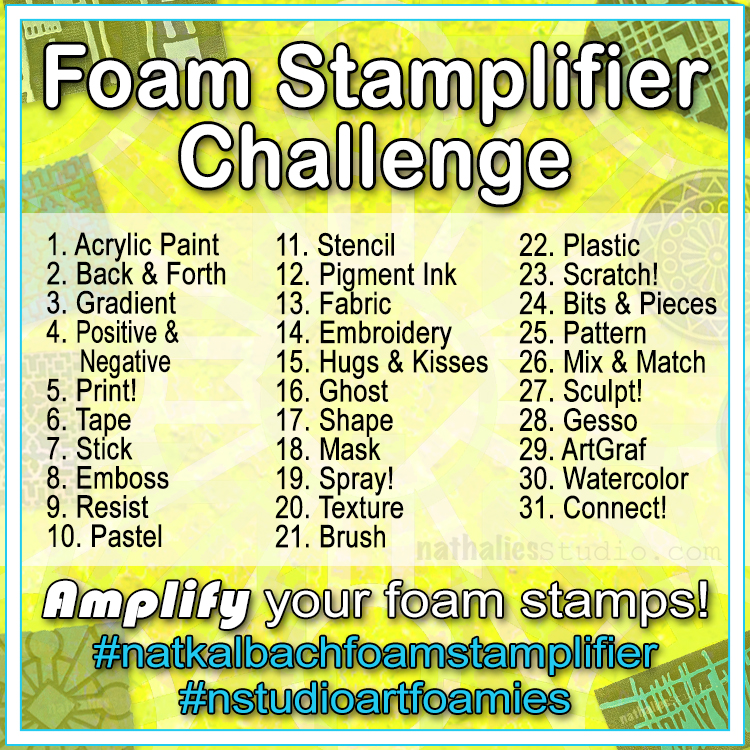
This month my Creative Squad is playing along with my new Foam Stamplifier Challenge: All month long you can follow my daily prompts on Instagram and on the blog to amplify your foam stamps!!! Today Josefine Fouarge is following the prompt Pigment Ink. She’s using my Maze Hex, Space Oddity, and Weave foam stamps to create some gorgeous cards. And this will be Josefine’s last post with the Creative Squad so we would like to say a HUGE thank you to her for her awesome projects and wish her the best on all her future ventures :)


I love foam stamps which is why Nat’s challenge is so much fun. I hope that you’re getting a lot of inspiration from all the posts and enjoy playing along.

Tuesday is Creative Squad day and of course, we are playing along. Today’s prompt is Pigment Ink and I picked my favorite – Distress Oxide (technically, it’s a hybrid between Pigment and Dye Ink, but sometimes you have to be a rebel ;) ).

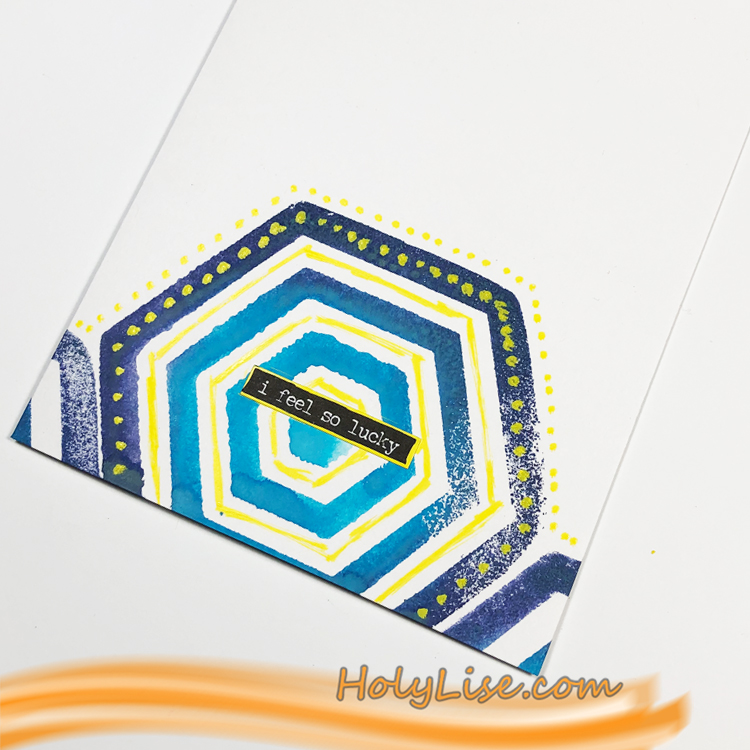
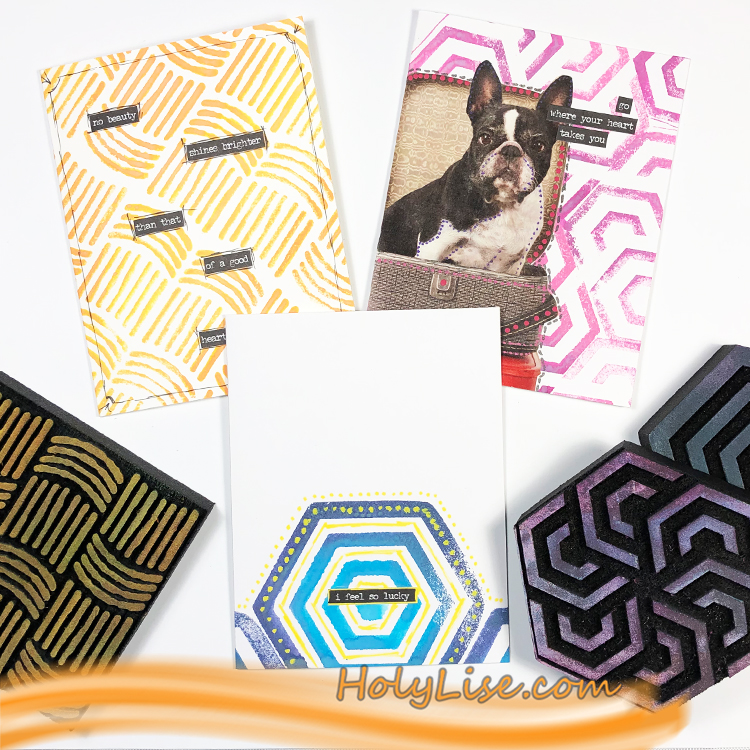
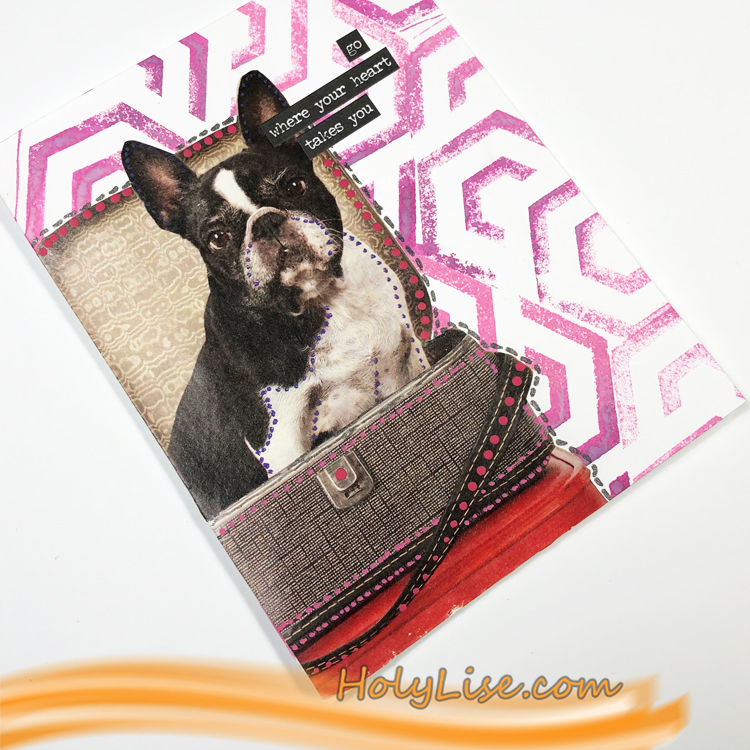
To add a third favorite, I chose the hexagon designs and the Weave design from Nat and I decided to create a set of notecards. I ran out again, so I needed a few quick and easy ones. I prepared a few card bases and decided to stamp directly onto them.
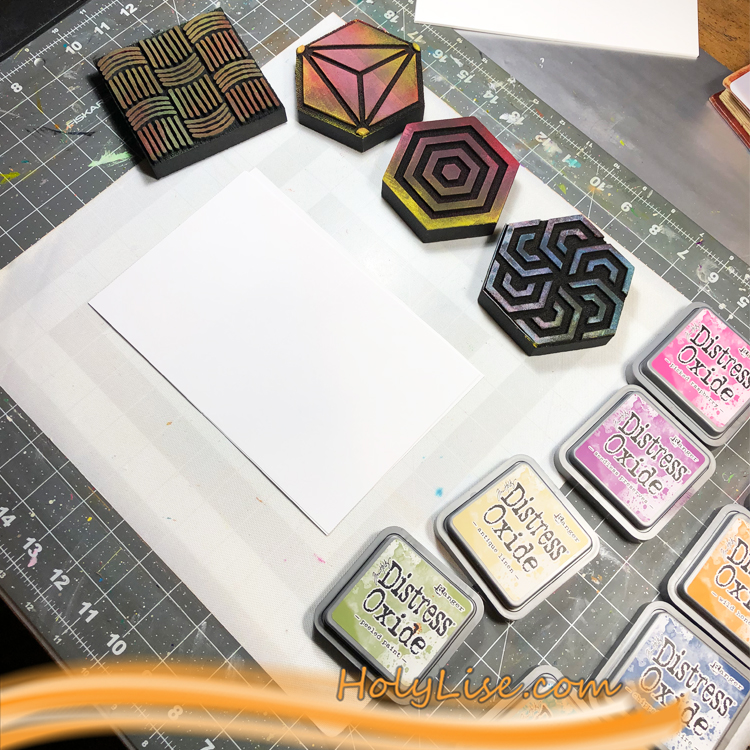
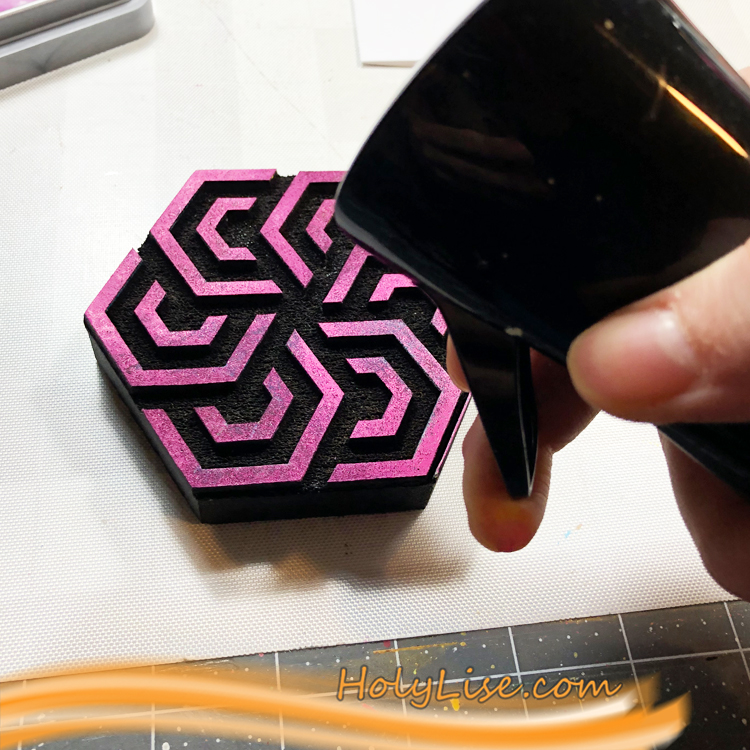
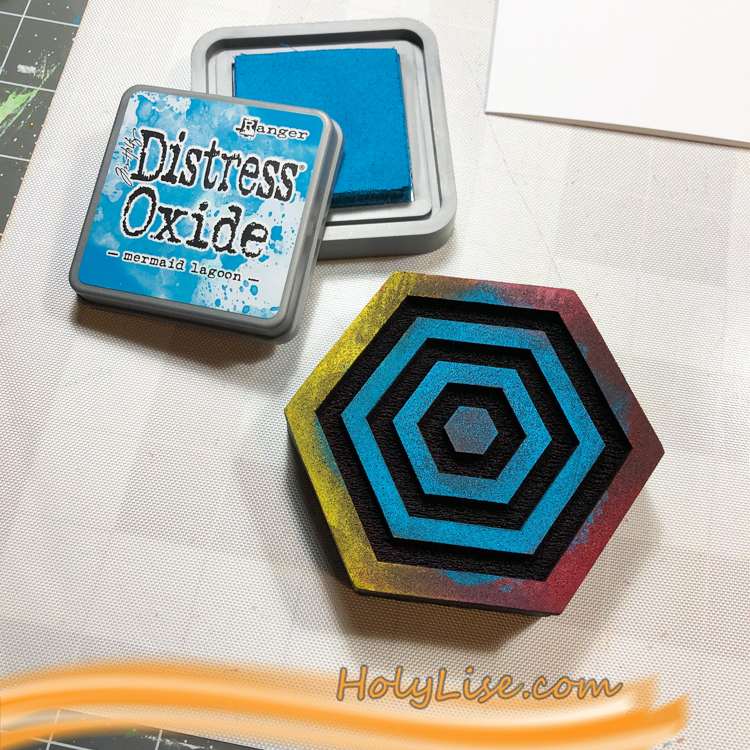
I went with two colors per stamp design and applied the first one directly onto the Maze Hex foam stamp.
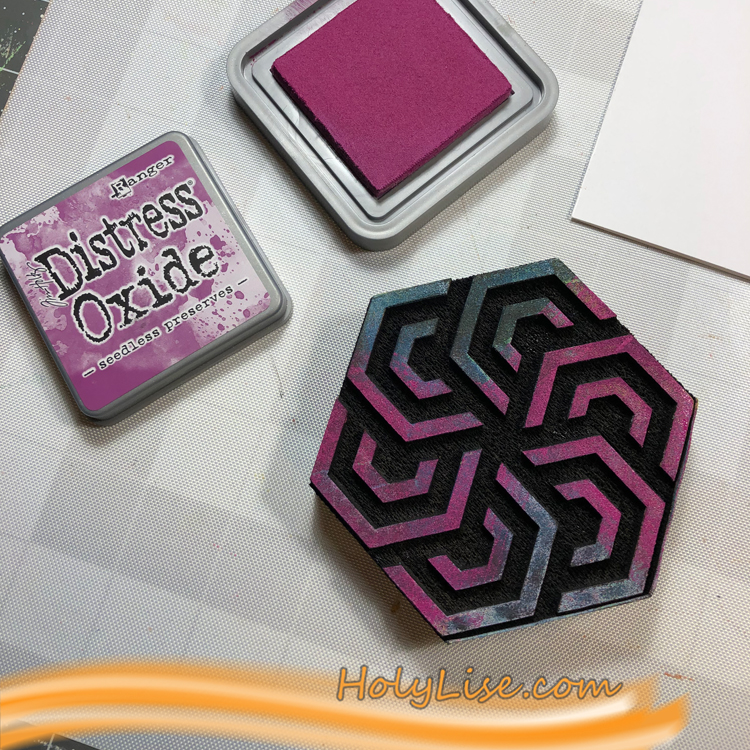
Then I added the second color. I don’t worry about which color to use first since I always go back with the first color and blend both together.
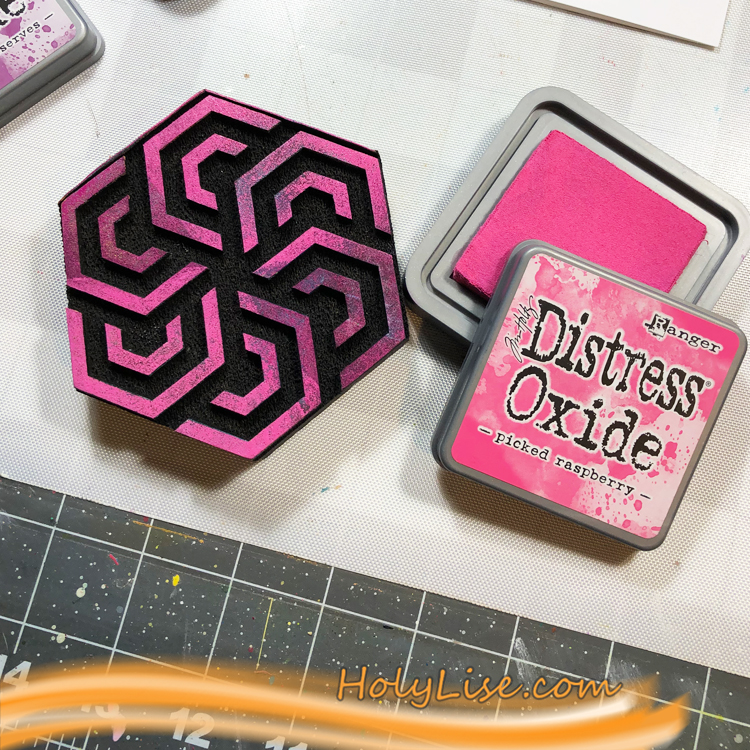
Because Oxide’s are water reactive, I added water directly on top of the ArtFoamie. You can stamp without adding moisture. I did it, because I really like the effect.
I varied the way of the ombre effect. For some I went from left to right and for the Space Oddity foam stamp from the middle to the outside.
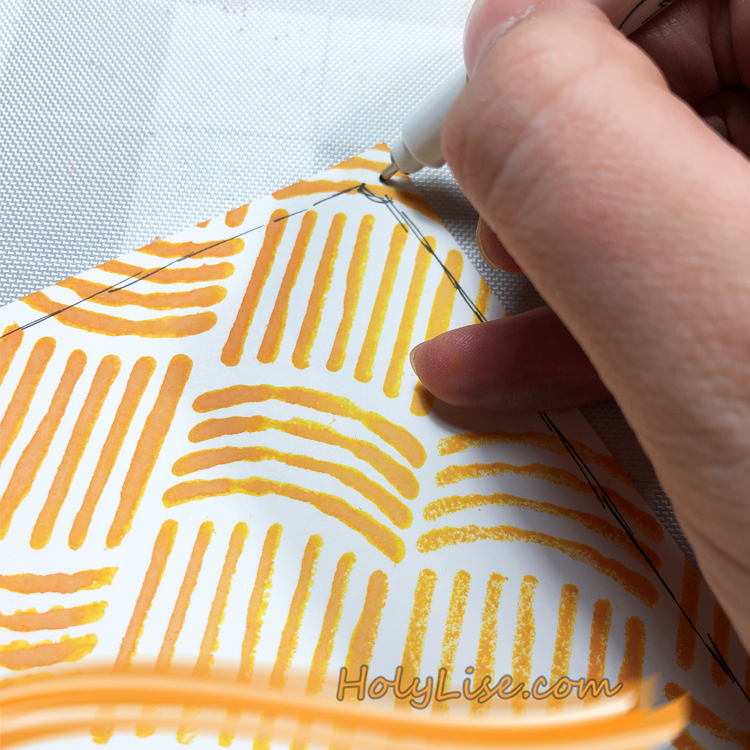
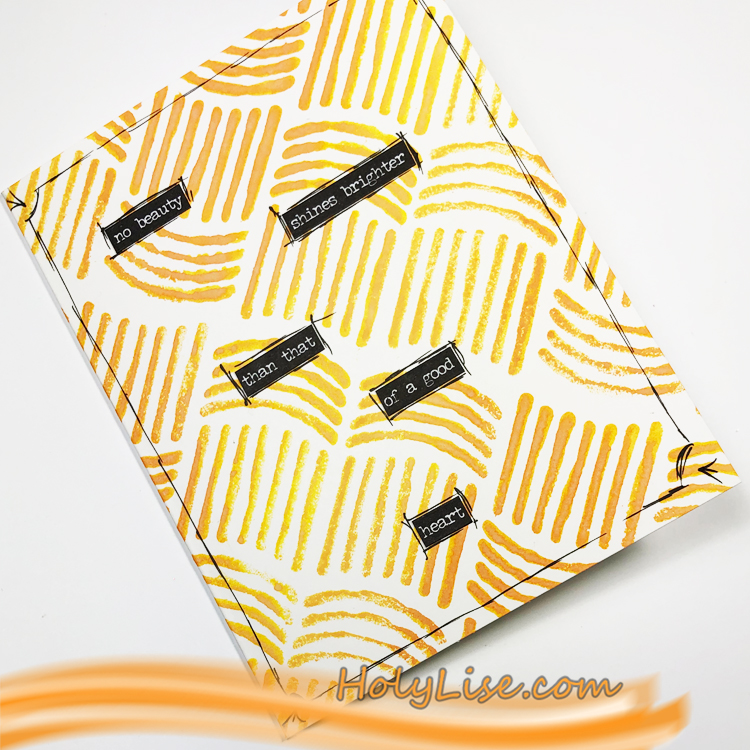
Once I was done with the backgrounds, I started decorating the cards. That can be as simple as adding an outline with a black fineliner…
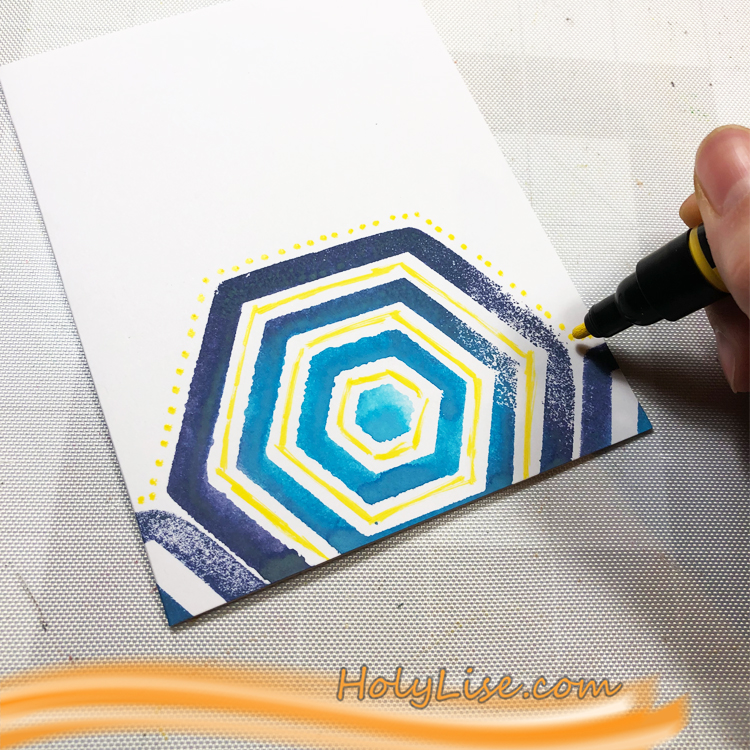
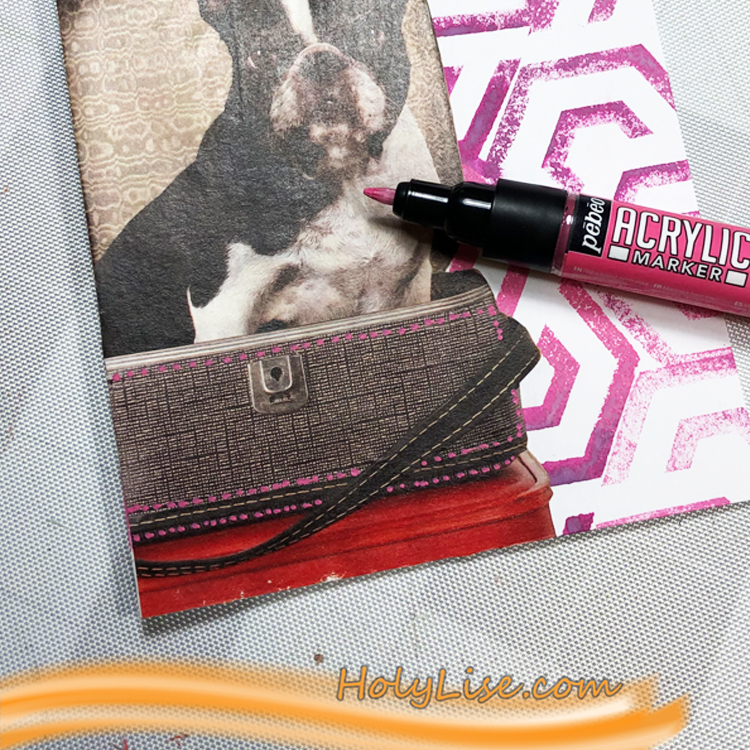
…or some dots and lines using an acrylic marker.
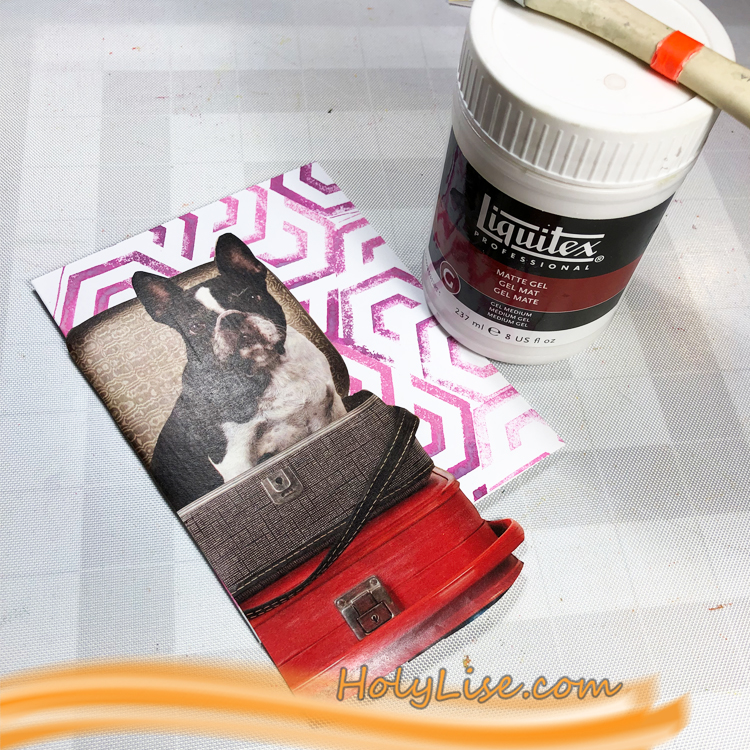
You can also use die-cuts or magazine cut outs to decorate the cards. For this one, I used a picture from a magazine ad and adhered it with gel medium. Usually, I would add the gel medium to the background, the back of the picture and all over the card to seal it. Since I used Distress Oxides, I just added it to the back of the picture. Otherwise the ink would have moved.
Then I decorated the picture with dots and lines.
It always surprises me how you can create great looking cards with just a bit of stamping and adding dots. They all look different but started out in very similar ways.
Foam stamps are so versatile and work for every style – from clean and simple to super grungy and are great for cards, art journal pages and so many other mixed media techniques.
Don’t forget to join the Foam Stamplifier Challenge over on Instagram and share your own projects using foam stamps.


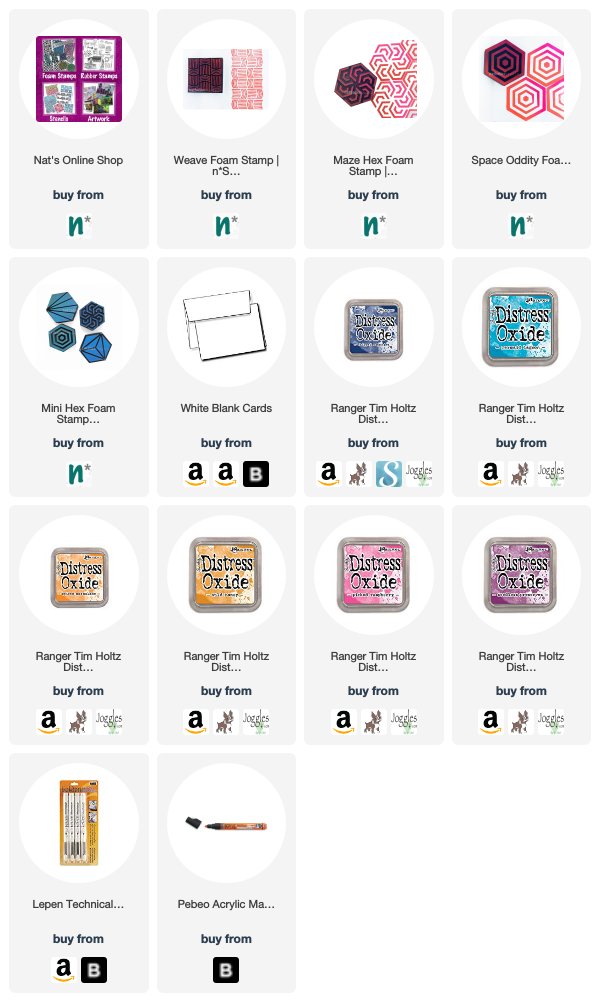
Thank you Josefine – I love how the foam stamps work with ink!  You can find my Foam Stamps in my Online Shop. Here are some of the supplies that Josefine used:


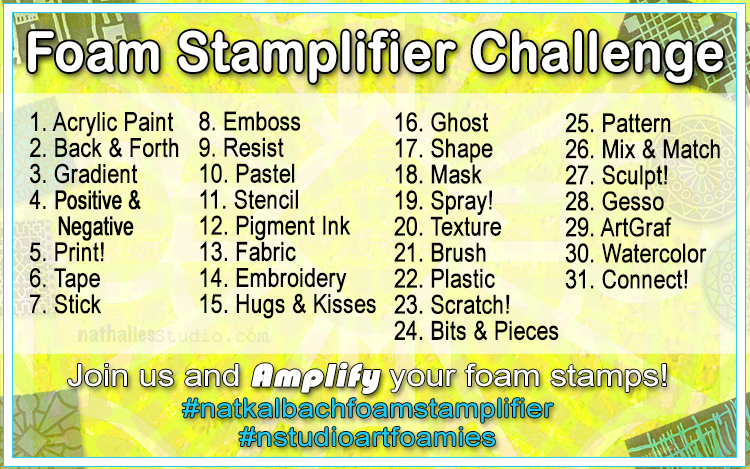
Feel inspired? I hope you join us for the Foam Stamplifier Challenge this month. As you play along, don’t forget to tag me when you share your creations – I would love to share your projects in my next  “n*Spiration From Around the Globe“.

Leave a comment

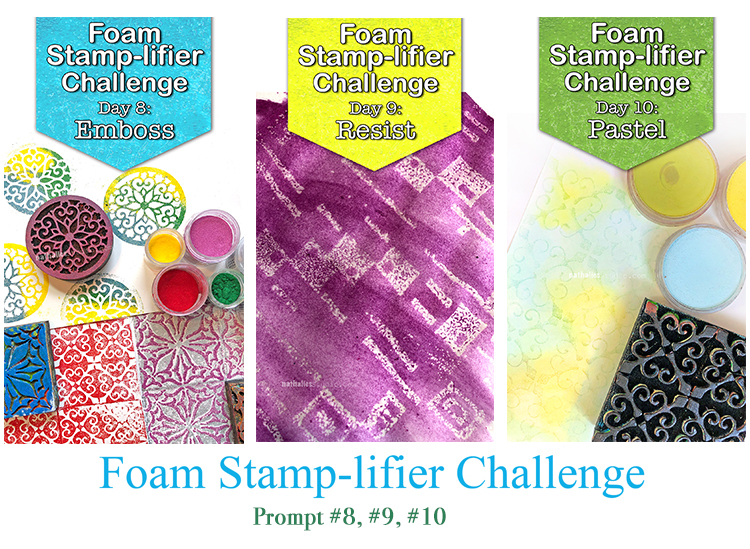
Foam Stamplifier Challenge Prompts 8-10

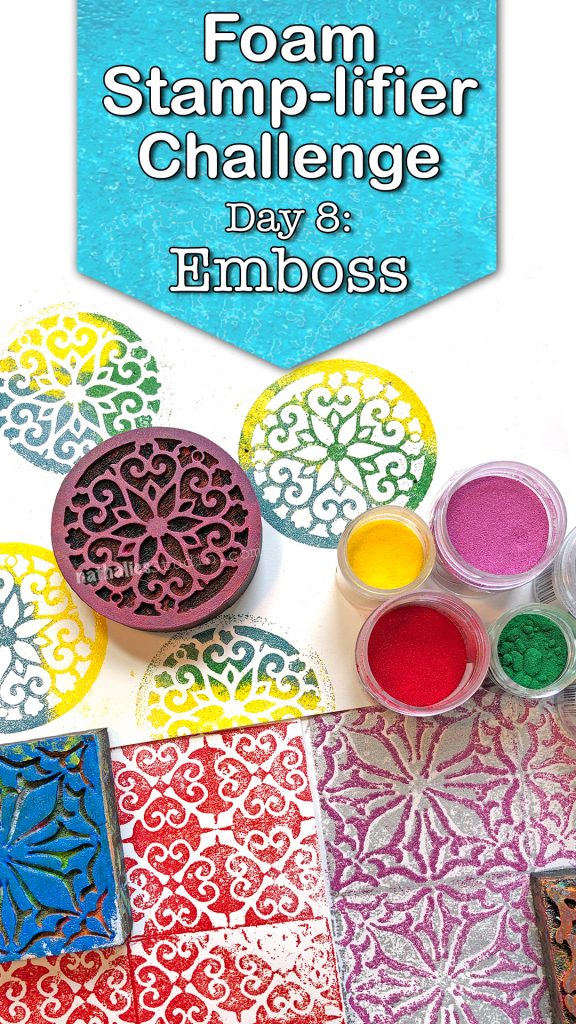
Day 8 – Emboss

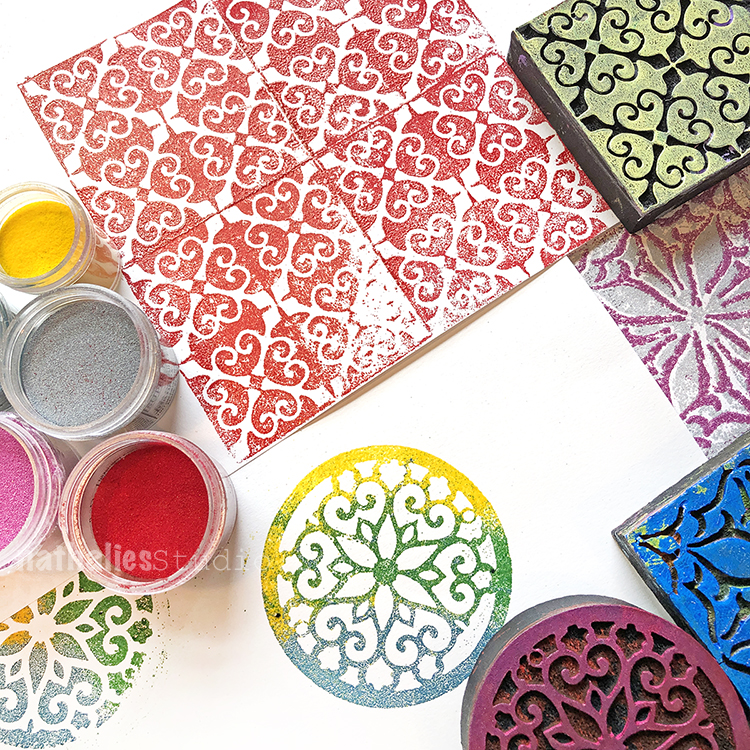
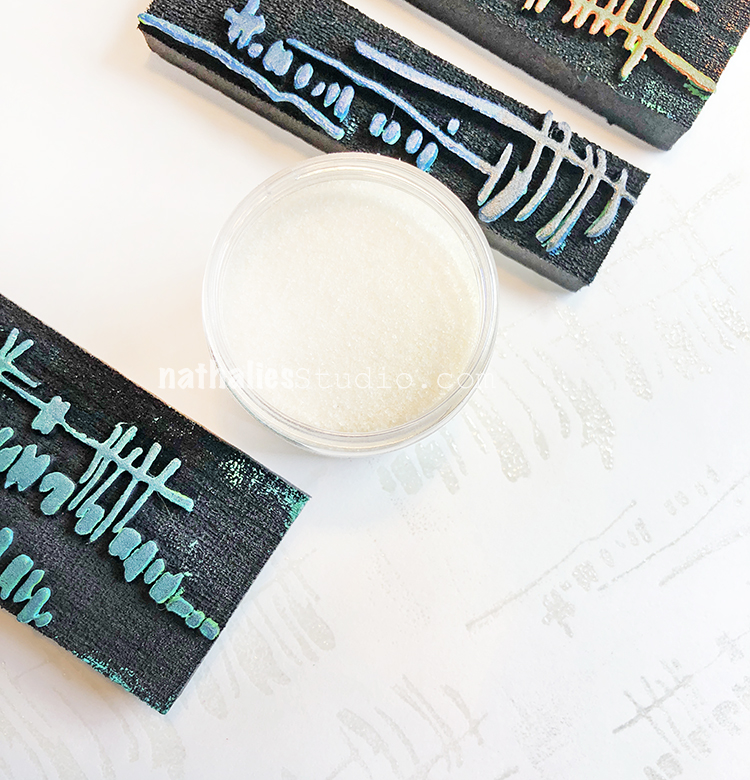
I love to emboss with my foam stamps. The foam surface creates some added texture even if you use super fine embossing powder.

Simply press the clear embossing pad onto the foam stamp and then stamp on paper. You can add just one solid color of embossing powder to your image and then heat emboss.

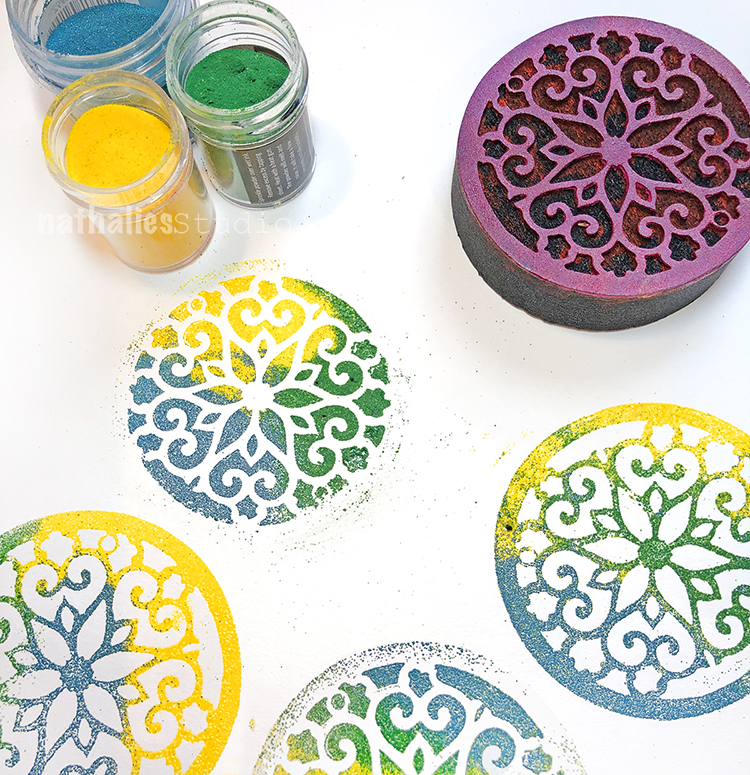
Or for even more fun, add several different colors of embossing powder and heat emboss one after the other.

Another fun way to use embossing powder is to use the positive and negative sets and layer the embossing. I hope you try it

Day 9 – Resist

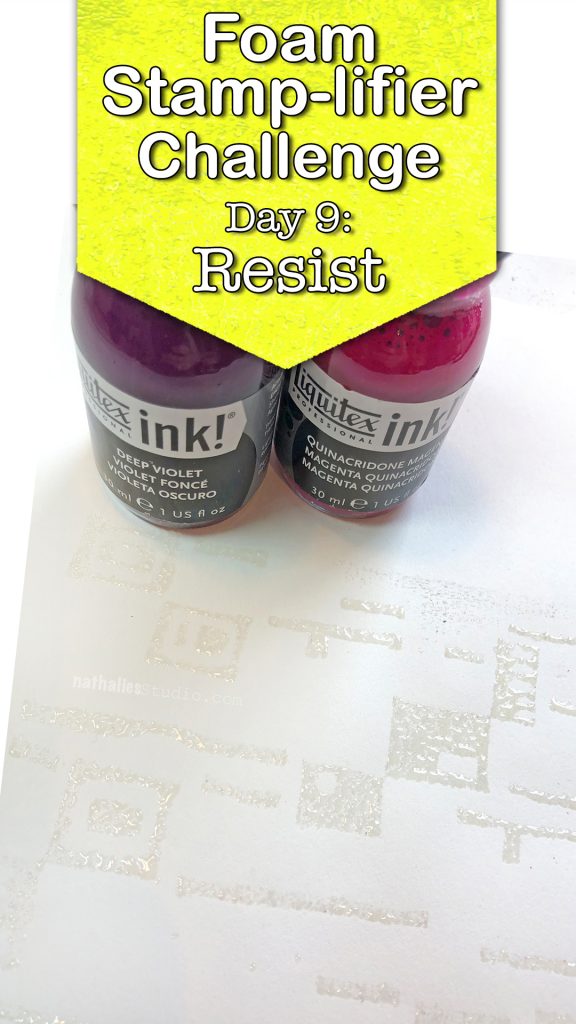
I am a huge fan of resist techniques and this has always been one of my favorite ones.

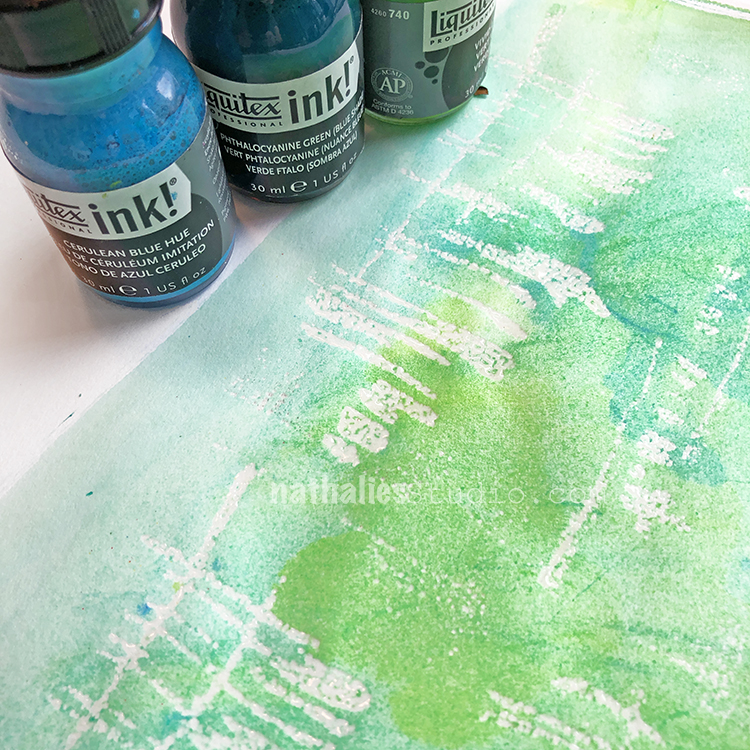
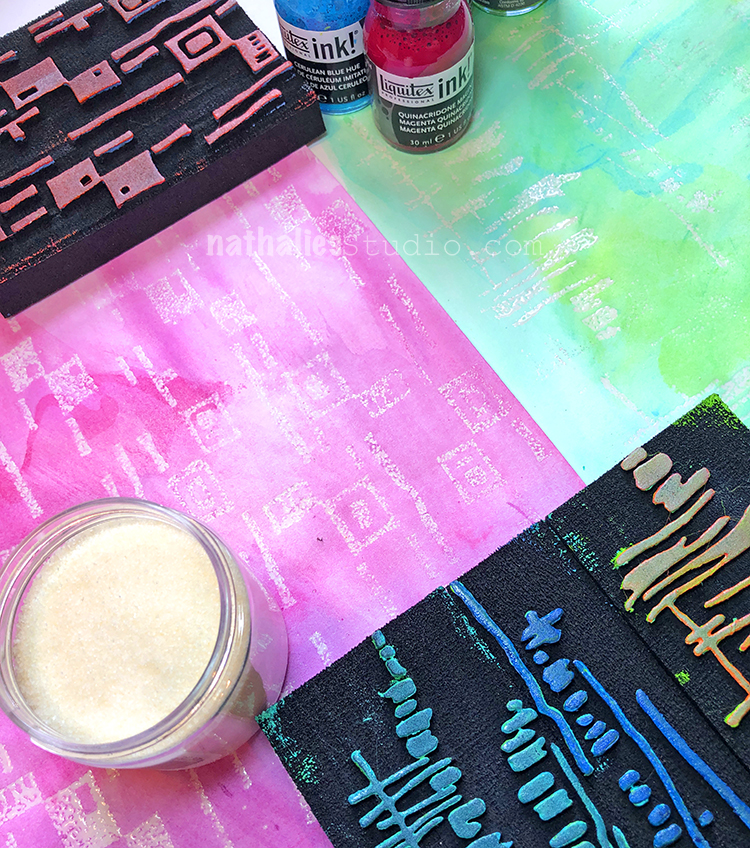
Apply clear embossing ink to your foam stamp. Stamp onto paper. Sprinkle UTEE (ultra thick embossing powder) on top and heat emboss. Let cool and then apply a very thin layer of acrylic paint or acrylic ink over the surface.

The paint or ink will dry slower on top of the UTEE as that area will resist the paint. Use a moist rag or a baby wipe and gently wipe over the raised UTEE pattern to remove the paint.

What remains is a wonderfully textured clear pattern.

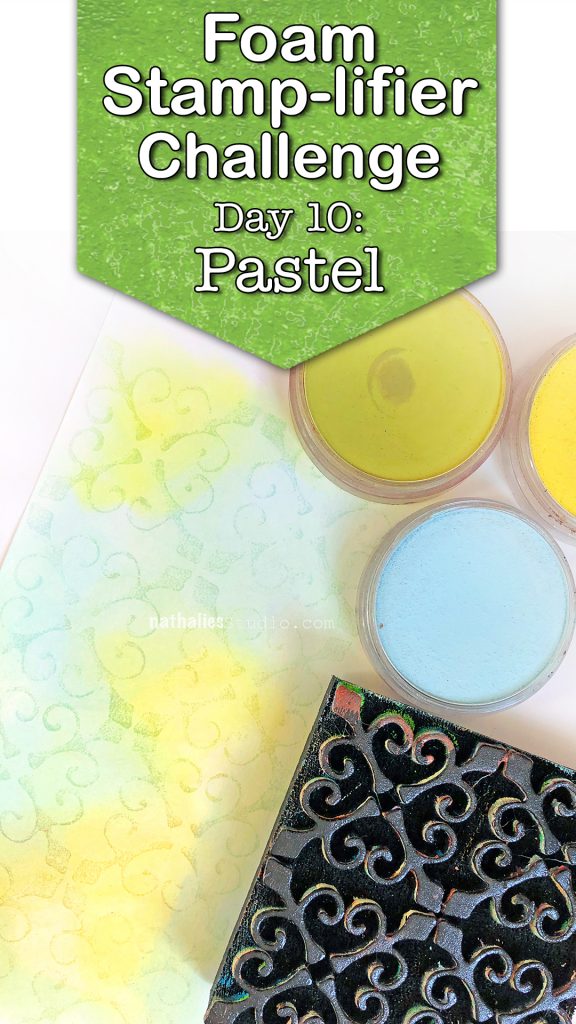
Day 10 – Pastel

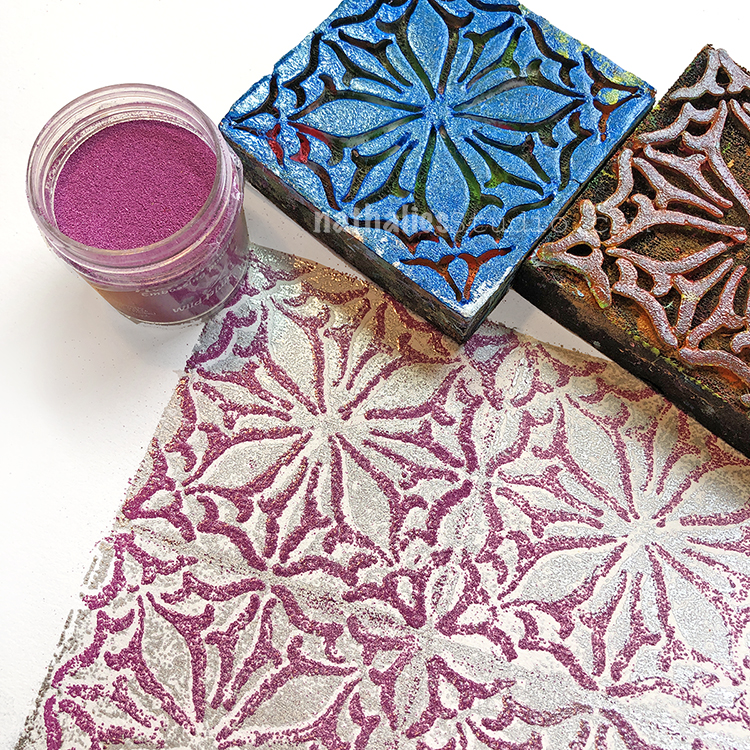
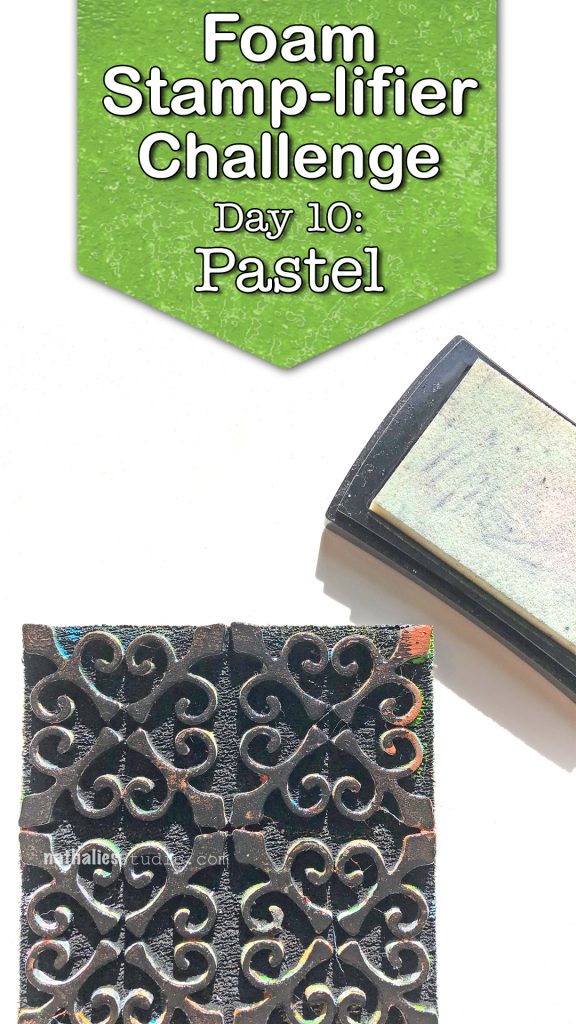
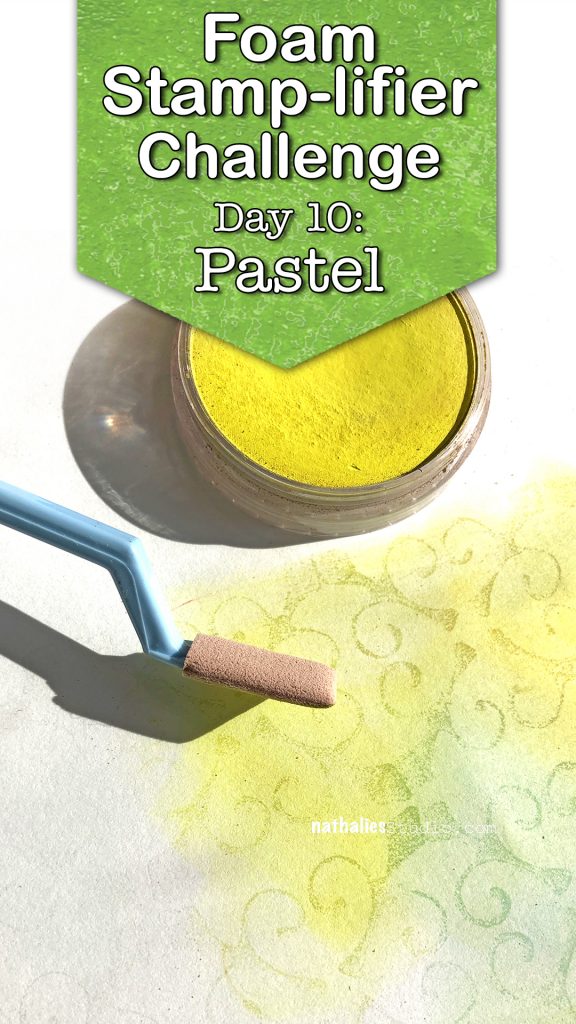
I love using Pastels with my foam stamps. In order to make the pigments stick you need a little trick though. I usually use a clear embossing ink pad and apply it to the stamp, then I stamp onto paper.

My favorite pastels are PanPastels but you can use over pastels as well.

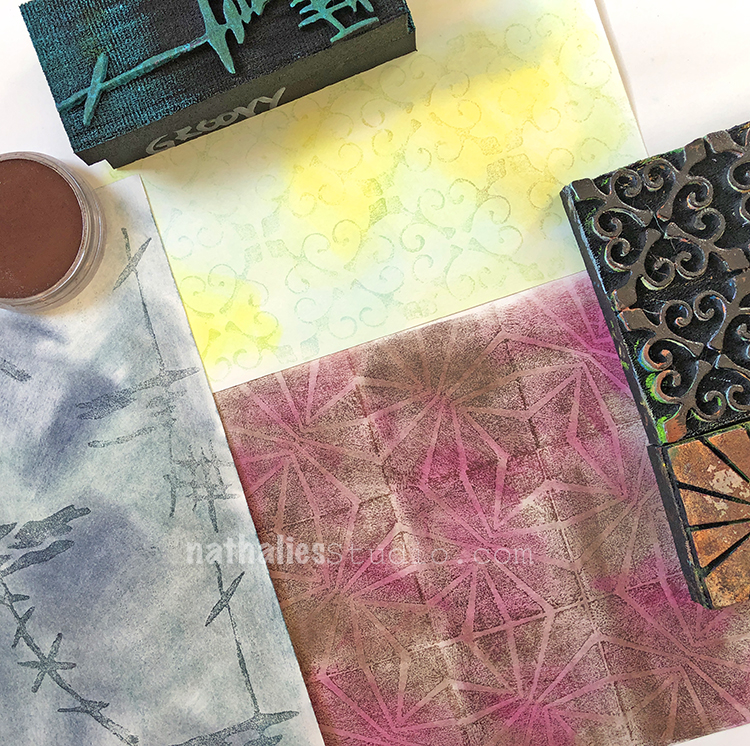
I apply the pastel with a tool over the stamped surface and wherever the embossing ink is on the paper the pastel will accumulate more and collect more of the pastel.

The stamped design will appear darker.

Here are the foam stamps I used for those prompts. Hope you enjoying the Foam Stamplifier Challenge!


In case you missed the prompt list  here you go:

Leave a comment

Stamped Paper Wreaths – DIY Play Date

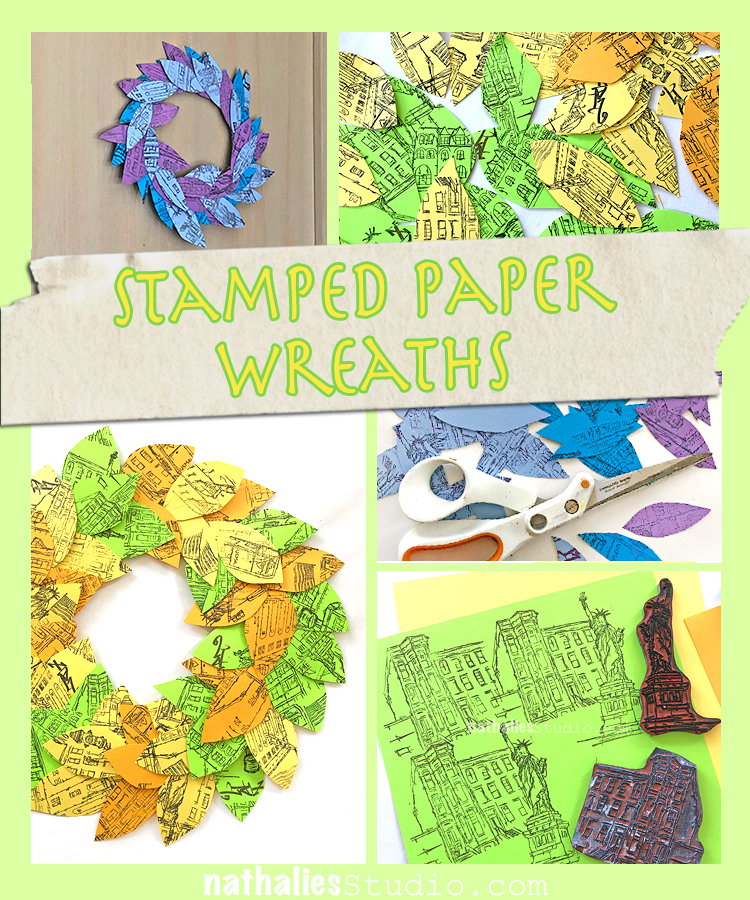
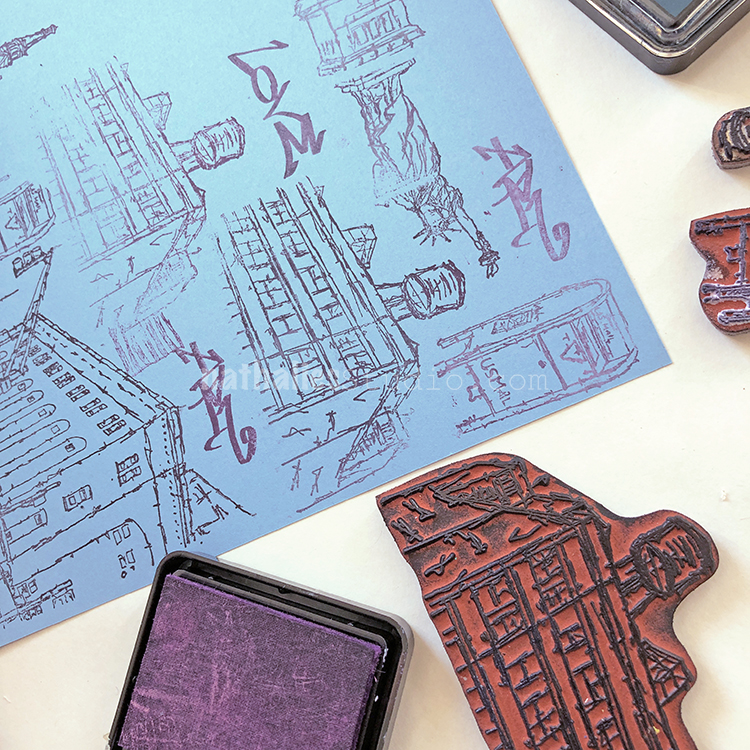
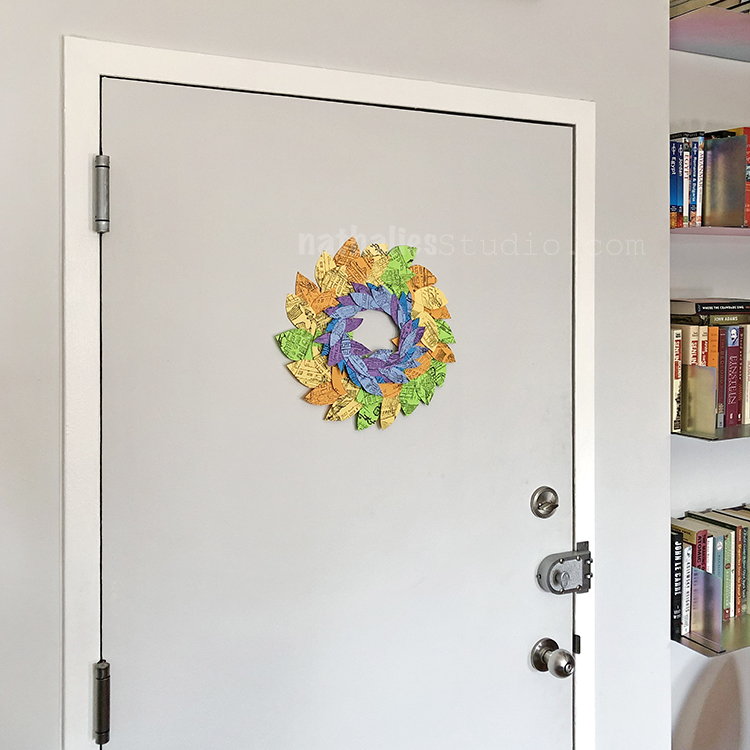
Last week Kim and I decided to do a little Spring Play Date with my rubber stamps. We saw some cool pictures of paper wreaths online and thought we would try our own. We had just an hour or so and had fun making ours and dreaming of beautiful spring weather :)

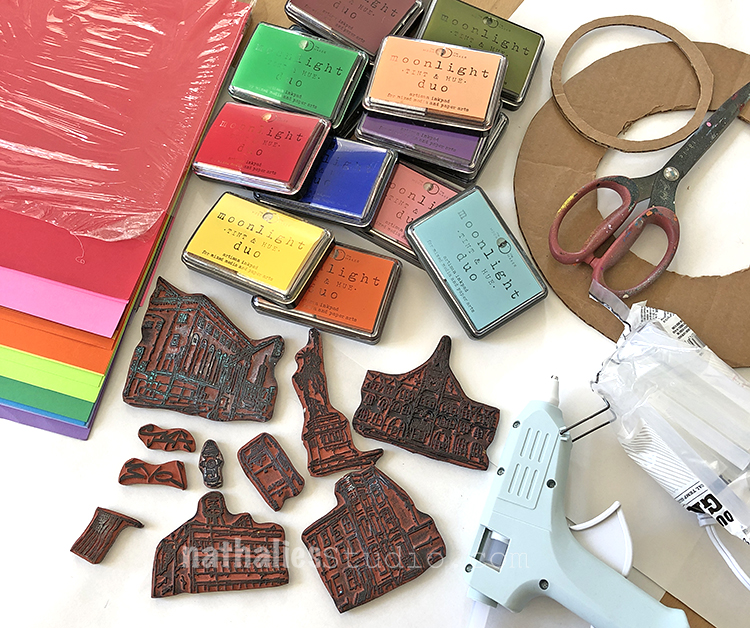
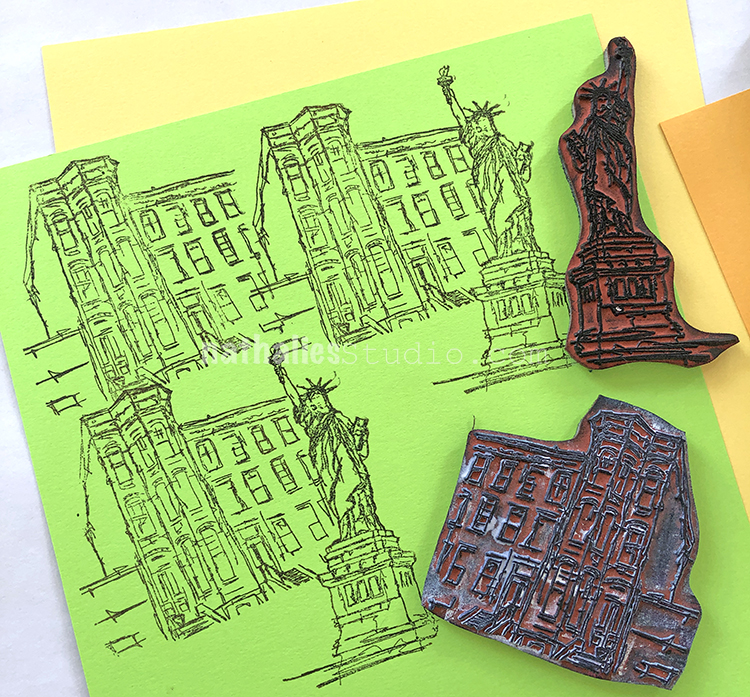
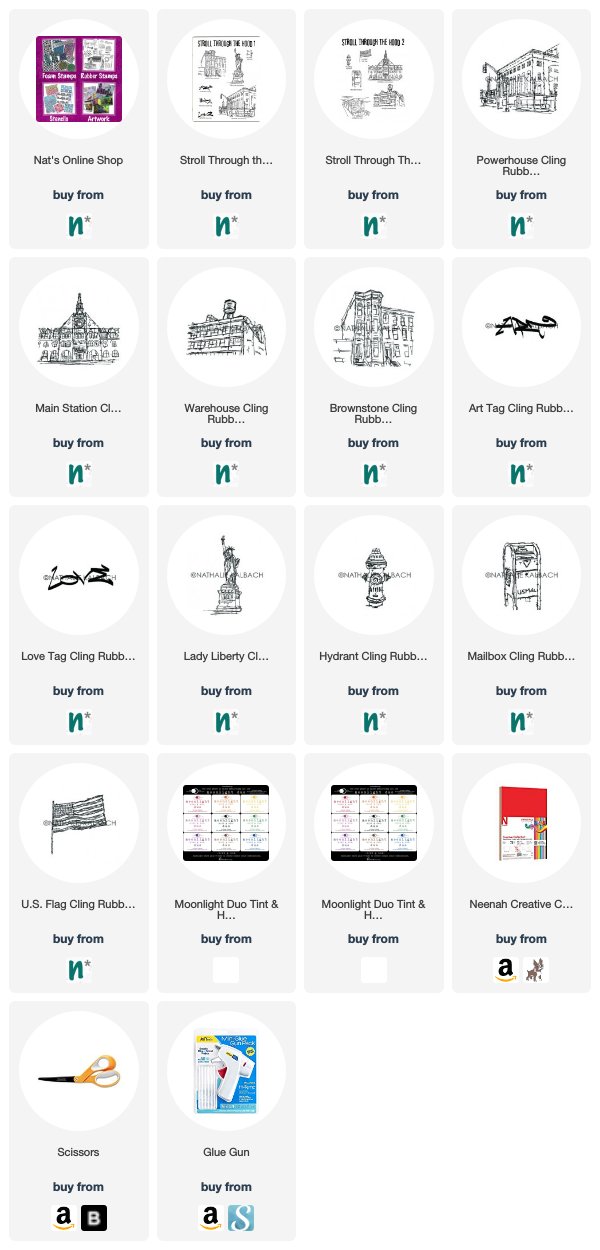
You will need rubber stamps (we used my Stroll Through the Hood 1 and 2 stamp sets including the Powerhouse, Main Station, Brownstone, Warehouse, Lady Liberty, Mailbox, Hydrant, US Flag, Art Tag, and Love Tag stamps), ink pads, colorful paper, scissors, glue gun, and a cardboard ring. We cut our cardboard rings from old boxes, using plates to trace a circle and then cutting out the center.

Choose paper (and maybe even inks if you have a lot of colored ink pads) in an analogous color scheme – colors that are next to each other on the color wheel.

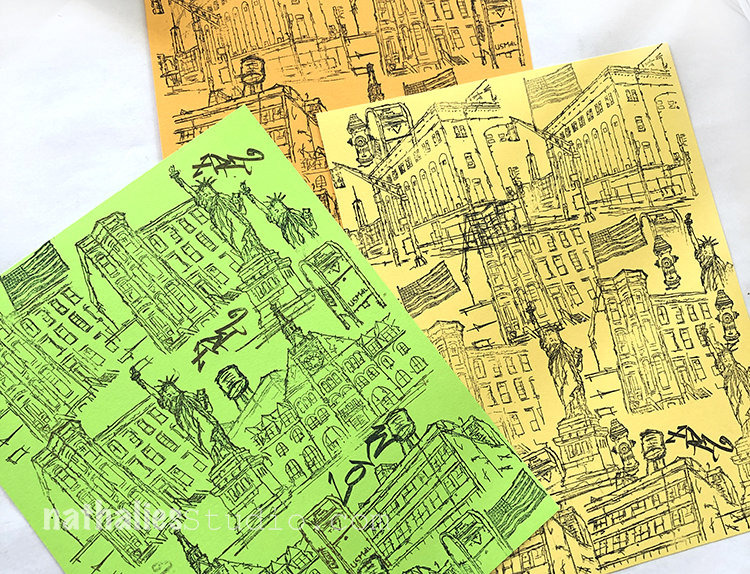
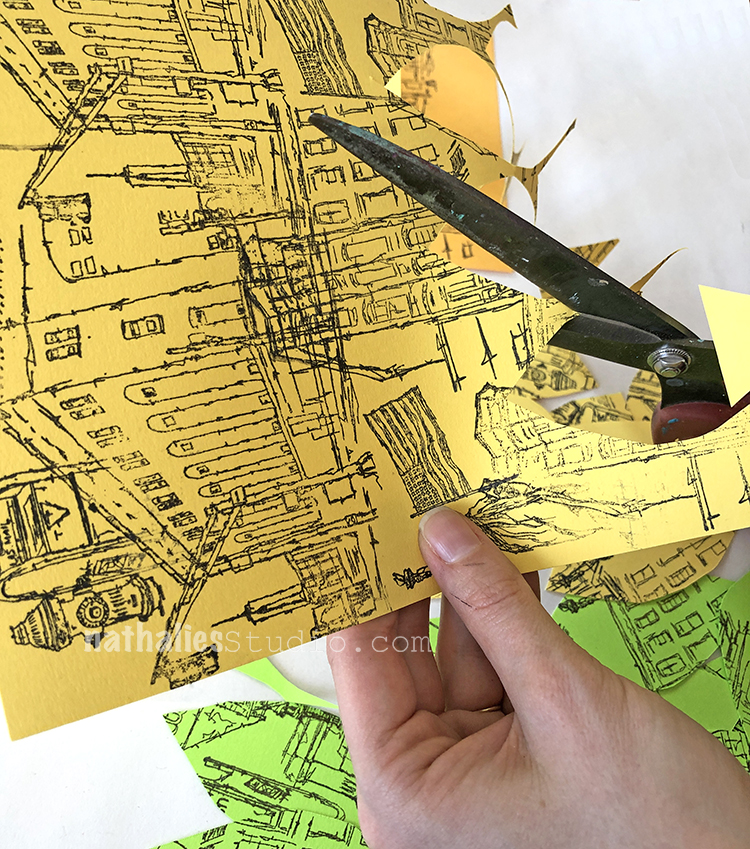
Then start stamping! Fill up the entire page with stamped images. It doesn’t matter how they line up – the point is to have some design and pattern all over the paper. Here is my Warehouse stamp in action.

Here is Lady Liberty and Brownstone filling a page.

We recommend stamping 3-4 sheets of paper.

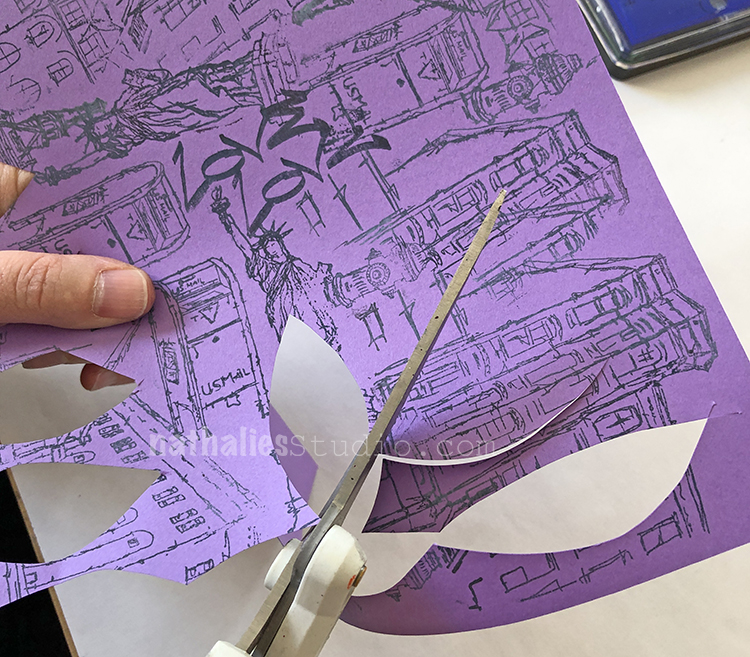
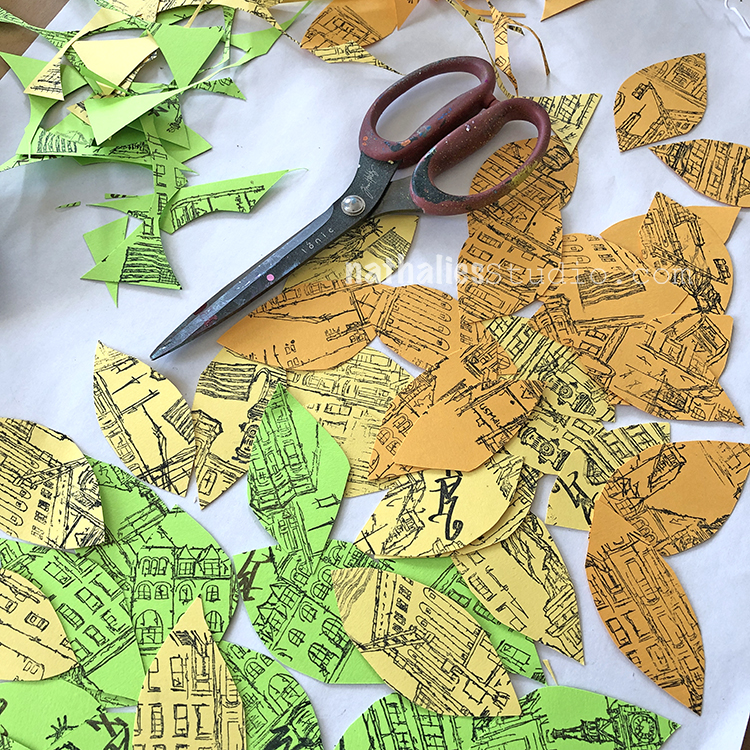
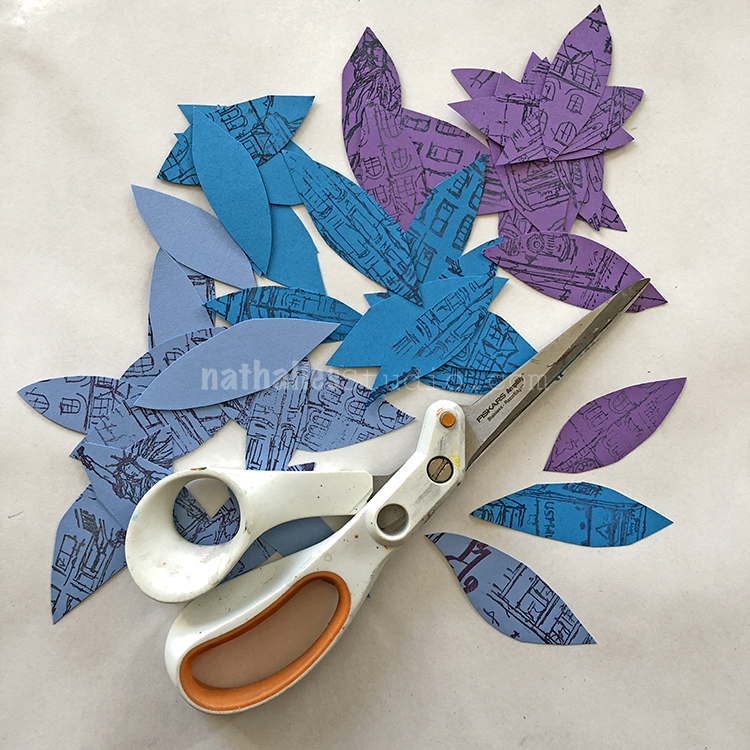
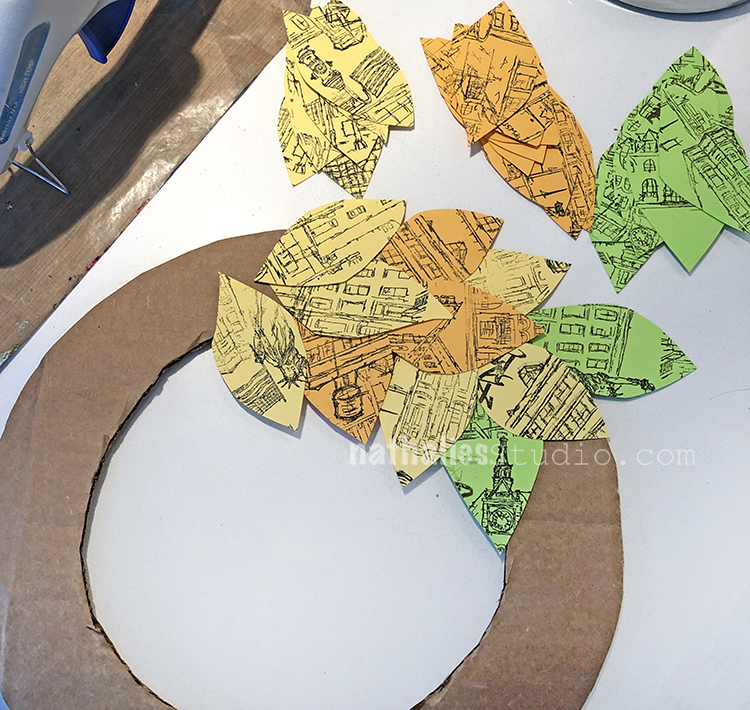
Then cut out leaf shapes. 2-3″ works for a smaller wreath and 3-4″ works for a larger wreath.

Try to get as many out of a sheet as you can. It’s ok to cut through your stamped images at odd places.

In the end you will have a pile of leaves.

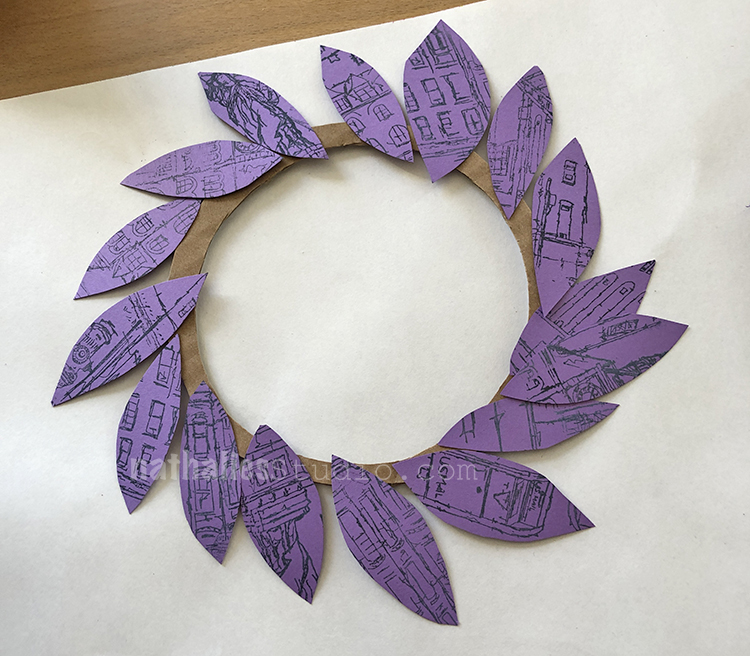
Try arranging the leaves on the cardboard ring to see how they fit.

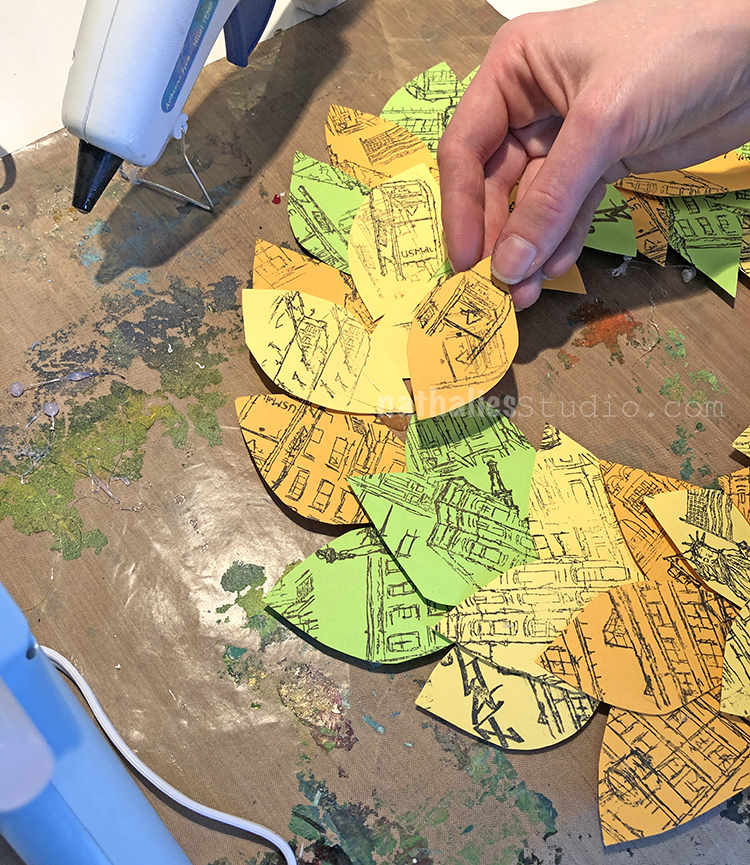
You can experiment with color patterns too.

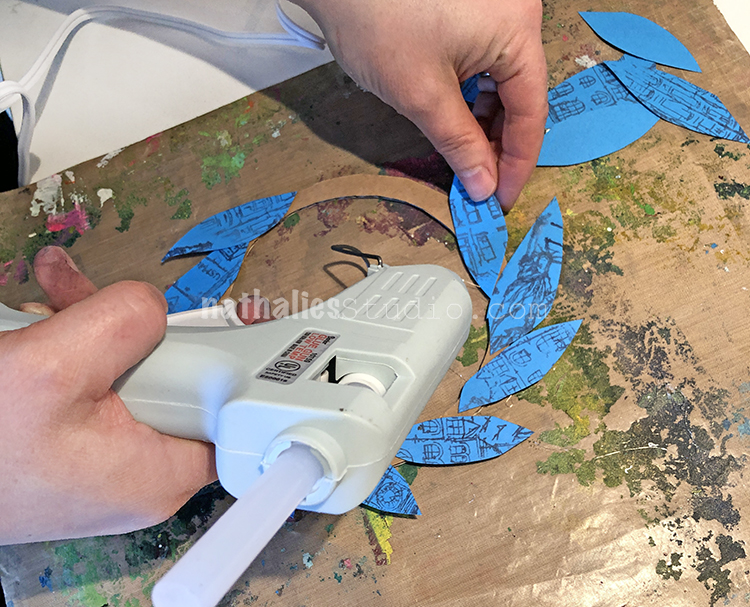
Use a glue gun to adhere the leaves in place. I finally bought a glue gun – yes can you believe this is my first ever glue gun? lol

Three leaves across seemed to cover the cardboard.

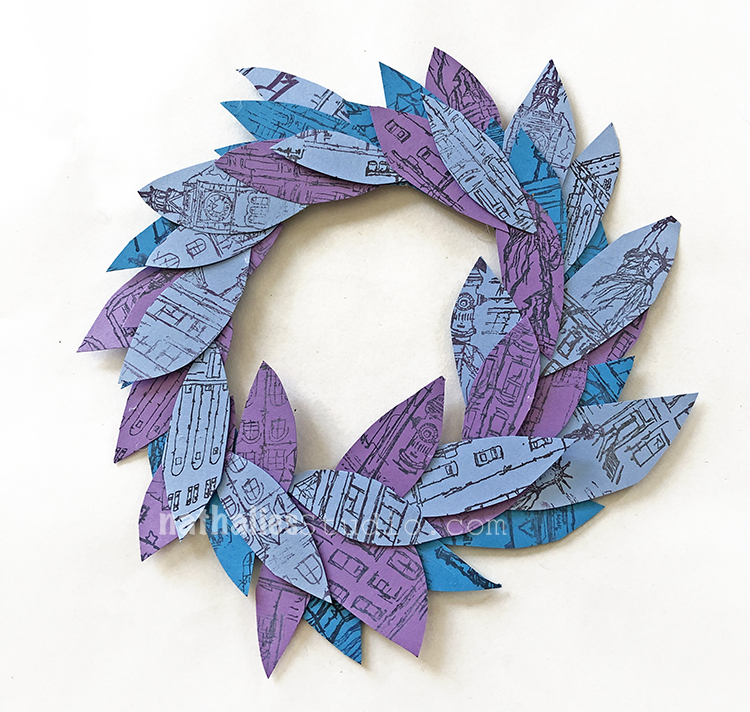
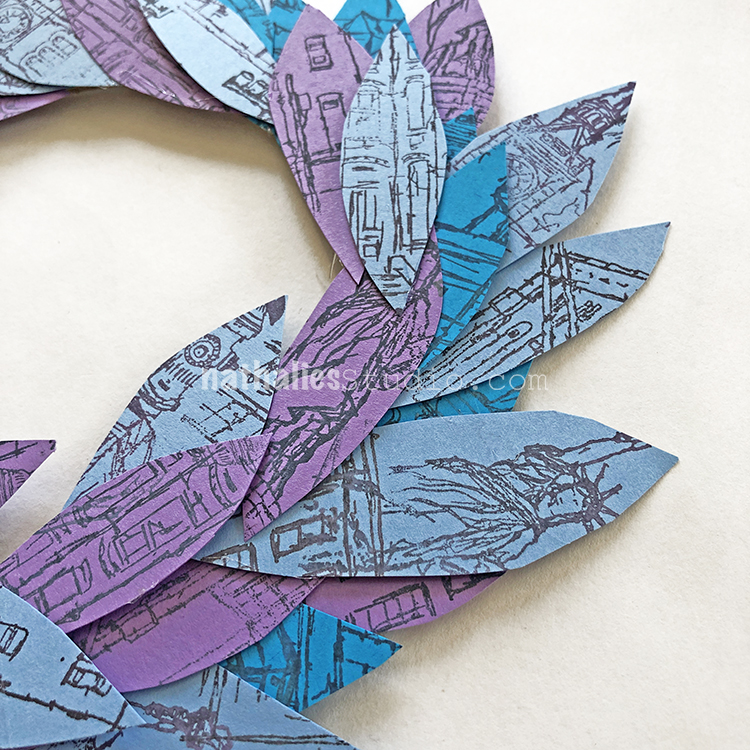
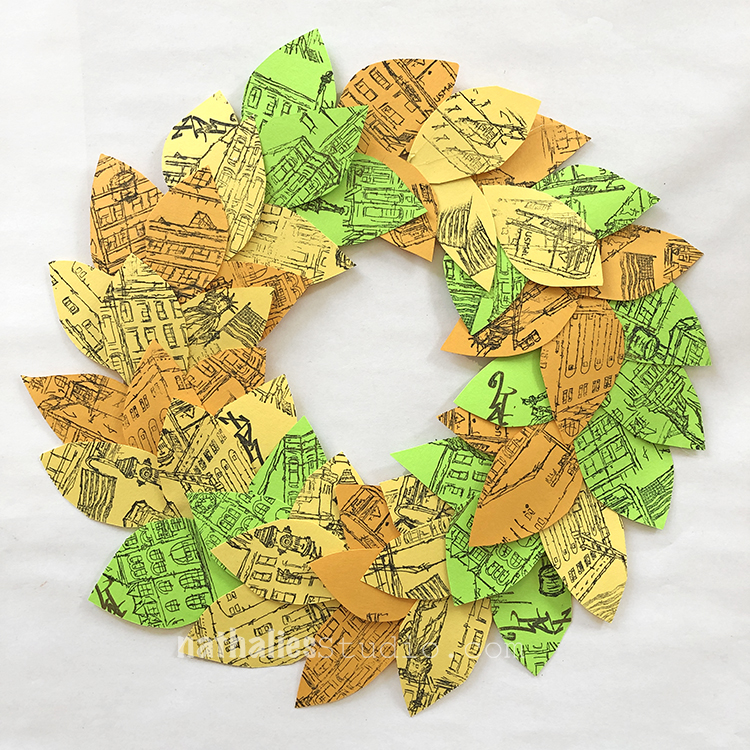
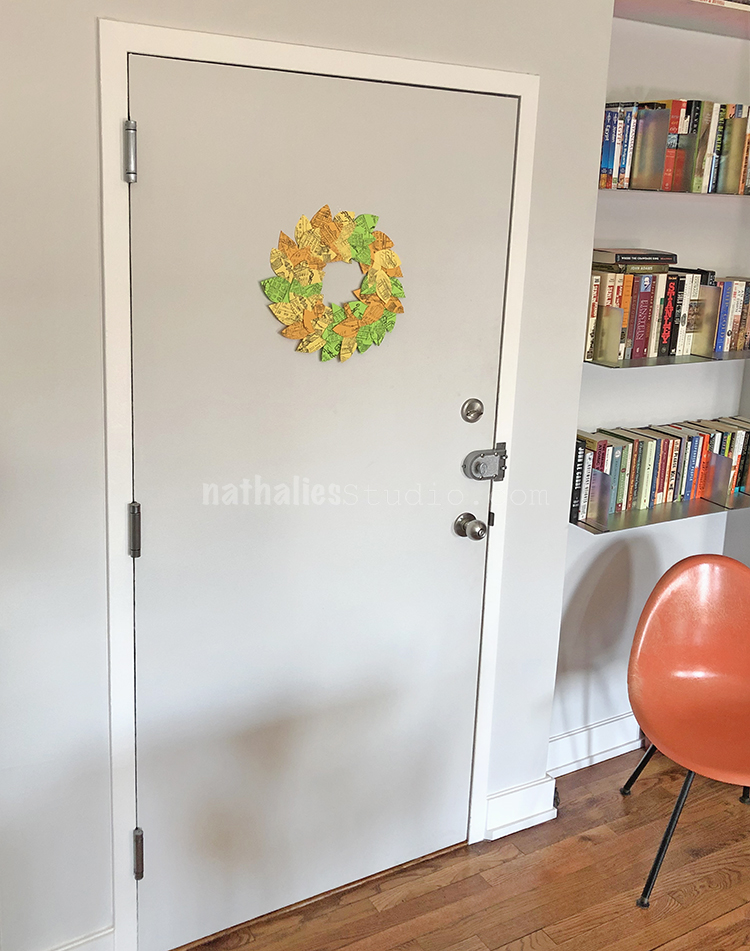
In the end you will have a charming little spring decoration.

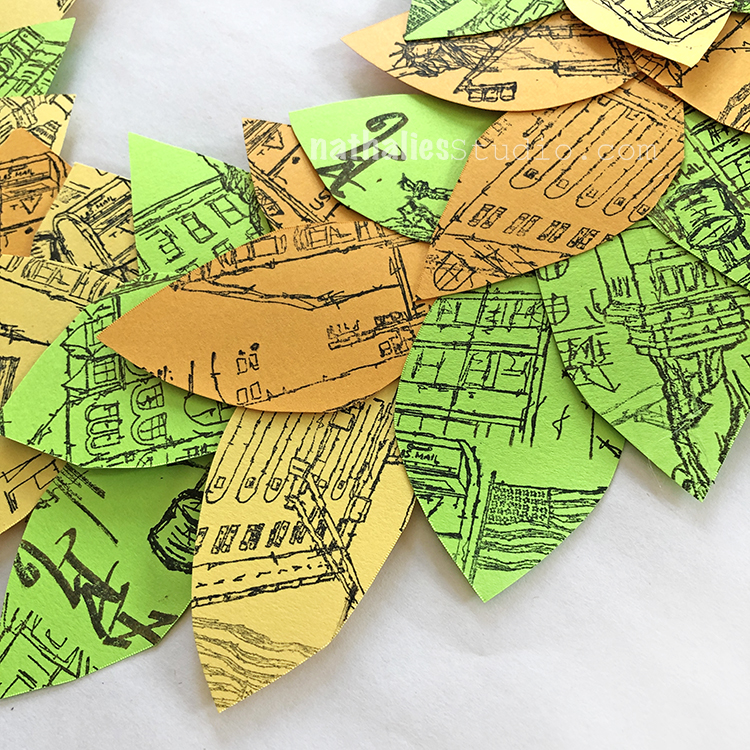
Look at all the stamp images peeking through.

The big one is just right for hanging on a door.

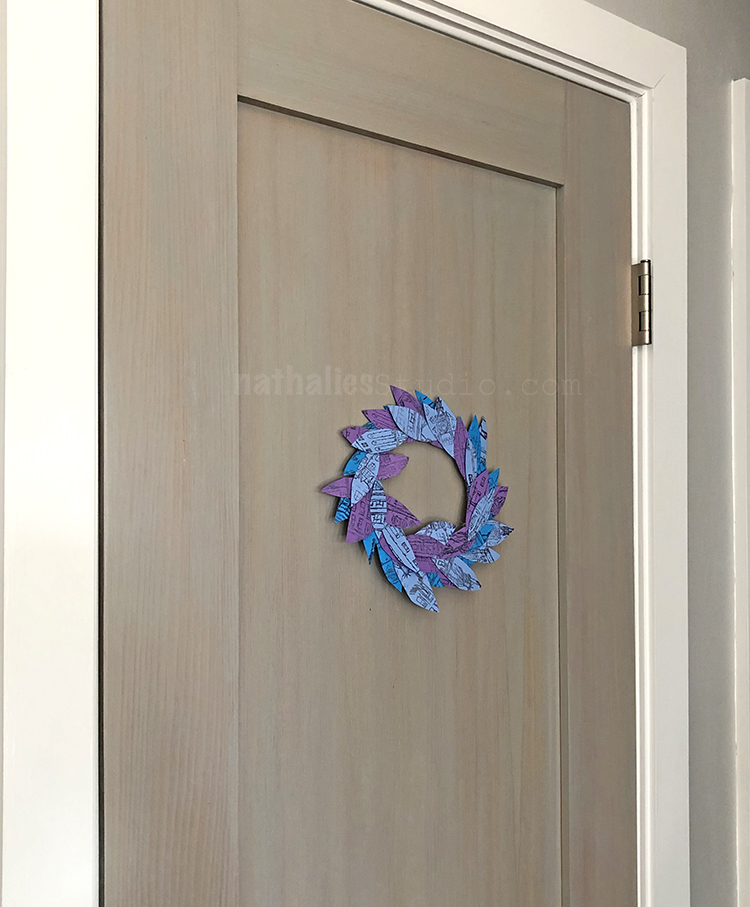
Two paper wreathes, ready for spring.

One on the inside of Kim’s front door.

Looks nice on a smaller door here.

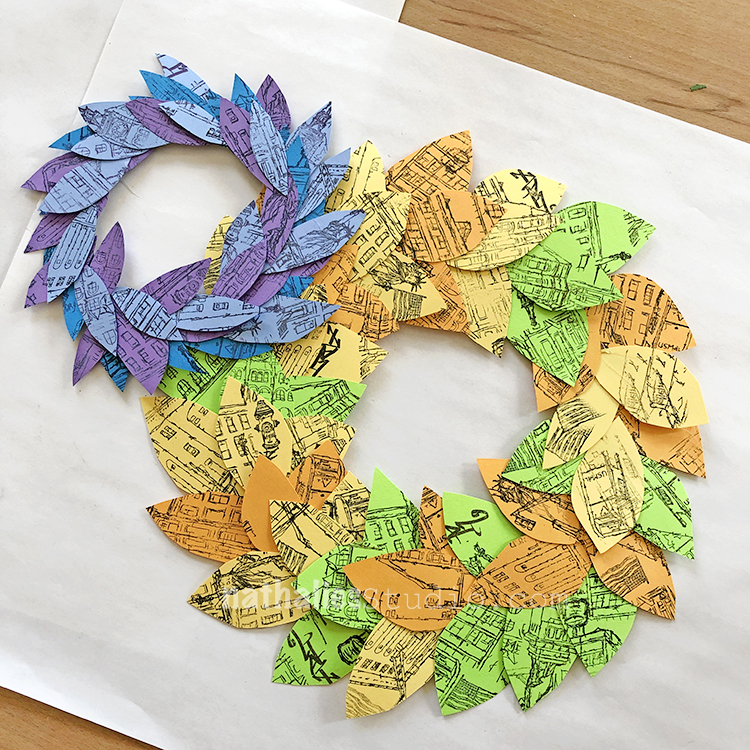
You can even layer them up for more impact.

This was a great way to use up some colored paper we had on hand and to have some fun stamping. I love how the stamps give it some more visual interest, and you could really play with ink colors and different papers if you wanted to. I hope you try it!

You can find my rubber stamps in my online shop. Here are some of the supplies that we used in this play date:


Comments (1)

  • stephanie

    |

    your art play date projects are always an inspiration! thanks Nat

    Reply

Leave a comment

Foam Stamplifier Challenge Prompts 3-7

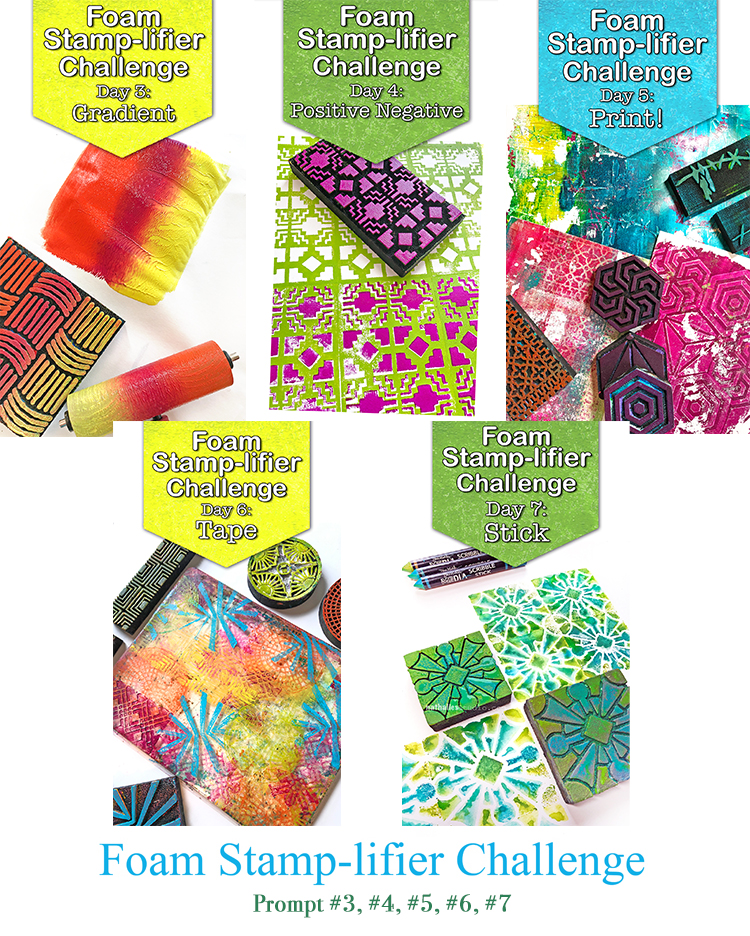
So much fun to see what everyone is doing with the Foam Stamplifier Challenge. Here are my posts for Prompt 3-7

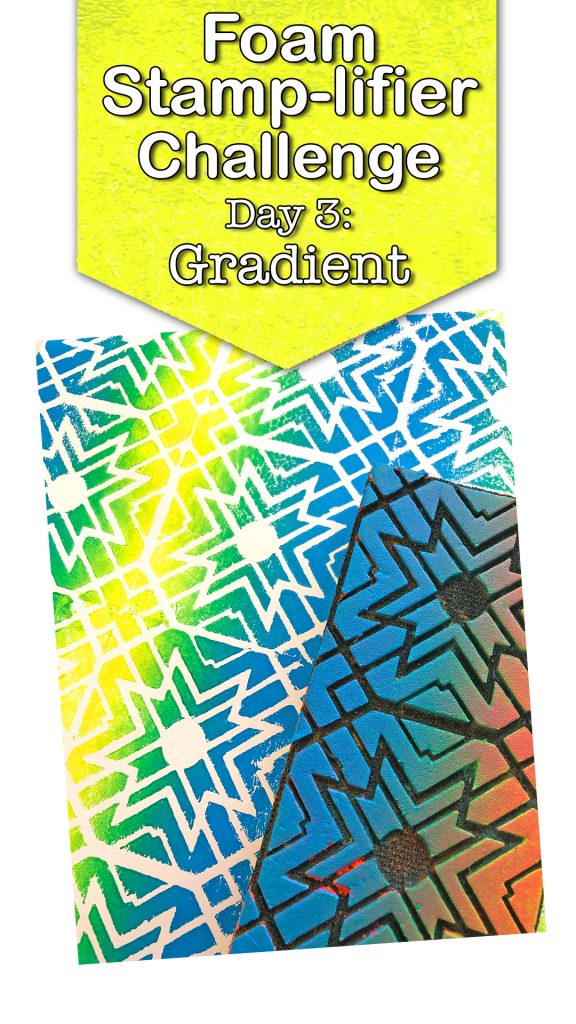
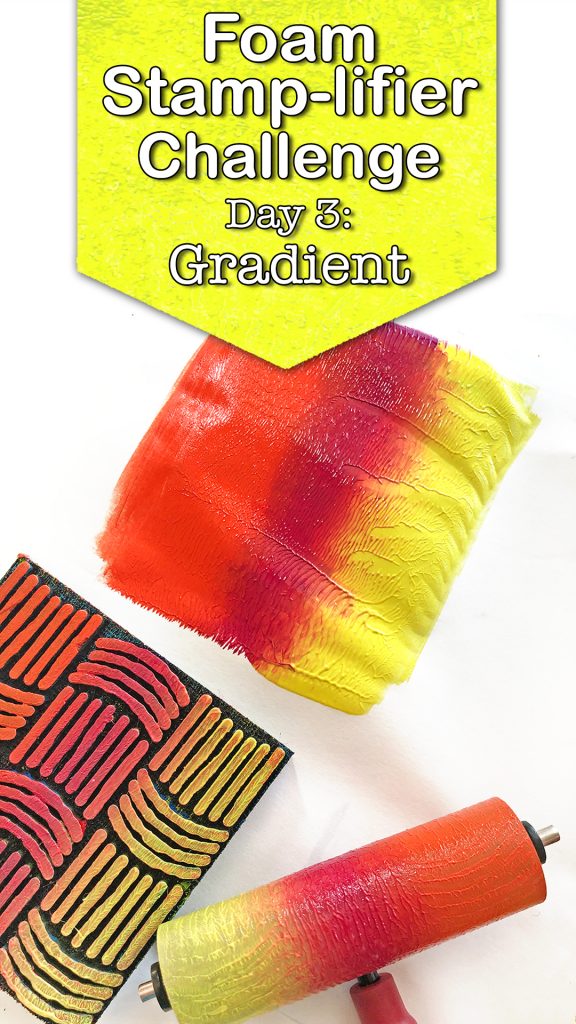
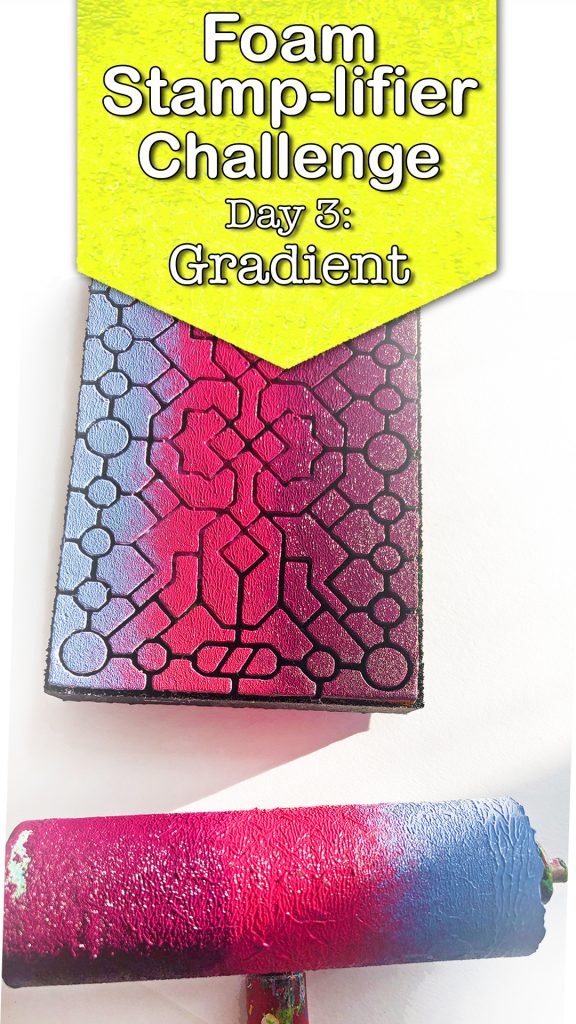
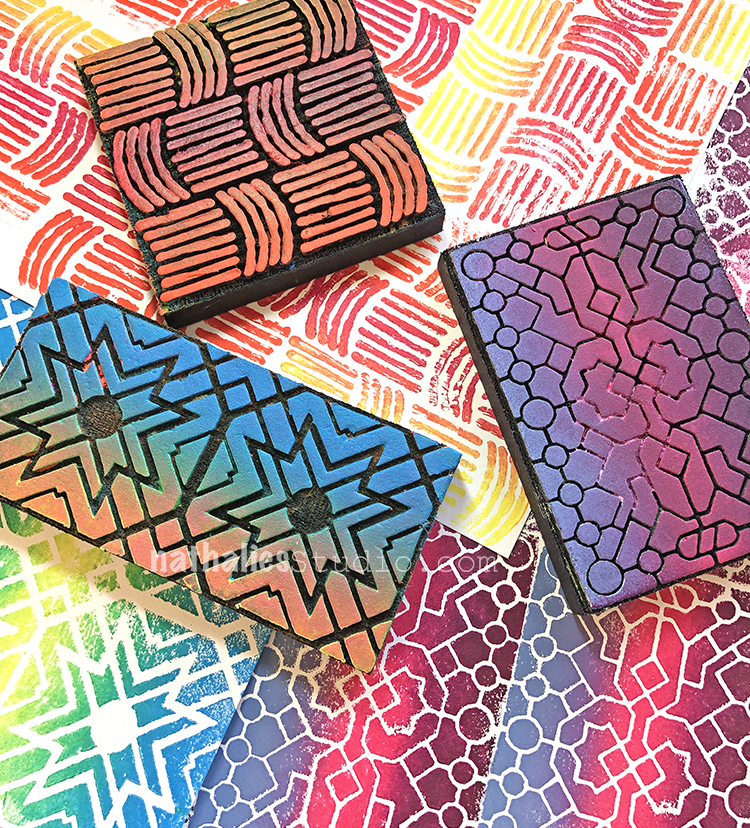
Day 3 – Gradient

Now I hope this one makes you as happy as me- because I am a total color junkie and having the possibility to easily apply some color oomph with my stamp makes me just all smiles :)

I love to use 3 colors that either mix well or are in the same color family. Using the length of my brayer as a guideline I add three colors in stripes next to each other on the top of a palette.

Then I roll the colors out downwards – lifting the brayer and going back up until the brayer is evenly covered. At the same time I also shift the brayer slightly to the left and right (really just a tiny bit) to blend the colors and mix them as well.


And then I just apply the paint to the stamp and make sure that with every new stamped image I apply the paint to the same area of the stamp. So much fun!

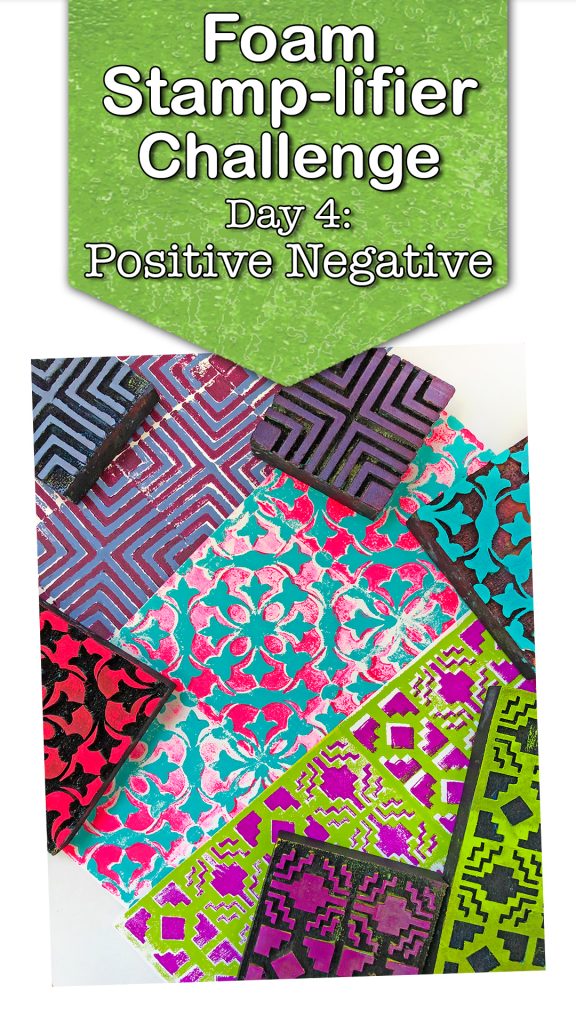
Day 4 – Positive & Negative

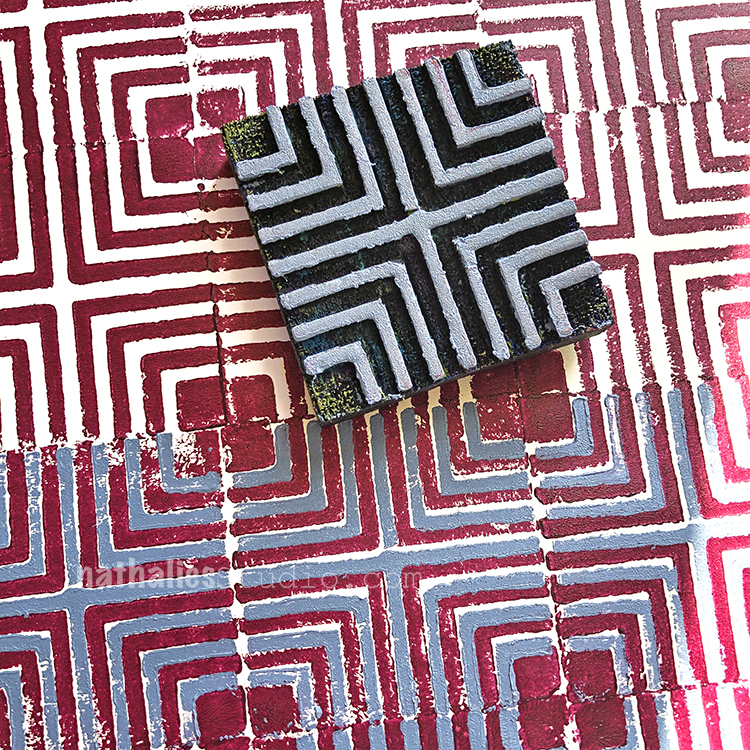
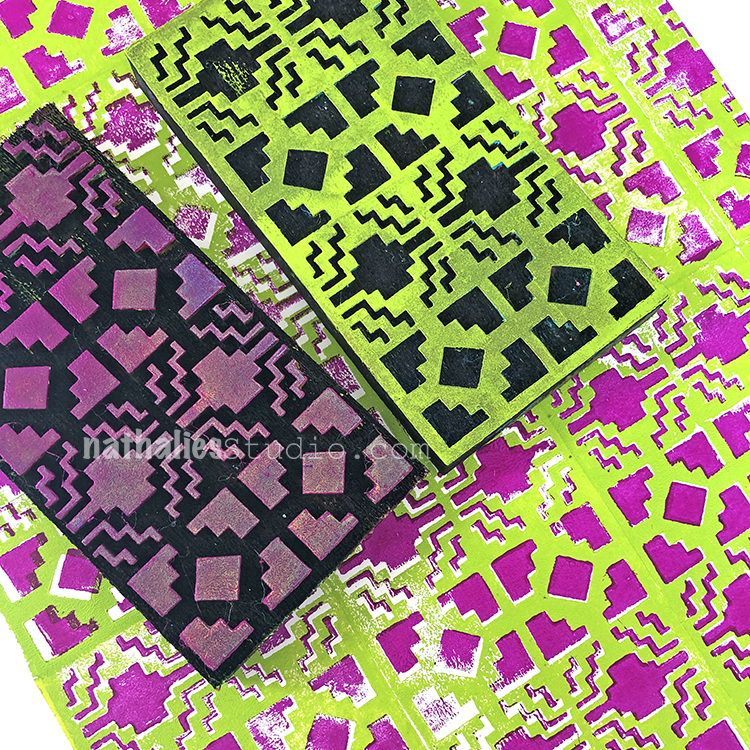
I love how having sets of positive and negative stamp designs can totally amplify your designs. You can use each stamp individually – you can use the back and front as I showed in Prompt 2 but you can also stamp them with different colors on top of each other.

And as you can see the outline of the foam stamp from the side- it is so easy to line them up :) My favorite is when they are not perfectly lined up on top of each other – so they add a bit of dimension as well. Super fun!

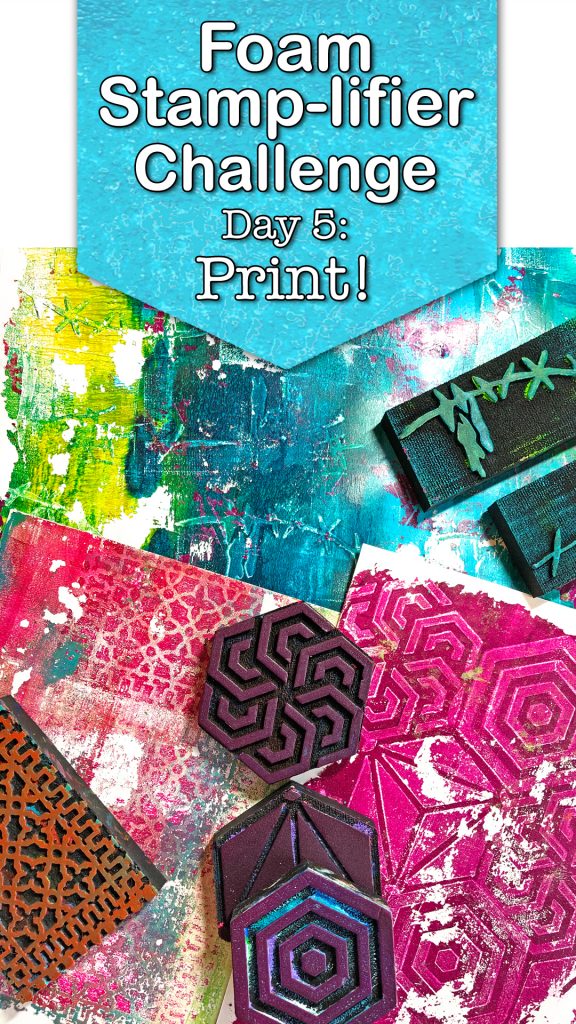
Day 5 – Print!⁣

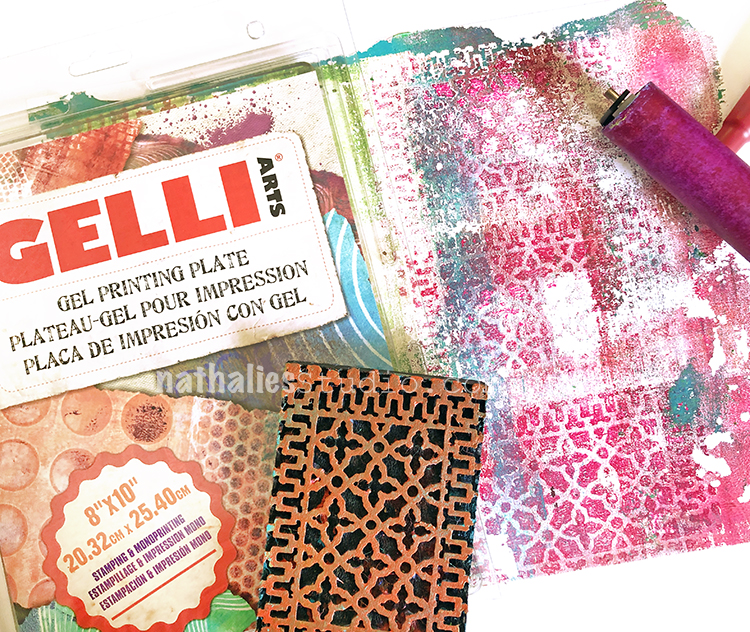
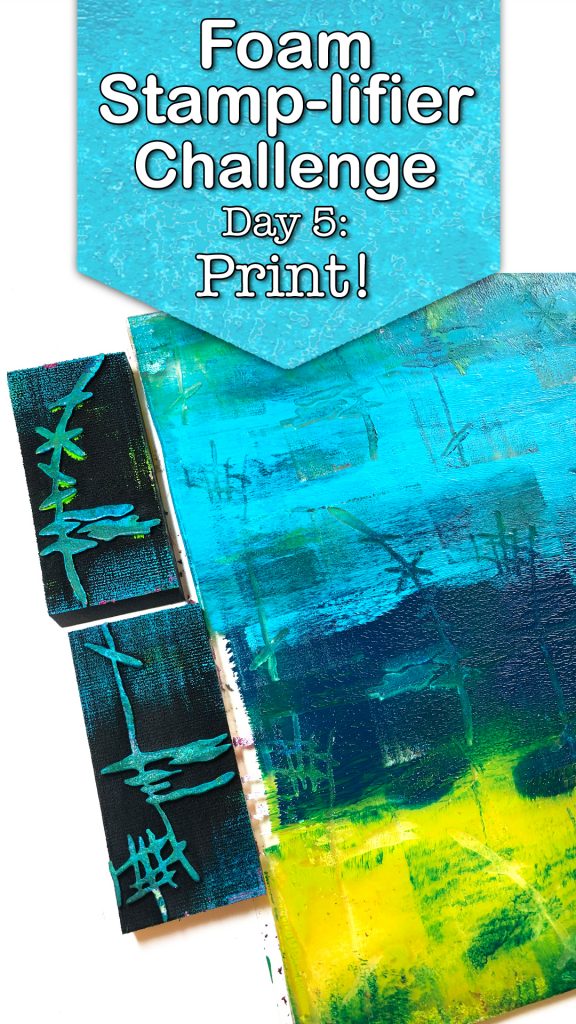
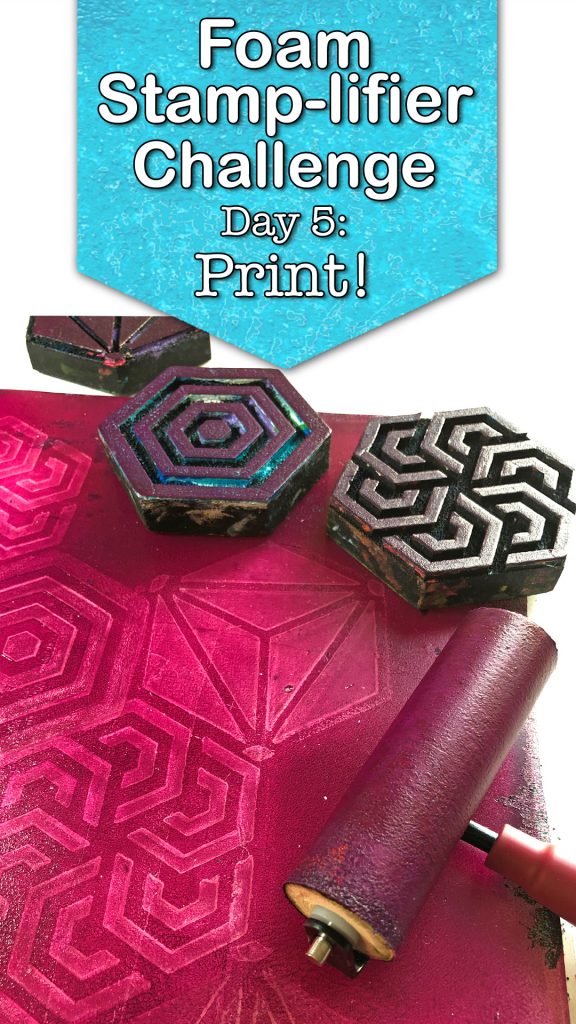
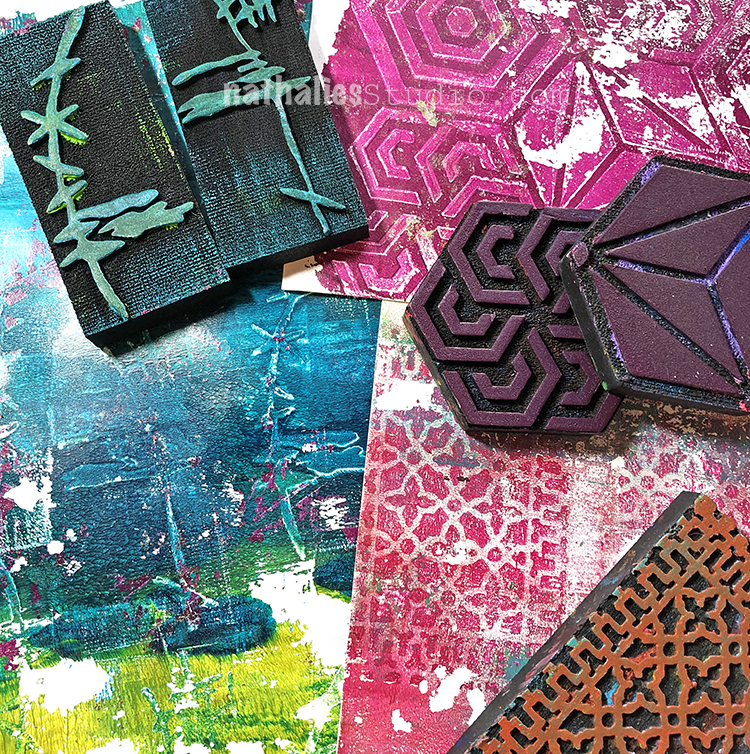
So much fun to use foam stamps for Monoprinting techniques.

I love the ghostlike image they leave on the prints.

Simply roll out a thin layer of one, two or more colors onto your Gel Plate and stamp into the paint.


I usually print off to another sheet of paper and then go back into the paint on the plate. If you paint already dried on the plate, don’t worry, just add a layer of white paint on top and print – you will peel off the dried layer as well and get a nice grungy effect. ⁣

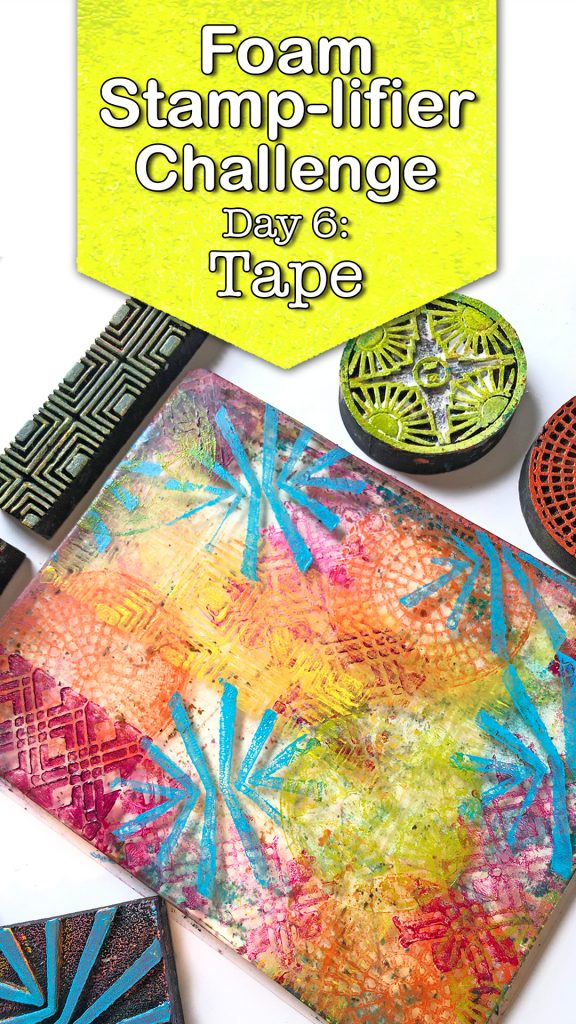
Day 6 – Tape

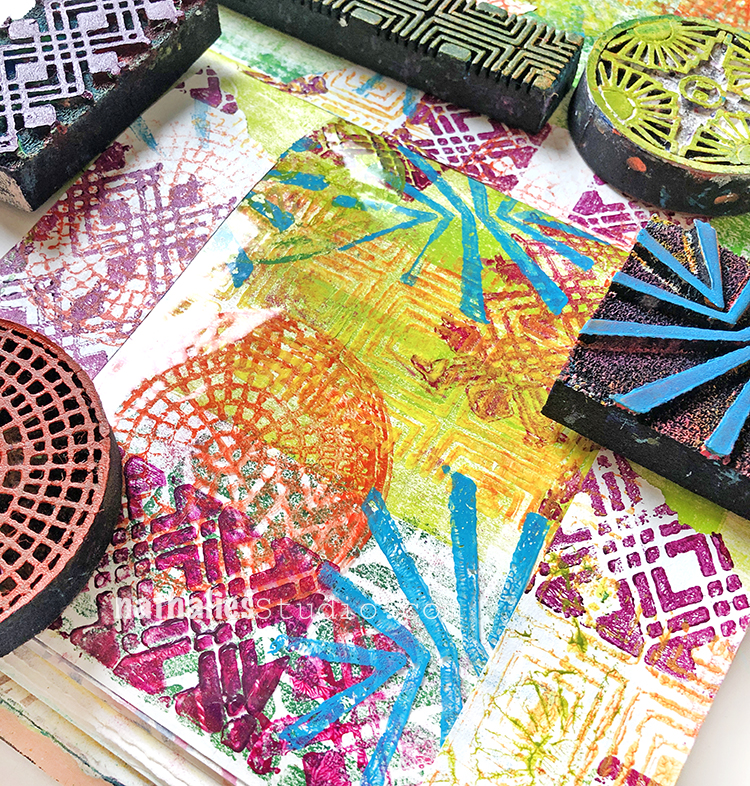
I love including my own printed tape into my artwork whether it be in my artjournals or on canvas.There are two ways I love to create tape.

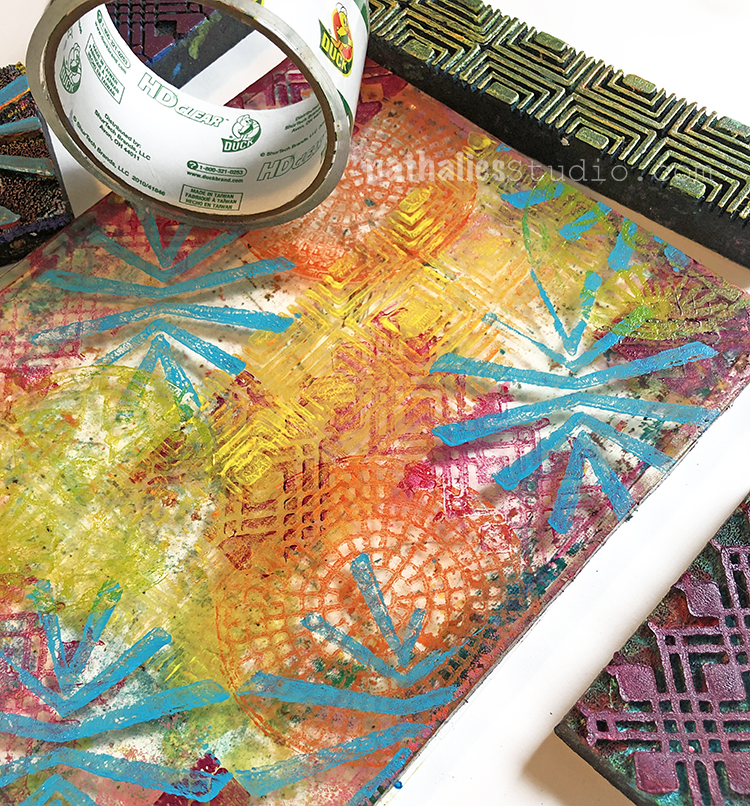
One is to print with different patterned foam stamps and colors onto my gel printing plate leaving some areas clear and letting the paint totally dry on the plate. Then I just add stripes of clear packing tape on top  of the plate and burnish the tape carefully to the plate. When you lift the packing tape of you will also lift off the pattern – your plate will be clean again. Depending on how tacky it still is, either apply as is to a paper surface or by add a thin layer of Gel Medium underneath.

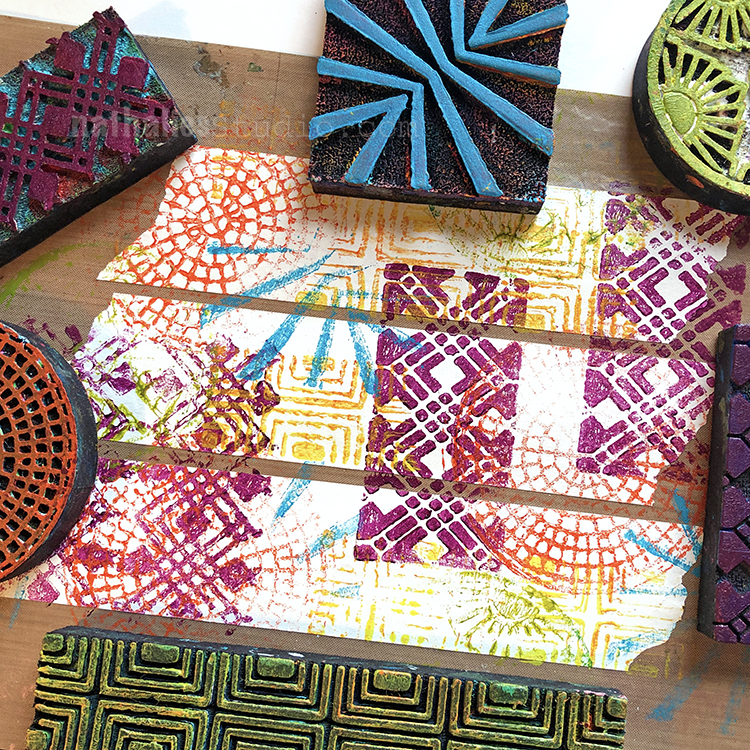
I also love to create my own masking tape by adding strips of tape to a Teflon or craft sheet. Then I stamp over the masking tape strips with different foam stamps and leave the tape strips on the sheet until I actually need them in a project. It is a great way to use up some left over paint with your foam stamps as well.

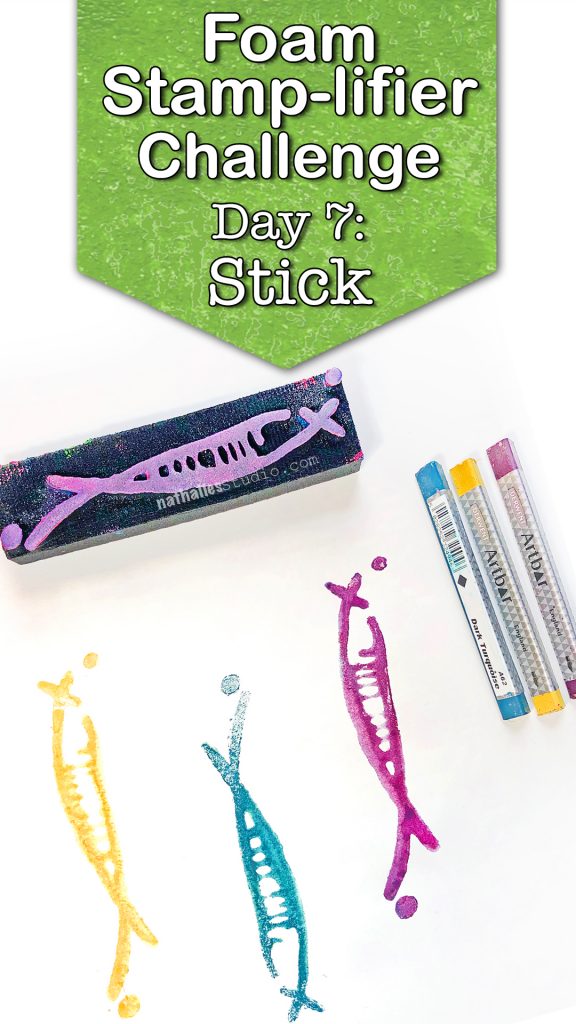
Day 7 – Stick


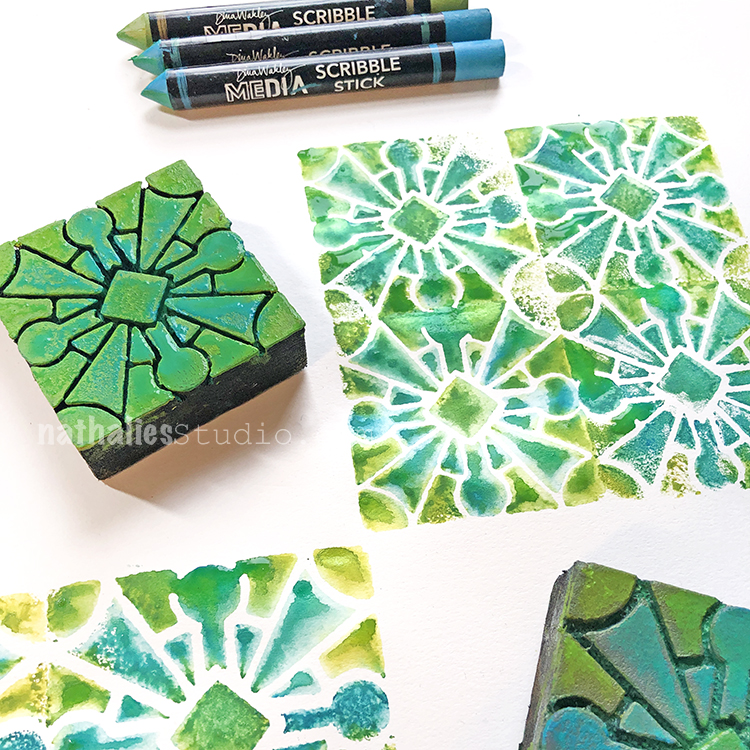
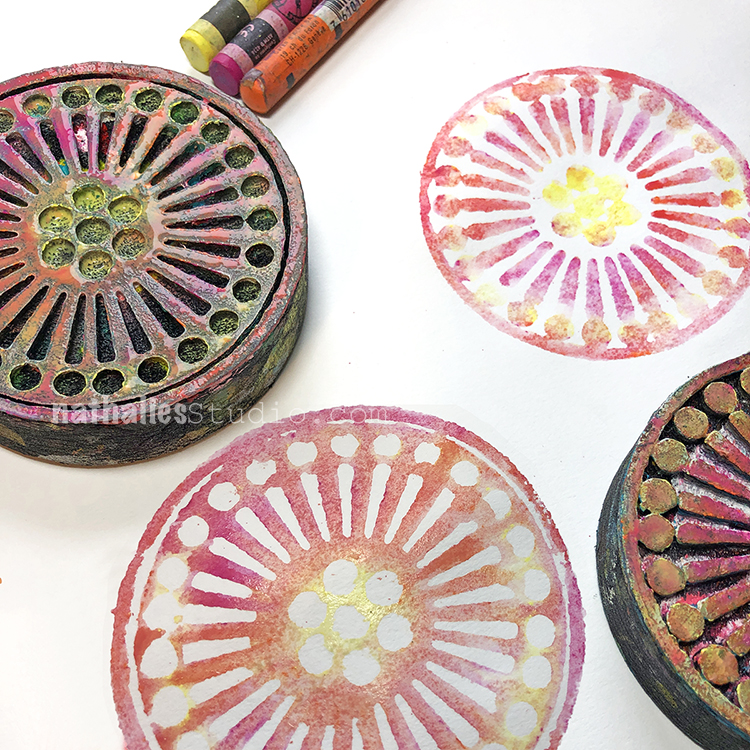
The fact that foam stamps can be used with all kinds of paint media is for me the true amplifier effect. One of my favorite paint media to use with them are all kinds of paint sticks- like Scribble Sticks, or water-soluble wax crayons.

For best results spray a little bit of water onto the foam stamp so that the foam is moist. Then apply the paint sticks and rub them over the raised pattern area. I love that you have a lot of control to blend different colors or create certain color fields to different parts of the stamps. Then simply mist the foam stamp again so that the pigments get reactivated and stamp onto your surface.

Often times the paint sticks are so highly pigmented that you can even stamp more than once. The result is a beautiful watercolor-like stamped image. To clean the stamp use a baby wipe or wet cloth and gently rub the remaining color off.

Hope you had fun with those prompts- more are coming daily this month. Here are all the foam stamps I used for these prompts:


In case you missed the prompt list here -you go:

Leave a comment

Foam Stamplifier Challenge with the Creative Squad – Tania Ahmed


This month my Creative Squad is playing along with my new Foam Stamplifier Challenge: All month long you can follow my daily prompts on Instagram and on the blog to amplify your foam stamps!!! Today Tania Ahmed is following the prompt Print! She’s using my new Foam Stamps along with her gelli plate for monoprinting and then she shows a great next step for that monoprint :)


This month the Creative Squad was asked to play along with Nat’s Foam Stamplifier Challenge and my prompt was Print!

I love printmaking and I love Art Foamies stamps, so it was almost as if this prompt was made with me in mind, haha!

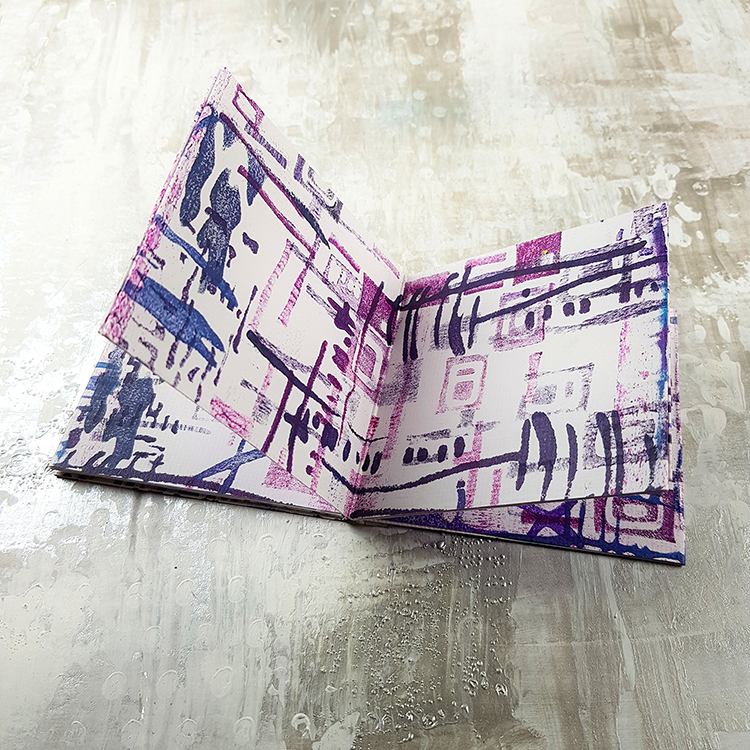
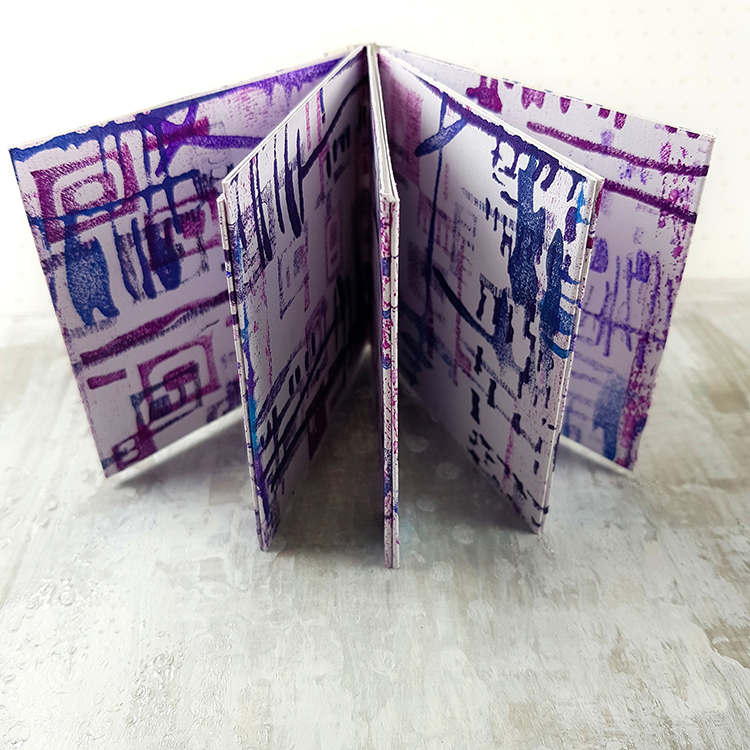
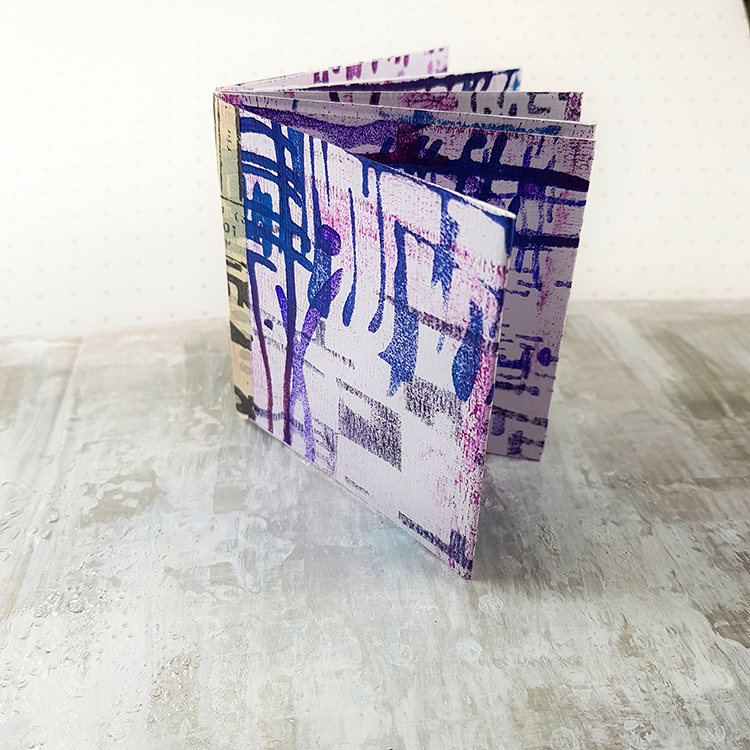
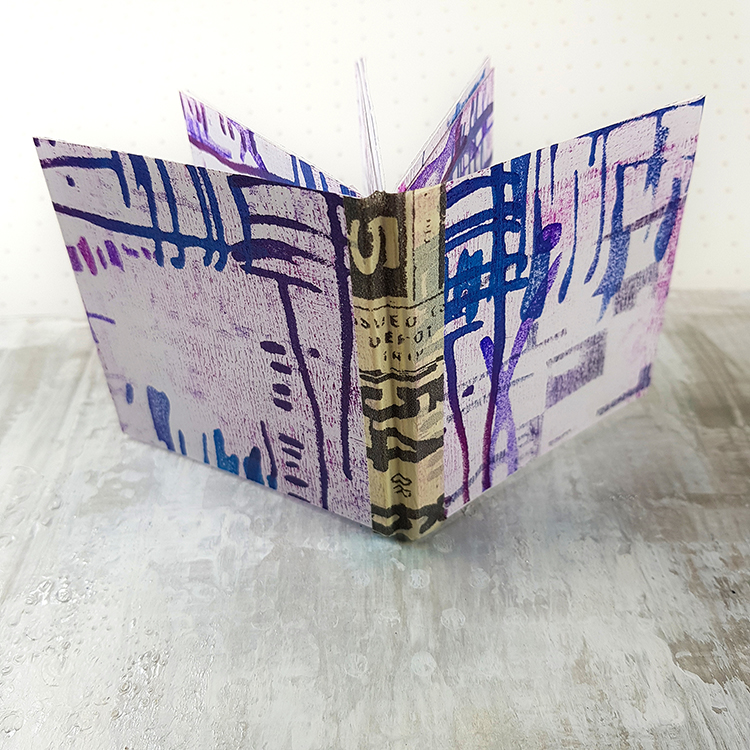
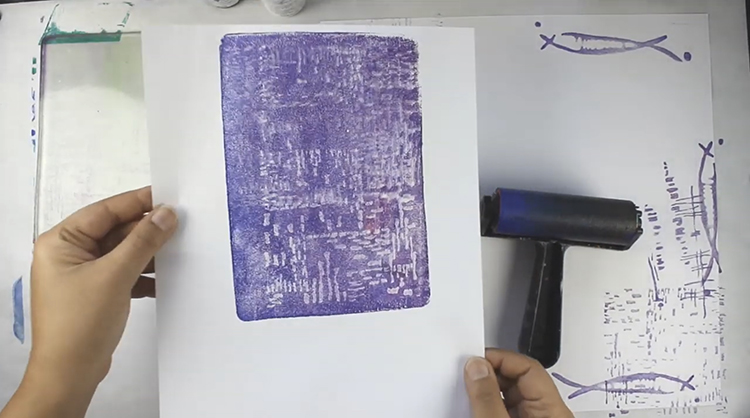
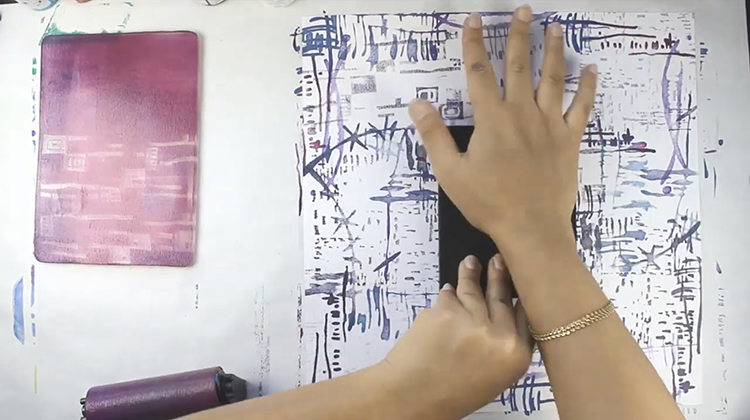
I made a video to show how I put together a little mini album made using 12×12 cardstock that stamped on using Nat’s newest Art Foamies release and a 5×7 Gelli Arts® plate.


Here’s how I put the mini album together:

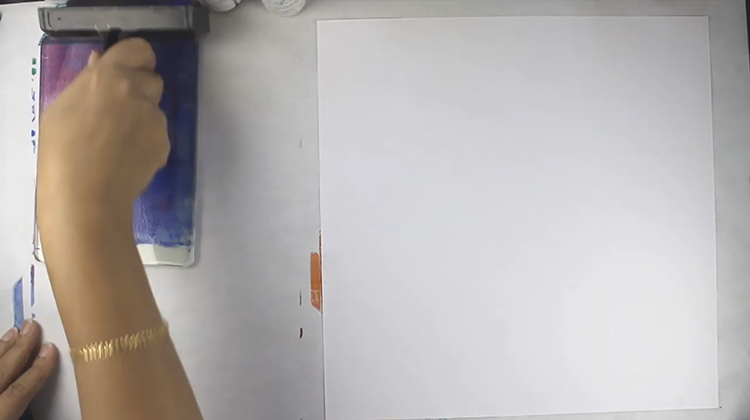
1 Apply a thin layer of acrylic paint to Gelli Arts® plate.

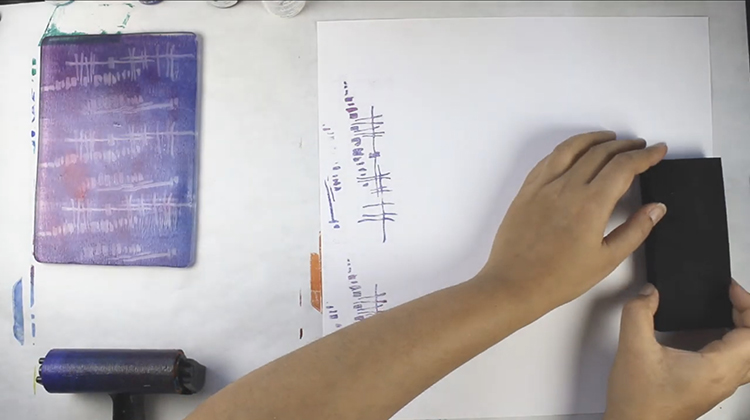
2 Use the Gelli Plate to ink the Art Foamies and then stamp on to cardstock and repeat until the paint just begins to dry on the plate.

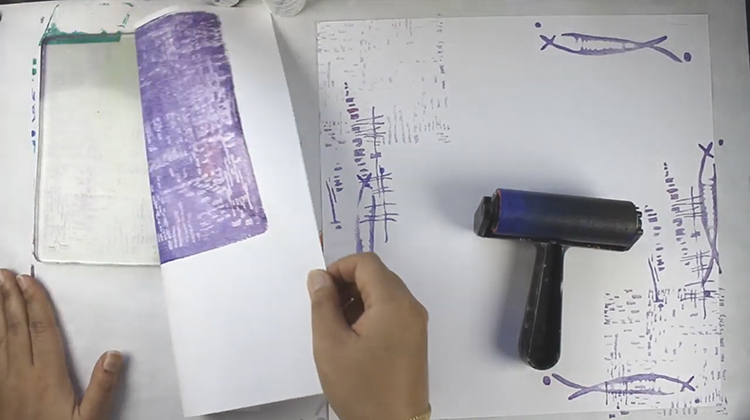
3 Pull a print with the remainder of the paint that is left on the plate.

4 You can use this clean off paper for collages.

5 Apply more paint to plate and repeat steps until you are happy with your print.

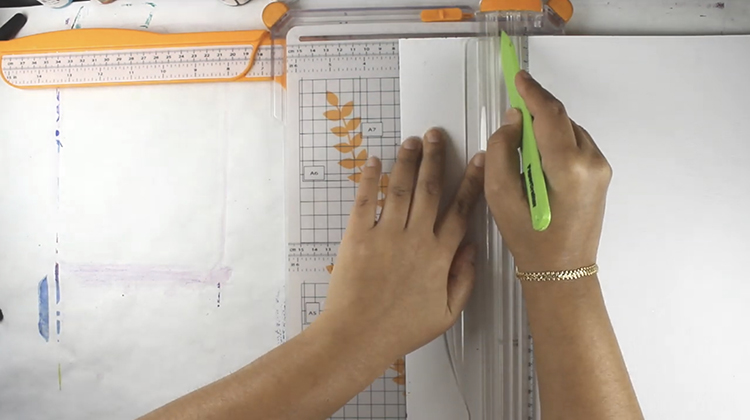
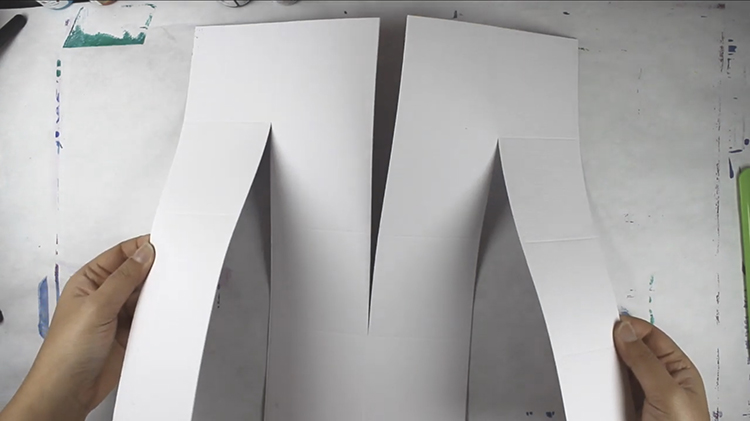
6 Score your cardstock at 3”, 6” and 9”.

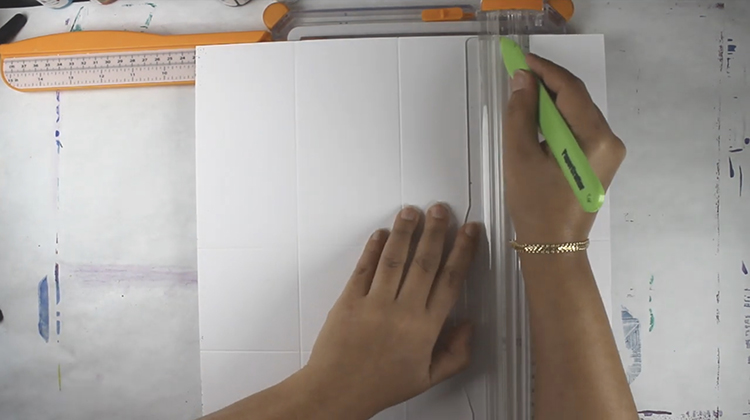
7 Rotate paper 90 degrees and score again at 3”, 6” and 9”.

8 Cut up to the score lines as shown above.

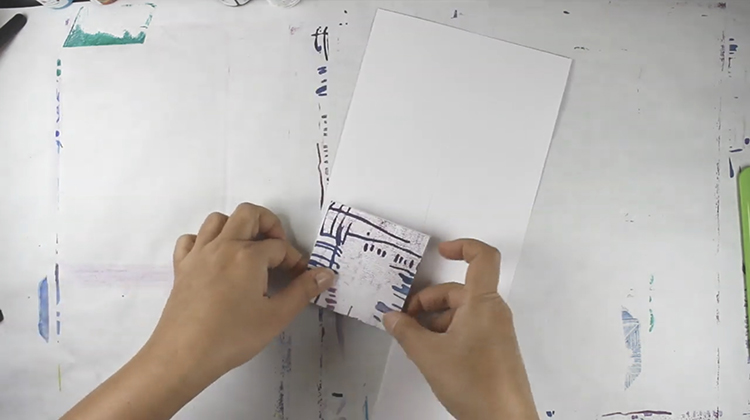
9 Accordion fold the paper which will form a little 3” x 3” journal/album.

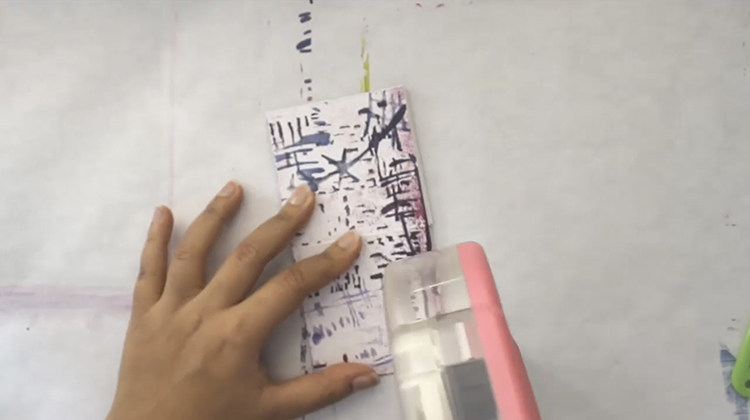
10 Tape or glue the backs of the pages together to make it a little more sturdy. You get leave some sides free to use as pockets.

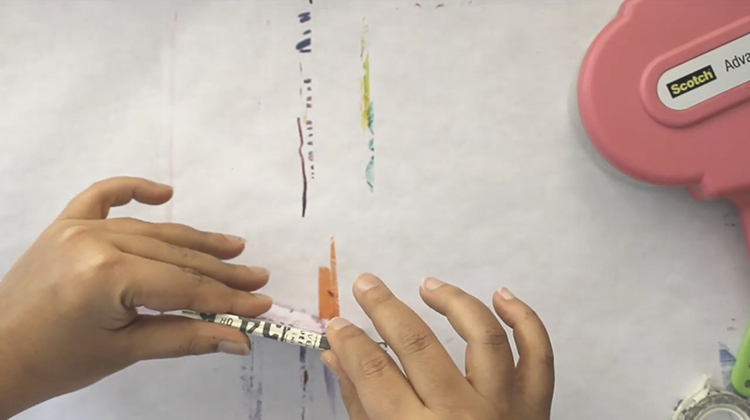
11 To finish off the book spine, add washi tape for decoration!


Thank you Tania! What an cool little book and a great way to use a monoprint! You can find my Foam Stamps in my Online Shop. Here are some of the supplies that Tania used:


Feel inspired? I hope you join us for the Foam Stamplifier Challenge this month. As you play along, don’t forget to tag me when you share your creations – I would love to share your projects in my next  “n*Spiration From Around the Globe“.
Leave a comment

The Stencilfied Journal – Prompt 8

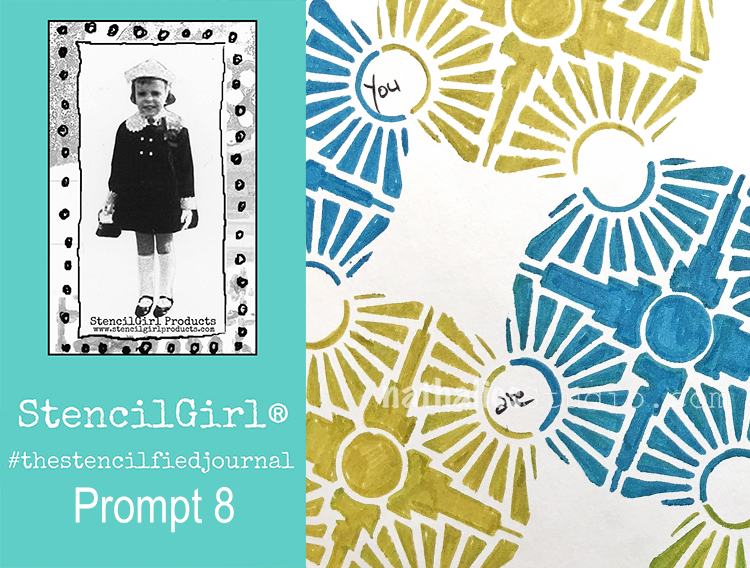
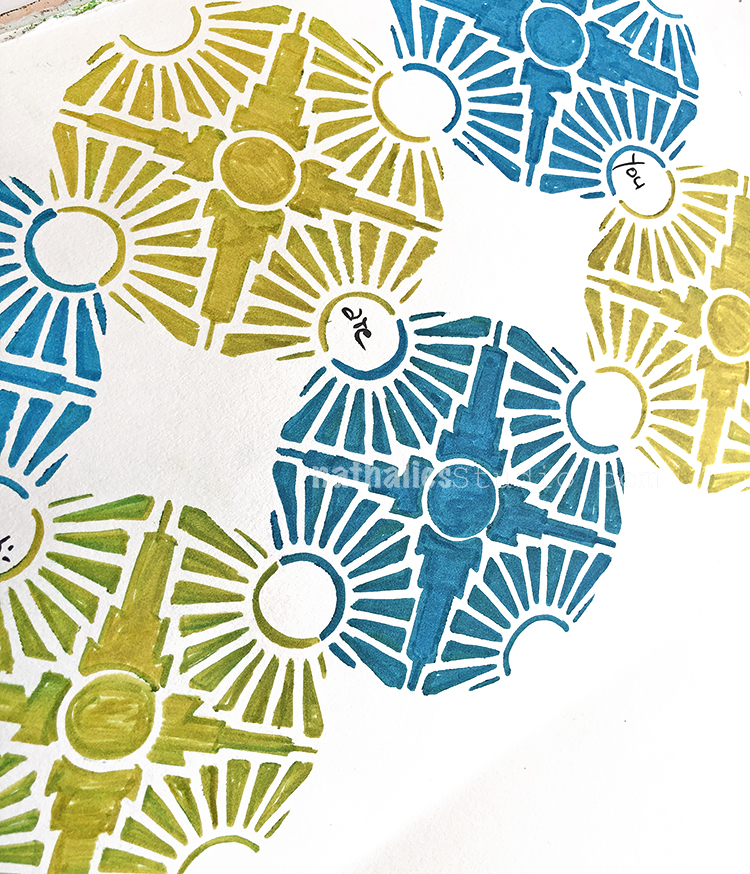
My wonderful friend Tina Walker is at it again – she invited several people to join her Stencilfied Prompts. The prompts are music related and each week she is posting a song. You can be inspired by the lyrics, the video, the album cover or anything related and the only restriction is that you have to use StencilGirl Product Stencils. Here is my take on Prompt 8:
This week’s prompt was Beautiful – Christina Aguilera . The lyrics are awesome- as to the music…well by now you might have guessed I am a total grunge-rock-alternative kinda girl. LOL …but hey …I am in here ;)

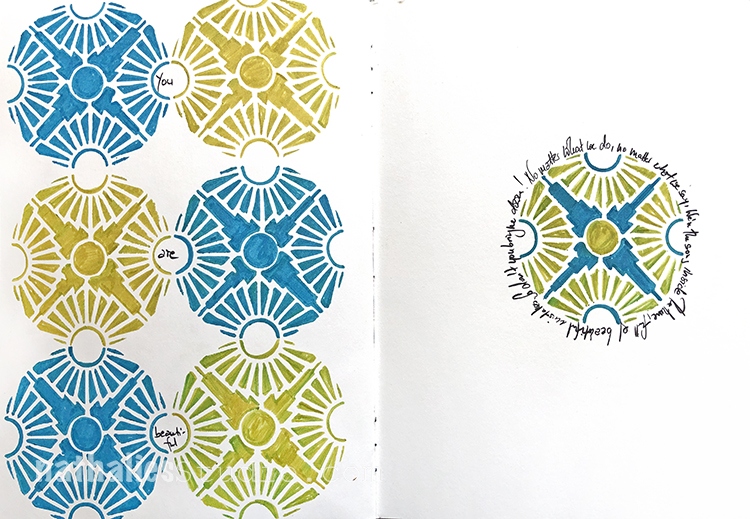
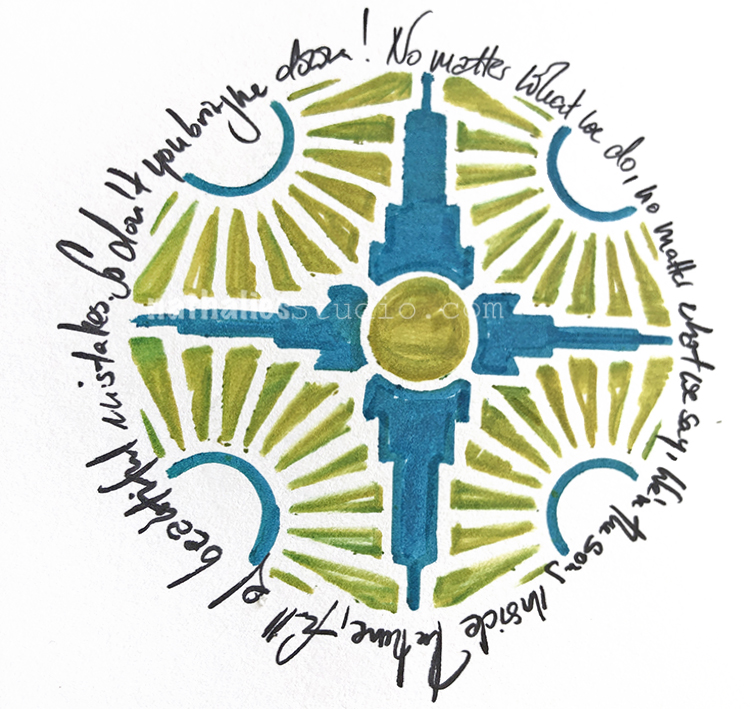
I used my Broadway Stencil with some ink pens – I was in our new house waiting for a contractor and this was what I stuffed in my bag and thought “make the most of this, a journal, a 4×4 stencil and three pens” and there you go:

I actually plan on doing this more often – just pack a really limited amount of stuff and see what happens. It was really fun to do – easy but occupying and as you can tell since it was finished – the contractor was late.  All in all better than a coloring book ;)

Here are the supplies I used for this one:


Leave a comment

Foam Stamplifier Challenge Prompts 1-2

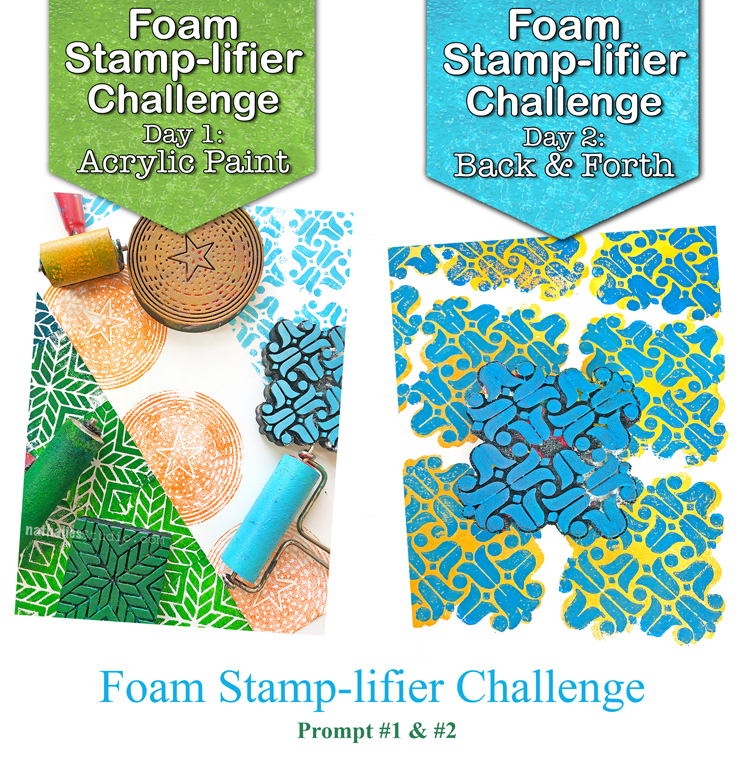
Are you in with me for the Foam-Stampflier Challenge to make the most of your Foam Stamps? Here are the first two days:

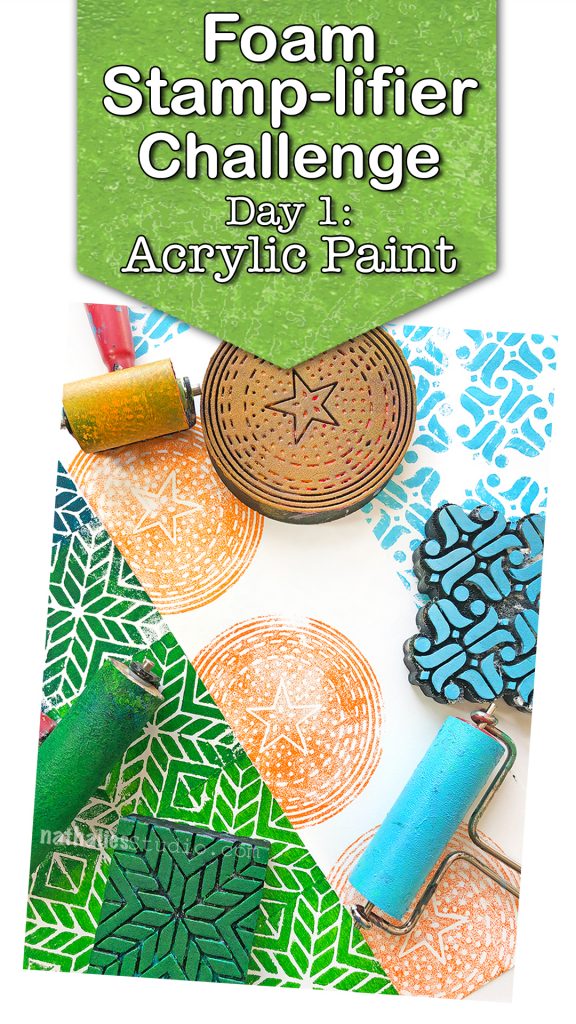
Day 1 – Acrylic Paint

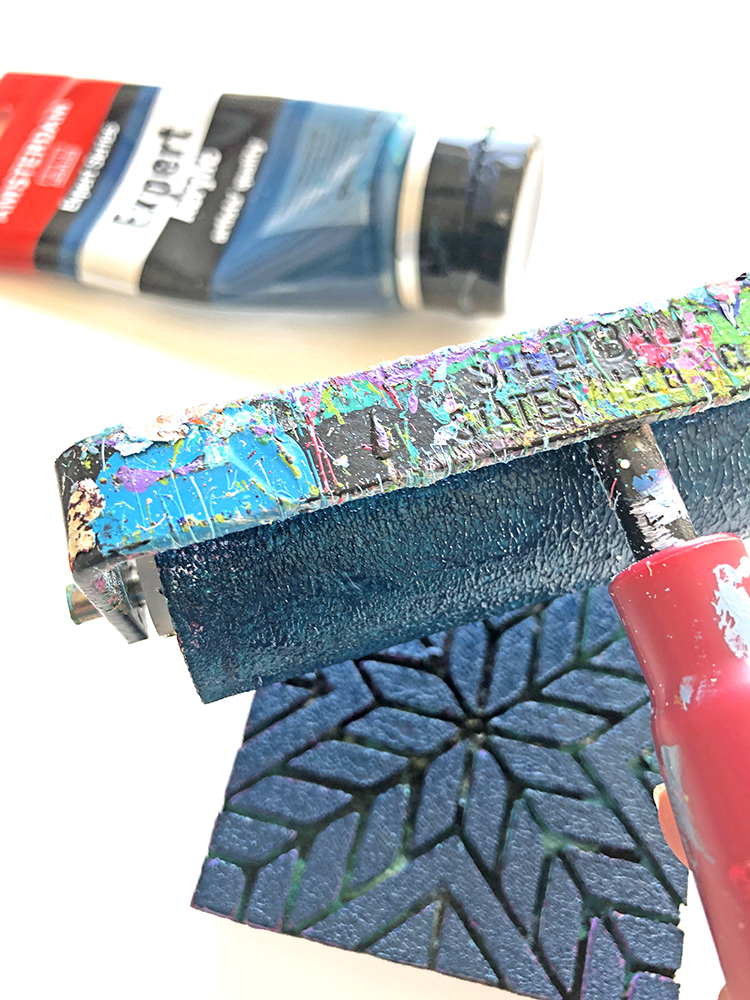
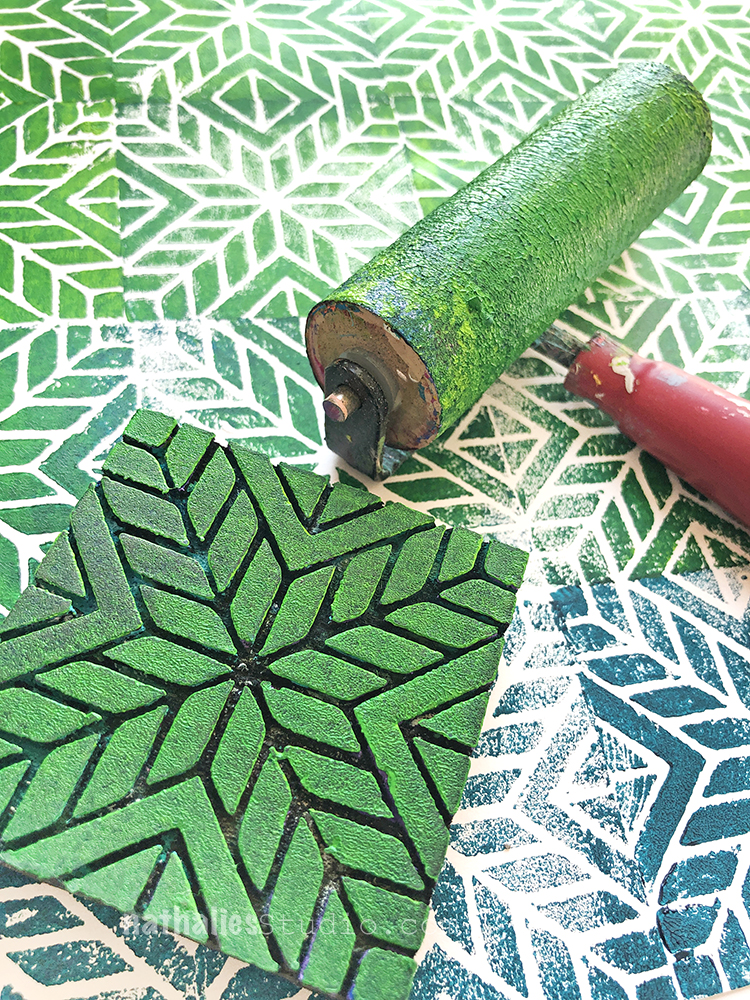
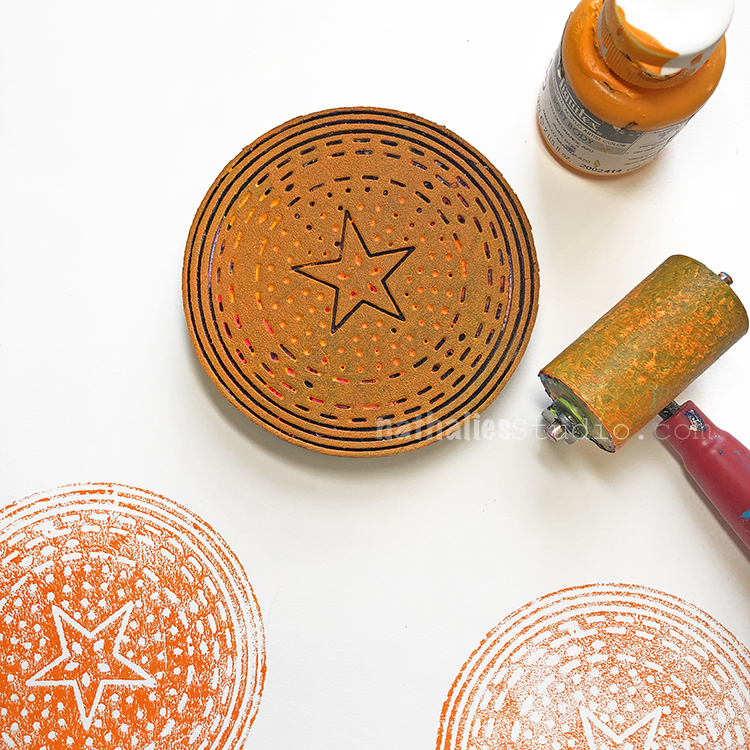
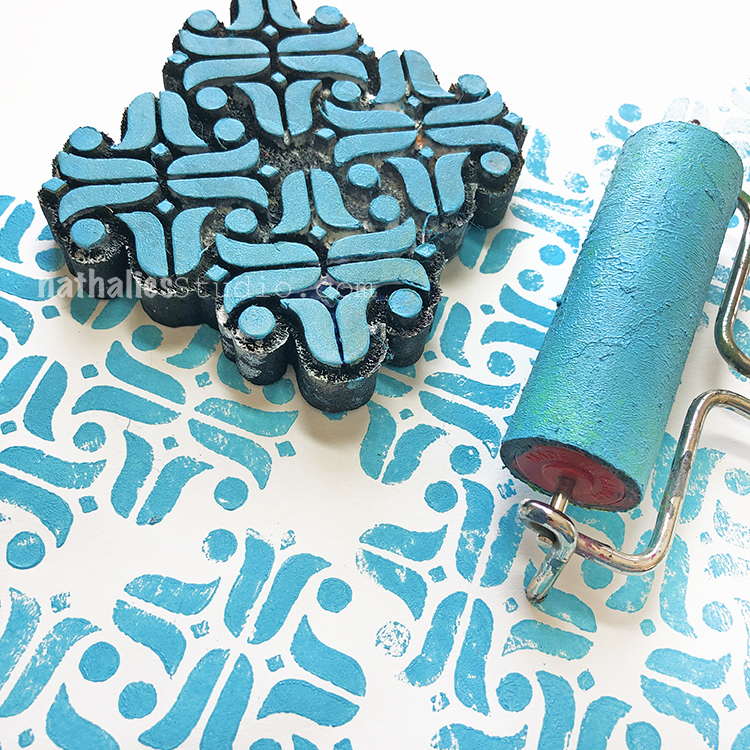
Yeahhh easy one- but hey- the reason why I am so in Love with foam stamps. I do love acrylic paint and I do love stamps. I usually just roll out some acrylic paint on a palette with a rubber brayer.


Making sure I cover the whole role of the brayer with my paint. I then transfer the paint on my brayer onto my foam stamp making sure that I cover the whole design evenly.


And then I start stamping.

I love the texture that the foam stamps due to their softness create with the paint and that not every single image is the exact same.

Now do I clean my foam stamps? Nope …I gave up. But do I recommend for you to clean them? Yep :)Here is a little video where I talk about it. But in short:  Just rinse them under some water – in between steps “park them on a piece of wet cloth a or a moist baby wipe and if you want to a be a bit more thorough, use a super soft veggie brush. Why? you ask! Fair question, well you know they are foam stamps and they can be amplified in so many ways do to their softness and structure but if you just keep adding acrylic paint on top over and over again and gunk them up with basicially sheets of plastic, the get harder and harder and loose they properties of a foam stamp. It also gets harder to stamp good images as they “smoosh” easier over the paper if they are covered with acrylic paint. But …hey up to you – you are the Boss Applesauce!

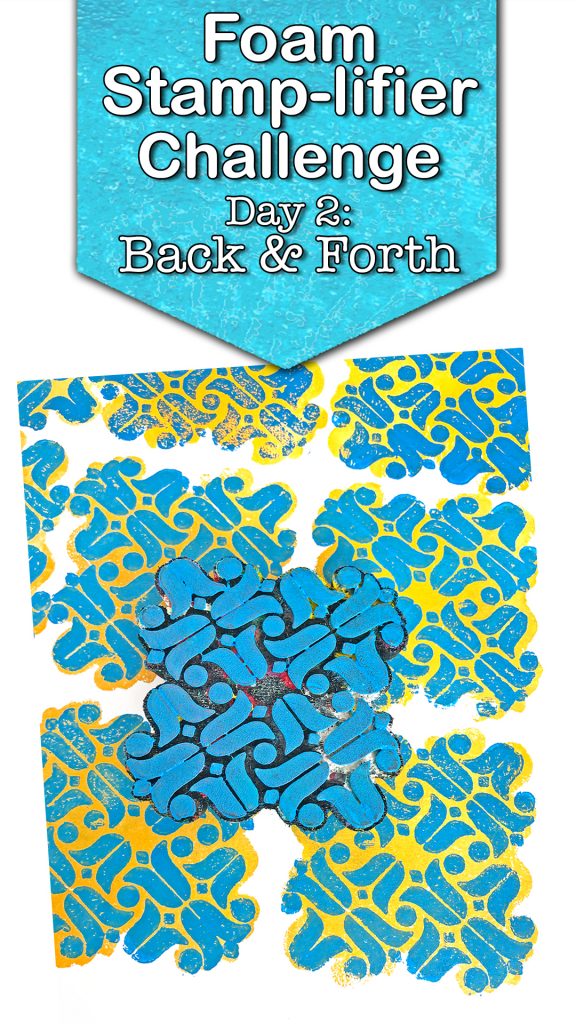
Day 2 – Back & Forth

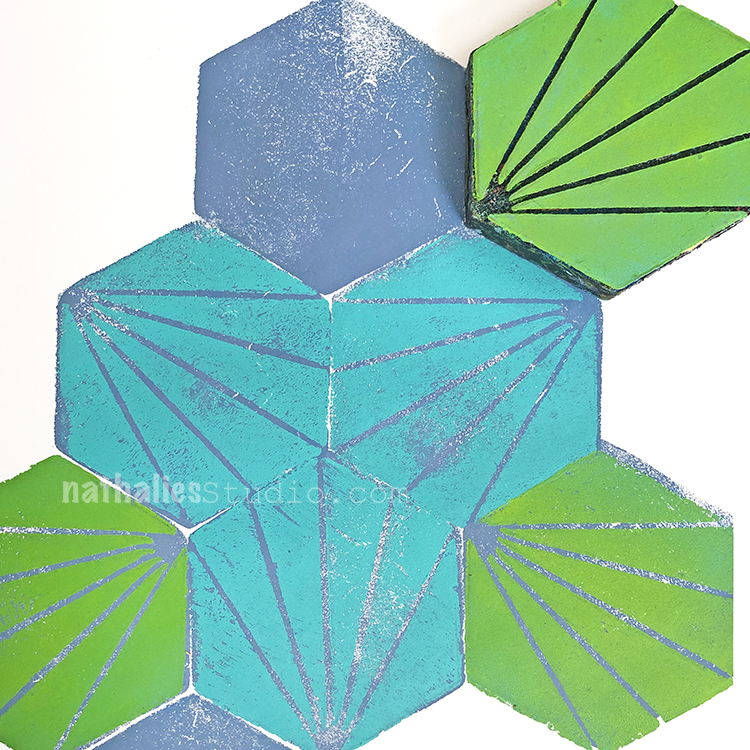
I love to amplify my Foam Stamps by also using the backs of the stamps.

I apply the acrylic paint to the solid back side of the stamp – often choosing a nice corresponding color –

stamp and then flip the stamp to the pattern side, apply the paint there and stamp over the previously solid stamped shape.

This works with all the rectangles, squares,

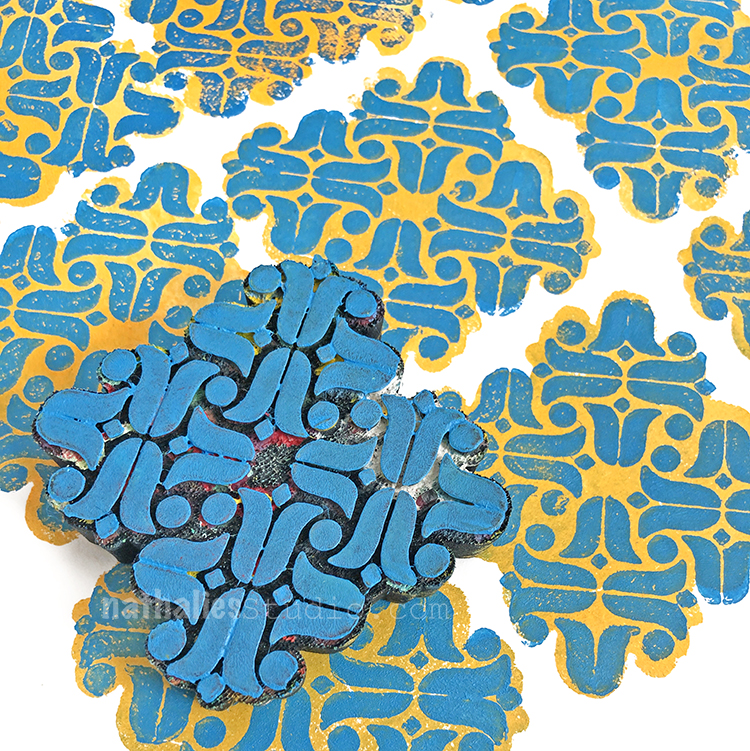
hexagons but even with other shapes like the oddly shaped Amsterdam Stamp as long as the shape is symmetric.


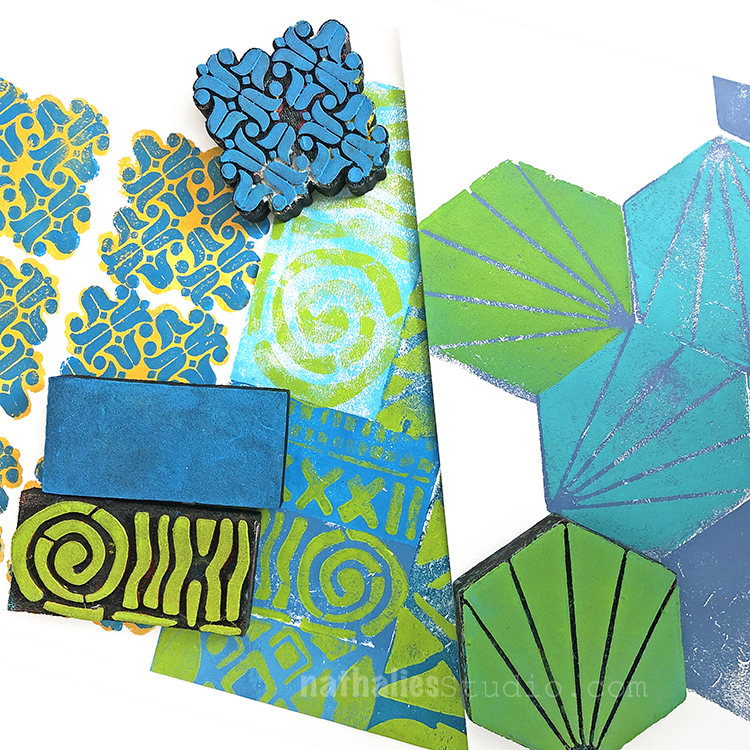
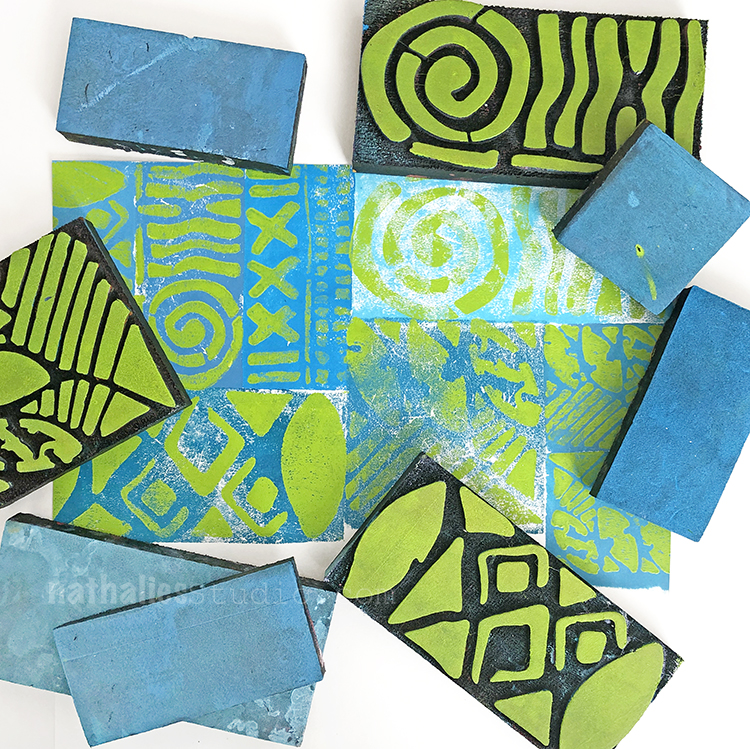
Here are the Foam Stamps that I used in the prompts:

Have you missed the prompt sheet? Here you go – I hope you will play along:

Leave a comment