Blog: Mini Tile Foam Stamp Set

April ArtFoamies Challenge – Day 19, 20 & 21

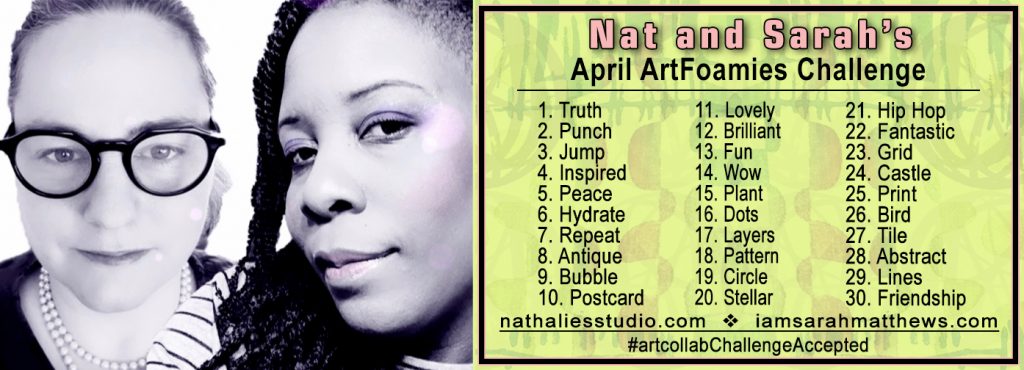
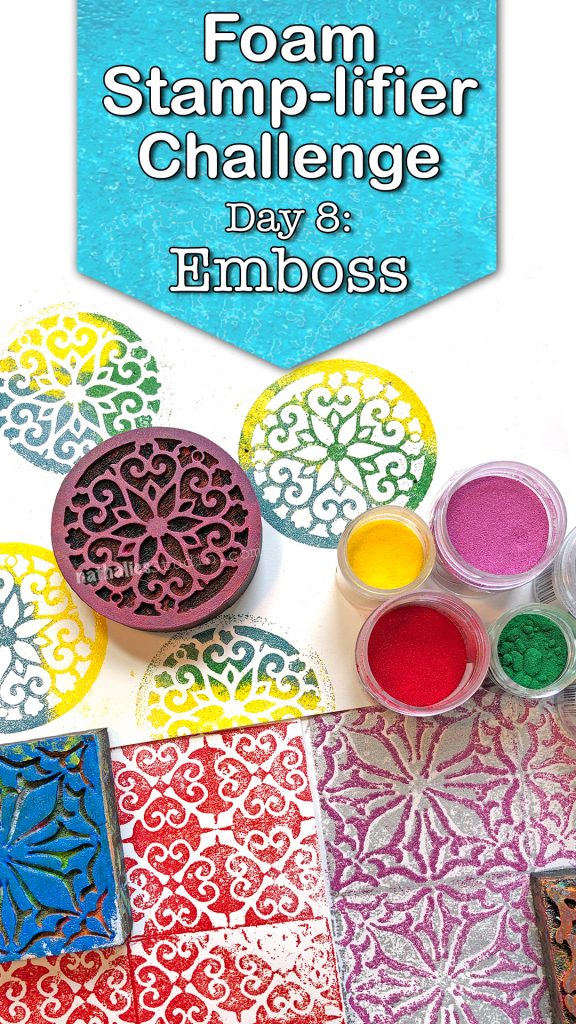
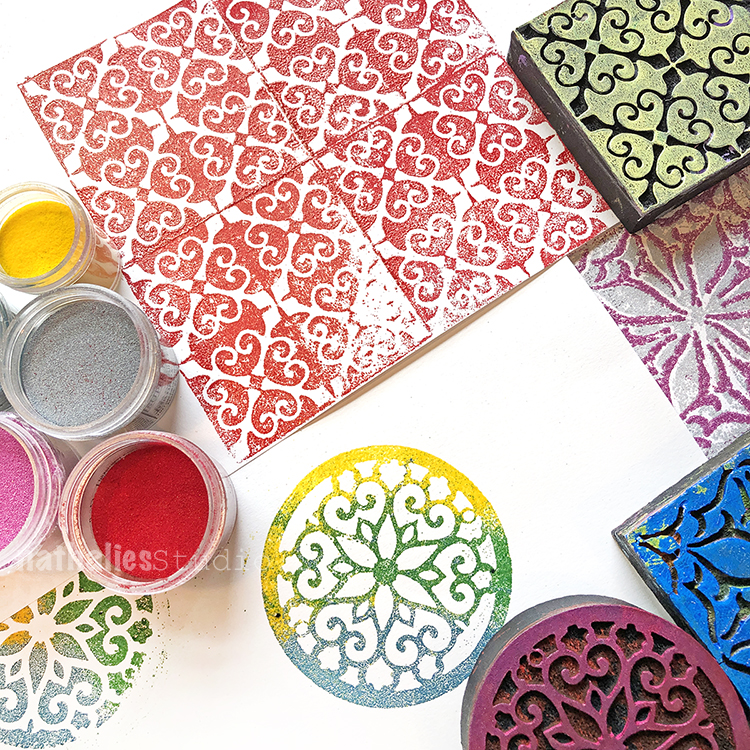
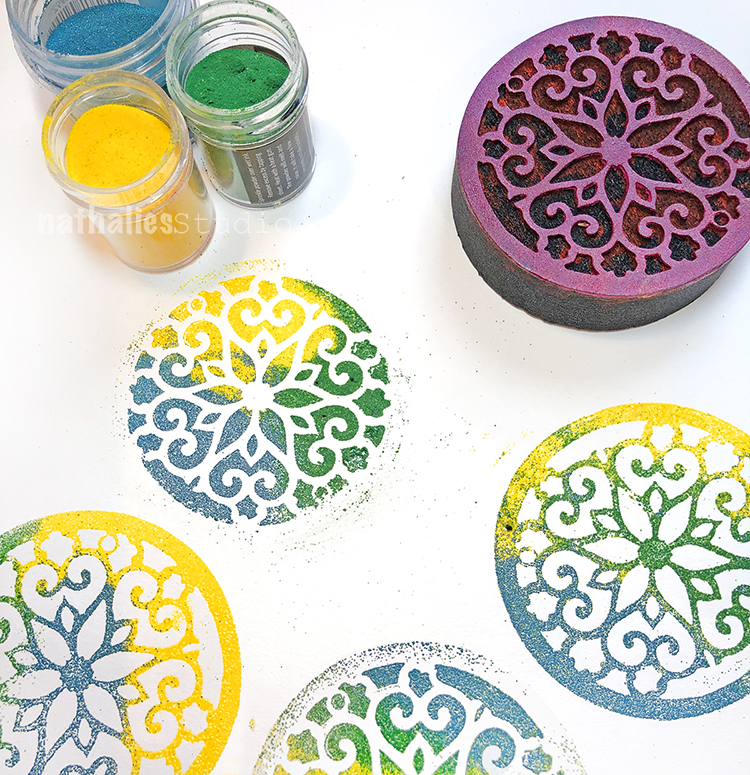
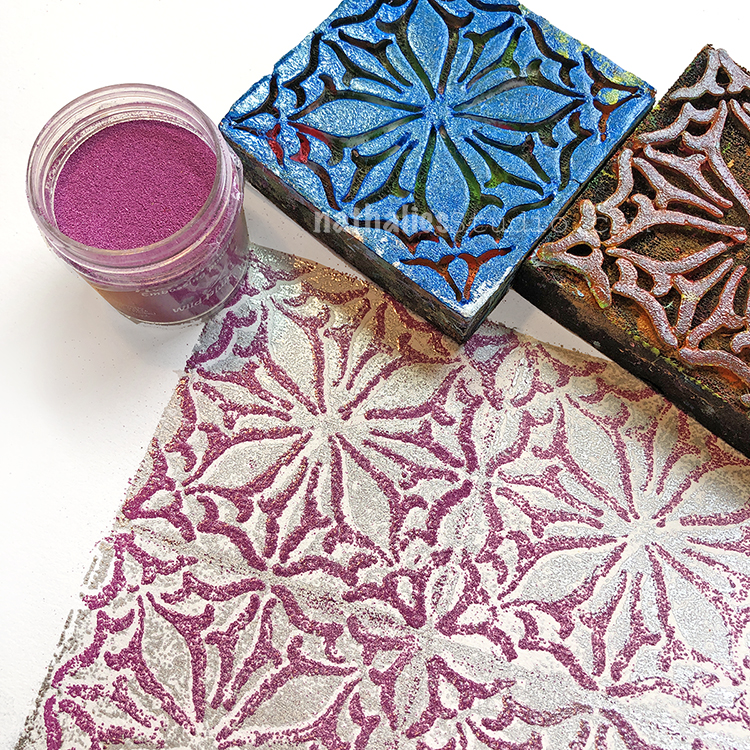
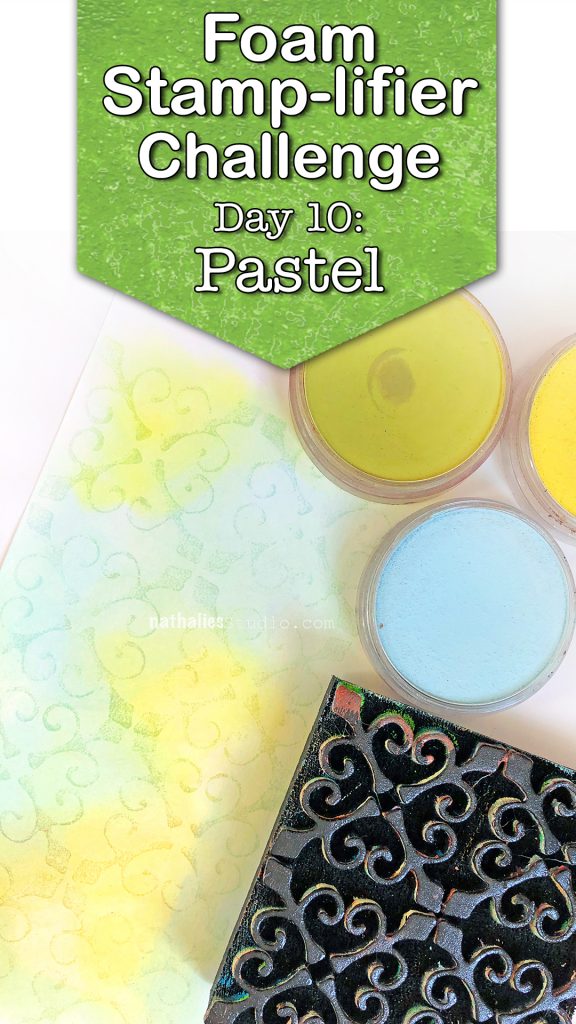
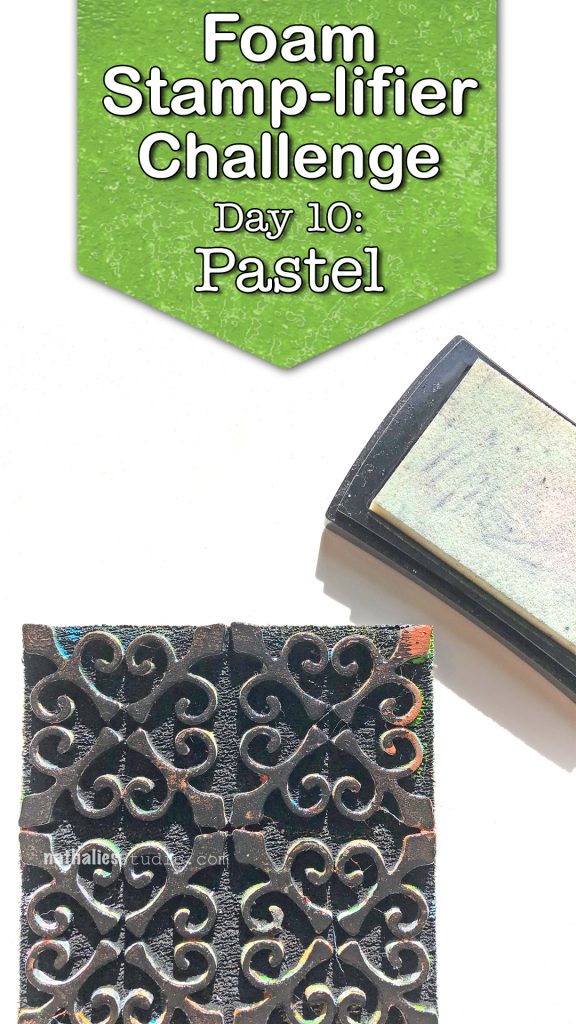
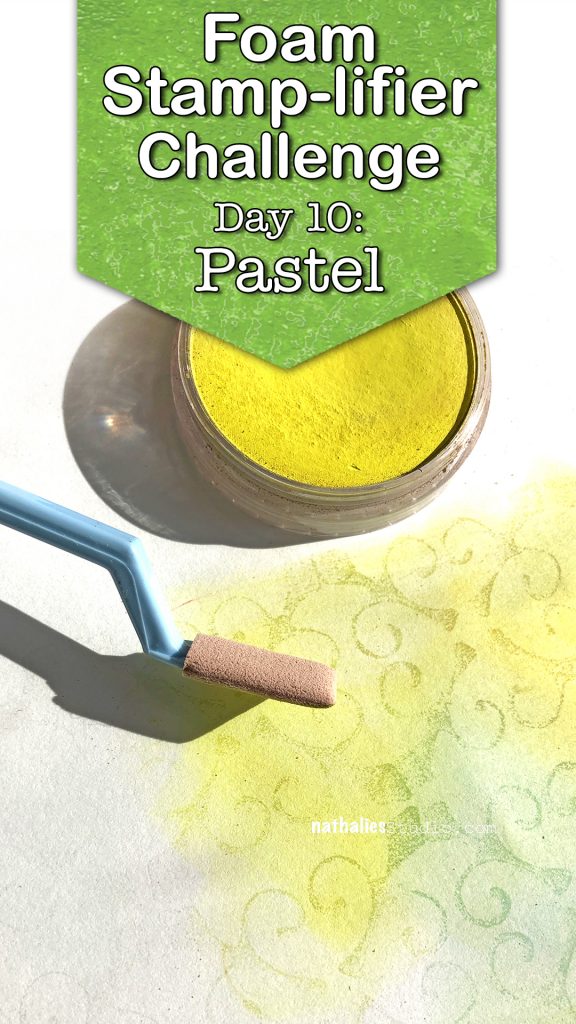
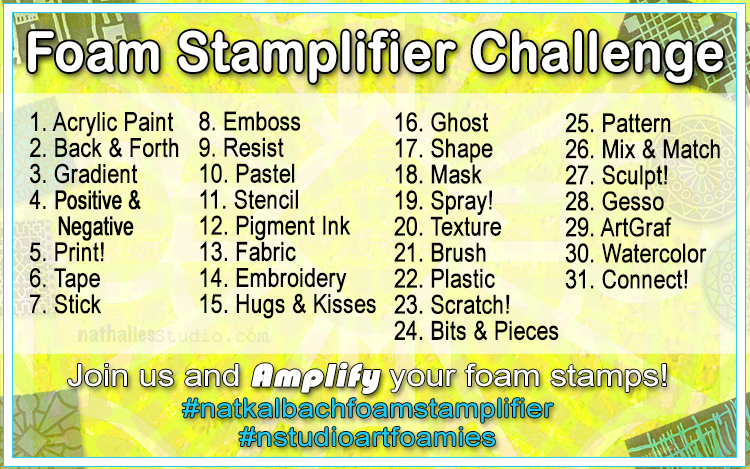
Are you playing along with Nat and Sarah’s April ArtFoamies Challenge ? You can follow along on my Instagram feed daily with videos and photos, and I post updates here on the blog too from time to time throughout the month. Today I’m recapping 19, 20, and 21. Enjoy!

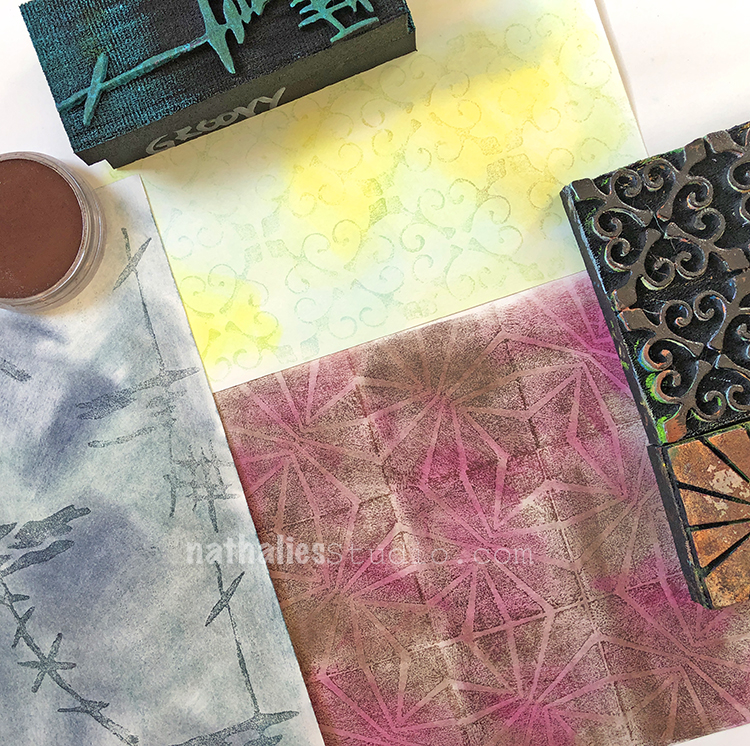
Day 19 – Circle – These Mini Motifs foam stamps are inspired by carvings in our fireplaces. Every one of the four mantles has different carvings. That Dude went all out with the chiseling. He must have known that 140 years later a weird lady from Germany would become obsessed with the patterns on the fireplaces …and there we come full circle.

Here is a look at April 19:


April 20 – Stellar – Started out with the Beacon Stamp from the Mini Tile Set as it makes excellent start patterns but then I thought it really needed more and added the Santiago stamp as an accent on top. Stellar decision if I dare to say so …patting myself on the back – LOL

Here is another look:


April 21 – Hip Hop – Mixing the very graphic Space Oddity hexagon stamp up with one of the triangle stamps from our Triple Play stamp set created by Marsha Valk, Birgit Koopsen and me. The design for this Triple Play triangle is actually by Marsha and I love how those two go together. Nice fusion.

And another look at April 21 Hip Hop-

Follow along with the challenge on instagram  and post your artwork too with the hashtag #artcollabChallengeAccepted

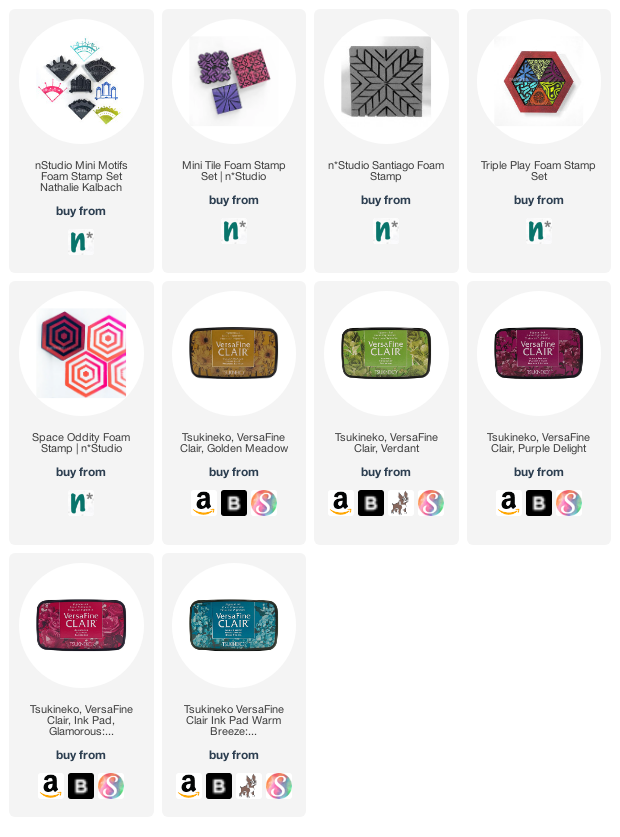
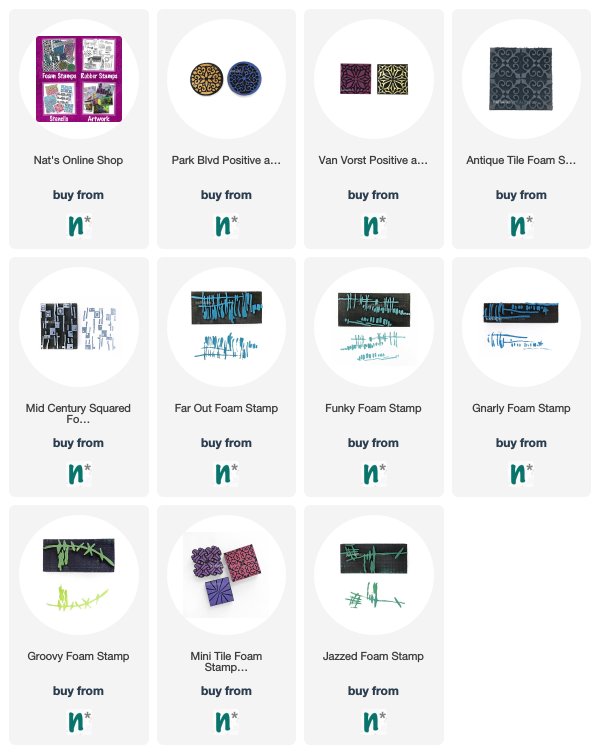
Here are some of the supplies I used:

Comments (2)

  • Sue Clarke

    |

    Now I have some inspiration for making patterns with my art foamies.
    Love that ledger paper.

    Reply

  • Janet

    |

    Oh…swoon! I love the mini motifs on that gorgeous old ledger! I have my great-grandfather’s old ledger and have been wondering what to do with it. Now I know! Thanks for sharing!

    Reply

Leave a comment

Foam Stamplifier Challenge Prompts 8-10

Day 8 – Emboss

I love to emboss with my foam stamps. The foam surface creates some added texture even if you use super fine embossing powder.

Simply press the clear embossing pad onto the foam stamp and then stamp on paper. You can add just one solid color of embossing powder to your image and then heat emboss.

Or for even more fun, add several different colors of embossing powder and heat emboss one after the other.

Another fun way to use embossing powder is to use the positive and negative sets and layer the embossing. I hope you try it

Day 9 – Resist

I am a huge fan of resist techniques and this has always been one of my favorite ones.

Apply clear embossing ink to your foam stamp. Stamp onto paper. Sprinkle UTEE (ultra thick embossing powder) on top and heat emboss. Let cool and then apply a very thin layer of acrylic paint or acrylic ink over the surface.

The paint or ink will dry slower on top of the UTEE as that area will resist the paint. Use a moist rag or a baby wipe and gently wipe over the raised UTEE pattern to remove the paint.

What remains is a wonderfully textured clear pattern.

Day 10 – Pastel

I love using Pastels with my foam stamps. In order to make the pigments stick you need a little trick though. I usually use a clear embossing ink pad and apply it to the stamp, then I stamp onto paper.

My favorite pastels are PanPastels but you can use over pastels as well.

I apply the pastel with a tool over the stamped surface and wherever the embossing ink is on the paper the pastel will accumulate more and collect more of the pastel.

The stamped design will appear darker.

Here are the foam stamps I used for those prompts. Hope you enjoying the Foam Stamplifier Challenge!


In case you missed the prompt list  here you go:

Leave a comment