Blog: Antique Tile

April ArtFoamies Challenge – Day 08 & 09

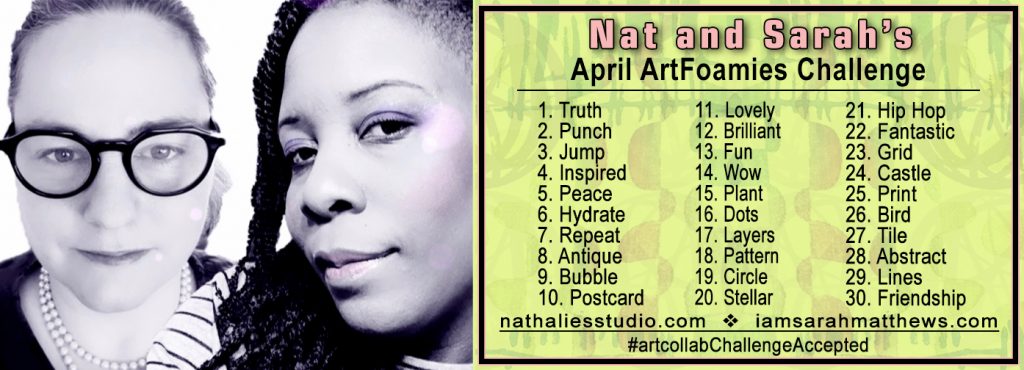
We’re recapping Day 08 and Day 09 of Nat and Sarah’s April ArtFoamies Challenge today! You can follow along on my Instagram daily with videos and photos, and I will post updates here on the blog too from time to time throughout the month. 

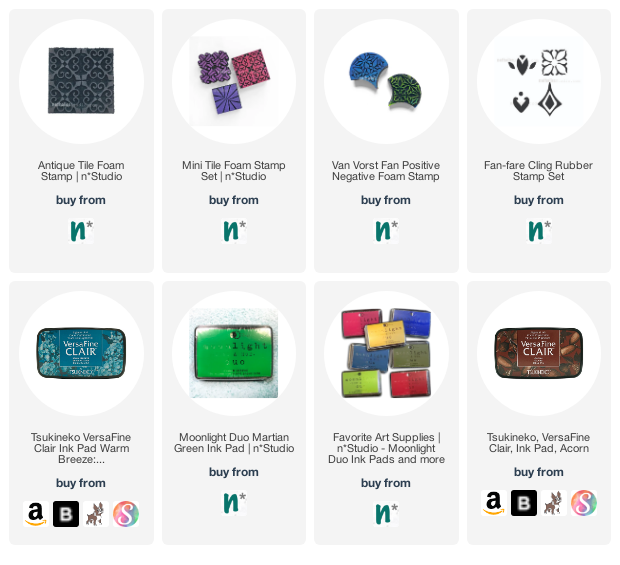
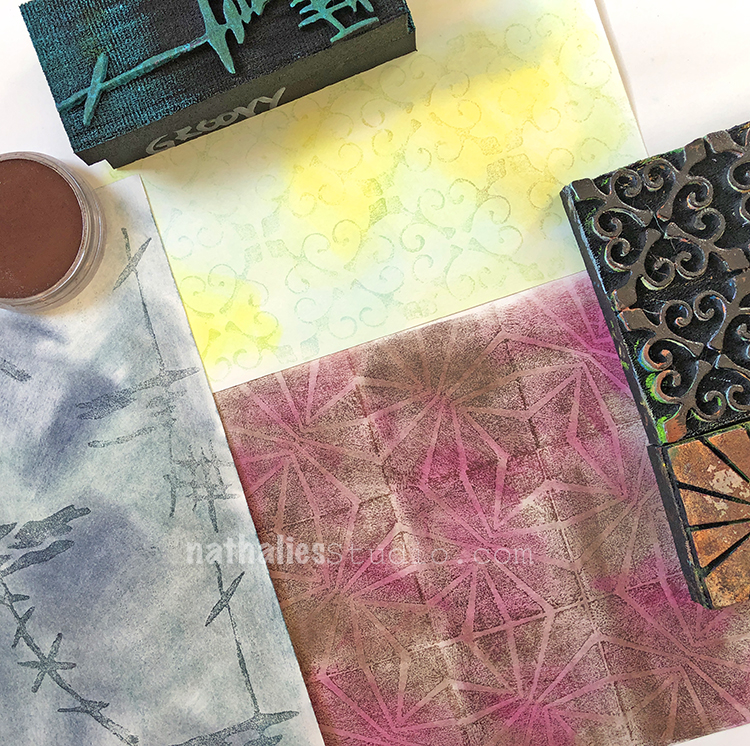
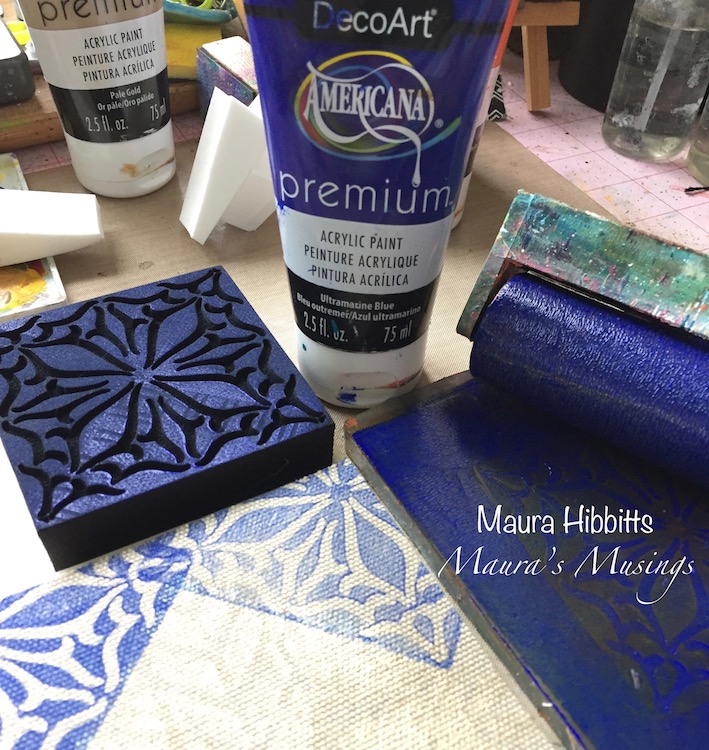
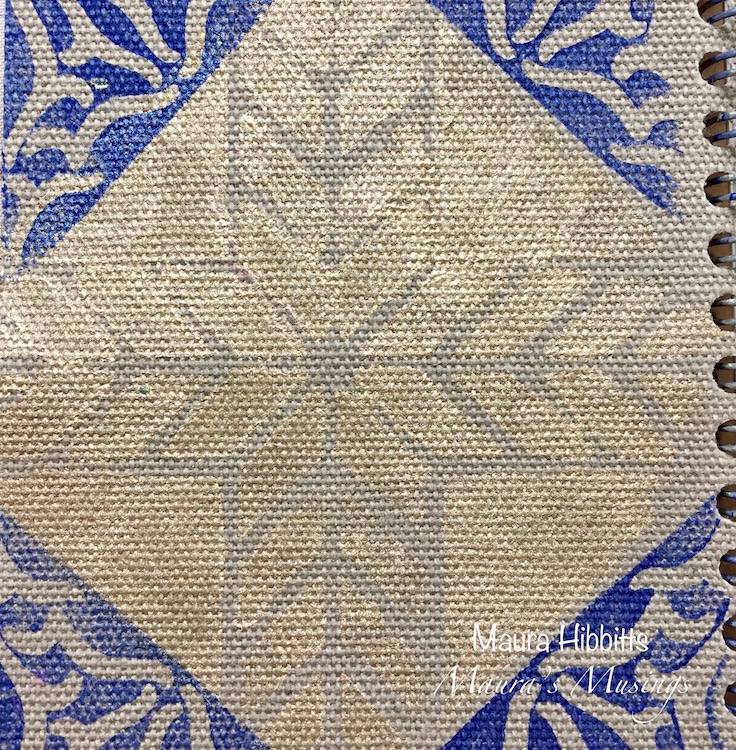
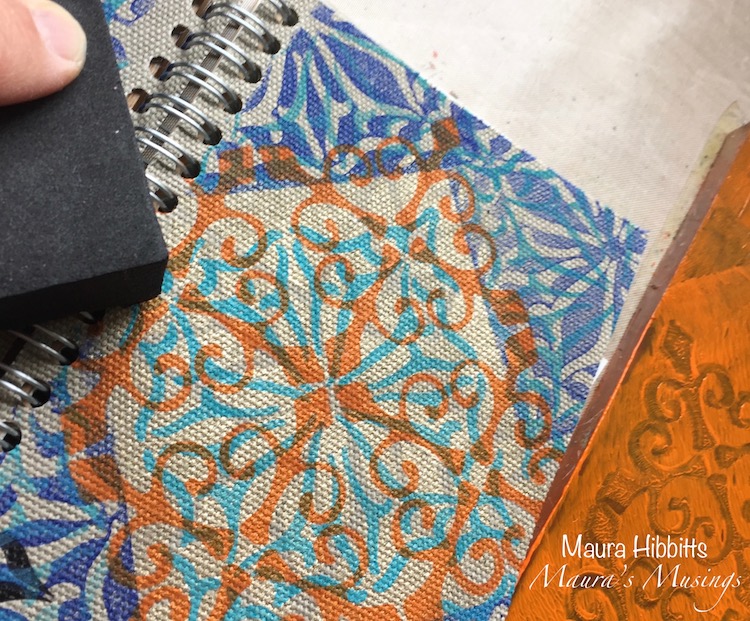
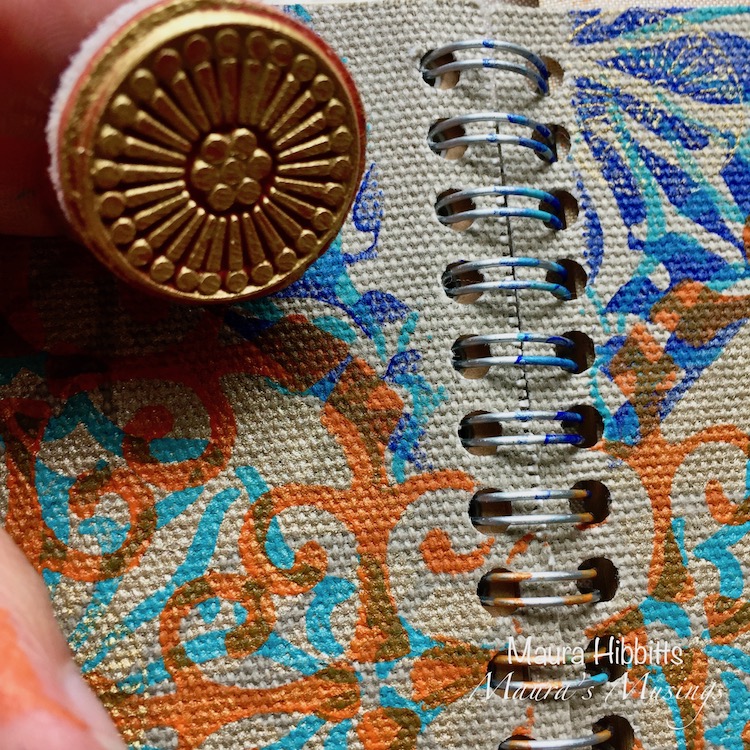
April 8: Antique – Having two foam stamps that are already called Antique- the big one Antique Tile and the small one as a part of the Mini Tile stamp set I knew I had to use those and layer them up. I also sneaked a rubber stamp in again – from my Fan-fare set – because the design made sense here and I used a pinkish red that went with the red print from the Ledger already. A pretty modern antique print, no?

Here is a look at the April 08 page:


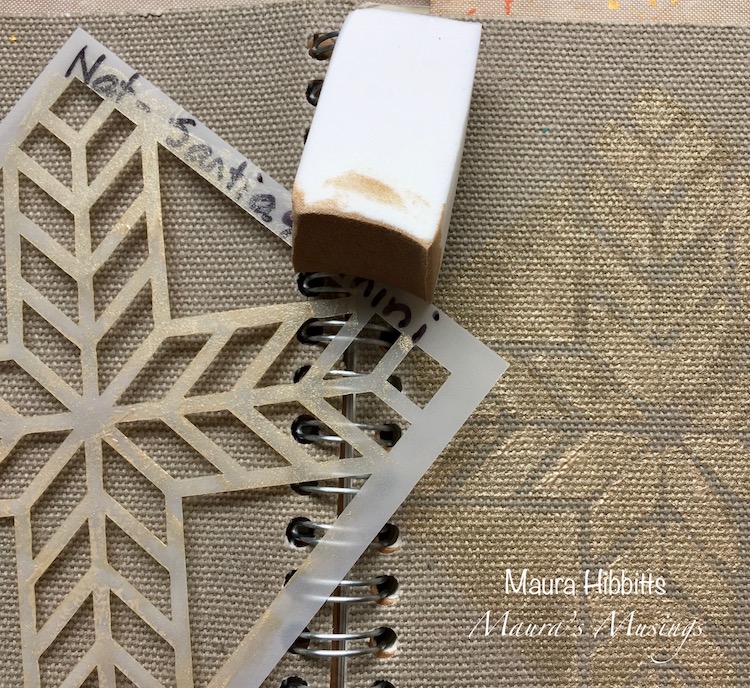
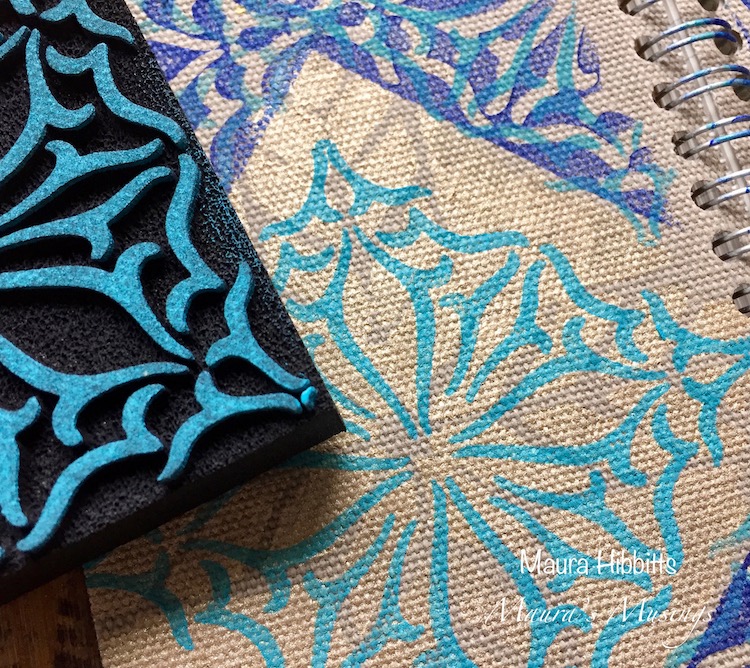
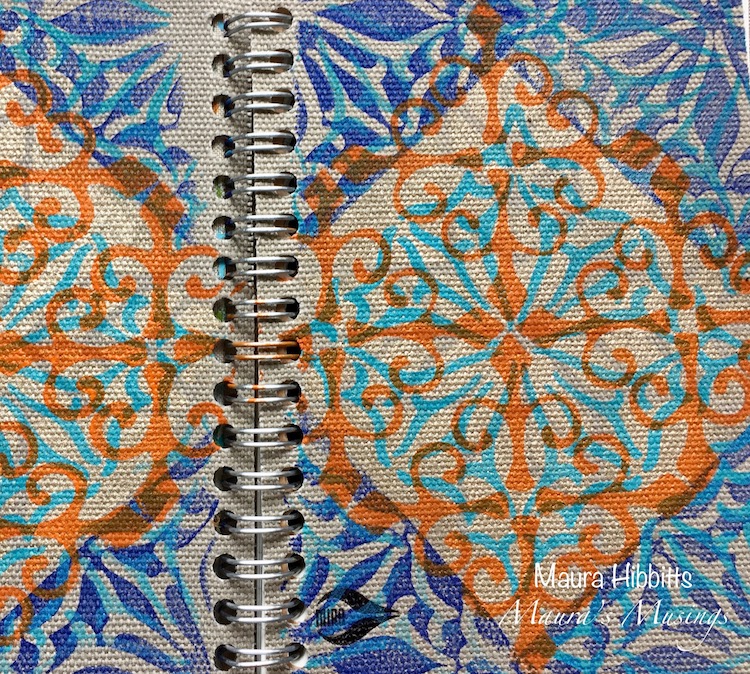
And then April 09: Bubble – The Van Vorst Fan positive and negative stamps kind of remind me of little bubbles when stamped in a pattern like this. I should have poked my head under the camera so that I actually evenly spaced my stamping – but there is a lot of vanity right now not to put my roots under the camera LOL. It still turned out well and I dig the teal with the brown ink. The empty space with the ledger background makes up it’s own element – definitely a plus.

Here is a look at the April 09 page:

Follow along with the challenge on instagram  and post your artwork too with the hashtag #artcollabChallengeAccepted

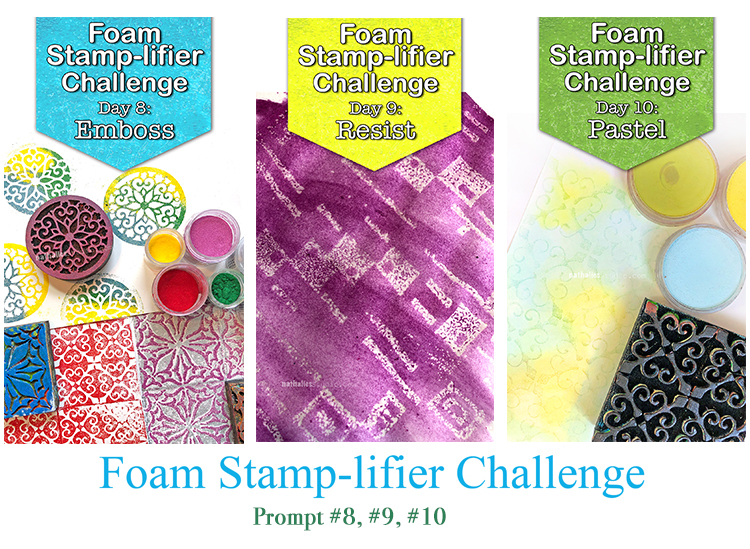
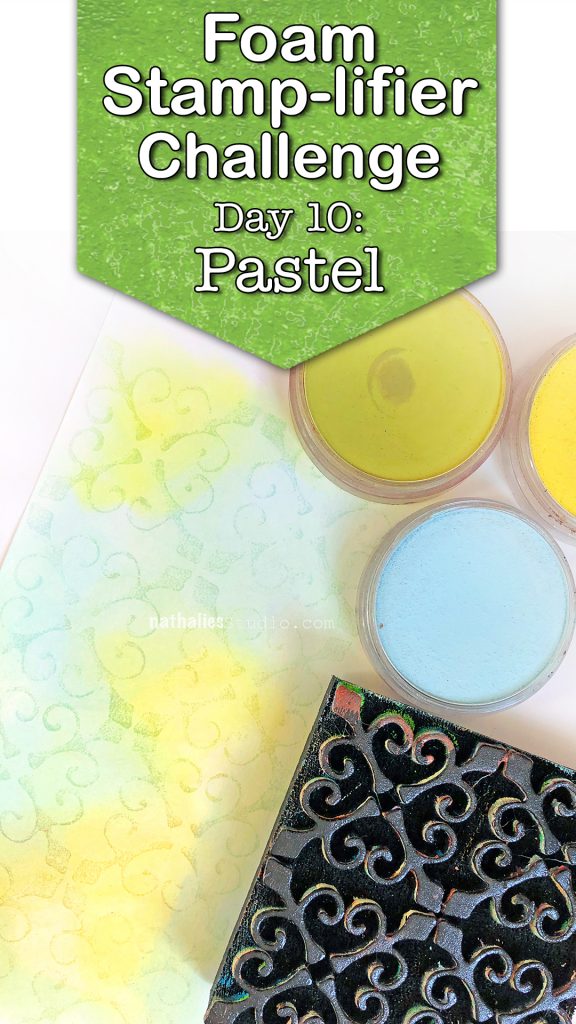
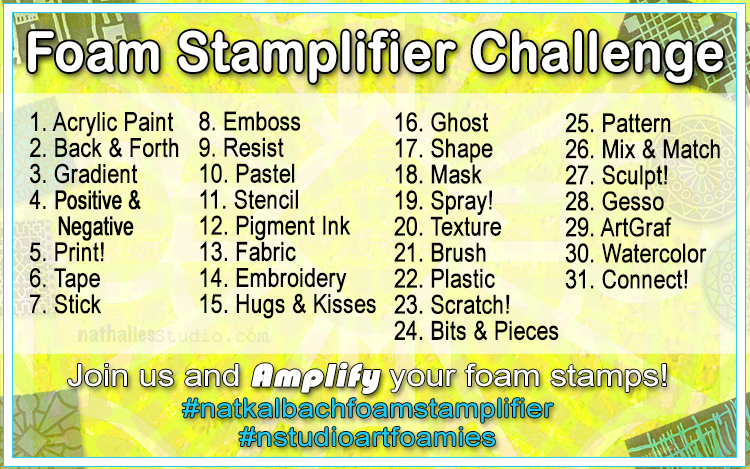
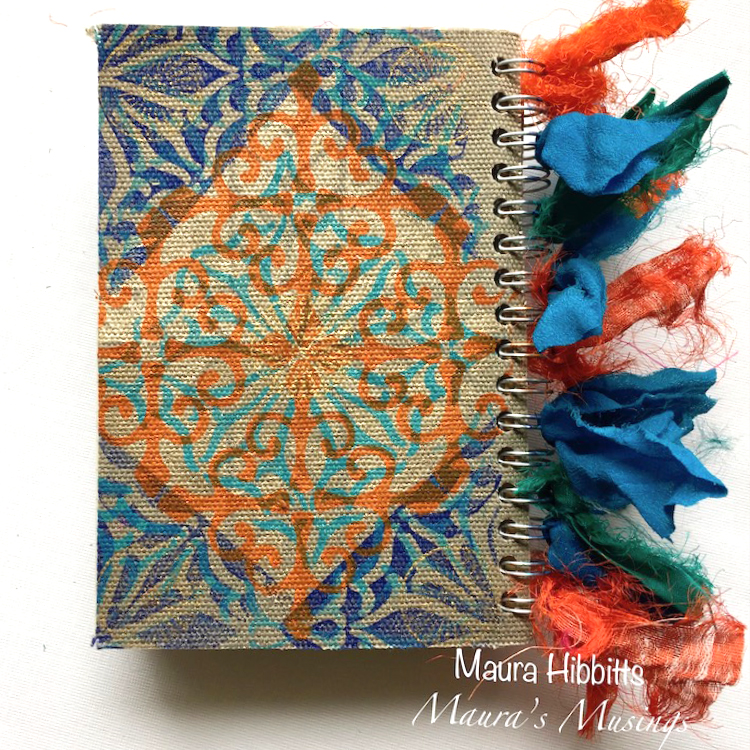
Everyone approaches Challenges differently. This ArtFoamies Challenge that Sarah Matthews and I came up with has had me thinking about how I want to approach it. In the past my Foam Stamplifier Challenge #foamstamplifierchallenge I used all kinds of different media, so I didn’t want to repeat myself. I also thought about how Sarah usually uses ArtFoamies with ink pads, while I use acrylic paints and the first parameter became clear: I will only use ink pads for the challenge. The other challenge is that I purchased an old ledger journal and I want to turn it into a pattern book. I usually make my own pattern books by binding loose printed papers into a book. This method has the advantage that if a print doesn’t turn out too great it can be discarded. By printing directly into this 125 year old ledger I have no out. So using my foam stamp designs to create patterns into a ledger book with ink pads is my challenge for this month.

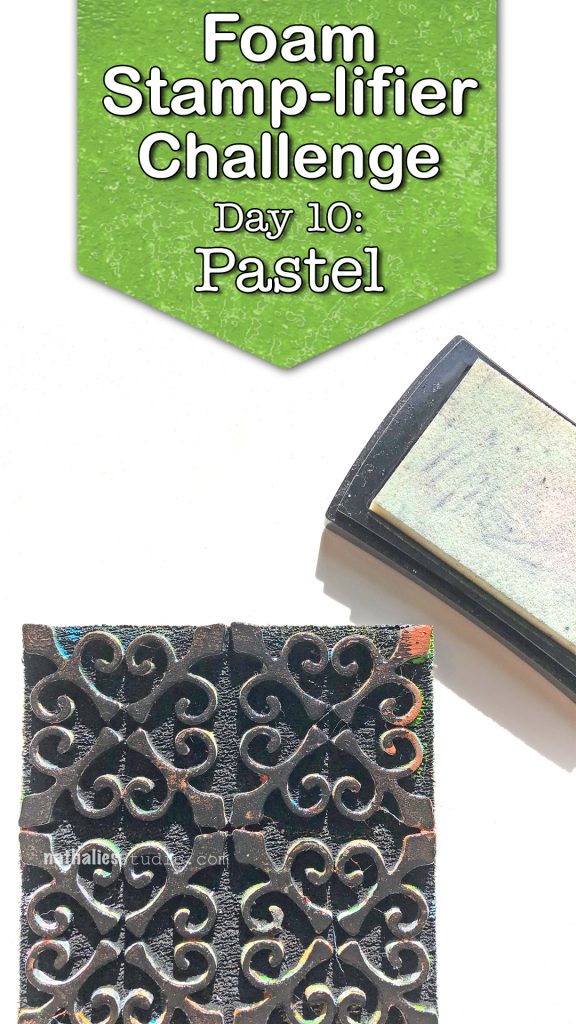
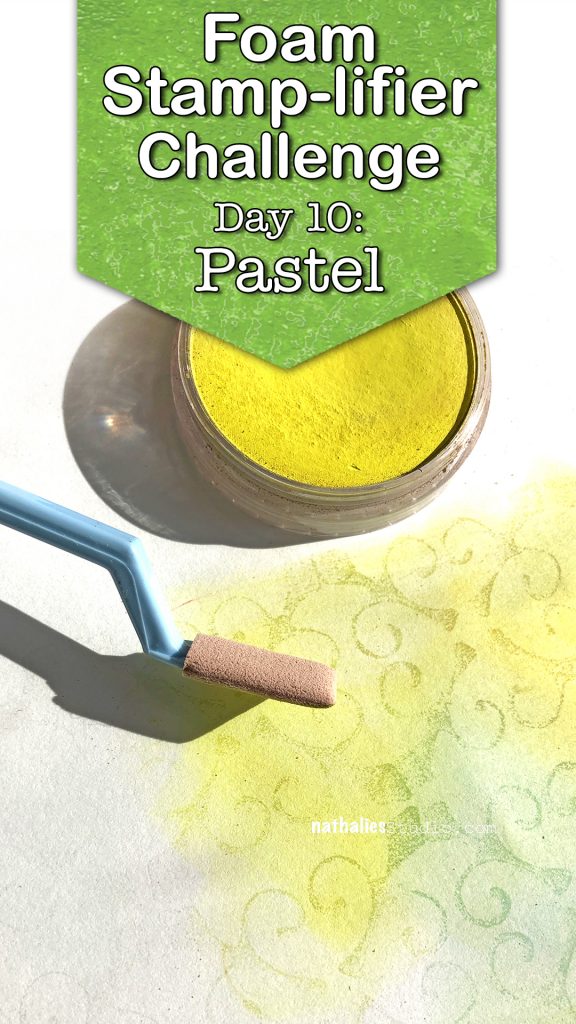
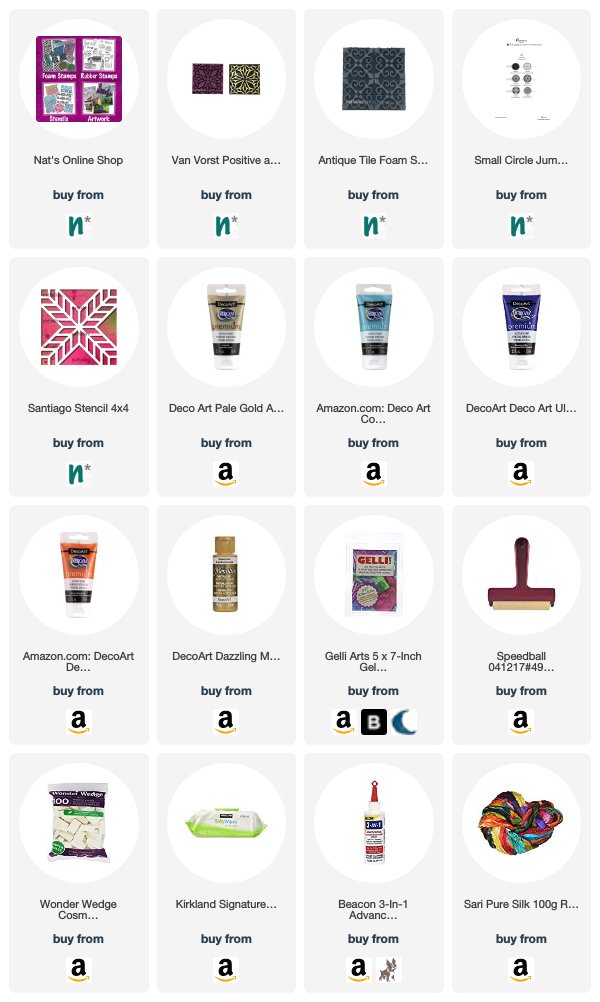
Here are some of the supplies I used:

Leave a comment

Foam Stamplifier Challenge Prompts 8-10

Day 8 – Emboss

I love to emboss with my foam stamps. The foam surface creates some added texture even if you use super fine embossing powder.

Simply press the clear embossing pad onto the foam stamp and then stamp on paper. You can add just one solid color of embossing powder to your image and then heat emboss.

Or for even more fun, add several different colors of embossing powder and heat emboss one after the other.

Another fun way to use embossing powder is to use the positive and negative sets and layer the embossing. I hope you try it

Day 9 – Resist

I am a huge fan of resist techniques and this has always been one of my favorite ones.

Apply clear embossing ink to your foam stamp. Stamp onto paper. Sprinkle UTEE (ultra thick embossing powder) on top and heat emboss. Let cool and then apply a very thin layer of acrylic paint or acrylic ink over the surface.

The paint or ink will dry slower on top of the UTEE as that area will resist the paint. Use a moist rag or a baby wipe and gently wipe over the raised UTEE pattern to remove the paint.

What remains is a wonderfully textured clear pattern.

Day 10 – Pastel

I love using Pastels with my foam stamps. In order to make the pigments stick you need a little trick though. I usually use a clear embossing ink pad and apply it to the stamp, then I stamp onto paper.

My favorite pastels are PanPastels but you can use over pastels as well.

I apply the pastel with a tool over the stamped surface and wherever the embossing ink is on the paper the pastel will accumulate more and collect more of the pastel.

The stamped design will appear darker.

Here are the foam stamps I used for those prompts. Hope you enjoying the Foam Stamplifier Challenge!


In case you missed the prompt list  here you go:

Leave a comment

Raiders of the Lost Stash – Maura Hibbitts


Hello from the Creative Squad! Today we have a post from Maura Hibbitts who is sharing a beautiful little notebook that she has personalized using a collection of supplies from her stash, as well as my Van Vorst foam stamp, Antique Tile foam stamp, Santiago stencil, and Small Circle Jumble rubber stamps. This month’s theme is: Raiders of the Lost Stash – It’s time to raid your stash of art making stuff. Pick a few things you’ve tucked away for later and use them NOW. Maybe you have some leftover scraps or deli papers that you couldn’t bear to part with. Maybe you’ve squirreled away a new product that you’ve been meaning to try. The time is now! Raid your stash and try it :)


I’m feeling a bit like Indiana Jones this month with our theme! First, I raided my stash to find something to work on – I was looking for a notebook I could alter, and found a small canvas covered one I use for notes on projects.  Then, because I was channeling Indiana Jones, I wanted to find something exotic to use, and came up with some great trims from India, Turkmen jewelry pieces and an head that reminds me of a deity.

I started by stenciling both covers with the mini Santiago stencil, using Pale Gold paint and a cosmetic sponge for a very subtle layer.

Next I added Ultramarine Blue to the gel plate and rolled it out with a brayer, so I could stamp on it to pick up the paint. I angled the Van Vorst Negative around all corners of the notebook.

I attempted to line up the positive Van Vorst Art Foamie with a corner section, and was totally off kilter, so decided to go with imperfection. I also stamped this image in the center of each cover over the gold, using the Cobalt Teal Hue.

Time for a contrasting color, so once again, I rolled out the paint on the gel plate with a brayer (this is a great way to “ink” up the art foamie stamps) and stamped the orange into the center using the Antique Tile pattern.

Now that I feel like I am on a global journey with my notebook it’s time to add in some more gold. I have found that gold adds a hint of the mysterious and exotic, so I stamped more onto the canvas using the Grove Street Small Circle stamp.

I tied bits of sari ribbon onto the notebook spiral.

Now that my background is done, it’s time to add the cover embellishments. I glued down the fabric trims, added the dangly bits to the metal piece, and glued that in place with the head. It’s almost like having a small shrine on my notebook.

Since I use this notebook for jotting down ideas, perhaps my little shrine will act like my muse and keep sending me creative vibes. It will certainly be colorful and fun to pull out and use!


Thank you Maura – I love the idea of creating a notebook that is a shrine to creativity! And this certainly is one that is so lovely to look at :) You can find the foam stamps, stencils, and rubber stamps that Maura used in her project right here in my online shop. And in addition to the canvas notebook and various embellishments from her stash, here are some of the other supplies that Maura used:


Be sure to check out all the Creative Squad projects on the Creative Squad webpage and if you feel inspired, share your projects with us! We love to see what you’re working on. I post projects almost every month in my Inspiration From Around the Globe posts!

Comments (2)

  • Claudia

    |

    Love the stamping and stencilling on the rough fabric cover, Maura, and the beautiful layers you have created! It all comes together so beautifully!

    Claudia xxx

    Reply

Leave a comment