Blog: Van Vorst Foam Stamp

April ArtFoamies Challenge – Day 27 & 28

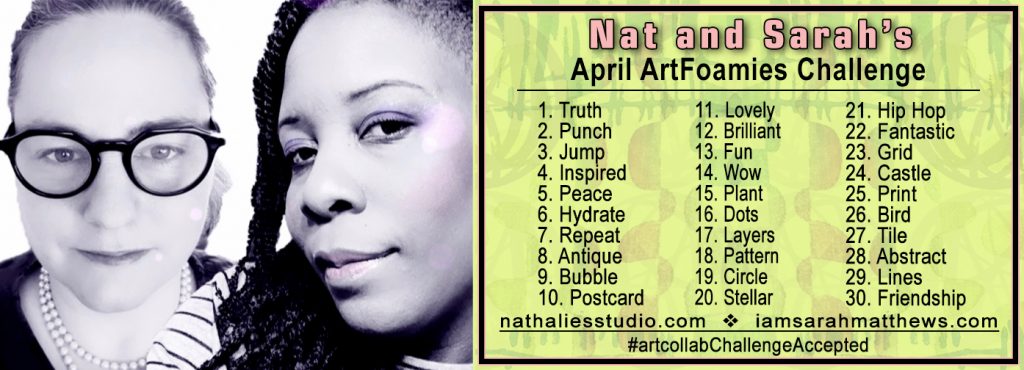
We’re in the home stretch of Nat and Sarah’s April ArtFoamies Challenge and today I’m recapping April 27 and 28.

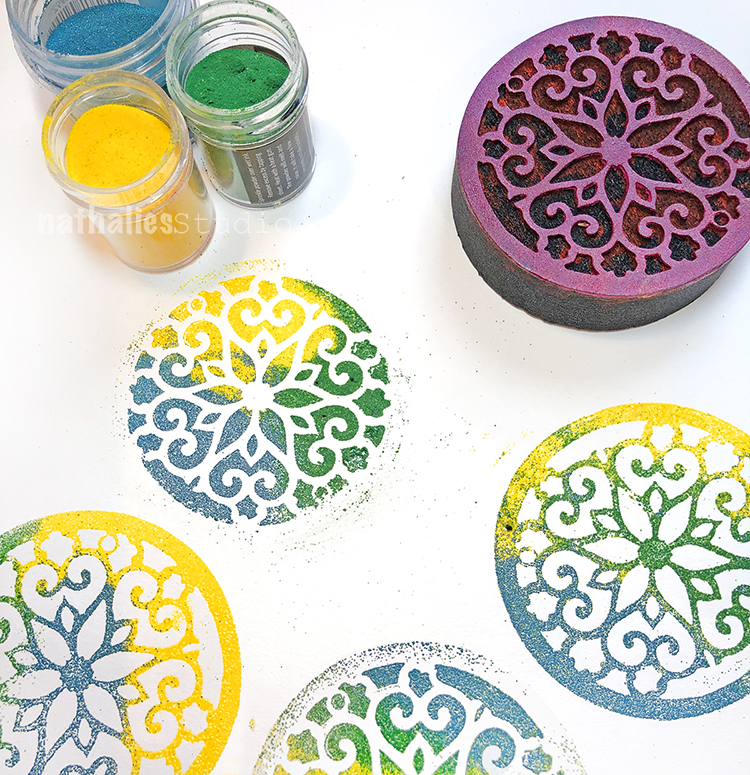
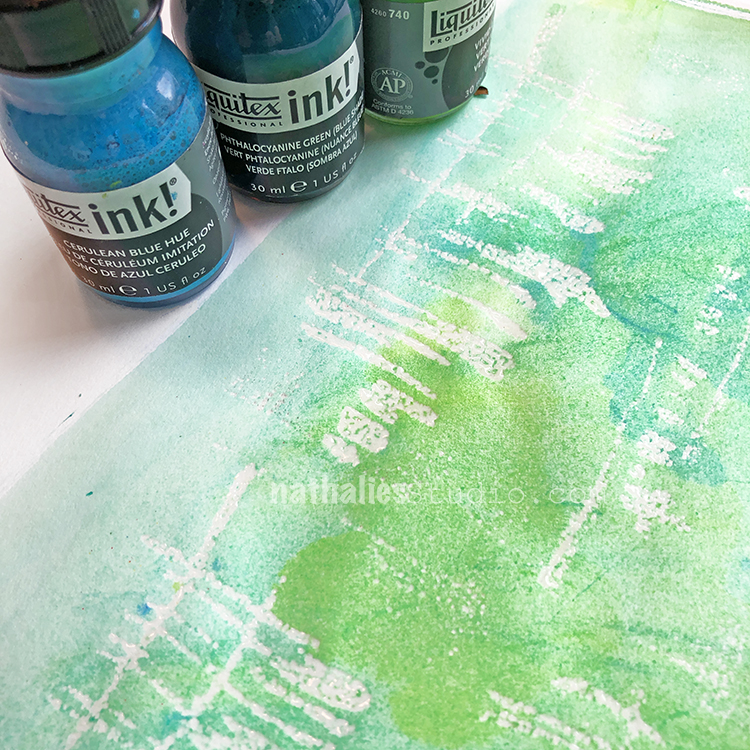
Day 27 – Tile – Blue tiles …they make me think of Lisboa and make me long for a nice long vacation there. I do miss traveling but until that works for me again… I will just live through my visual cues provided by my foam stamps that were often inspired by my travels. Here I used my Van Vorst pos neg set.


Here is a look:


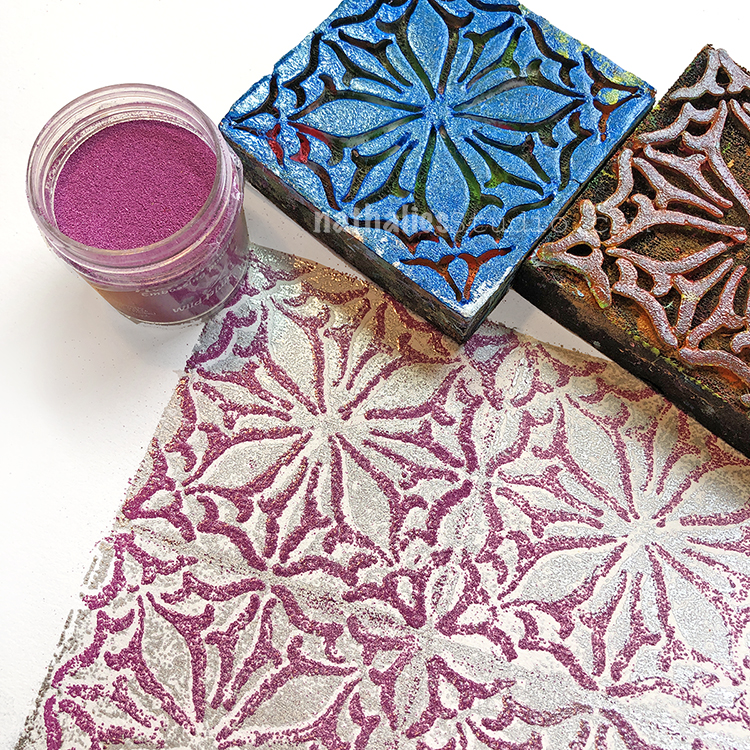
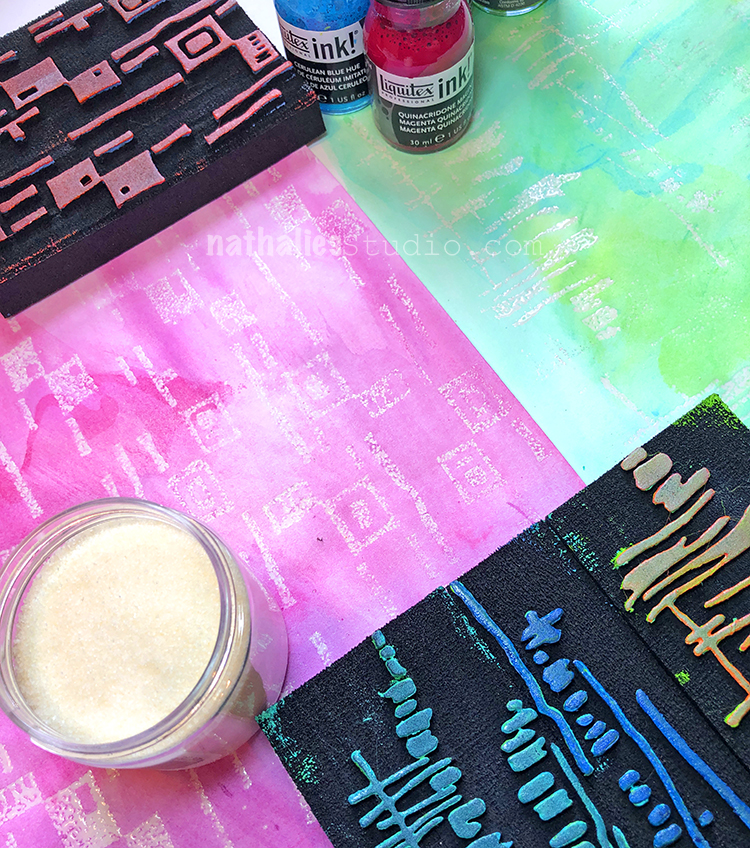
April 28 – Abstract – I used the hexagon shape as a solid stamp and then added some Wabi Sabi on top with Neato and Far Out. I am a bit sad that this challenge is coming to an end – I haven’t really gotten to the end of making patterns… Oh well, I still have another million pages in my ledger to go and I’m working on some new designs so I think they will move in here with some patterns as well ;)


And a look at that page:


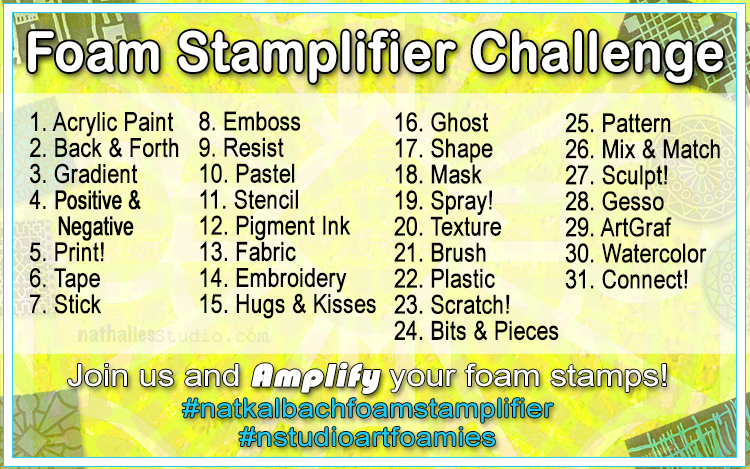
Follow along with the challenge on instagram  and post your artwork too with the hashtag #artcollabChallengeAccepted

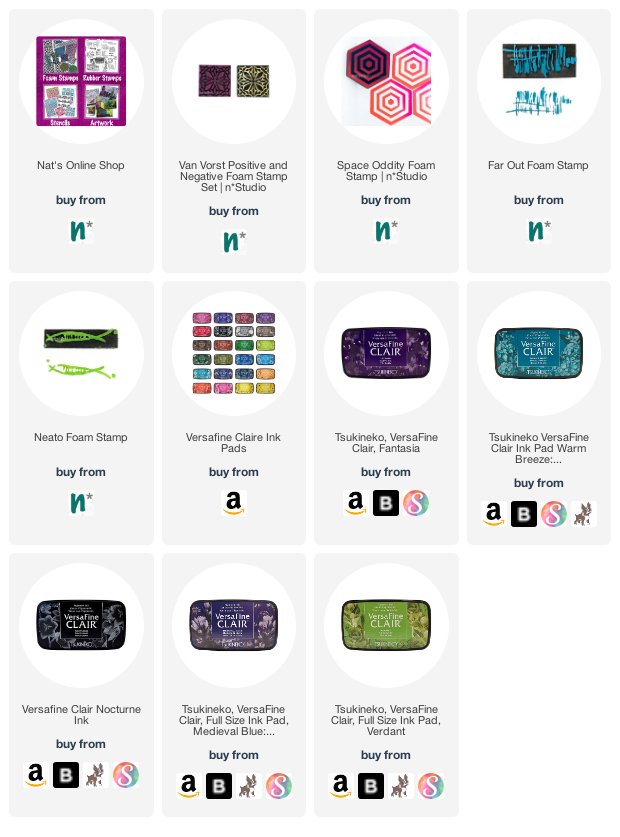
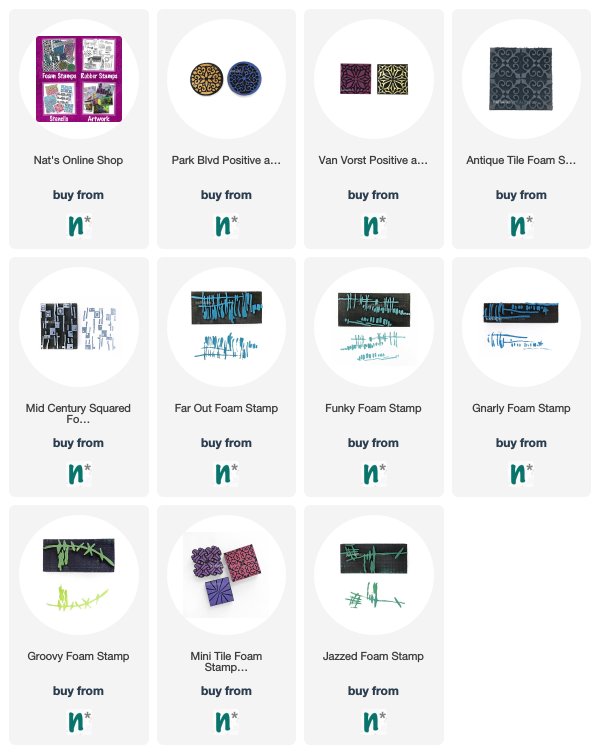
Here are some of the supplies I used:

Leave a comment

Foam Stamplifier Challenge Prompts 8-10

Day 8 – Emboss

I love to emboss with my foam stamps. The foam surface creates some added texture even if you use super fine embossing powder.

Simply press the clear embossing pad onto the foam stamp and then stamp on paper. You can add just one solid color of embossing powder to your image and then heat emboss.

Or for even more fun, add several different colors of embossing powder and heat emboss one after the other.

Another fun way to use embossing powder is to use the positive and negative sets and layer the embossing. I hope you try it

Day 9 – Resist

I am a huge fan of resist techniques and this has always been one of my favorite ones.

Apply clear embossing ink to your foam stamp. Stamp onto paper. Sprinkle UTEE (ultra thick embossing powder) on top and heat emboss. Let cool and then apply a very thin layer of acrylic paint or acrylic ink over the surface.

The paint or ink will dry slower on top of the UTEE as that area will resist the paint. Use a moist rag or a baby wipe and gently wipe over the raised UTEE pattern to remove the paint.

What remains is a wonderfully textured clear pattern.

Day 10 – Pastel

I love using Pastels with my foam stamps. In order to make the pigments stick you need a little trick though. I usually use a clear embossing ink pad and apply it to the stamp, then I stamp onto paper.

My favorite pastels are PanPastels but you can use over pastels as well.

I apply the pastel with a tool over the stamped surface and wherever the embossing ink is on the paper the pastel will accumulate more and collect more of the pastel.

The stamped design will appear darker.

Here are the foam stamps I used for those prompts. Hope you enjoying the Foam Stamplifier Challenge!


In case you missed the prompt list  here you go:

Leave a comment