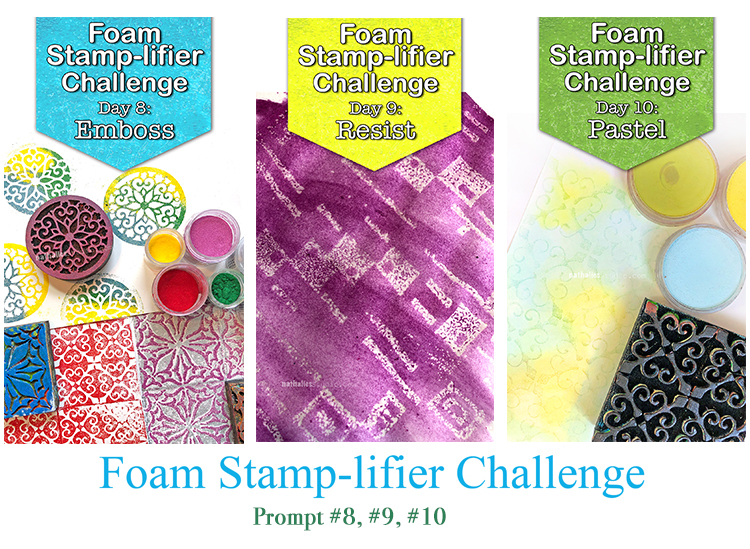
Blog: Jazzed Foam Stamp

Letting Go – Art Journal

I found one of my fat Liquitex markers in Silver and as I rarely use those anymore I wondered if it was still working. It had been laying in the drawer for years.

So I started doing some marks on the paper and wow indeed it was still ok. I love how the big marker leaves a nice textured impression. To be honest this is probably the only way I would use them as they don’t really work with my own current style and artwork, but it was interesting here in my art journal today.

I layered my Batik stencil on top and added some acrylic color over it, then stamped with my Jazzed and Groovy foam stamps and then added more acrylic paint again.

It was fun to just play a little bit with layering – something I like to do often as it makes you see things in a different way and discover new connections.

Here are some of the supplies I used:

Leave a comment

April ArtFoamies Challenge – Day 15, 16 & 17

Are you playing along with Nat and Sarah’s April ArtFoamies Challenge ? You can follow along on my Instagram feed daily with videos and photos, and I post updates here on the blog too from time to time throughout the month. Today I’m recapping 15, 16, and 17. Enjoy!

Day 15 – Plant – I love plants but unfortunately I am a really bad plant owner …so maybe printing a plant inspired pattern is a better idea ;) While my Jazzed and Groovy ArtFoamies were not designed with a plant pattern in mind- they definitely can stand in for that and I love the outcome. Wohoo for easy maintenance plants ;)


Here is a look at Day 15:


April 16 – Dots – Grove Street Positive and Negative Stamp is going to show off its dots today and since the Grove Street Path Station in Jersey City def. Is a route to get to Broadway… the Broadway Fan stamp made an appearance as well. I felt it needed a little bit of extra red omph, so for good measure I threw in one of my Rubber Stamps called Valley Road …because you know… sometimes you gotta change your plans.


And here is a look at Day 16:


April 17 – Layers – I love using the same patterned stamps but in different sizes, like my Batik 3 and Mini Batik 3 and then my Batik 4 and Mini Batik 4 – this was fun to stamp …and yes, the ledger is barely visible but it still adds to the whole. Keeping every ledger page pristine is overrated because why even bother stamping into it if you do. #myledgermyrules


Here are some looks at April 17:

Follow along with the challenge on instagram  and post your artwork too with the hashtag #artcollabChallengeAccepted

Everyone approaches Challenges differently. This ArtFoamies Challenge that Sarah Matthews and I came up with has had me thinking about how I want to approach it. In the past my Foam Stamplifier Challenge #foamstamplifierchallenge I used all kinds of different media, so I didn’t want to repeat myself. I also thought about how Sarah usually uses ArtFoamies with ink pads, while I use acrylic paints and the first parameter became clear: I will only use ink pads for the challenge. The other challenge is that I purchased an old ledger journal and I want to turn it into a pattern book. I usually make my own pattern books by binding loose printed papers into a book. This method has the advantage that if a print doesn’t turn out too great it can be discarded. By printing directly into this 125 year old ledger I have no out. So using my foam stamp designs to create patterns into a ledger book with ink pads is my challenge for this month.

Here are some of the supplies I used:

Play along with us and our daily prompts:

Leave a comment

Energy – Art Journal

“Focus on your energy and let the universe handle everything else.” Always a good idea to keep in mind.

This background was somewhat of a journey :) I built a pattern using my Solid Hex Large, Solid Square Small, Hex Set Small and Small Circle Jumble rubber stamps… then toned it down with gesso and acrylic paint and my Jazzed and Gnarly foam stamps.

I also added some details with a white signo pen to highlight the circles in the spread. And I did my journaling.

Here are some of the supplies I used in this spread:

Leave a comment

Keep Showing Up – Art Journal

“Keep showing up for yourself every day!” – I saw my artist friend Tony Zatzick saying this on Instagram and I really loved it.

I thought it would be fun to combine rubber stamps and foam stamps in one page, both using moonlight duo ink pads. I used the Hex Set Small rubber stamp set.

I also used my Hex Set Large rubber stamps and my Gnarly and Jazzed foam stamps.

I love how the patterns work together and the moonlight duo inks work great with each.

Here are some of the supplies I used:


Comments (2)

  • Jean Goza

    |

    I love everything about this. Awesome quote. Need to post that on my studio wall! Your page layout is amazing. Love the layers. Really speaks to me.

    Reply

Leave a comment

Goals – Art Journal

“I didn’t come this far, to only come this far!”

I received the Scribble Sticks set 3 as a thank you for playing along in the Ranger Designer Challenge in January. I wanted to test them out with my foam stamps. Here is my Funky foam stamp getting a bit of blue…

I wet the foam stamp back and applied the scribble stick and then stamped for the blocks of color. I did the same with the front for the designs.

Here is my Groovy foam stamp design.

Here is a bit of my Gnarly and my Jazzed designs. I loved the colors in this new set – they work perfectly with these foam stamp patterns.

Pretty interesting effect with the back of the stamp too – nice texture. And who doesn’t need a bit of motivation to keep going for more?

Here are some of the supplies that I used:


Comments (1)

  • Sue Clarke

    |

    Wonderful and I have those stamps and scribble sticks…woot woot.

    Reply

Leave a comment

Foam Stamplifier Challenge Prompts 8-10

Day 8 – Emboss

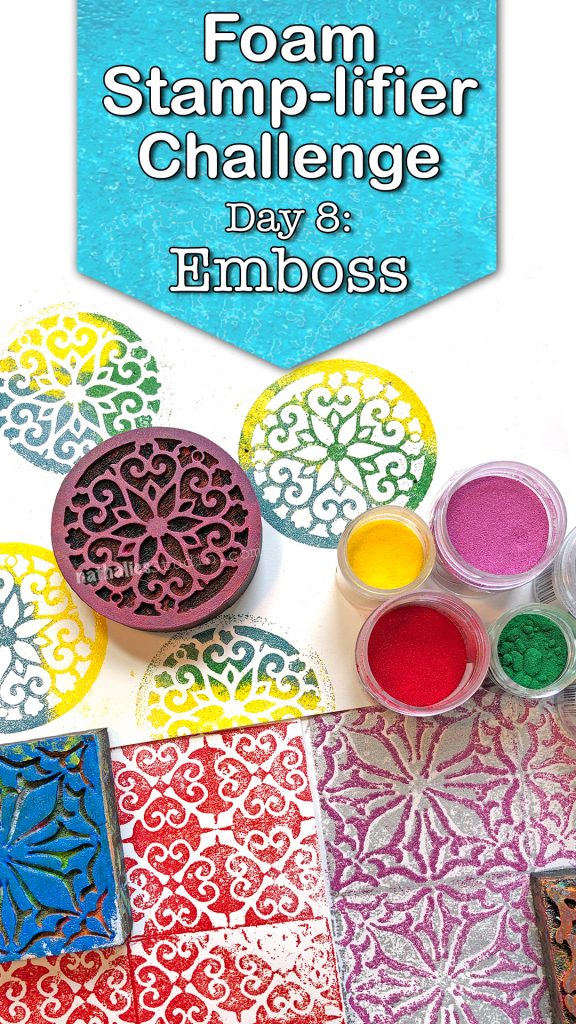
I love to emboss with my foam stamps. The foam surface creates some added texture even if you use super fine embossing powder.

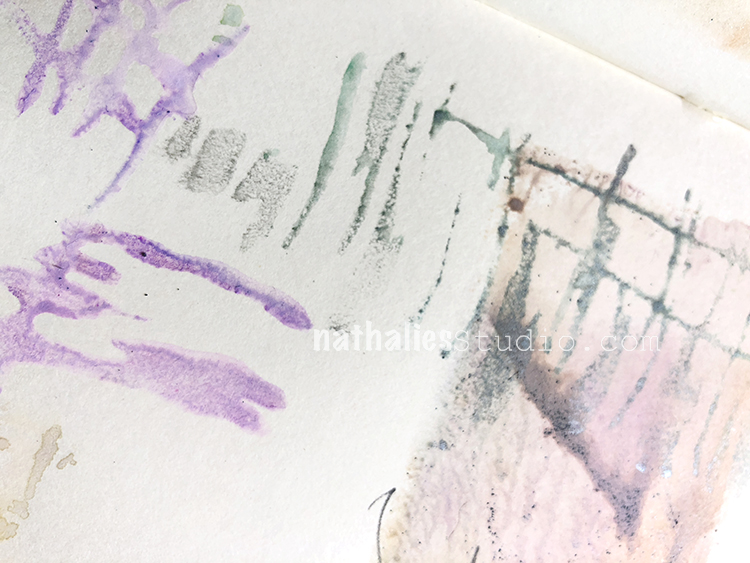
Simply press the clear embossing pad onto the foam stamp and then stamp on paper. You can add just one solid color of embossing powder to your image and then heat emboss.

Or for even more fun, add several different colors of embossing powder and heat emboss one after the other.

Another fun way to use embossing powder is to use the positive and negative sets and layer the embossing. I hope you try it
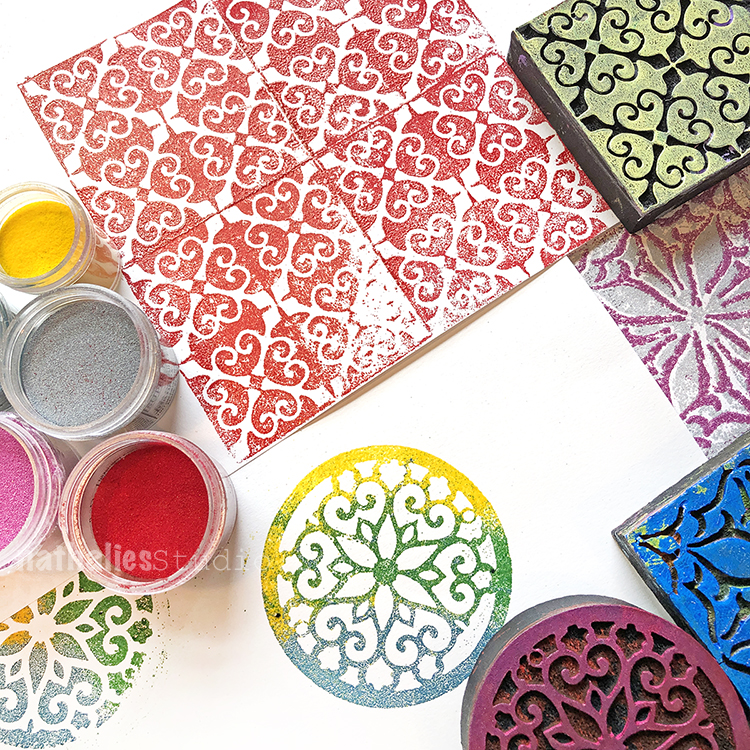
Day 9 – Resist

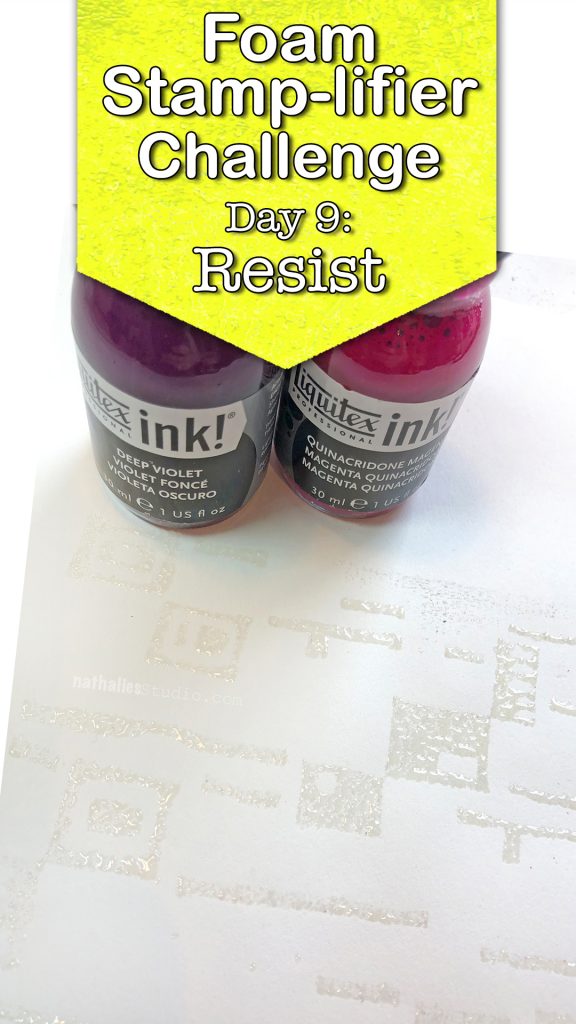
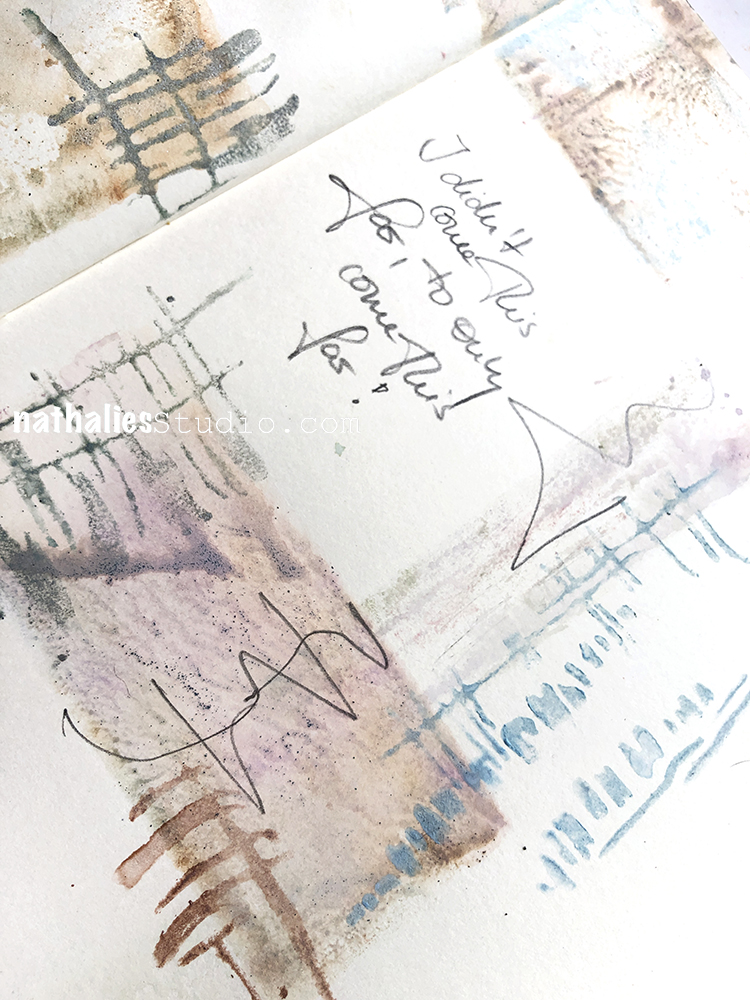
I am a huge fan of resist techniques and this has always been one of my favorite ones.

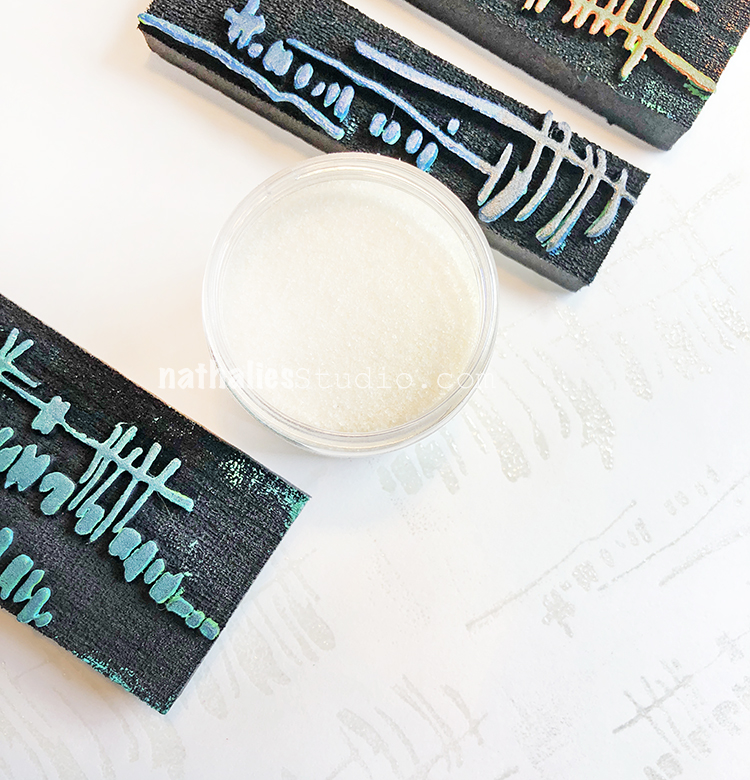
Apply clear embossing ink to your foam stamp. Stamp onto paper. Sprinkle UTEE (ultra thick embossing powder) on top and heat emboss. Let cool and then apply a very thin layer of acrylic paint or acrylic ink over the surface.

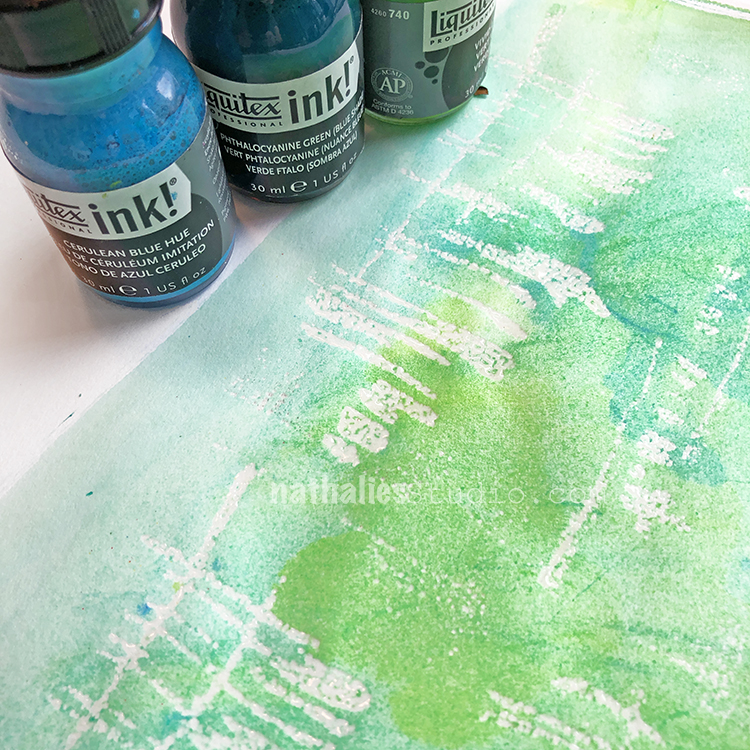
The paint or ink will dry slower on top of the UTEE as that area will resist the paint. Use a moist rag or a baby wipe and gently wipe over the raised UTEE pattern to remove the paint.

What remains is a wonderfully textured clear pattern.
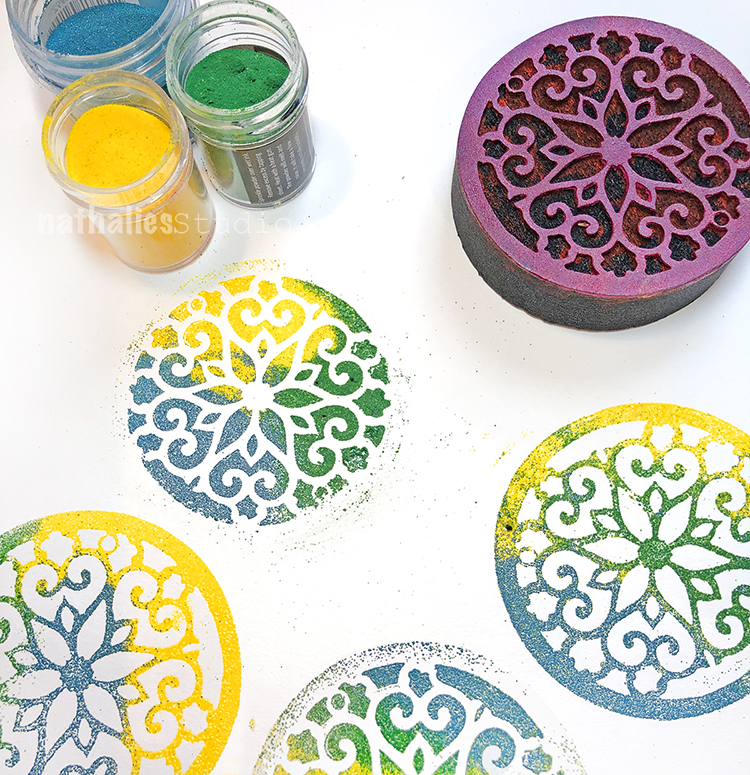
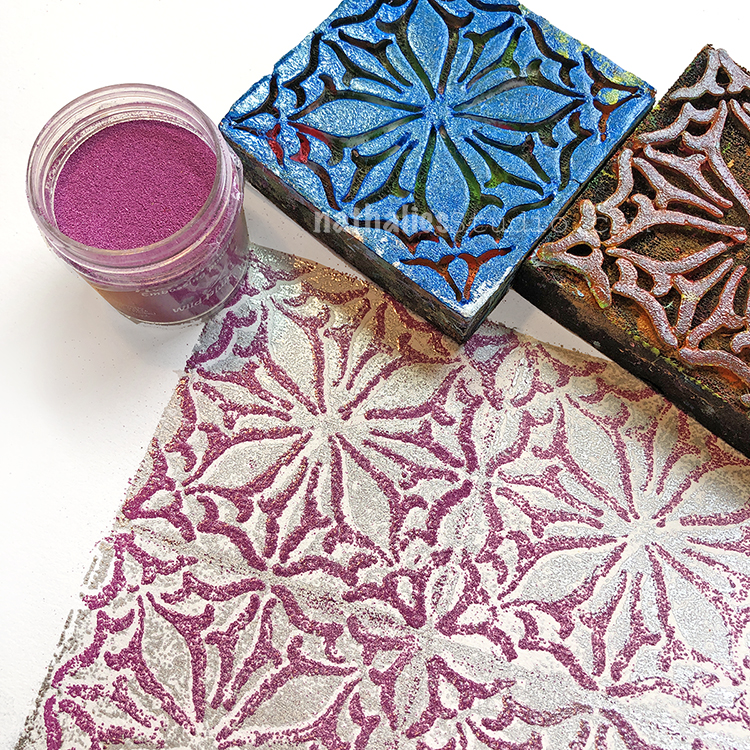
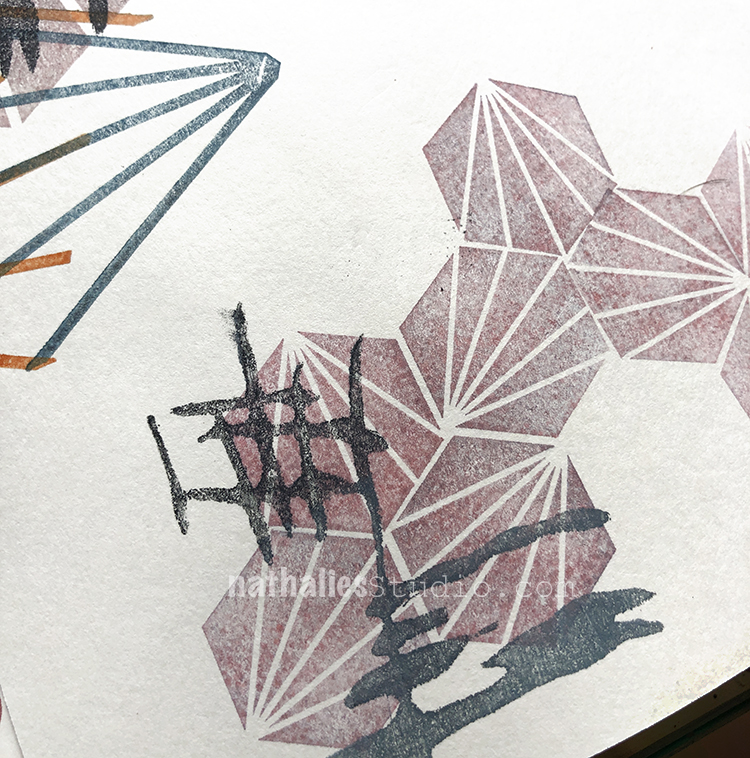
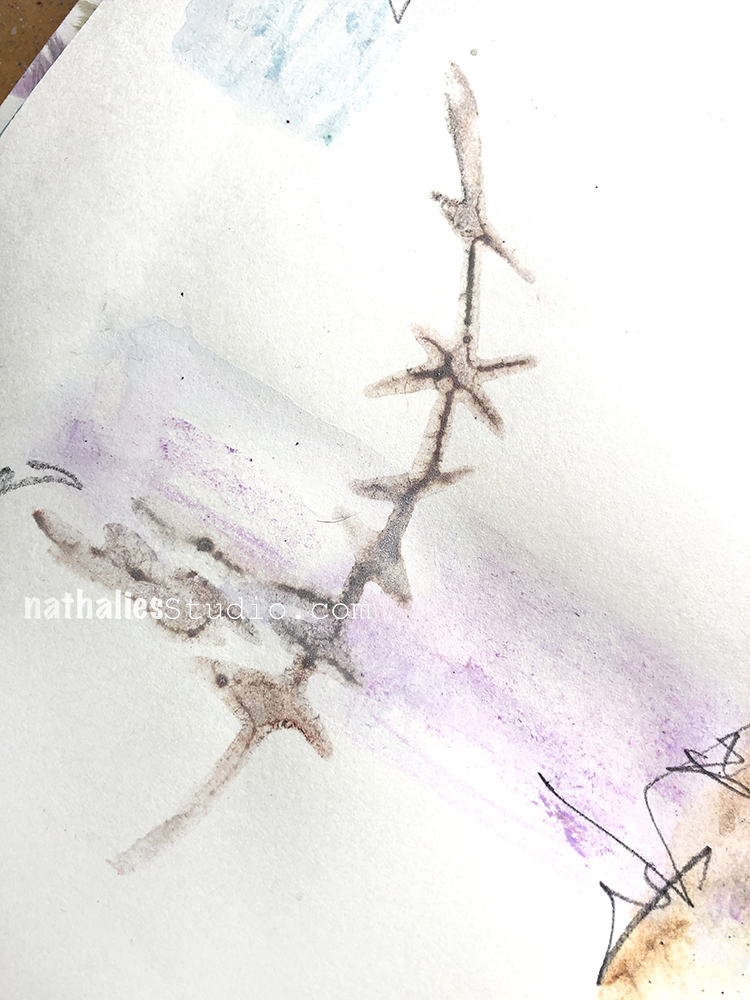
Day 10 – Pastel

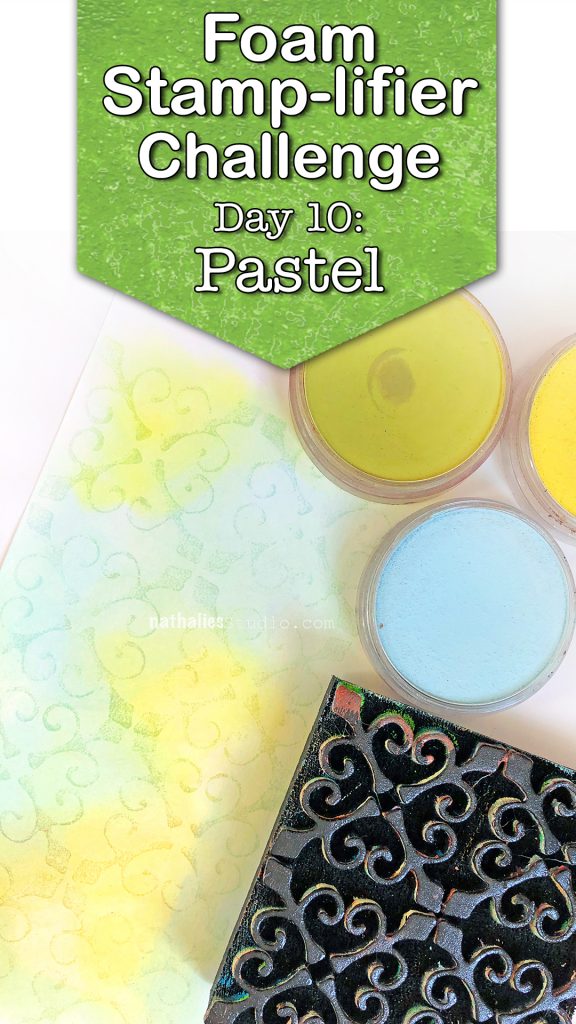
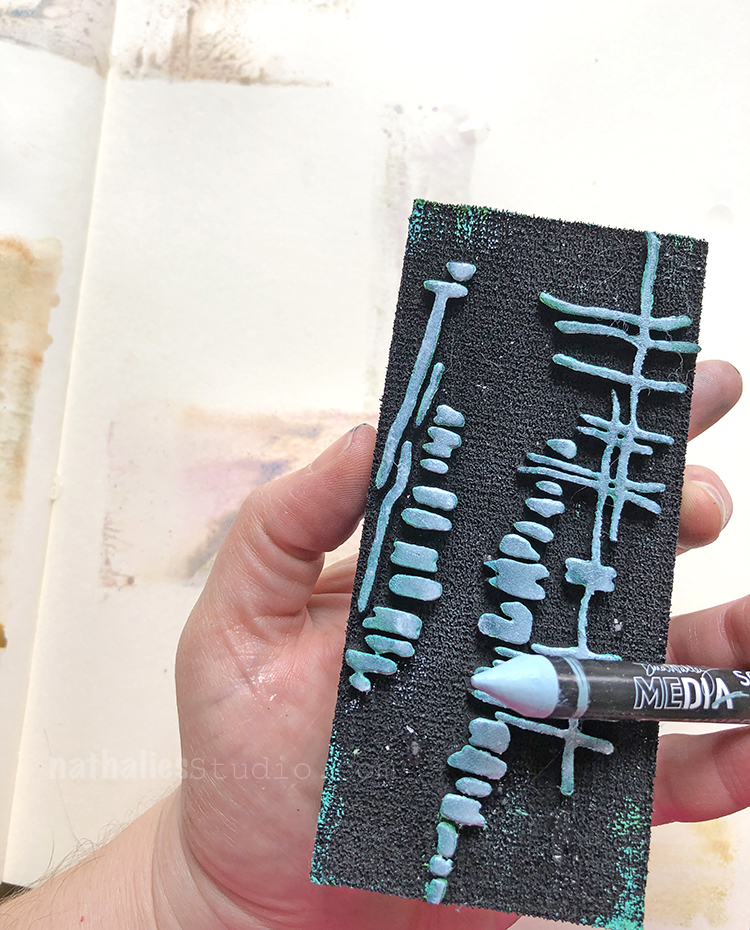
I love using Pastels with my foam stamps. In order to make the pigments stick you need a little trick though. I usually use a clear embossing ink pad and apply it to the stamp, then I stamp onto paper.

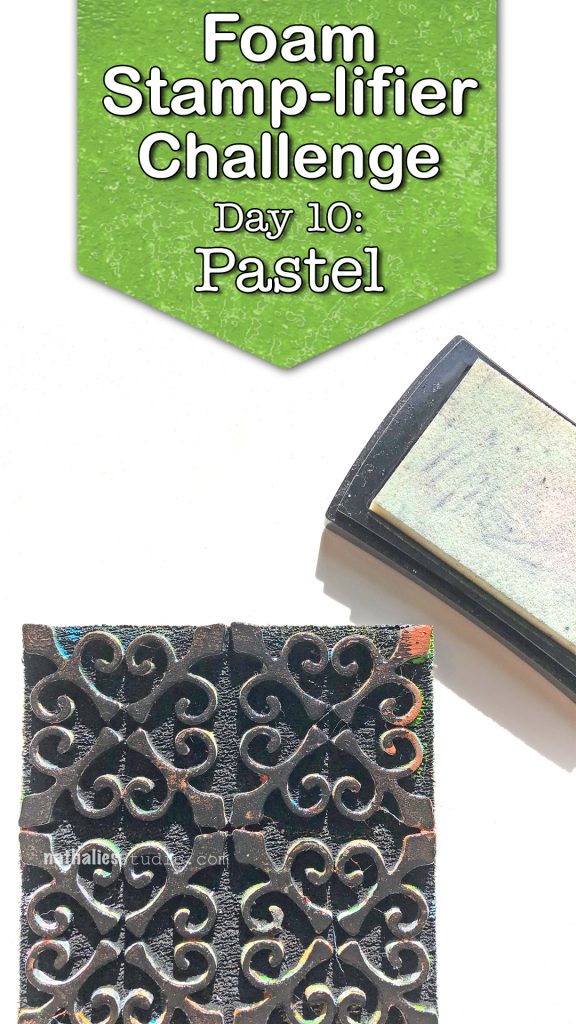
My favorite pastels are PanPastels but you can use over pastels as well.

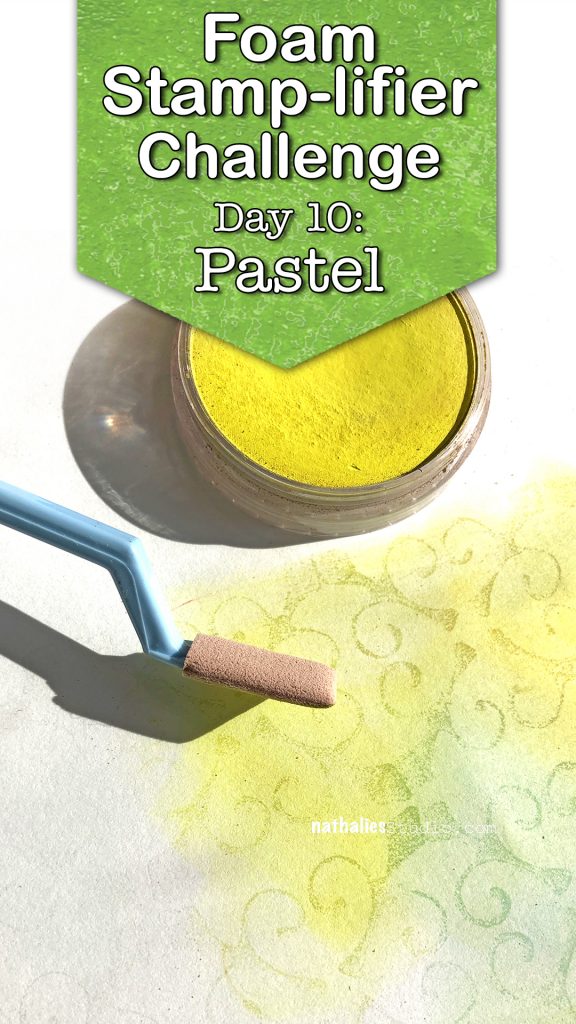
I apply the pastel with a tool over the stamped surface and wherever the embossing ink is on the paper the pastel will accumulate more and collect more of the pastel.

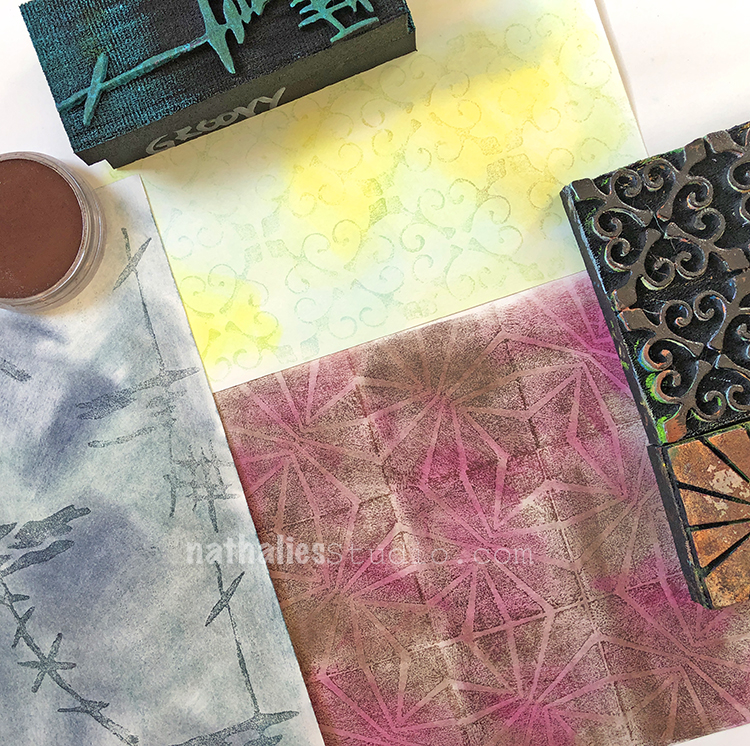
The stamped design will appear darker.

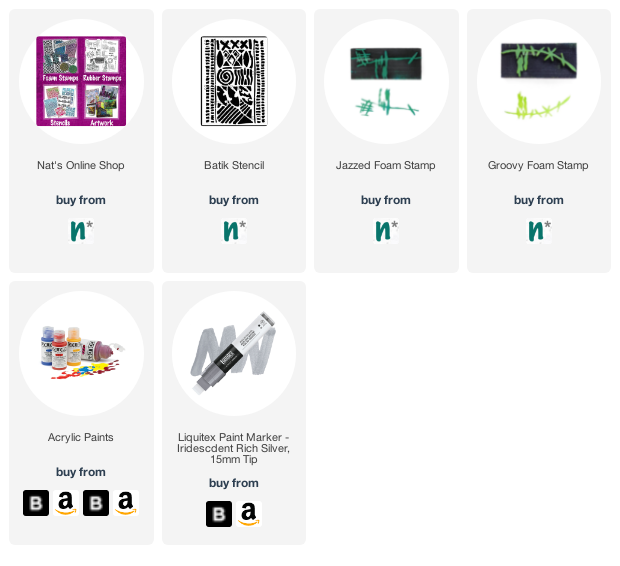
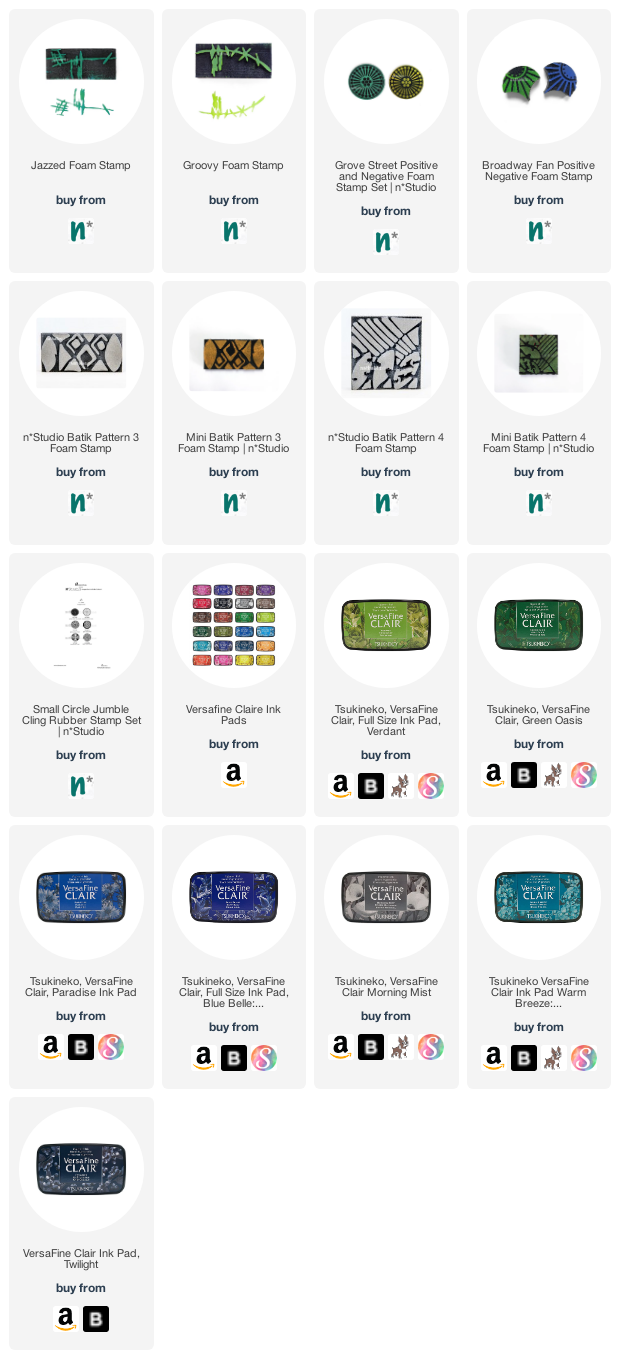
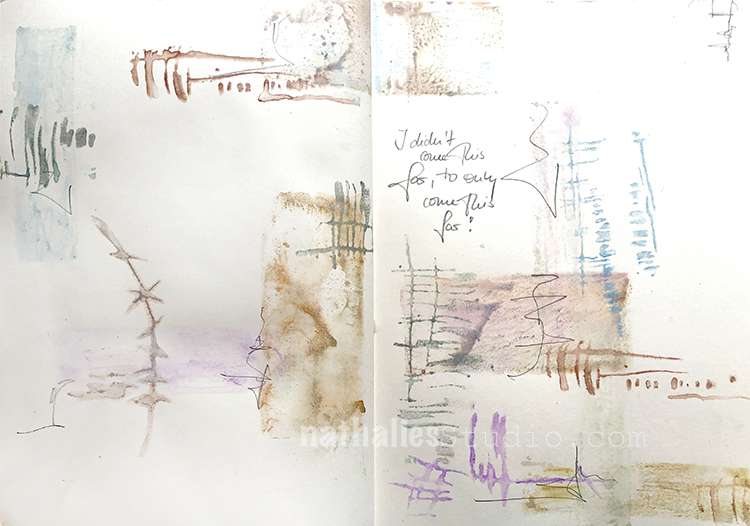
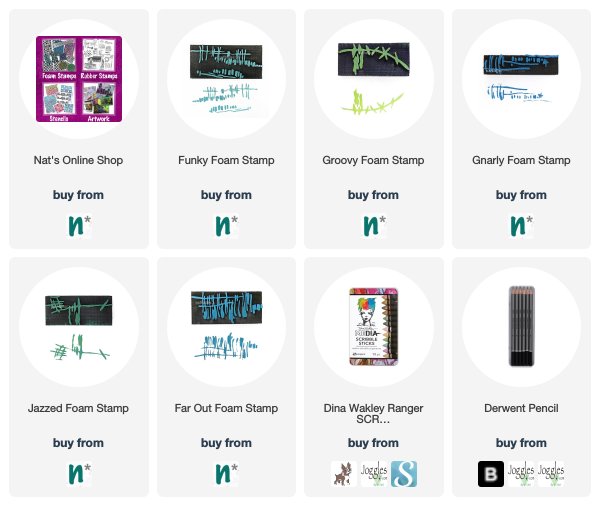
Here are the foam stamps I used for those prompts. Hope you enjoying the Foam Stamplifier Challenge!


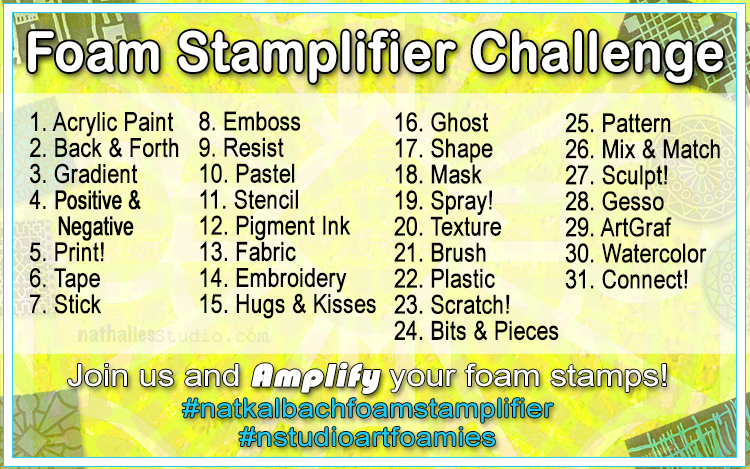
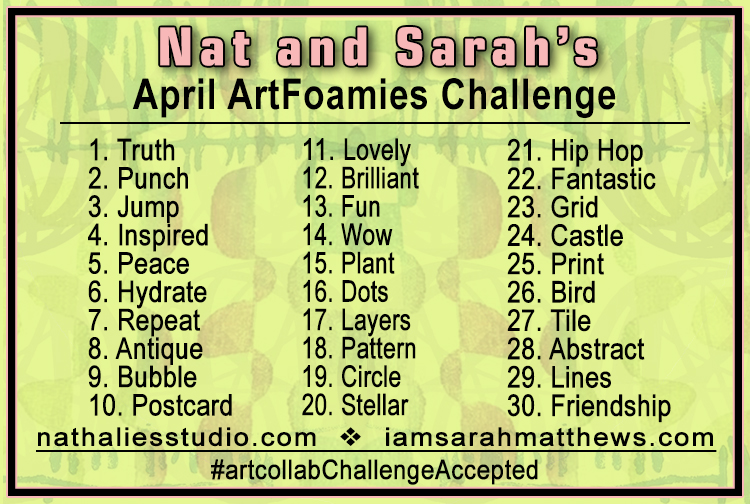
In case you missed the prompt list  here you go:
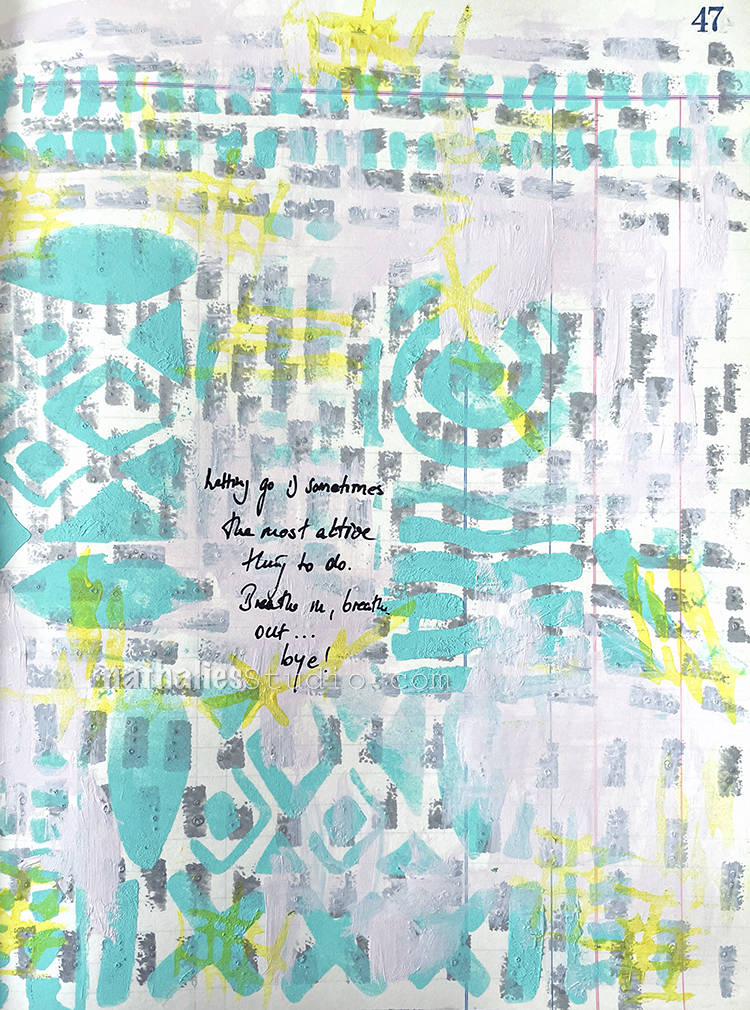
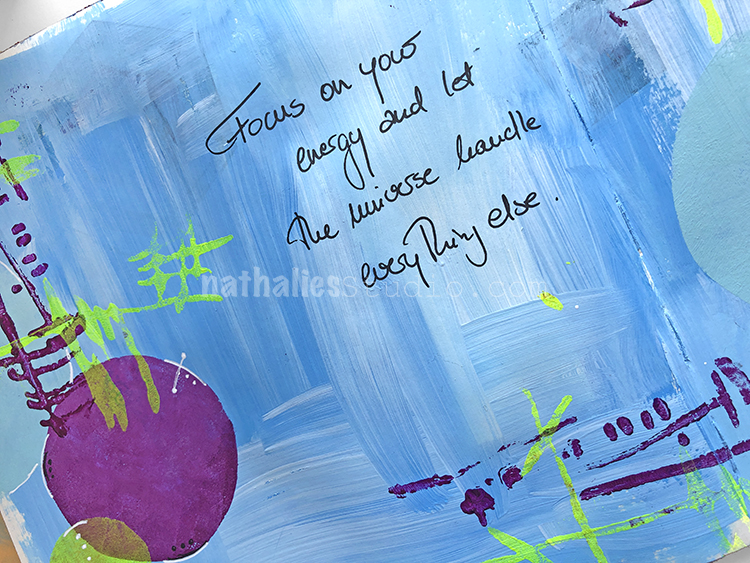
Leave a comment