Indexing Stamps in 7 Steps

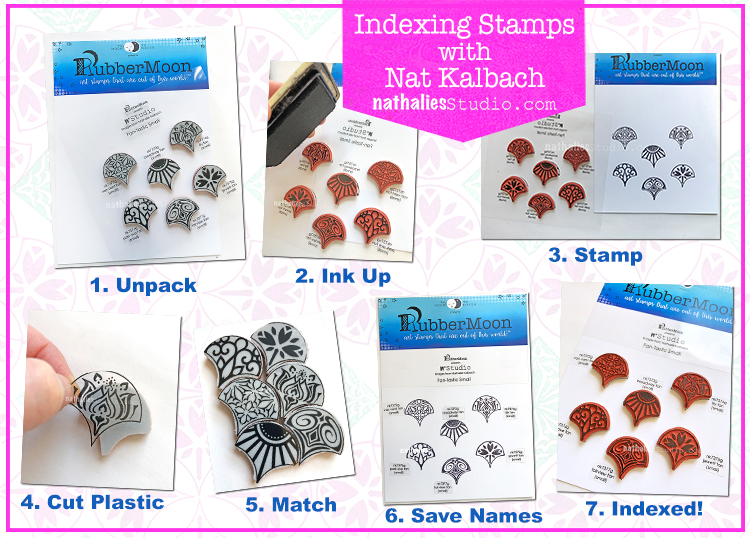
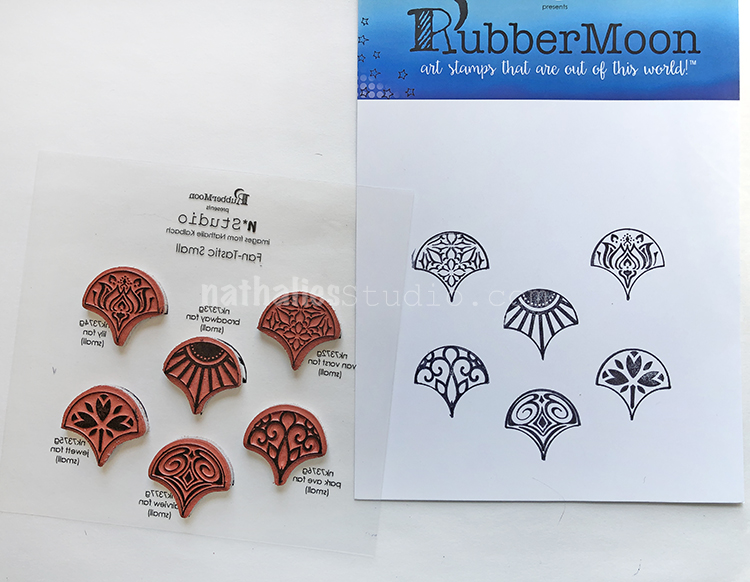
You might have noticed that the new RubberMoon packaging includes a clear sheet with the images included in the stamp sets and the reason for that is, that you can then can index your stamps.

Especially with my new stamp sets which often have positive and negative images that can be stamped on top of each other that is really helpful. Check out what I do when I receive a new set of stamps:

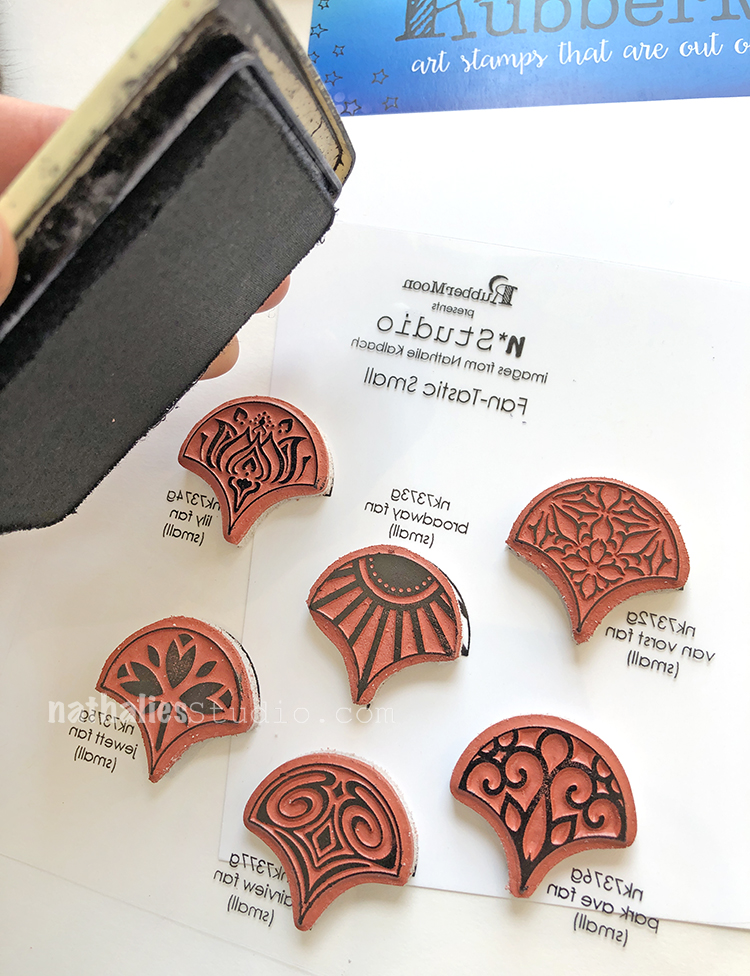
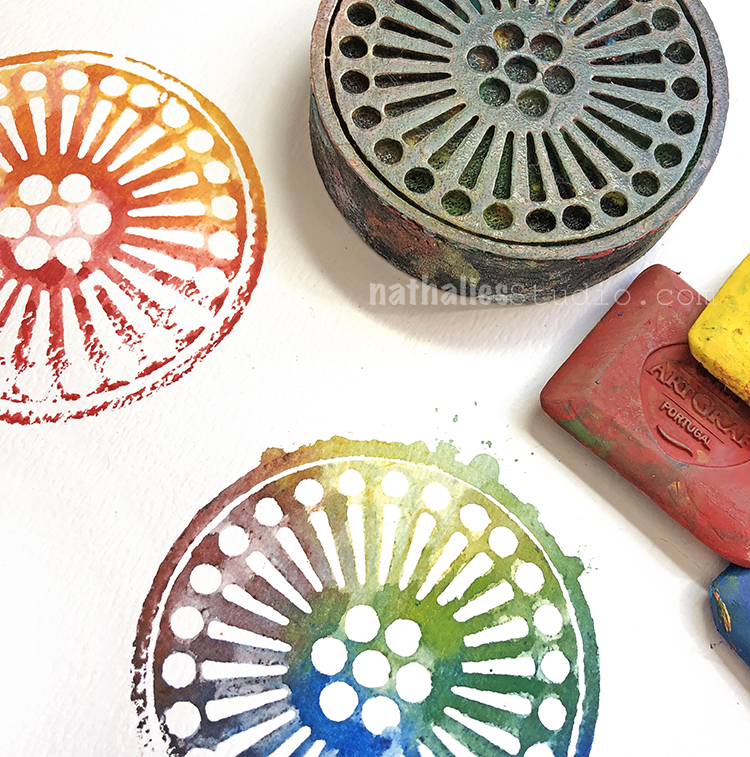
I store my stamps in my old letter press drawers and I love to keep them on the sheets. I also love to see first hand what the stamps look like when they are stamped. So I leave the stamps attached to the indexing sheet, ink them up with an archival ink and then

place the white packaging insert on top and press it down so that I get the imagery of the index sheet on there. It is like an initiation of your stamps if you will ;)

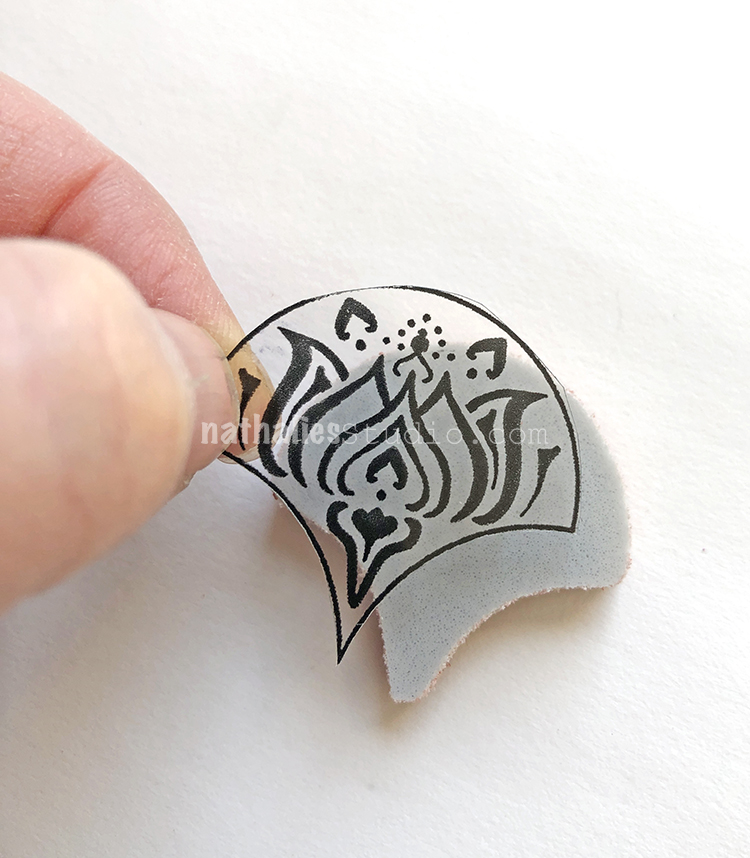
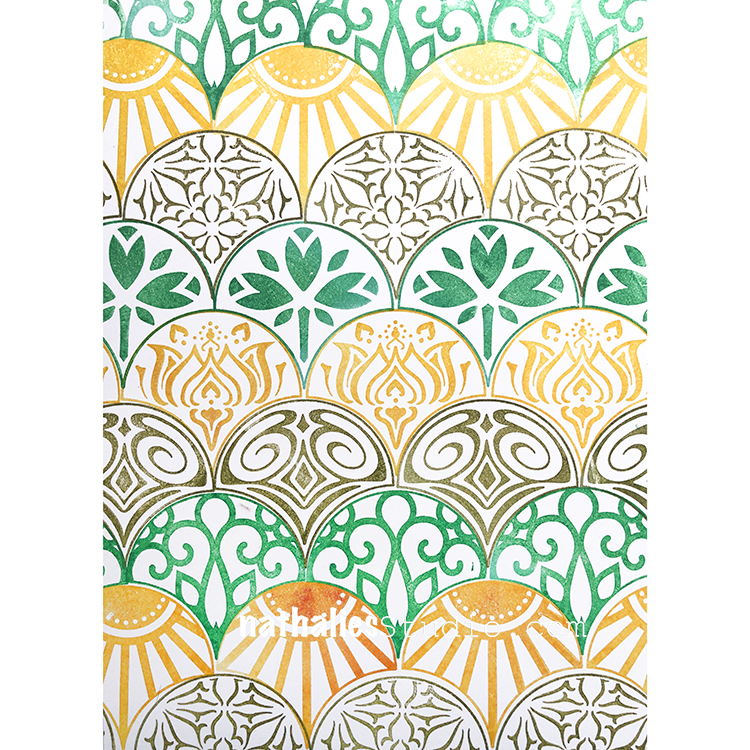
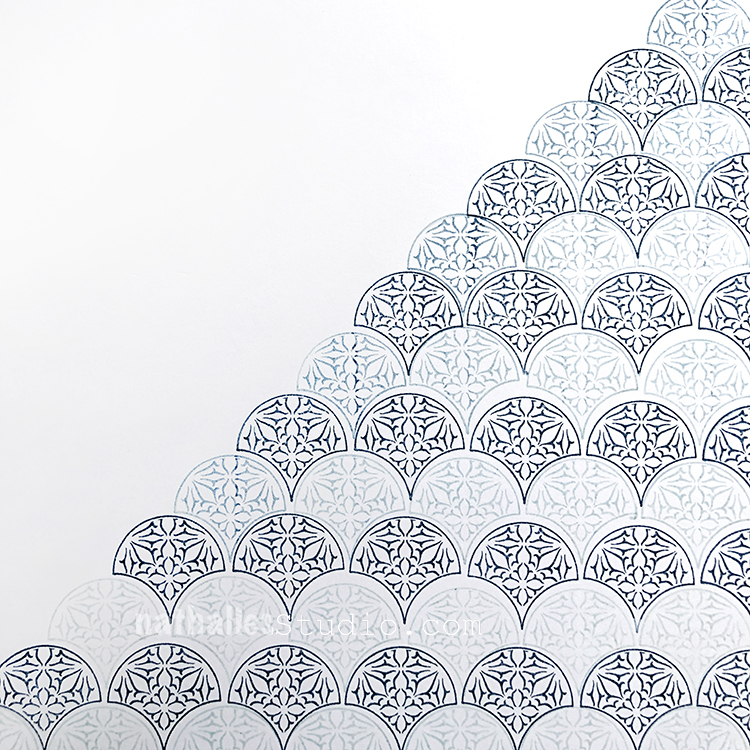
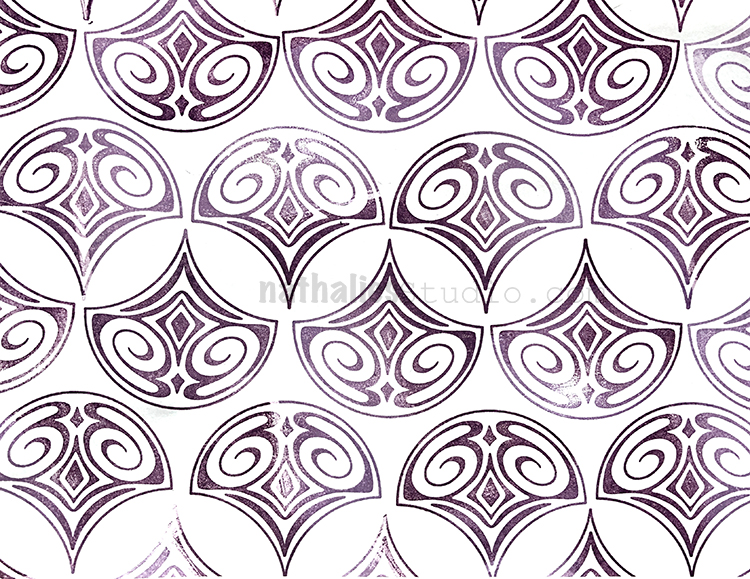
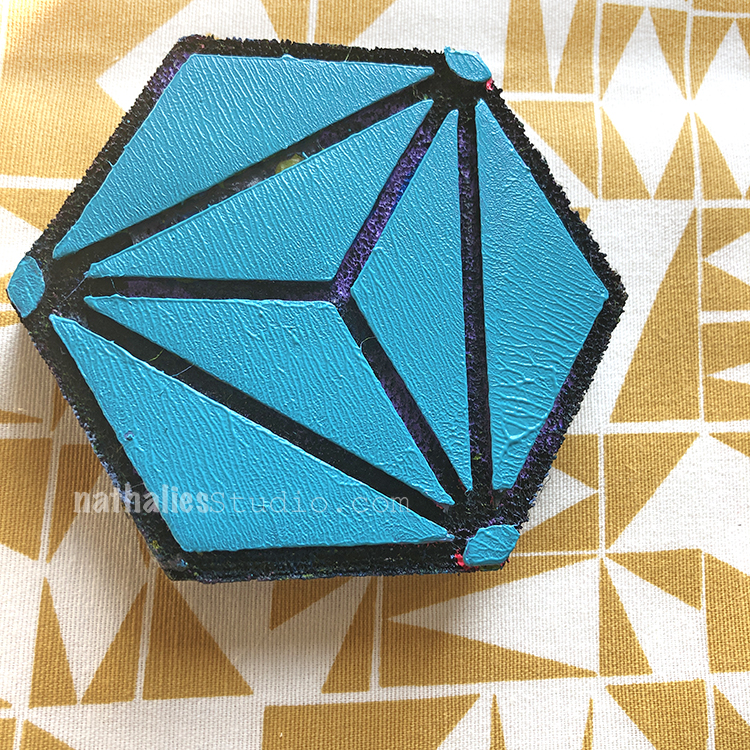
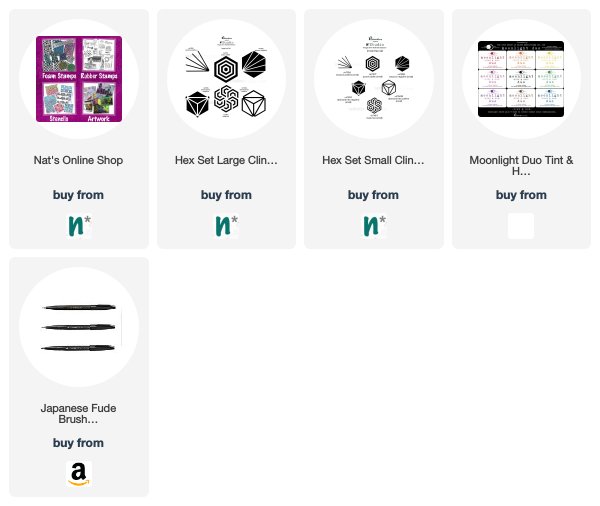
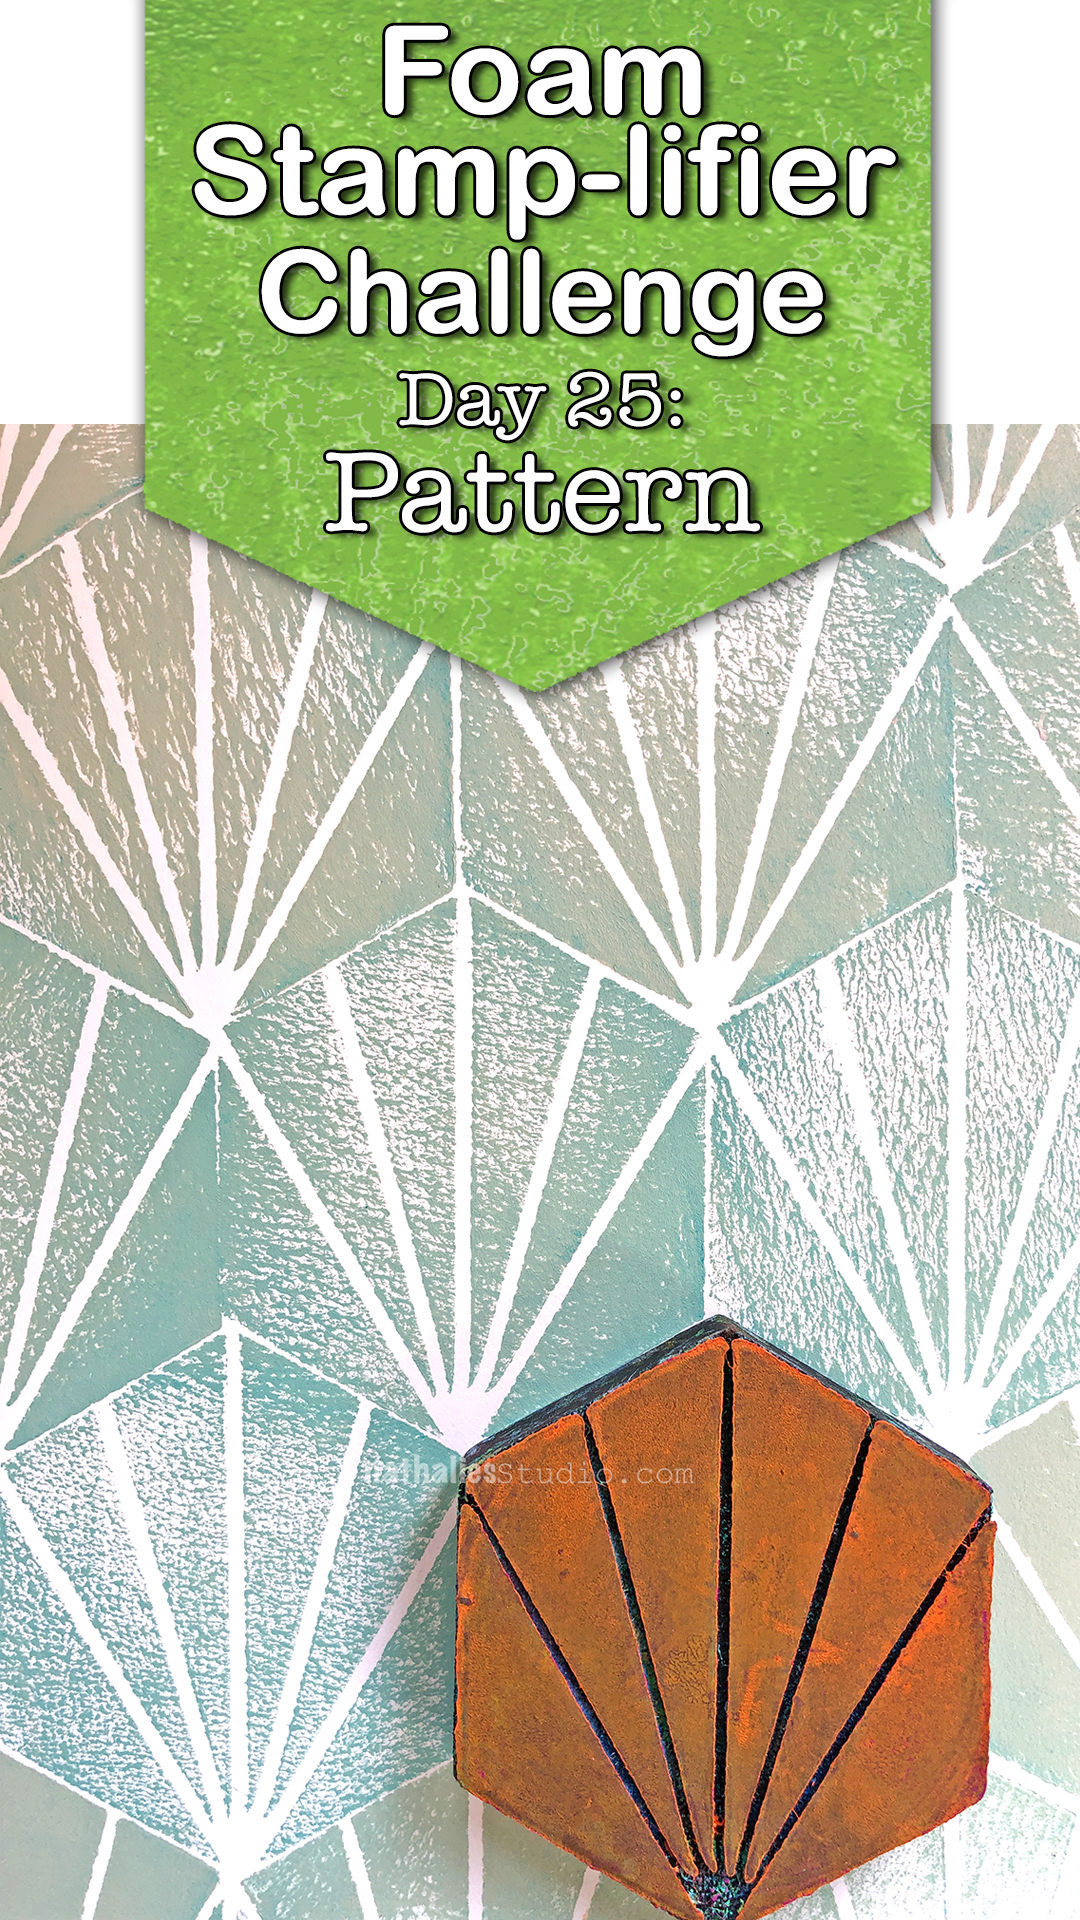
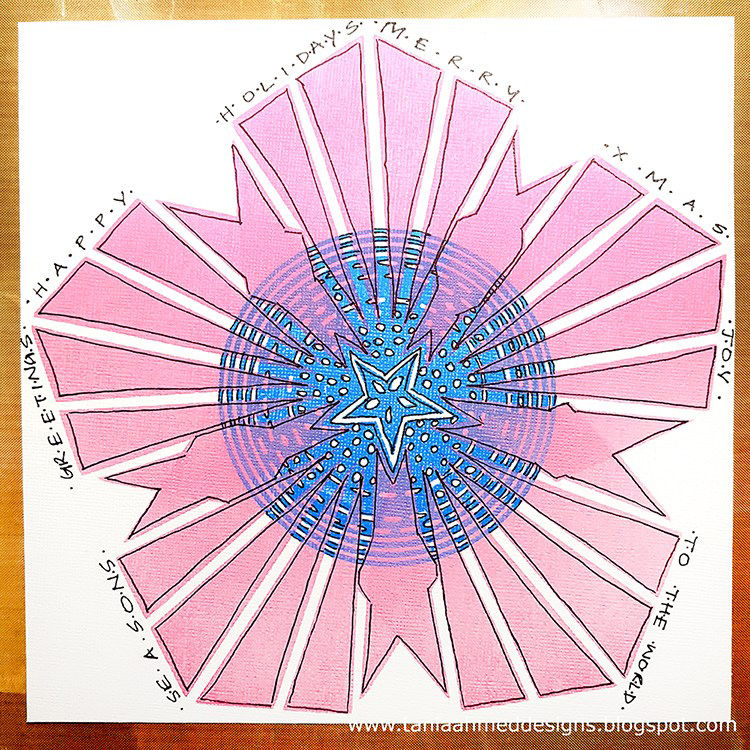
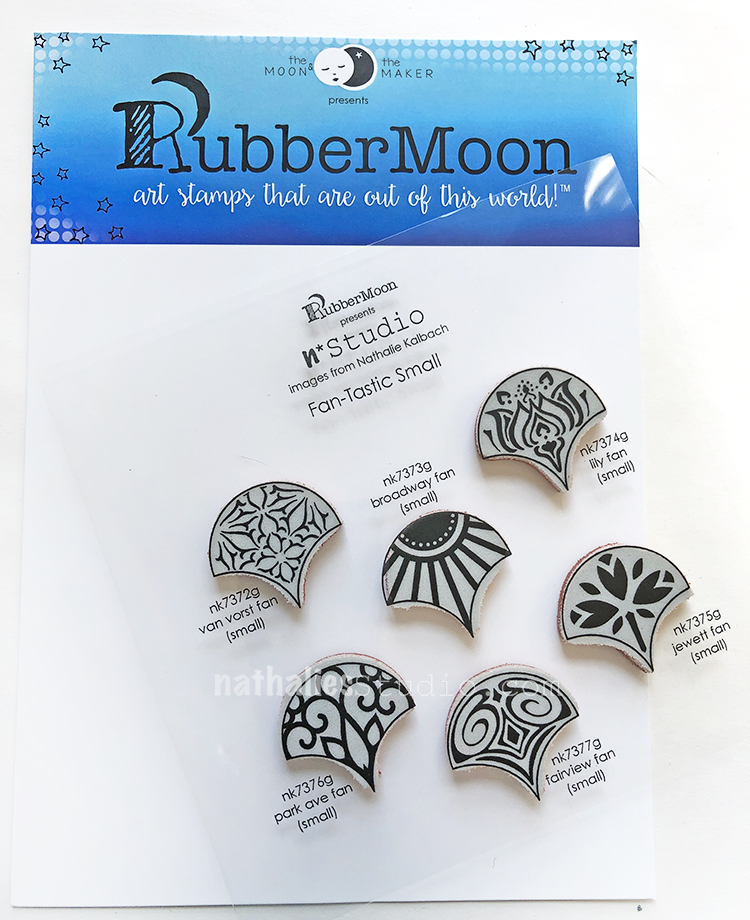
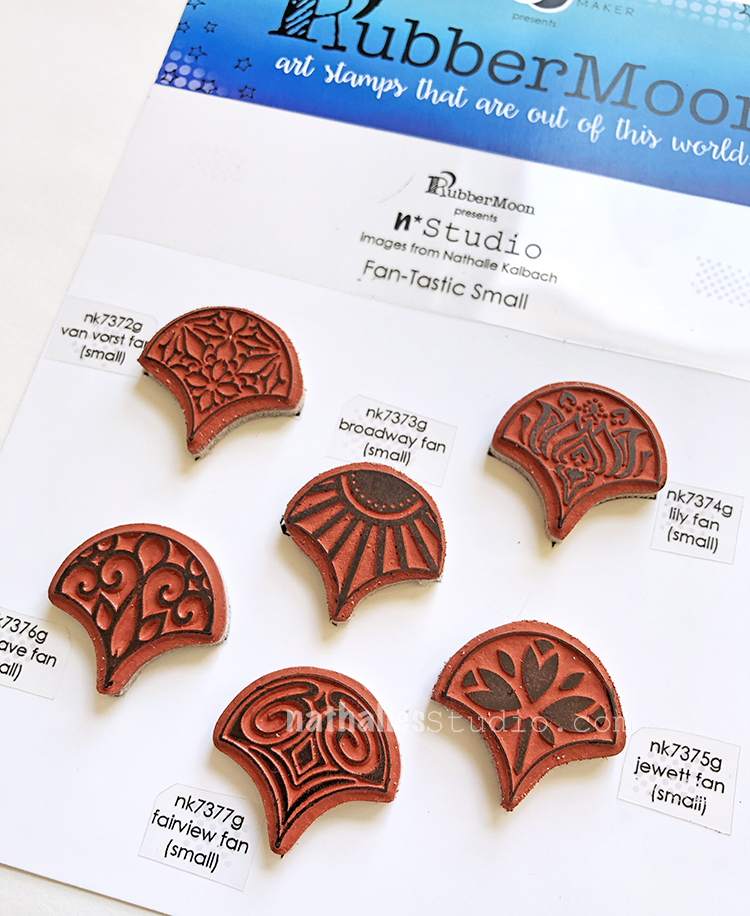
Next I cut out the images and put them on the backs of their appropriate stamps. Now for this sample I chose the Small Fan-Tastic Stamps and they are symetric on both sides- but some of my stamps have slight variations …so make sure you put the index sheet the right way on your stamp. The cling is fresh and new and will indeed cling to your plastic.

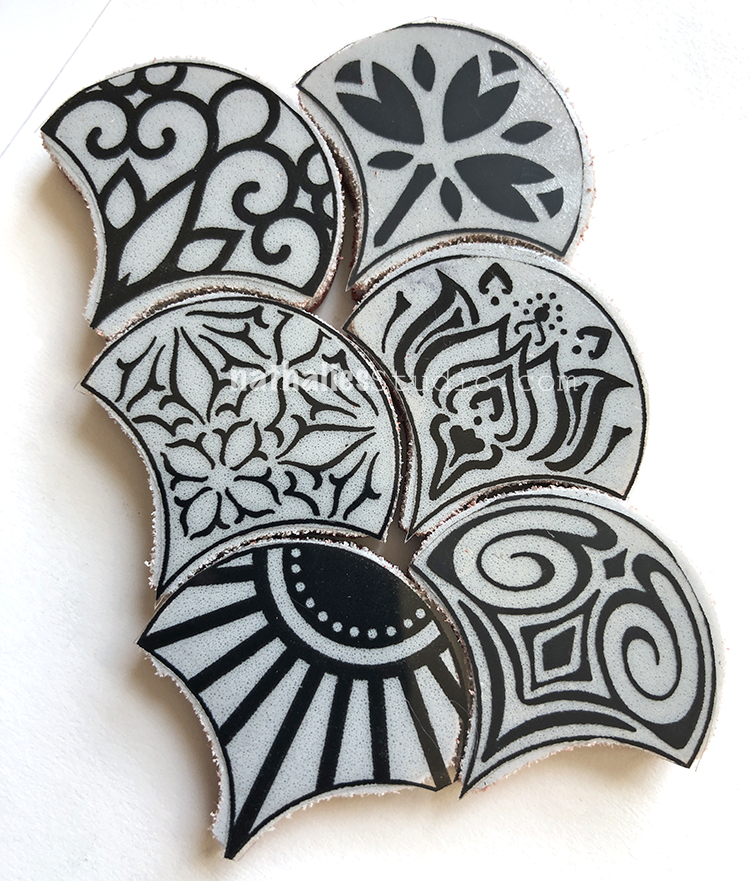
I do this with all of my stamps- and yes, the experienced stamper will rightfully ask “yeah but then those stamps do not cling to an acrylic block anymore” and I will say ” yes, you are right, BUT…” you have to decide if you rather want to see the image on the back and be able to line your stamps up more precise or if you rather want to use the acrylic block directly with your stamps- which …I admittedly do not really use that often anyway. In order for the stamp to hold on to an acrylic block if I need it, I use repositionable tape on the block – works like a charm and I can just rub it off when I am done.

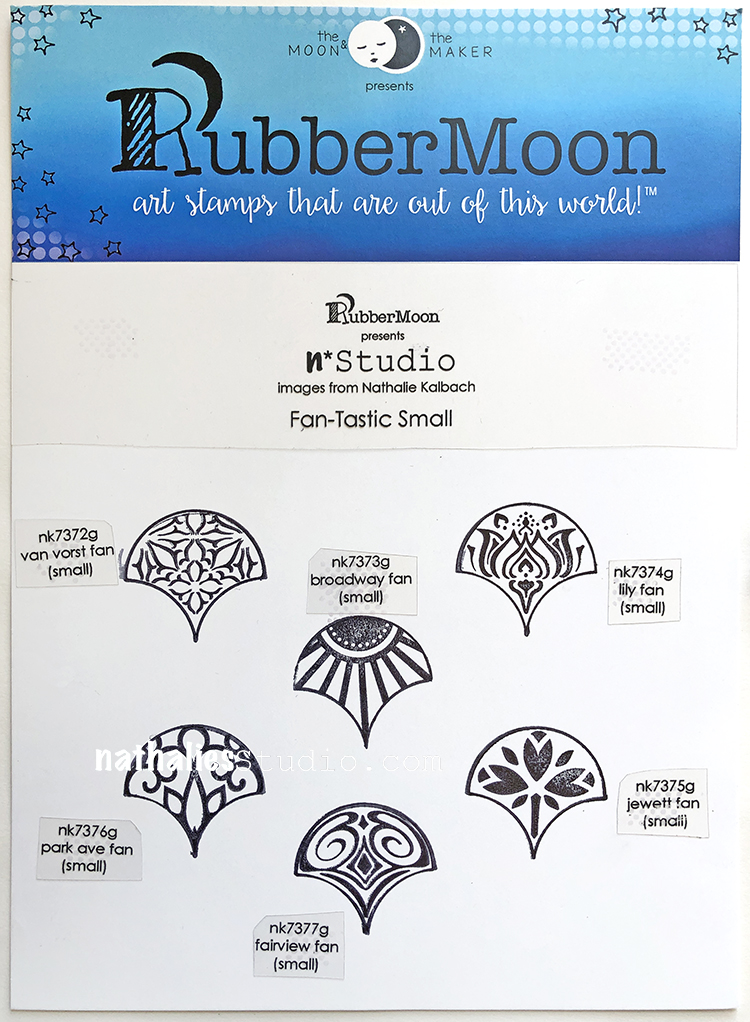
I personally also like to include the names of each stamp and the set name onto the sheet – Just because …I forget the names of my own stuff sometimes…crazy isn’t it LOL …well I am def. not getting younger ;)

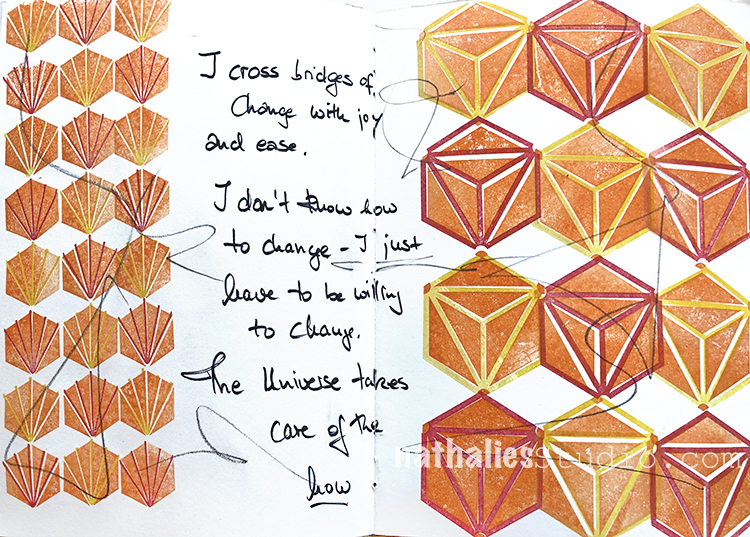
And then I can place my little stamps right on top and store them.

Is this the best way? Maybe not …but it works for me and maybe for some of you out there as well. If you have a different way of using the index sheets -let me know, I am happy to hear.

Leave a comment

Nat’s April Patterns Videos 1-4

When I received my new RubberMoon Stamp Designs I couldn’t stop making samples and patterns- so I decided to record a short inspirational pattern video each day and post them on Instagram. Here is a summary video of Patterns 1-4 – I hope you enjoy :)


Nat April Patterns 1-4 from Nathalie Kalbach on Vimeo.

Here are the four patterns I made super fast ;) in the video:

Here are the stamps I used for these patterns:


Leave a comment

Feel the Rhythm – Tania Ahmed

Welcome to a post from my Creative Squad! Today we have Tania Ahmed with a wonderful card and a video to show exactly how she puts it together. She is using my Exchange Place and Far Out foam stamps for this one and our theme for April: Feel the Rhythm – We’re thinking about patterns this month and using stamps to create a rhythm of marks. Show us your sense of rhythm!


It’s funny how mistakes can turn into happy accidents :) I had one such moment when I was filming this video and realized that my Art Foamie was not clean!!! As always I simply said an “oh dear” and thought let’s just go with it, haha!

My Exchange Place Art Foamie had been previously inked with Aquamarine Archival Ink and Fossilised Amber Distress Archival Ink which is what the Embossing Ink picked up when I stamped it. In the end I loved the effect and I hope you enjoy the video!

Nat’s latest Art Foamies release are so much fun to work with if you enjoy mark making with stamps and of course they all are a joy to work with as the impression is always gorgeous. 

Please do let me know if you have any questions and I will answer them as best as I can!

Steps:

1 Ink Exchange Place Art Foamie with Embossing Ink

2 Ink Far Out Art Foamie with Picked Raspberry Distress Archival Ink and stamp this on to the Exchange Place Art Foamie. 

3 Stamp the ink Exchange Place Art Foamie on to white cardstock and heat emboss with Clear Matt Embossing Powder. Heat set the embossing powder 

4 Apply Walnut Stain Distress Ink to white spaces and wipe off excess ink with damp kitchen towel

5 Trim cardstock Panel and distress edges and apply ink if desired

6 Assemble card!


Thank you Tania! I love how you “kissed” the stamp with clear embossing ink with a colored inkpad! Want to give it a try too? You can find all my Foam Stamps in my Online Shop. Here are some of the supplies that Tania used:


Feel inspired? Working on something yourself that you’d like to share?  I love to see how you interpret our monthly themes. Email me how you used my stencils and stamps with the theme and email me an image – I would love to share your projects in my next  “n*Spiration From Around the Globe“.

Leave a comment

The Stencilfied Journal – Prompt 12

My wonderful friend Tina Walker is at it again – she invited several people to join her Stencilfied Prompts. The prompts are music related and each week she is posting a song. You can be inspired by the lyrics, the video, the album cover or anything related and the only restriction is that you have to use StencilGirl Product Stencils. Here is my take on Prompt 12

This week’s prompt is “Jackson” Johnny Cash and June Carter. You gotta love Johnny Cash and June Carter …but hotter than a pepper sprout?

Are they hot too? LOL- anyway I spray painted over my Santa Fe Stencil as well as over my Flower Maze Stencil .

I used also some older prints of mine …because hey …do birds know that pepper sprouts are hot? LOL – Questions over questions …told you I am a weirdo ;)

Here are the supplies I used:


Leave a comment

Foam Stamplifier Challenge Prompts 29-31

Day 29 – ArtGraf

If you have taken a class with me in the past couple years, I have surely “forced”  you to try ArtGrafs  ;) No, seriously those little watercolor graphites are one of my favorite things to use with foam stamps.

Simply wet the foam stamp a little bit, rub the water-soluble graphite on top and stamp. You can use different colors and blend them as well. Take note that this doesn’t work with any graphite- it needs to be like this one water-soluble.

The ArtGrafs are so crazily pigmented that you can stamp several times, simply spritz some water in between on the foam stamp and check if you cannot get yet another wonderful image stamped off.

Day 30 – Watercolor

Oh Yes! You heard right – use your foam stamps with watercolor! For this I use a little trick:

I add my watercolor out of the tube on top of a gel plate and then add water and thin it down then press my stamp into the paint and stamp on paper.

The plate acts as a palette and inkpad and helps that the watercolor doesn’t dry too quick. For dry watercolor in pans, simply load your wet brush and watercolor and try to apply directly to your stamp. If that doesn’t work, try to add the paint first to the plate and then stamp into it. Trust me it is fun to try

Day 31- Connect

There are many ways you can “connect” the prompts of the last days- either use several different techniques on one art journal spread, create layers, or like I did create an Art Journal. I bound my own art journal –based on my online workshop BYOAJ – Bind Your Own Art Journal.

For the cover I printed on some fabric and then I chose my favorite Foam Stamplifier pages and made them into signatures for my book. They will provide great starting prompts when I want to art journal and remind me of the different techniques.

Here are the foam stamps I used for those prompts:


Leave a comment

Bridges of Choice – Art Journal

I saw this quote on instagram and I really liked it . “I cross bridges of change with joy and ease. I don’t know how to change – I just have to be willing to change. The Universe takes care of the how.”

Of course it is not always THAT easy- but I think I do like change and I have an instilled confidence in me that things will work out.

For this spread I used my new large and small Hex Rubber Stamp Sets with ink .

I stamped the positive and negative stamps on top of each other- I just love the dimension this gives.

Here are some of the supplies I used for this spread:


Leave a comment

Foam Stamplifier Challenge Prompts 25-28

Day 25 – Pattern

It is so much fun to create pattern with Foam Stamps- there are so many ways to use them to do that. Sometimes lining up the same stamp next to each other in different directions creates different patterns. Sometimes combining different foam stamps create a nice pattern cohesive pattern like my new mid century patterned foam stamps.

I also love creating tile patterns with my stamps and just thinking of the ways I can amplify one foam stamp and create different outcomes makes me all giddy. 

Day 26 – Mix & Match

Another way to use the foam stamp is to layer different foam stamp patterns on top of each other.

I love to use the same pattern as a big and small pattern to layer on top of each other.

Or as you can see my Creative Squad member Tania created a really cool layered Holiday card by printing the Clam Hex Stamp next to each other and then layering the Circle Drive stamp in the middle – I just love what she did there.

Or sometimes just stamping the positive and negative stamps- like the Santa Fe stamp on top of each other by layering them in opposite directions will create a fun new layered design. Just play with it.

Day 27 – Sculpt

I love using my foam stamps when sculpting little plates or bowls with air-drying paper clay. I rolled out my paper clay as you would roll out dough, put a plate or bowl of my desired size on top and then cut the clay around the edges.

I then pressed my inked up foam stamps into the clay to create texture and pattern with a faint of color.  For the bowl shapes, I put the clay disk into the bowl, shaped it to my liking and then let it dry overnight. I love these little pieces; they make great gifts and can be used to hold jewelry or other little tidbits.

Day 28 – Gesso

Gesso is such an awesome medium. One of my favorite techniques with Gesso and foam stamps is to paint a layer with gesso, and then press the stamp into the gesso while the gesso is still wet.

Remove the gesso from the foam stamp after each print. Then let the imprinted surface dry. The magic starts when you add a thin layer of acrylic paint on top of the surface.

The paint gets more resisted on the raised gesso areas and accumulates in the grooves revealing the pattern and texture in a really beautiful way. Sometimes I let the paint dry and even add another different color – again needs to be fairly thinned down! – on top.

Here are the different foam stamps I used for these prompts


Leave a comment