

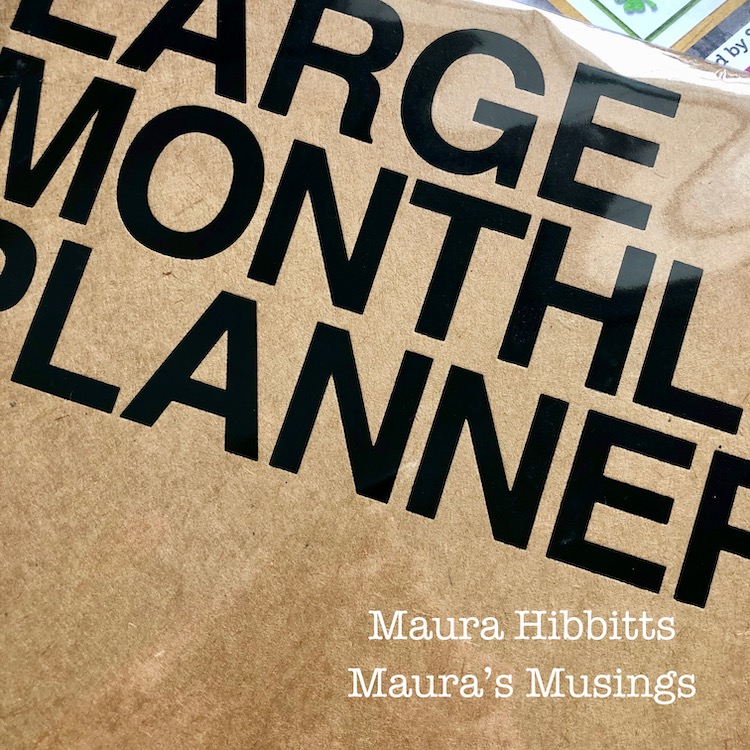
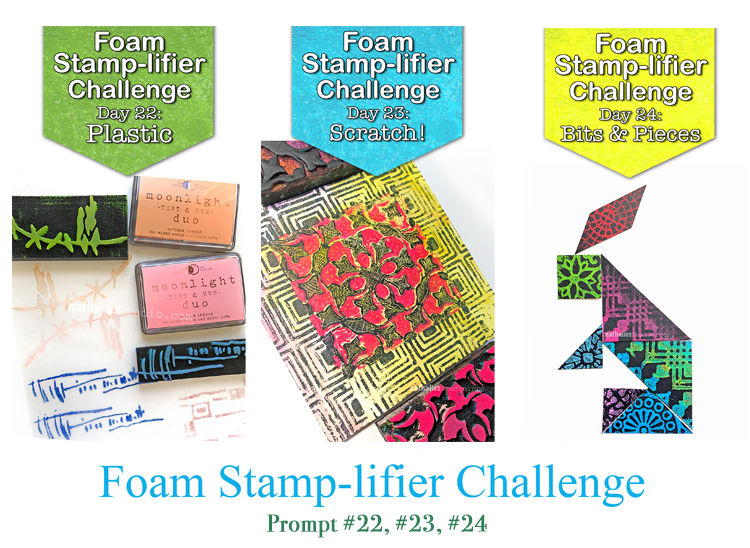
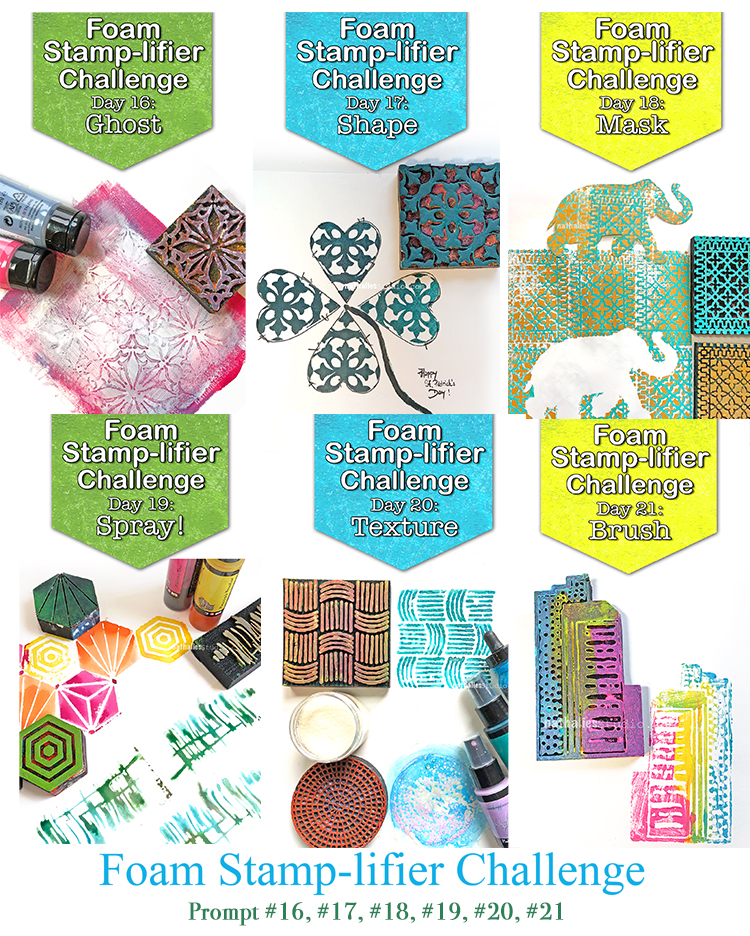
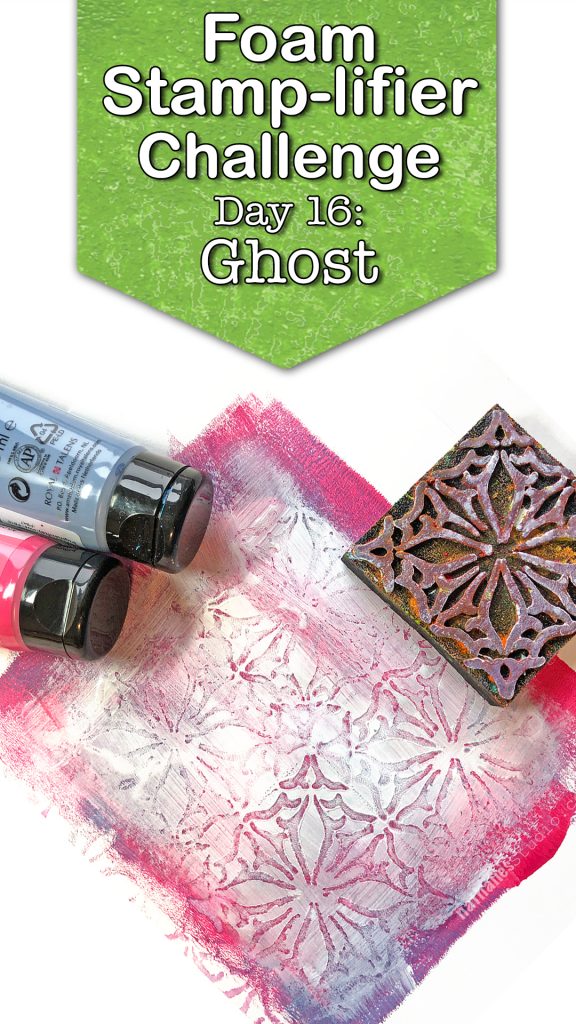
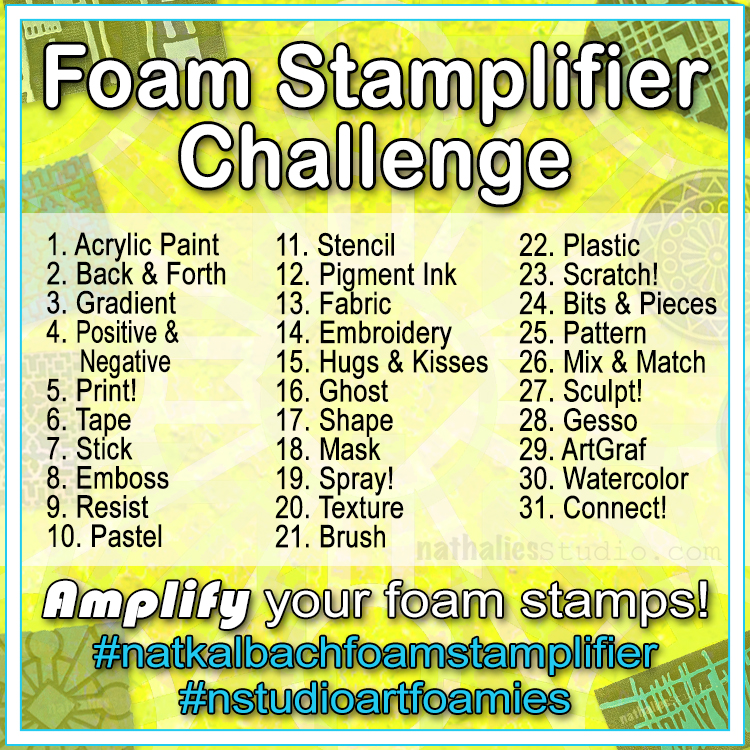
This month my Creative Squad is playing along with my new Foam Stamplifier Challenge: All month long you can follow my daily prompts on Instagram and on the blog to amplify your foam stamps!!! Today Maura Hibbitts is following the prompt Mix & Match. She’s using my Mid Century Squared, Signals, and Jazzed foam stamps to dress up a monthly planner.
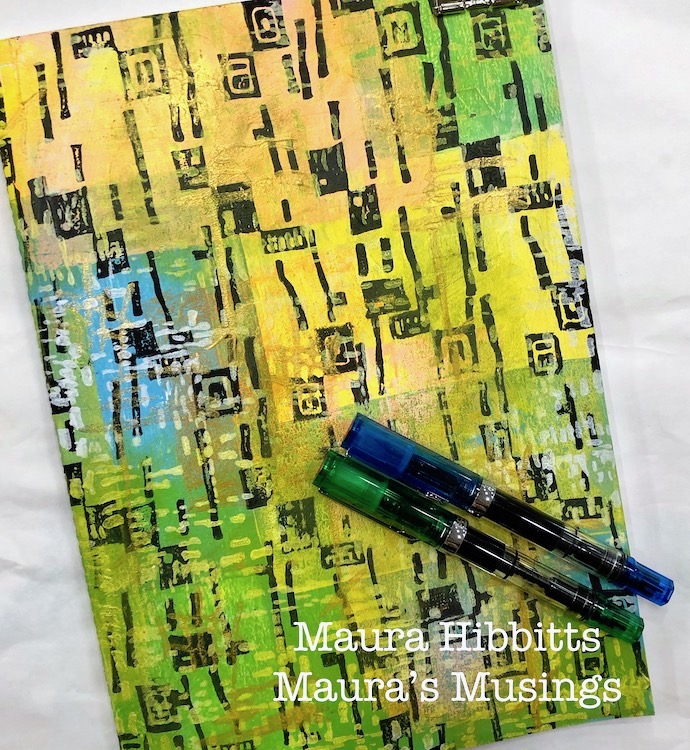
How fun is it to mix and match several Art Foamies into a project? For me, it’s a blast! I love to create layers with colors and designs, and I am mixing and matching to my heart’s content as I transform a calendar. I use a large calendar to keep track of all my art deadlines, and I’m going to need a new one soon, so time to get started!
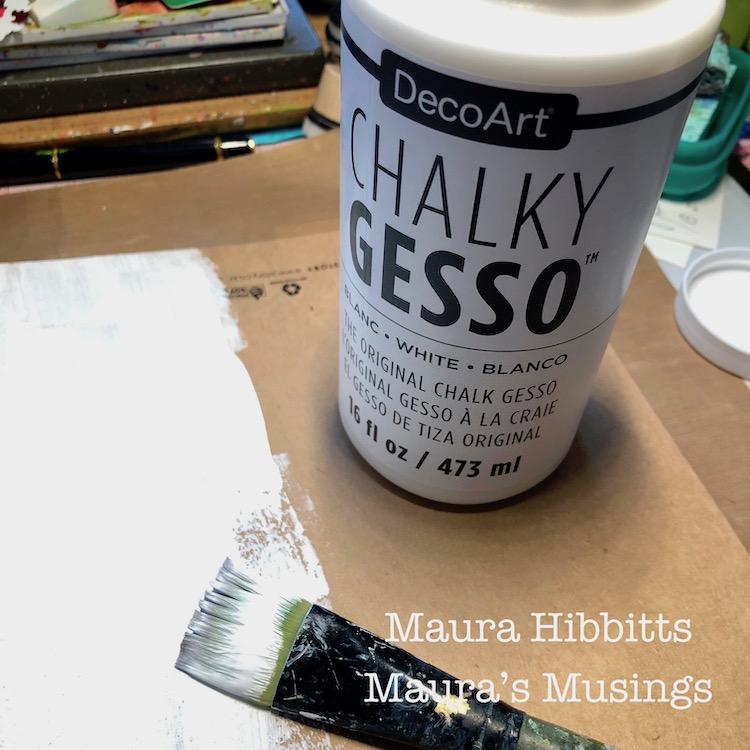
First step is to apply a layer of gesso to the kraft calendar and let it dry completely.
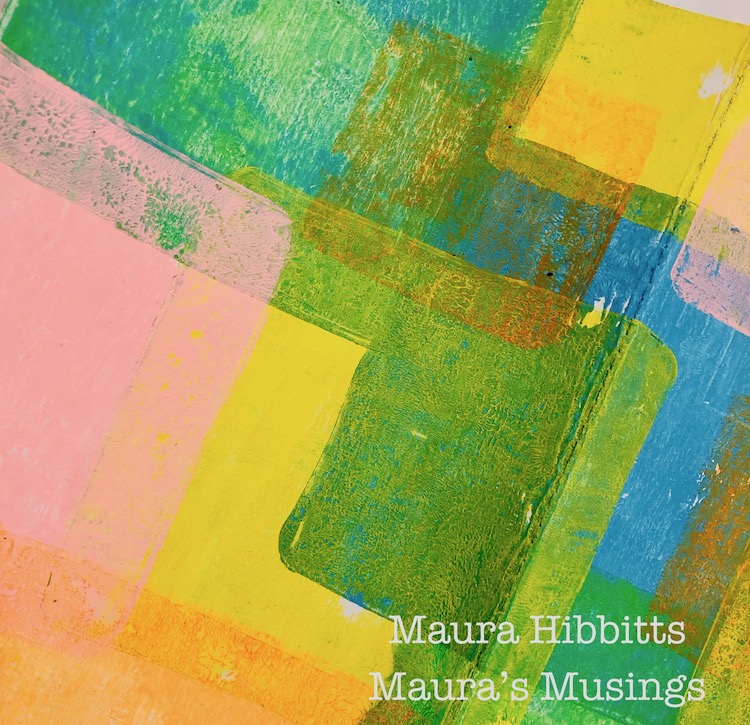
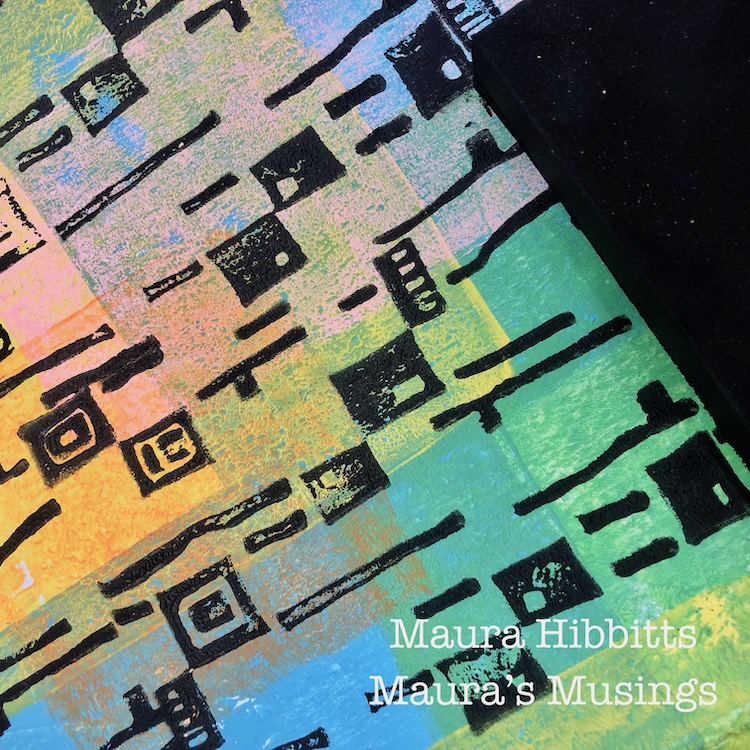
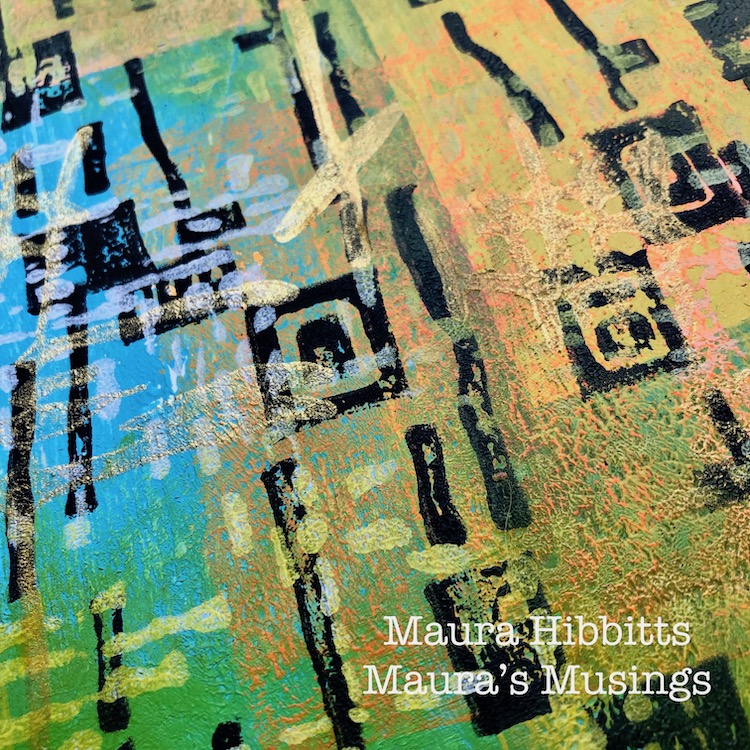
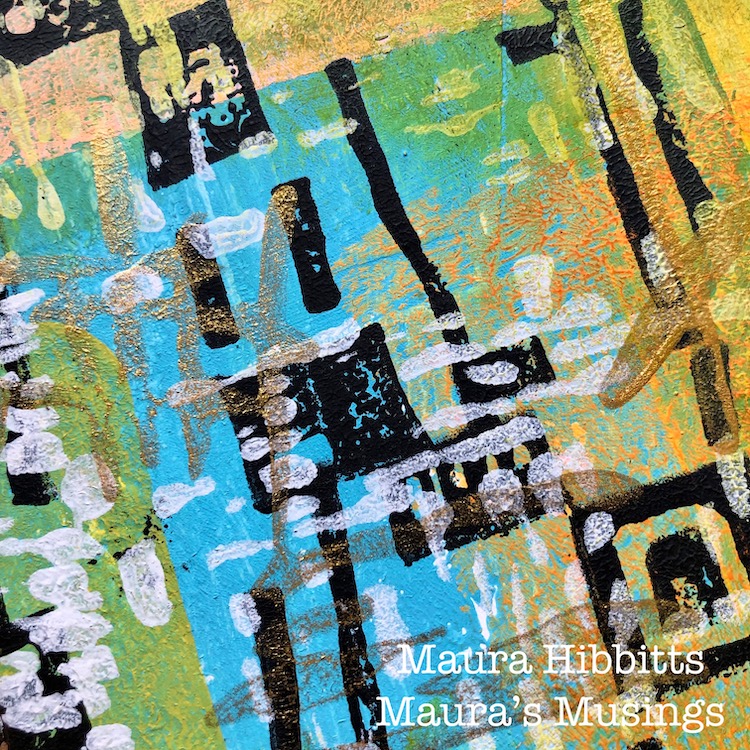
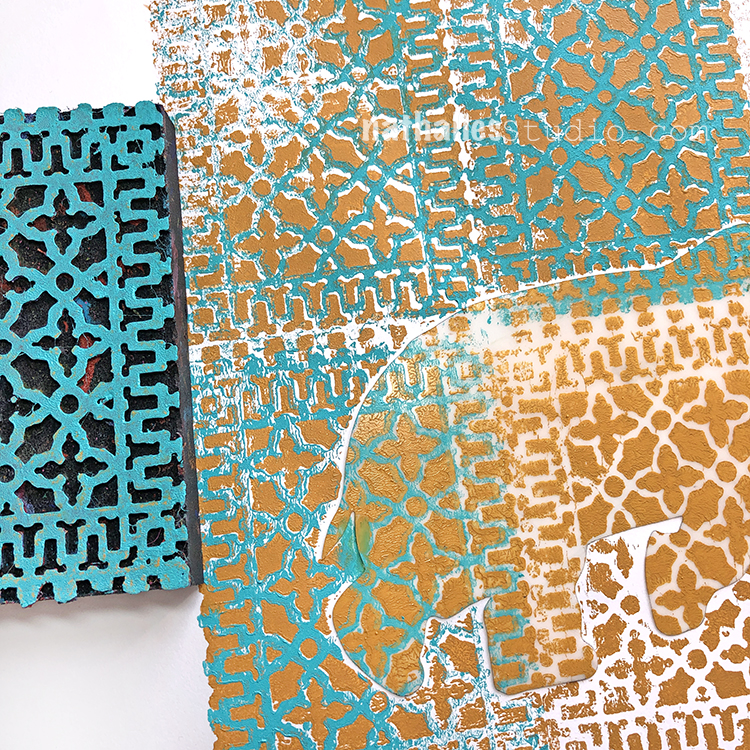
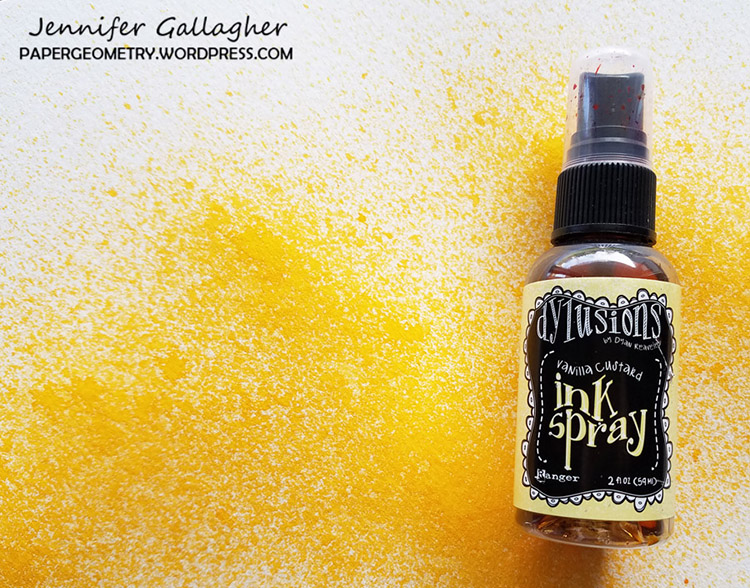
I wanted a colorful background to build my layers onto, and came up with this idea. I took my 6×6 gel plate, and added a layer of paint with the brayer, then “stamped”my plate onto the calendar. I repeated this several times with one color, then added new colors. I also overlapped my blocks of color to make it more interesting.
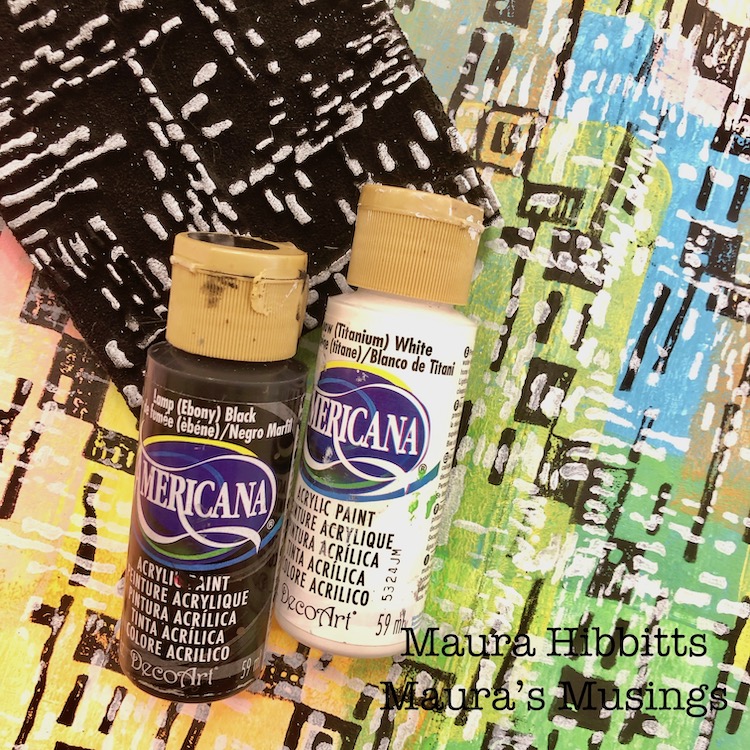
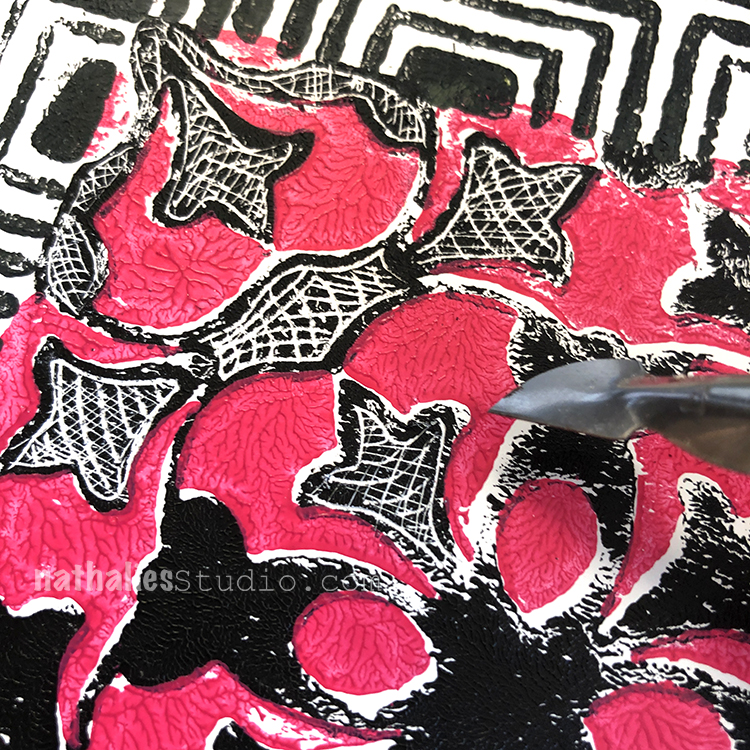
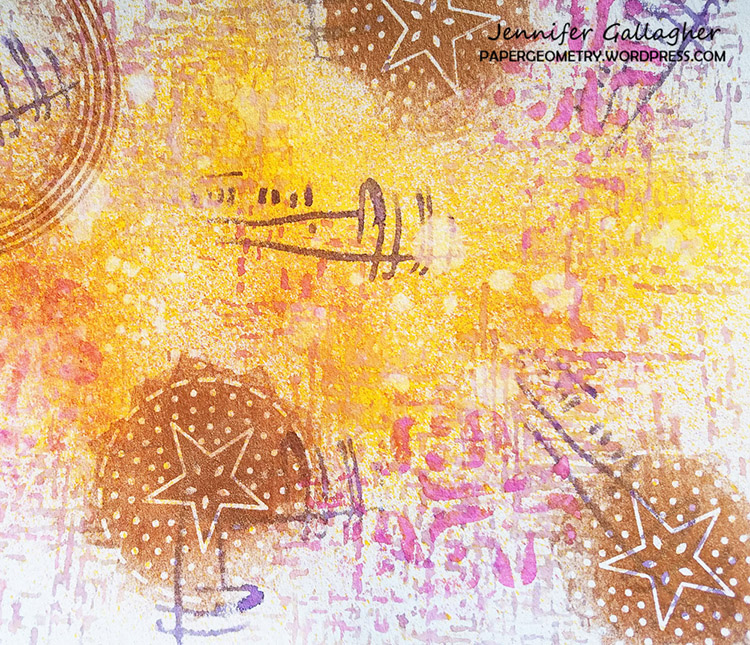
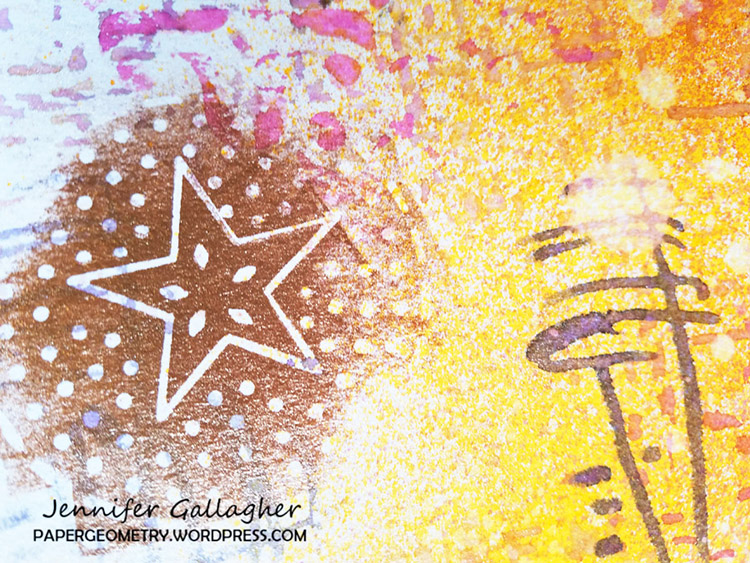
Now, it’s time to stamp a repeating pattern onto my calendar with the Mid Century Squared ArtFoamie (love this pattern!) and black acrylic. I brayer the paint onto the gel plate, press my stamp into it to get a good solid layer of paint on it, and then line it up and stamp the bold pattern. My gel plate acts like a giant stamp pad, only with paint. Use the heat tool if necessary to speed up the drying time of the layer.
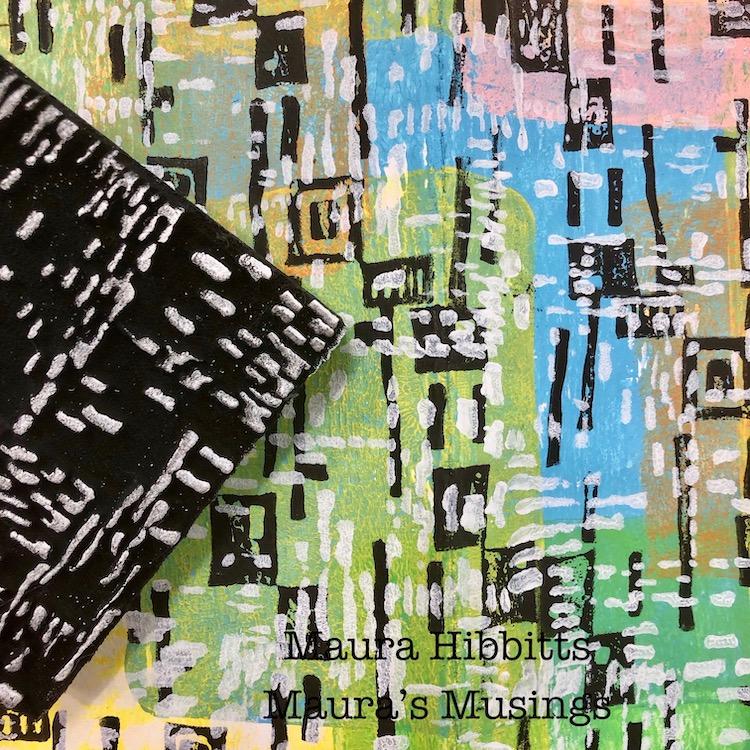
Next layer is white acrylic with the Signals ArtFoamie. I repeat the previous step in order to get another overall pattern that I am mixing and matching with the black.
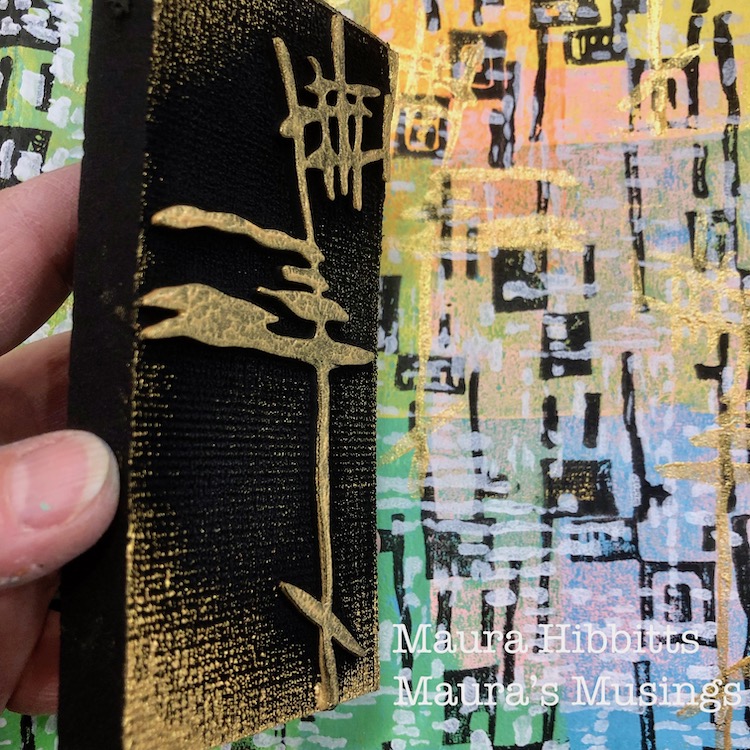
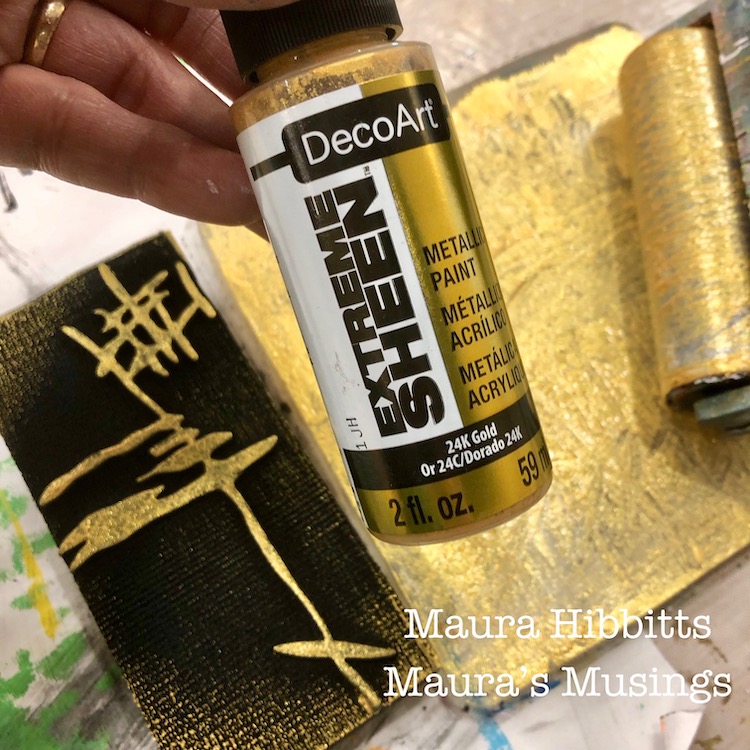
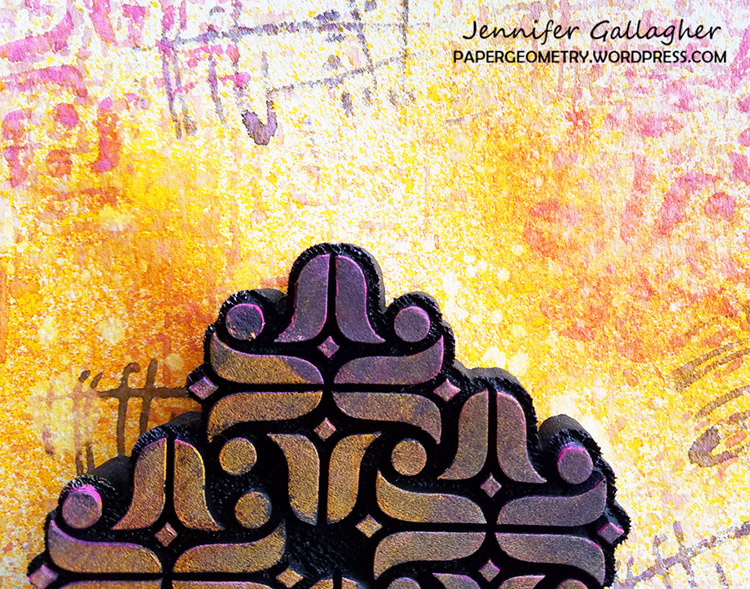
Every calendar needs a bit of glitz and glamour, right? The Jazzed Art Foamie is perfect with a shimmer of gold. I randomly stamped this image onto the calendar, again using my gel plate like a giant stamp pad with the paint.
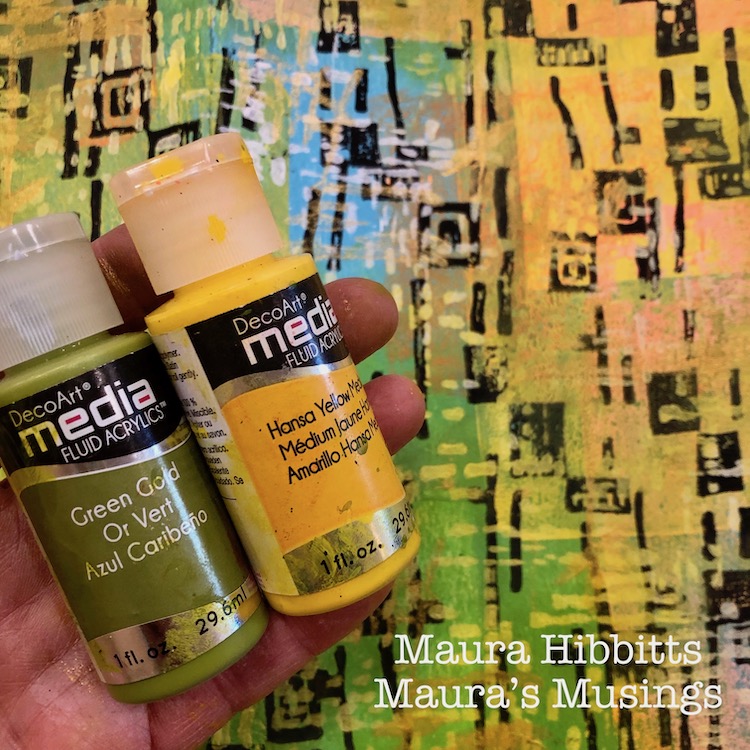
I mixed and matched three different patterns onto a very colorful background, and at this point it was looking a bit wild. I decided to tone it down and pull it together by rubbing on some transparent fluid acrylics with my fingers, and using a baby wipe to remove it a bit if I got too heavy fingered. Once my cover was dry, I stamped the months on the pages and started writing in the dates.
Check out the details to see how easy it is to mix and match ArtFoamies to create delicious layers! Each design remains visible, but is linked to the others.
I toyed around with the idea of adding a focal piece to my calendar, but decided I like it just how it is. I now have my own personalized, colorful calendar which will be fun to pull out and use for planning.
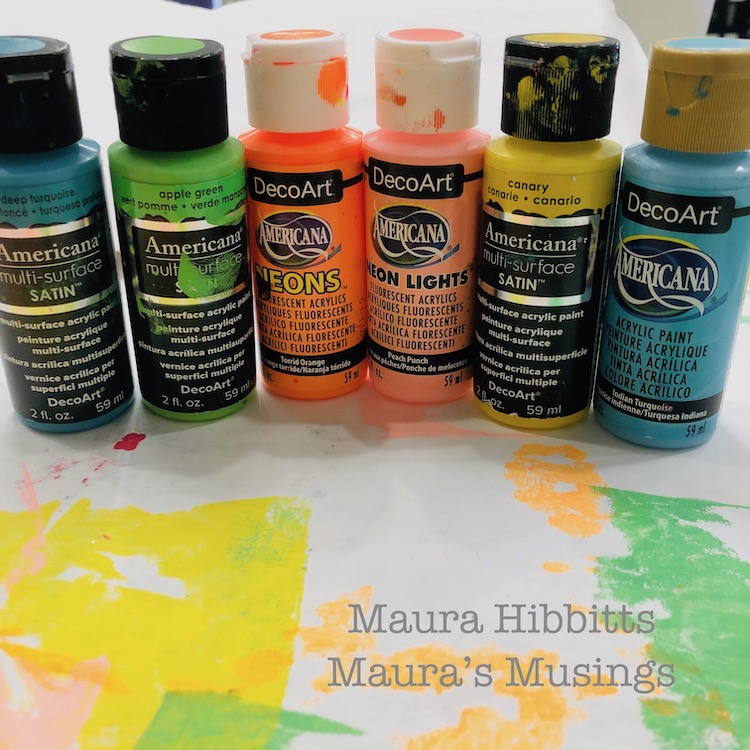
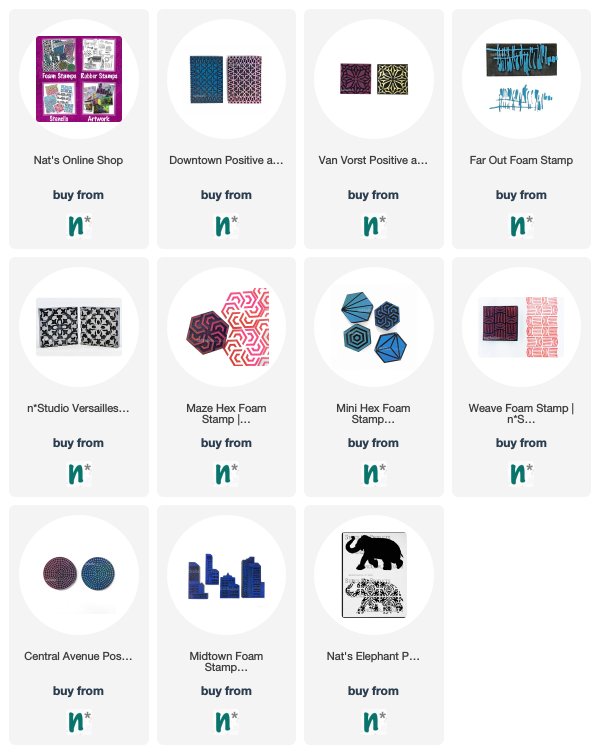
Thank you Maura! I just love these colors and how my Mid Century Squared stamp pops when done in black. Awesome! You can find my Foam Stamps in my Online Shop. In addition to white Chalky Gesso, here are some of the supplies that Maura used:

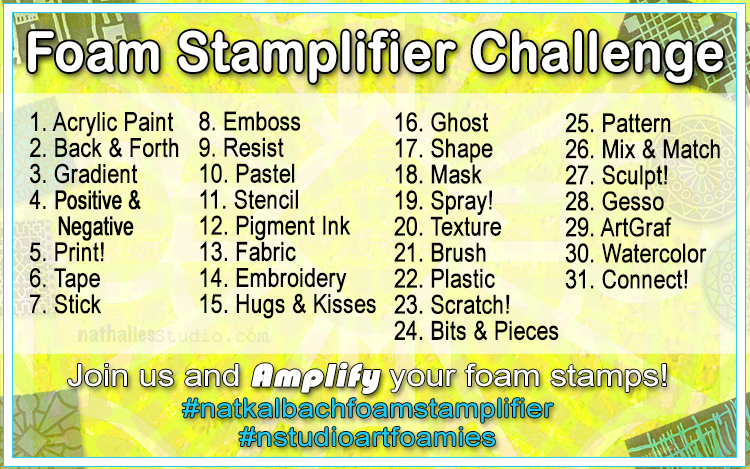
Feel inspired? I hope you join us for the Foam Stamplifier Challenge this month. As you play along, don’t forget to tag me when you share your creations – I would love to share your projects in my next “n*Spiration From Around the Globe“.


thanks so much for sharing your hood pics. we live in rural va and are surrounded by natural beauty, but not much wo-man created art!
Reply