Blog: Collage

Be Happy – ArtFoamies for Clay and Pottery!

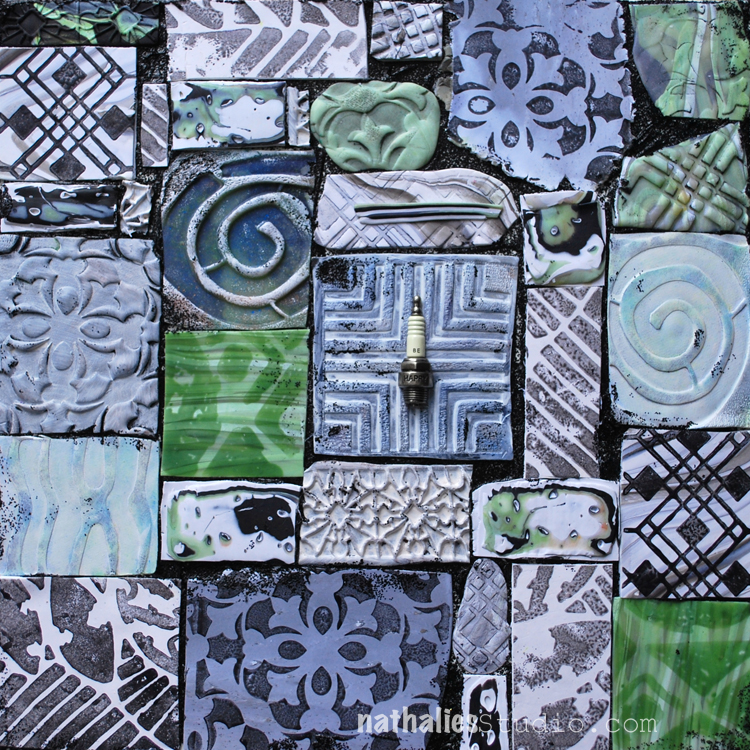
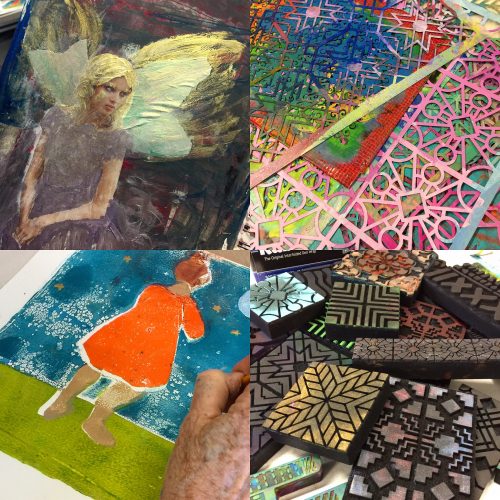
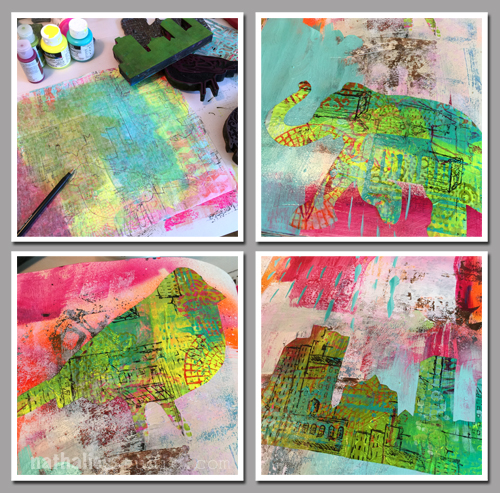
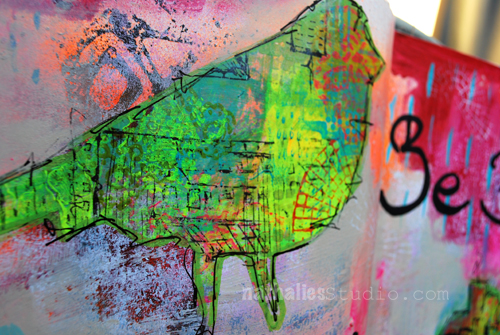
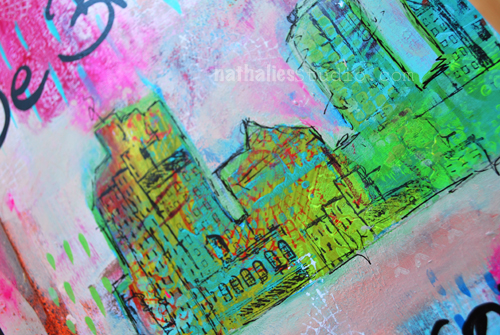
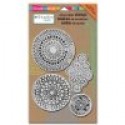
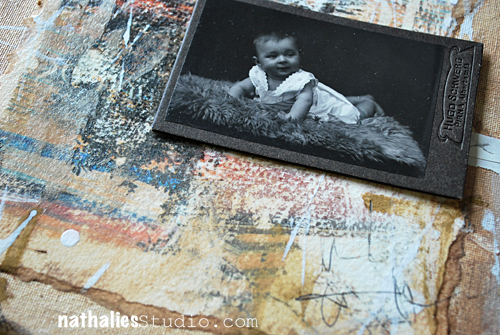
I made this piece for the ArtFoamies booth at Creativation (a Craft and Hobby Convention). Additional to my Foam Stamp Designs as you know them, ArtFoamies just released my designs also in a more sturdy and harder foam form so that they can also be used for pottery and clay. What a great excuse to try those and have a play date with  my friend and neighbor Donna Greenberg who is an amazing Polymer Clay Artist. What a lucky ducky I am with such a great teacher! Check her amazing work out!!!

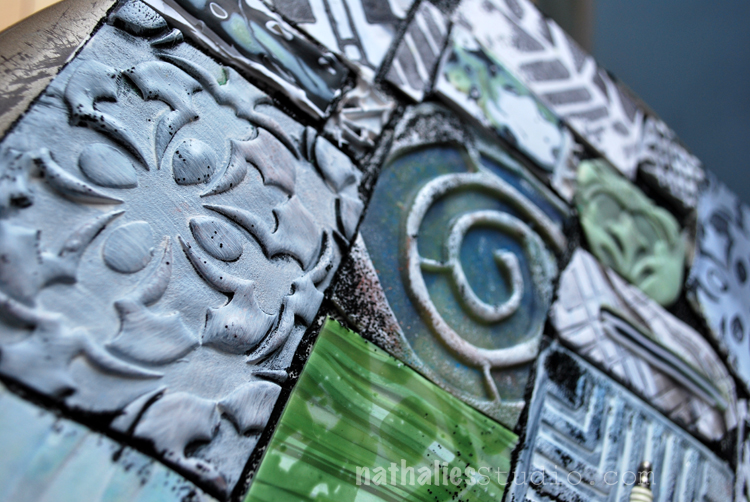
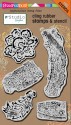
While those stamps work very well with paper clay, Donna showed me that for Polymer Clay I would have to use some softer versions to get a nice impression. I played around with all kinds of fun and new to me stuff. I made impressions directly into the polymer clay, for example here with the Manhattan Foam Stamp for Clay.

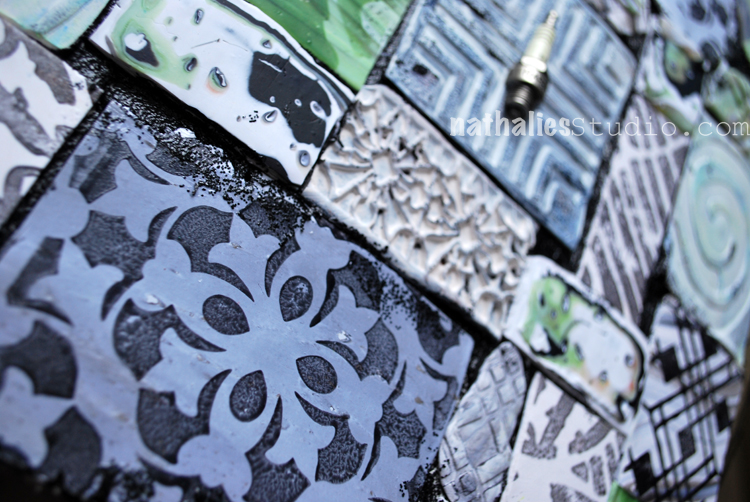
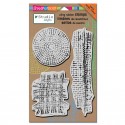
I stamped with some liquid polymer clay on top of polymer clay- ohhhh I love this! See the Versailles Stamp on the bottom.

Here are some more varieties of impressions with Versailles and the Batik Stamp.

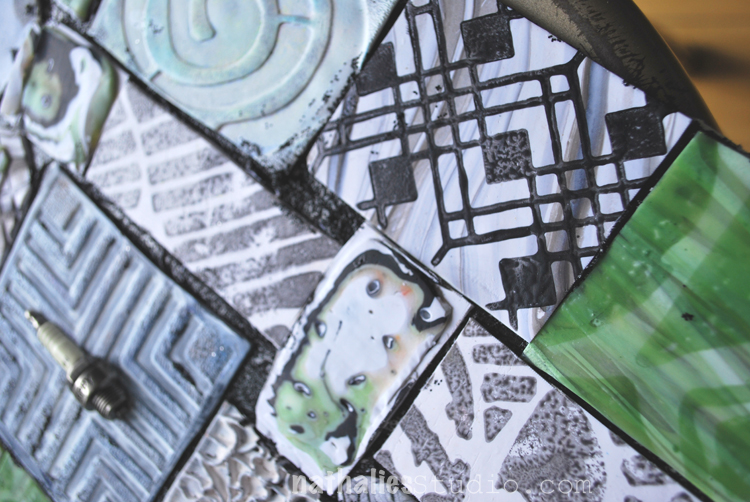
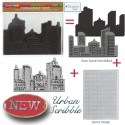
On the top right you can see the Chicago stamp stamped with liquid Polymer Clay.

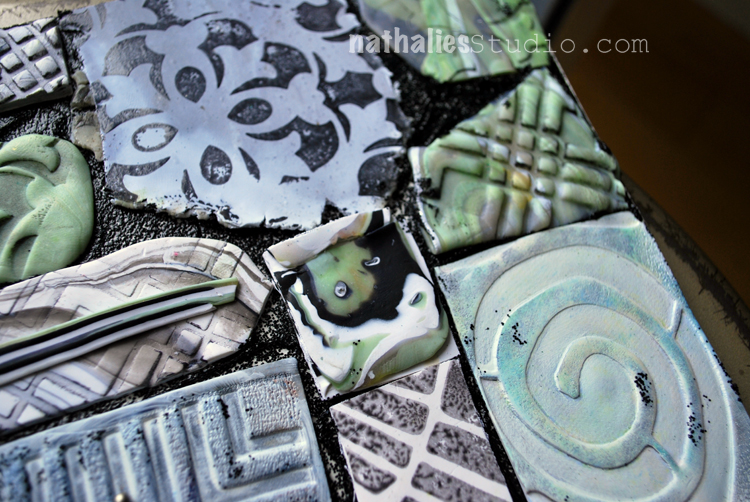
I cut the pieces and mounted them with Black Lava onto a board. I totally love all the texture and the outcome. One of my favorite pieces and a big stretch for me working with a material I have never worked with before. You can buy the Clay versions of my stamps directly at ArtFoamies – I carry all the normal Foam Stamps as well :) I cannot wait to play a bit more with those – next up is paper clay.

Are you working with Clay, Polymer Clay or Pottery and would you use those?

Comments (4)

  • Marna

    |

    Excellent! I love working with textures and clay and have used embossed wallpaper with patterns in my pieces. Can you describe how you used the liquid clay?

    Reply

    • nathalie-kalbach

      |

      thank you Marna. I used it like paint on top of the foam stamp and stamped with onto the still non baked polymer clay. Then I baked it. Love the visual and actual texture this created and the liquid polymer clay is just slightly sitting on top of the polymer clay piece.

      Reply

  • joi

    |

    Just mind boggling Nat – how INCREDIBLE. These are WONDERFUL. Never even imaged such wonders as these! Xj.

    Reply

    • nathalie-kalbach

      |

      awe- thank you so much Joi – glad you like it :) Have a gorgeous weekend!

      Reply

Leave a comment

Workshops at The Queen’s Ink in Savage, Maryland Oct 21-22

This year I have taken a big break from teaching due to the book, and I do have to say I really missed teaching. I had a fantastic time at The InkPad with a 2Day workshop on the weekend – here is a little peek of what we did and the new fun things we used. I will post more pix in a couple days. It was wonderful to spent time with super creative and fun students, see my new products in action and be equally inspired by my students and how they put their own spin on things!

img_3916

Now I am getting ready for my classes at The Queen’s Ink in Savage, Maryland in two weeks. I am bringing three super fun workshops with me, which I have taught before and were a big hit – I cannot wait to spice them up with some super duper cool ArtFoamies and …did you spy them? – new stencils. There are still a couple seats left – so join me if you are in the area!

QueensInkWS

Friday October 21, 2016 – 11am-3pm

Walk With Me – Altered Book Class

WalkWithMeAd2

Registration Open Now


Friday October 21, 2016 – 5pm-9pm

Play – Transform – Mixed Media Collage Class

MixedMediaCollage

Registration Open Now


Saturday October 22, 2016 – 10am – 6pm

Artvergnugen – Art Journaling Class

ArtvergnugenAd

Registration Open Now

Have a gorgeous day!

Leave a comment

Be Brave Art Journal Page and Stampendous Giveaway

STM_NatNfriendsSummerHop_FBpost

Today is the last day of the Nathalie Kalbach & Friends Stampendous Summer Hop – so much fun :)

What better way to celebrate summer than with some summer colors, I thought and created this Art Journal spread with all kinds of bold summer colors and different sets of the stamps I designed for Stampendous.

BeBrave_NatKalbach01

I layered some acrylic paint onto my art journal pages and set it aside for later. A list of all supplies can be found at the end of this post.

BeBrave_NatKalbach05

For the Bird, Elephant and Urban Scribble image I wanted to create my own patterned paper and I love to use deli paper for this because it is cheap and thin enough that you can use it to wrap up small presents, and can be used easily as collage material in your mixed media art work. I used the same colors over and over again, first adding big patches of colors to the deli paper, then stamping with acrylic paint and all kinds different Rubber and Foam Stamps. Later I layered some of the stencils which are included in my stamp sets on top to tie some areas together. Last but not least I used the Urban Scribble rubber Stamp and black archival ink and stamped randomly here and there.

BeBrave_NatKalbach06

I traced the Foam Stamps onto the back of my new patterned paper and cut out an elephant, bird and the urban skyline. I glued all the cutouts down onto my earlier painted art journal spread using Matte Medium and a cosmetic sponge. Then I added a couple more marks and colors to the page and outlined the shapes in a sketchy manner. Added some Journaling- and voila :) It was a lot of fun to just play with all the different stamps. I cannot wait to make more patterned paper to use this way for wrapping paper – a good way to use up some of your left over paints and stamp off your inked stamps. Here are the details of the elements on the finished page

BeBrave_NatKalbach02

BeBrave_NatKalbach03

BeBrave_NatKalbach04

I hope you enjoyed this fun and colorful post :)

STM_NatNfriendsHop_prize

Do not forget that you can win all three of my Stamp Sets by commenting today on the blogs with projects of my stamp sets in this list from the whole week. Check out all those amazing projects my friends posted – I am blown away:

Stampendous Blog Post Monday

Pam Bray Monday

my blog – Creative Squad – Cheiron Brandon on Tuesday

Katy Leitch on Tuesday

Stampendous Blog on Tuesday

Stampendous Blog Post Wednesday

Gwen Lafleur Wednesday

my Creative Ice Breaker Wednesday

Louise Healy Wednesday

Stampendous Blog Post Thursday

Rae Missigman Thursday

Marsha Valk Thursday

Katy Leitch on Thursday

Allison Heikkila on Thursday

Mark Gould on Thursday

Stampendous Blog Post Friday

Tina Walker Friday

Pam Bray Friday

Lea Fritts Friday

Katy Leitch on Friday

Tenia Nelson on Friday

my blog- you are here :)


Have a wondeful day and good luck!!! Stampendous and I will post about the winner on our blogs next week!

Here are all supplies including the stamps I used (some are affiliate links).

SuppliesCJS


Comments (35)

  • Linsey

    |

    Oh goodness! Your art journal pages are SO gorgeous and completely inspiring!!! Thank you so much for sharing your awesome creativity and talent and for coming together to bring your fans this super cool mixed media hop!! I’m thoroughly enjoying seeing your marvelous designs come to life!!!

    Reply

  • D.Ann C

    |

    Oh, I have a serious crush on your user of neon colors!!! I have also developed a serious crush on your stamp/stencil sets this week. Can’t wait till my budget let’s me indulge in getting some!!! -FL

    Reply

  • Leadonna Fritts

    |

    I absolutely love your style of creating, Nat. Like me, you love color and it shows beautifully in your work. Your art journal pages just speak to my heart. Thank you for sharing!

    Reply

  • Janet Staples

    |

    I LOVE this! So bright while being subtle and bold! Brilliant. I’m glad I ran across this…can’t wait to see the other artists’ interpretations! Thank you so much for all of your inspiration Nat!

    Reply

  • nicole n

    |

    Love all of the bright colors and the elephant!

    Reply

  • Jackie Schachter

    |

    When I reached this page I just said to myself “wow’. Love the
    brilliant colors of the backgrounds and stamps. You and your
    designers are so talented. Have enjoyed this week’s blog
    hop – it was fun. TFS.
    Jackie, Tel Aviv, Israel

    Reply

  • Sarah P.

    |

    The journaling pages are so colorful and make a statement. I love them, they catch your eye for sure.

    Reply

  • jacqvz

    |

    So inspiring! Love the hold colors!

    Reply

Leave a comment

I Just Want to …. or In My Art Journal Today

NatKalbach_Laughing01

“I just want to spend the rest of my life laughing”

NatKalbach_Laughing03

I painted the background of my art journal spread and then used various left overs from mono prints I had done on deli paper and watercolor paper. I collaged the papers onto my background with Matte Gel Medium. Especially the Deli Paper fuses nicely into the background and is an awesome paper to use for collage.

NatKalbach_Laughing02

I used Markers for the image and the journaling and highlighted areas with the white Signo Pen. I actually liked working with a very light background and adding darker focal points to it- I often tend to work from dark to light … time to challenge myself to change that up a bit more often.

nSupplies


Comments (3)

Leave a comment

Mixed Media Workshops in Florida, Lake Worth in November

Coming back to Everything Scrapbook & Stamps in Lake Worth to teach classes from Friday November 14- Sunday November 16, 2014.

Friday 14, 2014 – Texture Journal – 6-9pm

Texture-Journal-WS

Create wonderful texture pages with mono printing, stenciling and stamping techniques, encrust them with different Embossing Media and bind them together in a beautiful tactile art journal.

Saturday 15, 2014 – Artvergnugen – Art Journaling Class – 10.30am – 4.30 pm 

NatKalbach_ArtvergnugenAd

It starts the moment you sit down, an experience that is distinctly Art Journaling. A quick exhilaration, a sense of control, the art media’s surprising responsiveness as if they were simply an extension of you.

There is a word for this creative experience: Artvergnugen ! Artvergnugen is what makes your journal a piece of art.

Join Nathalie for a one-day workshop and play with different art media and supplies. Learn techniques, tips and tricks to take your art journaling further and turn it into Artvergnugen.

Sunday 16, 2014 – Play Transform: Mixed Media Collage – Noon- 6pm

NatKalbachCollages

In this one-day workshop Nathalie will share her favorite techniques to create background papers using paints, stencils, and stamps. Layered up it will turn into a fun Mixed Media Collage. Nat will share her fun and easy peasy collage techniques, talk a bit about composition and make a sticky business a creative new passion for you.

I will bring loads of fun goodies and we will play with heaps of fun art mediums and materials. I hope I will see you in Florida – I cannot wait :) we had a great time last time I was at Everything Scrapbook and Stamps in 2012.

have a gorgeous day

Comments (1)

Leave a comment

Photos of the Acrylics Demystified Workshop

NatKalbachAcrylicsDemystifiedWS

It was such a great and fun day teaching my Acrylics Demystified Workshop for The Ink Pad in New York City. As with most of the bigger group workshops it took place at the Westbeth Community Room which is the perfect location for those kind of workshops- huge space, lot’s of light, outdoor space and a little kitchen included.

NatKalbach_AD01

We talked a lot about Liquitex Acrylic Paints and Acrylic Inks and Markers. About art supply labeling and the main groups in acrylics.  And then started playful by pooling, puddling and stringing with Liquitex Pouring Medium and String Gel. I showed how to make acrylic skins and demonstrated several possibilities of using them. Perfect way to get over the White Canvas Horror :)

NatKalbach_AD02


Then we sculptured our way up using Liquitex Flexible Modeling Paste -look at Karen’s awesome canvas on the top right and then we explored the possibilities of making your own glazes and playing with layers, translucency and colors in collages.

NatKalbach_AD03

We used Ceramic Stucco, Super Heavy Gesso, Natural Sand played with different Transfer Techniques and it was fun to see how all these little techniques and informations sparked a load of creative ideas for future work and exploration in the heads of my wonderful smiling students.

NatKalbach_AD04

Lastly we did a bit spray painting with Liquitex Spray Paints in the end to cool down outside  .

NatKalbach_AD05


To finish the workshop off I asked everyone what their favorite Acrylic was and which techniques. I was happy to hear that about everything was mentioned at least once with some clear winners on the Liquitex String Gel, Liquitex Super Heavy Gesso and the Liquitex Gel Medium & Varnish and for the techniques Glazing, Texture Creating and Painting with Newspapers 

NatKalbach_AD06

thank you girls for such an amazing and fun workshop day . An extra thank you to Linda Brun from Norway who was on vacation in NYC and when she heard I was giving a class signed up. This really touched me especially since she has taken a couple workshops with me in Paris, Belgium and Norway already…so she totally knew what she got herself into ;) Thank you for spending your vacation day with me!!!


I wish you a gorgeous and creative day

Nat

LogoBlogSignature

Comments (6)

Leave a comment

Painting with Newspapers – Transfer Technique

Web_Baby01


We get the New York Times on the Weekend and I love to read it but every time I put the paper into the recycling I look at the sometimes very colorful pages and think “what a shame” …and so…I came up with this Painting with Newspaper Technique. Basically you use the colors of images in your newspaper to create the background. Apply Liquitex Gloss Medium & Varnish thin onto surface (here water color paper) – press down newspaper image /text and wait for a couple seconds, peel off- repeat several times with different colored images until background is “painted”.

Web_Baby02


I painted the canvas board – just outer space with Acrylic Inks, tore the water color paper- applied with Gloss Medium and Varnish. Added Ink again to fill gaps – and stamped with the inks and household items to tie elements together. Made some marks with a graphite pen. Mounted photo on top. Done- FUN!

NatKalbach_Web_Baby03


Can you spot what inspired my for this project on my Stroll through the Hood in this post?

Here is a list of supplies I used:

nSupplies


Hope you like this mini technique and maybe you give it a shot :)

Nat


LogoBlogSignature


Comments (5)

Leave a comment

Put a Bird on it …or Playing with Transfer Techniques

Web_TransferBird01


I was working on a fun assignment and created this grungy transfer for it. I printed out a nice photo of a graffiti wall which I had taken back in Germany and blew it up and then did the Transfer using Liquitex Gloss Gel. For a nice and even sheen I glazed over the transfer with some Liquitex Acrylic Inks mixed with Gloss Medium & Varnish – filling in the gaps too . I love the kind of torn poster wall effect this gave . This was exactly what I was going for.
NatKalbach_Web_TransferBird02
I collaged over some parts and painted in the bird with a brush and black ink. Also sprinkled some of the ink with a brush on the paper. I glued down some bird feathers with the Gel Medium and voila – done. Love it.

I will teach this as part of my upcoming class “Acrylic Media – Demystified” at the Ink Pad in NYC -so if you want to join – I would love to have you. The class will take place at Westbeth in the West Village and we will explore loads of fun media and techniques.

Here are the supplies I used for the transfer

nSupplies


Wishing you a gorgeous day

Nat

LogoBlogSignature

Comments (2)

Leave a comment