Blog: Guest Post

Henrietta Maria Art Journal Page from Riikka Kovasin – Guest Post

Excited to share another gorgeous Guest Post from Creative JumpStart 2021 teacher Riikka Kovasin! Today she shares a stunning art journal page using my Grove Street and Fairview Fan foam stamps.

Enjoy Riikka’s artistry!


Hi there! It’s Riikka here with my third and final guest project! I hope you have enjoyed them so far. They are all quite different, but that’s just to show that Nathalie’s stamps go so well to different projects and styles!

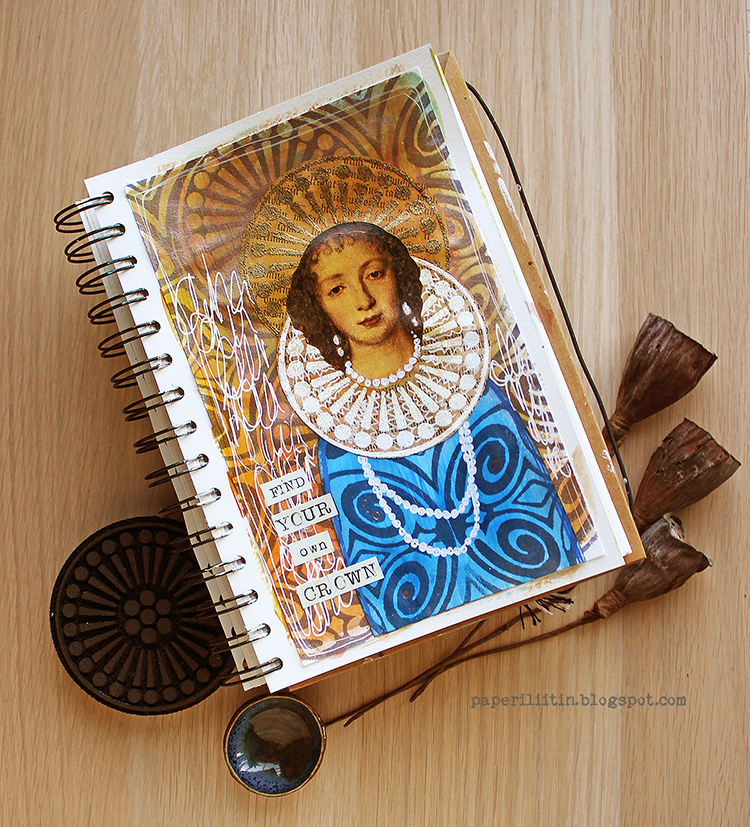
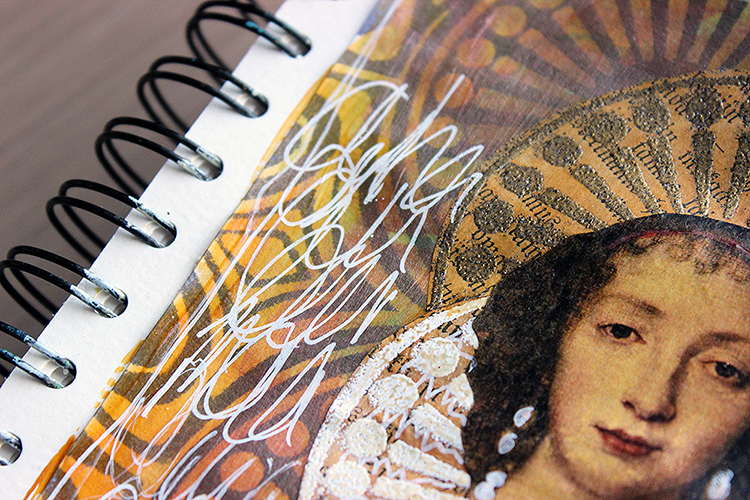
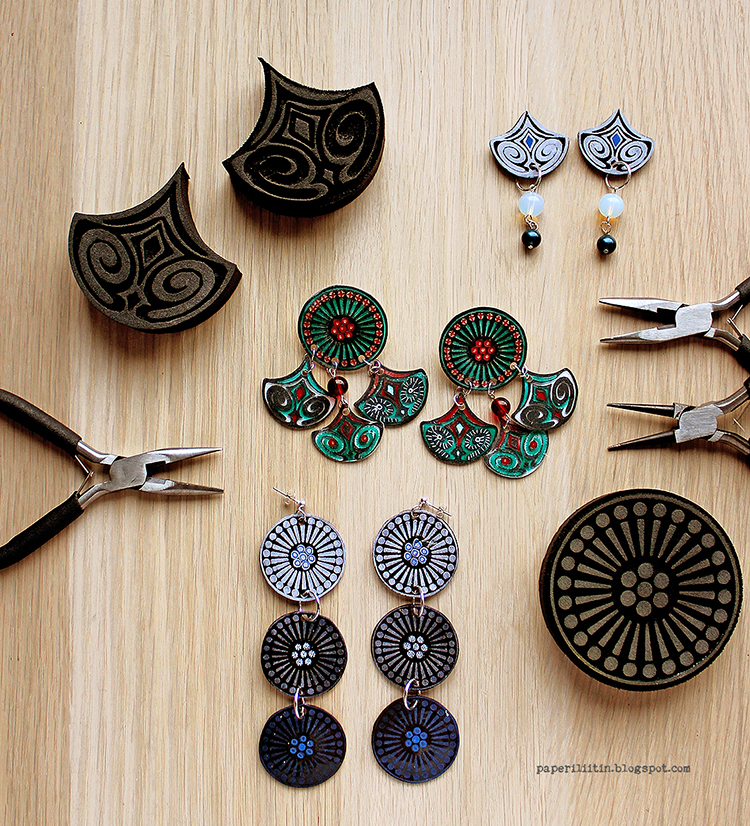
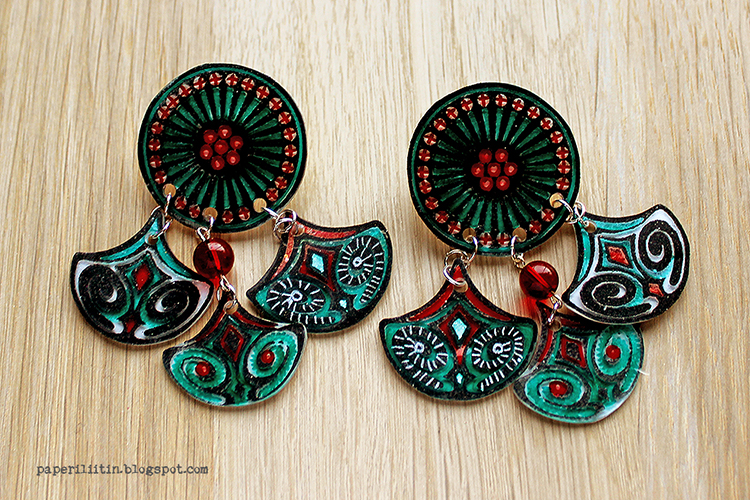
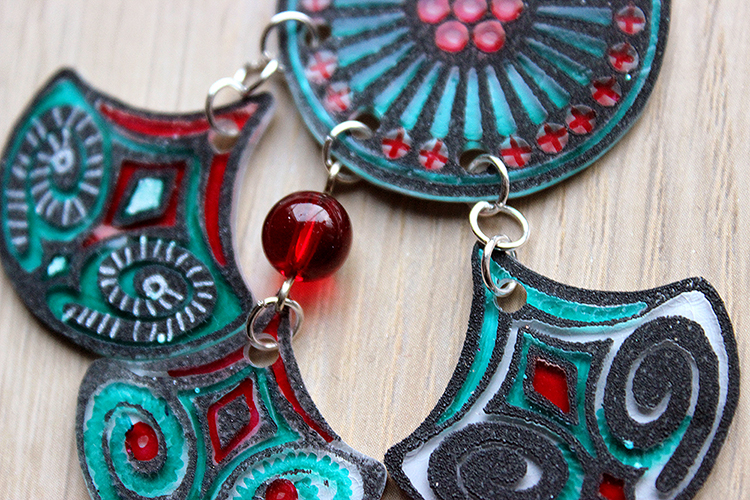
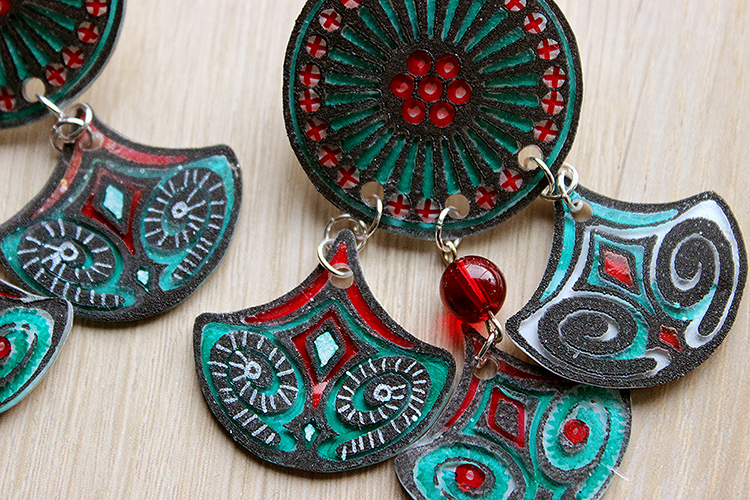
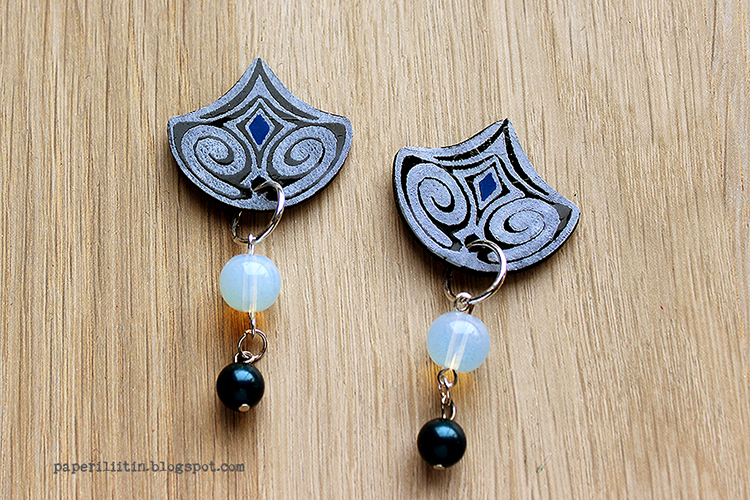
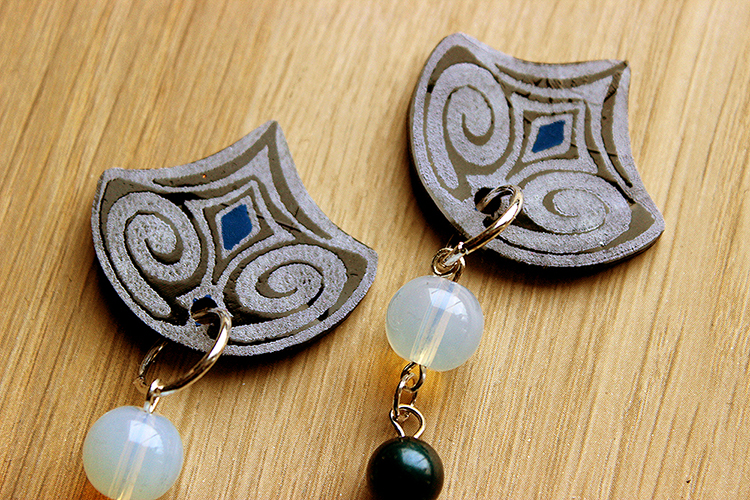
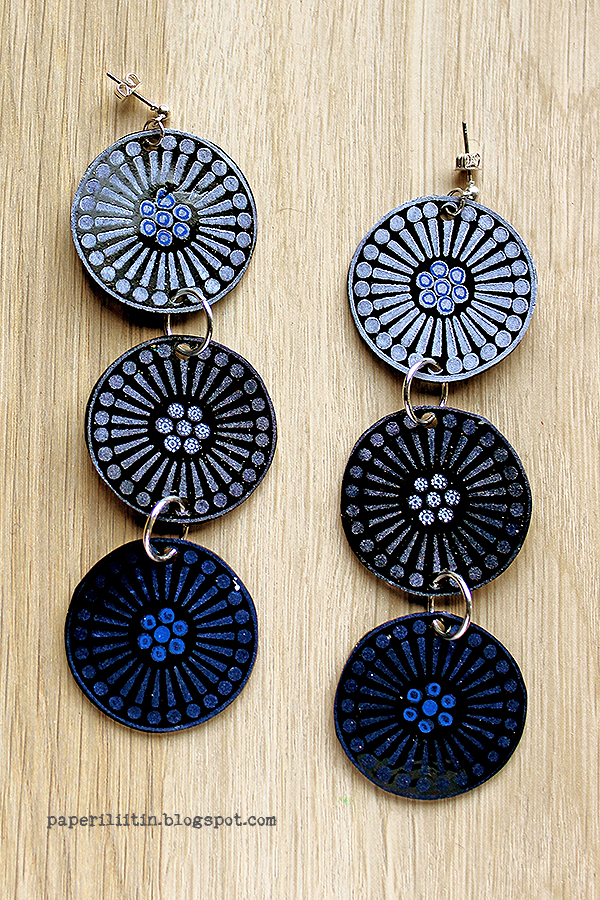
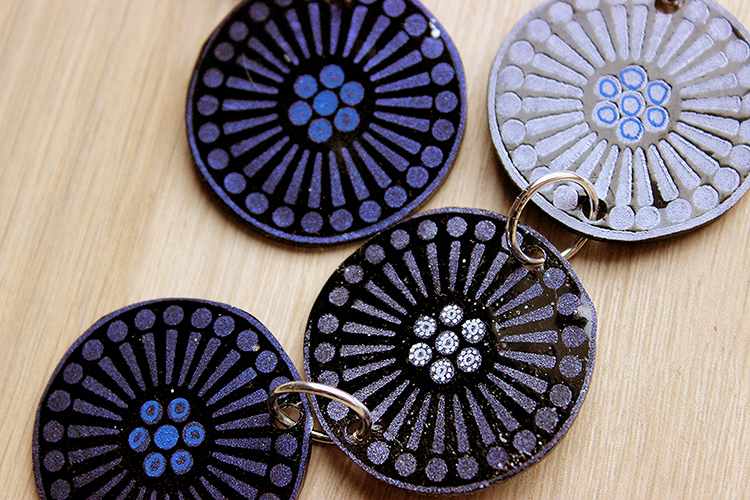
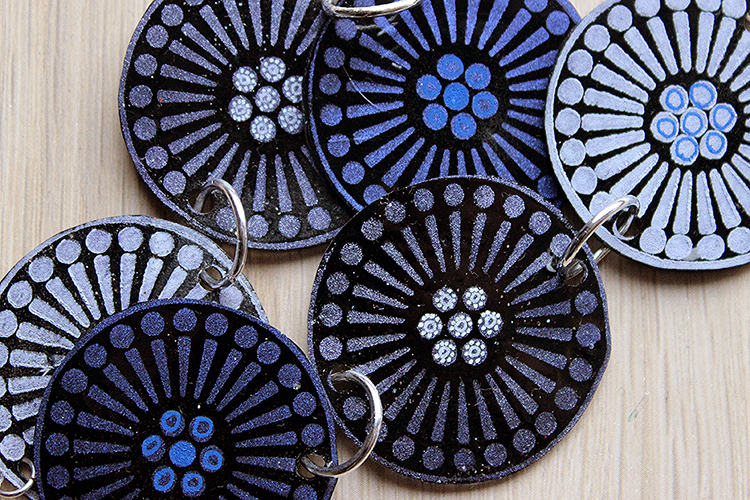
As my final piece I made an art journal page. I really love how versatile the “Grove Street” stamps are. In the card they reminded me of a sun with the rays of light, in the earrings they made me think about Nordic patterns and Marimekko and here I turned them into a crown and neck ruffle! All with the same stamp set!

I recorded a little video this time, too:

https://youtu.be/_RYaQx9HaMA

I started the page by making some patterned paper of my own. The stamps make it easy as you can combine them in various ways. I created one bigger pattern and another smaller one. The bigger one then became the background for the page whereas the smaller one ended up being a piece for the dress. I used the Grove Street foam stamps and the Fairview Fan foam stamps.

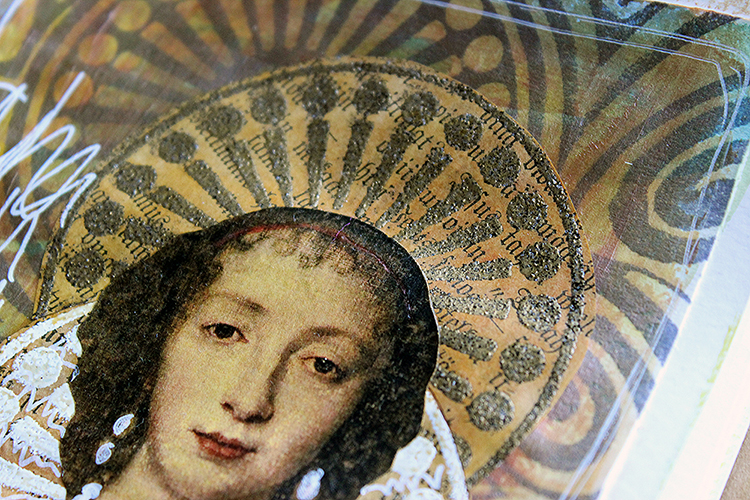
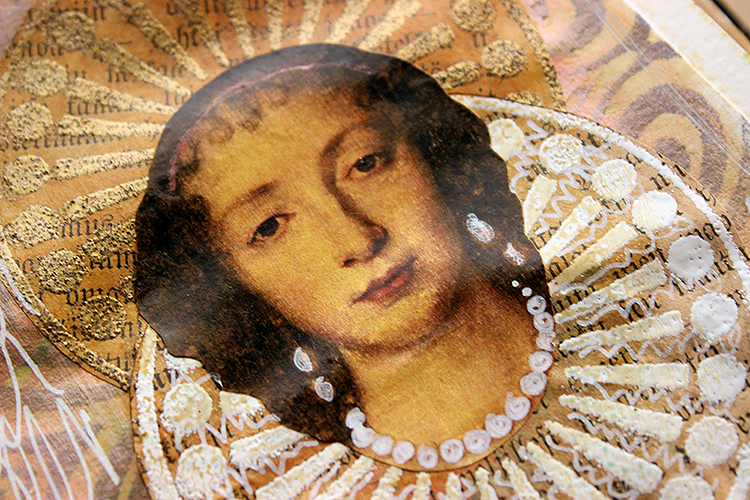
The character I made for the journal has a head from an actual painting. The painting is by Anthony van Dyck and it’s of Queen Henrietta Maria, done in the 17thcentury, 1638. I printed the head a couple of times as I wasn’t sure about the size but went with the middle size one.

The part that’s not visible in the video is the collaging or adhering. After I have the background painted and the elements embossed and printed, I collaged them all together using an acrylic gel or a glaze of sorts called Izink ICE. This way I could make the background older looking by using a tea-colored glaze there and make the blue dress even more vibrant using blue gel. I’ve added a link to a series I made as a Seth Apter Creative Team member about ICE to the description box of the video, so you can see more, if you wish.

Thank you for this chance, Nathalie! I hope you have enjoyed these projects and thank you for stopping by today!

All the best, Xoxo Riikka


Thank you Riikka -absolutely love how you used the foam stamps for that collar and dress! Henrietta has some serious style :)

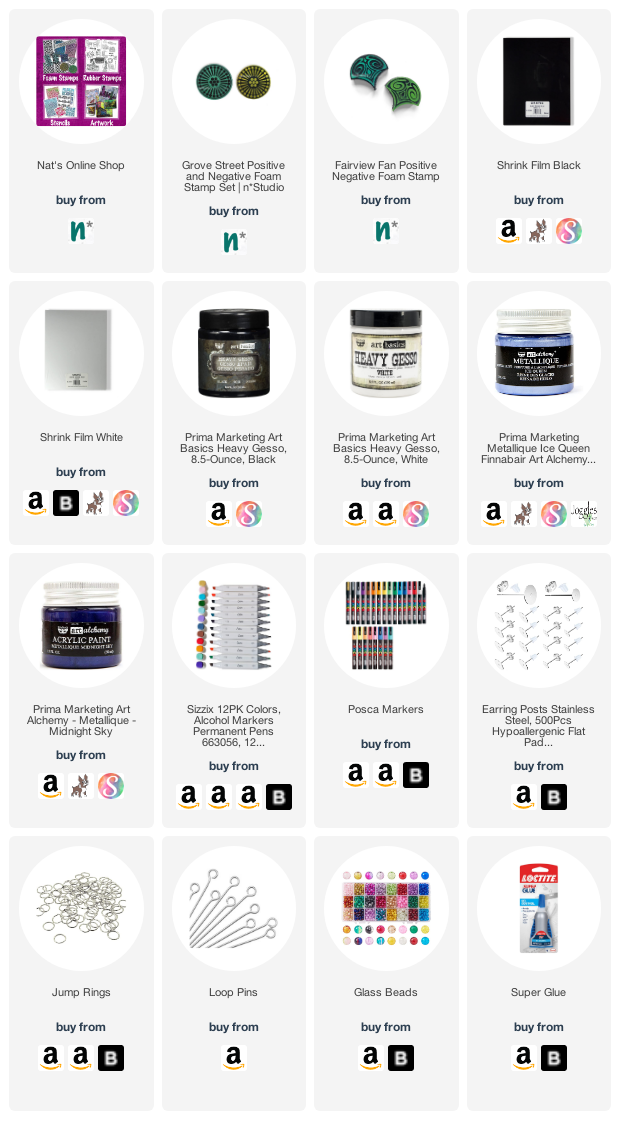
Want to give it a try? You can find all my Foam Stamps in my Online Shop and here are some of the other supplies Riikka used:

Comments (6)

  • gbp2019

    |

    Riikka lovely video and gorgeous results

    Reply

  • rarebird

    |

    Beautiful! Love the rich palette and how much the white really pops. Nathalie’s stamps work so well, especially for the ruff! Just gorgeous. Thx for doing this guest tutorial.

    Reply

  • Sue Clarke

    |

    Love it! The words are an especially nice message.

    Reply

Leave a comment

Shrink Plastic Earrings from Riikka Kovasin – Guest Post

Today we have a very special Guest Post from one of our Creative JumpStart 2021 teachers: Riikka Kovasin! She is bringing us 3 different shrink film earring ideas using my Grove Street and Fairview Fan foam stamp sets. Before we get into it though, let’s hear a bit about Riikka:

“Heippa! My name is Riikka Kovasin and I am a mixed media crafter from Finland. I live in Helsinki with my darling husband and our two sweet daughters. Creating is my passion and a way of self-care. Besides family and crafts, my weeks are filled with a full-time job.

I have been doing all sorts of crafts my whole life. I really got into papercrafts after I found scrapbooking when my older daughter was about 6 months old – that’s over 10 years ago. Since then my style has evolved to more and more mixed media direction and nowadays, I tend to go dimensional and do more altered and mixed media pieces than regular layouts.

I absolutely adore getting my hands into paints and mediums! To me the process of creating is equally as important as the finished project.”

We are so excited to share some projects with you from Riikka, and this is the first of a few that will be coming in the next few weeks so check back for more :)


Hi there! It’s Riikka Kovasin here today to share a guest project with you. I actually made a couple projects, so you’ll be seeing me a few times in the course of next weeks.

As my first go I made some jewelry pieces. I really love the patterns of the foam stamps and love how satisfying it is to stamp with them, but on their own they are maybe a touch too big to be used as jewelry. As a pendant, maybe, but as I’m more into earrings the images seemed a bit too big. But no worries, I can always use shrink plastic! That way I’m getting the pattern and the feel of the foam stamp, but the finished piece is half the size! So satisfying!

For these three pairs of earrings, I used both white and black shrink plastic. I used acrylic paint to stamp the images and then colored them using alcohol and paint markers. The first pair is made using both the Grove Street and Fairview Fan foam stamp set. The circular piece has an earring stud at the back. 

The dangly parts are made using both positive and negative version of the fan stamp set. To make the center fan a little bit longer than the other two I added a red glass bead between the circle and the fan.

The second pair has even more glass beads as there’s just the fans that are stamped. Again, there’s a stud piece at the back.

The last, but not least, is maybe my favorite. I made that using the Grove Street stamp, just alternated the color I was using on top of black shrink plastic. The first one is done with inky blue metallic acrylic paint, the second one pale blue metallic acrylic and the one nearest to the ear is then white acrylic paint. 

These dangle all the way as I added a stud earring with a little ring on top.

I’m not a jewelry maker but these were so easy to do even I managed them! Now the only trouble is to decide which pair to use!

Stay safe everyone! Xoxo Riikka


Thank you Riikka! Wow who is excited to try foam stamps with shrink film now? I love all three of these possibilities and I love how they could work for a variety of different fashion styles.

Want to give it a try? You can find all my Foam Stamps here in my Online Shop and here are some of the other supplies Riikka used:

Comments (8)

  • robinseiz

    |

    Great lesson. Thanks so much… Who even knew there was black shrink plastic?!!!! I really love the effect you get with that! I’m going to add it to the very long list of things I must try.

    Reply

    • Riikka Kovasin

      |

      Thank you Robin! In my craft store they had this selection of four different kinds of shrink plastic sheets in a pack – black, white, glossy transparent and mat transparent :) That was perfect as I didn’t have to choose which color to pick :D

      Reply

  • Kath

    |

    Awesome post. You read mind. I’ve been wanting to make earrings with shrink plastic for the past few weeks but was struggling with drawing a decent image and coloring so that it wasn’t smudged or looked good. Your stamps and the type of paint solved my roadblocks! Beautiful, beautiful earrings that I think I can actually make. One question, did you sand the plastic first?

    Kath

    Reply

    • Riikka Kovasin

      |

      Hi Kath! I didn’t sand the plastic first so the earrings are bound to get some wear and tear. Sanding helps the paint to grab the surface better. Or then just add more paint when it seems to wear off :D

      Reply

      • Kath

        |

        Thanks for that input. I just seem to smudge the colors. However, I noticed when I sanded, you could see the marks, which I do not like. I can’t remember what people use to glaze the plastics.
        I’ll have to check it out. I just love how the paint you used worked with the stamp and it didn’t look like it smudged at all.

        The stamps you used are sold out. I’m gonna wait for restock. That’s how much I liked your earrings!

        Thanks for inspiring me!

        Kath

        Reply

        • Riikka Kovasin

          |

          I’m so happy to hear that you liked these so much Kath!.

          As you are stamping on top of a sleek surface with a slippery paint, it may slip and smudge. If you look closely to the other of the white stamped circles (with gesso), it’s a bit thicker than the other. A slight slip or turn caused that.

          My tips would be to use a heavy body style paint, more gel-like, use just a little of it, and to use light pressure when you lay down the stamp. Another way is to actually put the stamp to the table, pattern side up with the paint added and carefully place the shrink plastic on top.

          Hopefully this helps when the stamps have been restocked and you get to make your jewelry pieces!

          Reply

  • Anne Lawver

    |

    Love this idea! Rikka…you are always so clever and original, combined with a dose of practical. Thank you both for this “bonus”! It was a nice surprise.

    Reply

Leave a comment