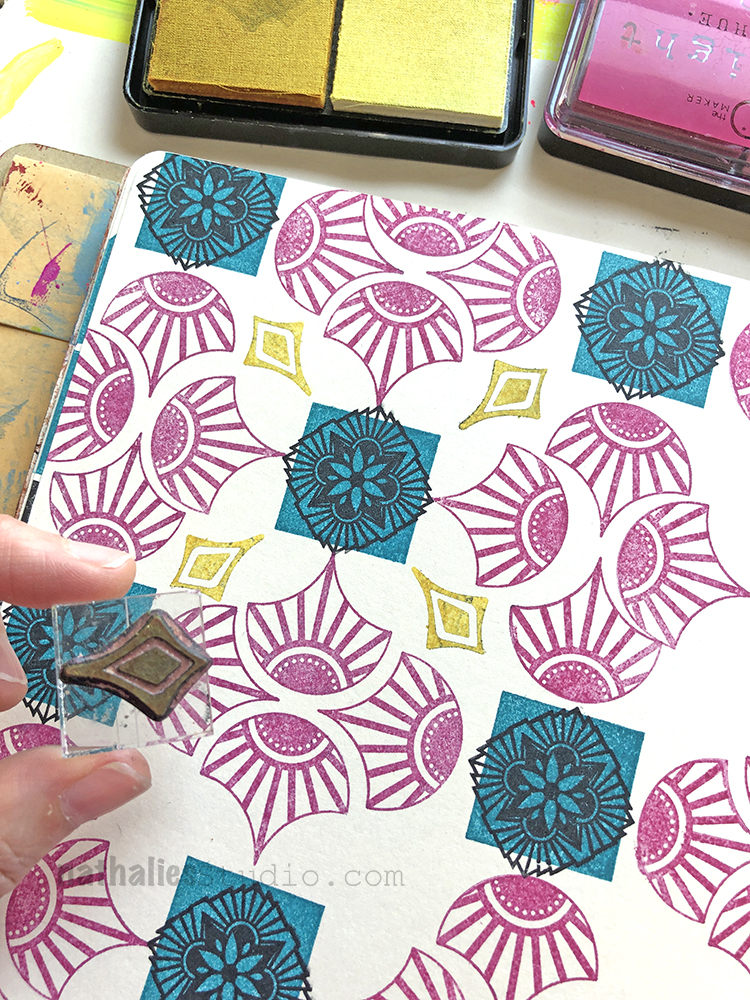
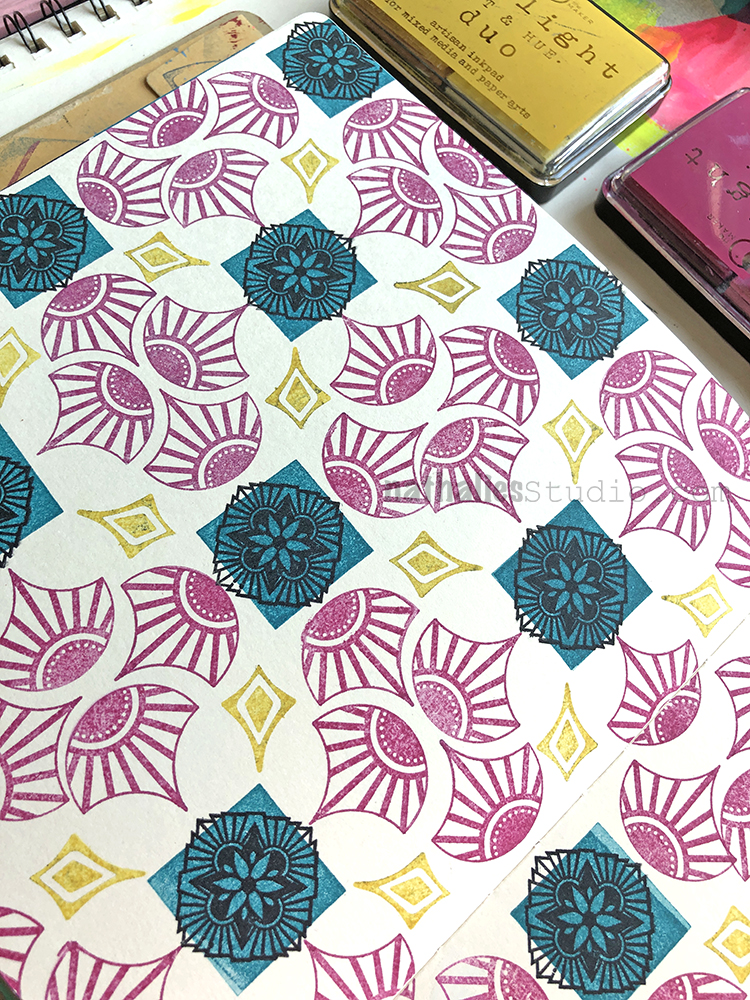
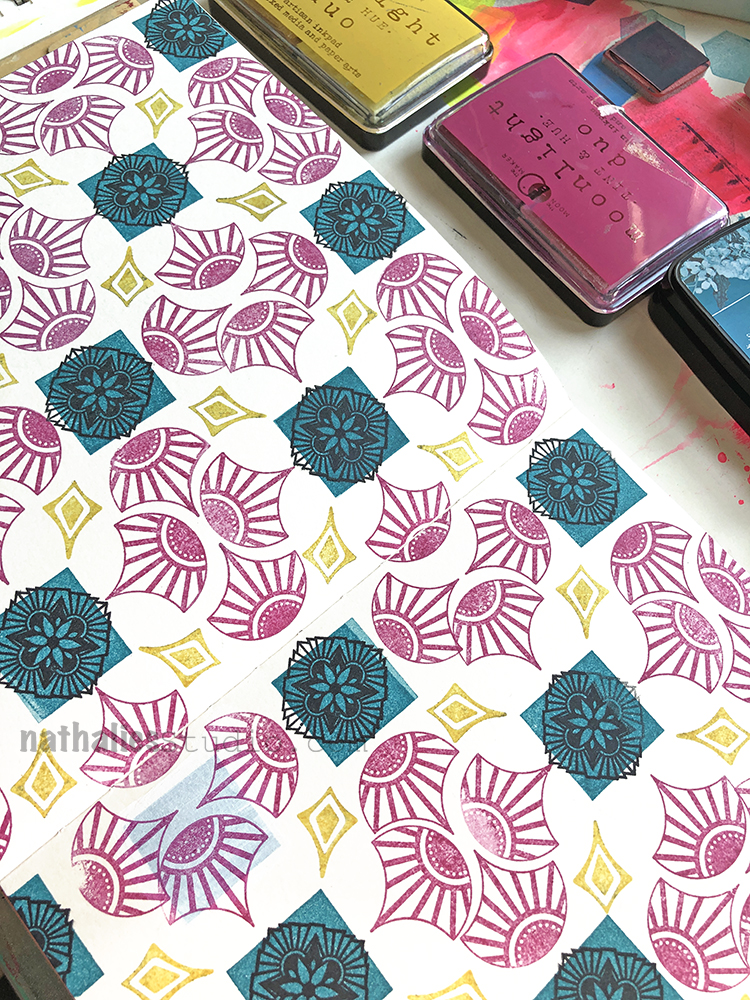
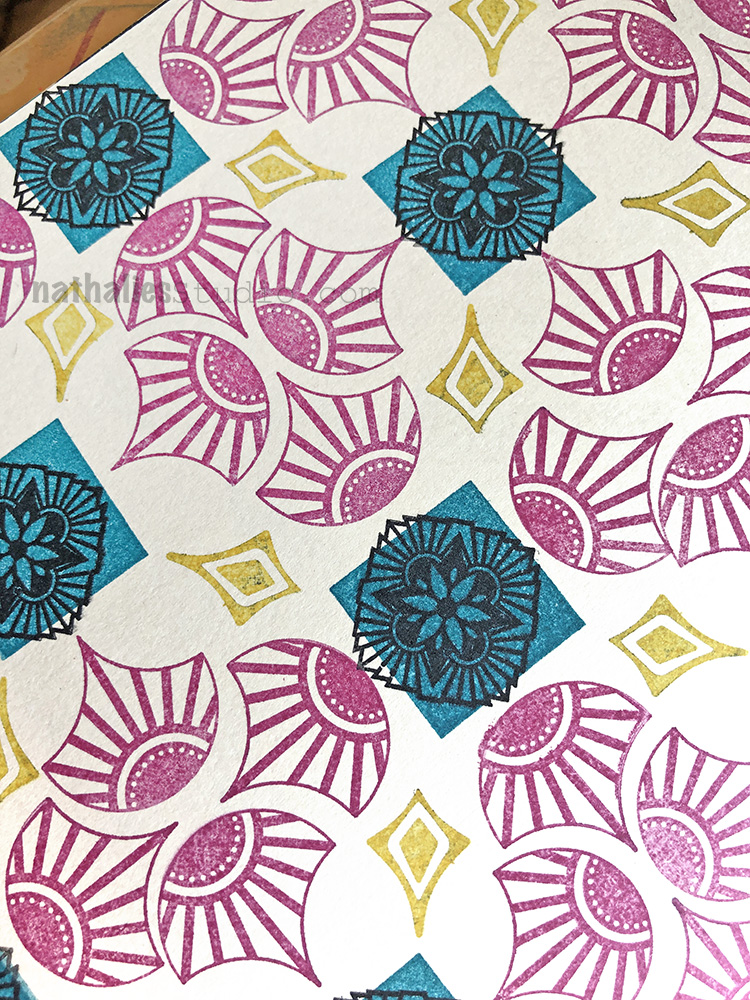
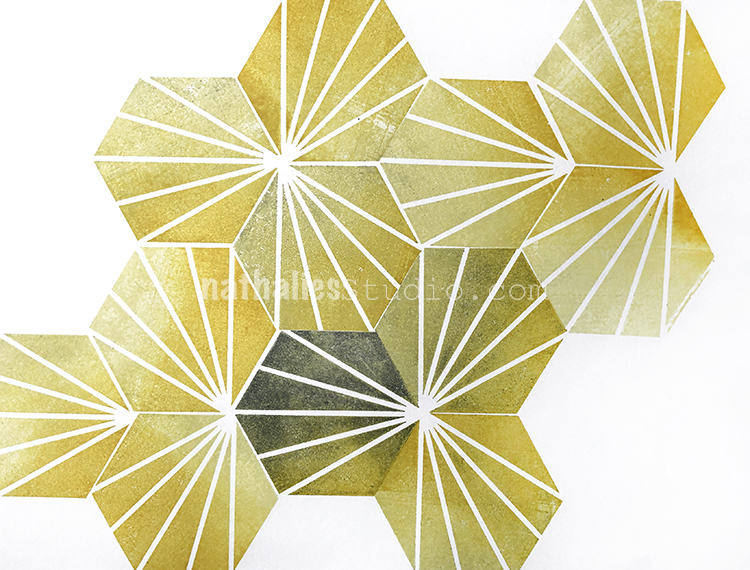
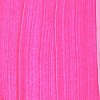
Time for another pattern in my big vintage ledger! This one I used my Fan-Tastic Large and Mini Motifs stamps and an acrylic block to speed up the process. Check it out:
Here is how it came out:


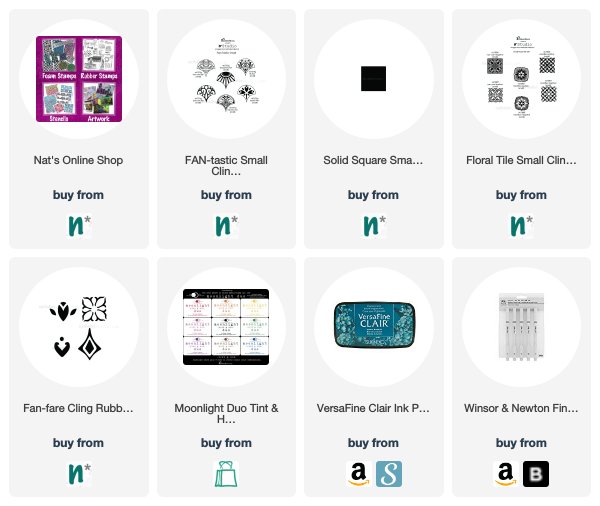
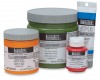
Here are some of the supplies I used:

Nat

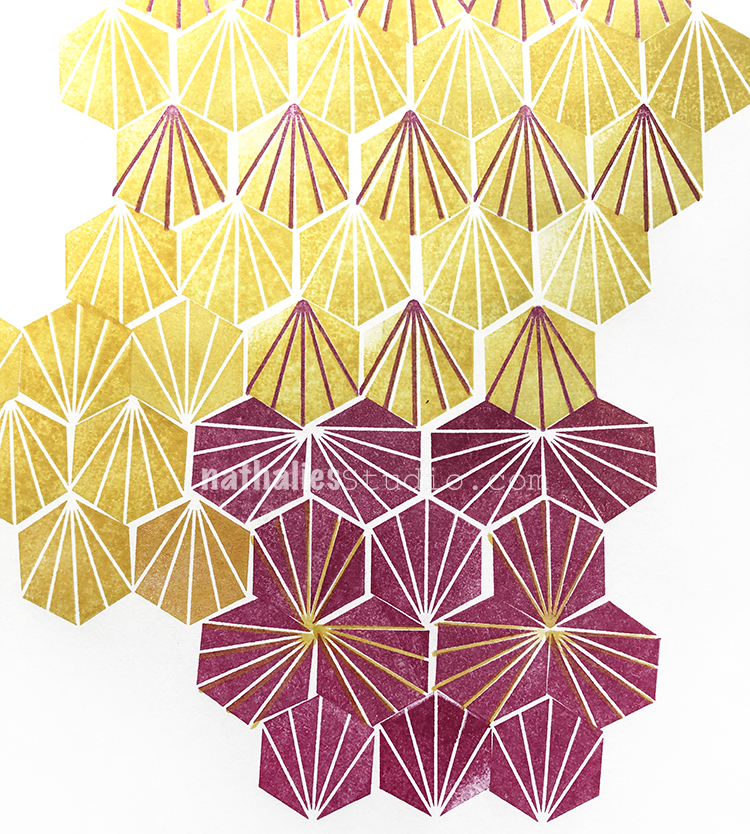
Time for another pattern in my big vintage ledger! This one I used my Fan-Tastic Large and Mini Motifs stamps and an acrylic block to speed up the process. Check it out:
Here is how it came out:
Here are some of the supplies I used:
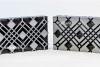
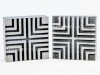
I’m keeping up the pattern play in my big vintage ledger that I started last month with the April ArtFoamies Challenge. Here’s one to get you going for the week using my Triangle Love rubber stamps:
Here is another look:


And some of the supplies I used:
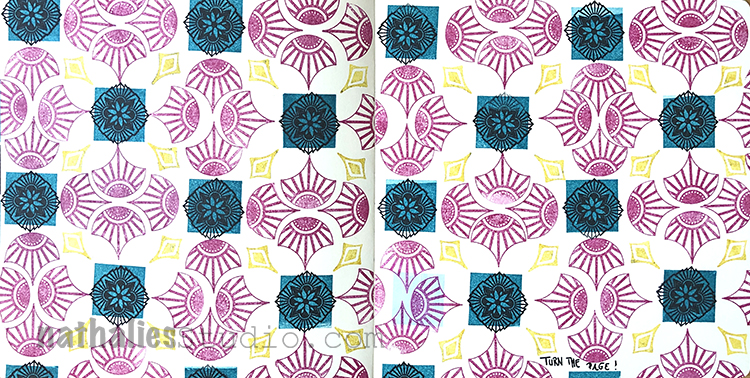
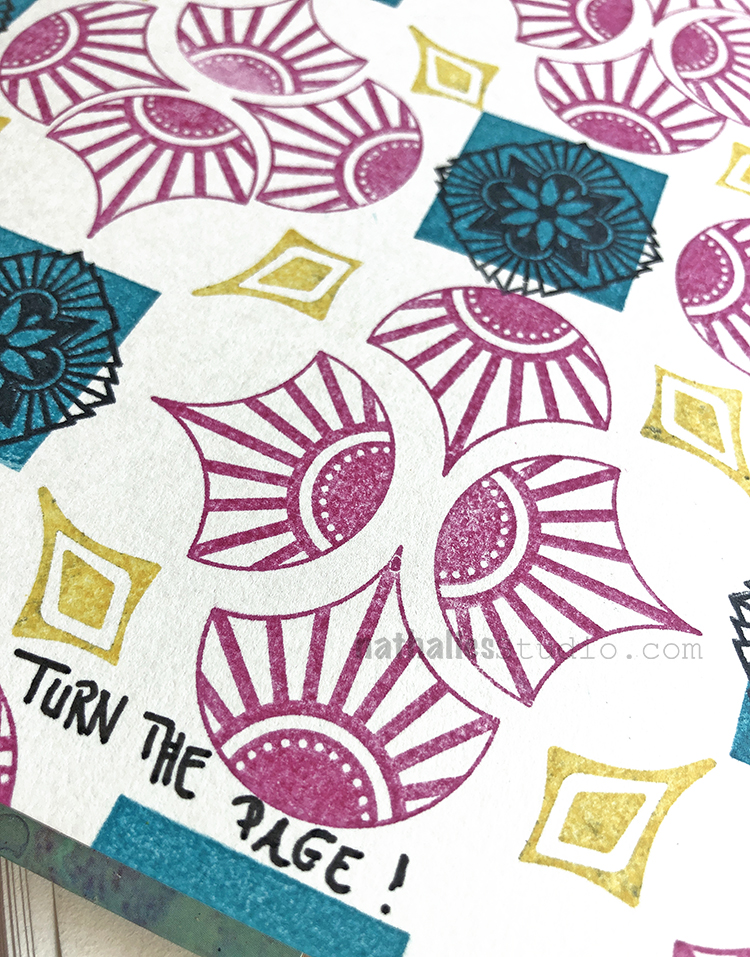
“Turn the Page!” – Sometimes it is time to move on to the next adventure in life :)
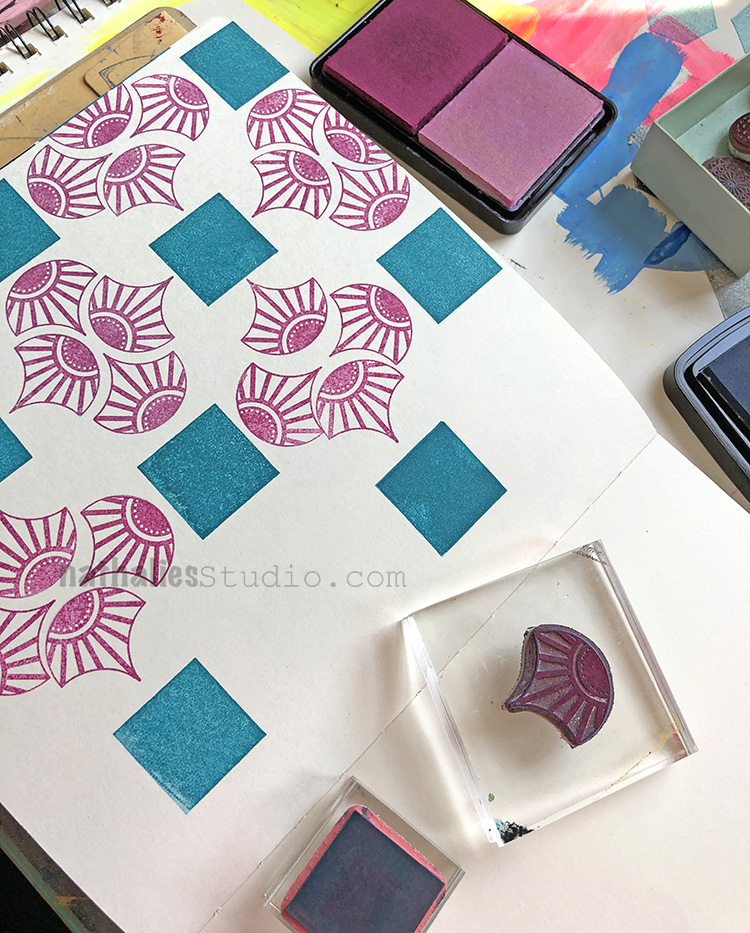
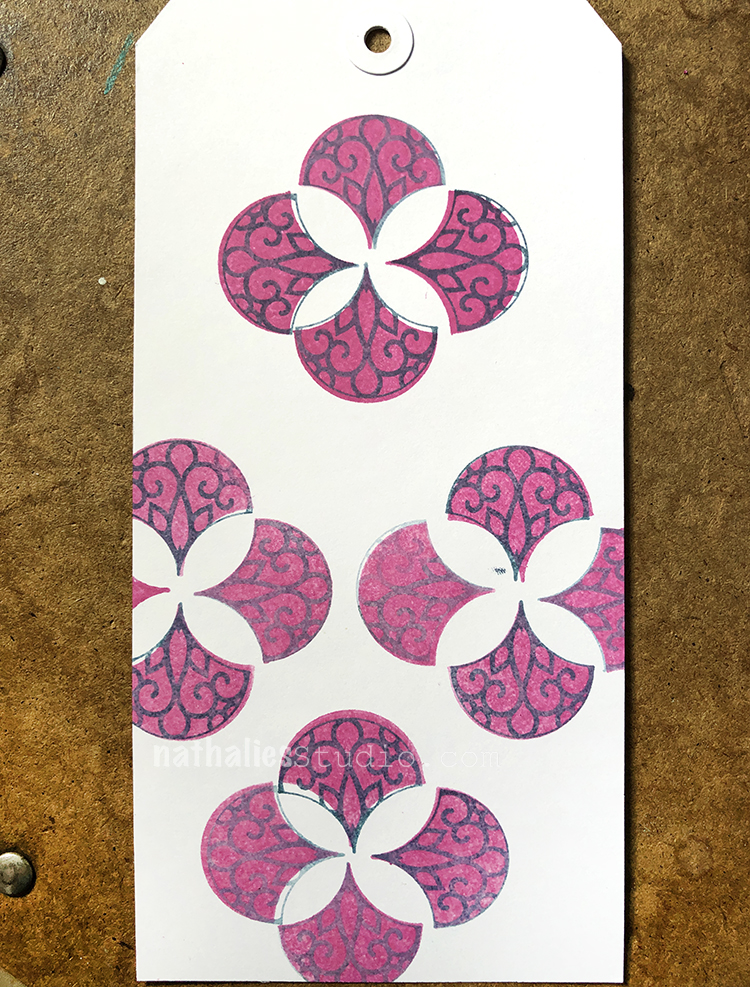
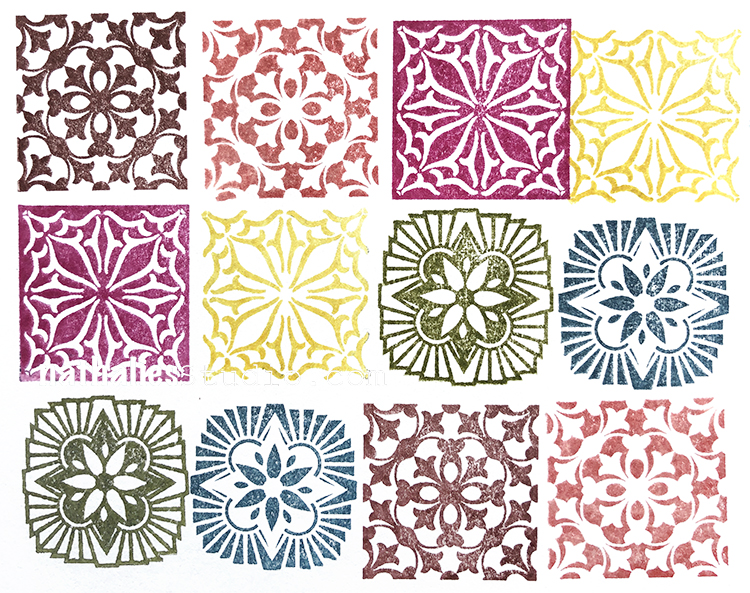
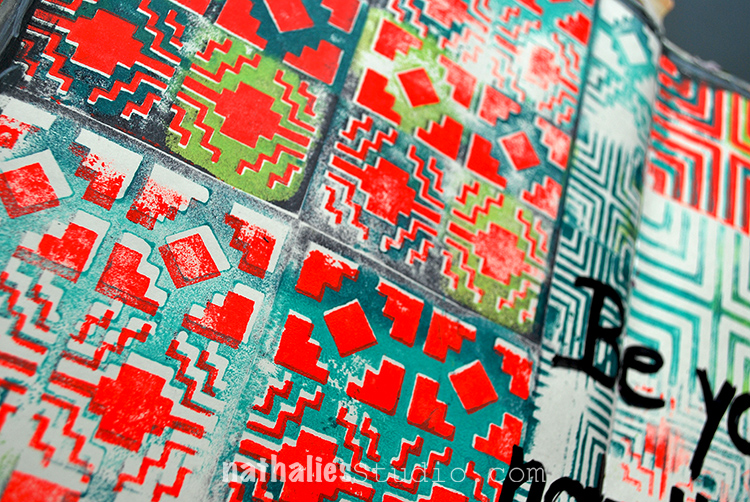
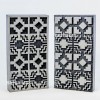
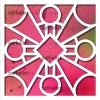
For this art journal spread I built up a patterned background using some of my rubber stamps and a happy selection of ink pad colors. I started with my Fantastic Small and Solid Square Small stamps…

I alternated the direction of the fans as I went and filled the page.
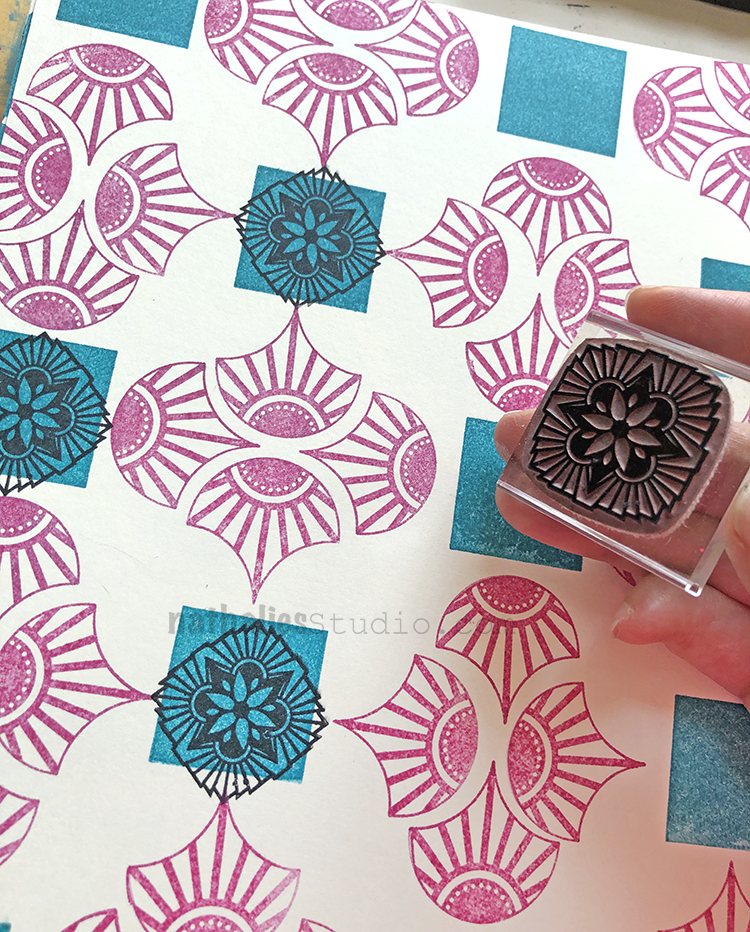
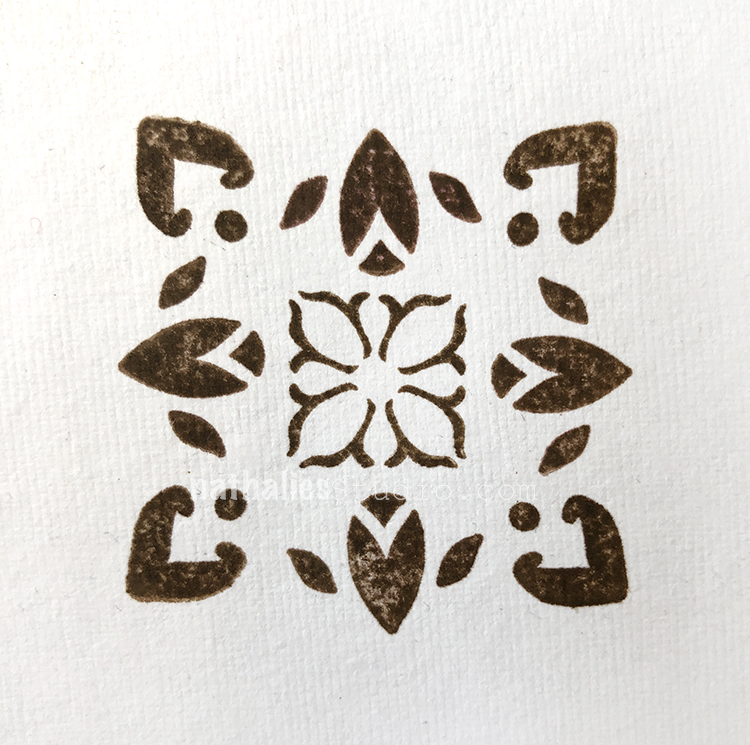
Next I added one of the Hamilton stamps from the Floral Tile Small set…
And the finishing touch on the pattern was one of the Fanfare stamps – these are perfect for giving a pattern those little elements that bring it together.
Look at that lovely pattern! Well….
Oops. Can you spot the mistake? That’s what happens when you set your stamping block down the wrong way on your nice art journal background and it leaves a little ghost square. Oh well, it happens.
Time to focus on the positive :)
…Knowing we can always “Turn the page” in the end and start anew.
Here are some of the supplies I used:
Ha I know what you mean :) The key trick is to not strive for perfection LOL.
I have some NEW rubber stamps coming out today! These have been in the making for a while and ever since I have been playing with them I cannot stop – I keep building new patterns. Are you a pattern lover too? Well check these out: First is the FAN-tastic stamps:
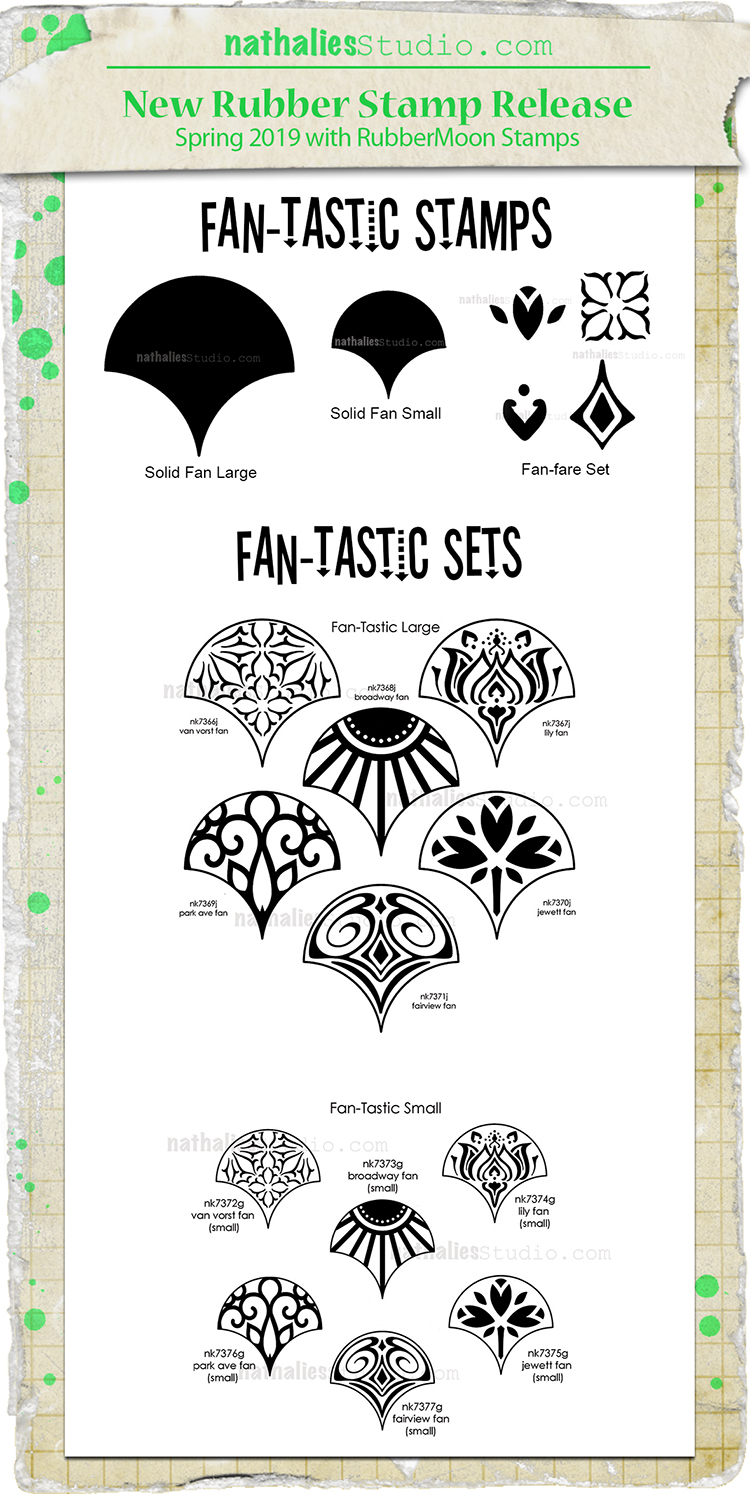
There are the two sets: FAN-tastic Large and FAN-tastic Small. The large ones measure 2.75″ across while the small ones measure 1.18″ across. These have six patterns each and can be arranged in all sorts of ways.
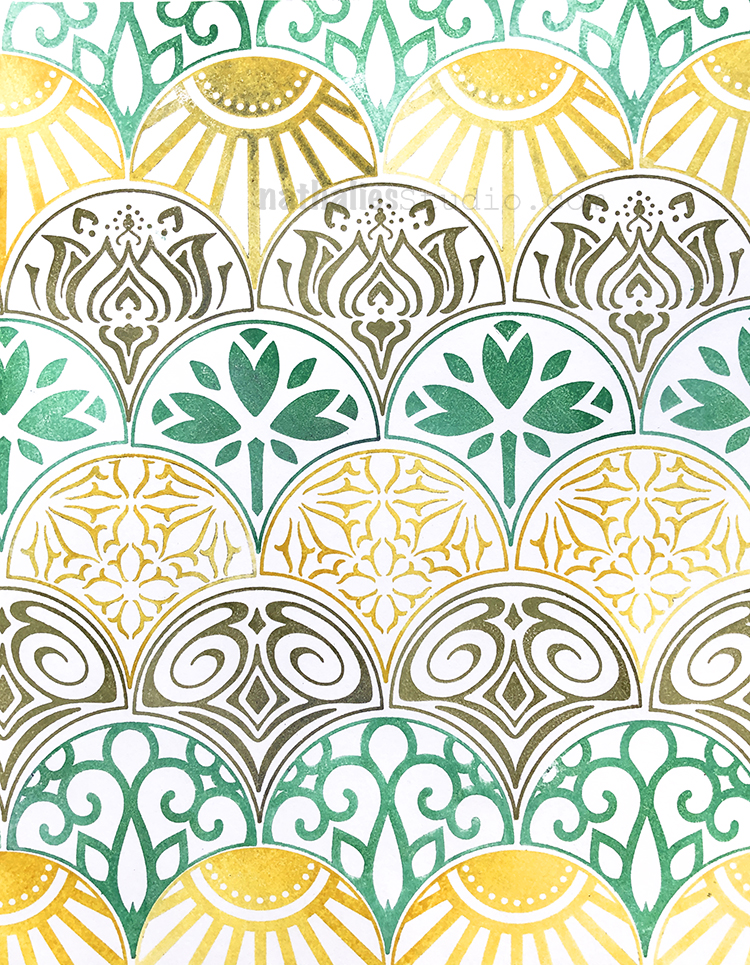
It makes me all giddy to see the Large Fan’s arranged in this colorful way.

This is the Jewett Fan from the small set – tiled up in a classic art deco way.

But ooooo, they can also be arranged this way! This is the Broadway Fan.
And then there are the single stamps: Solid Fan and Solid Fan small – because maybe you want to put a color under your pattern fan…
And then there is also the Fan-fare set of four mini stamps…
These can make patterns on their own and wow are there so many ways to play…
Use them all together and make some awesome patterns! I am totally smitten with these :)
Ok but there’s more:
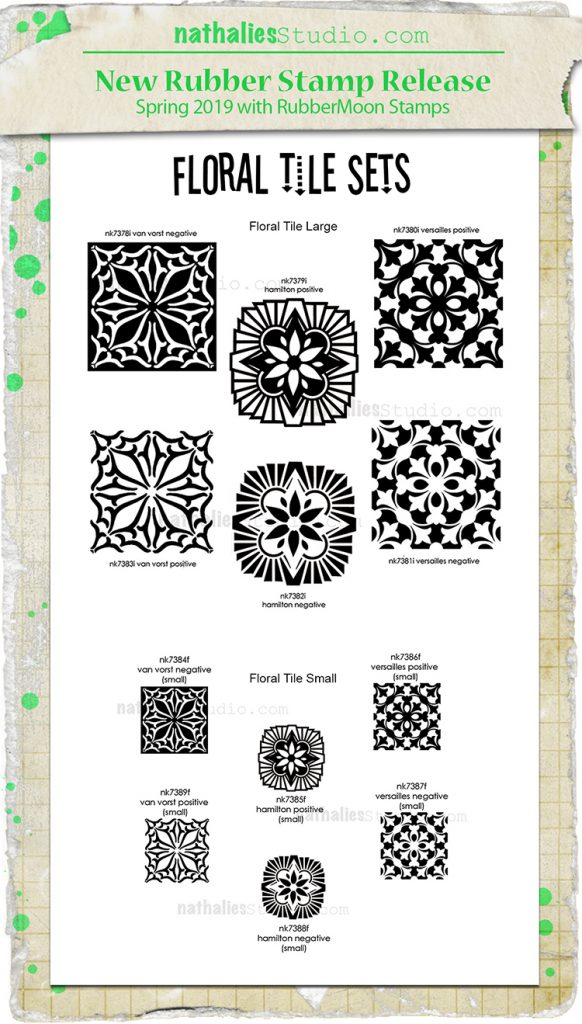
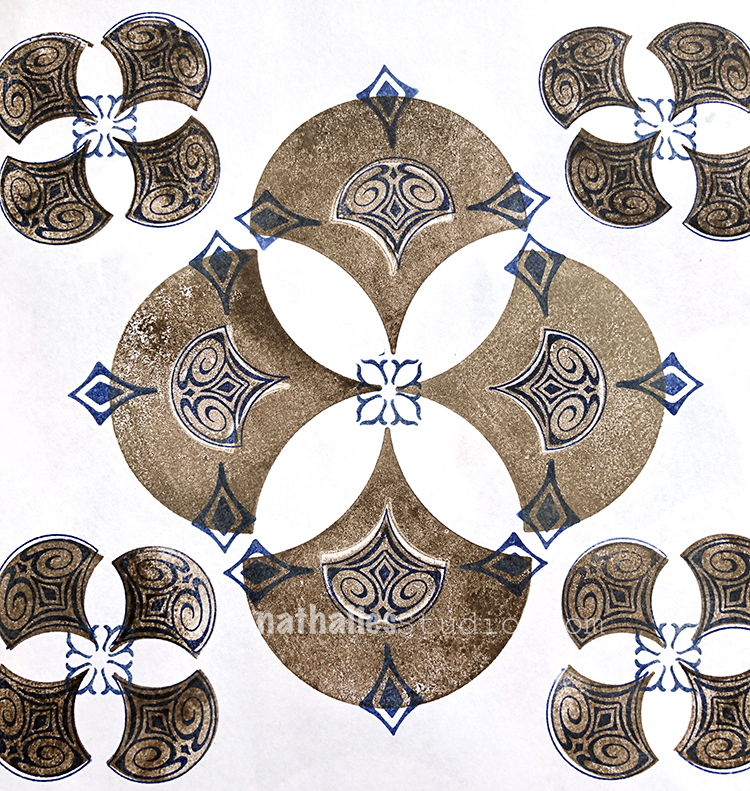
Those yummy Floral Tile Sets – one as a large one and one as a small one.
Here are the small floral tiles all next to each other
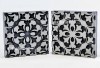
And the big positive and negative stamps used on top of each other.


You can use them as is, with some of the Stencils I have and also with some of the foam stamps. ANNNDDD of course they can be used with the other new stamps as well :)
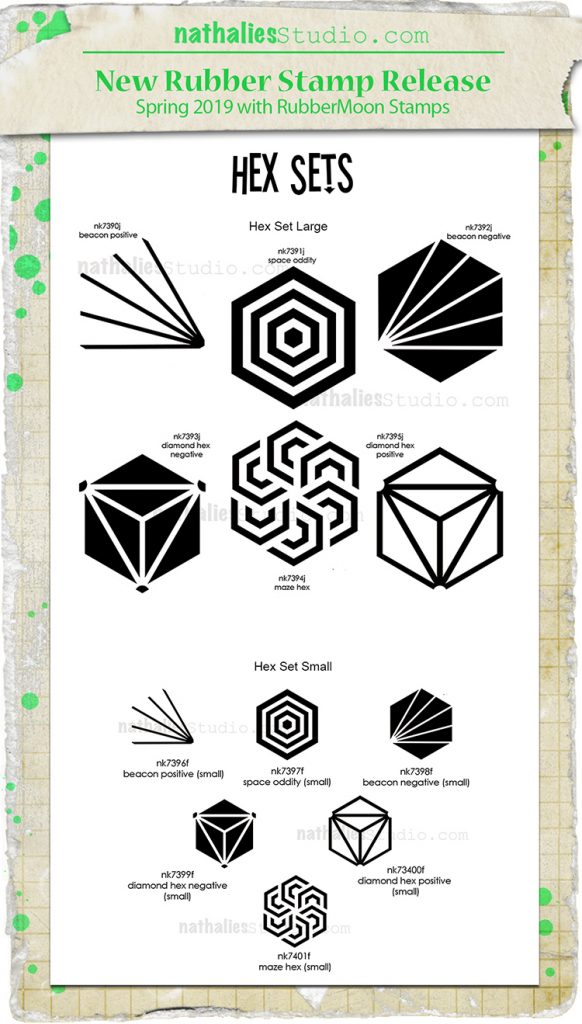
ANNNNDDD another one I am soooo excited about – the Hex Sets. Again they come as a Large Hex Set and a Small Hex Set.
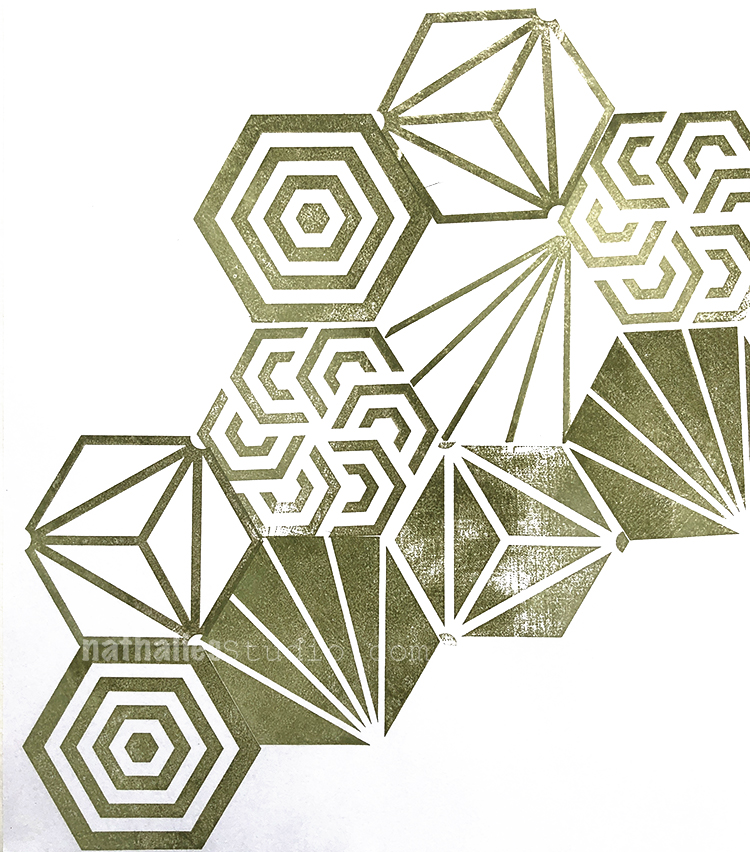
There are so many ways to use the Hexagons and arrange them to make patterns

but also to use the positive and negative patterns on top of each other

I cannot wait to show you even more of the patterns and designs you can create with those stamps! I can honestly say:
The possibilities of these stamps are limited only by your imagination
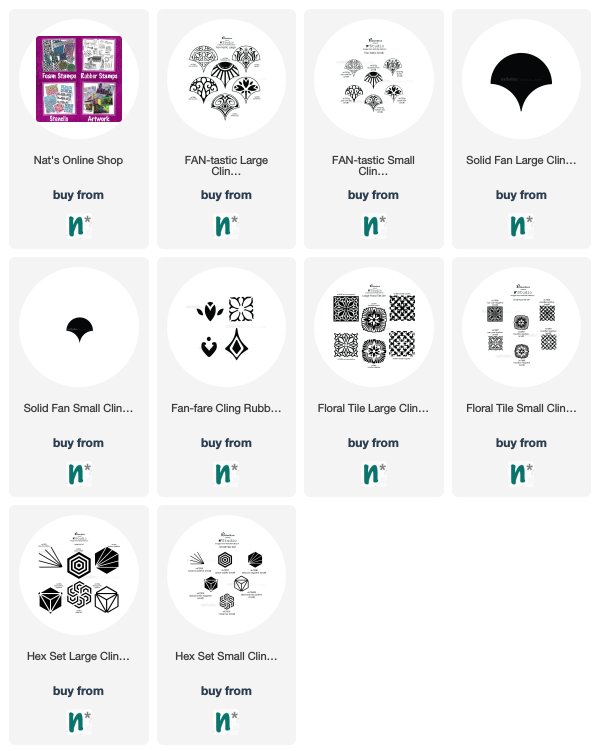
Here are all new sets now available in my store:
Brilliant combos Nat…especially made with the fan set!
Awe thank you Sue!!! Glad you like them!
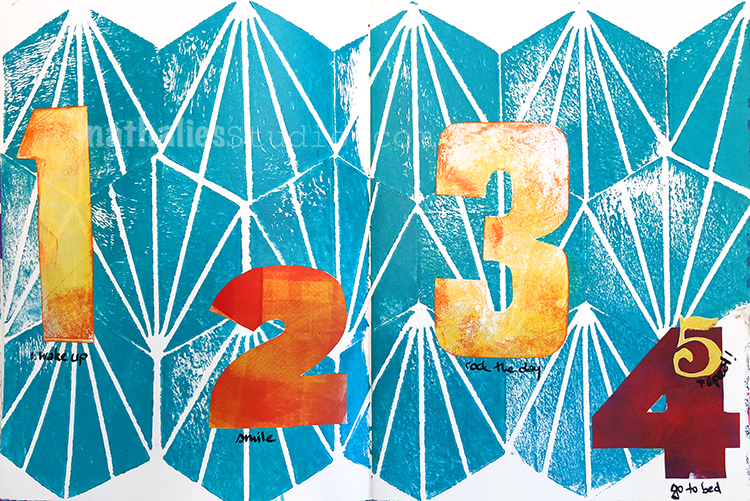
I wanted to share this art journal spread I created using my new Clam Hex Foam Stamp in detail. I stamped the alternating the direction up and down in every row. I just love how versatile this stamp is and how many different patterns you can create with it.
For the numbers I used my letterpress wood stamps and inked them up with different ink, then rubbed a piece of paper on it, cut it out and pasted it with gel medium into the art journal.
That was fun – now repeat tomorrow ;)
Here are some of the supplies that I used

When I saw this work, I started singing the Beatles’ song “All Together Now”. Now it’s stuck in my head and maybe it will stick in your head, too. :-)
One, two, three, four
Can I have a little more?
Five, six, seven, eight, nine, ten, I love you
A, B, C, D
Can I bring my friend to tea?
E, F, G, H, I, J, I love you …
Hahaha- def. in my head now- LOL: Thanks Janene for the Ohrwurm (Earworm) as we call stuck in the head of a song phenomena in Germany.
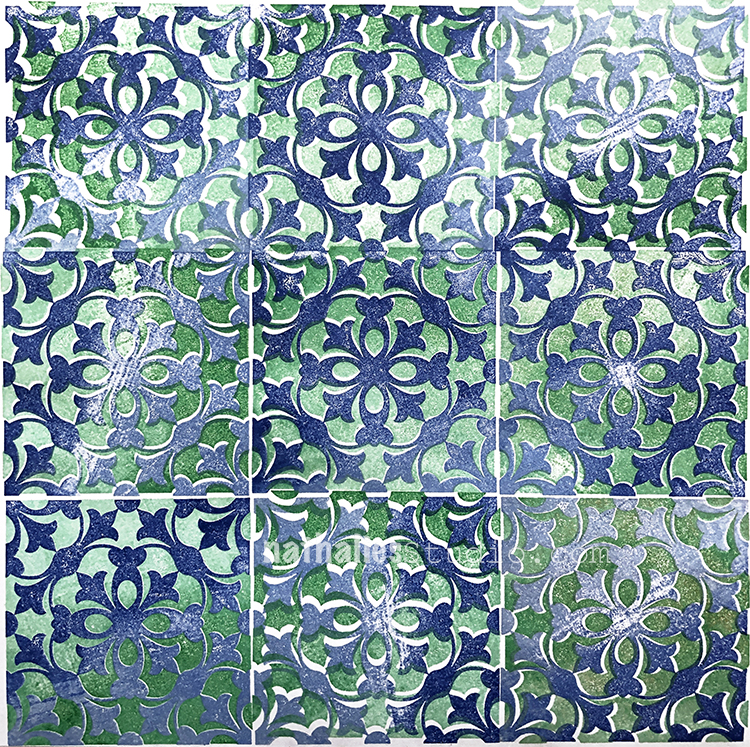
Don’t we all? Loved playing with blue and gold – I am on a weird gold- high – not sure why, as it is not my favorite color, but I guess trends have gotten me too ;)
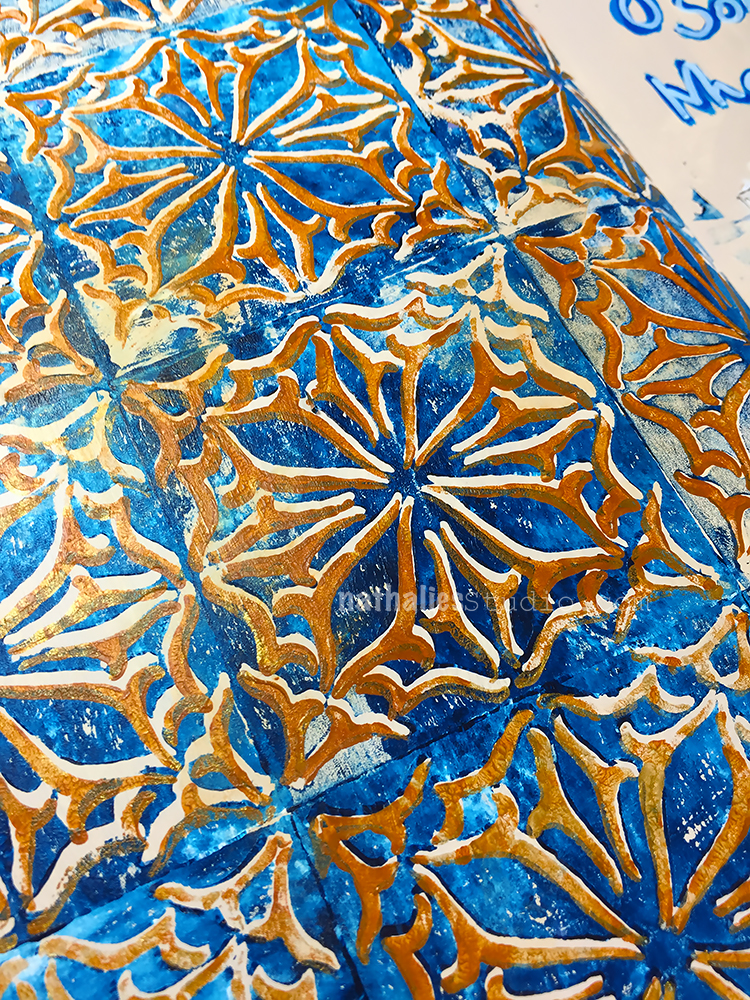
I stamped with my new Van Vorst Positive and Negative ArtFoamies in blue and gold for the tile background effect. For the city scape I used my new Midtown ArtFoamies set and applied rubbed lightly some Artgraf Chalks on top of the foamstamps. The Artgraf Chalks are water-soluble and make a gorgeous watercolor like effect when stamping. To activate the pigments and have them come off the foam stamp, I slightly sprayed a layer of water on top and then just stamped ahead.
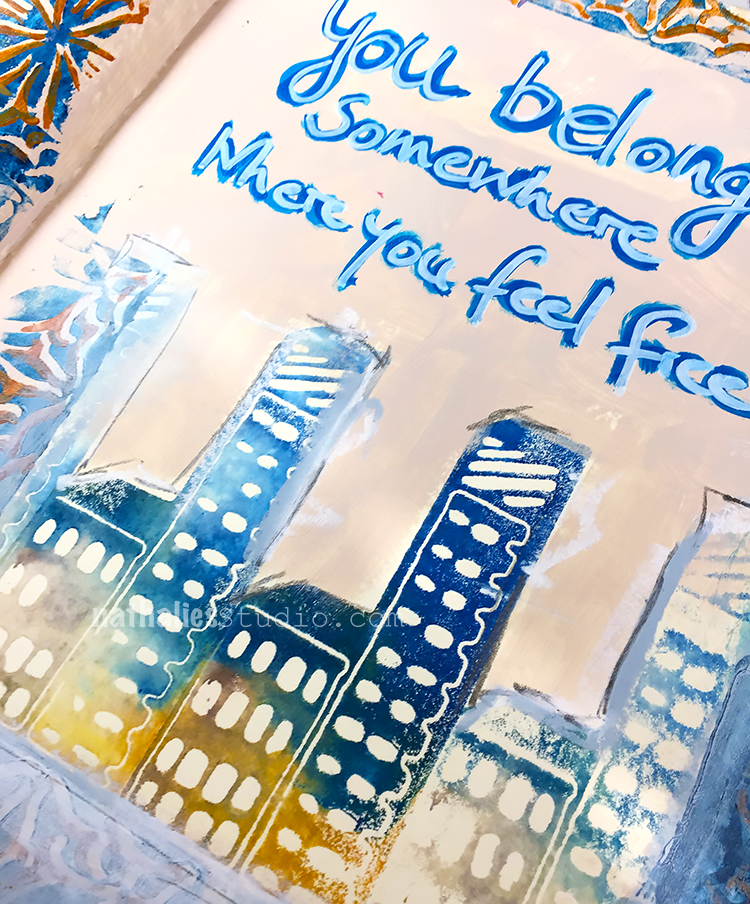
Love how the colors blend. I added some marks with Neopastels and a charcoal pen and wrote the journaling with a blue and white acrylic marker.
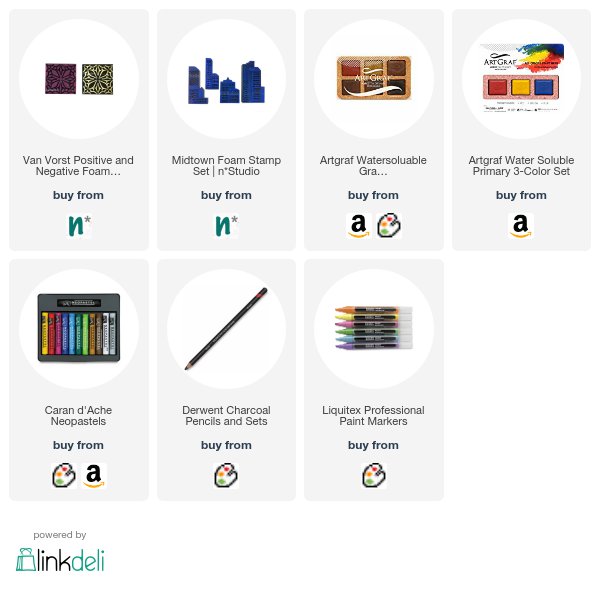
Here are some of the supplies that I used for this spread
Here is another episode of my new series of mini-videos: “Rule of Three”. As we all know all good things come in three and these mini-tutorial-videos will show you all kinds of fun and practical things and techniques coming in three.
Rule of Three – #4 – Three Ways to use my Positive and Negative ArtFoamies Foam Stamps
Rule of Three #4 – 3 Ways to use Positve & Negative Foam Stamps from Nathalie Kalbach on Vimeo.
I hope you find these 3 ways to use my positive and negative foam stamps inspiring . Here is a full list of the supplies I used in my video – some of the links are affiliate links:
I am looking forward to share more Rule of Three videos with you soon! Have a wonderful creative day!
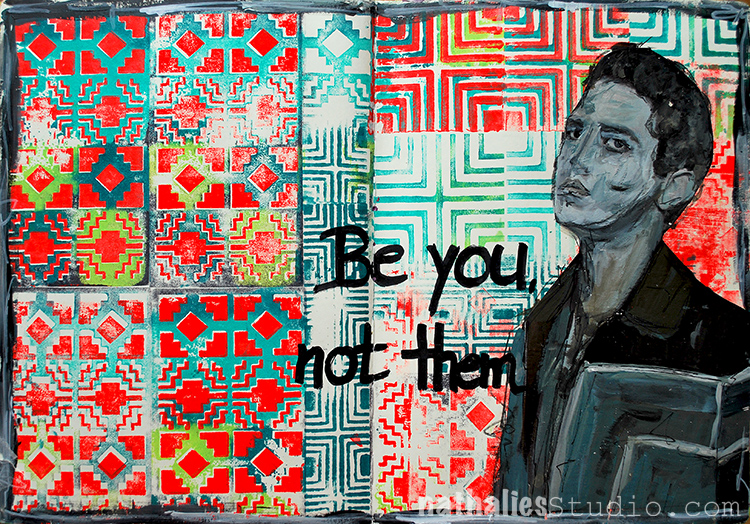
This art journal spread started out as a demo page in a workshop . I was showing how to use the positive and negative Santa Fe and Manhattan Foam Stamp Set with differently colored StampBuddies. (if you missed my short tutorial on this – check it out here) . A lot of the pages I show techniques on are later a great starting point to turn into a finished art journal page.
I like how much depth and dimension you get when stamping offset. I also love how stamping a second time without re-inking shows a lot of texture.
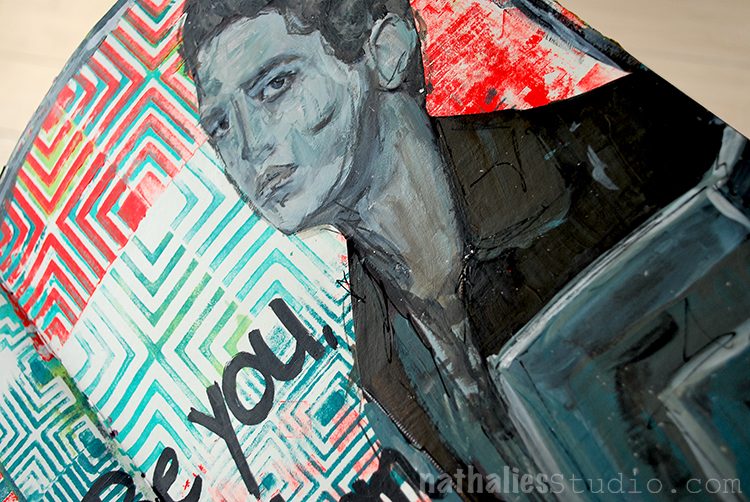
And I had a good time playing with the graphites on top of the magazine image. He looks a bit ill – LOL- but maybe just because he isn’t himself ;)

Hope you have a wonderful day !
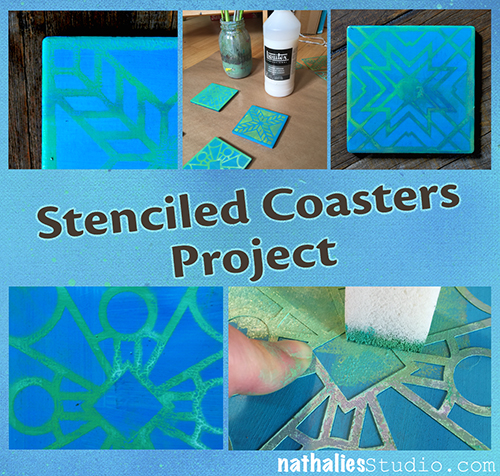
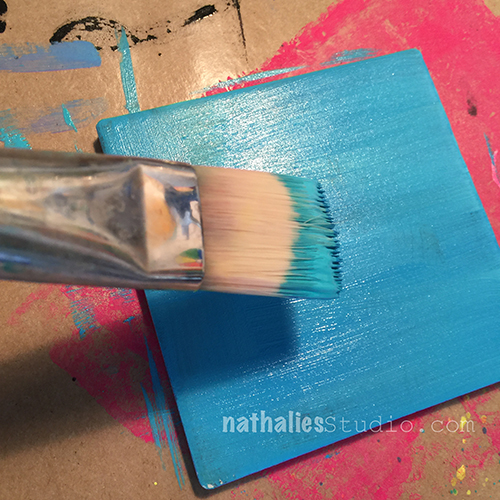
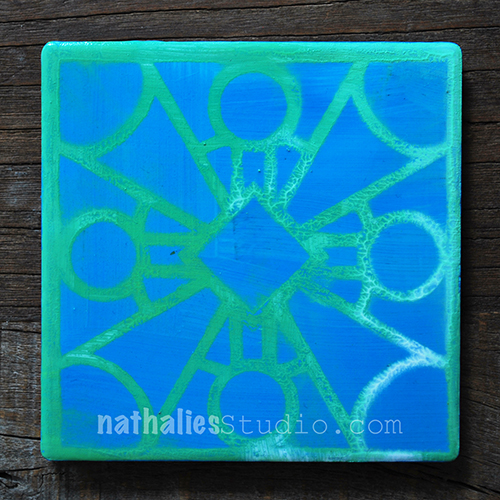
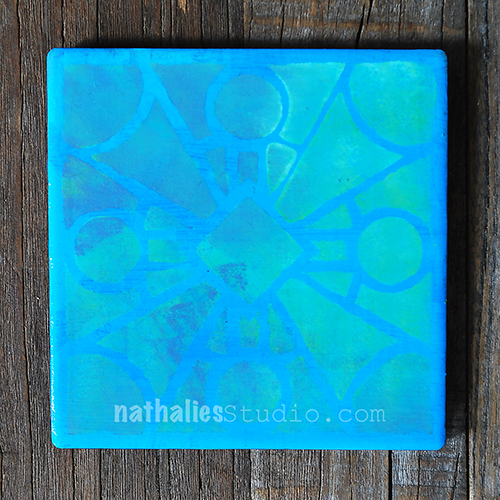
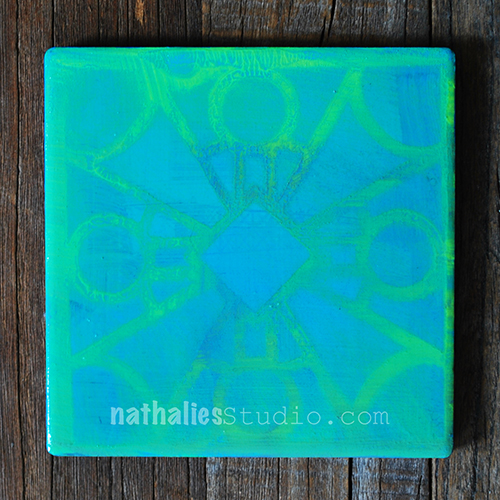
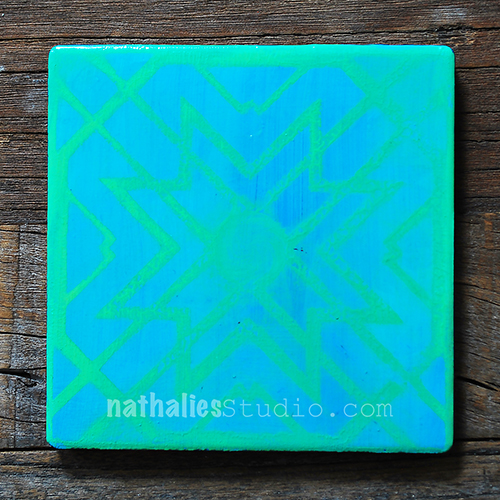
These coasters were so much fun to make. A couple years ago, someone had given me those coasters, which were pretty, but not quite my taste. Time to upcylce and recylce!
I painted all coasters in the same color mix of two different blues with acrylic paint and let them dry.
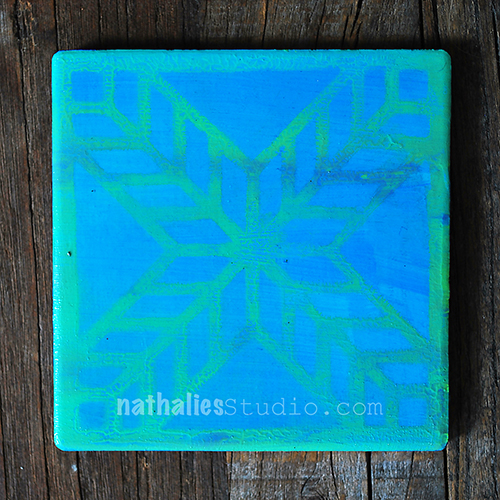
Then I grabbed the Buenos Aires, Santiago and Toledo 4×4 stencils which fit exactly onto the coaster. For some coasters I simply placed the stencil on top of the surface and stenciled with a different acrylic paint color through.
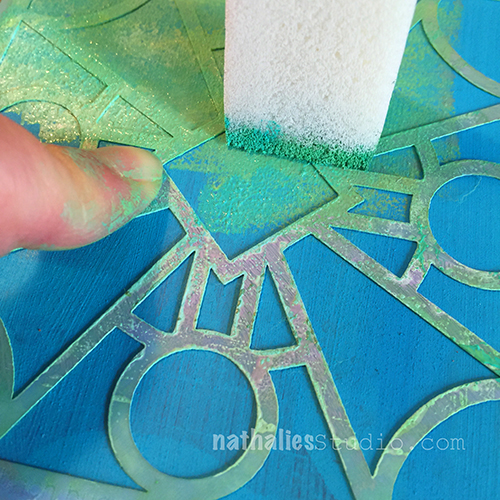
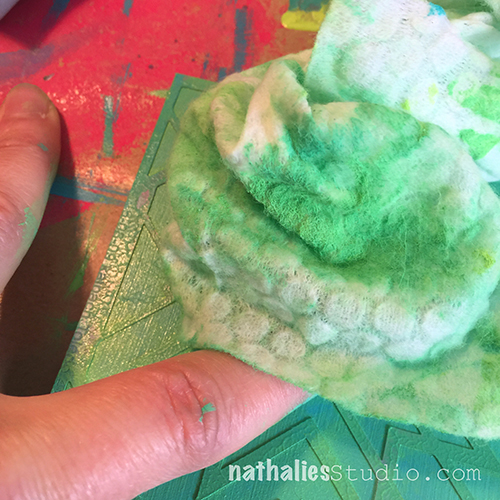
For some I layered some color directly on top of my blue background and then placed the stencil in the wet paint surface and removed paint through the stencil with a baby wipe.
Once all the stenciling was done and the paint was dry, I coated the coasters with Pouring Medium. I let everything dry overnight and gave them another coating with Pouring Medium to seal the surface off and also to give the coasters some depth and sheen.
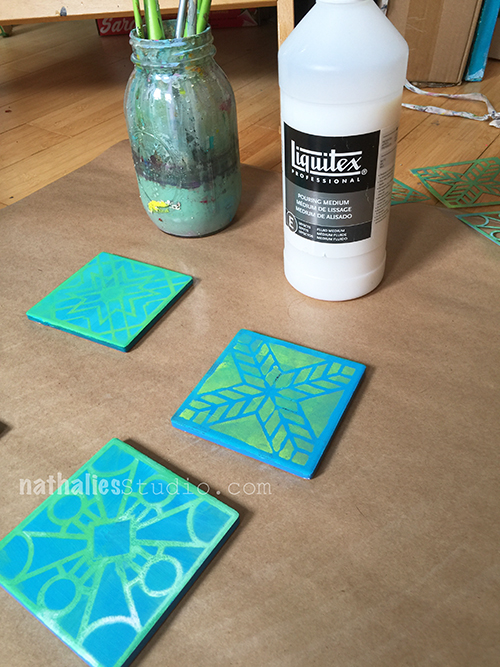
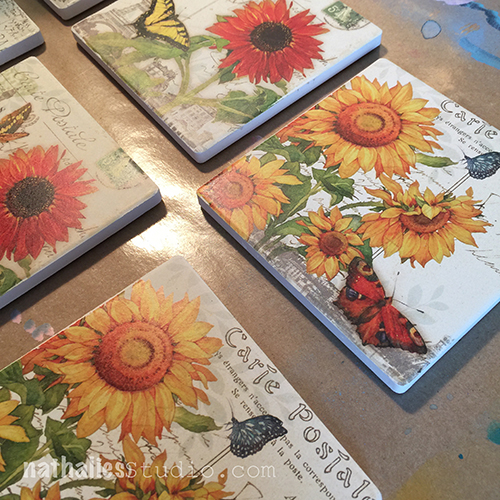
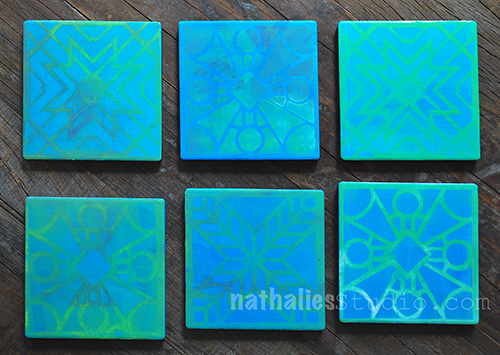
And here you go – the different coasters

I gave those to my sister in law and she really loved them as they are in her favorite colors. Now …time to make some for myself…maybe for Thanksgiving .
Here are the supplies I used to make those coasters – some are affiliate links:
What have you put aside to upcylce or recylcle, but haven’t gotten around to do it yet?
These turned out so much more YOU Nat! Perfect way to showcase your stencils. Xj.
Awe- thank you Joi! Glad you like those :) nat


I love the pattern and the colors you used Nat. I never get stamps on the paper the way I want to. It is better when I stamp on a mouse pad or something like that but I’m just never satisfied with the final product. Yes, I see your creative “mistake”. ;-)
Reply