Creative Squad

Vacation Mode – Jennifer Gallagher


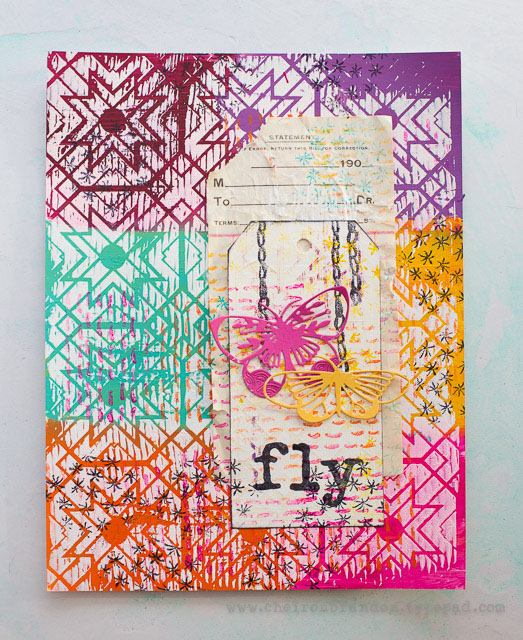
Hello from the Creative Squad! Today we have Jennifer Gallagher and her set of absolutely lovely postcards to send from your vacation destination. She is using my Toledo and Kassel stencils and my Valley Road foam stamp, along with our theme: Vacation Mode – Here in the Northern Hemisphere, we are slogging through winter with only one thing on our minds – vacation! Whether it’s Spring Break, a weekend getaway, or an hour with a good book, everyone needs an escape to Vacation Mode now and again.


This month we are in Vacation Mode here at the Nstudio Creative Squad. What better time to beat my current winter blues than looking ahead to Summer and family vacations. I love the warm Summer sun, sand between my toes, and the salty ocean breeze. So, today I will walk you through making some adorable beach-inspired postcards to send to family and friends from any destination.

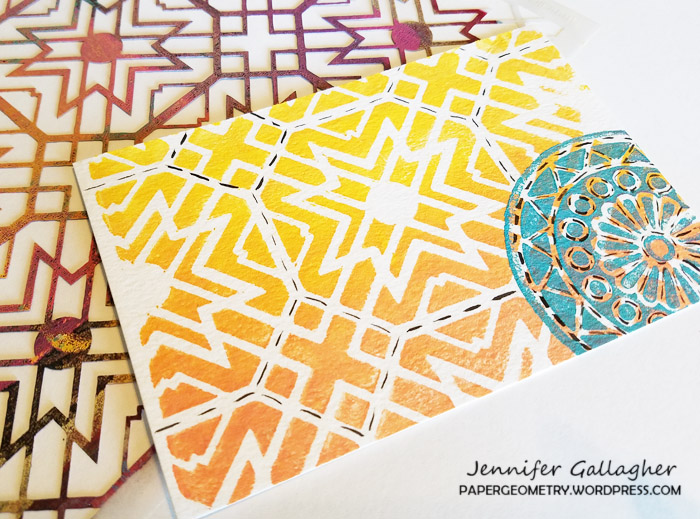
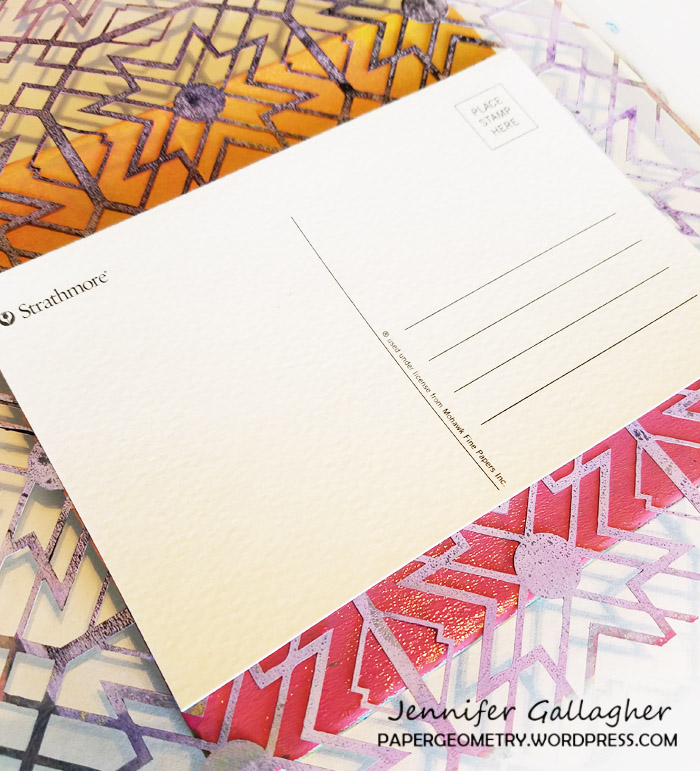
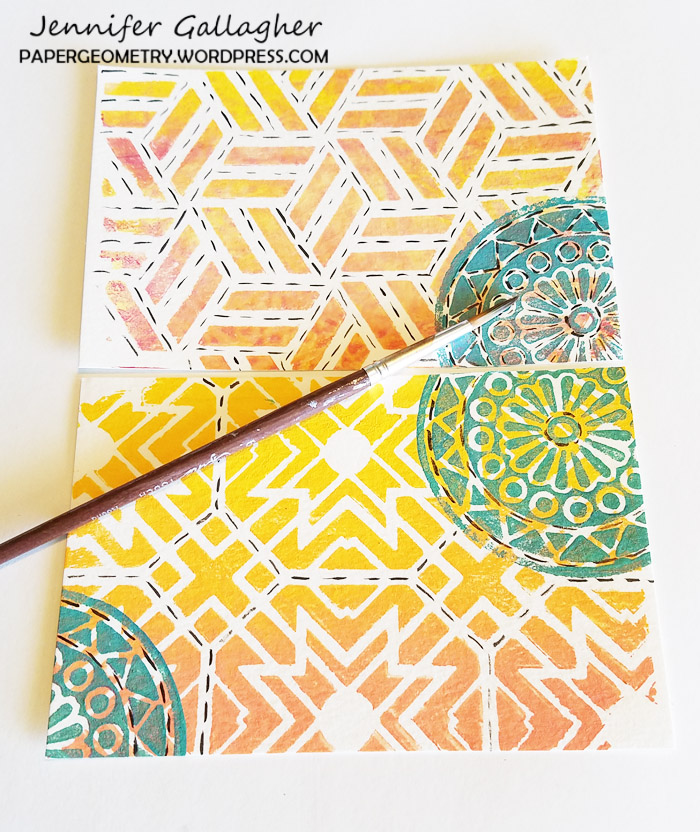
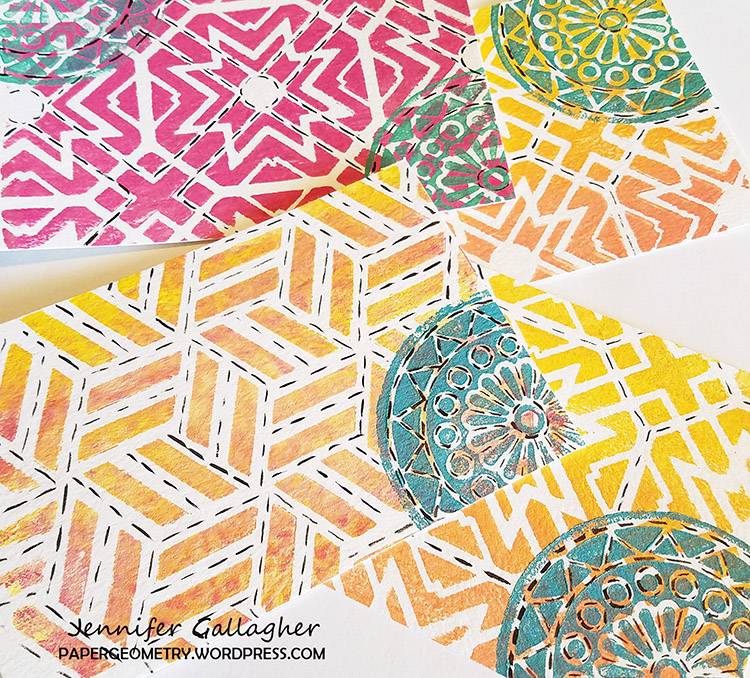
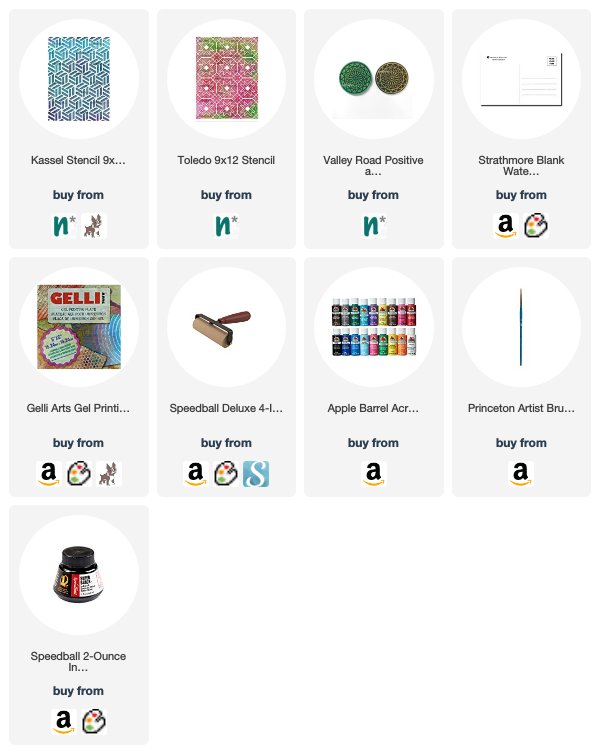
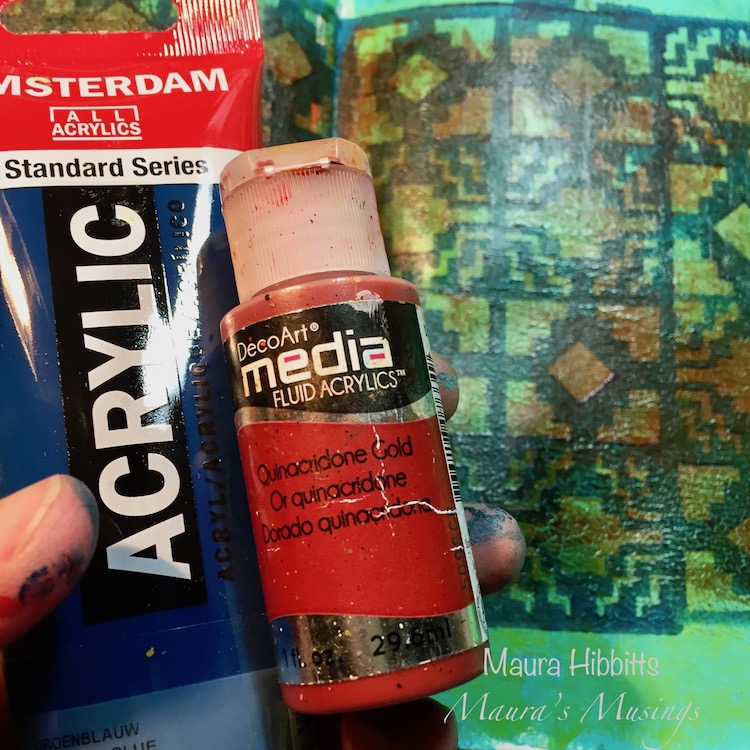
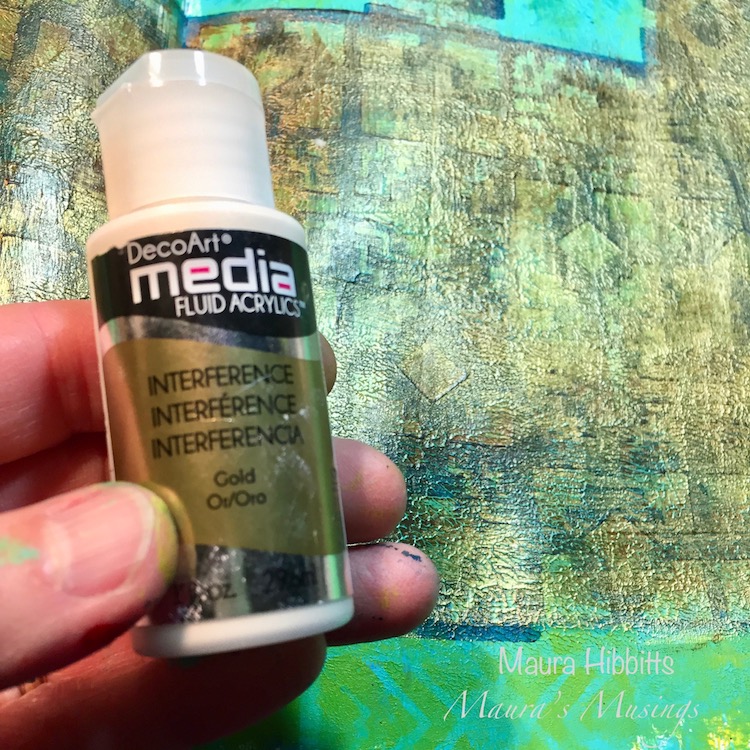
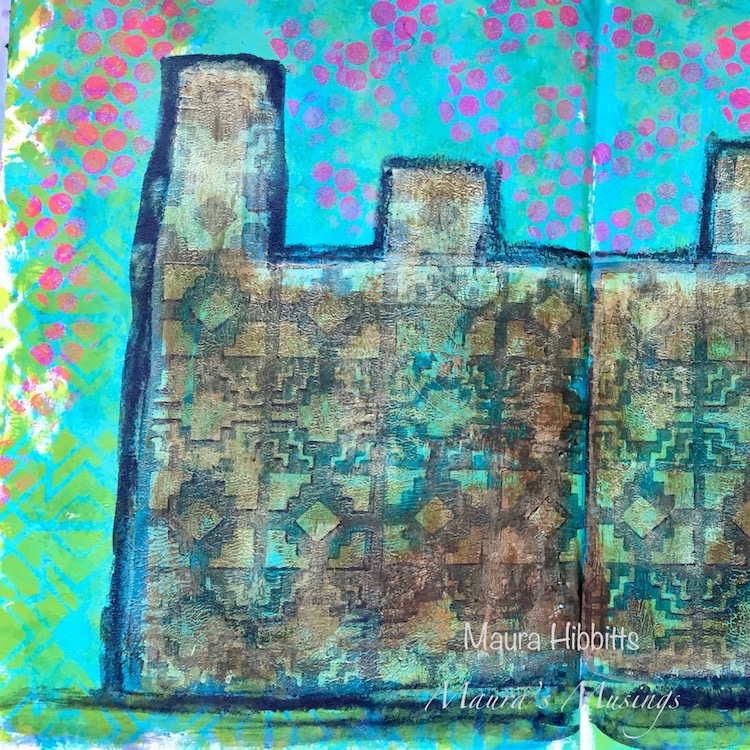
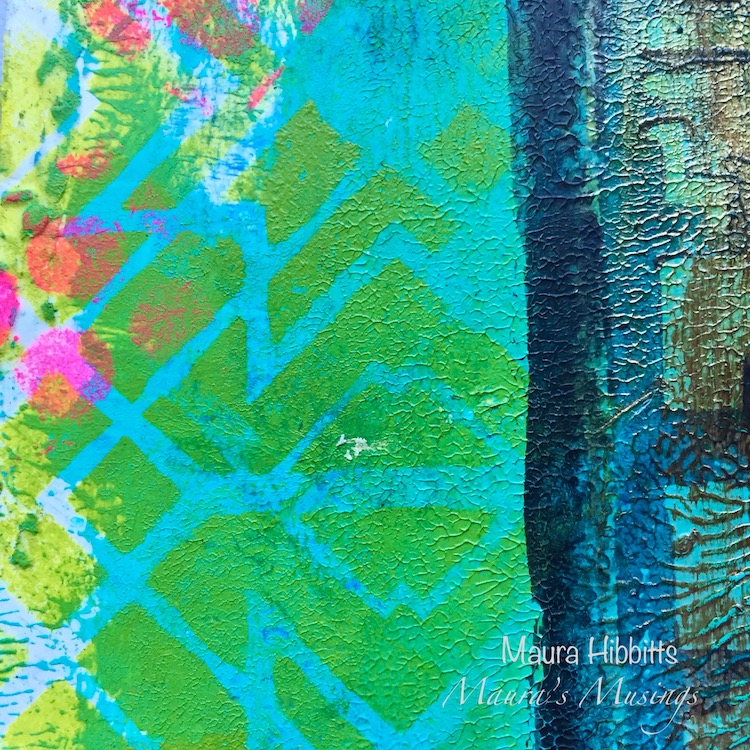
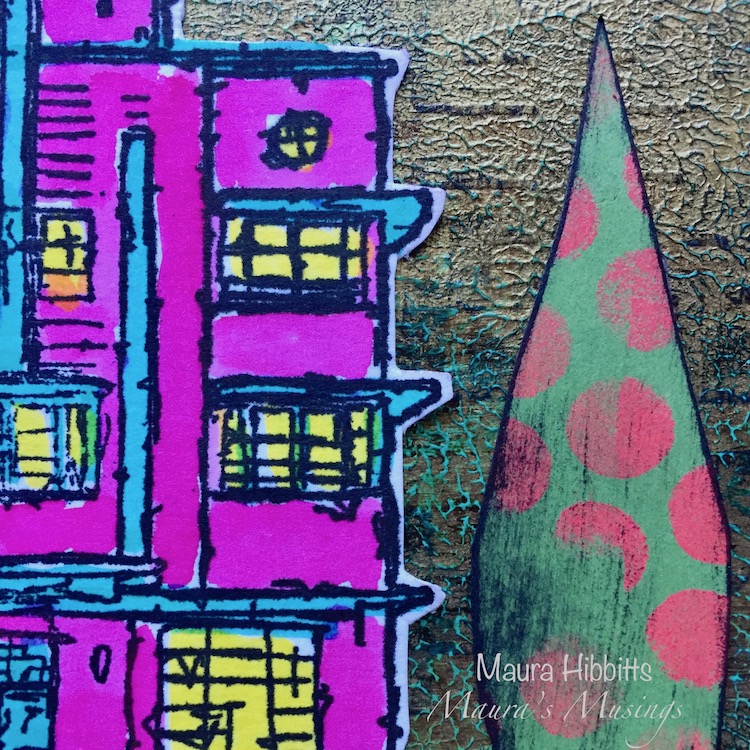
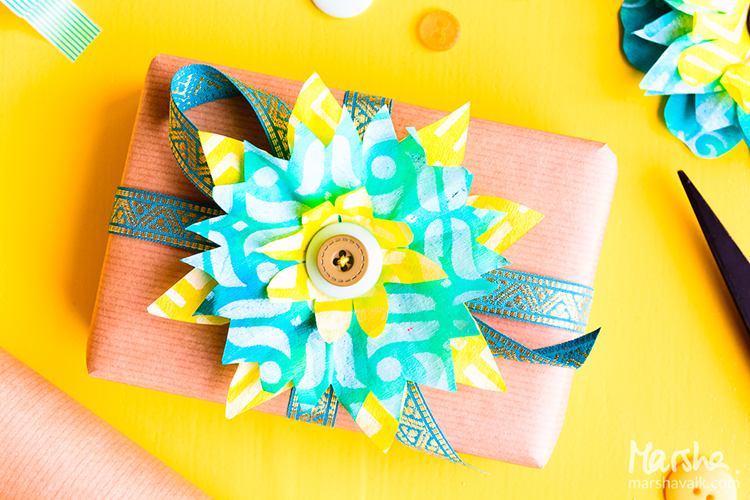
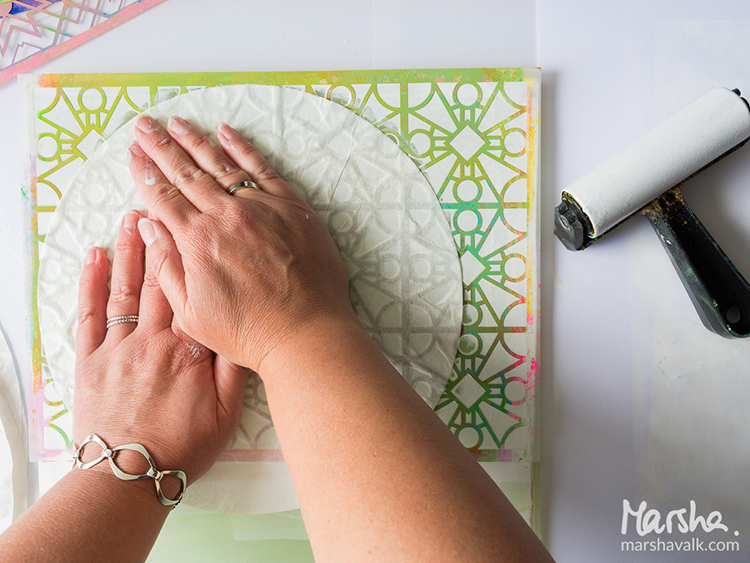
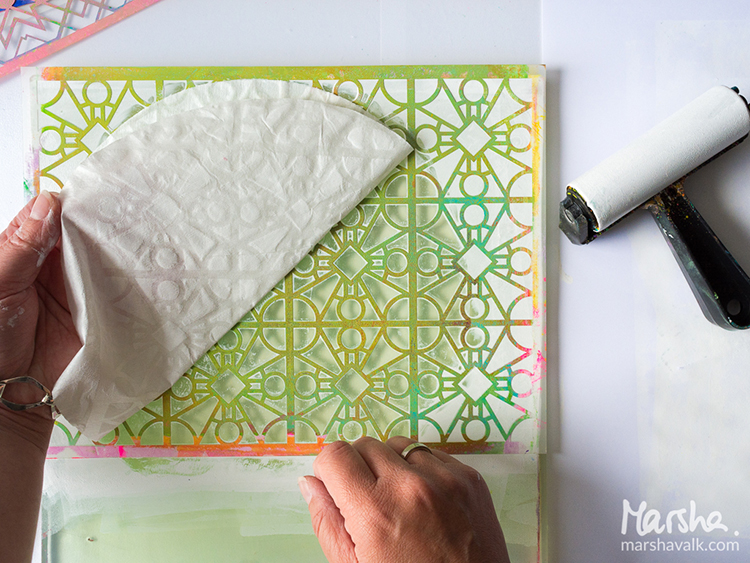
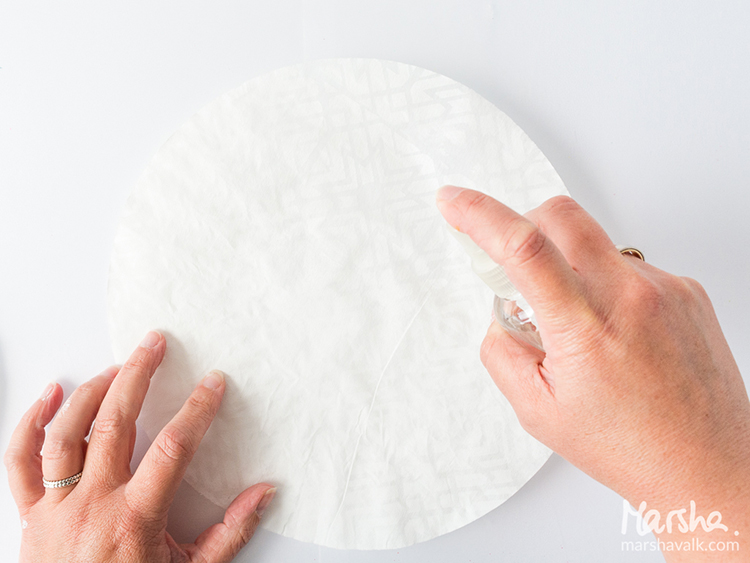
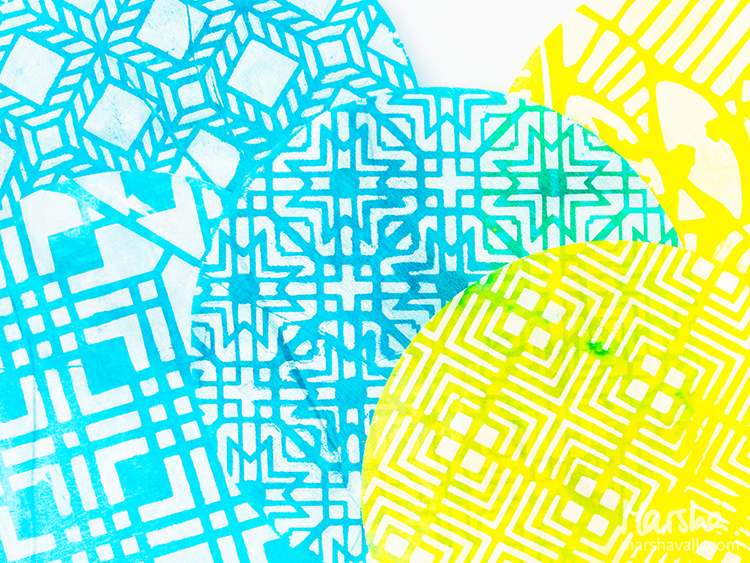
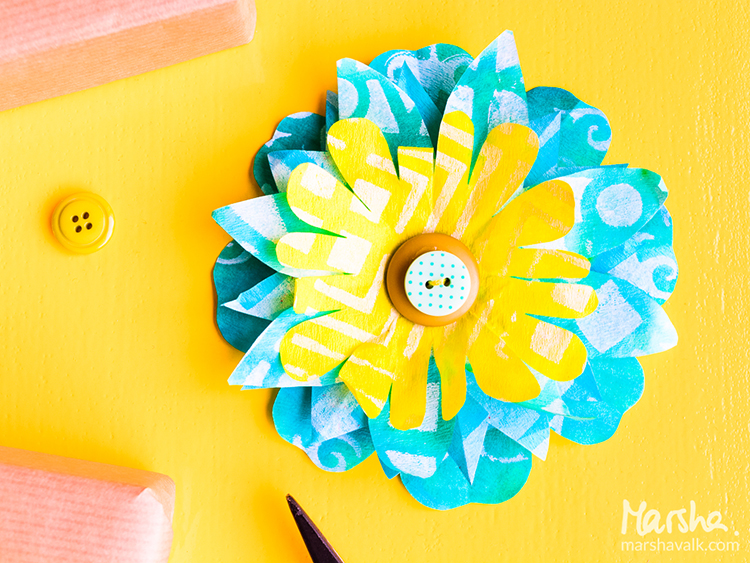
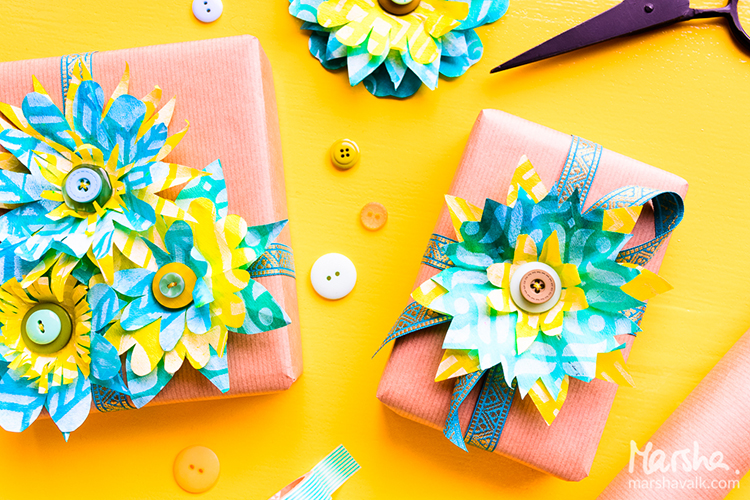
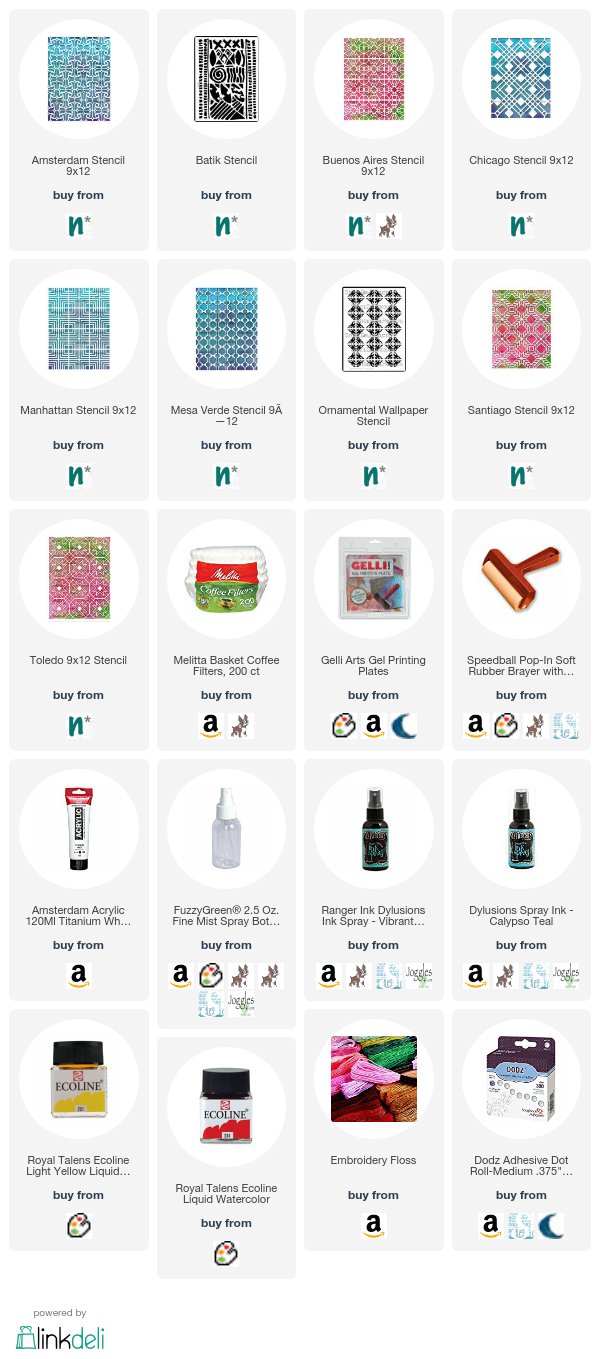
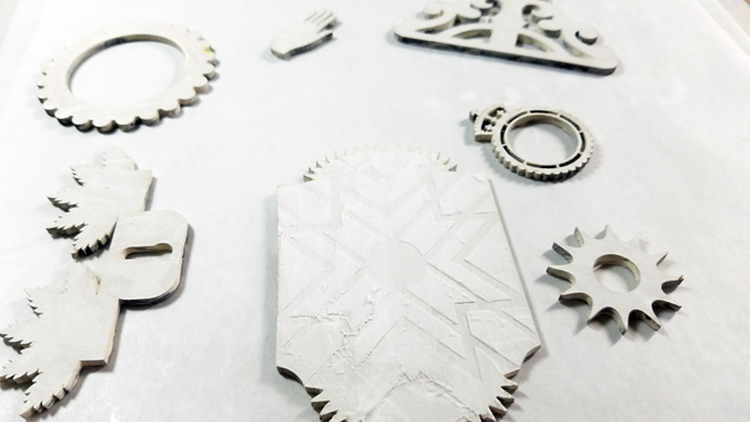
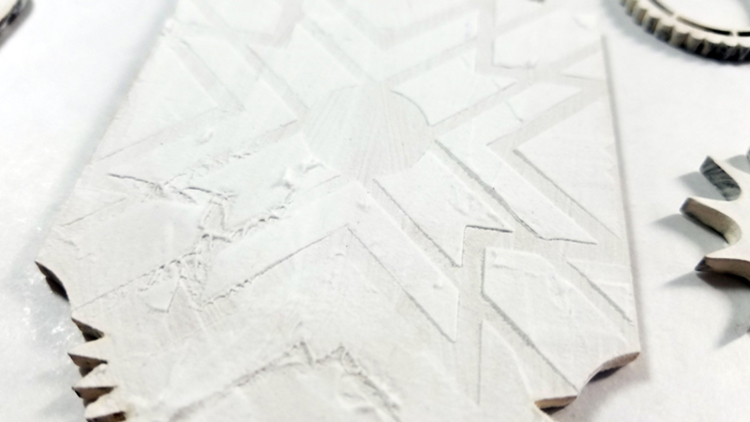
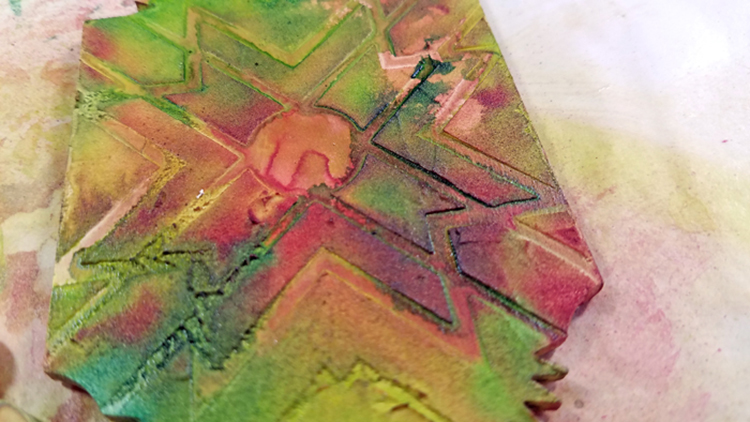
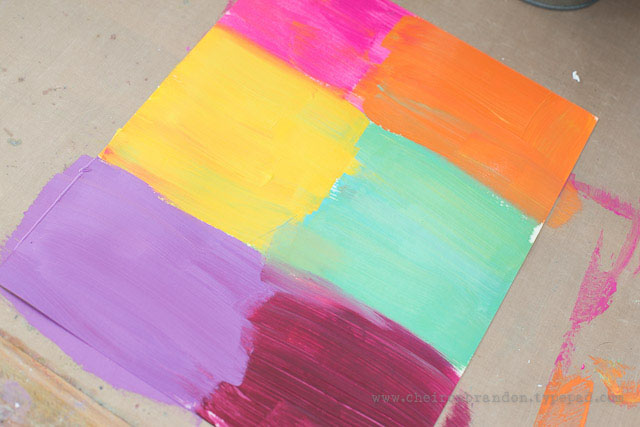
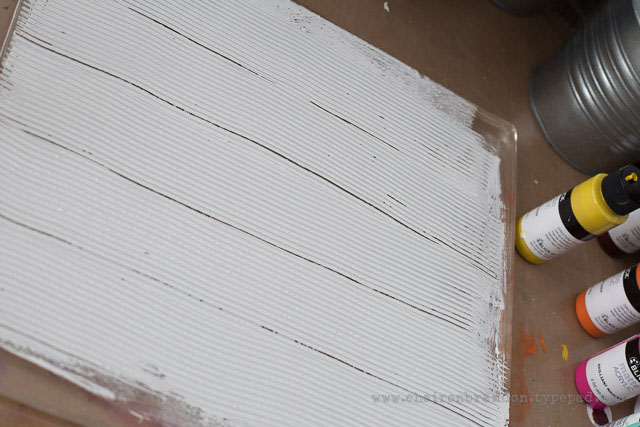
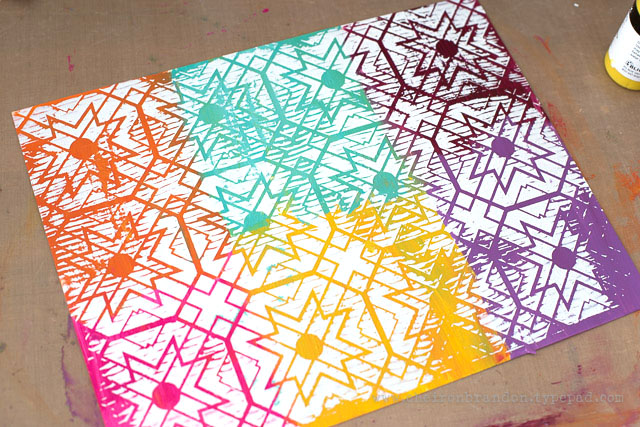
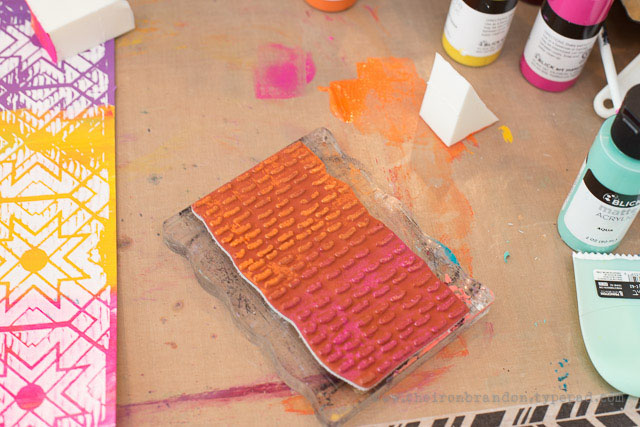
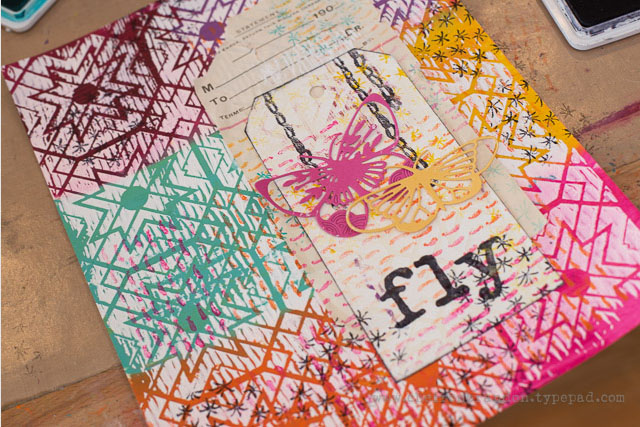
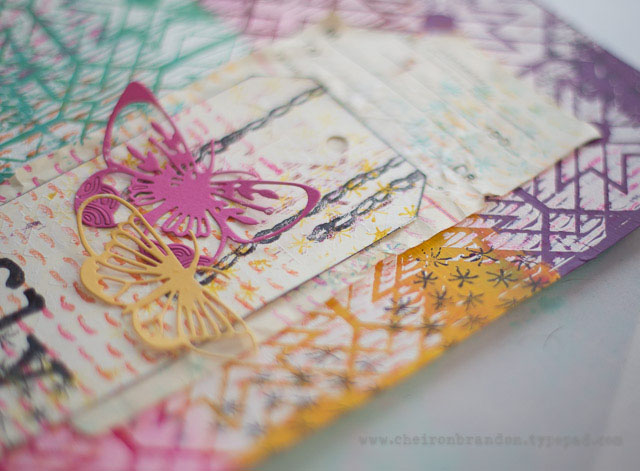
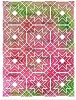
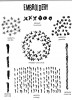
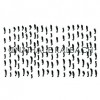
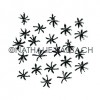
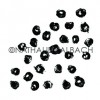
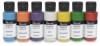
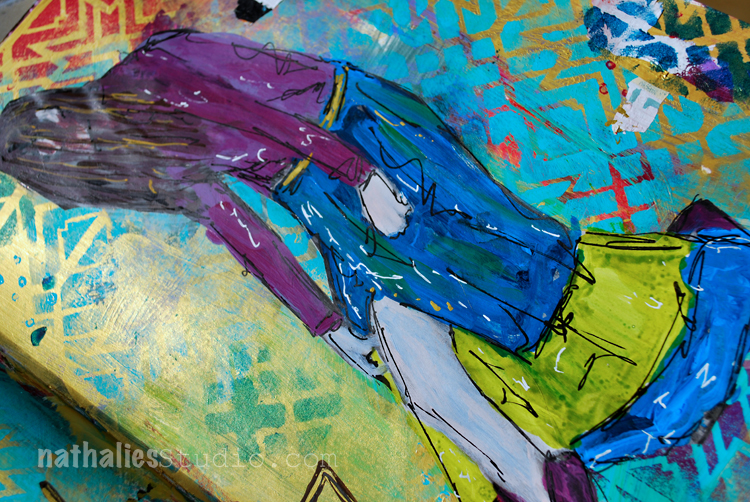
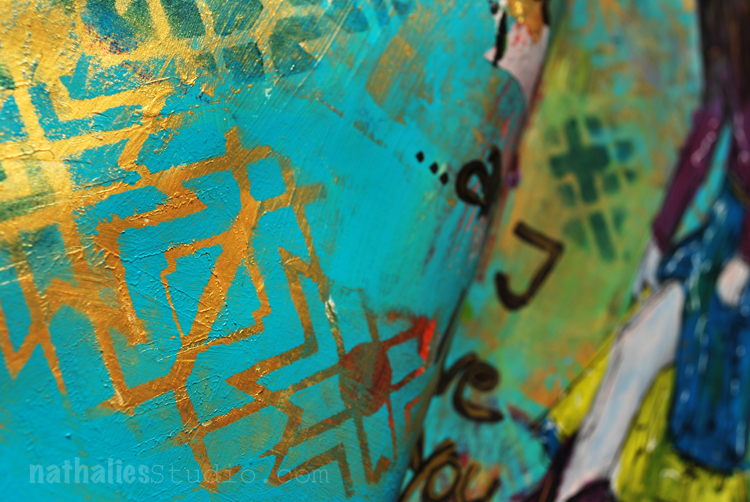
These fun postcards are quick and easy to make and you can use your favorite Nstudio stencils, stamps, and artfoamies to make them uniquely you. I used my six by six inch gelli plate, brayer, watercolor postcards, and inexpensive acrylic craft paints. To make some really standout postcards I used Nat’s Toledo stencil, Kassel stencil, and Valley Road Artfoamies.

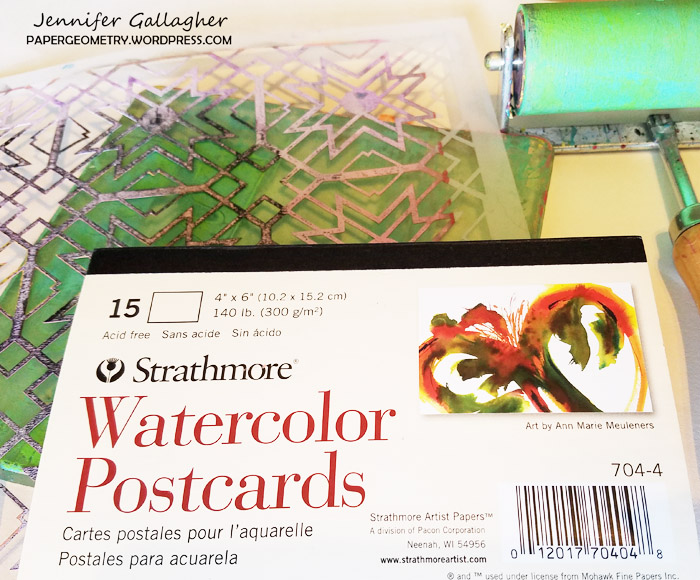
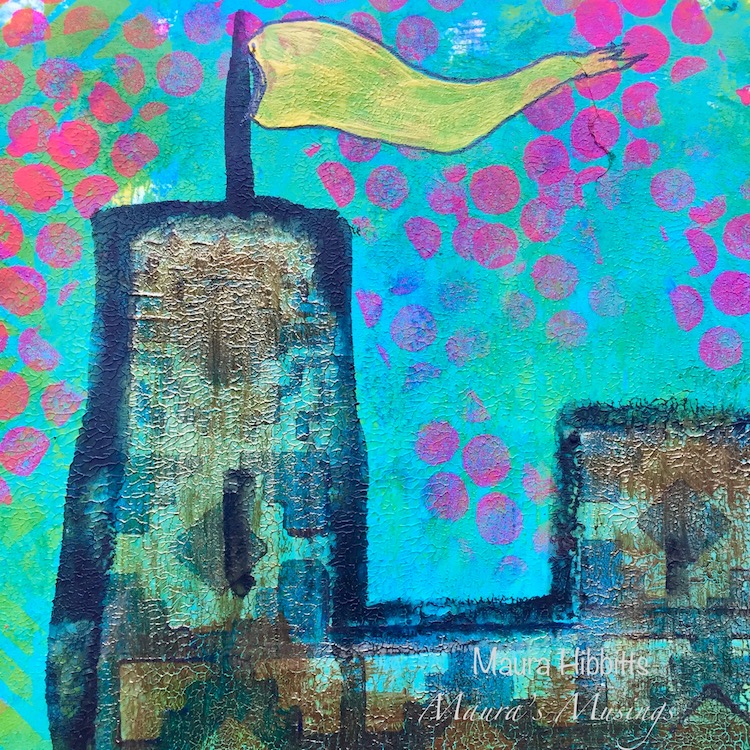
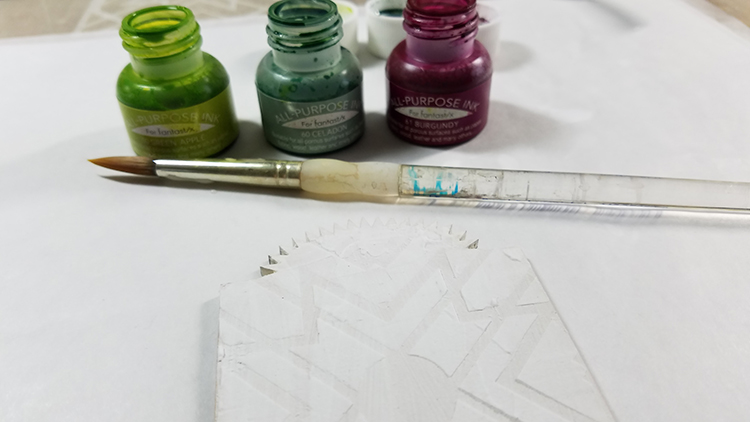
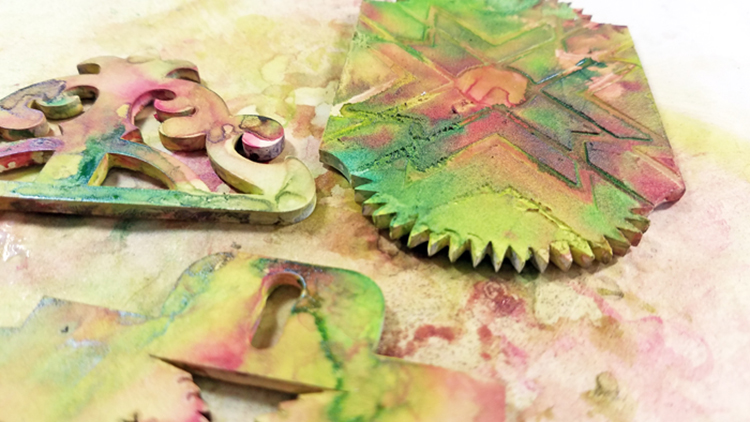
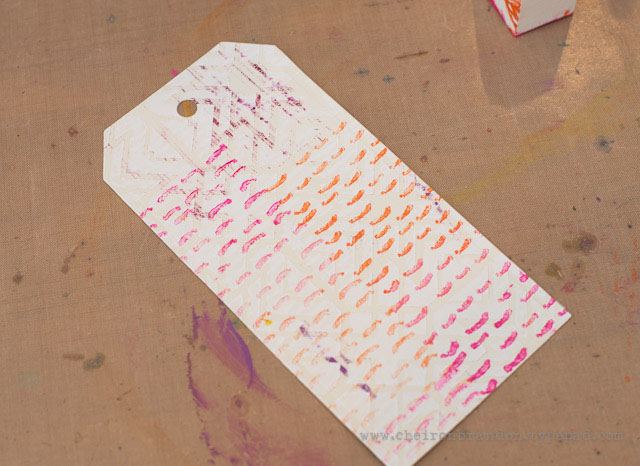
I layered my paint onto my gelli plate from light to dark in coordinating colors with my brayer. I put down my stencil and pressed my watercolor postcard down. Press firmly!

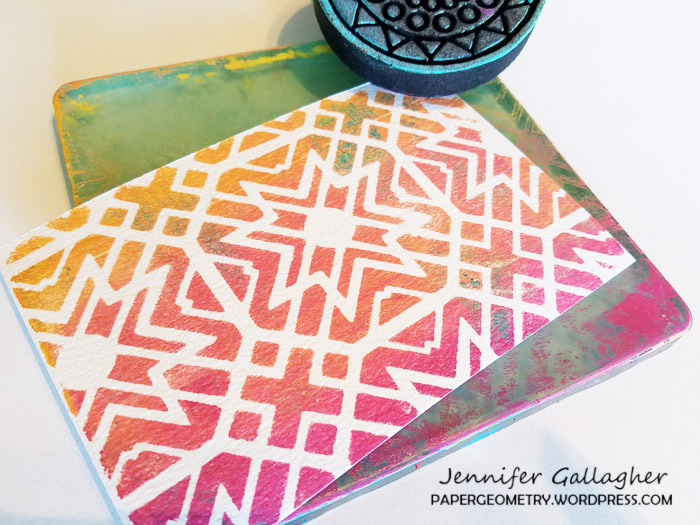
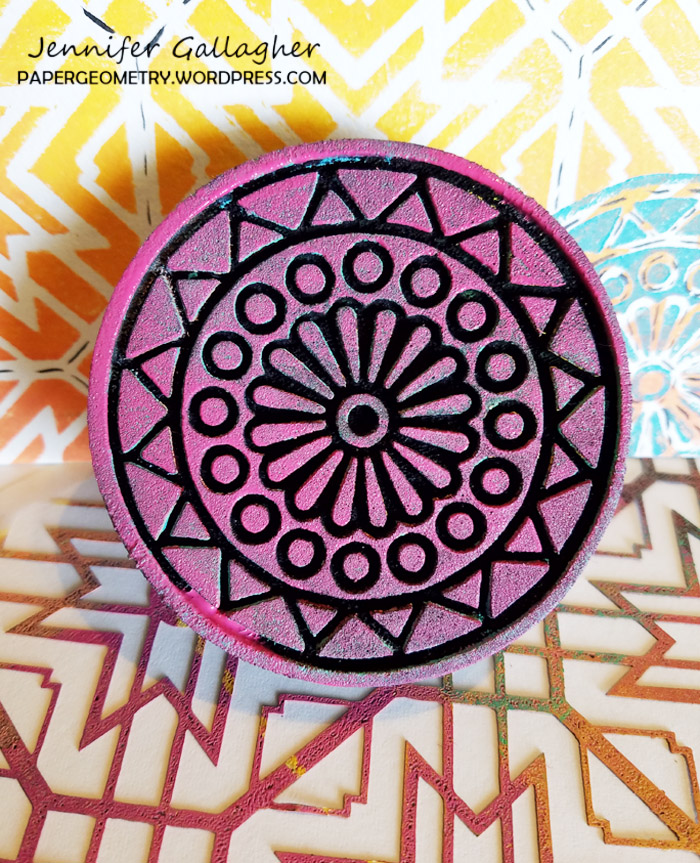
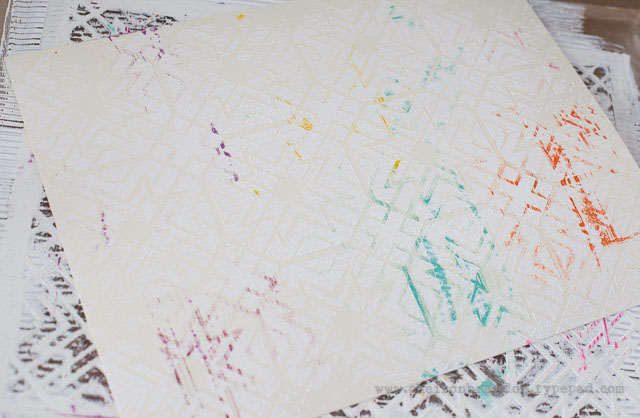
I chose complimentary colors, in this case turquoise and teal, and applied the paint to my artfoamies. I applied the design in interesting places on my postcards.

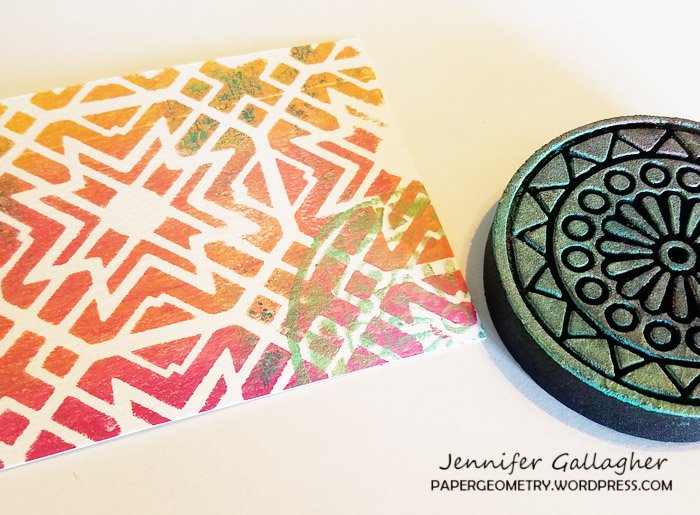
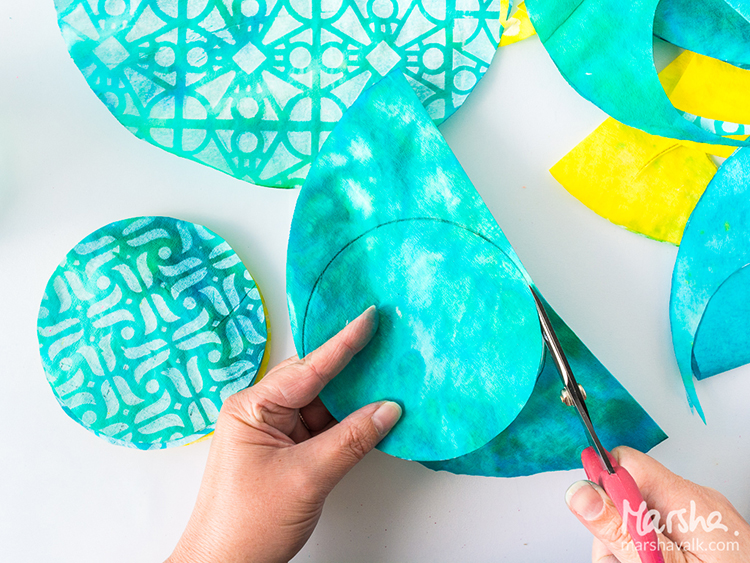
After the paint dried, I decided to add some interest with black India ink. Following the spaces between the stencil gives an interesting line for the eye to follow.

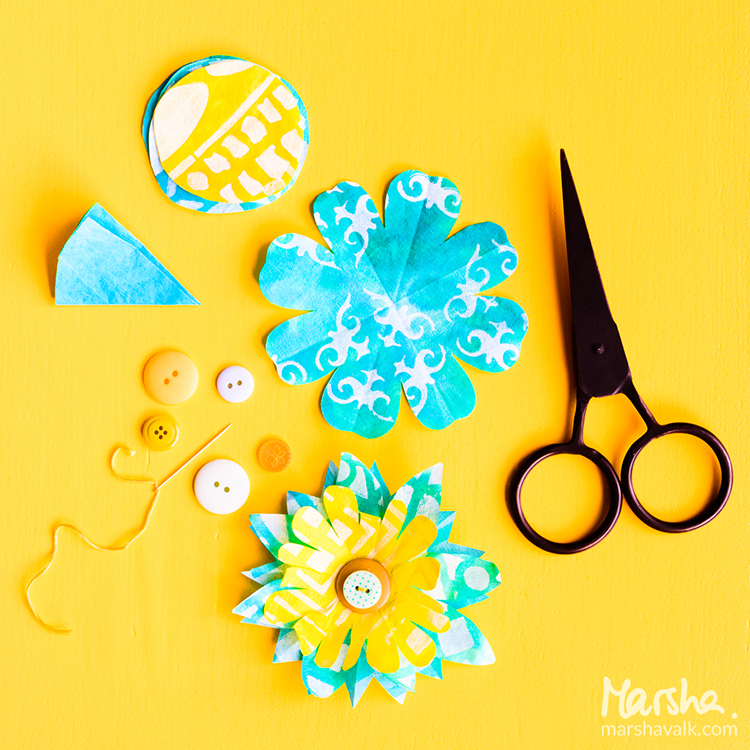
Now all that is left is to send them out. Thanks for stopping by and be sure to visit every Tuesday for the latest Creative Squad post. Enjoy!


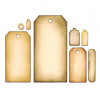
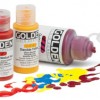
Thank you Jennifer! Those colors are sure to brighten any gloomy winter day :)  Here are some of the supplies that Jennifer used:


Feel inspired? Working on something yourself that you’d like to share?  I love to see how you interpret our monthly themes. Email me how you used my stencils and stamps with the theme and email me an image – I would love to share your projects in my next  “n*Spiration From Around the Globe“.


Join us on Thursday March 22nd at 4pm EST for my latest Kaffeeklatsch on Facebook! I’ll be chatting about all the latest and greatest here at Nathalie’s Studio. Special this time is a GIVEAWAY you will not want to miss, tales from my trip to Japan, and lots of news about exciting upcoming in-person workshops! Join us and say hi!

SaveSave

SaveSaveSaveSave

Comments (1)

  • maura

    |

    Love how you made your own postcards with the stencils and stamps, Jennifer! Cool idea and colors! Maura

    Reply

Leave a comment

My Home is My Castle – Maura Hibbitts


Hello from the Creative Squad! Today we are super happy to introduce to you our newest member: Maura Hibbitts! Maura is a master of colorful layers and we are so happy she will be with us to share some of her projects. Today she brings us an art journal spread with tons of yummy texture. Maura uses my Stroll Around the Block stamp set, the My Home Is My Castle cling stamp, my Santa Fe foam stamps, and my Toledo stencil. She is also working from this month’s theme: My Home is My Castle – Home means many different things depending on who you ask and where you are in the world. This month we’re thankful to have a place to call home, a place where we can rule and be King – or Queen :) – of the castle!


I am honored and excited to join you this month on the Creative Squad!

When I started thinking about this month’s theme, “My Home is my Castle”, I started to imagine a castle behind my own little house. There are so many sayings that relate to this idea, like Queen of the castle (me, I guess), or a man’s home is his castle (hubby), that I knew where I wanted to head with this. In real life, I am glad I don’t live in a huge, drafty castle that I would have to clean, as housework is a much lower priority than creative work.

I headed to my big Dylusions art journal, and squirted on some yellow and turquoise paint and blended it together with a brush. While the paint was still wet, I closed the book and pressed the pages together. Open them up immediately and let dry to create a nice texture.

Next, I used dark blue paint with a brayer on the Art Foamies large Santa Fe stamp and stamped a repeating pattern across the pages to create the main part of the castle. Then, I used the small Santa Fe stamp to make the upper part of the castle. Once that dried, I went over the castle with Quinacridone Gold.

I wanted to add a bit of a dreamy quality to my castle, so added a layer of Interference Gold. I like how this brought out more of my paint texture too. I also added bright green with the Toledo stencil around the edges of my pages.

I outlined the castle with a graphite pencil and went over it with a water brush, and added in some window slits and an entrance. Using bright pink paint with the Wired stamp, I added pops of color for contrast, and also stamped some color pops onto a sheet of green card stock for later use.

Here’s a closeup of the colors and textures on the page.

I chose Nathalie’s Art Deco home stamp for my pages, so I could use bright colors on it. I was thinking of those wonderful turquoise and pink homes in Florida (maybe because it is so darn cold here). I stamped it onto watercolor paper, added color with watercolors and markers, then fussy cut it out. I cut out a few funky trees with the paper I’d previously stenciled, and distressed them a bit with black ink.

Of course, I had to add a flag flying from one of the turrets of the castle. I painted it in yellow and went around it with a black pen.

Behind each of our homes, whether an apartment or house, is the castle of our imagination. I hope you’ve been inspired by my art journal pages to create your own awesome project!


Thank you Maura! I love that cute little pink Art Deco house in front of the giant castle :) Here are the supplies that Maura used:


Play along with us too: I love to see how you interpret our monthly themes. Email me how you used my stencils and stamps with the theme and email me an image – I would love to share your projects in my next  “n*Spiration From Around the Globe“.


SaveSave

SaveSave

Comments (1)

  • Joi@RR

    |

    CONGRATULATIONS Maura. What a great addition Nat!!! Loved your creativity – your home/castle are WONDERFUL. Super textures too!! Xj.

    Reply

Leave a comment

Reduce, Reuse, Recycle with Marsha Valk


Hello again from the Creative Squad! Today we have a gorgeous gift wrapping project from Marsha Valk that is sure to send you running to your kitchen for some coffee filters :) Marsha used a whole slew of my stencils on this one (so be sure to check the materials list at the bottom) to rock the theme: Reduce, Reuse, Recycle – Let’s do Mother Earth a favor this month and use what we already have.  Maybe we’ll dip into our stash of leftovers from other creative projects or maybe we’ll repurpose something unexpected.  This month we’re thinking about how artmaking can impact the environment and we’re trying to make our footprint just a little bit smaller.


Reduce, Reuse, Recycle – that’s a topic that has been on my mind a lot lately. I have a lot of different craft supplies. I like to donate any excess supplies I have, but I still have plenty left that I’m reluctant to get rid of because I don’t want to waste it and it may come in handy someday…

The upside to this is that I’m never short on stuff when it comes to gift wrapping!

Paper flowers make fun and easy gift toppers, so I for this month’s prompt I decided to make coffee filter flowers.

I’ve shared how to create similar flowers on the Gelli Arts® blog before:

Using brand new (bleached) coffee filters for a craft project probably isn’t the greenest choice you can make. If you are looking for an environmentally friendlier option, you can recycle used coffee filters.

Unfortunately I don’t have access to a coffee maker that uses filters like these, so I haven’t tested it for you, but I believe you can rinse and dry them. They will be stained, but that will actually add interest to the paper (and the flowers).

Step 1: Monoprint a couple of coffee filters with your Gelli Arts® printing plate using stencils and (white) acrylic paint. Here I’m using Nat’s Buenos Aires stencil.

Step 2: Stain the monoprinted coffee filters with spray inks.

Wet the coffee filter with a spray bottle of water before you spray on the spray ink. The water will help the spray ink spread across the coffee filter, this one has Nat’s Toledo stencil pattern on it.

You can stack the coffee filters you want to have the same colour while spraying. Each new filter will absorb the excess ink from the already sprayed ones!

Leave the coffee filters to dry completely.

Step 3: Cut two smaller circles out of each coffee filter. I folded each coffee filter in half and used a jar to trace a circle shape onto them to get a uniform size.

Step 4: Fold the circles into eighths (or more) and cut leaf shapes. Make sure to cut some larger and some smaller.

Step 5: Unfold the coffee filter flowers and stack two or three on top of each other. Secure them by sewing one or two buttons in the middle of each stacked flower.

Fluff the petals until you are happy with the result.

Step 6: Use a glue dot or double-sided tape to adhere the flowers to your gifts!


I love this Marsha – such a great way to dress up a gift! In addition to buttons and ribbon, Marsha used the following supplies (some are affiliate links):


Play along with us too: I love to see how you interpret our monthly themes. Email me how you used my stencils and stamps with the theme and email me an image – I would love to share your projects in my next  “n*Spiration From Around the Globe“.

Leave a comment

Free For All – Tina Walker


If you are in the US today, Happy 4th of July from the Creative Squad! Today Tina Walker is starting us off on a new July theme with a gorgeous piece of assemblage using my Stroll Through the Hood #2 Main Station and Cardboard stamps and my Toledo stencil. This month’s theme is: Free for All: It’s time for summer vacation and relaxing so around here the Creative Squad is taking a break from themes this month. They’re just going with the flow and making a project of their choosing. It’s a Free for All!


Hi! Tina Walker here today with a new month and a new theme. July’s theme is a Free For All! How perfect is that? We can make whatever our creative little hearts desire! But, to be honest, I always struggle with ‘anything goes’ challenges. I have so much product and love creating so many different types of art, it can be overwhelming. But no worries…my ole’ standby to the rescue – Assemblage Art!

There is something about combining bits and bobs together to create a unique, one-of-a-kind piece. Stamps and stencils always make creating texture on assemblage easy and quick. Let’s see what I’ve created.

Cover all assemblage base pieces with a thin layer of gesso.

Apply modeling paste with your favorite Nat Kalbach stencil to your larger base pieces, I used the Toledo stencil here.

Paint your assemblage pieces with medium of choice. Acrylic paints, spray mists, inks, and pastes all work beautifully.

Just look at how the paint ‘grabs’ the stenciled image. Divine!

Stamp one of your favorite Nat Kalbach ‘Stroll Through the Hood 2’ stamps, such as the Main Station stamp, onto a transparency sheet. Layer it behind one of your assemblage pieces to resemble a window.

For even more texture, heat emboss some of your assemblage pieces with more favorite Nat Kalbach stamps, such as the Tread stamp.

Assemble all of your project pieces together and call it DONE!

I hope you enjoyed my projects today. Have a great day!


Thank you Tina for such a cool project! In addition to Green Apple and Celedon All Purpose Ink, a vintage doll head, and PaperWhimsy chipboard componants, Tina used these supplies – some links are affiliate links:


Play along with us this month and share how you interpret our monthly themes. Email me how you used my stencils and stamps with the theme and email me an image – I would love to share your projects in my “n*Spiration From Around the Globe“.

Leave a comment

Pattern Lovers – Cheiron Brandon


Hello from the Creative Squad! Today Cheiron Brandon is sharing a beautiful and colorful art journal page using my Toledo stencil and my Embroidery stamp set. This month’s theme is: Pattern Lovers Love Patterns: We admit it – sometimes we go a little crazy over cool patterns. We see them everywhere and whether it’s in the human-made stuff all around us or in the designs by Mother Nature, we love them all. So this month we’re playing with pattern and giving it the attention it deserves!


Hi there! It’s Cheiron here to share a monthly project with you. For this month’s project I created a journal page. You may notice it’s not actually in a journal, but it will be! I like to create pages outside of my journal, especially when I am using the gelli plate, then tip them back into the journal I am working on. Let me walk you through how I created my page….

To begin my project, I painted some Matte Acrylic paints in various colors. I know it doesn’t look like much, but this will really make the next step pop.

I rolled out some titanium white paint onto my gelli plate, to give some added texture, I went through the paint with a comb tool. Then I laid my Toledo stencil on the gelli plate and pressed my already colored panel into the white paint that has been covered with the stencil.

This is what it will look like. That colorful background really makes the white pop!

I never like to waste paint, so I pulled off the stencil and placed another piece of paper into the paint that was left.

This will leave you with a nice textured piece of paper. Since it’s white paint, you could always use this as a resist with ink too.

To add even more pattern to my page, I stamped with the RunningStar Fish, and Grannies stamps from the Embroidery set all over the page in coordinating colors.

I cut a tag out of the 2nd white textured piece, and stamped on that too.

I added some letters and the Chain Link stamp from the Embroidery set in black to give the tag some contrast. I also inked around the edges.

I did the same thing on a piece of old ephemera.

I glued everything down with collage medium and added some butterfly dies.

When it was all done, I stamped a few more images from the Embroidery set over the entire page. I hope you enjoyed this tutorial and will try making some easy patterns with stencils on your own!


Thank you Cheiron! In addition to a piece of ephemera, Cheiron used the following supplies (some are affiliate links):


Play along with us this month and join the 30 day Artful Adventures Stroll Challenge! I love to see how you interpret our monthly themes. Email me how you used my stencils and stamps with the theme and email me an image – I would love to share your projects in my “n*Spiration From Around the Globe“.

Comments (1)

  • Stephanie

    |

    Great project jump start technique! Thanks.

    Reply

Leave a comment

I see you … or SAWUBONA Art Journal

I see you …and I love you!

I recently learned that African Zulu has a greeting  “Sawubona” which means “I see you. It says, “I see your personality. I see your humanity. I see your dignity and respect.”

I feel strongly we need to learn to see and love people again and see their humanity even if they are different from us.

I played a bit with gold gesso and acrylic paint as well as with my Toledo Stencil.

I love how the teal paint looks on the gold – probably my favorite part of this spread :)

Guess I will have to do more of this combination – At first I didn’t care to much for the dark green and red with the gold in this spread but I can live with it…mhhh – I see it – and I love it ;)

Here are some of the supplies I used for this spread – some links are affiliate links:


I wish you a gorgeous day!

Comments (4)

  • Sherri Scott

    |

    Nathalie, you have such a caring heart and spirit, no wonder you make such beautiful art

    Reply

    • nathalie-kalbach

      |

      Awe- Sherri, you are so sweet!!!! I hope I see you soon again!!! <3

      Reply

  • Sue Clarke

    |

    Love that greeting and how you used the gold Nat.

    Reply

    • nathalie-kalbach

      |

      thank you sue! have a wonderful rest of the week and stay warm – hope you didn’t get too much snow!!!

      Reply

Leave a comment