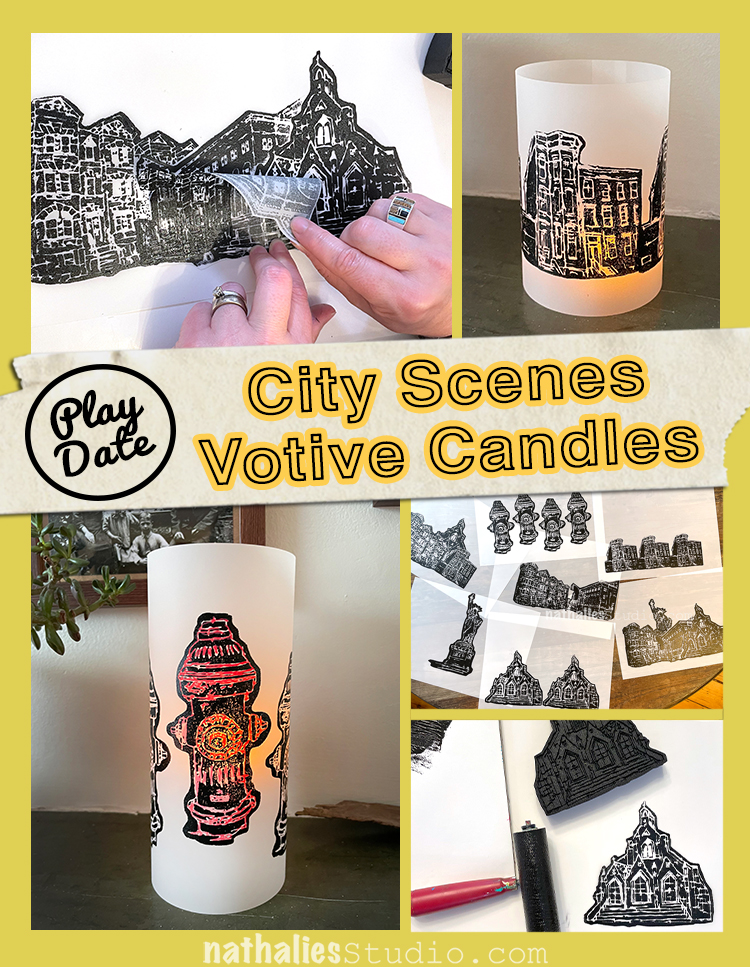
Last week Kim and I got together for the first time since 2019 for one of our epic Play Dates!!! We had such a nice time gabbing and making art and just enjoying the experience of creating together. Our project? Votive candles using my NEW foam stamp designs! It was an easy peasy project to get us back in the groove and the results are very nice. Here’s how we did it:
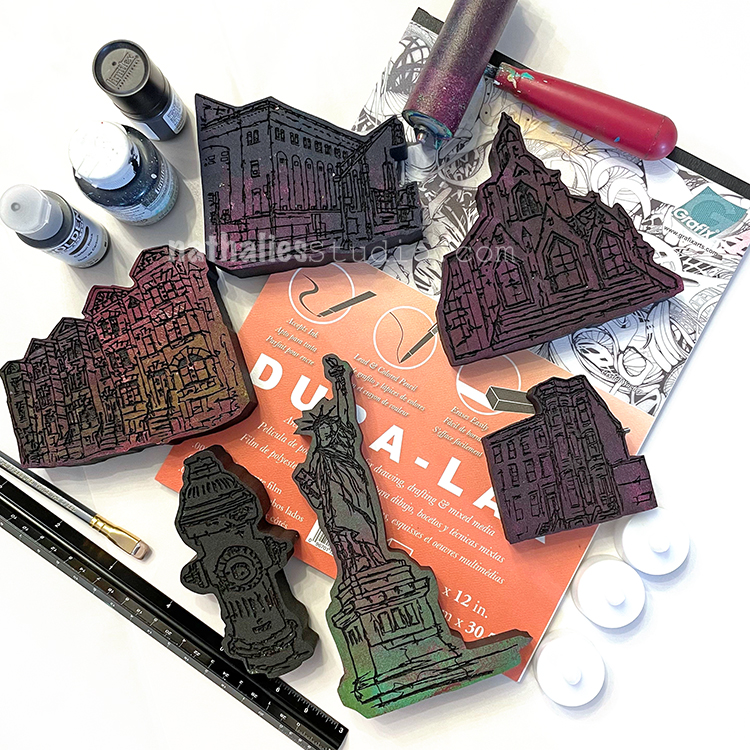
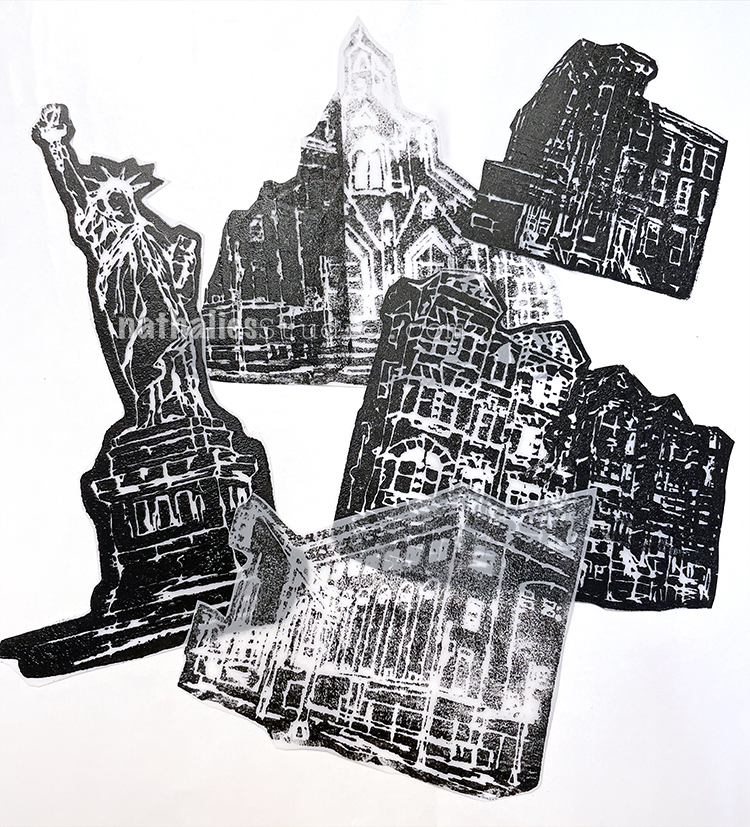
The supplies are simple: my new foam stamps (Clockwise from the top they are Powerhouse, Church, Brownstone, Lady Liberty, Hydrant, and Row Houses), Grafix Dura-Lar matte film, black acrylic paint, brayer, double stick tape, LED votives, and scissors or a paper trimmer. We also dressed some up with Posca markers, but more on that in a bit ;) The whole idea was to have the buildings and such silhouetted so that the light shines through all the details. Read on!
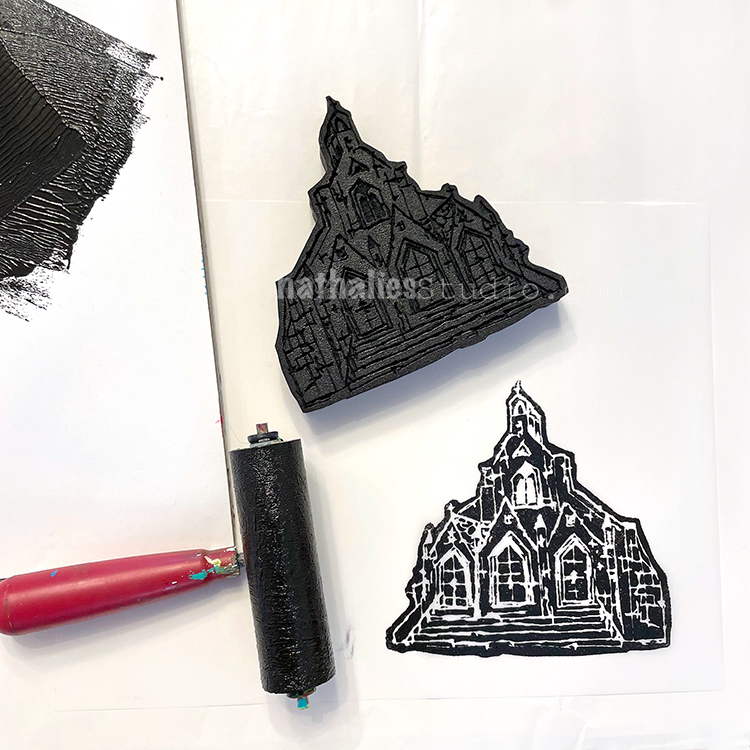
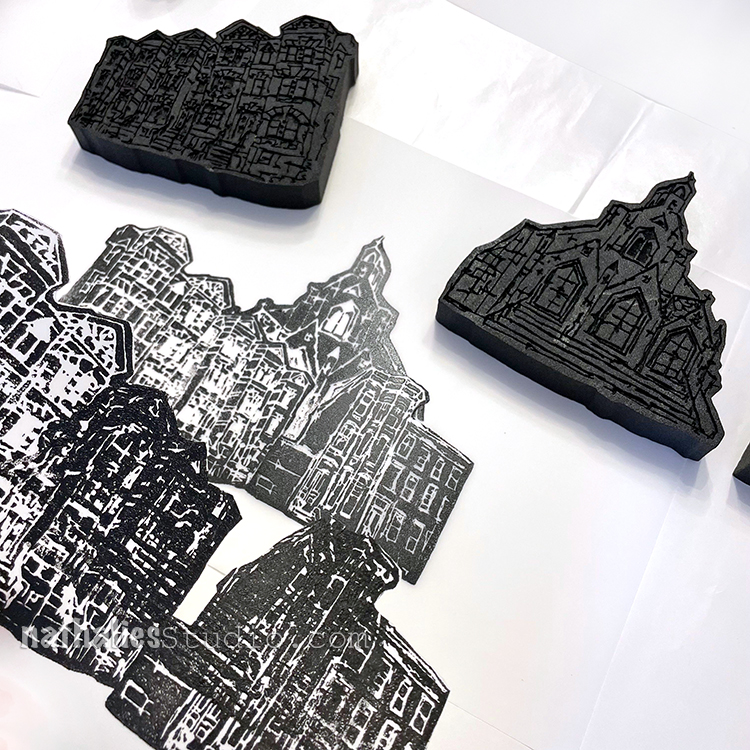
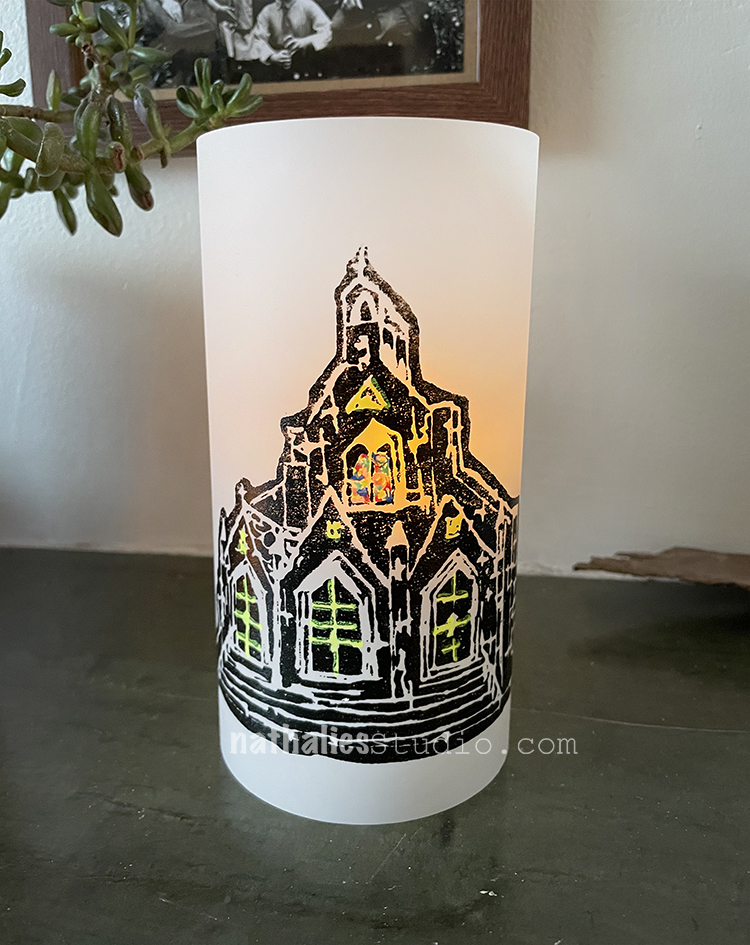
We started out by rolling black acrylic paint out on palette paper with a brayer. We both liked Carbon Black Golden Fluid Acrylic paint for this – a nice opaque black. Then we rolled it on the stamp (in this case, the Church stamp) and stamped it on the Grafix Dura-Lar matte plastic sheet – a matte white plastic that is kinda translucent with light behind it. You could also use a StampBuddy here too to ink up your stamps.

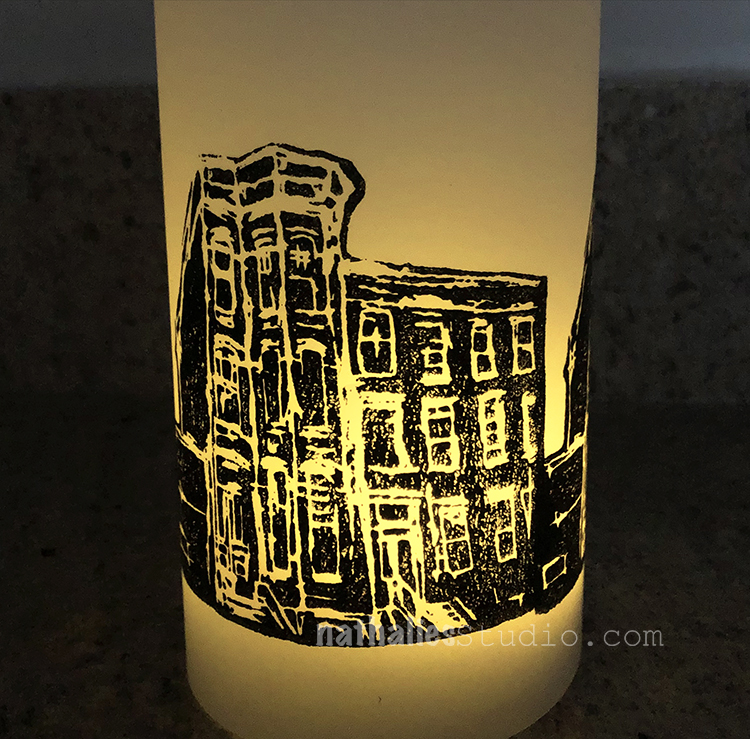
We left some room at the bottom of the film and stamped across the width, leaving room on either side to eventually tape the ends together. In this one I am stamping the Brownstone foam stamp.
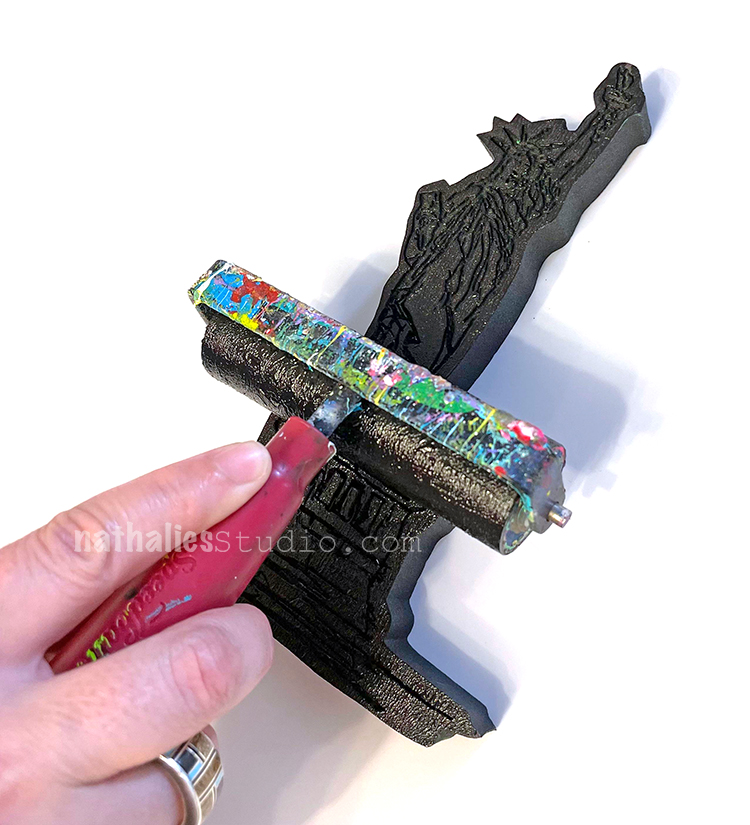
Here I am inking up Lady Liberty…
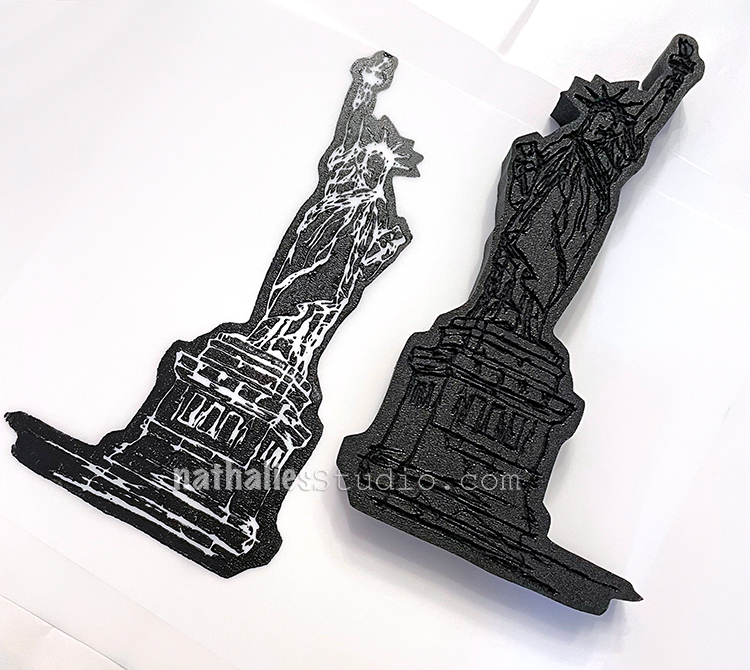
… for a nice impression :)
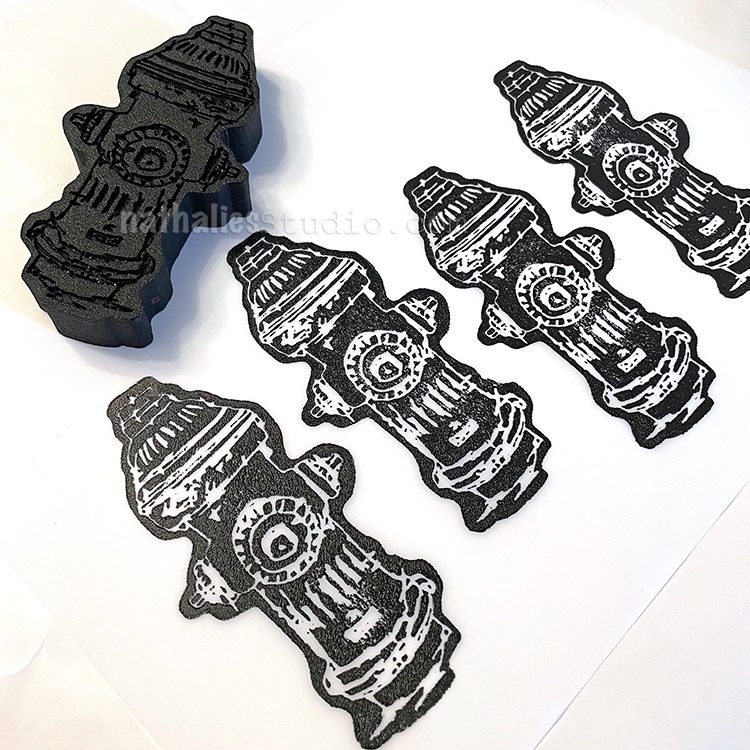
A lineup of Hydrant stamps… cue the dogs!
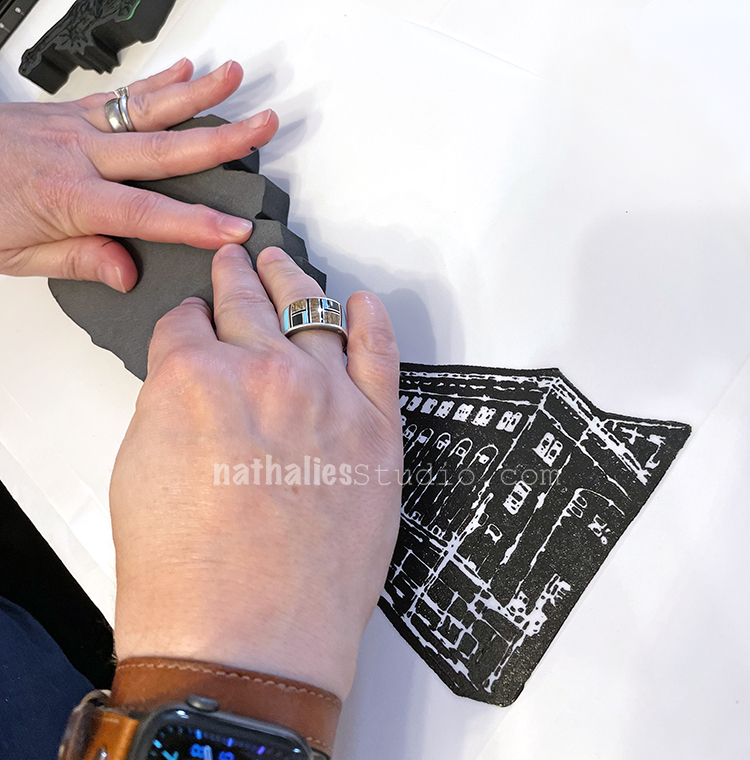
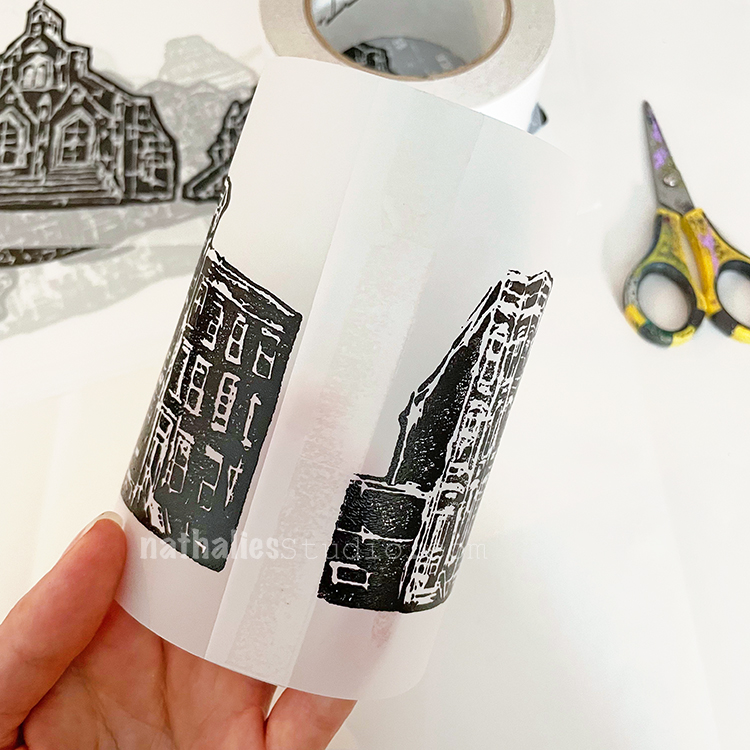
Keep in mind that when stamping on plastic film the surface is slick and the stamps can slide if you aren’t careful.
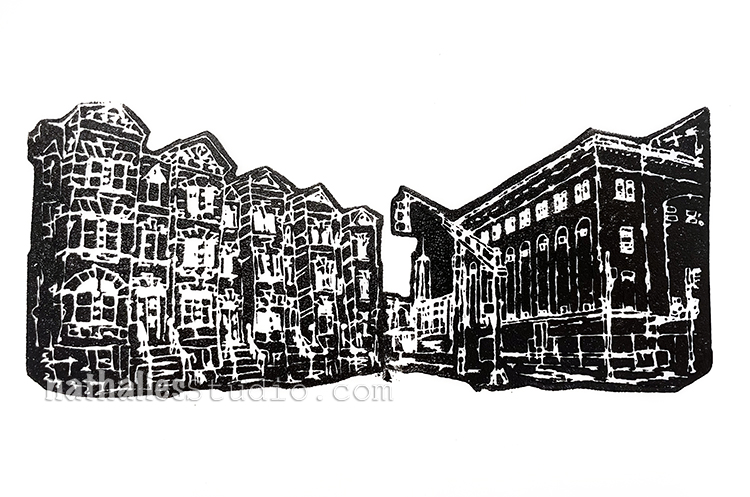
The Row Houses on the left turned out fine but I slipped a bit with Powerhouse on the right. We each had a couple misfires so plan on having some extra sheets of plastic just in case.
With some of the mistakes, we created masks to use in building up more complex, layered scenes – a great way to use those.
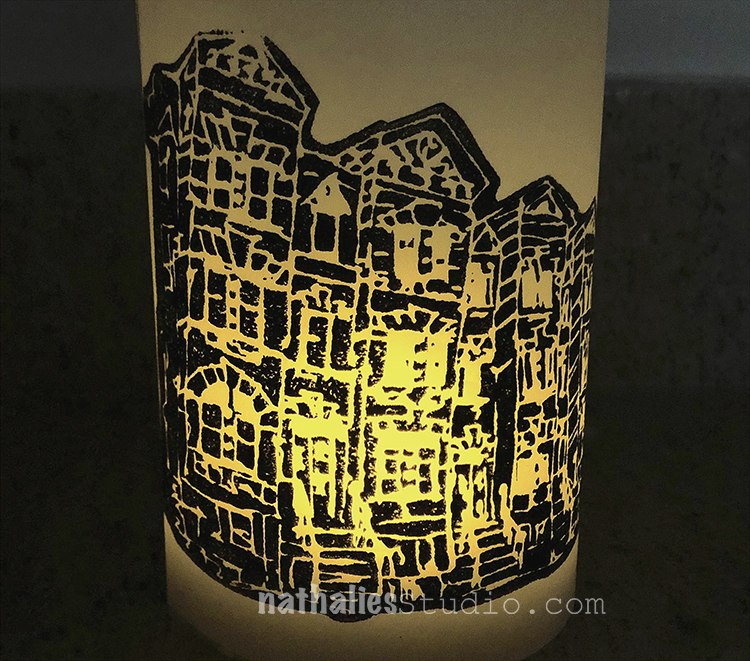
Kim stamped Row Houses and Brownstone and then used the masks to add Church to the background for a little streetscape.
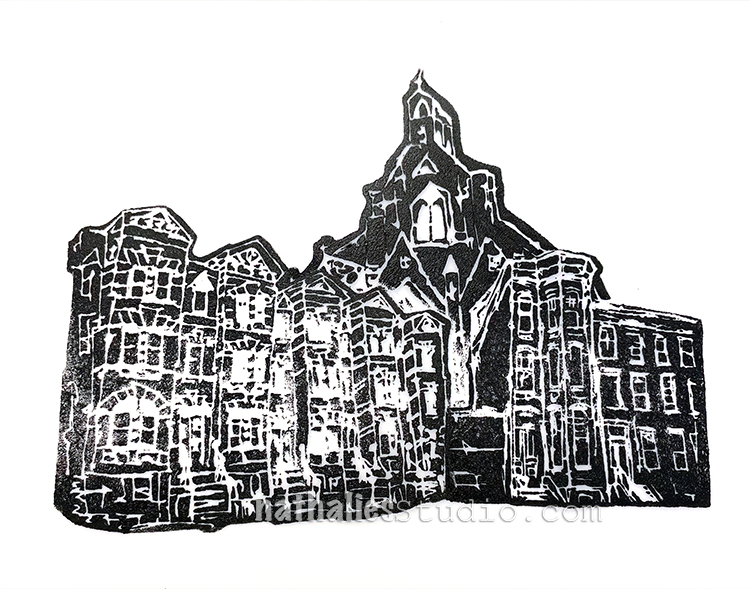
Looks pretty neat all together like that.
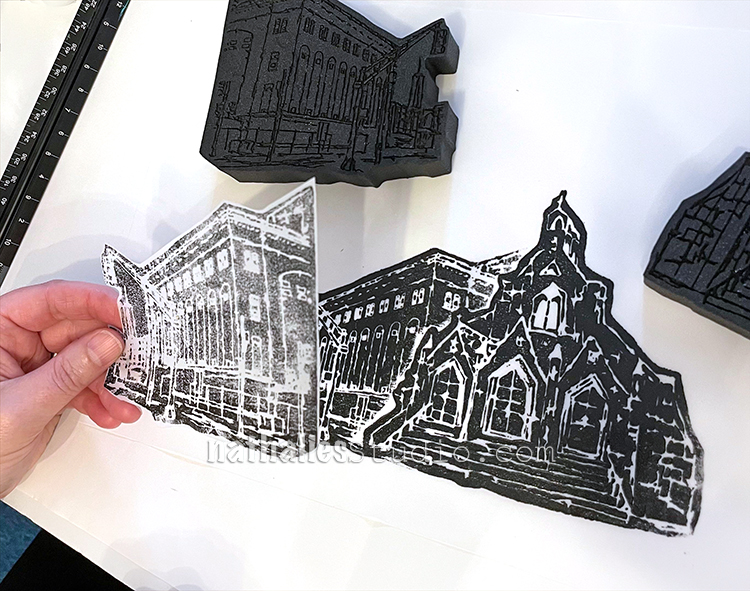
I first stamped Church, then added Powerhouse, and then…

…I added Row Houses to the left…
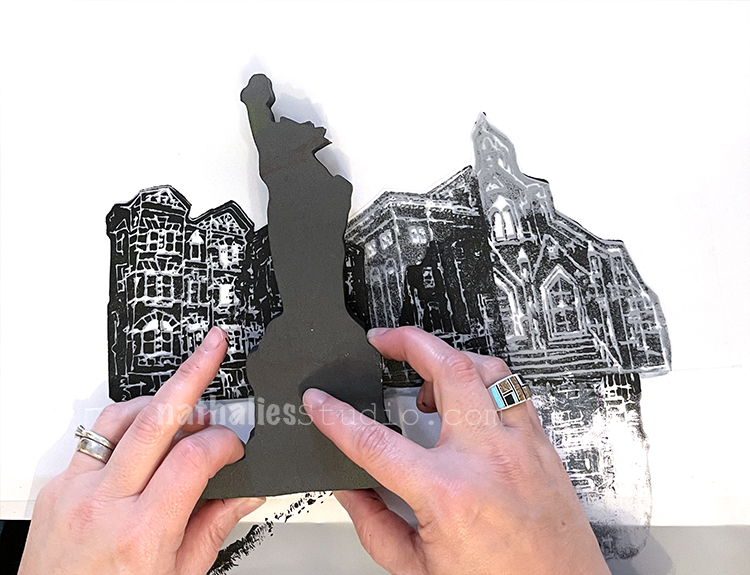
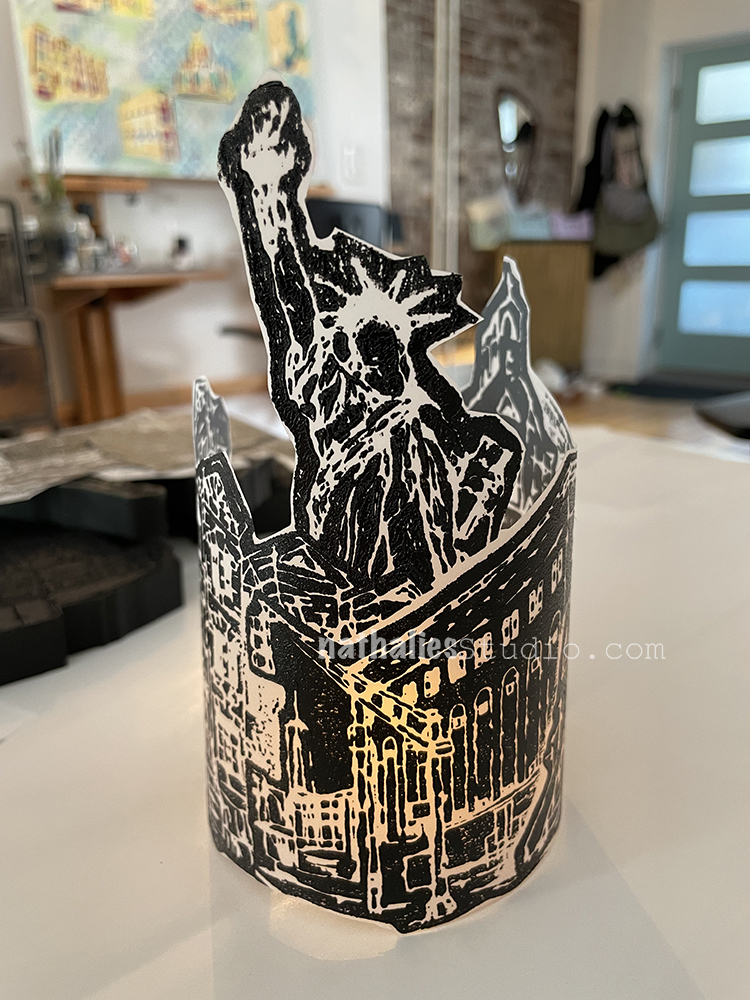
And then I finished with Lady Liberty!
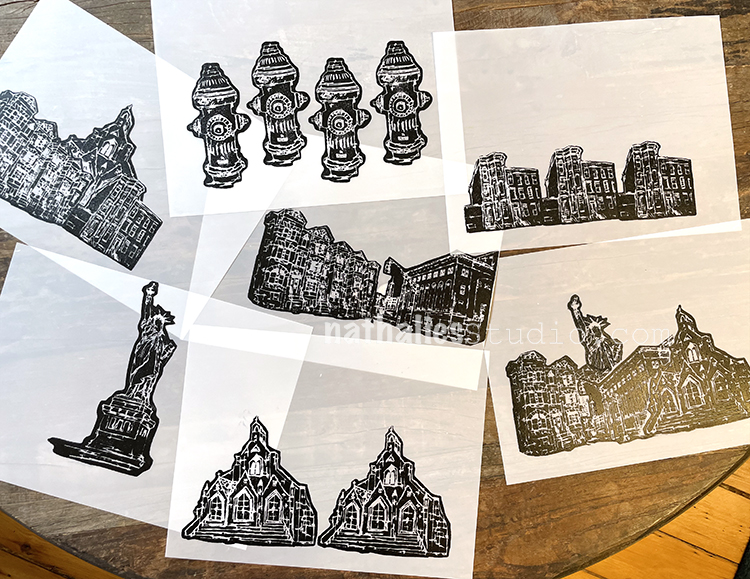
We created a variety of sheets to move on to the next step:
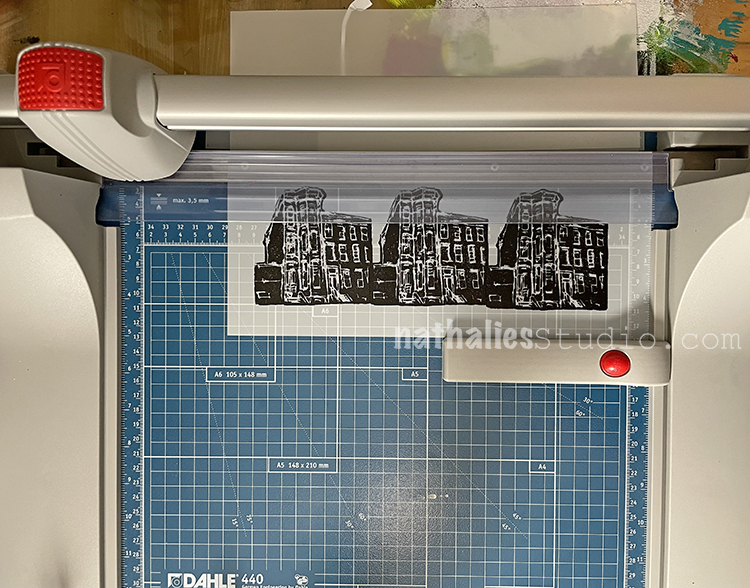
I broke out my new Dahle trimmer and we cut things down to size. We experimented with trimming some with a margin around the image – room for tape and a little lift off the ground.
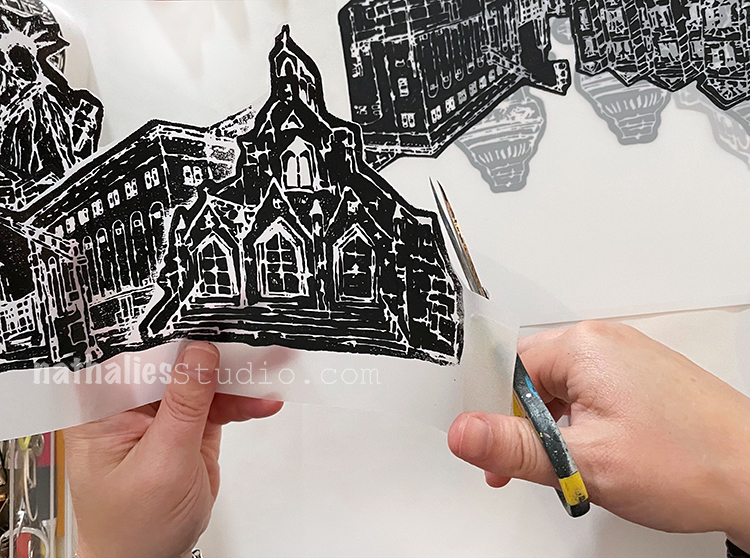
We also fussy cut some for a different effect!
Looking pretty good there Lady Liberty! The choice is yours on how you want to trim them.
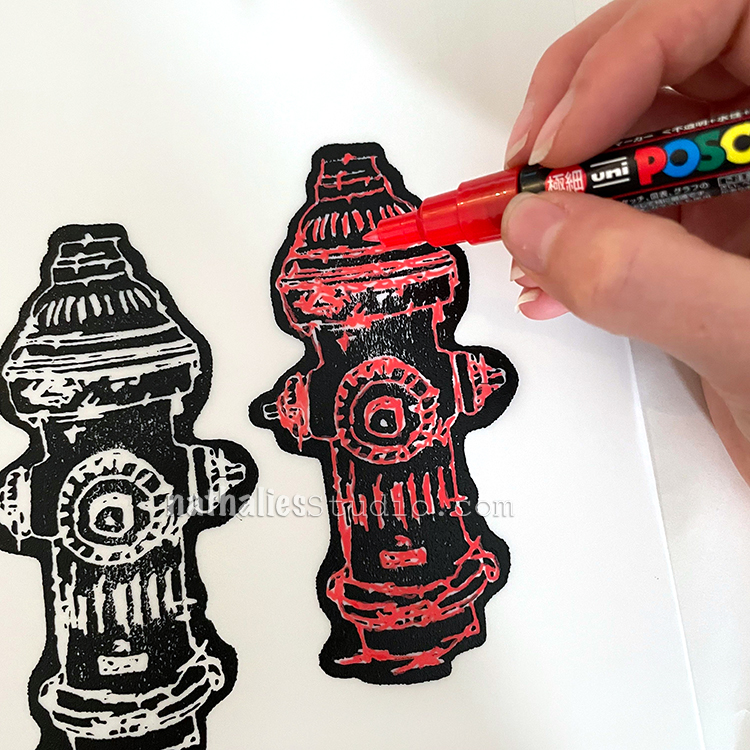
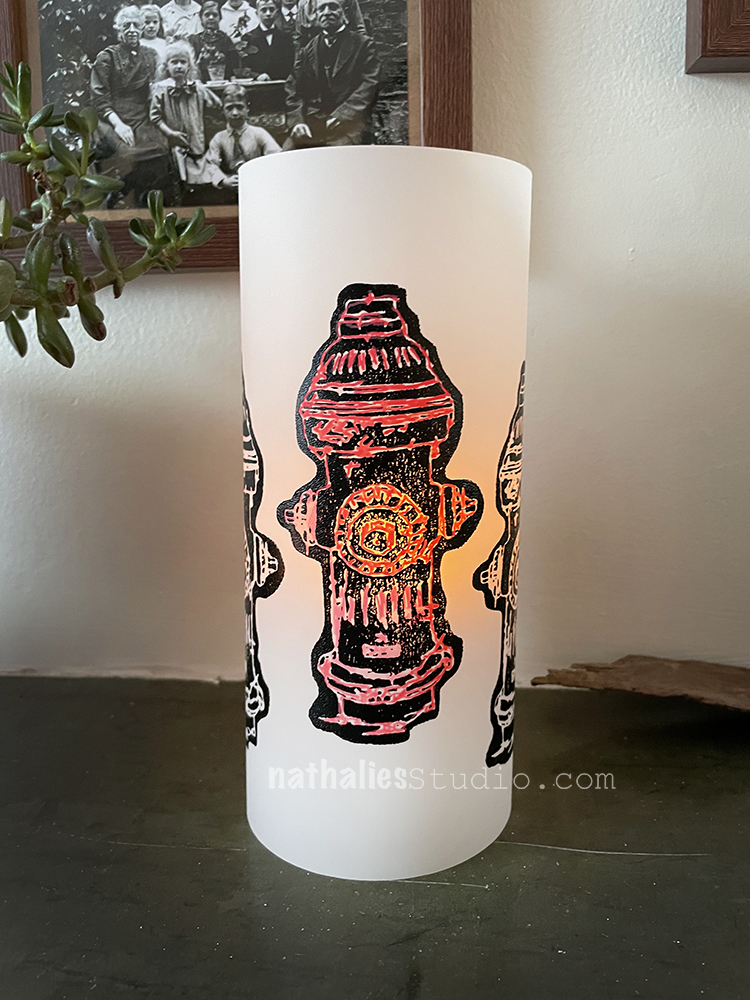
We also tried coloring some in with acrylic markers.

Here are some details in those stained glass windows.
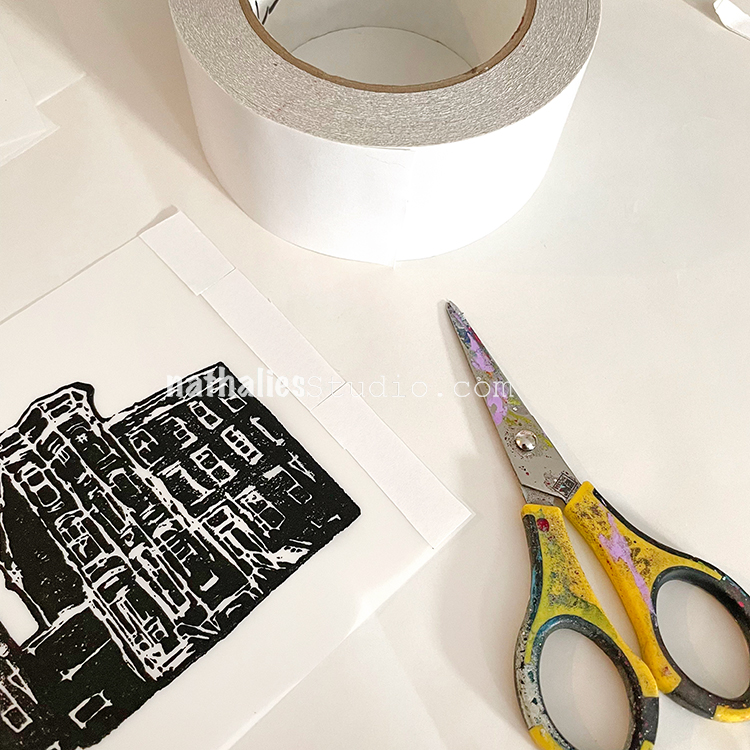
Using double sided clear tape we got ready for the final assembly.
Coming together and holding tight with permanent tape.
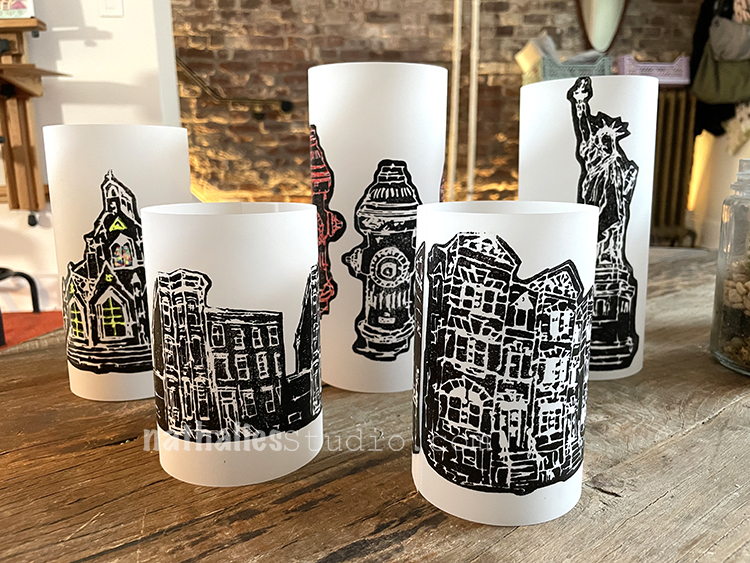
Here are our City Scenes votives ready for illumination – LED lights must be used with these to be safe.
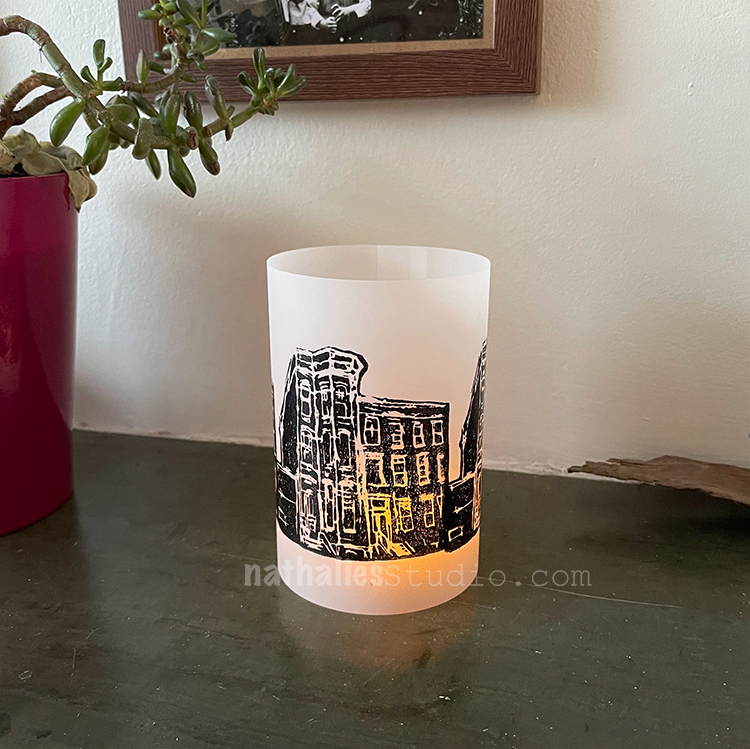
Let’s light them up!!!
For the taller ones you may want to use a taller LED votive or stack the votive on something inside the sheath.
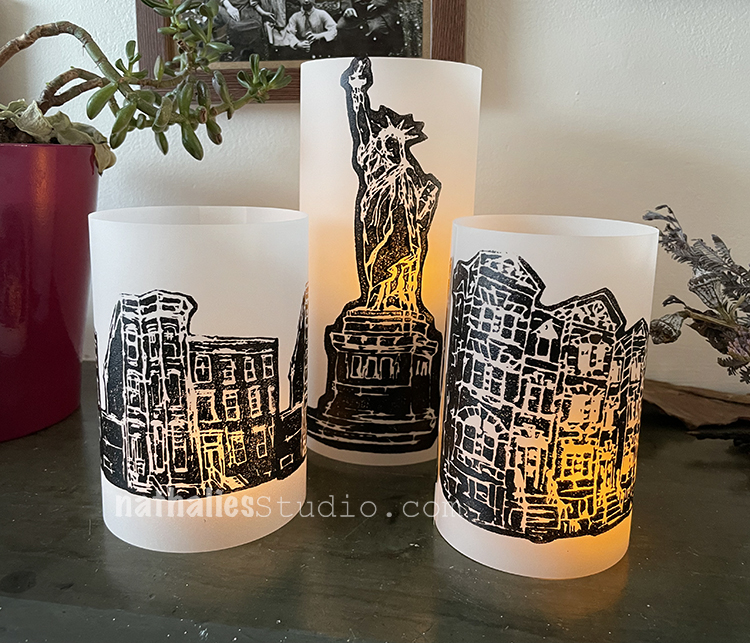
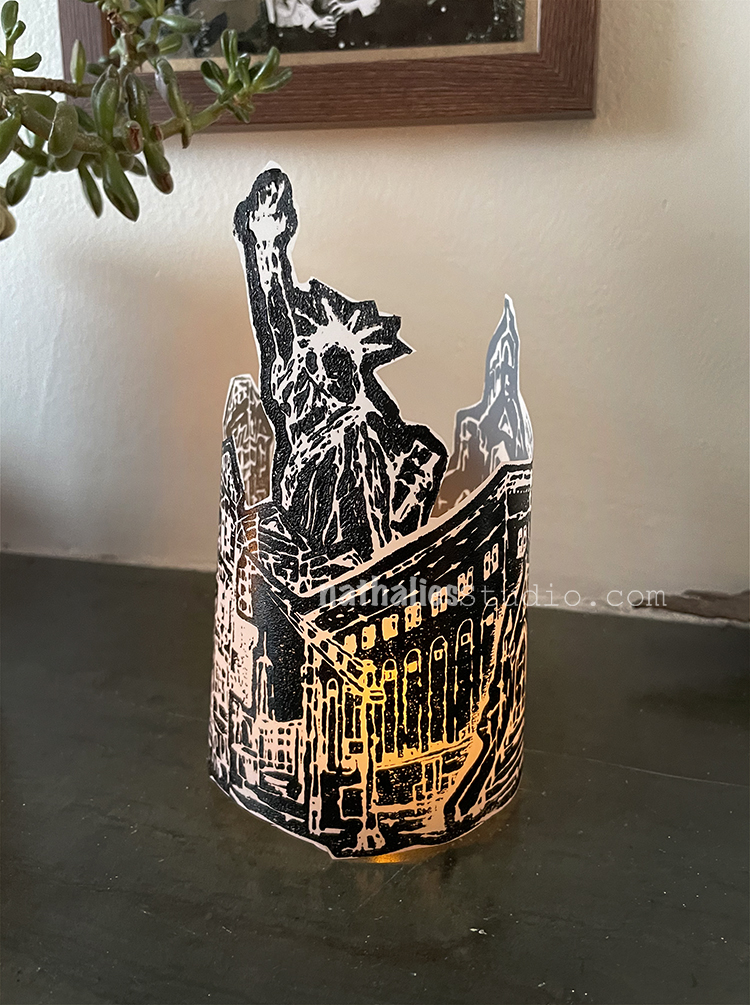
Love this one that I fussy cut!!!
And now after dark…
I hope you enjoyed this little tutorial and maybe you’re feeling inspired to make some foam stamped votives of your own. Please do!!! And I hope you join us back here for our next Play Date :)
Here are some of the supplies we used: