
Today we have a very special Creative Squad post from Judi Kauffman, an honorary Creative Squad member and dear friend! Judi will be joining us from time to time with some awesome projects of her own, working with our monthly themes. (You can learn more about Judi from our Nice to Meet You blog post featuring her creative story and artwork.) This time Judi brings us two projects, using my Amsterdam stencil and my Grove Street foam stamps, inspired by our theme: Endless Summer – The days are long, the sun is shining, the air is soft… it must be summer! Let’s take a stroll down memory lane and save a summertime memory forever.
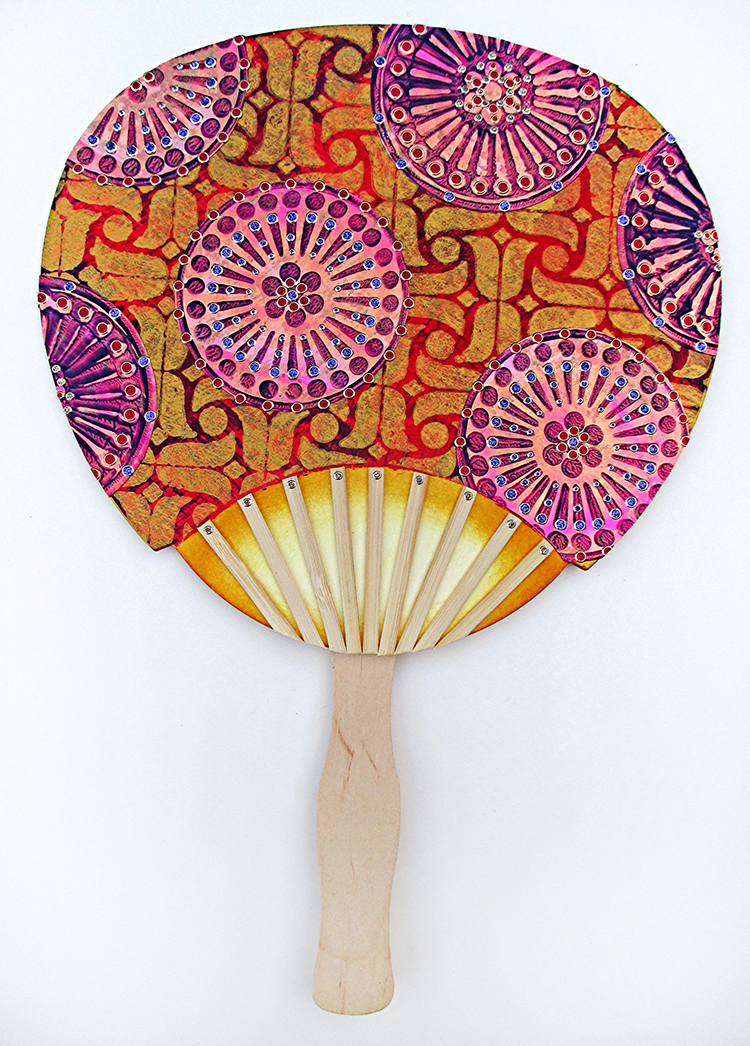
This month’s Creative Squad challenge theme – Endless Summer – conjures up long days at the beach, vacations in exotic places, away from work and the usual routine. In other words: Good times! For me, it’s the opposite. Endless Summer – yuck! I can’t think of anything worse than summer lasting an instant longer than it already does. Spring is lovely, I adore fall and can’t wait for winter. I’d be happy to skip summer altogether. It’s too hot, too humid. If I’m promised a lobster roll or fried clams, I’m willing to venture onto the sand, but only if I can leave the beach before nine in the morning or start the visit at sunset. And only if the seafood is followed by ice cream…
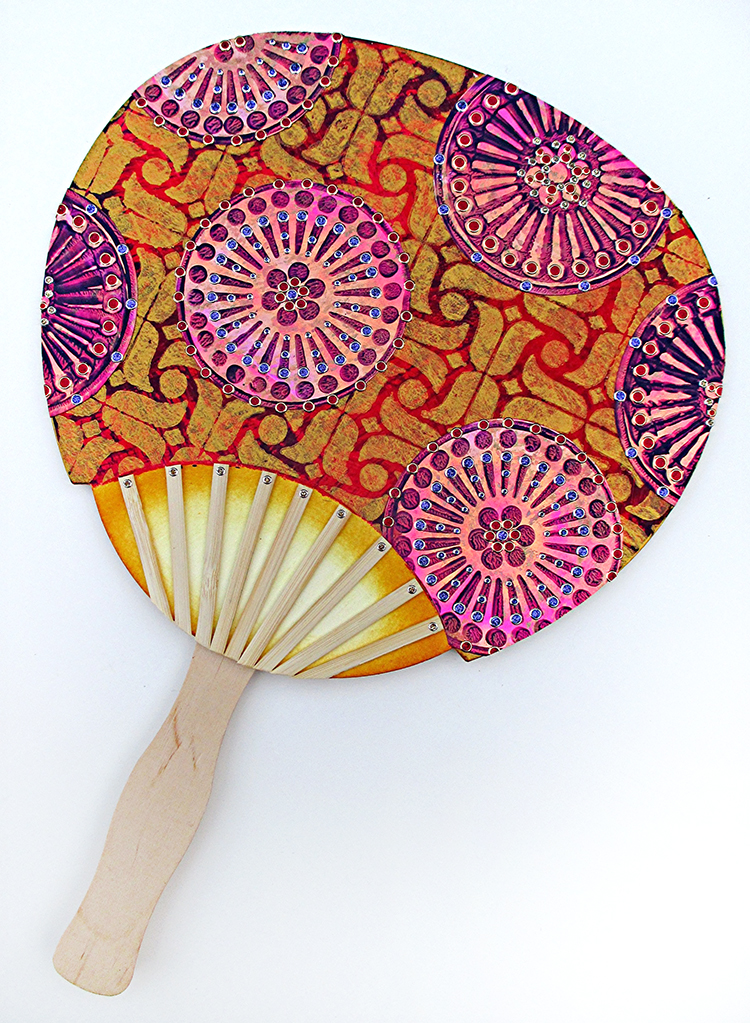
My take on the theme is about keeping summer at bay: A FAN! And about staying indoors to make a big batch of cards. Now that’s my idea of a good time.
Instructions: If you have a lot of experience with stencils and stamps, scroll through the photos and head straight to the supply list. If you’re a beginner,I’m providing complete instructions. (A lot to read, but worth it, I hope…)

Trace an existing fan (import stores offer many options), draw your own original fan shape, or find a template online. Choose a stencil (I chose Nat’s Amsterdam stencil) and two or more foam stamps (I’m using Nat’s Grove Street set) that your eye tells you would make a good combination. A fan handle and some flat wooden sticks are also needed. A stir stick from the paint store and thin stir sticks from a coffee shop are good alternatives.
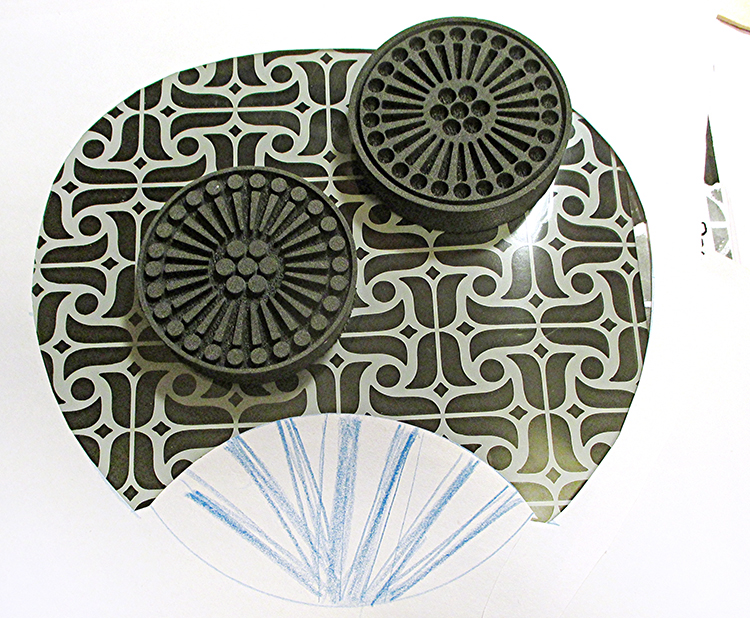
Cut a window opening in newsprint or other lightweight paper, place it over the stencil, and move it around until the position of the stencil looks good within the fan shape. Position the foam stamps over the stencil to get a sense of the scale and proportions. This is the planning stage where it’s easy to change your mind and customize the project. And it lets you in on the design process – showing exactly how I created my fan.
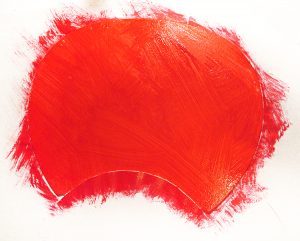
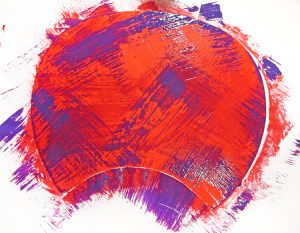
Use the template to trace and cut a fan shape from light color heavyweight watercolor paper, cardstock, mat board or chipboard. (Use mixed media shears that cut heavy materials or a craft knife and self-healing cutting mat.) Cut a curved mask from newsprint to cover the bottom area of the fan. Tape the mask in place. Use a wide brush and random strokes to paint the surface with red paint. When dry, use a wide brush and very little paint to stroke on purple paint. Remove the mask. Let the paint dry. While you’re at it, brush excess paint onto pieces of tan cardstock and newsprint scraps. Set them aside.
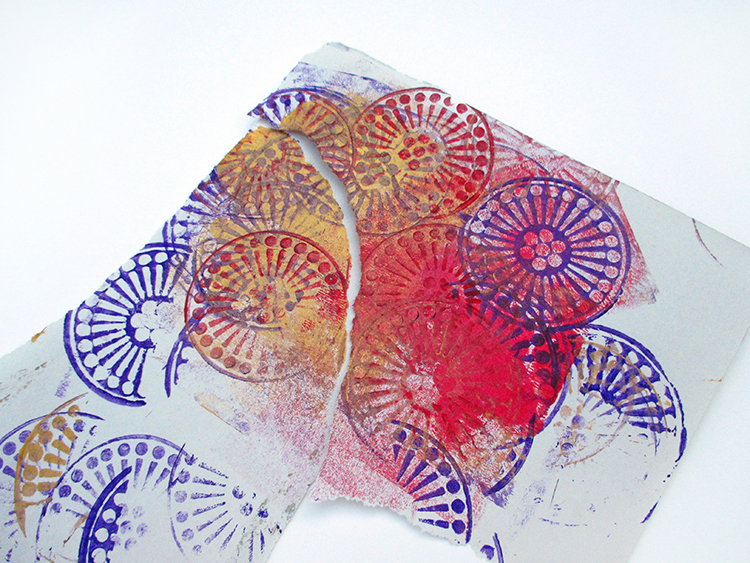
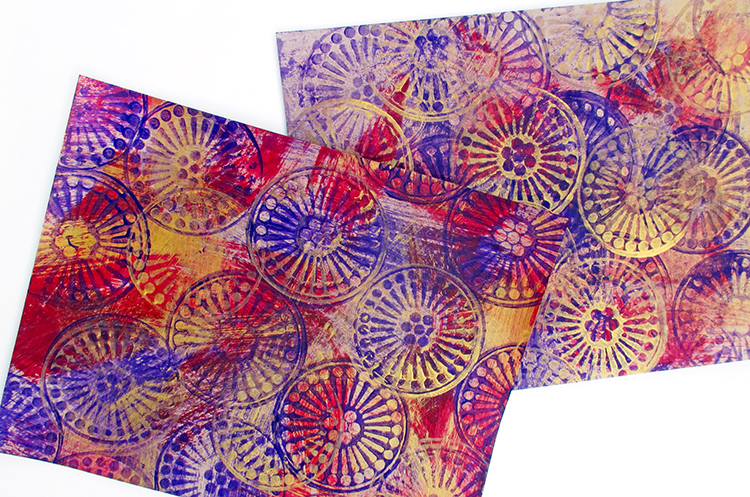
Cut a clean mask to again cover the bottom area of the fan. Stencil the allover pattern using a stencil brush and gold paint. (Hold the brush upright, use very little paint as you go – work slowly and take care to keep the pattern as pristine as possible – there are lots of thin lines in the Amsterdam stencil and if you use too much paint it will seep under the stencil.)
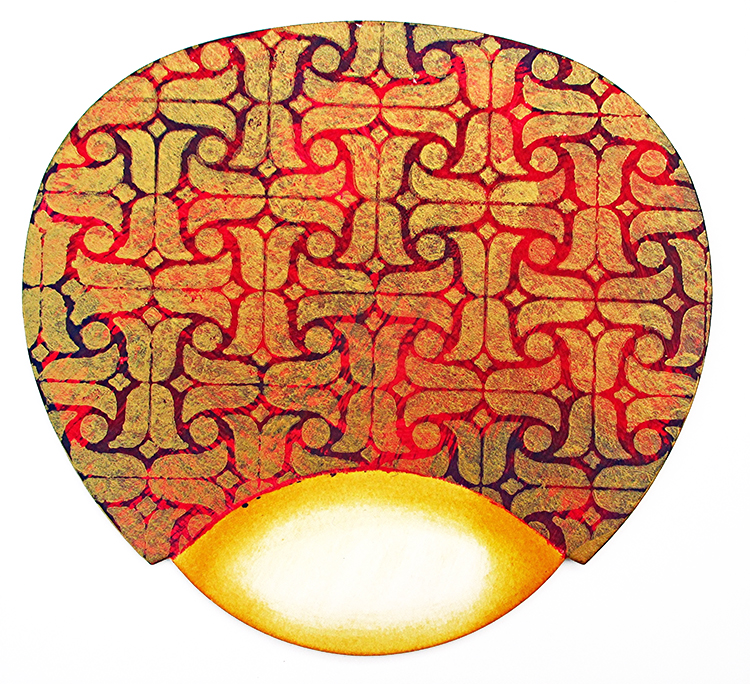
Remove the mask. Cut another mask, this time to cover the stenciled area of the fan. Use a craft sponge to apply ink to shade the edges of the almond shape at the bottom of the fan. Use very little ink and a light touch so the effect is softly shaded.
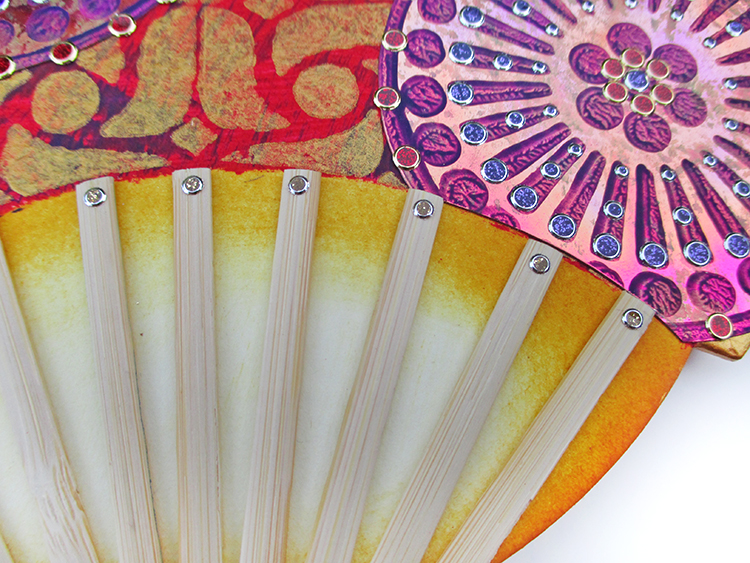
If you like the look of the fan with no further embellishment, this is the last step. Cut pieces from the flat sticks and glue them to the almond shape; glue the top portion of the handle to the back of the fan and you’re ready to face the summer heat! (Or survive a hot flash in mid-winter…)
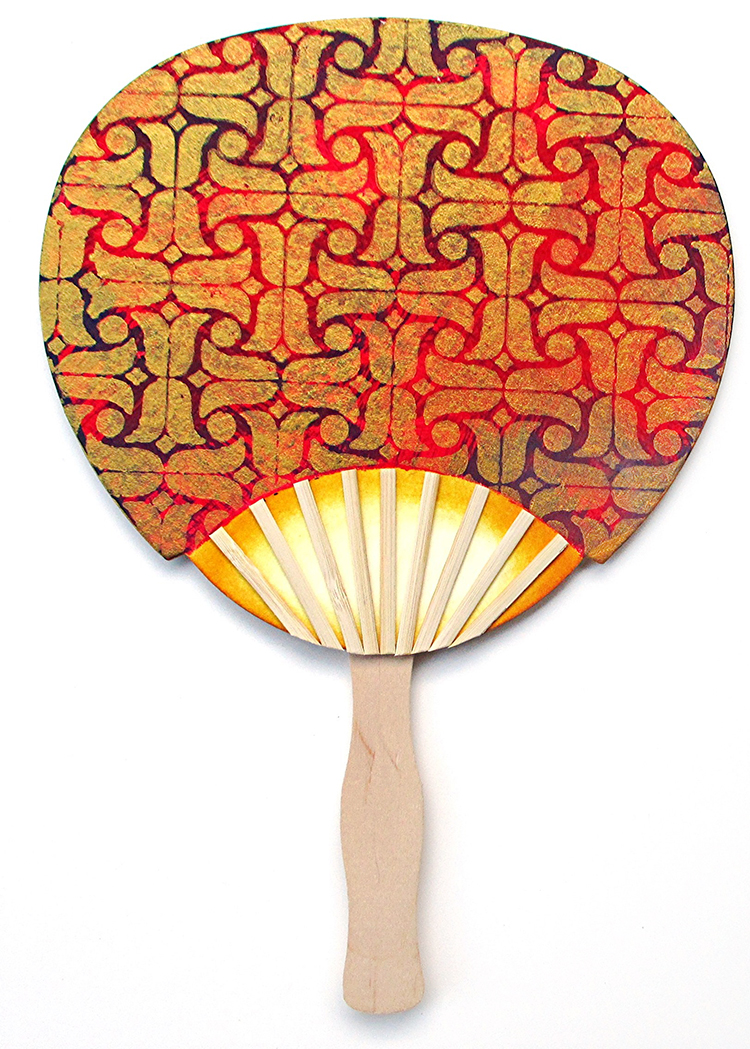
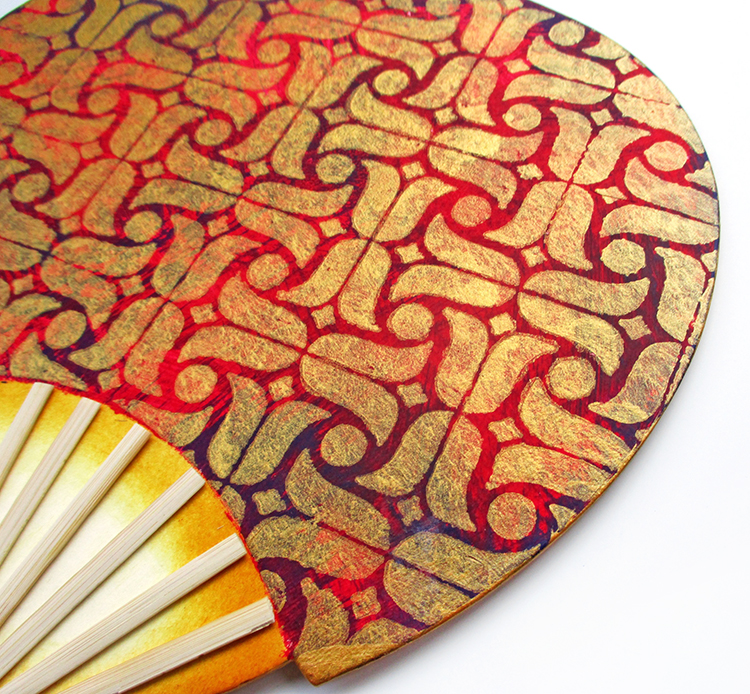
If you like more embellishment, keep going as follows:
Alter a 5” x 12” piece of Shimmer Sheetz with gold metallic alcohol ink. Shown: Ruby Gemstone SS dabbed with an ink applicator tool and Ranger Metallic Mixatives. Back the SS with double-sided adhesive sheet.
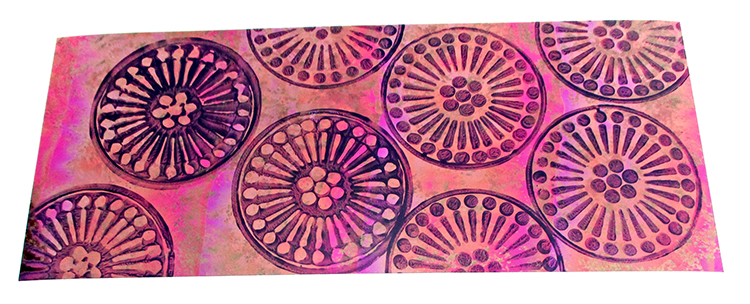
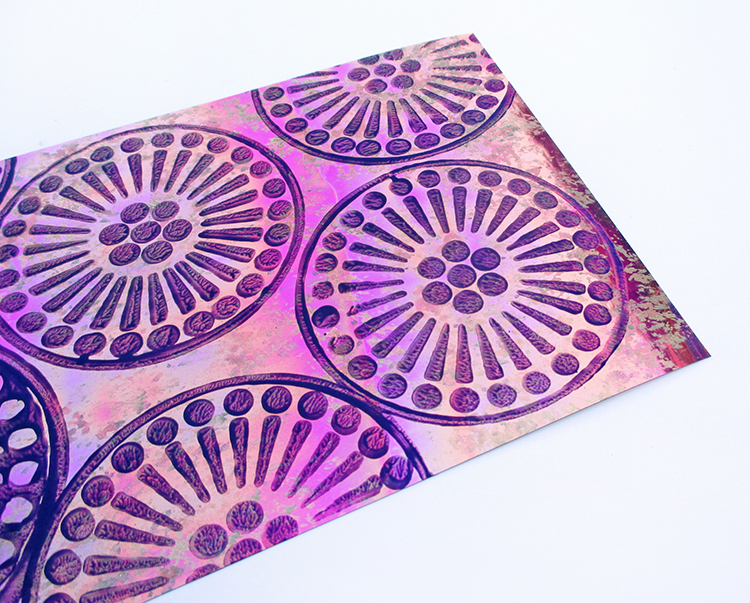
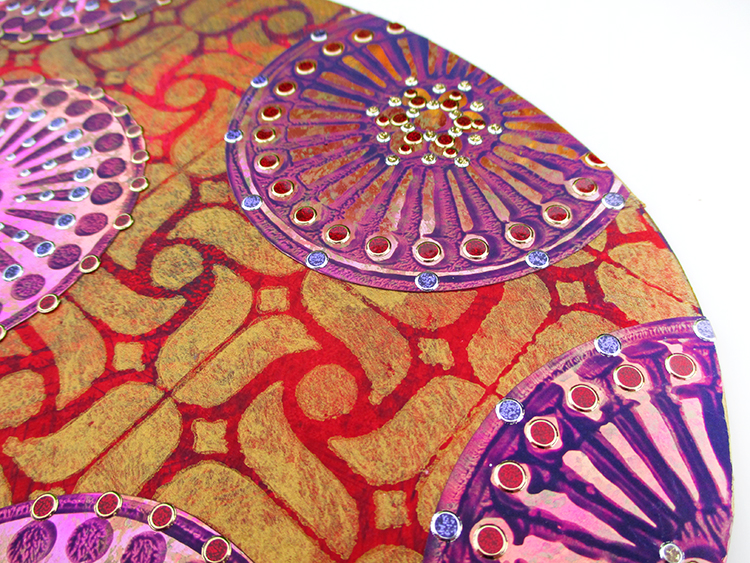
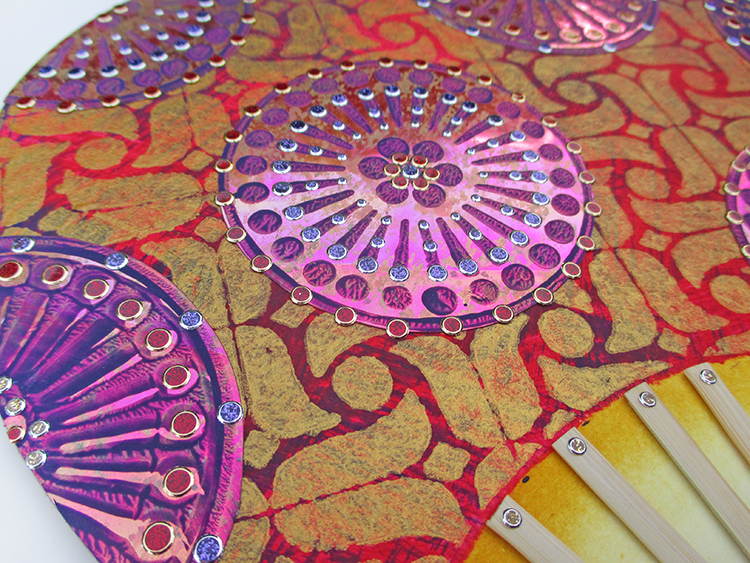
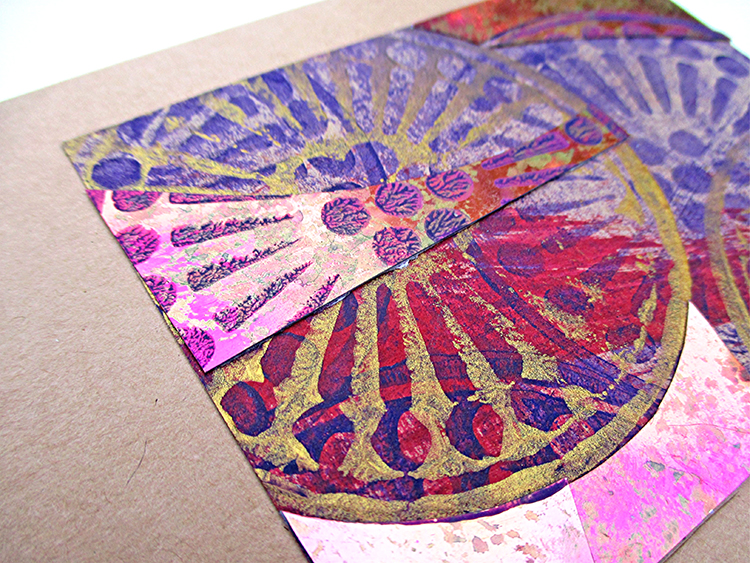
Using the same purple paint that was previously used, stamp the altered SS with the two foam stamps, alternating positive and negative images to fill the space (four complete and four partial circles. Shimmer Sheetz is a nonporous surface. Lift the stamp straight up to avoid smudges, but don’t worry if the images are not perfect. Paint that is pulled just a bit adds dimension and interest.
While you’re at it, stamp the circles with purple and Emperor’s Gold paint onto the cardstock and newsprint scraps set aside above.
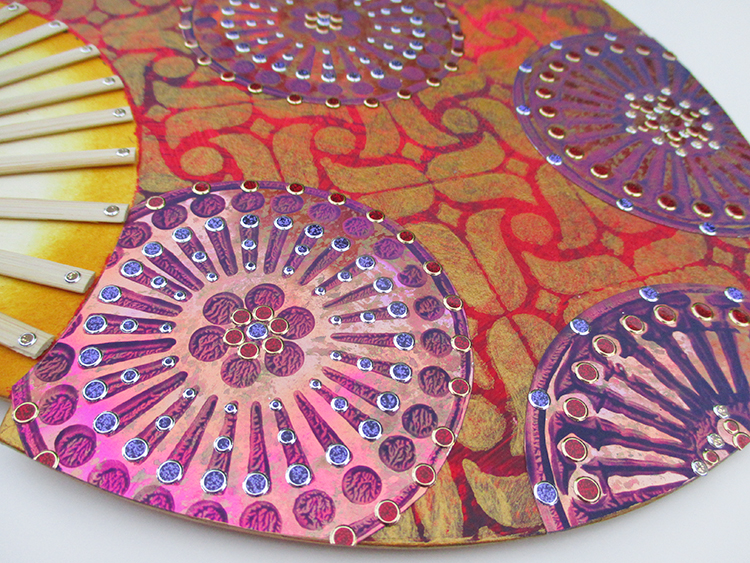
Cut out the circles and the partial circles. Also cut out one lightweight paper circle. Trim the lightweight paper circle to use as a template when cutting the Shimmer Sheetz circle that fits near the almond shape at the bottom right of the fan. Position a full circle toward the left. Then arrange and adhere all other circles as shown, trimming at the edges of the fan after they are in position.
Hold onto the scraps from the circles, returning them to the release sheet to keep the adhesive from sticking to anything on the work table – they’re going to be part of the bonus card projects coming up…
Arrange Red/Gold glitter dots peel-offs around the edges of some of the Shimmer Sheetz circles. If you like dimensional gems, add them as well. In the photo below, I ‘auditioned’ flat-backed faceted gems to show as an option, but I did not glue them in place.
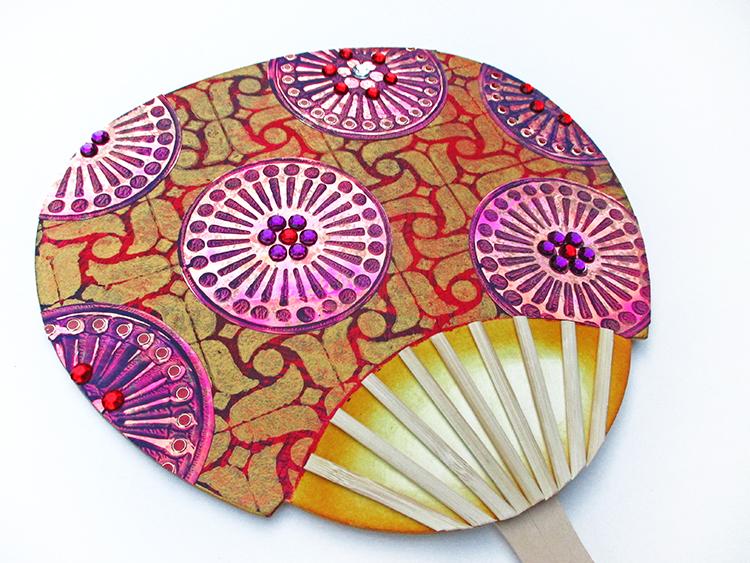
Instead of gems, keep going with LOTS of glitter dots in Violet/Silver, Gold/Silver, and more of the Red/Gold. Be sure to add a tiny one to the top of each of the flat sticks! (To order the dots – The color name is listed first, the metal rim is designated second.)
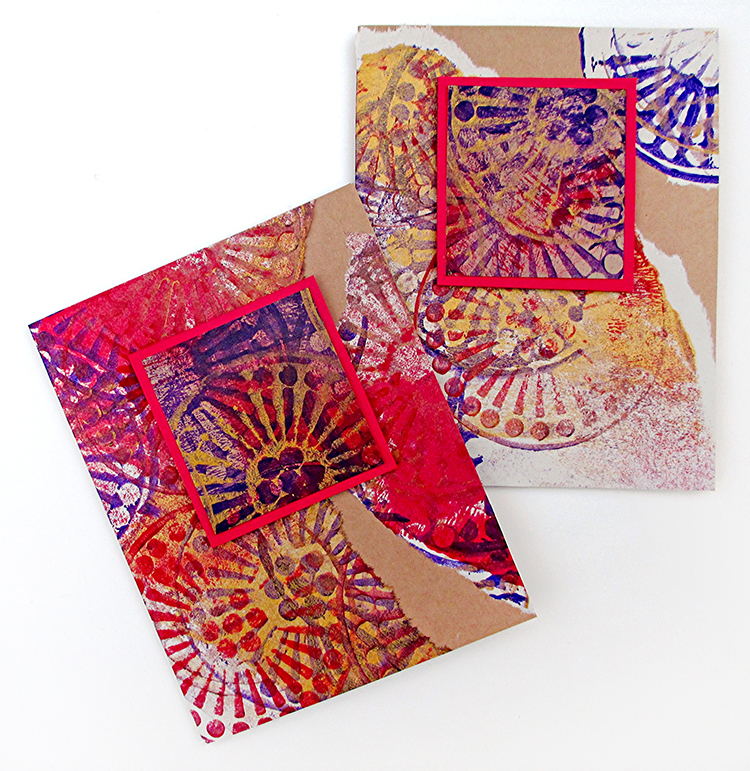
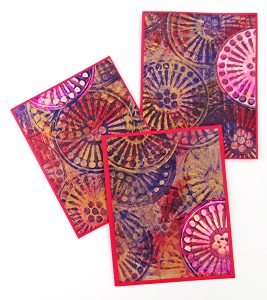
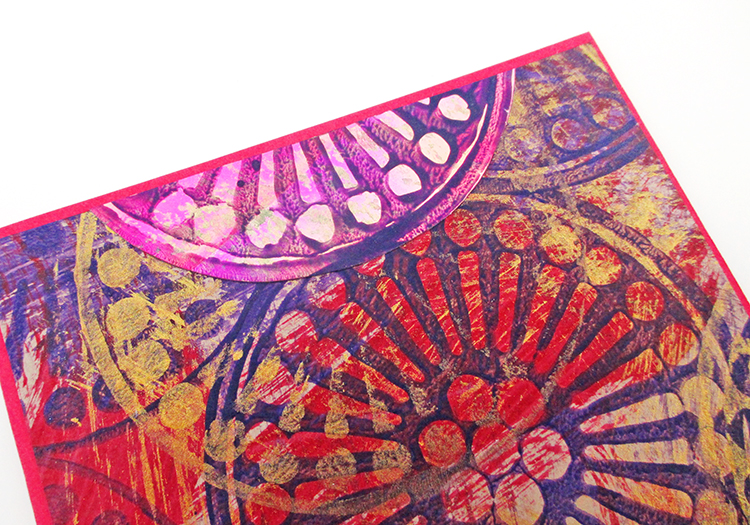
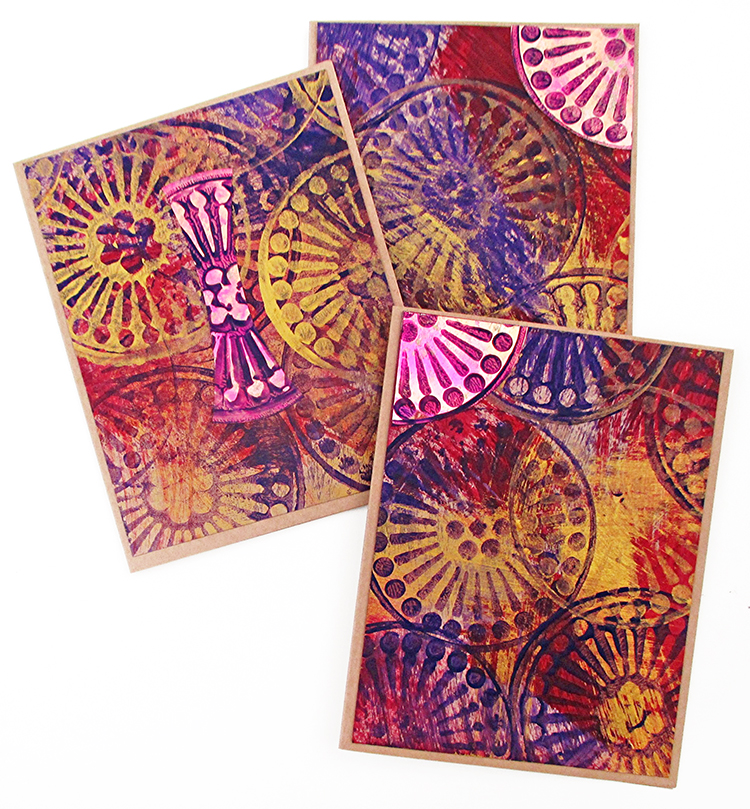
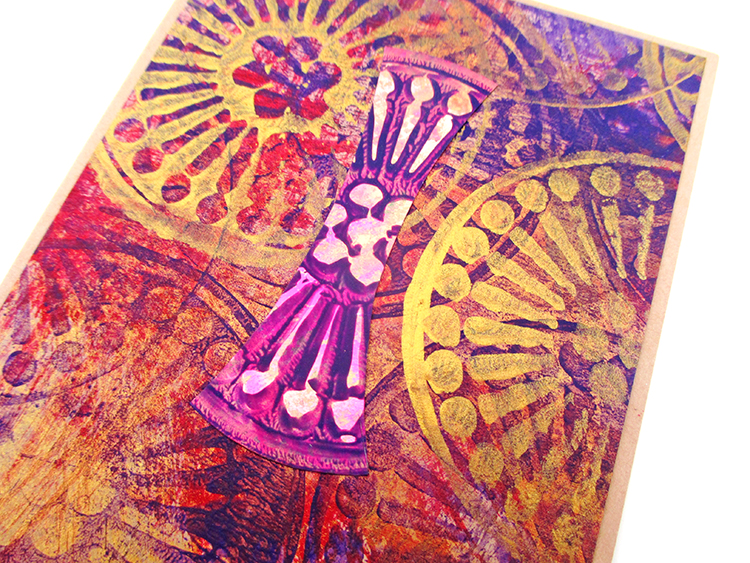
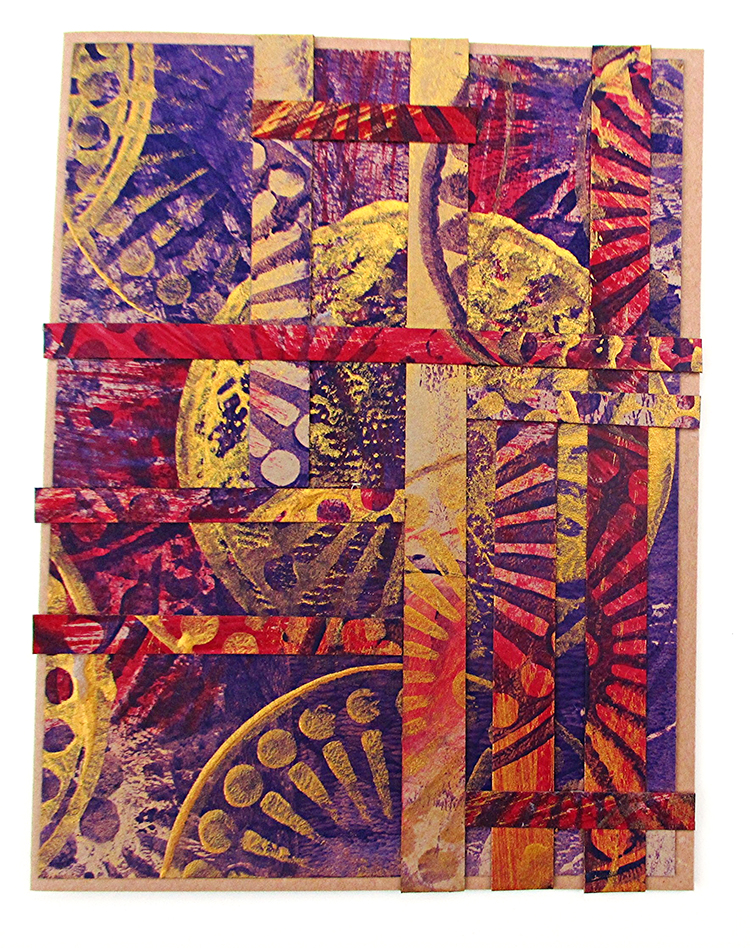
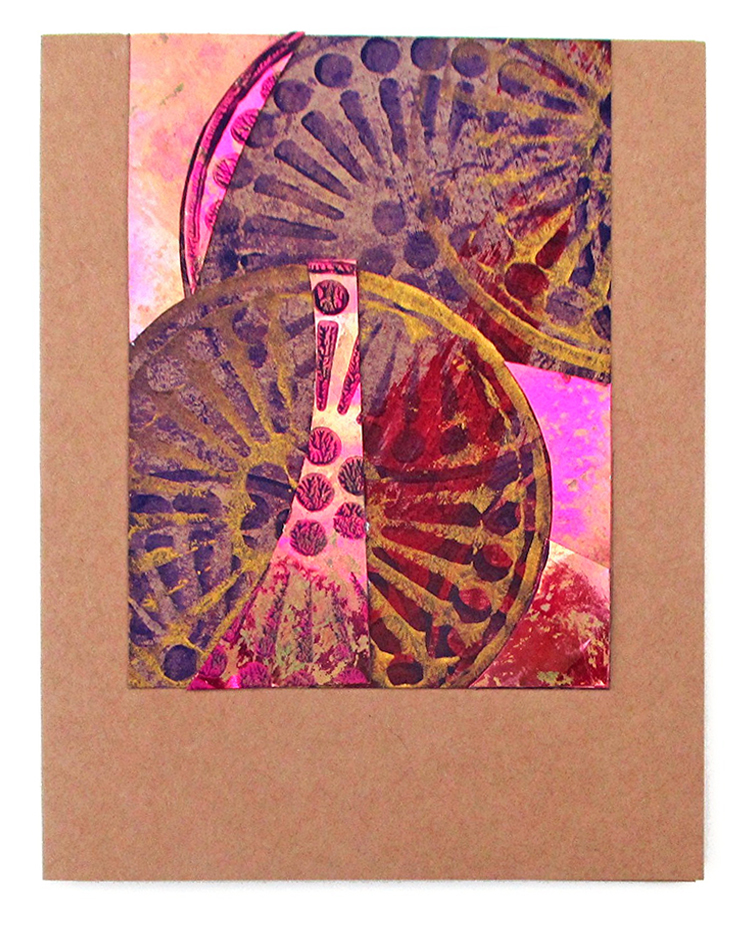
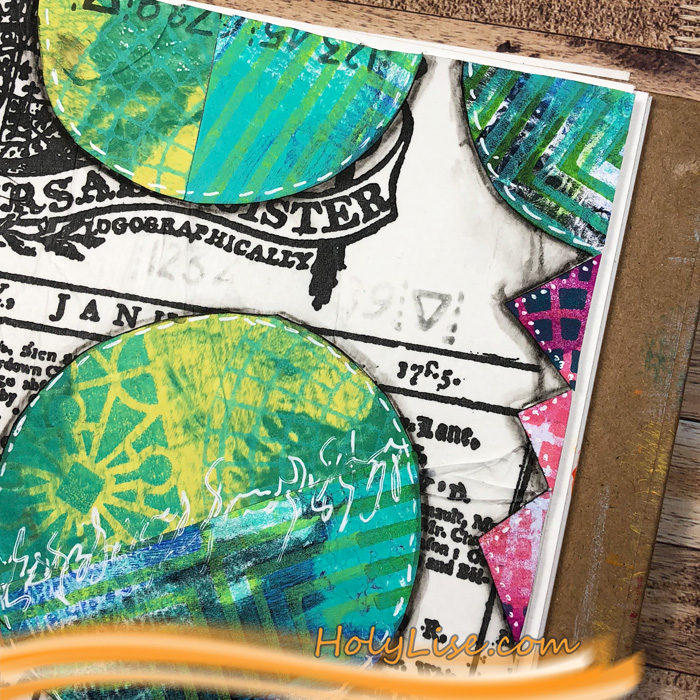
BONUS PROJECT – Use the stamped cardstock and newsprint pieces, plus the leftovers from the stamped Shimmer Sheetz (partial circles as well as surrounding areas) to create a series of collage-style cards! Shown: A2 size, 4.5” x 5.5”, cardstock in red and Kraft brown.
The photo gallery that follows is for inspiration only since it would be impossible to precisely duplicate the randomly stamped cardstock and newsprint.
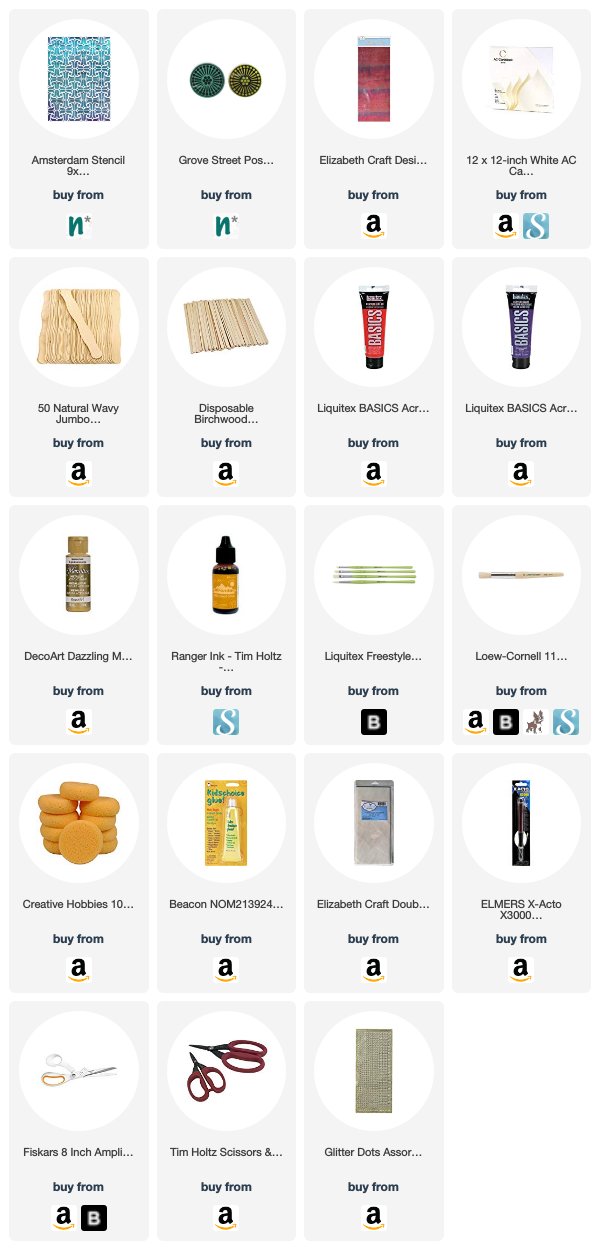
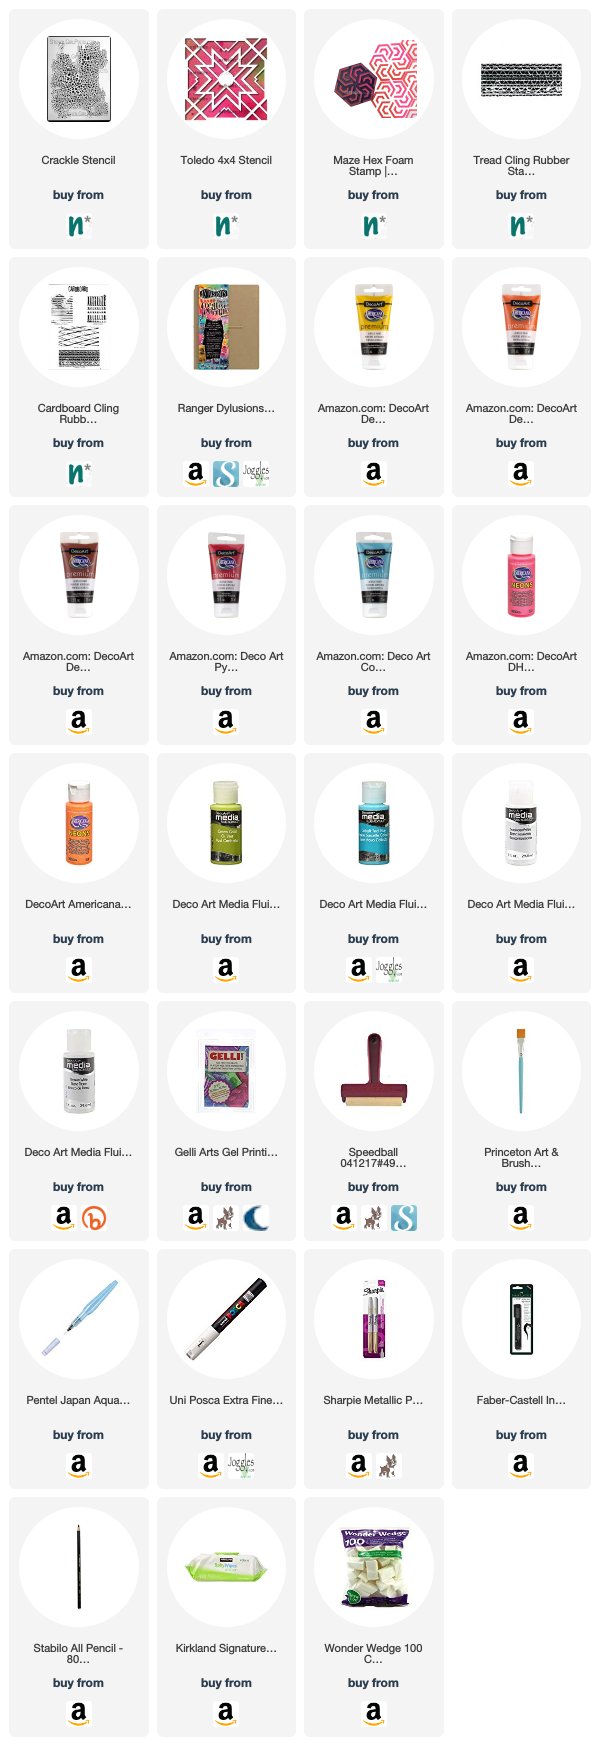
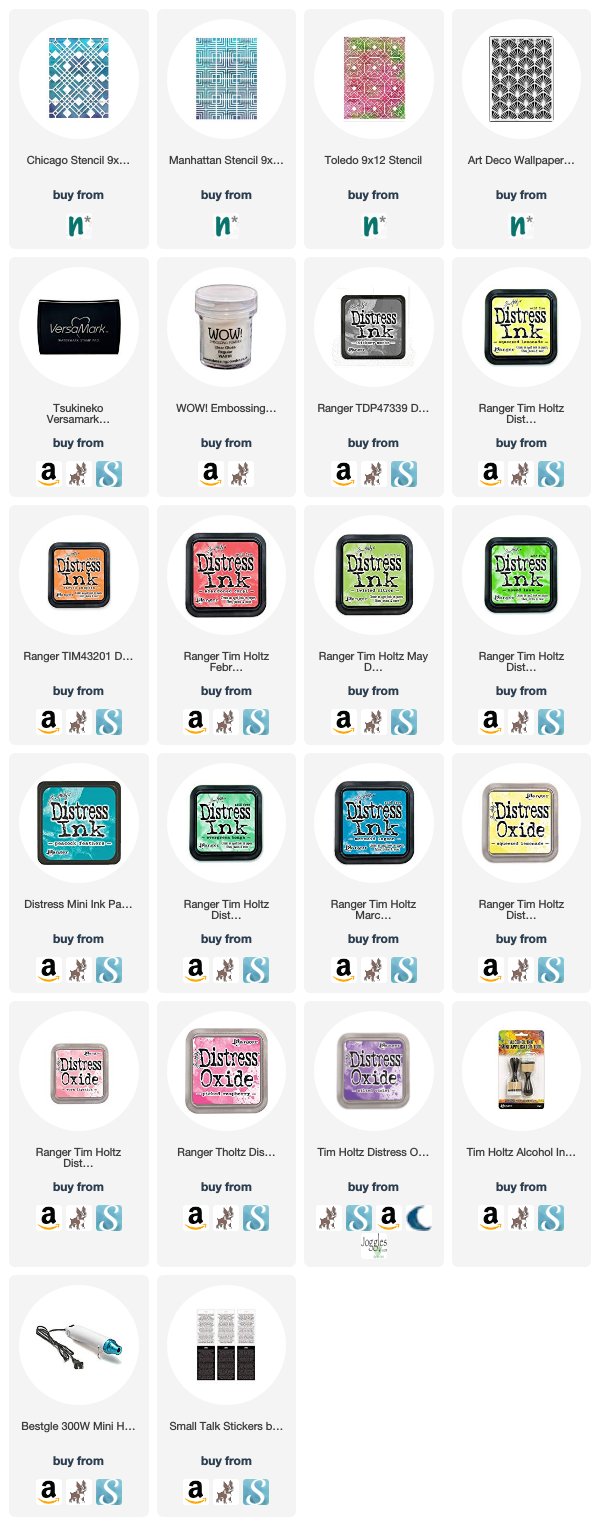
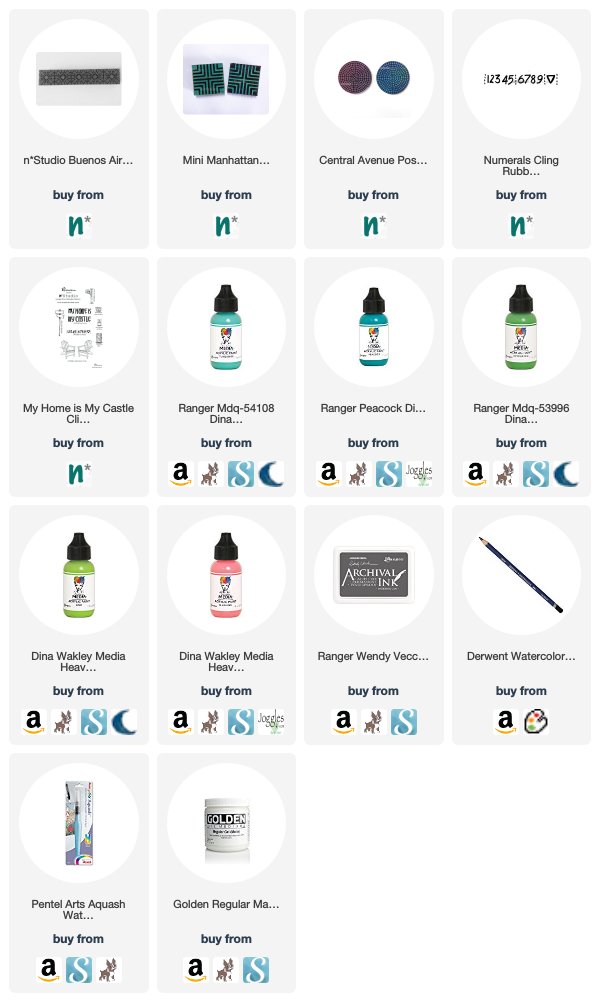
Thank you Judi – love your rich colors and all the different ways to use the stamps and stencil that you’ve shared with us. Just gorgeous! In addition to a fan template and some chipboard or heavy cardstock, here are some of the supplies that Judi used:

Do you feel inspired? I’d love to see what you’re working on with my stamps and stencils. I post projects almost every month in my Inspiration From Around the Globe posts!
SaveSave
SaveSave
SaveSave
SaveSave
SaveSave













Comments (1)
Jean Goza
| #
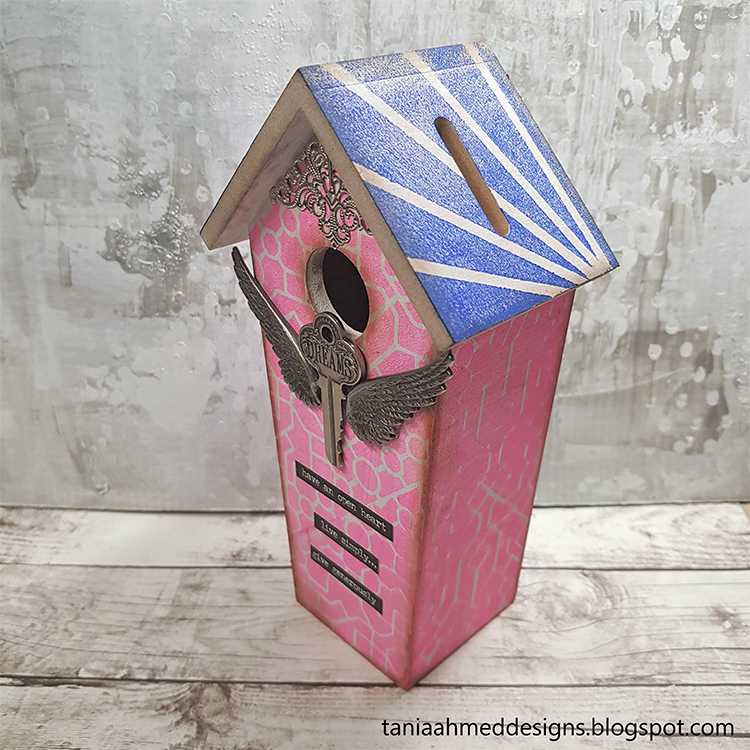
Tania, love the birdhouse! The theme of Raiders of the Lost Stash is well timed. I have been digging through my stash and amazed at what I am finding! Time to get to work. ;-)
Reply