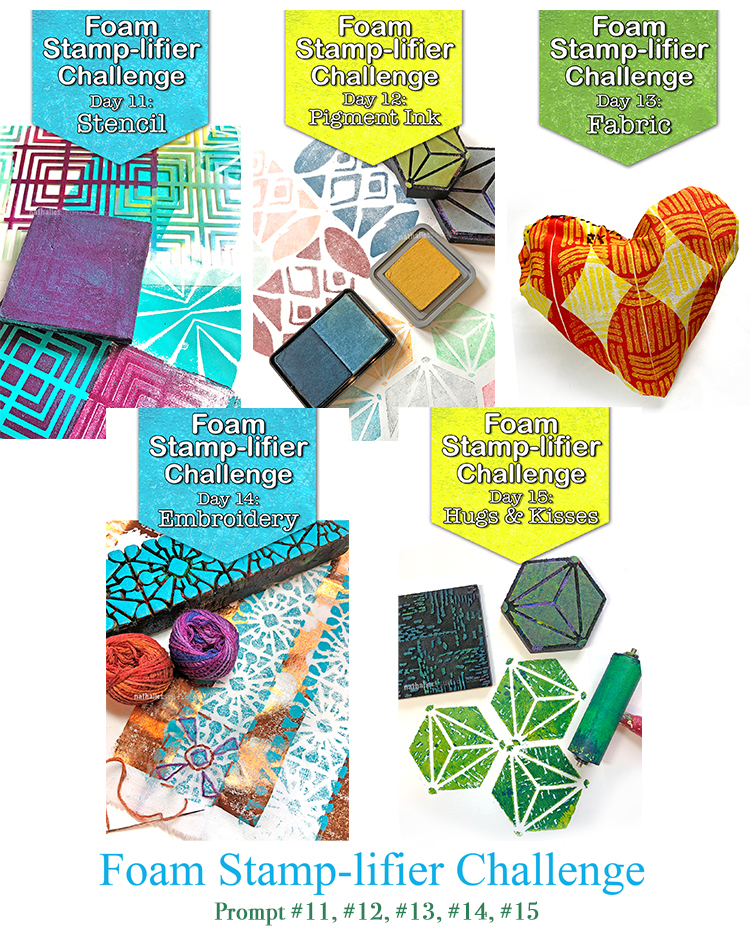
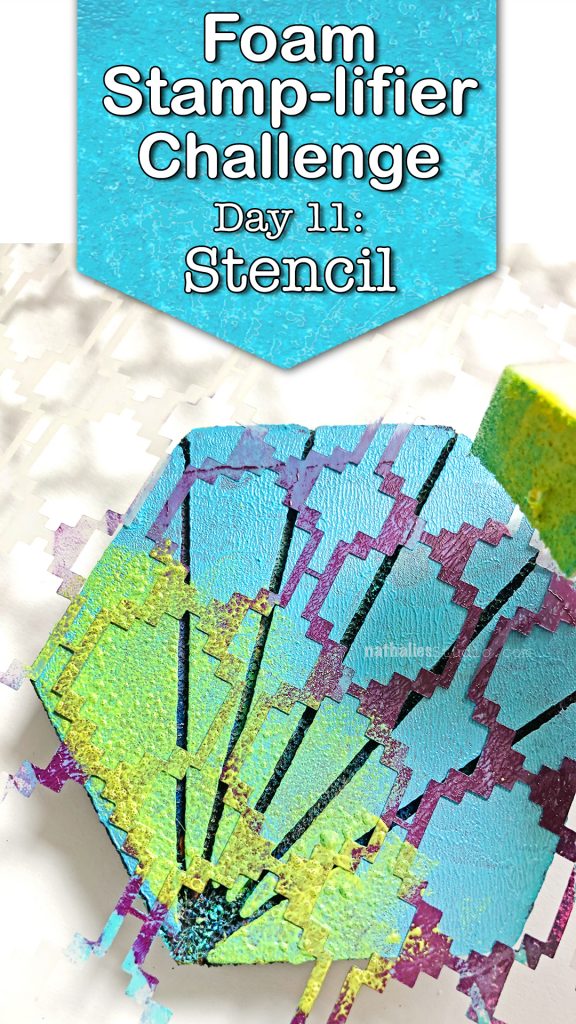
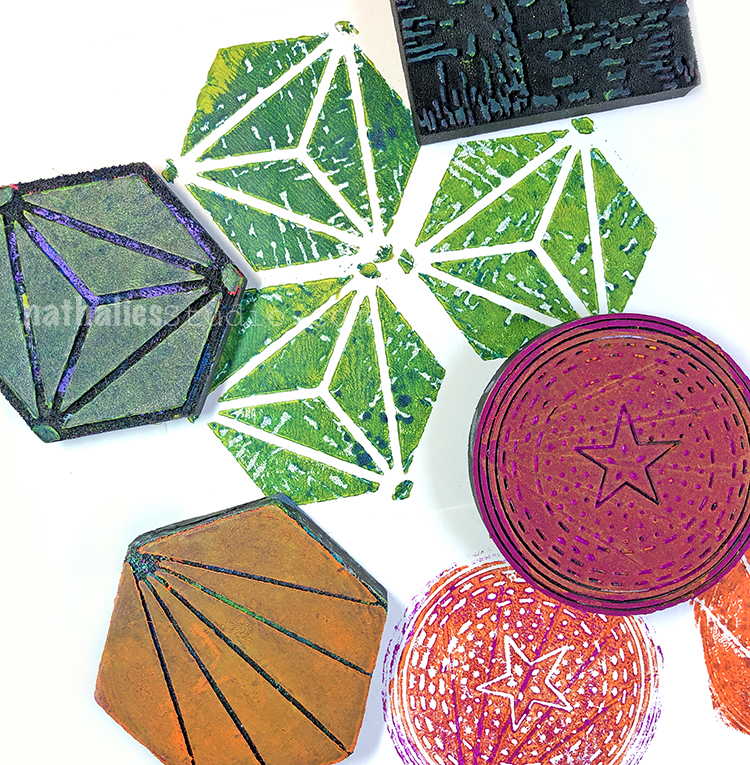
Day 11 – Stencil
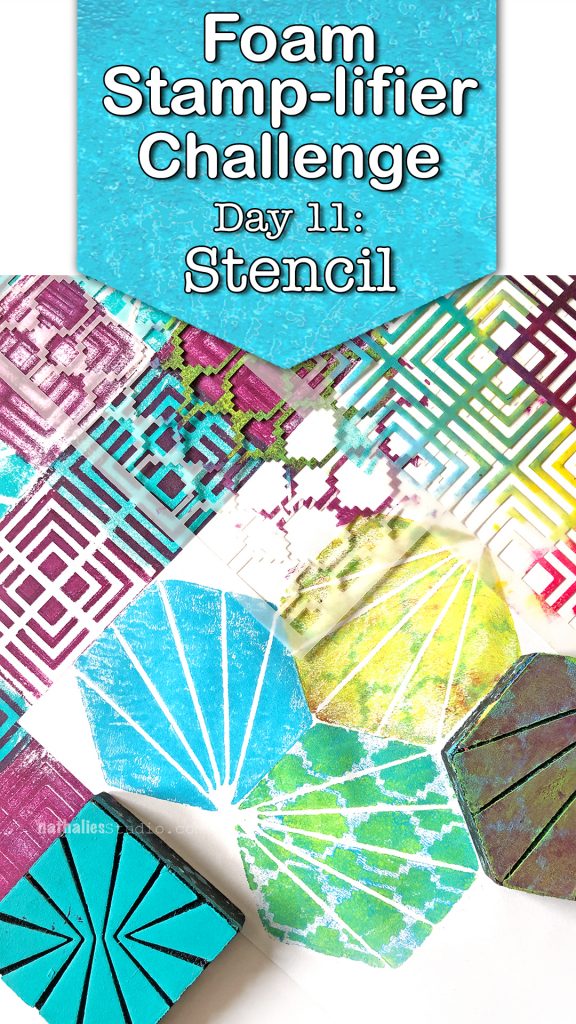
No surprise if you know me…I also love stencils and stencils are perfect amplifying tools for your foam stamps.
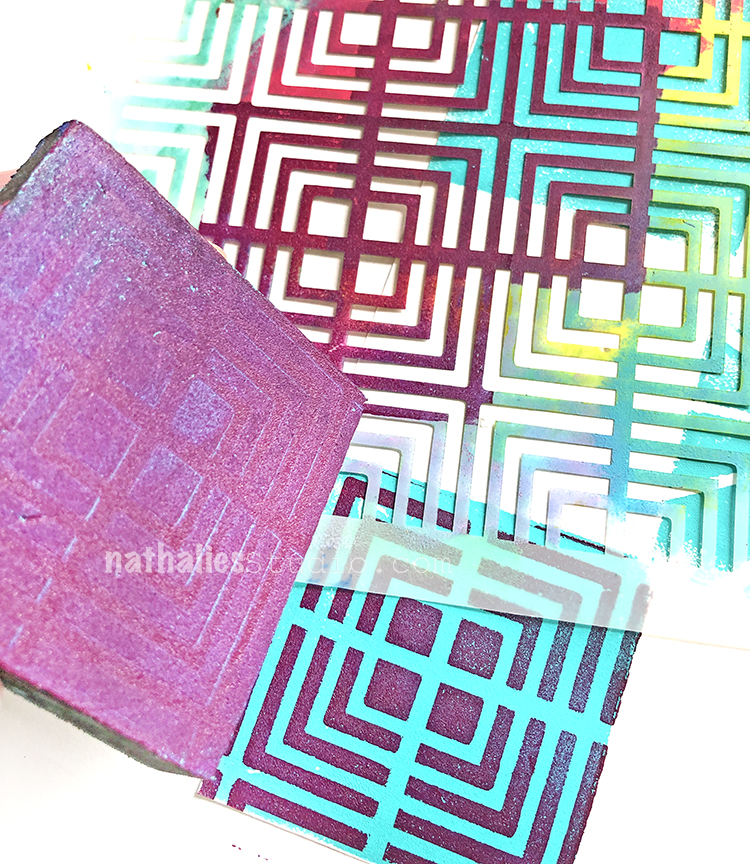
You can add paint to the solid back side of your foam stamps and then stamp through a stencil.

Lift the stencil and stamp right away again to receive a second but inverted print. You can also use foamstamps which have a more solid pattern – and stamp with the pattern side through the stencil. Another favorite of mine is to roll out a color onto the foam stamp with a more solid design and then put the stencil on top and add a different color with a cosmetic sponge on top of it.
It gives you so many more and unique possibilities with your foam stamps and for that matter also for your stencil.
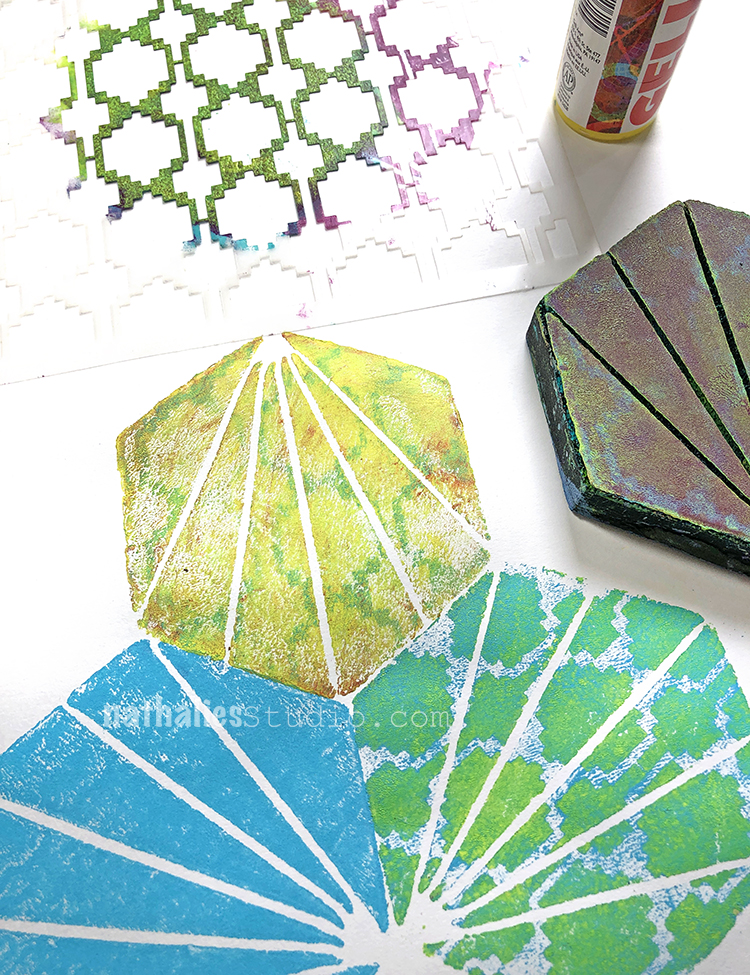
Now that’s what I called amplified.
Day 12 – Pigment Ink
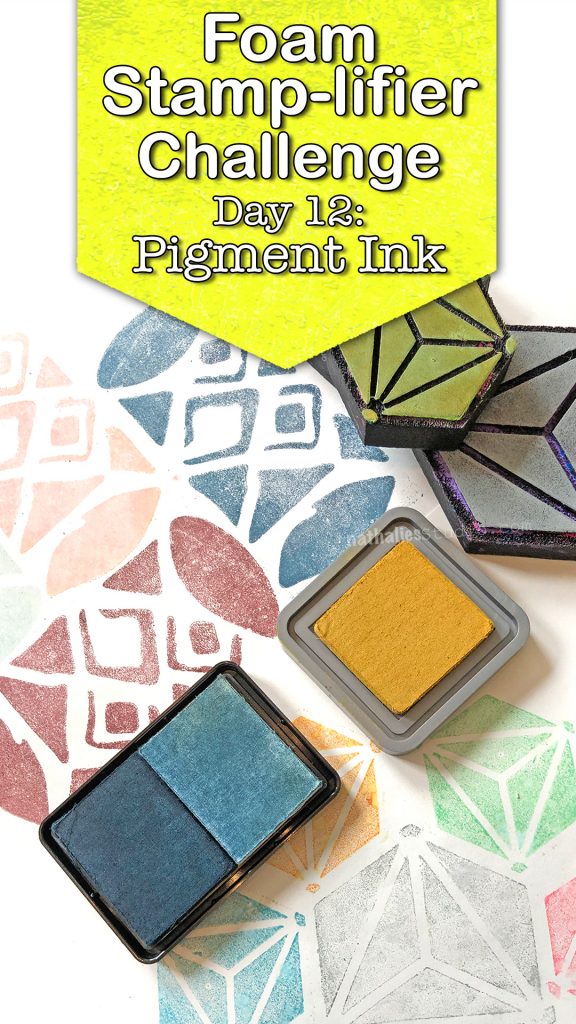
Love love love using my foam stamps also with pigment inks. I love how the foam creates some soft texture in combination with the inks and you can easily clean them after use with some water and a rag or a baby wipe.
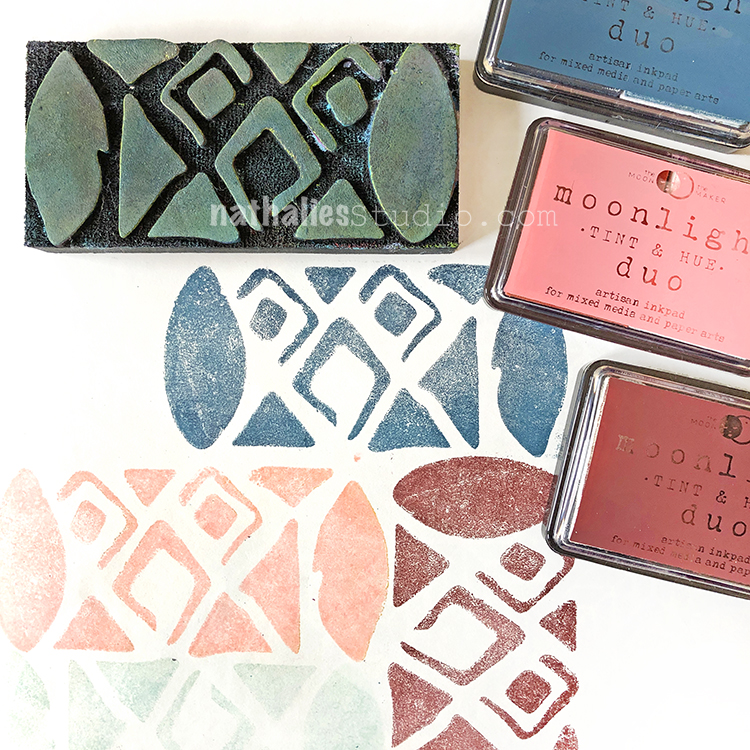
Moonlight Duos by RubberMoon are a great hybrid ink and their colors are just sooo amazing. I also love using Distress Oxides and sprinkle the stamped image with water drops to lift off some of the ink with a paper towel and create even more visual texture.
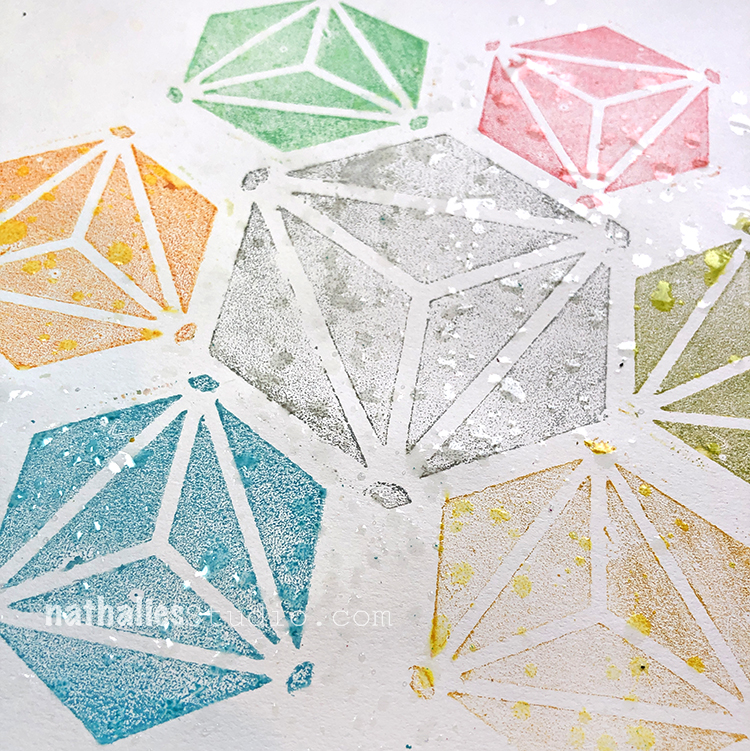
So much fun and another medium you can easily use with your foam stamps.
Day 13 – Fabric
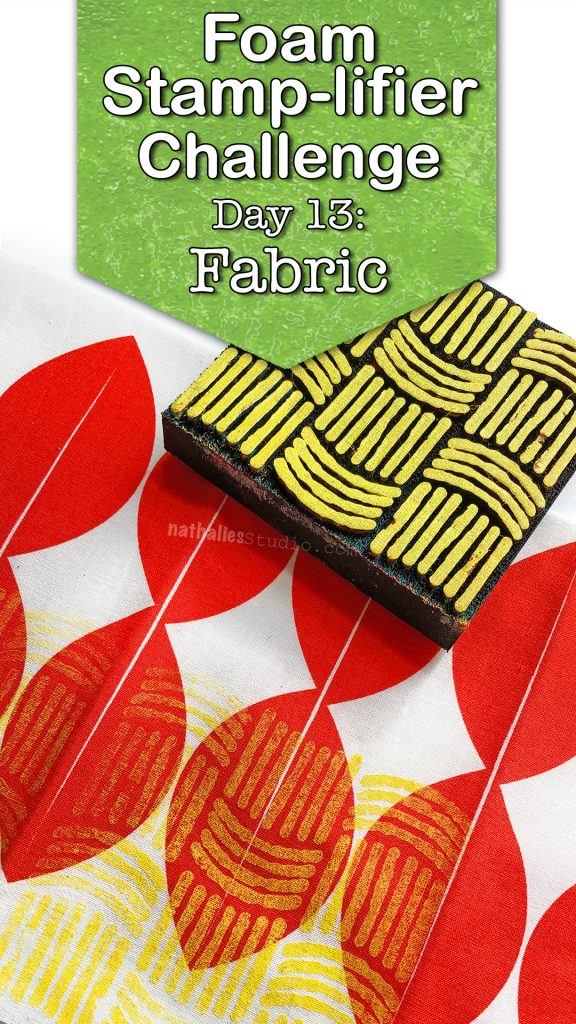
Can you say perfect relationship? Foam Stamps and Fabric love each other.
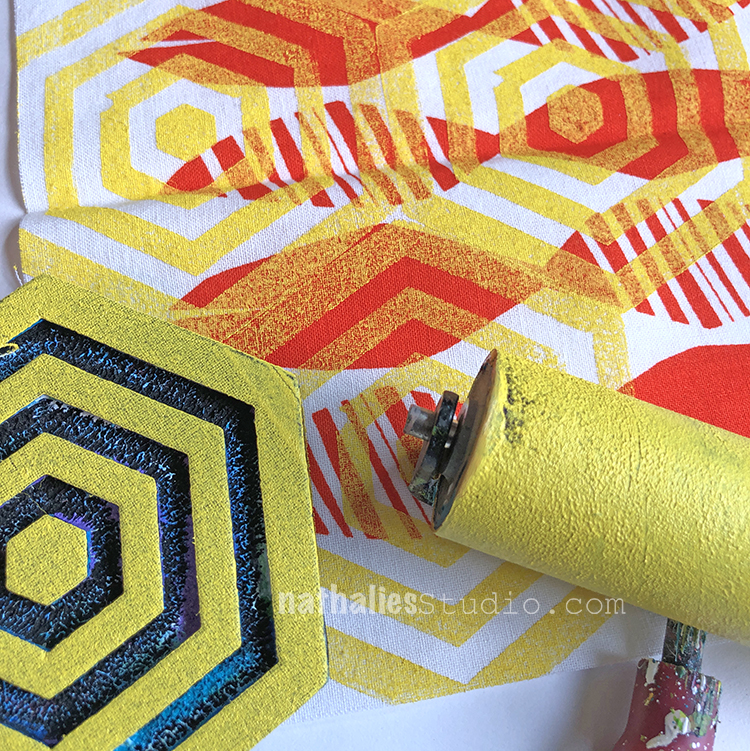
You can use acrylic paint but for fabric I want to wear or when I want to keep the fabric soft I use fabric paint. Besides using the foam stamps on a solid colored piece of fabric using it on a piece that already has a pattern is my total geek out fun.
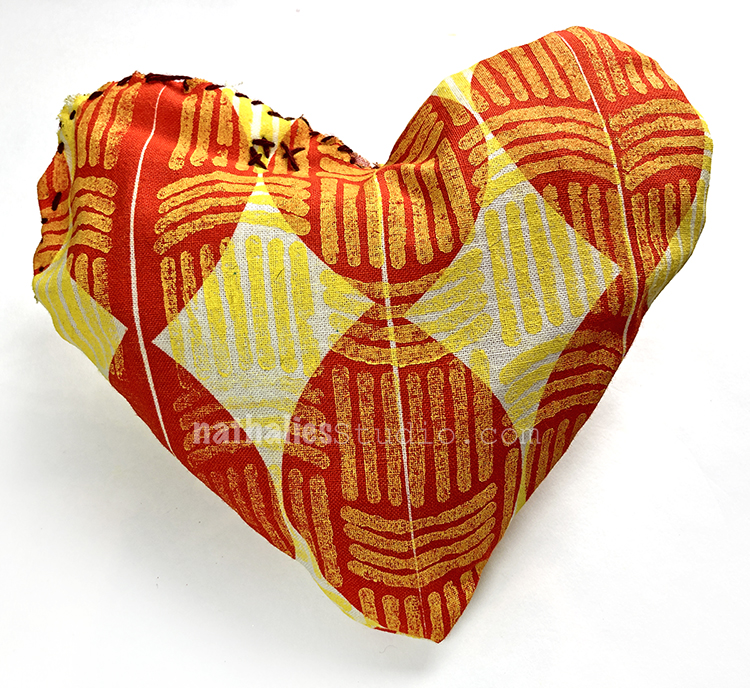
You can use the fabric many many ways- but here…I give you my heart :)
Day 14 – Embroidery
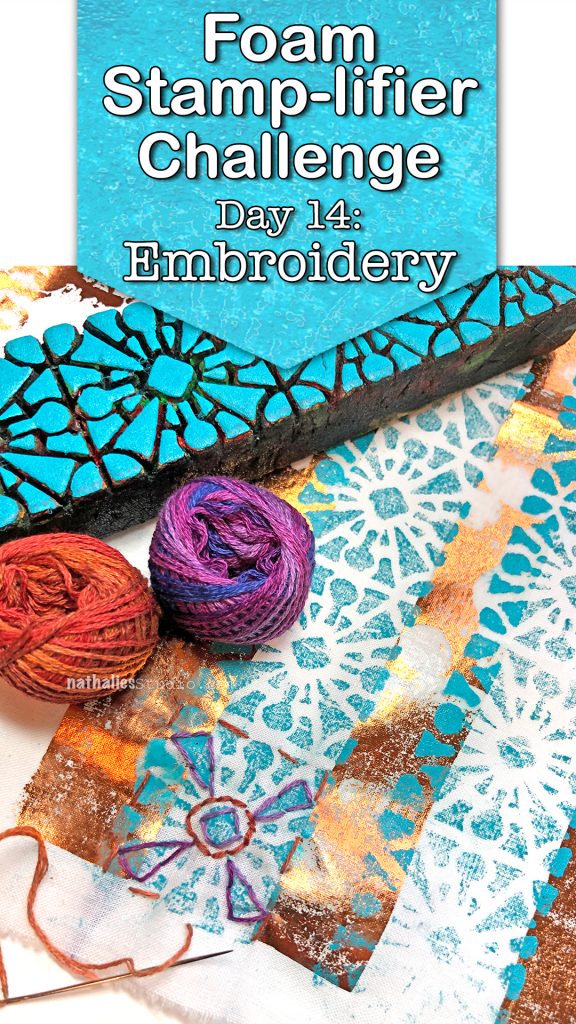
Oomphing up your foam stamped image by adding some embroidery on top of the image is super fun! You can either just add some accents with certain embroidery stitches or fill in the actually design with satin stitches.
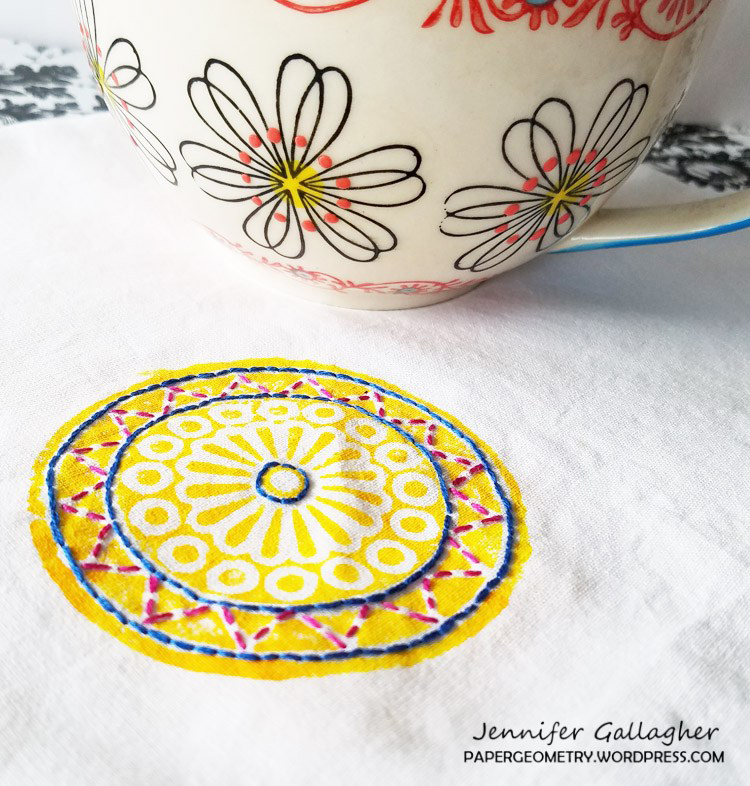
My Creative Squad Member Jennifer did a wonderful job creating some napkins with embroidered foam stamping and they are so beautiful. So many possibilities by combining foam stamping and embroidery.
Day 15 – Hugs & Kisses
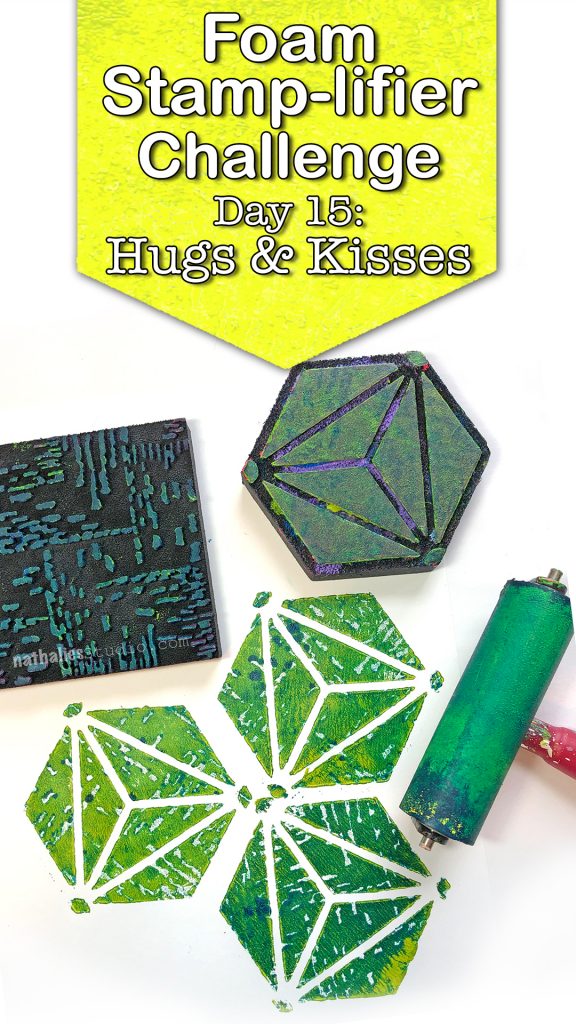
I think the right term is stampkissing but I think Hugs & Kissing is perfectly adequate for this foam stamplifier technique. Use two different foam stamps- one that is more solid and one with a small pattern, apply different colors to each of them and then stamp them on top of each other – lift and stamp the more solid patterned foam stamp.
You can stamp off the other stamp on a different paper and get a nice color scheme. Make sure to use colors that mix well together.
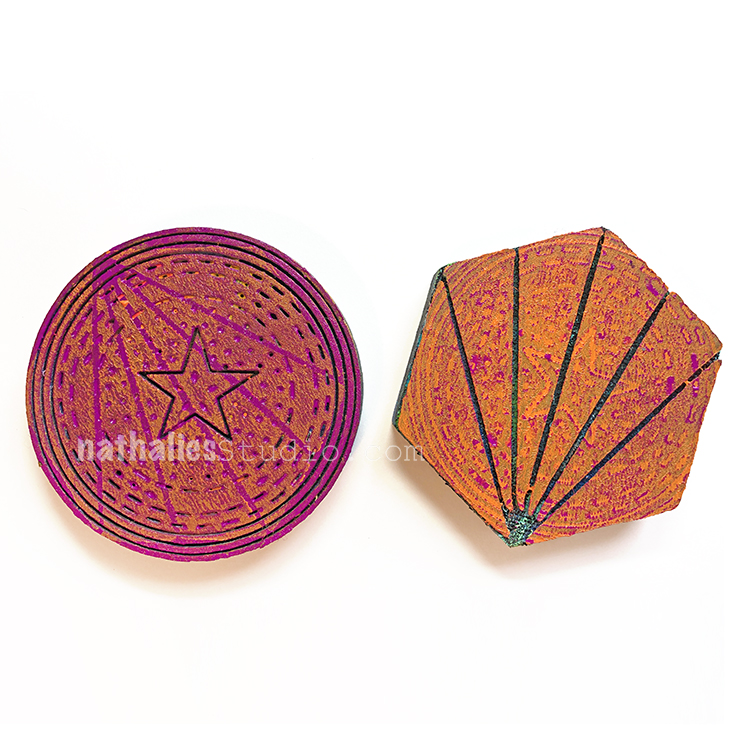
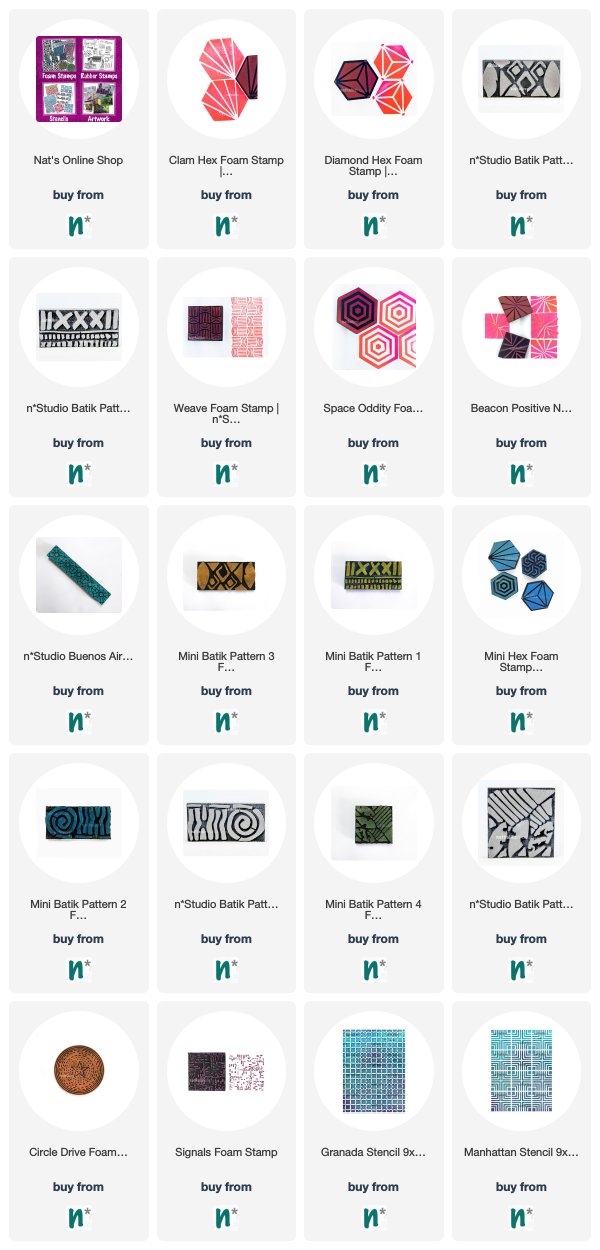
I hope you enjoyed these prompts- here are the foam stamps I used for them:
In case you missed the prompt list and want to follow along – here you go: