
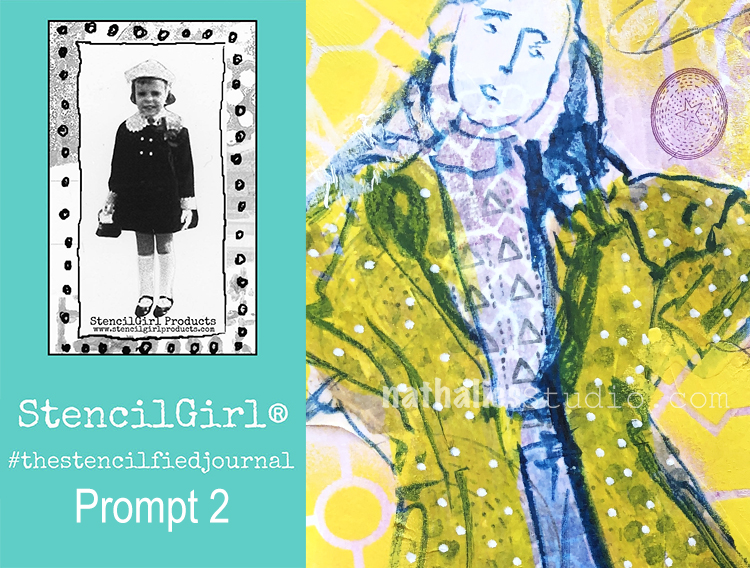
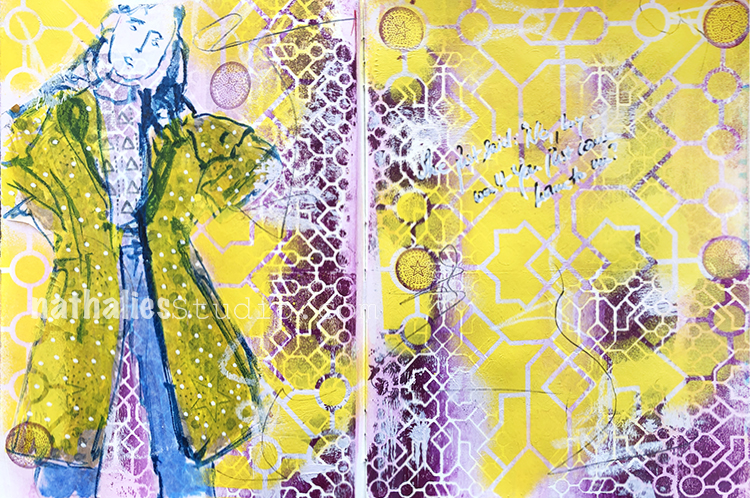
Today we have Maura Hibbitts with us sharing a project that is sure to brighten up any home – a lovely little Kokopelli figure! Maura is using my Downtown, Mesa Verde, Toledo, and Crackle stencils and this month’s theme: Let’s Jump! – The Creative Squad is joining the fun of Creative JumpStart 2019 this month. They’re creating objects for the home, inspired by the CJS19 theme My Home is My Castle.
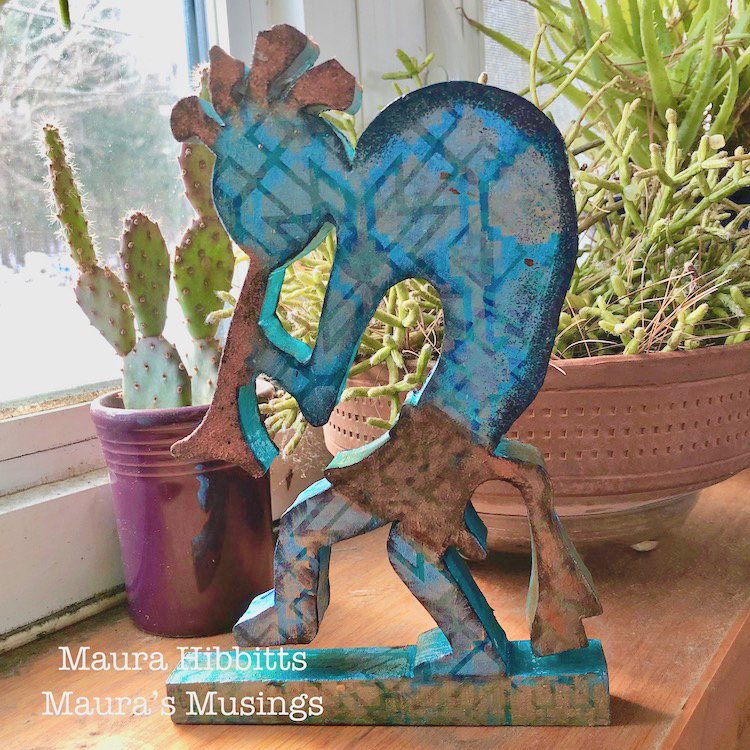
We are focusing on home decor this month to brighten our personal “castles”. My husband drew a Kokopelli design years ago, following one of our epic summer camping trips to the Southwest, and then cut a number of them out of wood. I decided to use one of these figures and alter it with paint and stencils. I chose Kokopelli for a couple of reasons – one, he carried his “home” on his back as he traveled between pueblos, and two, we grow a number of cacti and succulents that have to come inside our home each winter, and they remind me of Kokopelli.
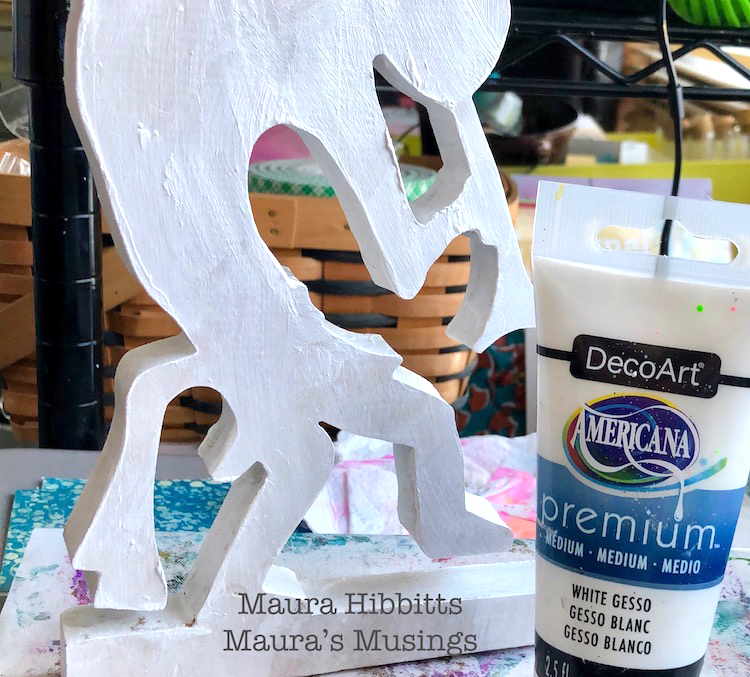
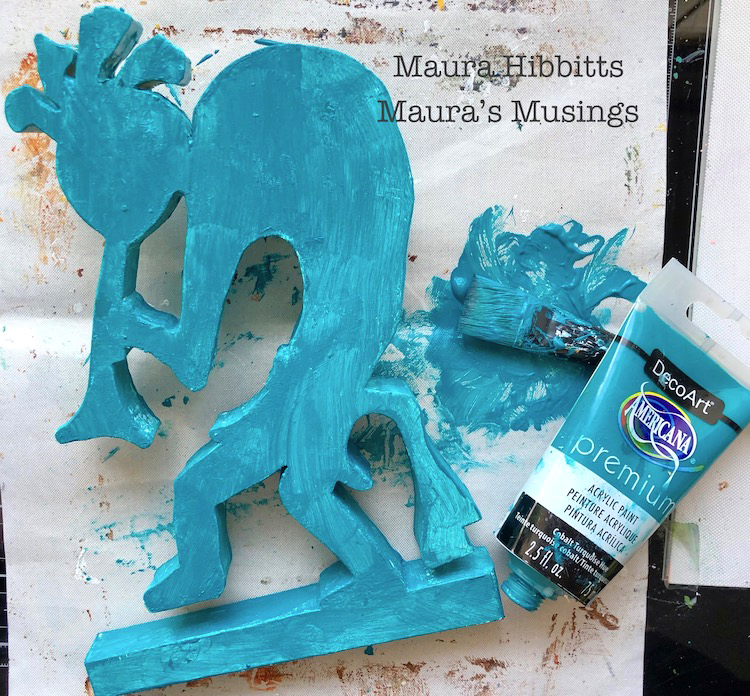
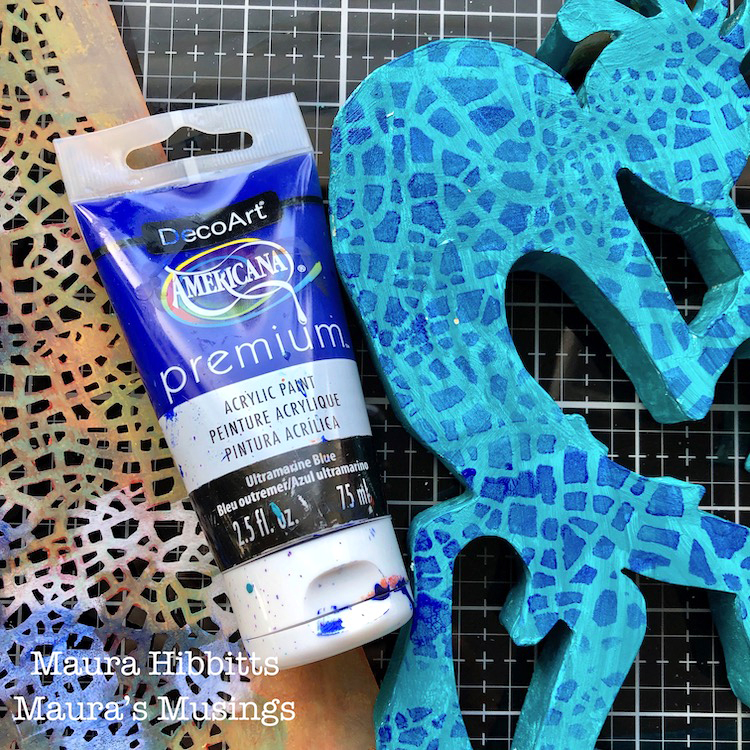
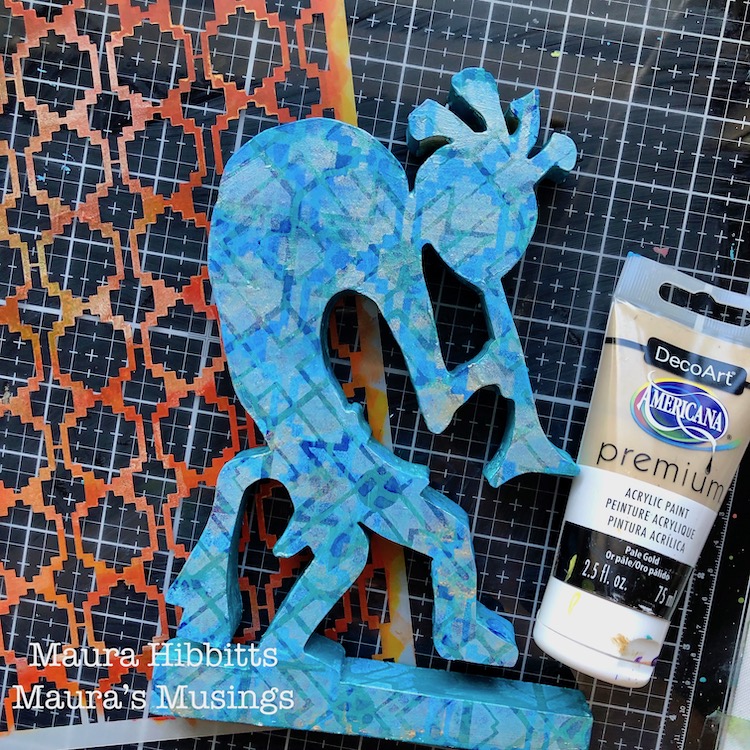
I started my project by painting the wood with gesso, and once that dried, painting him turquoise, a color I associate with the southwest. (I love the turquoise jewelry from this region.)
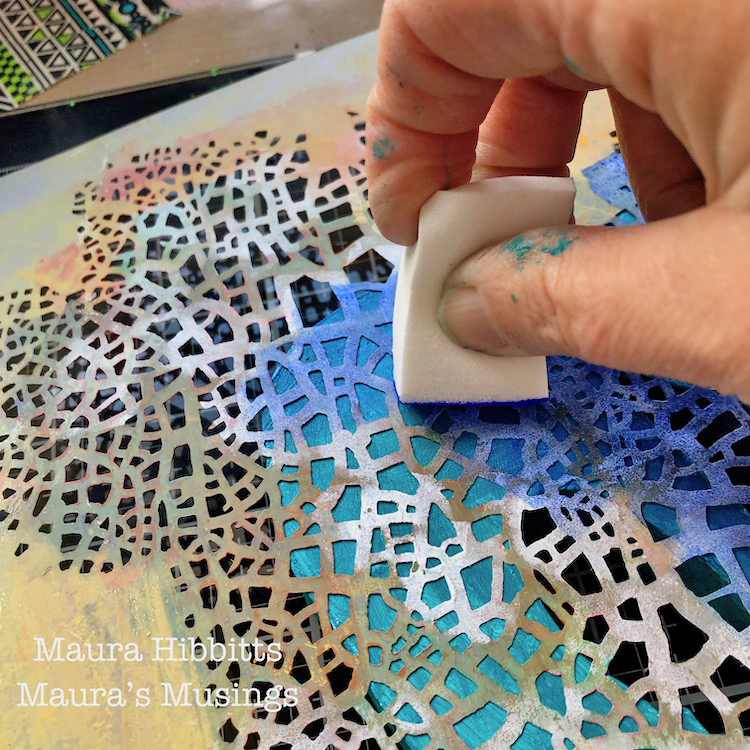
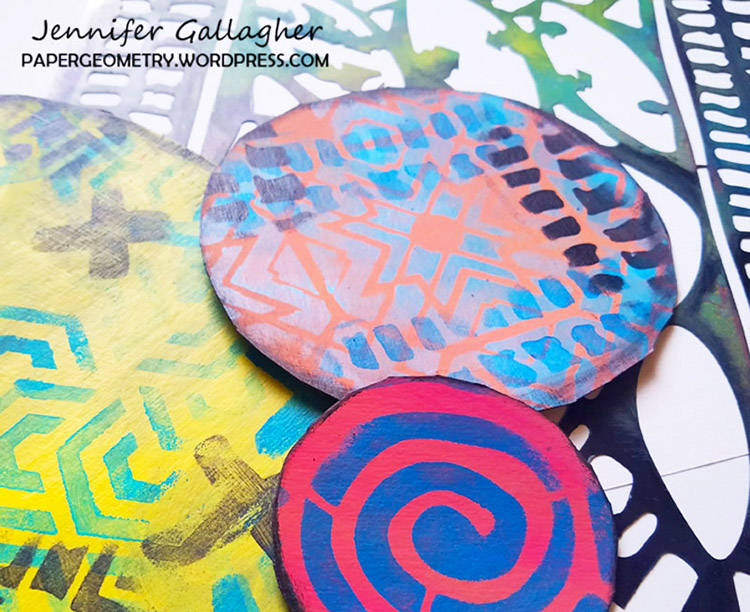
I laid the Crackle stencil onto the figure and using a cosmetic sponge, lightly dabbed Ultramarine Blue all over the front and back and edges. The edges were tricky to do, I had to wrap the stencil along the edge, hold it with one hand and dab the paint. It might have been easier to tape it on, now that I think about it.
I wanted to use stencils with designs that remind me of the southwest, and Nathalie has several. I chose to use the Toledo stencil next, and mixed Titanium White and Cerulean Blue, then dabbed that on with the sponge.
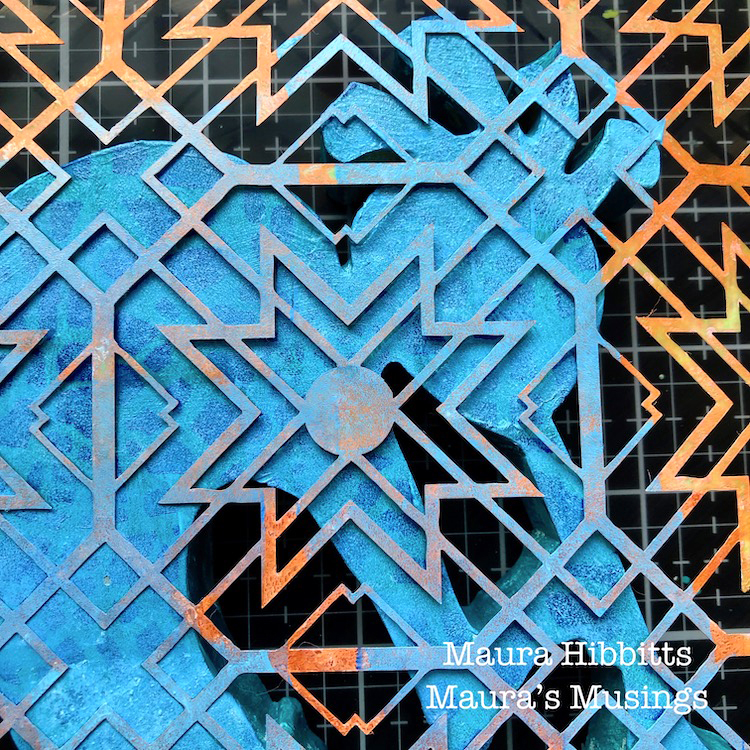
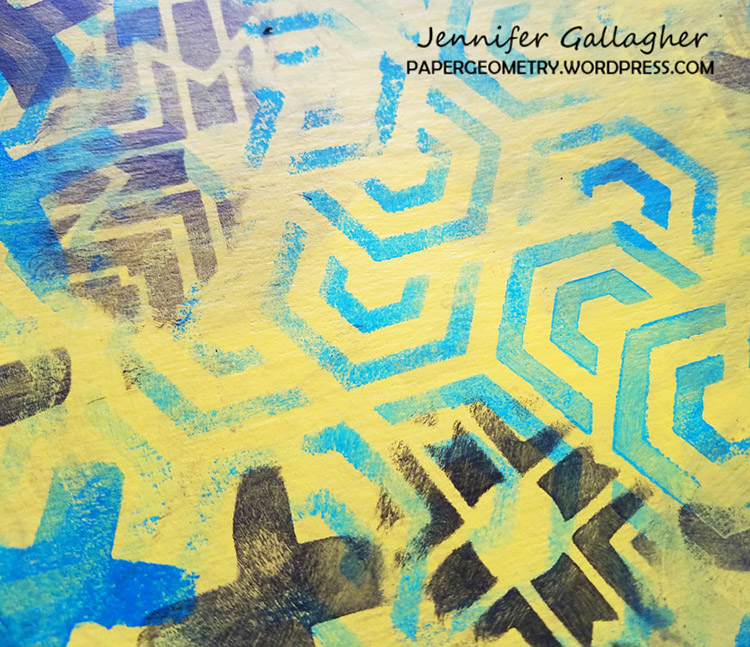
Now that I have all of my blue layers on, it’s time to add the gold. I used the Mesa Verde stencil with Pale Gold.
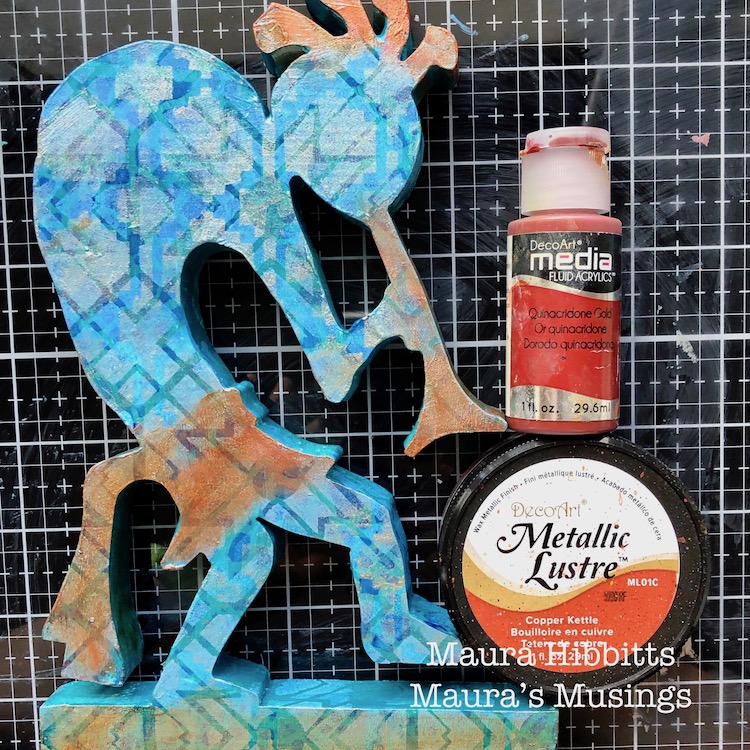
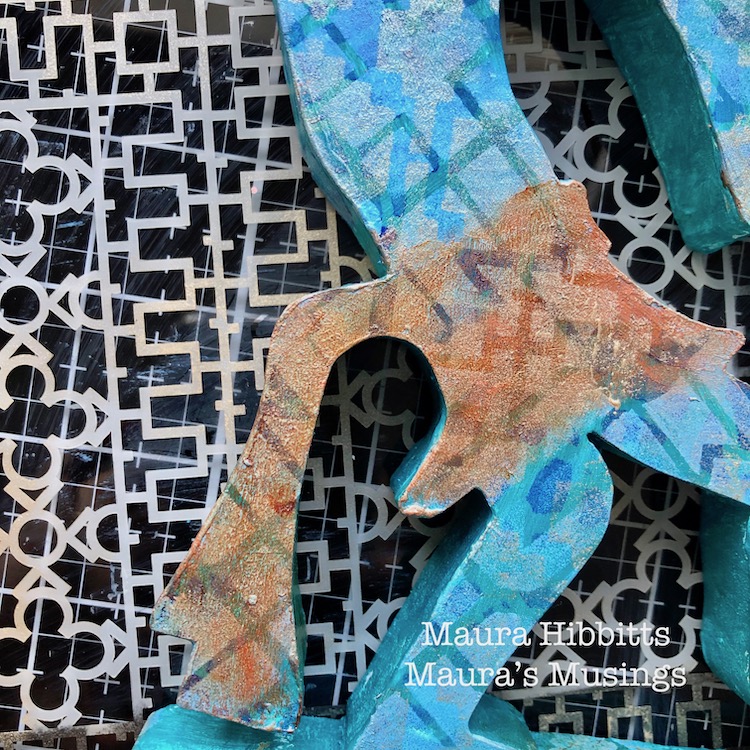
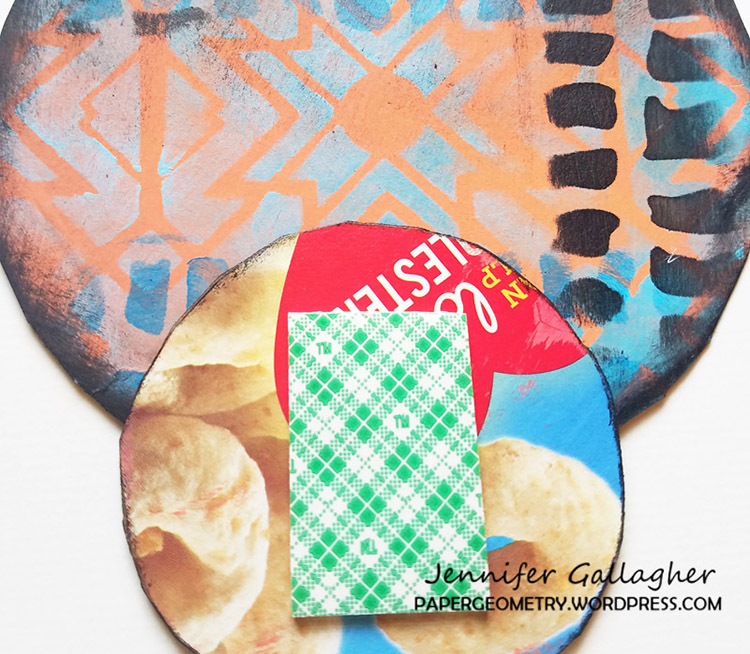
Kokopelli needs a bit of contrast, and I chose to add copper and gold to his hair, flute and loincloth. I started by rubbing on the Copper Metallic paste with my finger, and then rubbed on some Quinacridone Gold to bring out the color, and decided to add a bit to the base too.
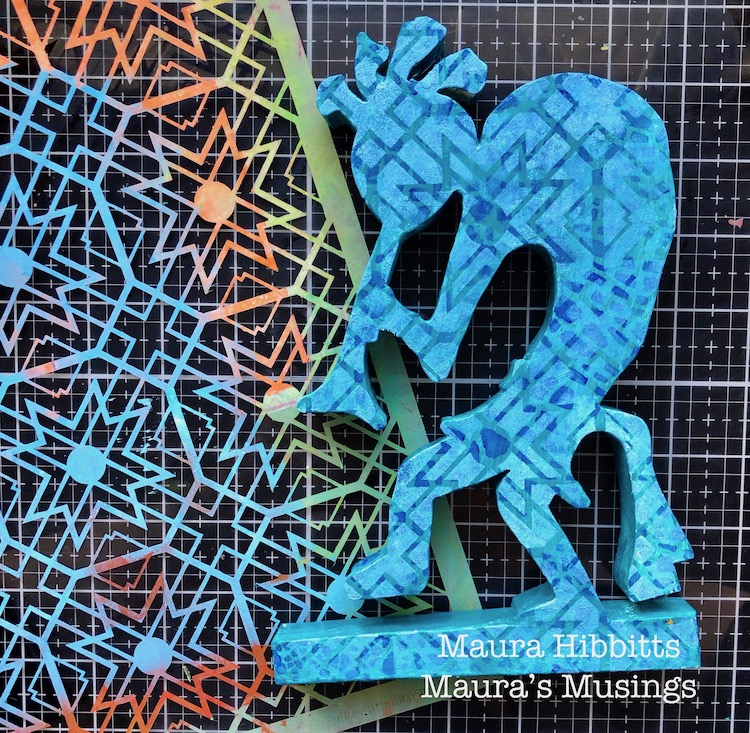
I went back in to add more design on the loincloth area with the pale gold and the Downtown stencil.
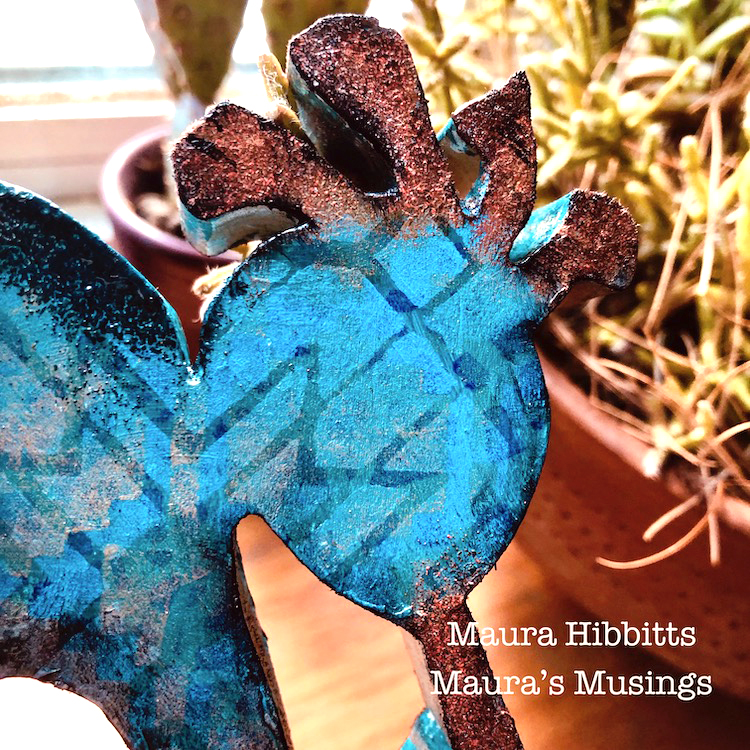
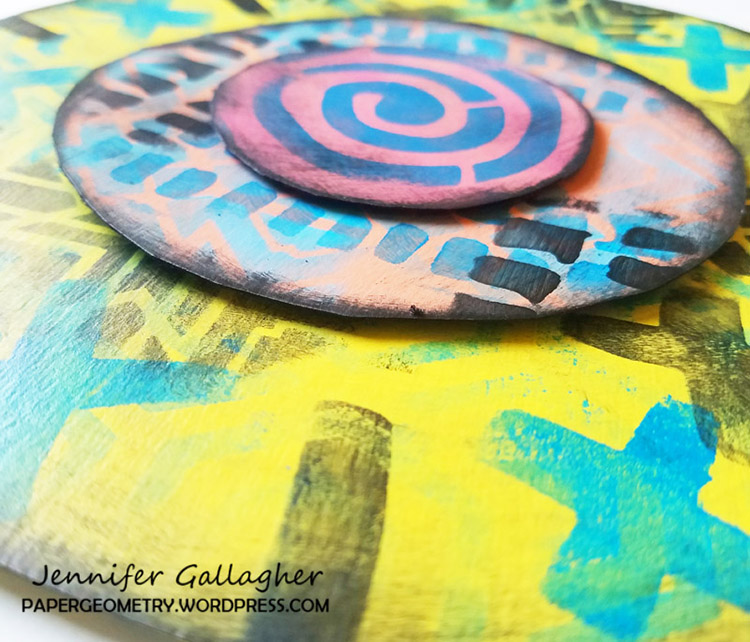
I decided to add a bit more contrast, and went back in with some embossing powder on the flute, hair and back area. When I did my final look at my project, I still felt like it needed a bit more definition, so took a small brush and edged the figure with Payne’s Grey.
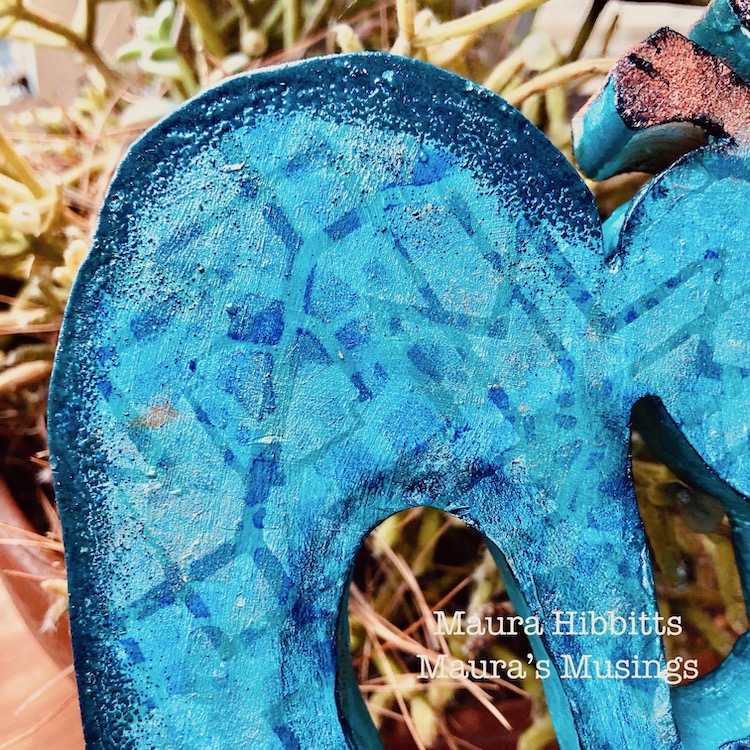
Kokopelli is playing to the sun among the cacti in our front window. Listen for the song of his flute! – Maura
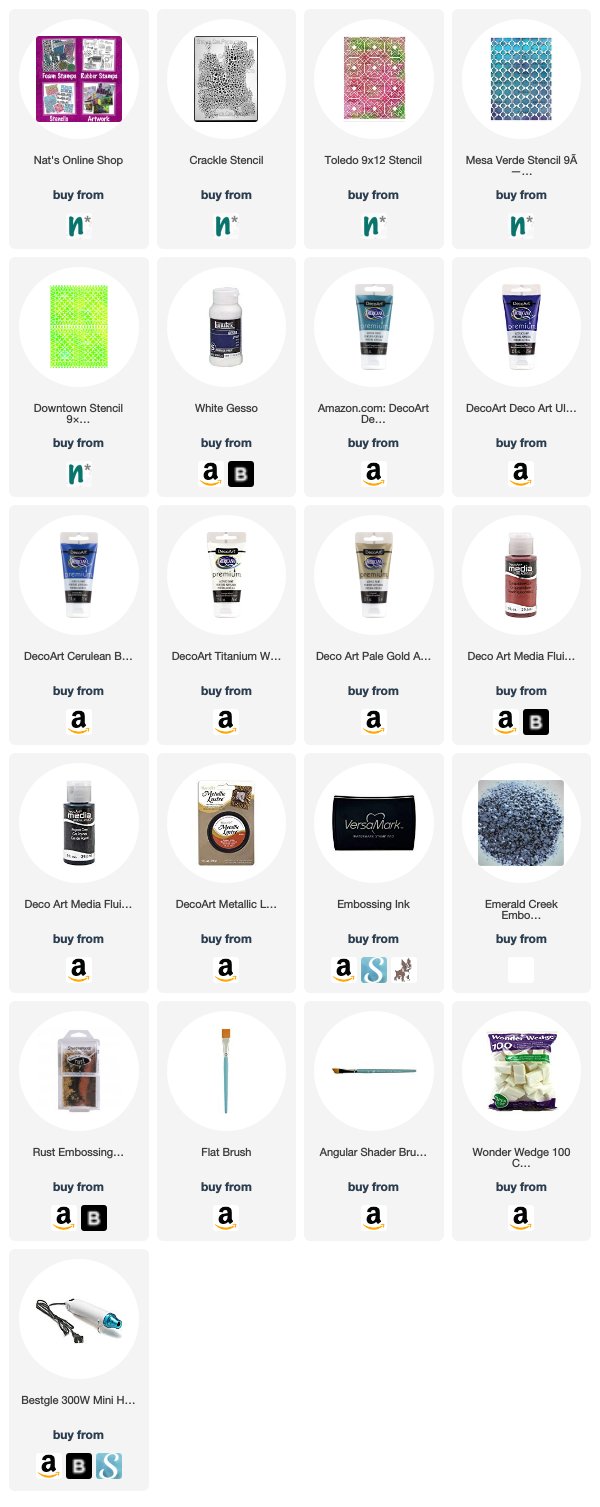
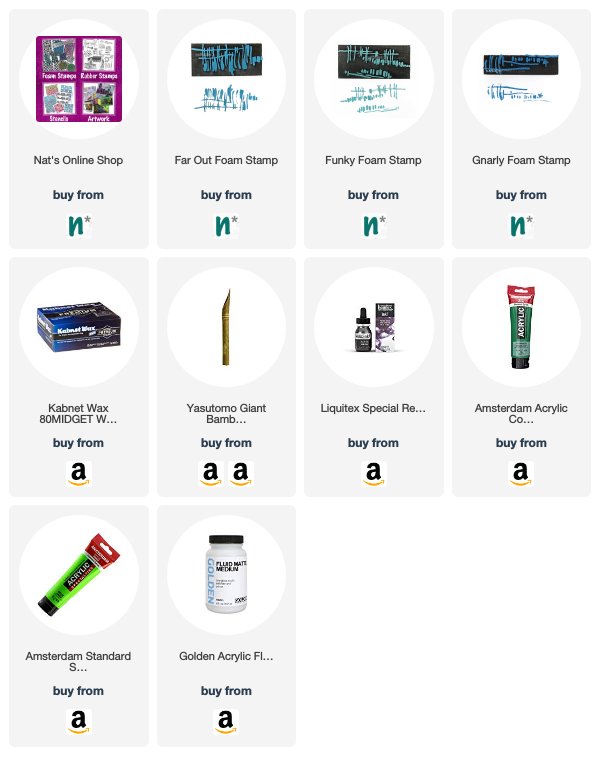
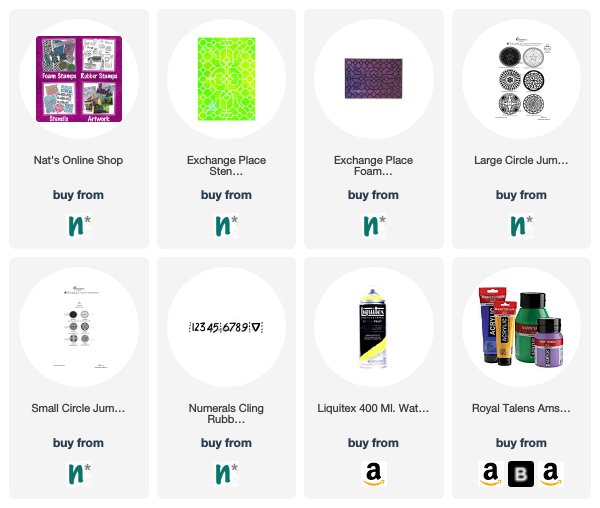
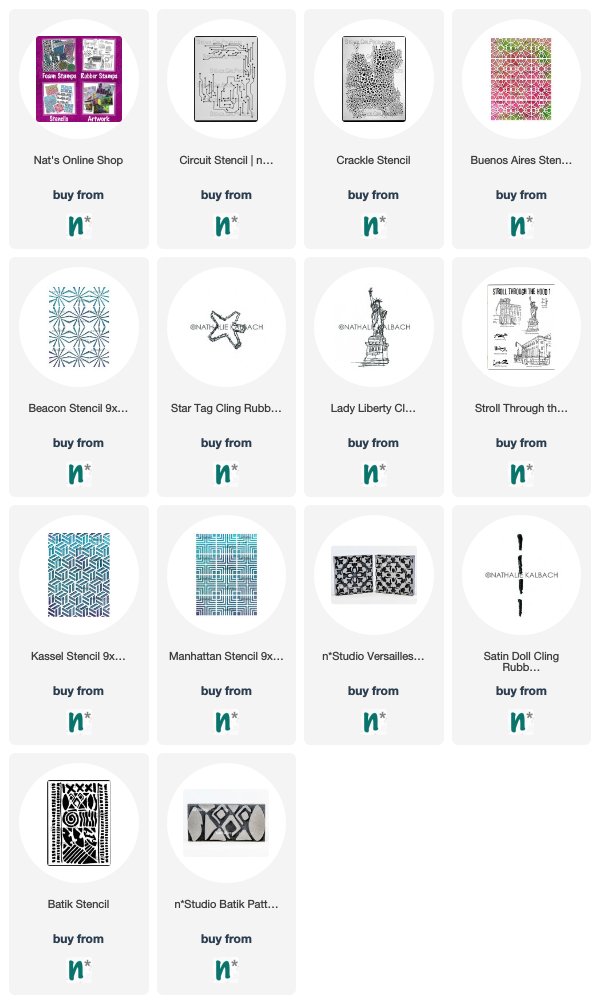
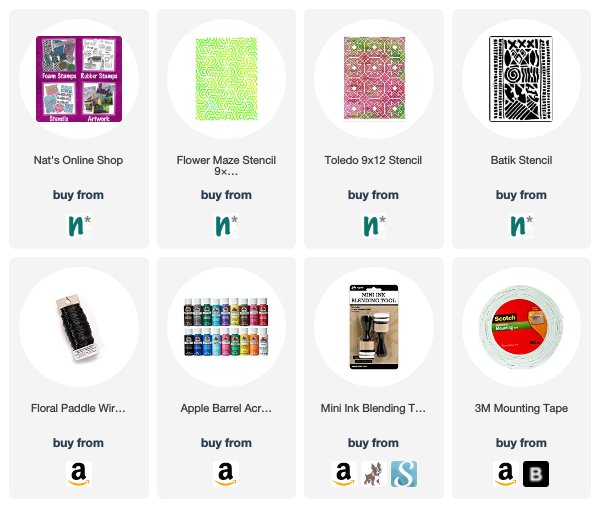
Thank you Maura! Loved hearing your personal connection to this little guy and seeing him transform into something with a lot of positive energy for the home :) You can find all my Stencils in my Online Shop. In addition to her wooden figure here are some of the supplies that Maura used:
Feel inspired? Working on something yourself that you’d like to share? I love to see how you interpret our monthly themes. Email me how you used my stencils and stamps with the theme and email me an image – I would love to share your projects in my next “n*Spiration From Around the Globe“.


Comments (2)
Sue Clarke
| #
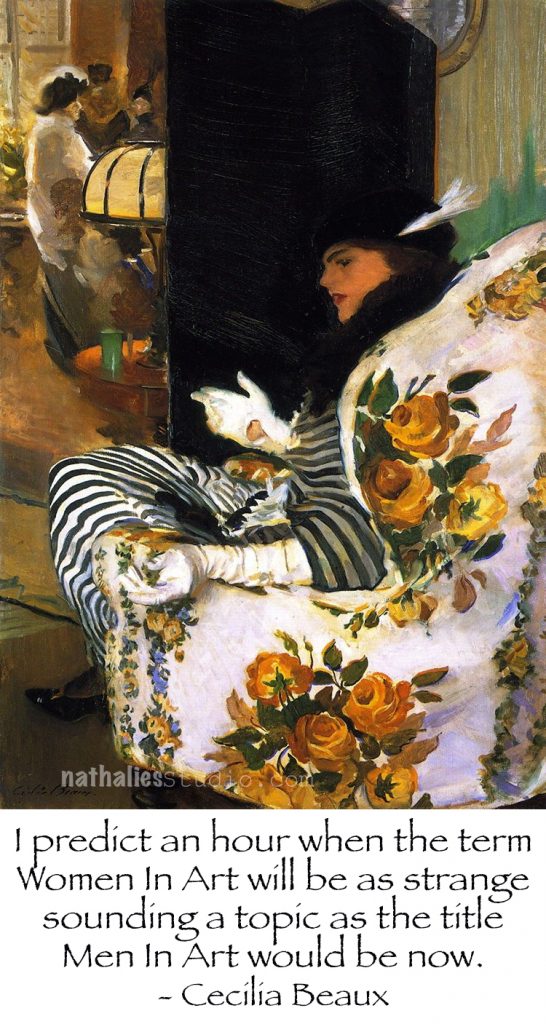
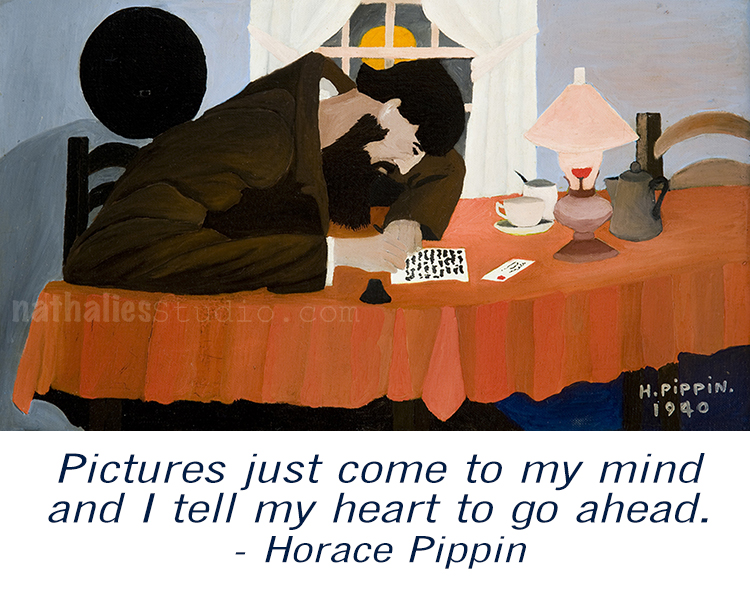
I love the quote and the art work.
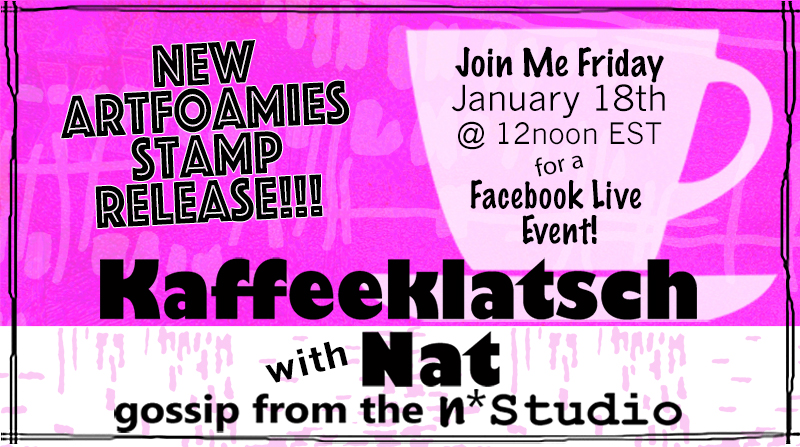
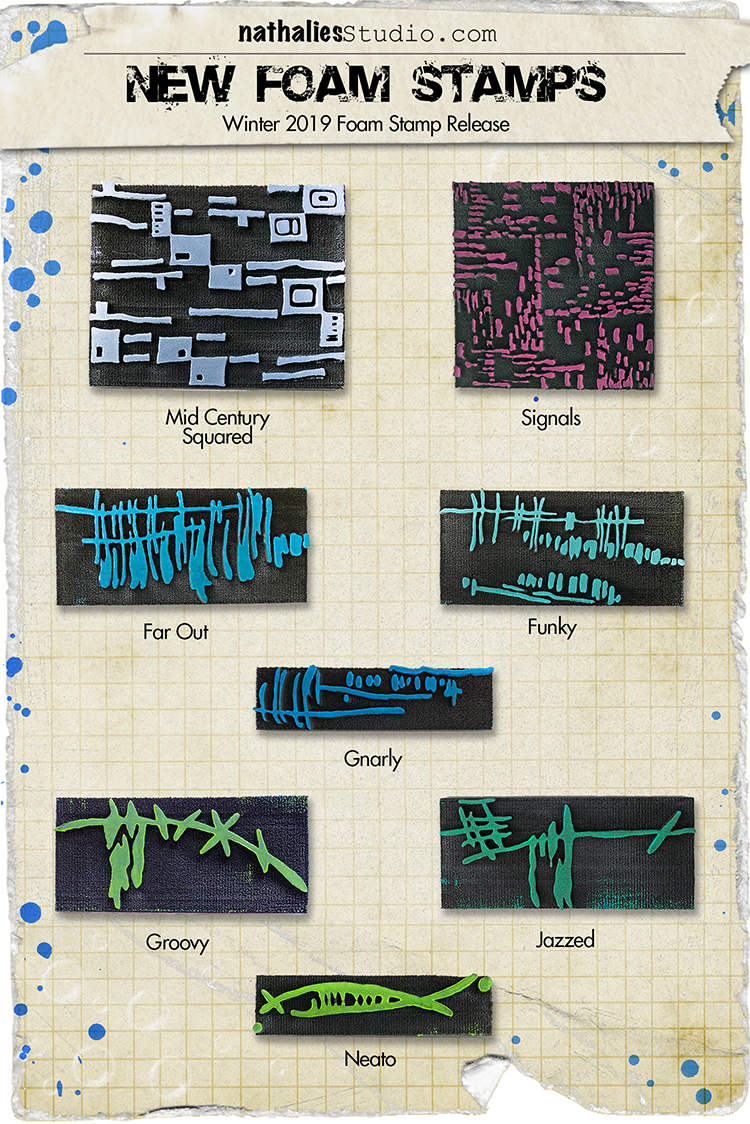
I have your new ArtFoamies on my wish list Nat!
Reply
nathalie-kalbach
| #
Yeahhh so glad you like them Sue!
Reply