Blog: JCAS

Back to School: Watercolor Class at JCAS

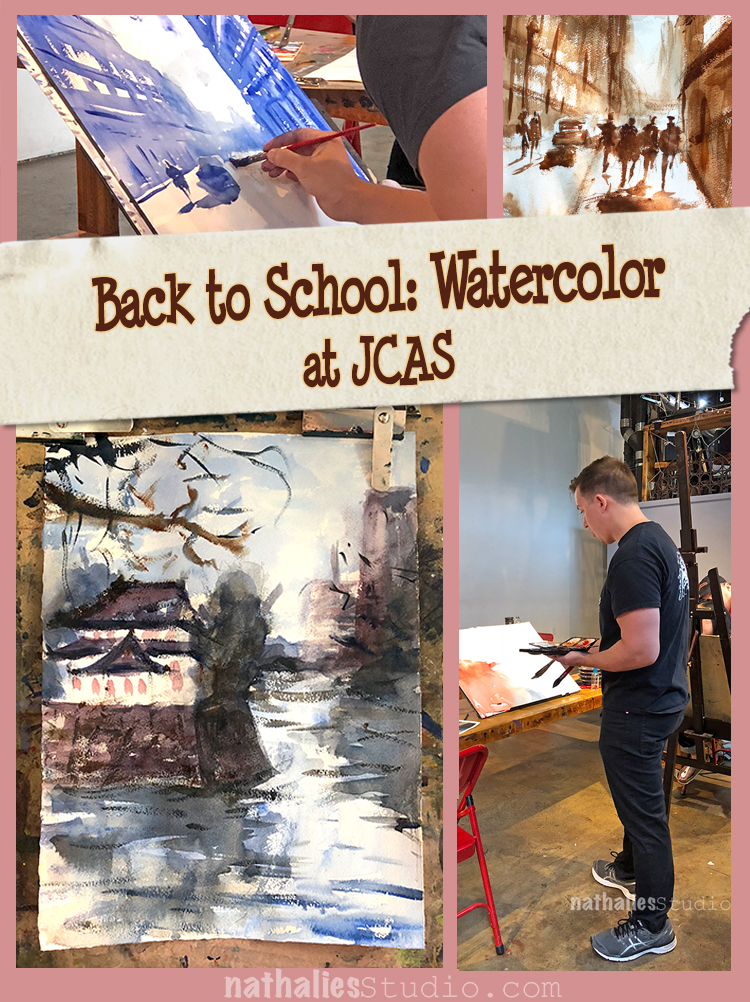
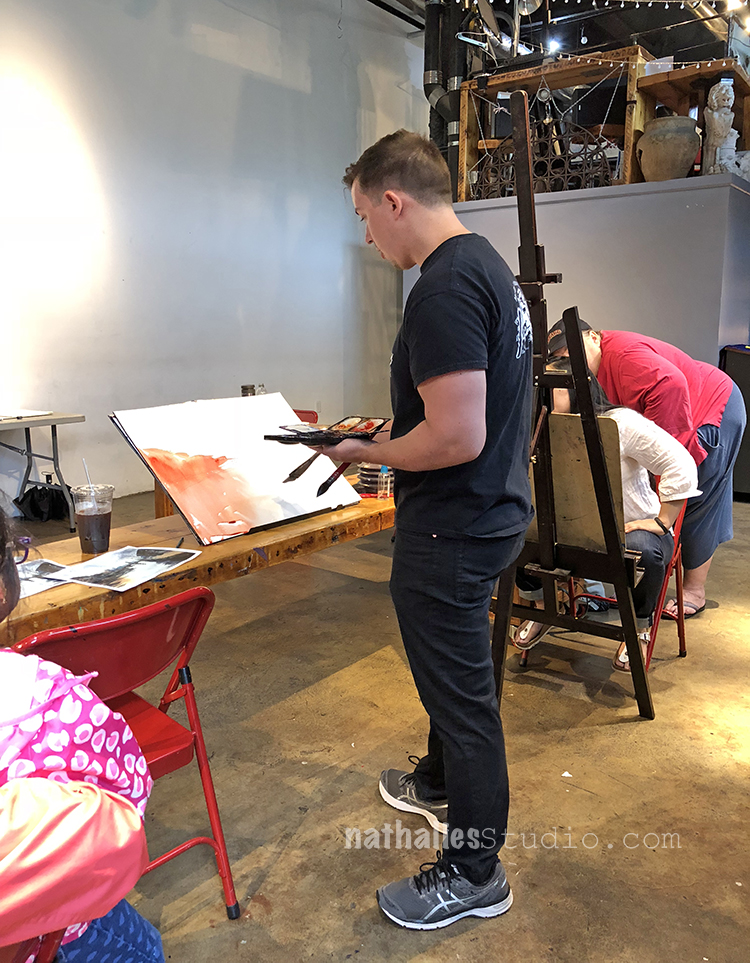
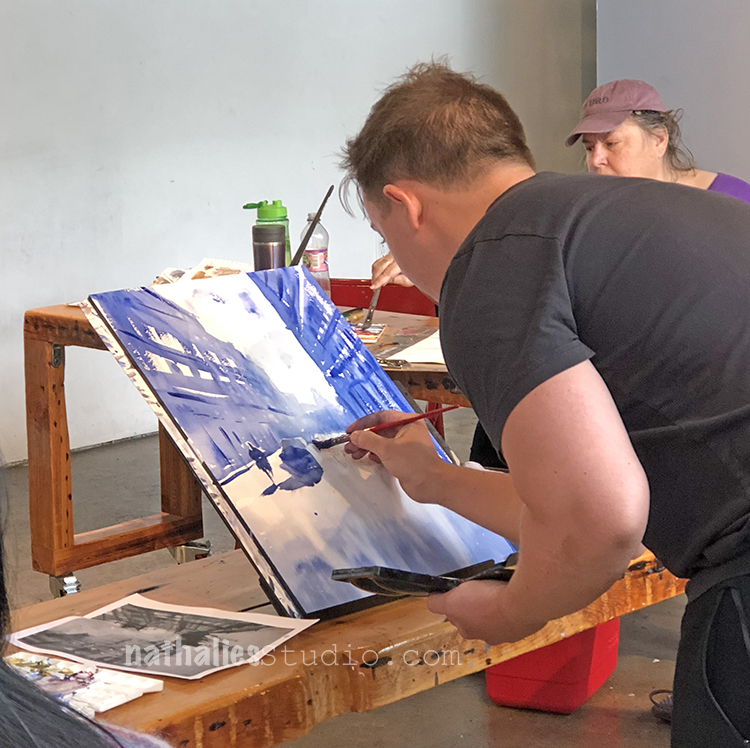
Last Sunday was the last lesson of six in a Watercolor class with John Duval at the Jersey City Art School. As some of you might know I have taken two printmaking classes already there and I really love being able to do something different over several weeks, and just being able to walk there.

This was the first time I took a Sunday morning class and I have to say, despite my first hesitance of getting up early on a Sunday it was really awesome – having my friend Mary join helped ;)

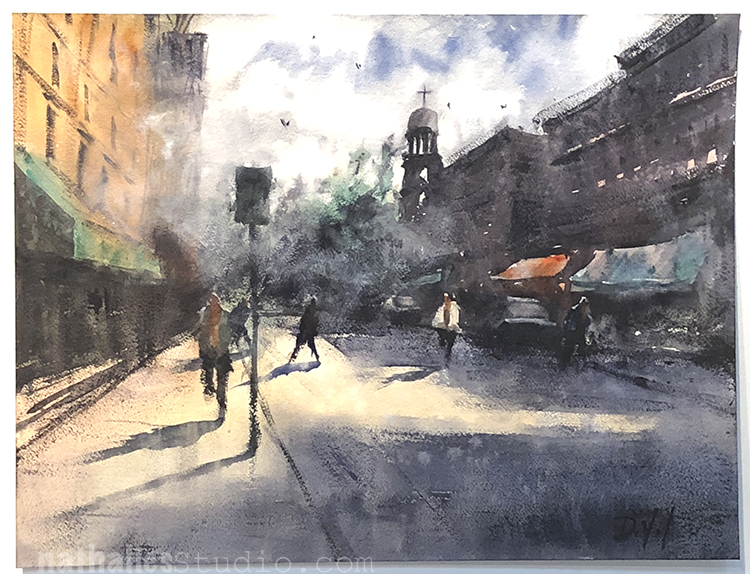
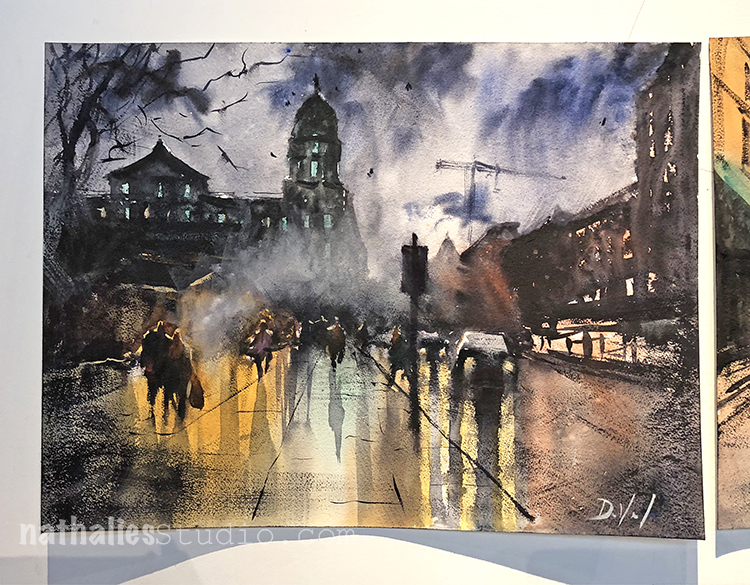
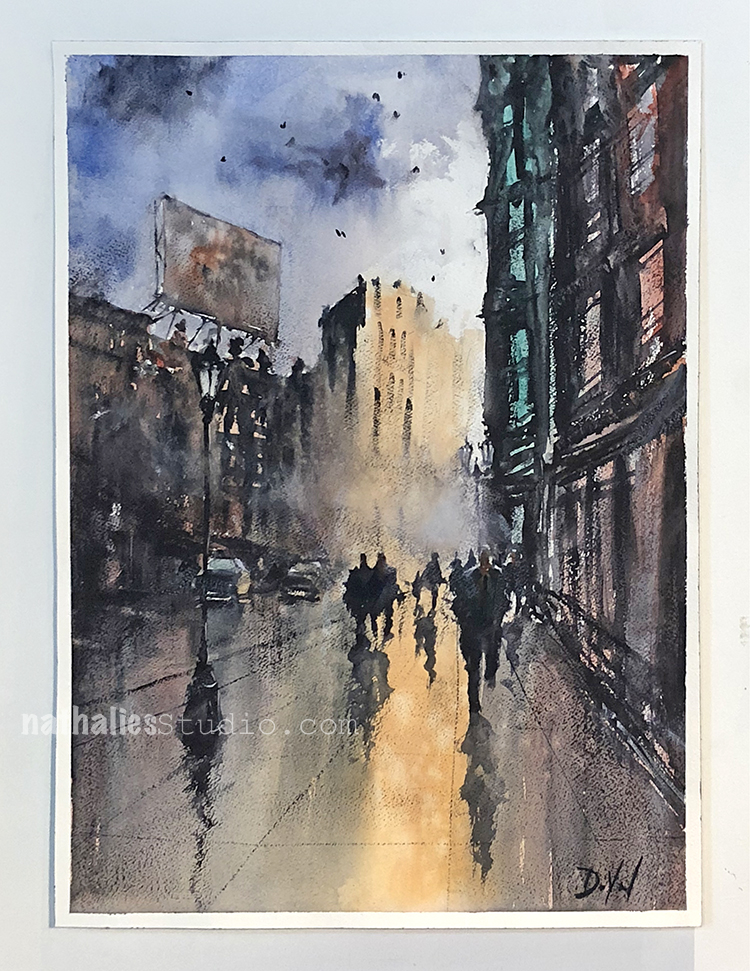
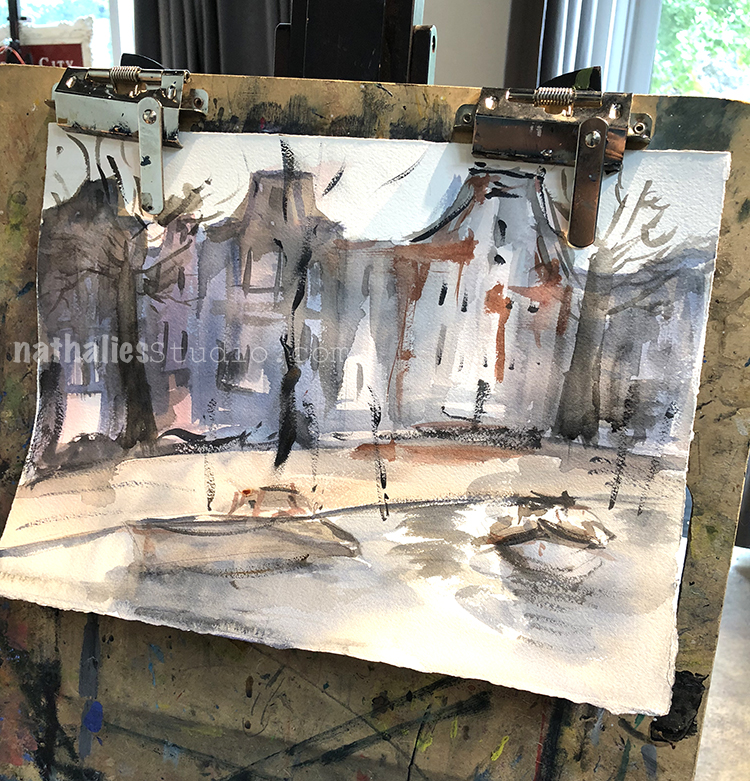
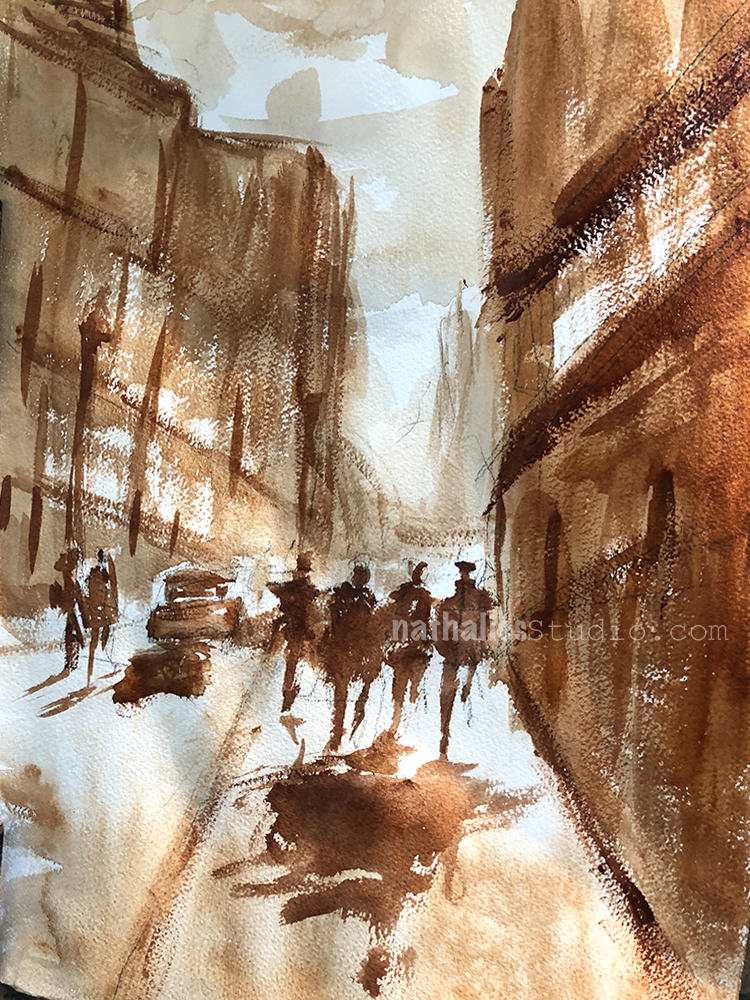
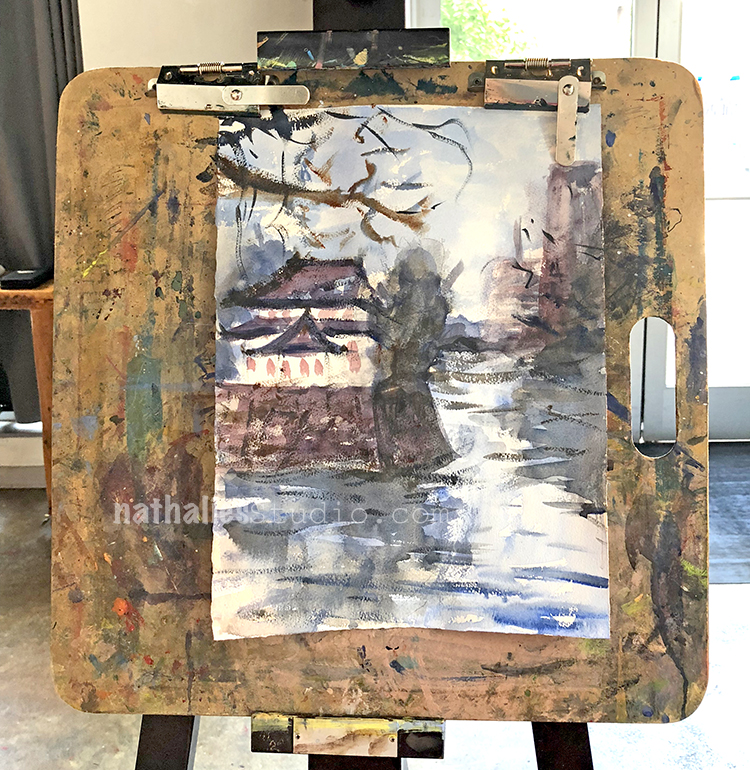
What drew me in taking the class were several factors – I really suck in painting with watercolors and I love John’s loose expressionistic style depicting urban landscapes. Here are three gorgeous samples of John’s work- check out his website for more or follow him on instagram!

John started with explaining and showing the different applications of watercolor he uses for his watercolor paintings- from very wet application (wash), to medium wet and sticky watercolor application, to dry brush application.

He talked about the importance of planning a painting and how to not shift your plan. You can imagine that was a tough one for me ;)

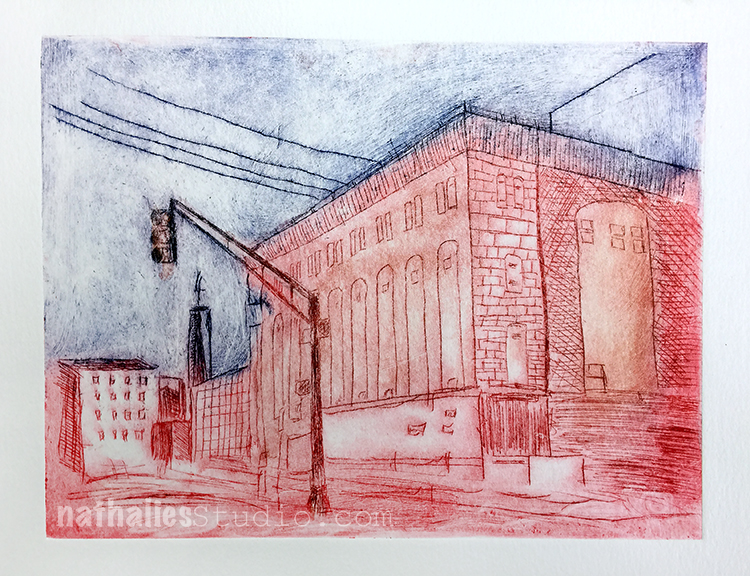
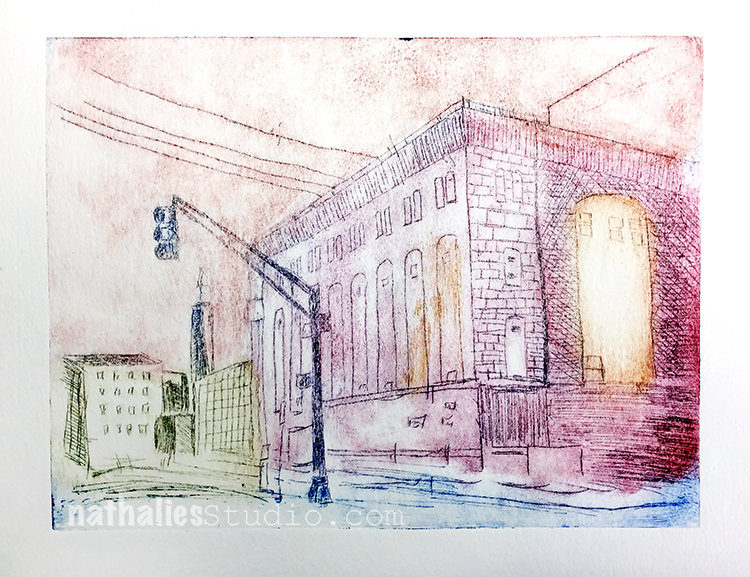
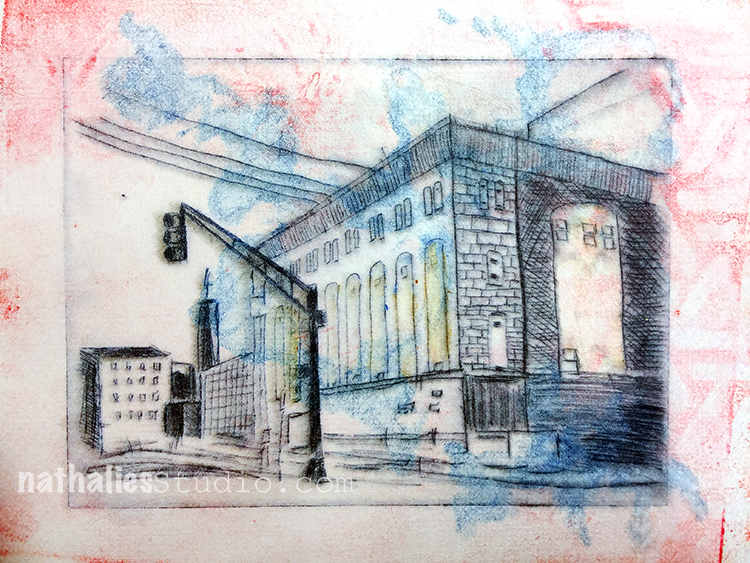
Above one of my first attempts …gosh …sigh …but hey- it was fun and I learned a lot

One of my favorite aspects of the class was his usage of a limited color palette (yeah I know guys- awkward right?) and how to play with alternating warm and then cool colors and vice versa in the layers.

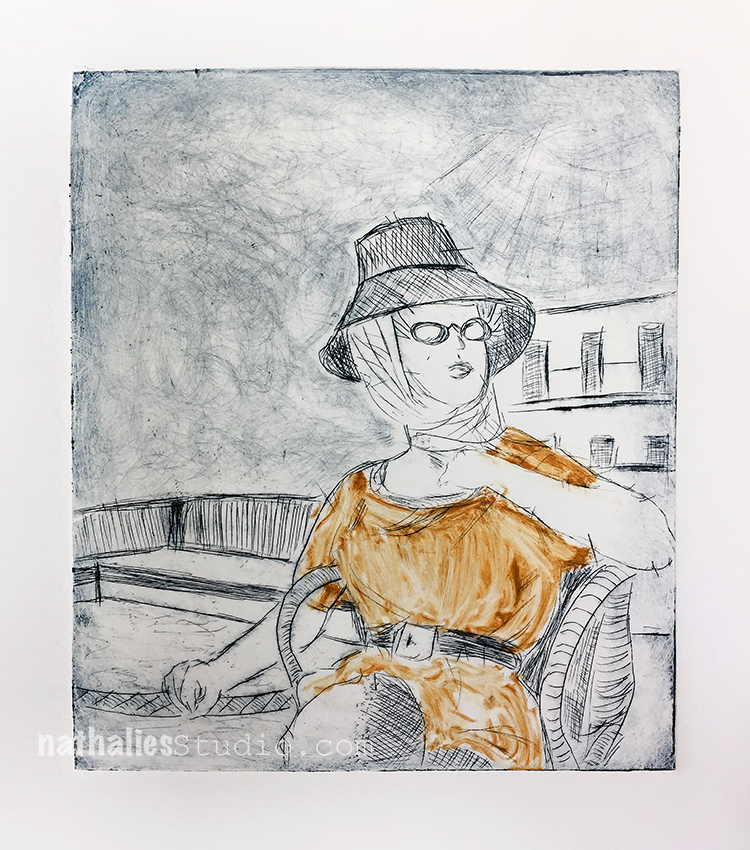
Me trying out the one tone approach – there are areas that I like and some I am like “WTH”?

I loved seeing his demos of painting from start to finish and talking through his process as well as how he chooses a subject to paint. At first I was really itchy to get back to the easel and paint myself, but I realized very soon that a lot of what he talked about and went through sticked in my head and was helpful for my own process. Very dear to my heart was his approach of not being afraid of changing up the scene so that it looks interesting or reflects how you feel rather than the actual depiction of the place.

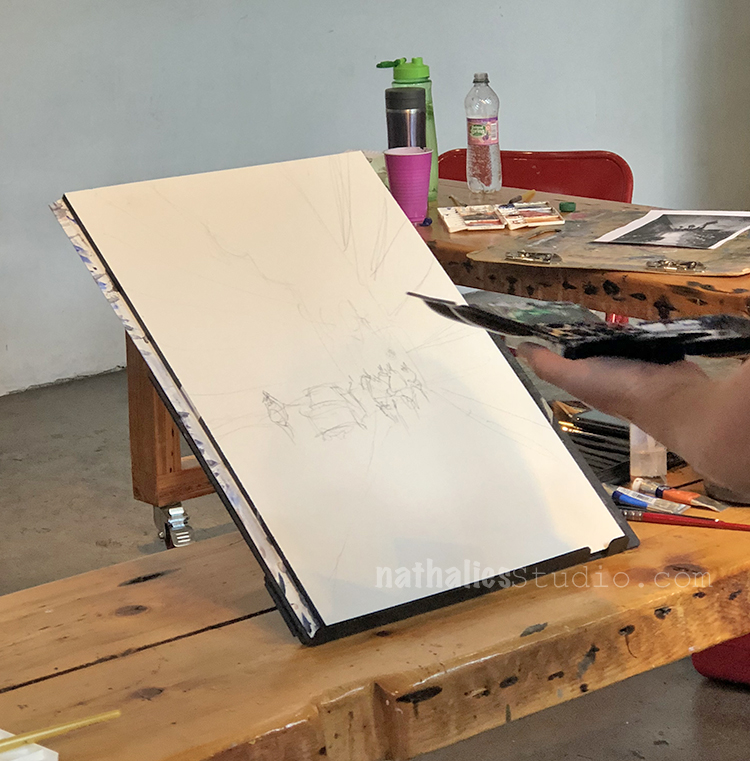
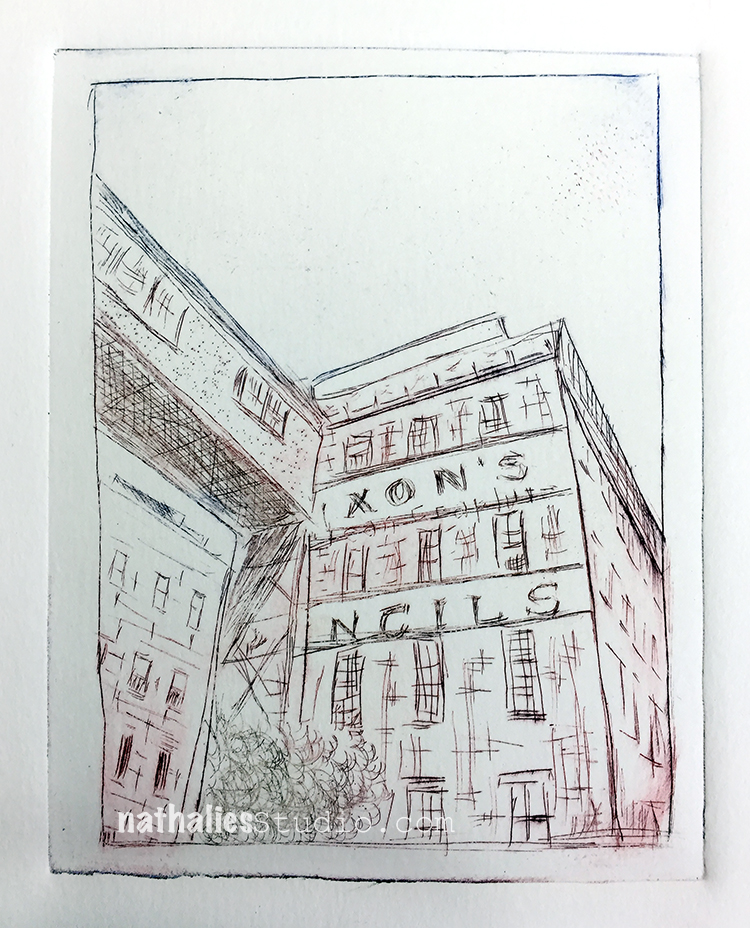
John about to start after sketching a rough scene from a photo.

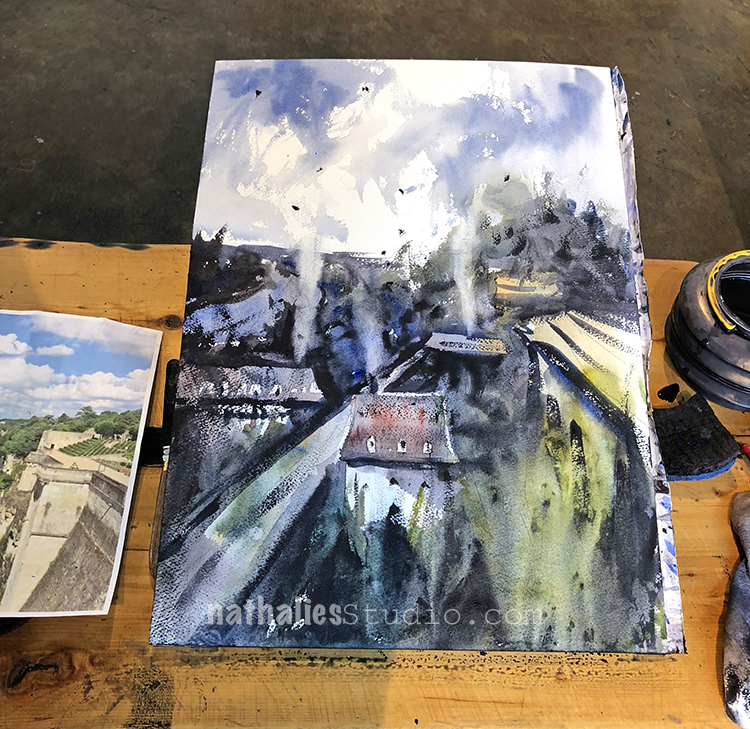
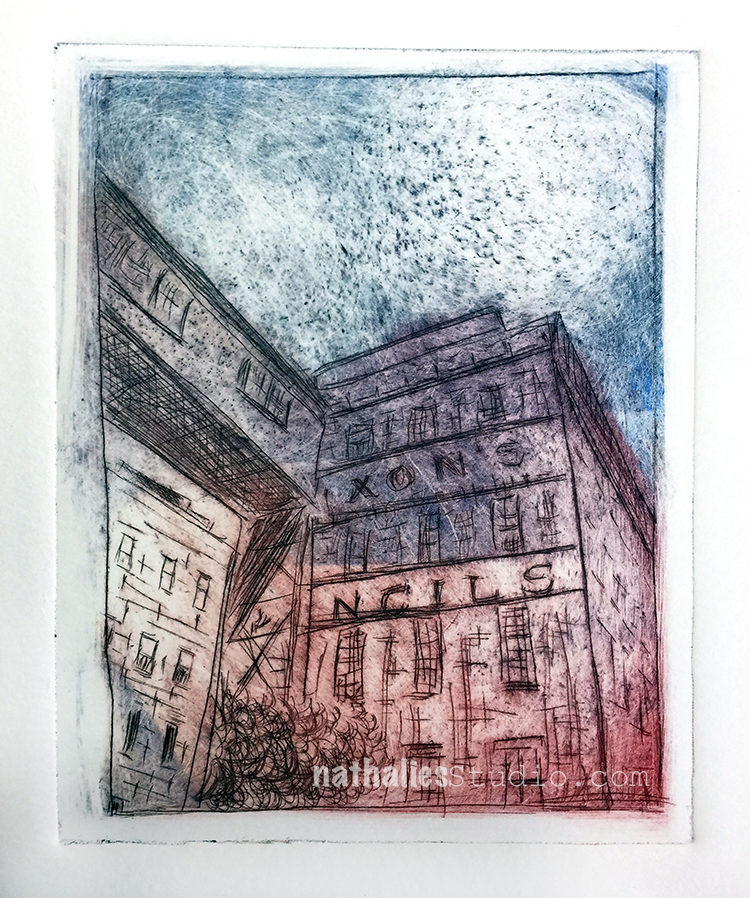
John’s finished piece piece from one of the demos- you can actually see a bit of the original photo on the left.

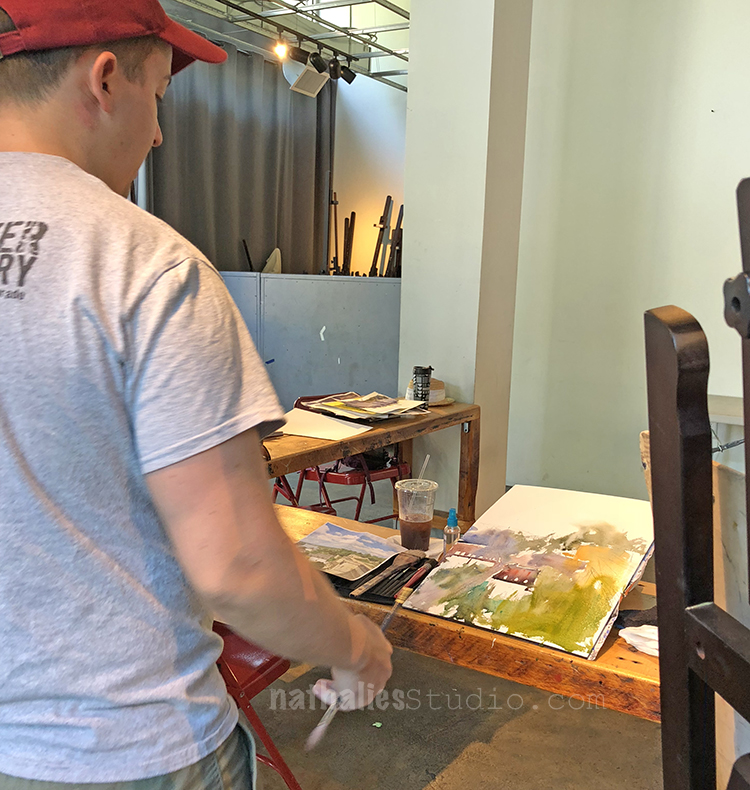
As we progressed in the class we picked our own images and I loved seeing what everyone was doing and talk through it.

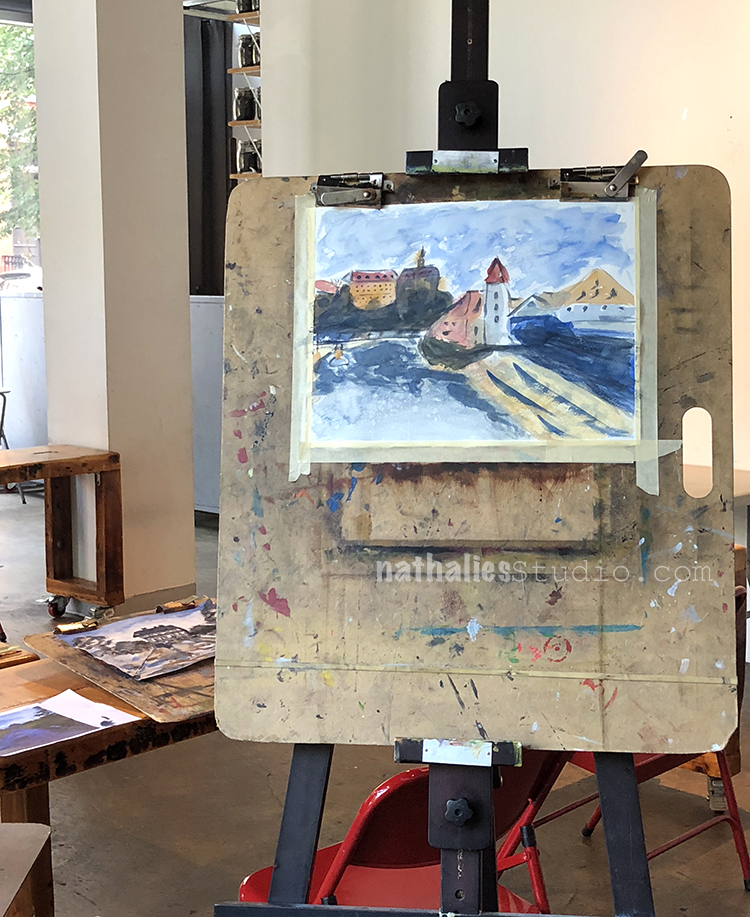
I focused on the house and the water …as you can tell trees and foliage …not so much ;)

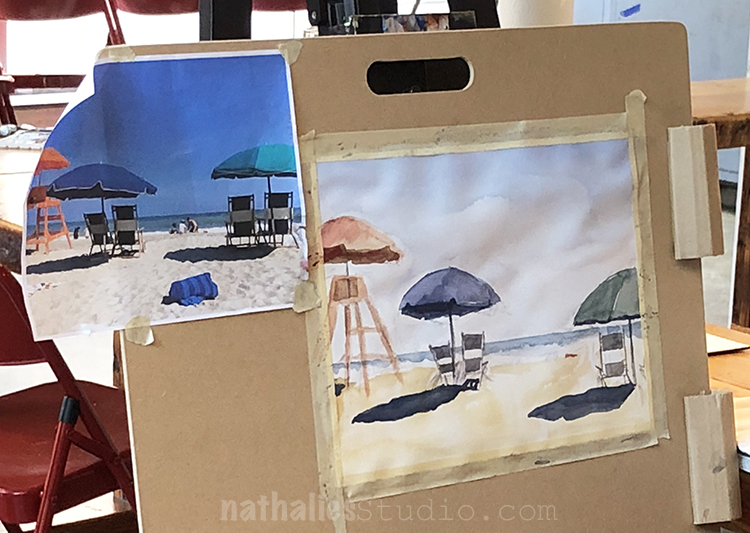
Love the beach scene of one of the fellow students- especially her shadows.

Such a great water texture here and I love the color scheme.

And I really loved the mood in this one- so gorgeous!

John is a great teacher, he is very good in explaining what he does and why he does it and he is good showing students why and where things work and where not. I loved taking a class from him and I will def. do so again …yes in watercolor —gasp ;)

If you are in the Jersey City – NYC area- take a class with John Duval – I am sure he sends out class informations through his newsletter !

What I learned in this class:

  • Watercolor is fun and sometimes you just need it to let it do it’s own thing
  • “Never say die until it’s dry” – John Duval – meaning once it is dry you cannot fix things so be quick
  • think about warm and cool colors more and how this can create visual interest and contrast
  • The watercolor consistency is defined by the water in the brush not on the palette – so don’t dip your paint brush all the time into the water (I only learned this so far in theory- still working on it)
  • Don’t give too much visual information – our little brains do a lot to fill in the gaps

What I take away for the future:

  • Why not add some “people” into a painting to make the scene more lively
  • Change scenes up – you can take a photo if you are going for reality
  • Have the wash or underpainting in my acrylic paintings look through a bit more often
  • Work with a limited color palette or even just one color and play with the tones, tints and shades for a study
  • Why not paint a bit more in watercolor – it is quick and it is just paper and I can actually only improve ;)

Comments (2)

  • Sue Clarke

    |

    What a fun post! I love the limited colors that you used in that first piece that you did (I do bet that it killed you to use limited colors).
    The beach piece is delightful.
    He really is talented and I just don’t know how artists can do so much with watercolors.

    Reply

    • nathalie-kalbach

      |

      ha. you know me well -yes it was really challenging to only use a limited palate but it was really good to do so . :)

      Reply

Leave a comment

Back to School: Drypoint Etching at JCAS

This winter I took a drypoint etching class with Bruno Nadalin, a fellow Jersey City artist at the Jersey City Art School. I have taken a Linocut Class with him before and he is an amazing teacher, so I knew it would be good. And I wasn’t disappointed. The class with 6 x 3hour lessons  was AWESOME.

In this class we did drypoint on acetate/plexi plates. Using a sharp needle and/or other tools you scratch an image into the plate. The plate above is the one I did in the first lesson after we practiced with some different applications and tools

The plate then is getting inked up and then the ink is wiped off again – the ink remains in the creases of your etching and that is where the magic happens.

Here is Bruno putting a sample onto the printing press at the JCAS.

and here is his amazing sample coming out of the press!

Above is the very first print I did with that plate.

For the second one I applied a bit of color to the jumper.

In the second lesson, Bruno showed us how to make multicolor prints with the technique called a la poupee.

And below is his sample

I started with a new plate which I had prepared at home- see I just couldn’t stop scratching at home- LOL

And here is the second one with the powerhouse – some of you might recognize this building :)

The third print came out the way I envisioned – I really love it. As Bruno says it is all in the wiping. Making the plates is actually not the work load, it is inking those plates up and then wiping them down again that makes up most of the technique and time.

The print above was an experiment. I did some mono prints at home with Akua Inks which I always wanted to try out on a gel plate and I used this interesting paper which I had gotten at a convention many years ago. It is made out of plastic but feels like cloth. I printed on top of the mono print and I really like the outcome.

Here is a another plate I made in different stages – a part of the factory building I live in.

Isn’t it cool how different the images look and the mood they convey based on the inking? So cool to experiment with that.

Here are a couple prints from the students in the class.

I don’t want to bore you , but here are a couple more- the Flatiron Building – as you know it is a reoccurring image in my work, so of course I had to make a plate with it as well.

And then some prints from the last lesson where we did some two plate printing. Basically you create a mono type and then print on top of it – there are different ways to approach this of course.

First one above as you can see I didn’t wipe that well – but I still love how the colors came out

Here I had way too much ink on the first plate so I didn’t print the second plate on top, but I actually love it as it is. I kept it and might do something else to it later – I will see.

Here is the second try – less ink now- basically the ghost print of plate one and now with the second plate printed on top.

Another one – I like that one a lot.

And last but not least one where I used once again one of those mono prints I did at home – the cloth-like paper had the ink of the skyline bleed a bit – I love this.

What I learned in this class:

  • It was first a bit hard for me to think I would not be able to do this all the time at home without a printing press but then that made me more focused and prepared for the lessons
  • The application of the ink and the wiping was a technique and whole process on it’s own and what a fascinating one it is
  • I loved the different ways one plate could be treated for different prints
  • I love the little time span where you just don’t know what is coming out of your press – when you lift up your print and see what happened. It reminded me of going to the photolab to finally get the vacation photos and seeing them for the first time.
  • There are art forms you just cannot get away with not being clean and organized …clean your space, clean your hands, clean the plates, clean the press …so much cleaning. LOL
  • I loved combining mono types with this class
  • There is only a certain amount of prints you can use the plates, and then that is it forever

What I take away for the future:

  • JCAS has print parties where you can use the printing press for a small fee- I def. will make up some new plates and join in the future to make some more prints
  • A way to take some of the mono prints on the gelli plate further – I want to explore this more
  • I enjoyed taking a class even though it was sometimes tough to go for 3 hours after a whole day of work- I need to do this more often again
  • I loved the pace of the class, I think I sometimes pack too much in my own classes and forget that it is also great for the students to just explore what they learned for a bit. Of course that is easier to do when you have a class that spans over several weeks but I def. look for a way to think about this in my multi-day-classes.


If you are in the area, I highly recommend taking a class with Bruno Nadalin or a class at the Jersey City Art School– it is a great place and they offer a lot of fun and different workshops and art events.


Comments (5)

  • Jill McDowell

    |

    Nat, love seeing your class and your prints. They look awesome. I know what you mean about wiping the plates. It takes a long time to get to know them. And keeping clean is definitely an issue. But it’s so worth it when you pick up the felts, see that lovely embossing on the back, and then reveal the print. Glad you had a good time. I’ve signed up for the spring Printmaking class at Creative Arts Workshop in New Haven. It’s addictive. ?

    Reply

  • Bruno

    |

    I’m so happy you enjoyed the class, Nathalie! It was great having you as a student again :)
    I really like reading your thoughts on your work. I find I often move so fast through things I don’t take the time to reflect on what I’ve done, so it’s good to be reminded about how important that is. I also like your 4th observation about the time span when you’re waiting for the print to be revealed. That little surprise is what makes it fun!

    Reply

    • nathalie-kalbach

      |

      It was fantastic- you are really an amazing artist and teacher! It is always a huge booster in inspiration for me to take a class with you and I learn so much – plus you are the most patient person even when we are super messy and can’t stop giggling about a la poupee ;) Cannot wait for a new class with you in the future.

      Reply

  • Clavell

    |

    These are incredible!…fascinating! I hope some of these find themselves FRAMED and HUNG on your walls! They are wonderful pieces of art! ♥

    Reply

    • nathalie-kalbach

      |

      Awe thank you Clavell! Yeah- I started matting some of them and some of my friends are already in line for some- so I am super stoked that they are finding some nice homes :)

      Reply

Leave a comment