Blog: Mixed Media

designed by n*Studio features: Stampendous Design Team

One of the things that make me really giddy is when I spy someone using my stamps by Stampendous or also my stencils with StencilGirl Products :) So I thought once in a while I would feature the work of those wonderful talented people with a series called: designed by n*Studio features:…..

And today I feature: The Stampendous Design Team – and since it is a bigger design team …here a  couple :)

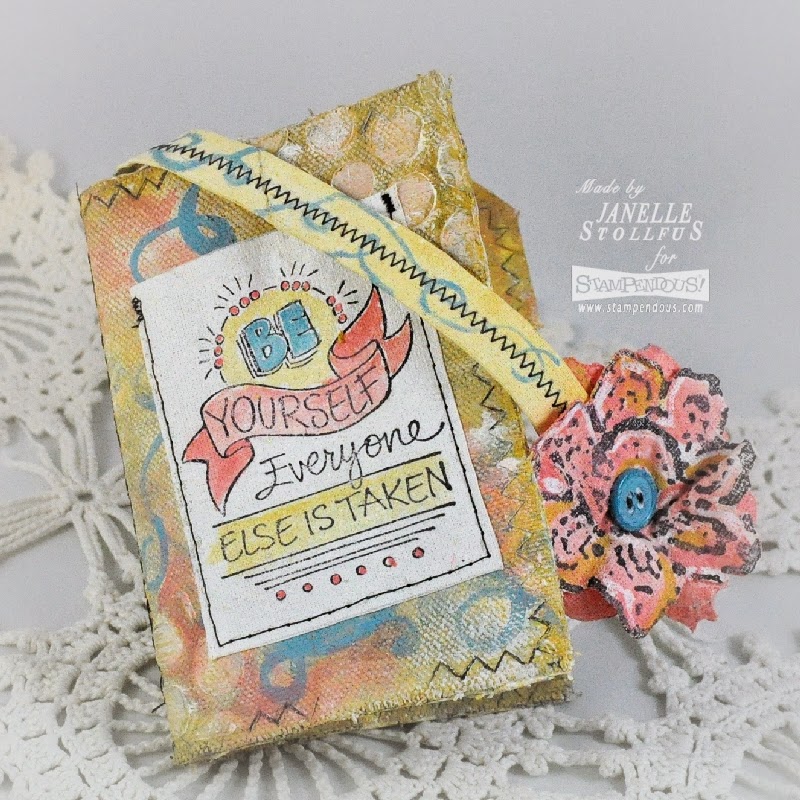
Janelle Stollfus

Janelle is part of the Design Team since 2011 and I spied this wonderful notebook she created, using my Fiesta Stamp Set for the flower .

Love how she stamped the flower on painted canvas and then cut it out and layered it for a dimensional book mark – so clever and beautiful!

Check out her blog post including a tutorial on how to create the notebook on her blog here.

Lea Fritts

Lea is part of the Stampendous DT since 2012 and I found this fun Garden Canvas she created using my Fiesta, Kaffee Klatsch, Mish Mash, Wired and Grunge Stampset.

I love how Lea used all the different stamps and created this whimsical garden – I also love the texture and the happy colors. Here is what she used and how she did it.

Wendy Price

Wendy is part of the Design Team since 2009. I love her darling scrapbooking layout using my Kaffee Klatsch Stamp Set on an acrylic sheet.

I love how the stamps look really lacy on the sheet- beautiful. You can see what she used and how she did it, here.

Pam Hornschu

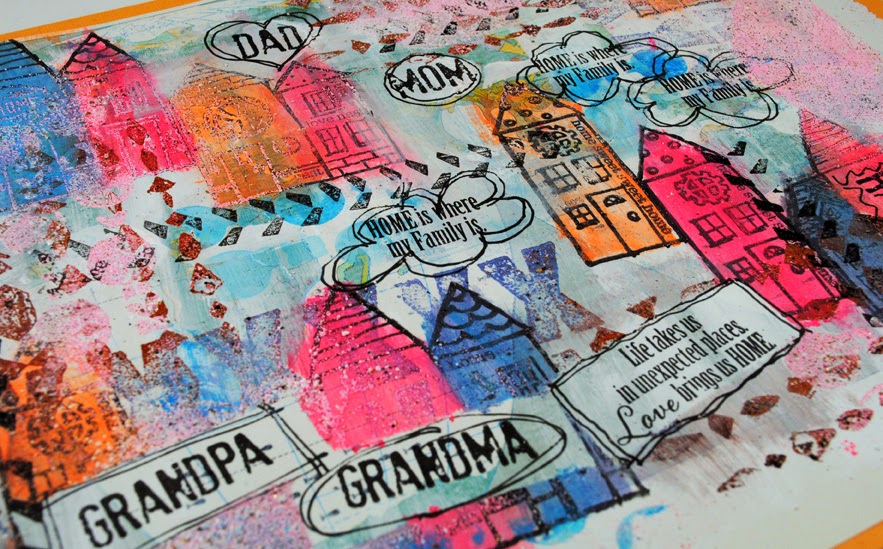
Pam is part of the Design Team since 2002 – WOW! Given my obsessions with houses and cityscapes – I was delighted to spy this piece by Pam using my Mark Maker Stampset.

I love how she used some of the stamps in the set to mimic roads and how she used some others with embossing powder for the background. You can read what she used and how she created these happy houses here.

I love how all four of them incorporated the stamps in their own styles and so differently. Thank you to the Stampendous Design Team for using them and  doing such wonderful work- you girls rock!

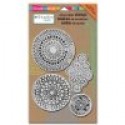
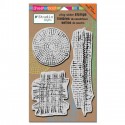
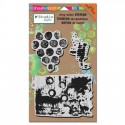
Here are the stamp sets that they used:

nSupplies


;

Comments (4)

  • Joi@RR

    |

    What a great idea Nat – so fun to see how others have used your stamps and stencils. Love the first two – sooo great. But my fav is the house one because it really does remind me of you and your type of art. The way she used your stamps so uniquely is wonderful. Thanks bunches for sharing these really awesome pieces of art with us. Your products look WONDERFUL in all of these. X j

    Reply

  • Wendy

    |

    Thanks for the mention, Nat! I love using your stamp sets on layouts! They make the perfect background!

    Reply

  • Lea Fritts

    |

    Thank you, Nat, for sharing my art on your blog today! It’s such a thrill to see it here. By the way, I named my flower garden, “Nathalie’s Garden.” Don’t know if you saw that on my post or not but, I thought it was only fitting to name it after you! Thanks again, my friend!

    Reply

  • Janelle Stollfus

    |

    Oh thank you Nathalie for the mention. I so enjoyed creating that notebook with the Fiesta Stamp Set!

    Reply

Leave a comment

Must-Have Mixed Media Supplies – Gesso

GessoNatKalbach

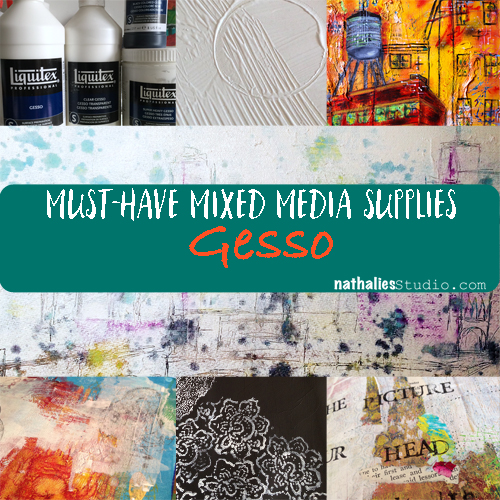
Last month I talked about my absolute favorite and ultimate must-have mixed media supply: Acrylic Paint, but there is more :) Another must-have for me is Gesso. In fact my students know me referring to Gesso as Dumbledore because it is a versatile helper that can put magic spells on your art work, or under…or in between … In any event it is an mixed media ally you want to have in your stash!

NatkalbachGesso01musthave

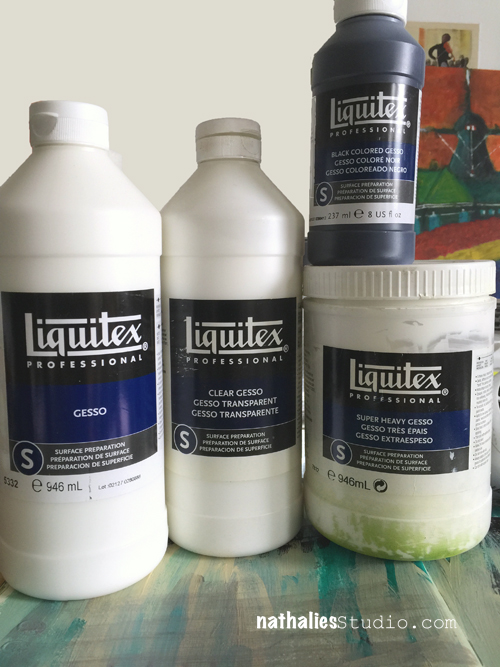
So now there are a couple different Gessoes on the market but before I get into that let’s talk about

What I love about Gesso:

  • It can be applied to many surfaces like canvas, fabric, wood etc. and creates a prepared surface that can be painted on
  • It gives  tooth. So you can paint also surfaces where usually paint would not grab on- for example metal. Or you can prepare it for Charcoal and Pastels
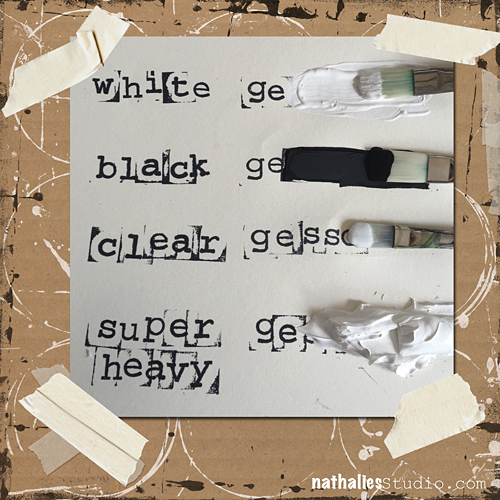
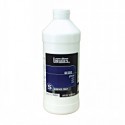
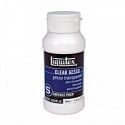
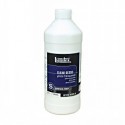
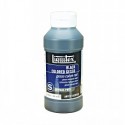
  • There is thicker Gesso and thinner Gesso. You can find white, black and clear Gesso – there are even other colored Gessoes but I would say these are the most used ones
  • You can add color to it
  • It seals absorbent surfaces so that paint does not bleed – most of the pre-stretched canvases you buy in store are already primed with Gesso. You can also use it to turn a thin book paper book into an art journal
  • It is an amazing medium to add texture with tools and household items, embedding supplies or by using it with stencils etc.
  • It is the cure whenever something went totally wrong…just paint over with gesso ….I told you…it’s Dumbledore :)
  • White Gesso is the cheapest white paint and is matte – sometimes I don’t want this super shiny bright white and so I use the matte chalky looking white gesso
  • It is amazing to tone down or change colors of your backgrounds for example in collage with a so called white wash
  • there is a huge amount of techniques including resist techniques with gesso that you can do -ahhh- happy mixed media land

Here are some examples using Gesso:

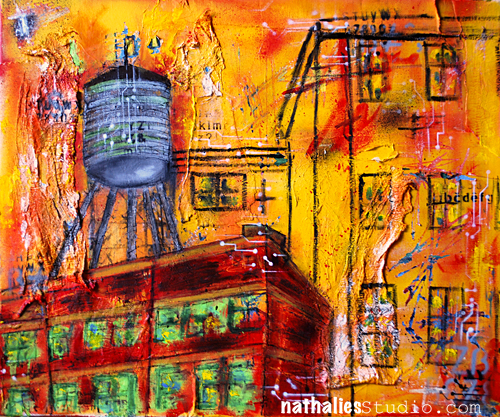
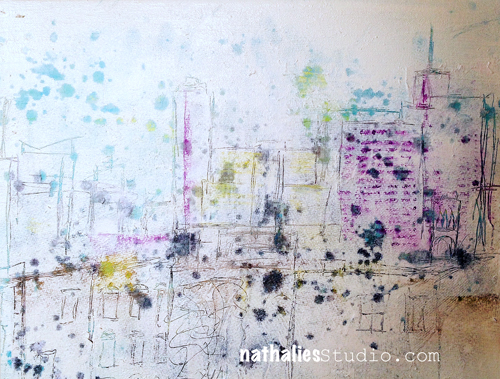
Canvas: White Gesso over a textured  and collaged background painted over with Acrylic Paints and Oil Bars

NatKalbach_Watertower01

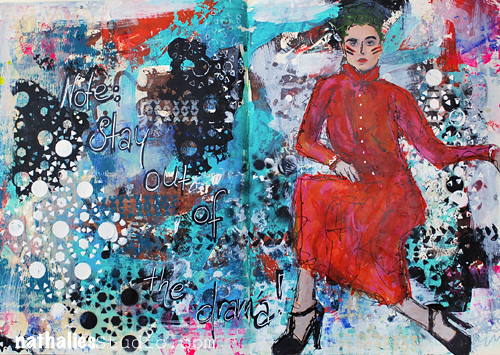
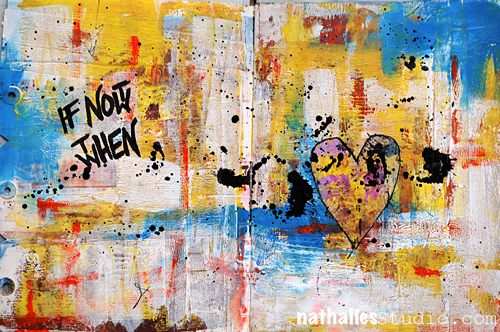
Art Journal Spread: Super Heavy Gesso through the Stencil included in my Stampendous Kaffee Klatsch Stamp Set

Natkalbach_OutofDrama01

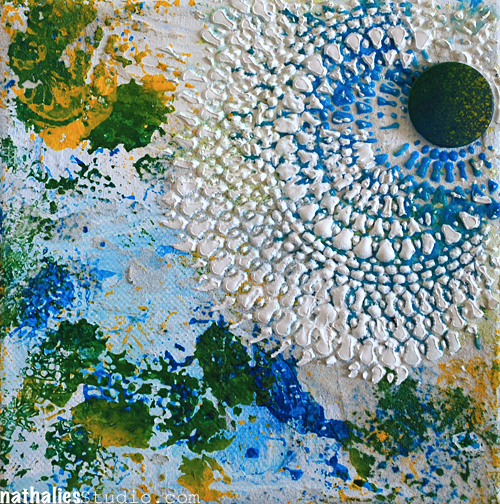
Canvas: nice texture through stencil on canvas with Super Heavy Gesso

NatKalbach_LAbstract03

Art Journal – black gesso background with Derwent Art Bars (watersoluble wax bars) and my Stampendous Fiesta Stampset and Stencil

NatKalbach_Attention01

Canvas: Gesso on canvas partly taken off then scratched into and painted partly over with acrylic ink

NatkalbachGesso02musthave

Art Journal Spread- toning down areas in art journal with Gesso spread with hotel key card

Art Journal Spread: Texture created with Gesso and then painted over with Acrylic Paint

I could go on and on because I really use Gesso all the time and there are so many ways to incorporate it into your art work!

Now… Which Gesso do I use?

First off – Disclaimer: I am a Brand Ambassador for Liquitex so naturally I tend to recommend Liquitex products. But my love for Liquitex Brand acrylics began long before I began working with the company and it is a genuine love for their products. In fact I was playing with their paints and acrylic media back then in Germany and I was just having the best of times and I shared this with the world. And that is how the relationship with Liquitex many years ago began

Gessoboard_natKalbach

As always in this series- the answer to this question is based on my preferences, my style and my experiences – what is right for me, might not be right for you

  • I do use mostly white gesso
  • If I want to create a colored Gesso I add Acrylic Paint or Ink to clear Gesso as it does not tint my color
  • I use black Gesso if I want to make colors that I use on top pop especially when I use Pan Pastel or Derwent Art Bars (water-soluble wax bars) on top
  • I use Liquitex Professional Gessoes  because I love the consistency and coverage.
  • I use either the thin liquid Gesso or I go the total opposite and use the Super Heavy Gesso especially when I use it with Stencils or for sculptural texture
  • I used to buy big buckets of white Gesso – which makes sense if you use them up in a workshop right away with lot’s of students, but now I use the 946 ml/32 oz ones at home and when I travel I use the 118 ml/4oz bottle. I just refill the small bottle now from the big one.
  • When you start out and you just want to get a feel for Gesso – the Liquitex Basics Gesso is a good start, but the consistency is a bit more gritty and that might not what you like – if you don’t, I would rather recommend the Professional one.

How about a fun tutorial video where I use Gesso to create texture?

Playing with Gesso and Acrylic Ink

You can find the supply list for the video here .

Some useful tips when working with Gesso: 

  • Any tool from brushes to texture tools or else you use with Gesso, needs to be rinsed with water right away in case you want to reuse it. If you cannot do that, store the tools in a water container until you can clean it as dried gesso will ruin your tool.
  • The same applies for stencils also because the gesso will actually clog the bridges of your stencils – so here is an exception to my rule that I do not clean my stencils.
  • Don’t pour thick gesso water down the sink drain – it can clog your sink …maybe not today, maybe not tomorrow- but maybe Thanksgiving or any other holiday- been there….done that – trust me ;)
  • Clean your tools you used with gesso first into a rag or paper towel so that most will end up in your garbage. Better yet – clean them on not yet filled art journal pages and let the magic happen later.
  • You can water down gesso but you should not use more than 25% water– if you need to thin it more, use an equal amount of water and Liquitex Fluid Matte Medium. That way the gesso won’t be broken down by the water which can affect the gesso’s ability to stick to your surface.
  • If you use Clear Gesso for the first time…do not freak out :) It comes out of the jar milky white- but it dries clear

Here is a list of the supplies that I mentioned throughout this Must-Have Mixed Media Supplies – Gesso Post

nSupplies


I hope you enjoyed the second installation of my Must-Have Mixed Media Supplies. See you next month for the third part!
Happy Creating

Comments (5)

  • ari

    |

    very interesting and useful, thank you!

    Reply

  • Sue Clarke

    |

    Nice summary. I found out about gesso either from you or Julie and it is a must have supply for me now. The variety packs are a nice way to try the different kinds without a huge investment.

    Reply

  • JoAnn Campisi

    |

    Thanks for the info – didn’t know about Professional Liquitex Gesso – I have always used the regular. Will definitely try it out.

    Reply

Leave a comment

Wanderlust 2016 – NEW Online Workshop

unnamed

Super Excited :) In 2016 I am one of the teachers of a new Online Workshop Wanderlust 2016!

Wanderlust is a whole year long journey – an online event offering you videos from 24 guest teachers and 2 resident teachers one every week (each one downloadable and with PDF instructions provided), 50 amazing videos, which will run for over 50 hours in total, access to a forum with an amazing and friendly community, inspirations, challenges, discussions, galleries, workshops, giveaways and generous discounts from our partners. The perfect alternative to in-person classes!

Follow the teacher’s reveals every day on Everything Arts Social Media.

Every day somebody new!

As far revealed are: Kate Crane, Teresa McFayden, Rachel Greig, Beckah Krahula, Joanne Sharpe, Flora Bowley, Mystele, Andy Skinner, Finnabair, Birgit Koopsen, Lindsay Weirich, Magda Polakow, Carolyn Dube, Stephanie Schutze, Maryia Potapovich, Jennifer Lee and Leslie Wood and myself

unnamed

If you’d like to join us on this year long art journey click here for details!

w16_af_6_200x400-2

Cannot wait and I am looking forward sharing my tutorial with you and being part of this wonderful artful journey :) Hope you will join me!

Comments (3)

  • Kasia

    |

    It’s an honour to have you on the team! Thank you Nathalie for going on this journey with us :)

    Reply

  • Stampendous Stamps

    |

    Wow, Nathalie!! Sooo exciting! This will be a wonderful journey!

    Reply

Leave a comment

Art Tapas – Bite Sized Tips for the Mixed Media Artist – Tip #3 Brush Care

Art Tapas are short videos (1- 3 mins) that will give some practical tips or advice about anything that is related to tools, art supplies or processes and any Mixed Media or Hobby Artist might appreciate. Lots of times these reflect some mistakes that I made along my journey, so to speak, things that I learned the hard way and sometimes they are just some things that I would have loved to have known when I actually started in Mixed Media.

Brush Care Tip No. 1

Art Tapas – Bite Sized Tips for the Mixed Media Artist – #3 Brush from Nathalie Kalbach on Vimeo.

I hope you enjoyed this Art Tapa –  and if you have questions that you would love to have answered in some of the Art Tapas videos- let me know and I might just cook one up for you to nibble on :)

Happy Creating !

Comments (9)

  • Sabine Schneider

    |

    Great tip!!!! Love it.
    Und vierundzwanzig Stunden sind echt kurz…. Seufz. Bei mir oft viel länger! Aber Pssst!
    Liebe Grüße, Sabine

    Reply

  • Rebecca Buchanan

    |

    Okay this is such a great tip! It never occurred to me (duh), so thank you Nathalie!!! Also, love your title for this series “Art Tapas”–thanks so much for sharing.

    Reply

    • nathalie-kalbach

      |

      Thank you so much Rebecca- glad you like the title too :)

      Reply

  • Gill K

    |

    This was really helpful. I did not realise the need to keep the join of ferrule & handle dry, so many thanks.

    Reply

  • Laura Weed

    |

    Thanks, Nathalie… your Art Tapas are great advice!!

    Reply

  • annettia

    |

    Short and to the point. I really enjoyed this concept. Thanks for the tip on brushes.

    Reply

Leave a comment

Art Tapas – Bite Sized Tips for the Mixed Media Artist – Tip #2 Labeling

Art Tapas are short videos (1- 3 mins) that will give some practical tips or advice about anything that is related to tools, art supplies or processes and any Mixed Media or Hobby Artist might appreciate. Lots of times these reflect some mistakes that I made along my journey, so to speak, things that I learned the hard way and sometimes they are just some things that I would have loved to have known when I actually started in Mixed Media.

Labeling of Acrylic paints

Art Tapas – Bite Sized Tips for the Mixed Media Artist – #2 Labeling from Nathalie Kalbach on Vimeo.

I hope you enjoyed this Art Tapa –  and if you have questions that you would love to have answered in some of the Art Tapas videos- let me know and I might just cook one up for you to nibble on :)

Happy Creating !


Comments (5)

  • Gunvor

    |

    Great tip Nathalie! Thanks!

    Reply

  • Kathy P

    |

    Great labeling tip, Nat! And I’m so happy to read that I am not the only messy painter!

    Reply

  • Linda on the Prairie

    |

    What an excellent idea! And my mess just goes on up my arms when I’m painting. Still trying to figure out how I got paint on the back of my knees last week!

    Reply

    • nathalie-kalbach

      |

      LOL- I hear you on the mess ;) I have probably not one single piece of clothing that does not have a spot of paint on it ..the paint on the back of the knees though, I still have to accomplish ;)

      Reply

Leave a comment

Australia, Perth ! Mixed Media Circus Tour, 2016

SquareCollage-PERTH-500

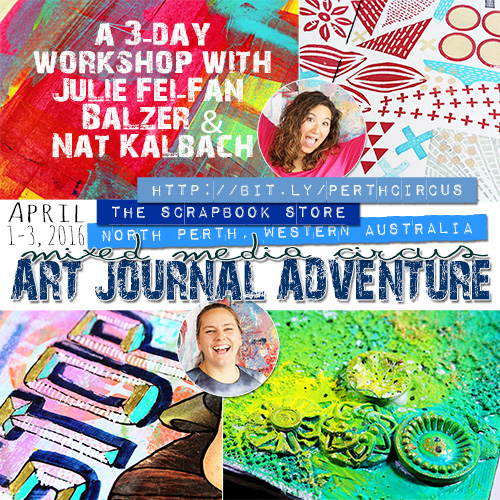
Julie Fei-Fan Balzer and I are so thrilled to add The Scrapbook Store in Perth to our tour in Australia next year. We will be teaching our 3-Day Art Journal Adventure Workshop April 1-3, 2016 there. You can register now!

Here is a little video about the workshop …our philosophy …and the circus you can expect ?

Or download this pdf which tells you some details and the timetable about our class at The Scrapbook Store.

MMC_Student_Information_Perth

We hope if you are in the area you come and join us for the fun! We cannot wait to meet you!

Comments (2)

  • Joi@RR

    |

    So cute – you two will make your workshop INCREDIBLE together… wow. j.

    Reply

Leave a comment

Must-Have Mixed Media Supplies – Acrylic Paint

AcrylicPaint

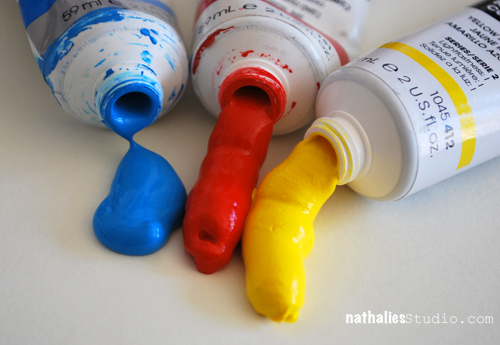
Hands Down – my absolute favorite and ultimate must-have mixed media supply is: Acrylic Paint! For many years Acrylic Paint is a companion of mine and I feel as if there is never a moment where I feel that this buddy and I might part. If I wasn’t too scared of needles, I might actually get an acrylic paint tube tattoo …maybe ;)
AP_NatKalbach

What I love about Acrylic Paints is:

  • well – they look beautiful
  • they are fast drying
  • if stored and used right they last long
  • they stick to almost anything (yes…that includes your clothes, if you are not careful) – giving lot’s of wonderful possibilities of substrates you can use acrylic paints on
  • they have a plastic like surface (due to the acrylic polymer emulsion)
  • they can be thinned with medium and that can make them almost look like water-color in some cases
  • they can be thickened with medium and that leads to a lot of texture
  • they are permanent once dried
  • they are water-soluble while wet.
  • they cover surfaces if opaque
  • you can use other paint media on top of acrylic paints
  • you can use some fun media with them for amazing backgrounds and textures
  • you can create amazing backgrounds and texture with solely acrylic paints and different techniques and tools
  • they are easy to clean up and off


Here are some examples using Acrylic Paint:

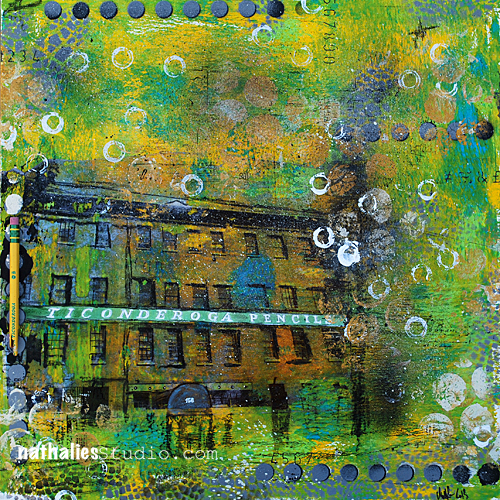
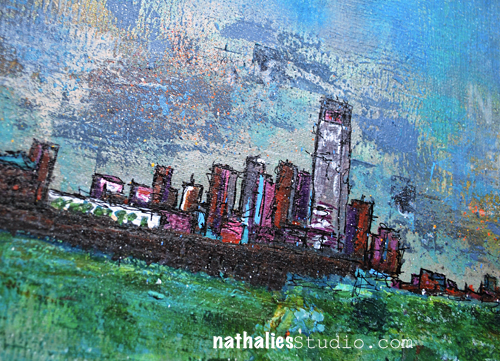
Acrylic Paint on Canvas – painted, brayered, stamped, stenciled, scraped
Acrylic Paint on Canvas – abstract background, collage elements and urban elements
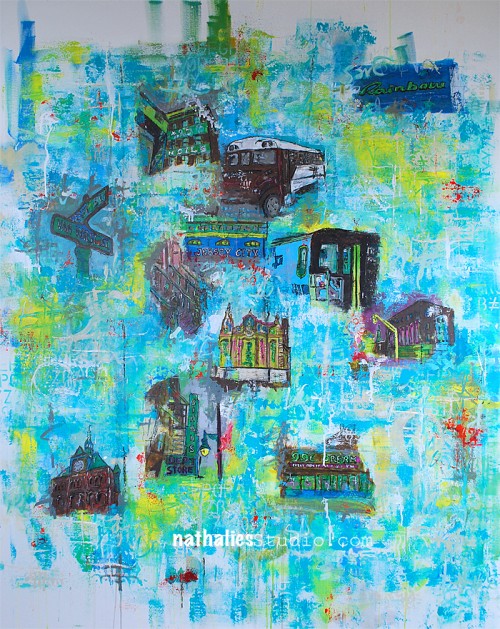
NatKalbach_99CentDream

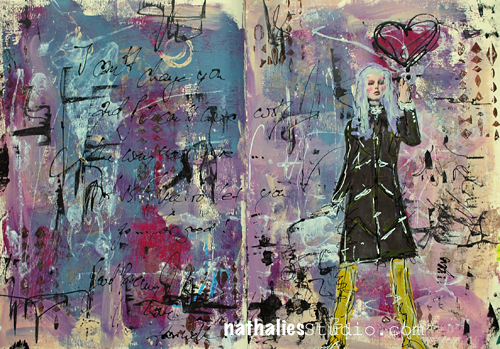
Acrylic Paint in an Art Journal Spread – brushed on, mixed with other acrylic media and stamped
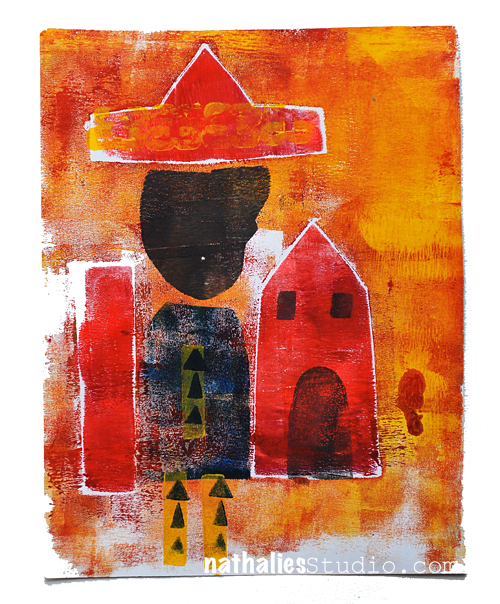
Acrylic Paint used for mono prints
Acrylic Paint used in different viscosities to create texture and dimension
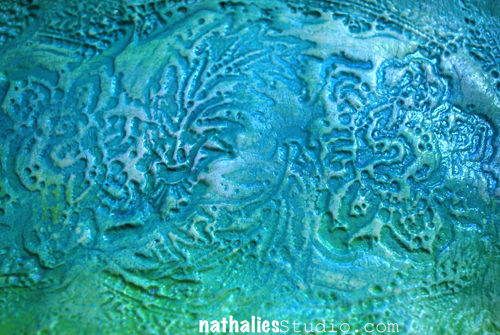
Acrylic Paint on clay revealing stamped texture
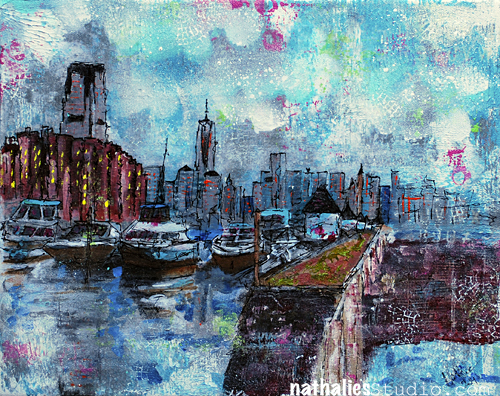
Acrylic Paint on canvas used in different viscosities, with different acrylic media
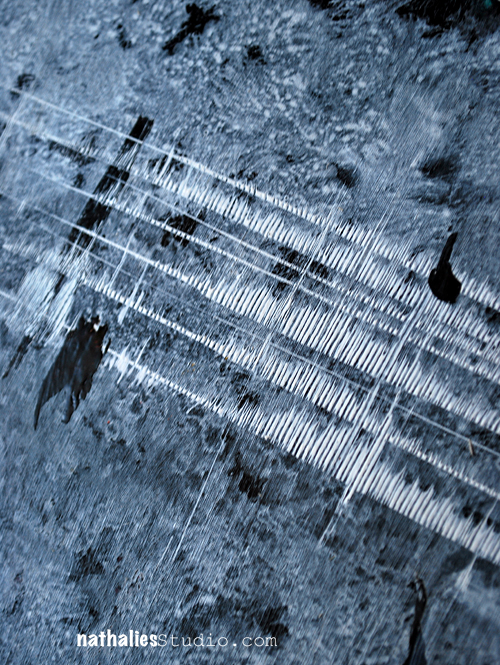
Acrylic Paint used in mark making on art journal spread
Acrylic Paint Skins used in art journal spread – stamping with acrylic paint
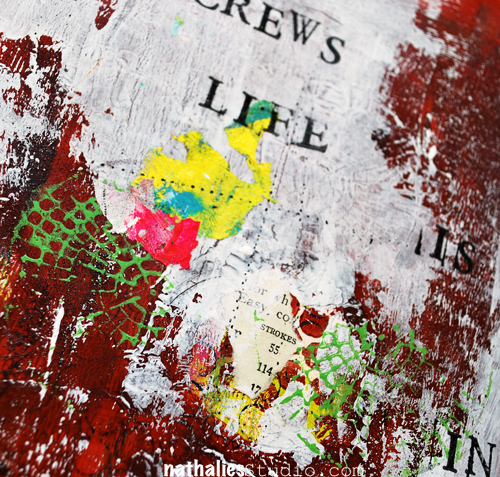
Pretty amazing the different things and looks you can achieve with acrylic paints, don’t you think? And there is way more because I only showed examples on how I personally like to use acrylic paint!!! So yes – just because of it’s versatility it knocks me off my socks and is my all time favorite must-have supply.

Which acrylic paints I use:

First off – Disclaimer: I am a Brand Ambassador for Liquitex so naturally I tend to recommend Liquitex products. But my love for Liquitex Brand paints began long before I began working with the company and it is a genuine love for their products. In fact I was playing with their paints back then in Germany and I was just having the best of times and I shared this with the world. And that is how the relationship with Liquitex many years ago began :)

I used a lot of acrylic paints in my artist endeavors. And over the last couple years I learned what I like and what I do not like. What I like, doesn’t have to be necessary what you like.  So just take it as my thoughts and my preferences, ok?

  • So first of all let’s state that I like good quality artist paints. Because I learned over the years that especially when working in an art journal for example that they aren’t as tacky as a lot of the cheaper non artist ones. I also learned the hard way that good quality paints give your paintings a longer vibrantly colored life. Nothing worse than a wonderful canvas you created where the colors fade significantly after a year or so.
  • I also love good quality artist paints because the color shift between wet and dry is not that high. I love to see how my work might look like when it is dry while I’m still working with my paints. I had many disappointments in the past where I was thinking a nice bright red was rocking my socks and then it was dry and a dark bloody mess as the paint shifted a lot when it dried.
  • Highly pigmented colors go a longer way and they are usually also more beautiful and intense.
  • I love texture and I love to create texture with paints – so especially when painting on a canvas I prefer thicker paints like Liquitex Heavy Body Paints – more about this below
  • I do love thinner paints in my art journals and use Liquitex Soft Body mostly when working in a book – also more below about viscosity

I would start slow with just a couple colors and add up as you go. You can always start with some Liquitex Basics if you want to first play around a bit in your art journals and start stocking up Professional Quality paints as you paint more and more.
APB_NatKalbach

Viscosity:

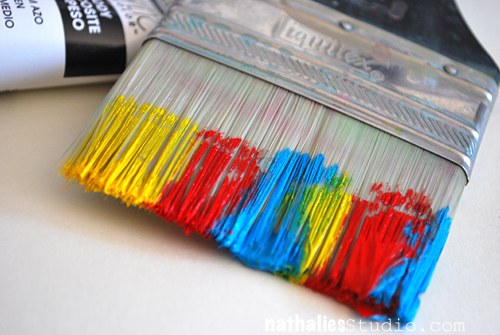
Acrylic Paints come in different viscosities which means the state of being thick, sticky, and semifluid in consistency. Different Brands sometimes use different ways to label the thickness or thin-ness of their paints. Here are the ones that I use most often:

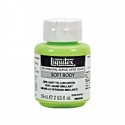
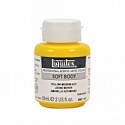
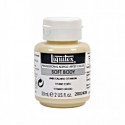
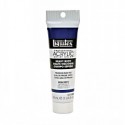
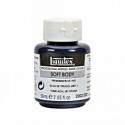
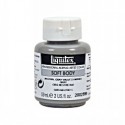
Soft Body Paints by Liquitex usually have a medium viscosity which means they are creamy and smooth. They cover evenly and they level out so that brushstrokes are rarely visible. I use them in my art journals and most often for the first layers of a painting on a canvas as well as detail work. I use them also whenever I paint on a project where I want an even smooth coating. I use Soft Body Paints when I need a glaze or when I want to stain fabric. I usually use Soft Body Paints instead of Heavy Body Paints for Mono Printing and they are the only paints that I use when I stamp with rubber stamps.

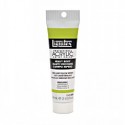
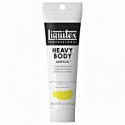
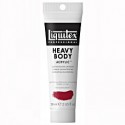
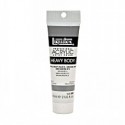
Heavy Body Paints by Liquitex have a thick consistency for traditional art techniques using brushes or knives, as well as for experimental, mixed media, collage and printmaking applications. Impasto applications retain crisp brush stroke and knife marks.  I love to use my brayer with Heavy Body Paints and another favorite of mine is to use Sgraffito-Techniques with Heavy Body Paints (check out the video below). I also love to use Heavy Body to build up texture and dimension on my urban paintings.


Here is a video where I use different Heavy Body Paints and the sgraffito technique I mentioned above

I will list the supplies that are still available and everything I mention in this post below in case you want to check it out.
APC_NatKalbach

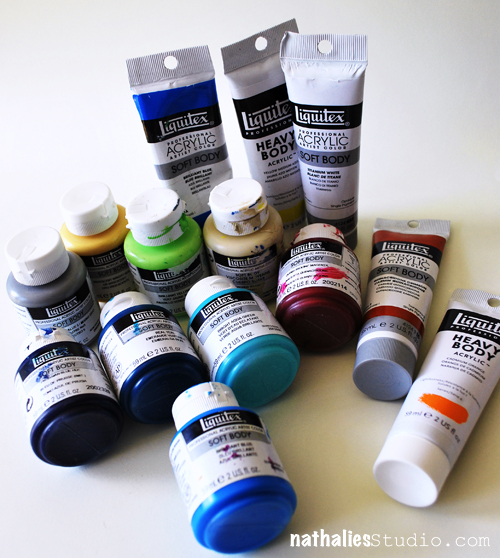
My personal favorite colors:

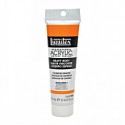
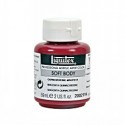
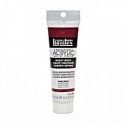
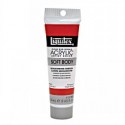
Often times I get asked which are my absolute favorite acrylic paint colors  -that is a hard one – because it is like asking me which of my children I like the most. But of course there are a couple colors that I tend to grab all the time –


Art Tapas – Bite Size Tips for the Mixed Media Artist

Here are some bite sized tips and tricks around Acrylic Paint for the Mixed Media and Hobby Artist. They are part of a video series that I am putting together and I will update this post as I go along and there may be more tips relating to Acrylic Paints.

How to Store Acrylic Paint

Art Tapas – Bite Sized Tips for the Mixed Media Artist – #1 Storage from Nathalie Kalbach on Vimeo.

How I label my paint and why

Art Tapas – Bite Sized Tips for the Mixed Media Artist – #2 Labeling from Nathalie Kalbach on Vimeo.

You want to learn some fun things using Acrylic Paints?

Sign up for an In- Person Workshop with me or join me for a fun Online Workshop. I love talking about the Why and How I use my art supplies and my workshops. Most of my workshops are not so much about a specific project than more about enabling you to know your supplies, techniques and craft in order to dive full in into your own style to create your own amazing art! Not convinced yet? Read some testimonials from other students that have taken my classes and come and join me :)

Here are the supplies that I have mentioned throughout this Must-Have Mixed Media Supplies – Acrylic Paints post 

nSupplies


I hope you enjoyed the first installation of my Must-Have Mixed Media Supplies. See you next month for the second part!
Happy Creating

Comments (16)

  • Bea savellano

    |

    helpful. Thank u..B

    Reply

  • Rebecca Buchanan

    |

    Thank you Natalie! Add my voice to all those above. Learned something great from each of your videos. Also glad someone asked about the music and that you shared the source–I liked that too. Thank you for having this great series of tips and techniques!!!

    Reply

    • nathalie-kalbach

      |

      Thank you Rebecca, so glad you liked it and it was helpful!

      Reply

  • Leadonna Fritts

    |

    Nat, I could watch you create all day! You make it all look so easy and so doable! Thanks for the great tips. I’m going to paint the tops of my bottles and add my little squares as you have suggested. Thank you for the continued inspiration and I hope to someday take a workshop of yours!

    Reply

    • nathalie-kalbach

      |

      Awe- thank you Leadonna, so glad you enjoyed this post. Hope I will see you soon again – either in a workshop or else ! Have a wonderful day!

      Reply

  • Barb

    |

    Nathalie,
    I forgot to ask you a question. In the first video, do you happen to remember who sings the song and the name of the song. It really is enjoyable to listen to with the artistic work you were painting.
    Thanks

    Reply

    • nathalie-kalbach

      |

      Barb the artist is Jose Gonzalez – The album is called “In Our Nature” and the song is called Cycling Trivialities. I love the whole album – it is very relaxing :)

      Reply

  • Barb

    |

    I have been following you for a long time now. I found your work while you were living in Germany.
    Your work goes way beyond art journaling. When you moved here, your artistic talent just exploded.
    The buildings you paint are just amazing. I enjoyed the video and your use of paint. Thanks so much for sharing.

    Reply

    • nathalie-kalbach

      |

      Hi Barb, thank you so much for your wonderful words! that makes me happy!

      Reply

  • Joi@RR

    |

    SUPER FINE videos Nat. Loved the sgraffito one – of course because I love watching you create. Great way to start me day! Thanks bunches. j.

    Reply

    • nathalie-kalbach

      |

      Hi Joi, thank you – so glad you liked them :) Thank you so much for your support!

      Reply

  • Maggie M

    |

    Great tips, Nat. Following last year’s Creative Jumpstart, I purchased a large set of the Liquitex soft body acrylic paints and their acrylic ink and I love them. I don’t think I’d use any other brand now. I also love their mediums, ie. gels etc. They are a real quality product. I’ll be looking forward to your acrylic paint workshop:) Hugs, Maggie

    Reply

    • nathalie-kalbach

      |

      Thank you Maggie! So glad you enjoyed the post and yeah for liking the your new products! So cool you were part of Creative Jumpstart! huge hugs, Nat

      Reply

  • Kathy P

    |

    Wonderful tips, Nat! And love those videos! Going to re-organize my paint storage for sure!

    Reply

    • nathalie-kalbach

      |

      So glad you liked it Kathy and awesome that you are re-organizing your paint storage. Let me know how it went!

      Reply

Leave a comment

Announcing New Series: Must-Have Mixed Media Supplies

MustHaveMixedMediaSupplies

Tomorrow I am starting a new series called: Must-Have Mixed Media Supplies.

I often get emails asking me about my favorite tools or supplies and I love those emails because they make me think of why I tend to use some supplies all the time.

Is it laziness? What is it about these items that make me grab for them whenever I create a Mixed Media Project?

One of the answers is “I use them because of their versatility of usage” .

I love supplies I can use in many different ways – they bring out the researcher in me, the experimenter, the crazy girl, the one that wants to know , to play, to create and to inspire others.
This is an updated and more informative version of my Mixed Media Essentials Series I  did a couple years ago :) In fact …it will be JAM packed ;)


Let me take you the next couple months on a little journey on my Must-Have Mixed Media Supplies and explain why I I use them, how I use them and where I used them.

Hope I will see you tomorrow for the first Post in this series!

Comments (3)

  • Kathy P

    |

    Wow, cool! So looking forward to this information. Thank you for your ongoing sharing of such useful information with us here, Nat!

    Reply

  • Lizzie

    |

    Really looking forward to this- it promises to be really useful. Thanks

    Reply

  • Denise Spillane

    |

    This is great. I look forward to the series.

    Reply

Leave a comment