Creative Squad

Hex Marks the Spot – Tania Ahmed

Welcome to a post from my Creative Squad! This week we have an upcycling project from Tania Ahmed using my Hex Set Large rubber stamps. She dresses up a storage container, drawing inspiration from this month’s new theme: Hex Marks the Spot –In the days of pirates and lost treasure, a map would lead you to gold and jewels. Today we treasure all sorts of things – our family, friends, experiences, meaningful objects, accomplishments, etc. Think about what you treasure and how you found your way there.
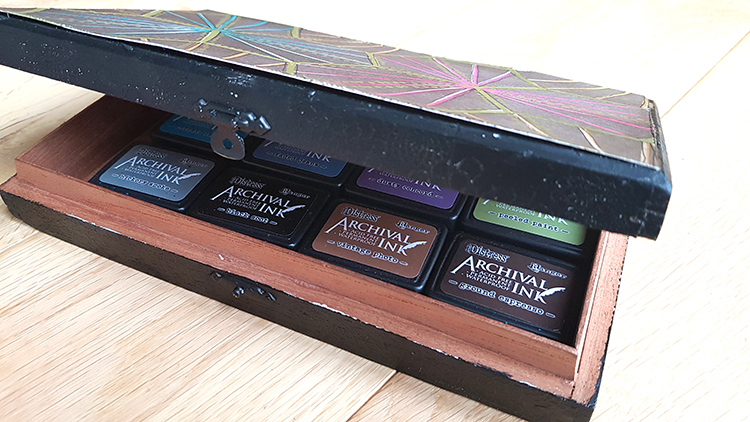

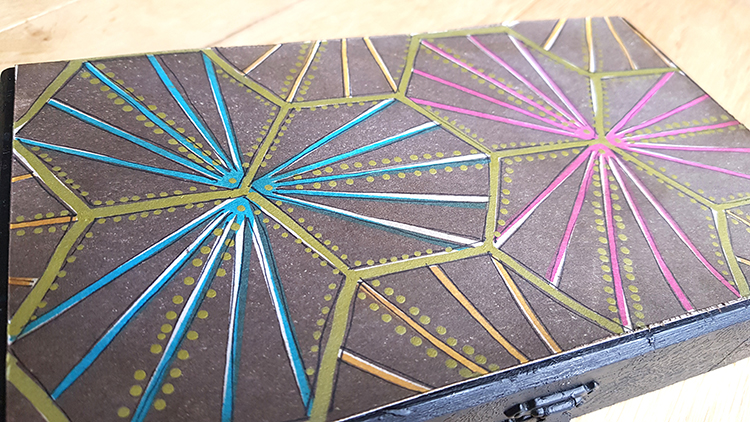
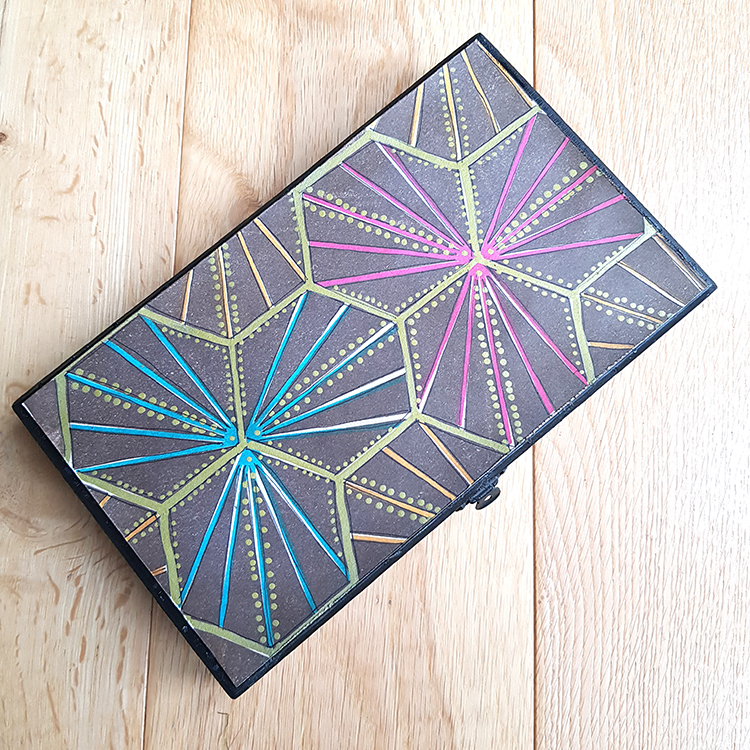
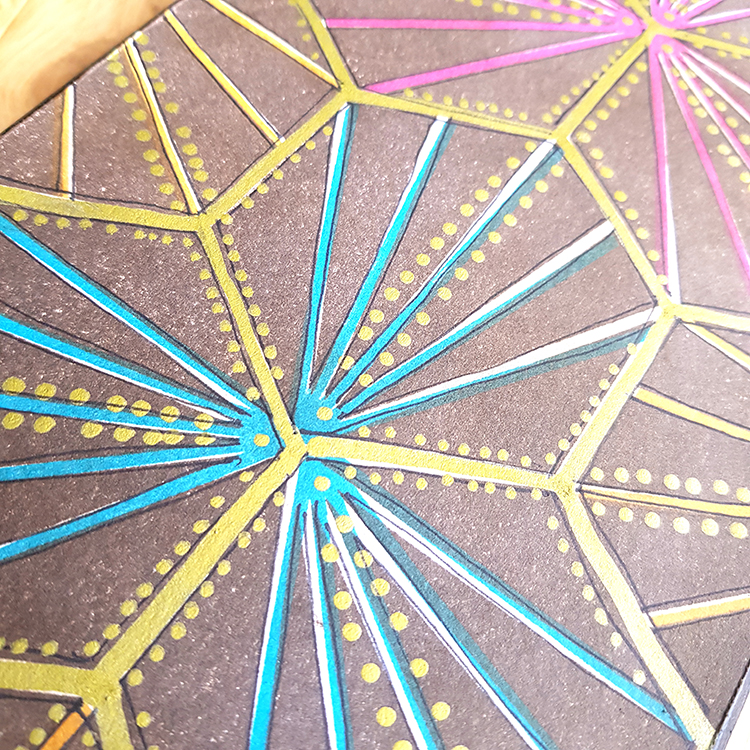
My project for the day is a quick and easy project that I made to house my mini Distress Archival Inks which I love but keep losing! I stashed them in a cigar box that I had rescued from being thrown away which I have upcycled many times over the years. I decided it was time to revamp it to keep my inks in! 

I scraped off as much of the paint and paste that I could off the box first and covered the whole thing with black gesso to give it a matt black finish. 

On a piece of cards stock I stamped my Hex pattern with Distress Archival Inks, inspired by the Instagram hashtag #ihavethisthingwithtiles and added some shading with Walnut Stain Distress Oxide. 

I then added some additional details with my Gold Molotow Acrylic Marker and some sketchy lines with a fine sharpie marker. I glued the cardstock panel to my dried cigar case and added my Mini ink pads to the box! 
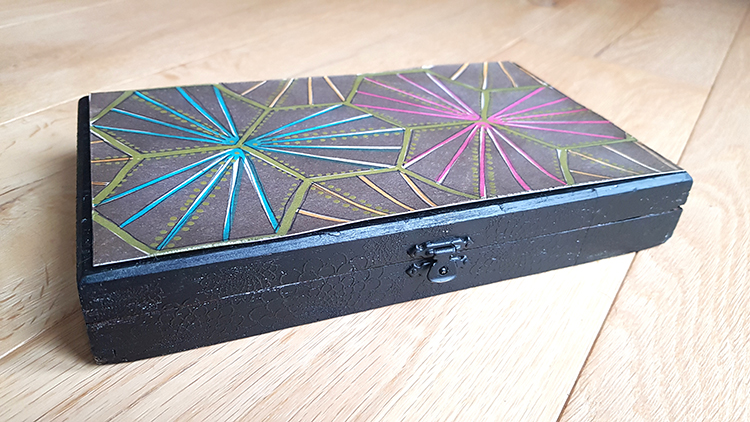
This was a quick project to put together and it gives me great joy knowing that my inks have somewhere to “live” :) 

Thank you so much for stopping by and have a great day!

Thank you Tania – love your box of treasure :) You can find all of my rubber stamps in my online shop. Here are some of the other supplies Tania used:


Feel inspired? Working on something yourself that you’d like to share?  I love to see how you interpret our monthly themes. Email me how you used my stencils and stamps with the theme and email me an image – I would love to share your projects in my next  “n*Spiration From Around the Globe“.

Leave a comment

Stamped Paper Wreaths – DIY Play Date

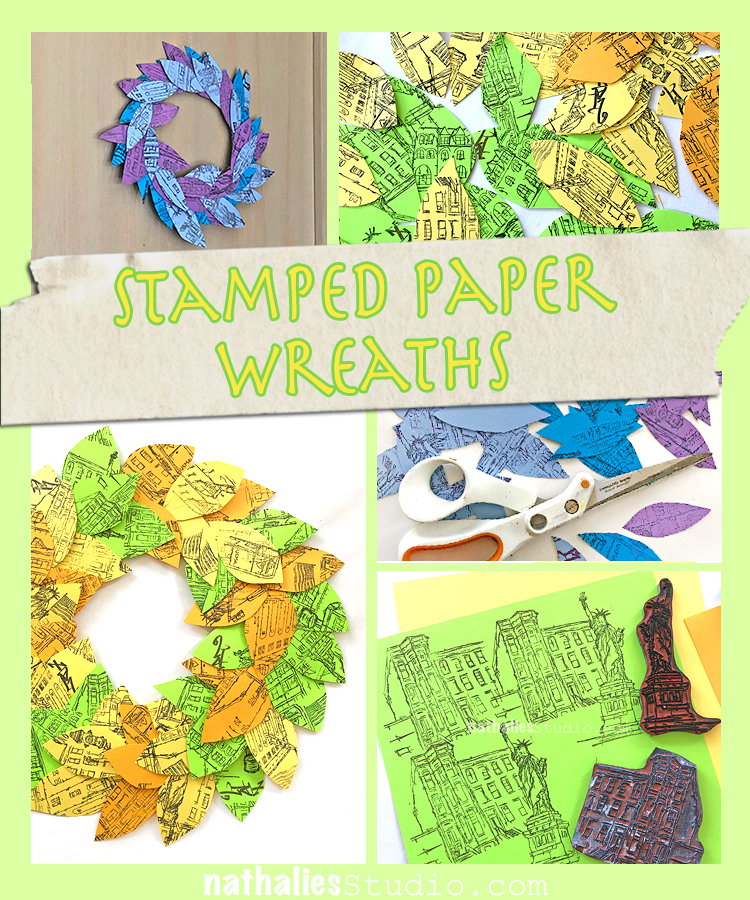
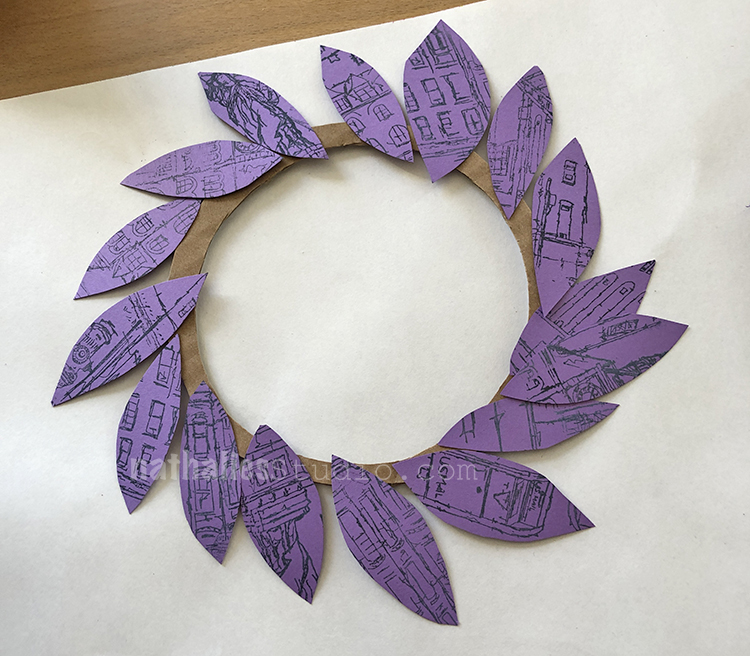
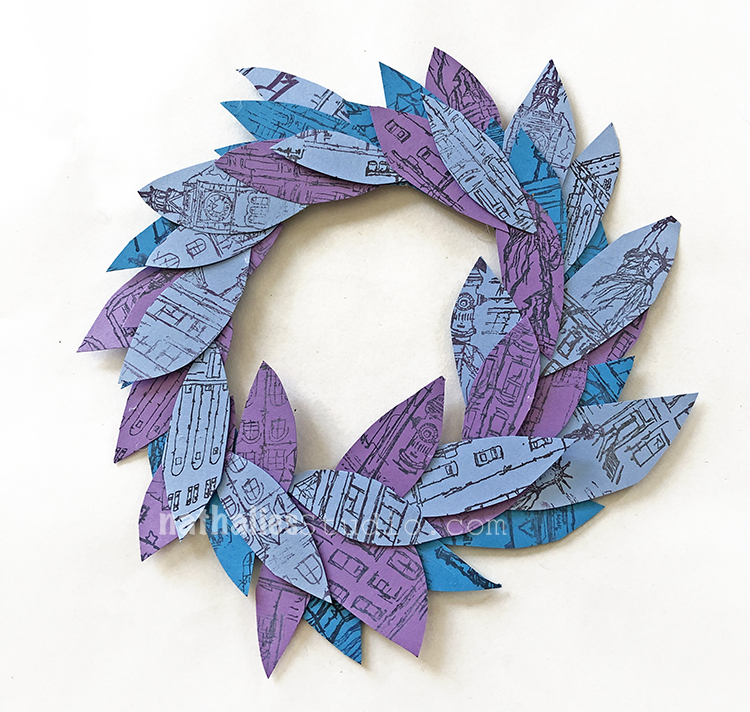
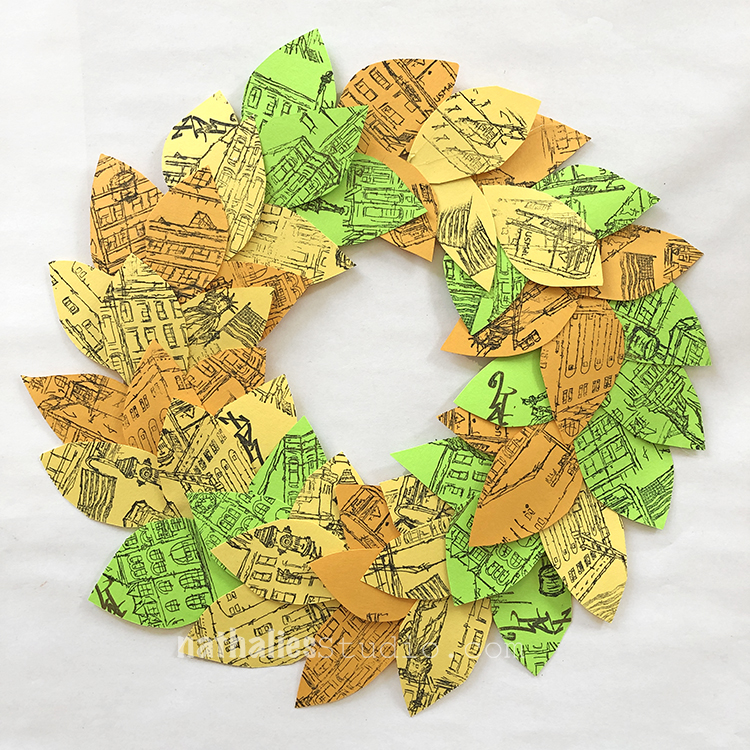
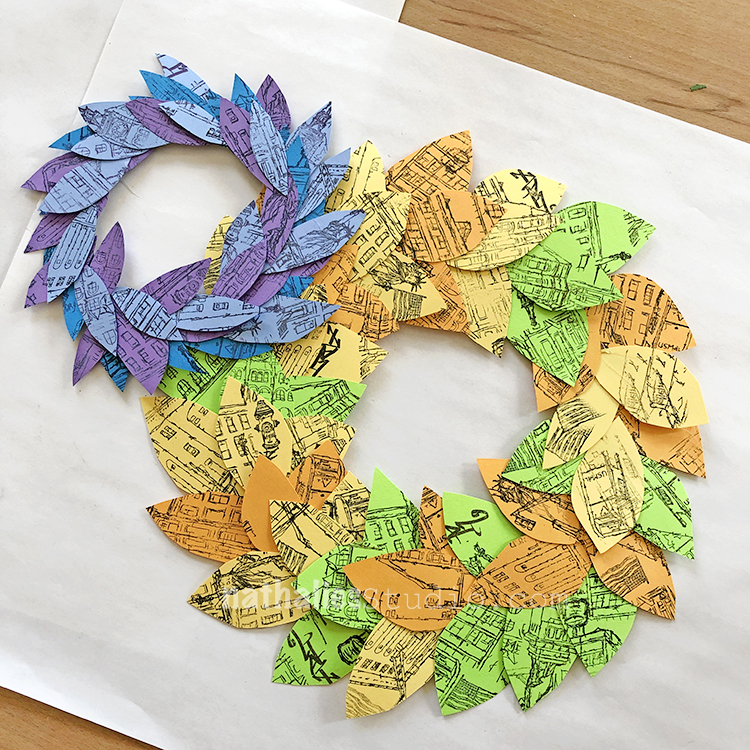
Last week Kim and I decided to do a little Spring Play Date with my rubber stamps. We saw some cool pictures of paper wreaths online and thought we would try our own. We had just an hour or so and had fun making ours and dreaming of beautiful spring weather :)

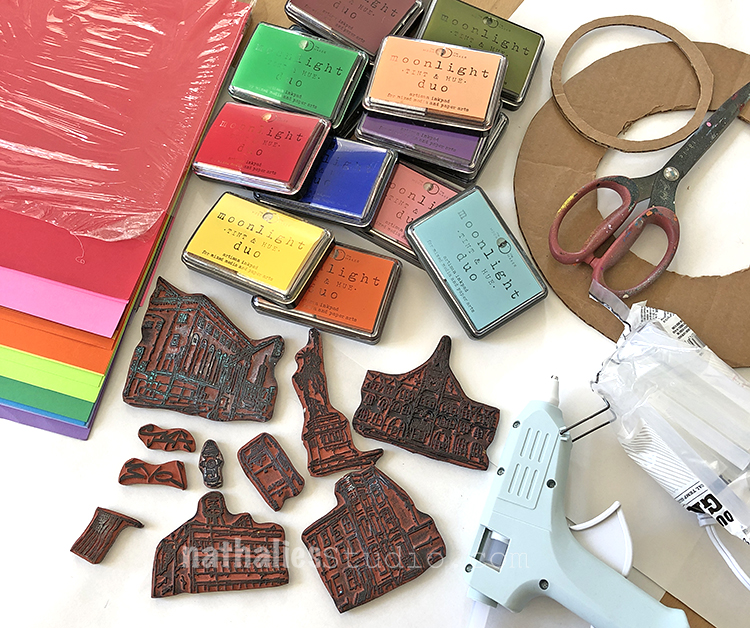
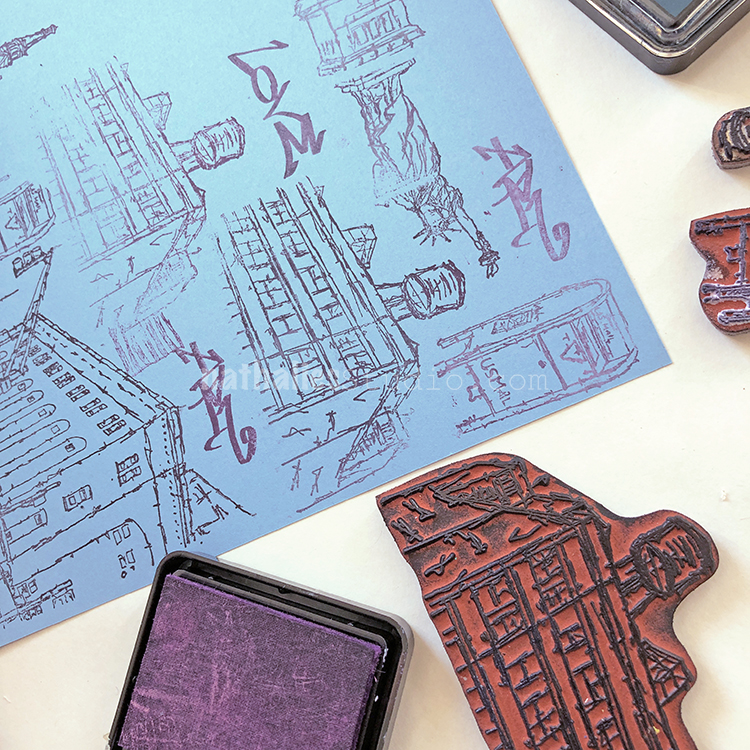
You will need rubber stamps (we used my Stroll Through the Hood 1 and 2 stamp sets including the Powerhouse, Main Station, Brownstone, Warehouse, Lady Liberty, Mailbox, Hydrant, US Flag, Art Tag, and Love Tag stamps), ink pads, colorful paper, scissors, glue gun, and a cardboard ring. We cut our cardboard rings from old boxes, using plates to trace a circle and then cutting out the center.

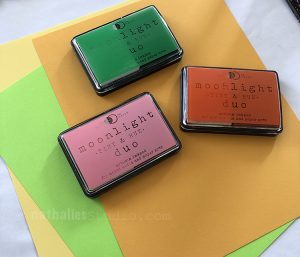
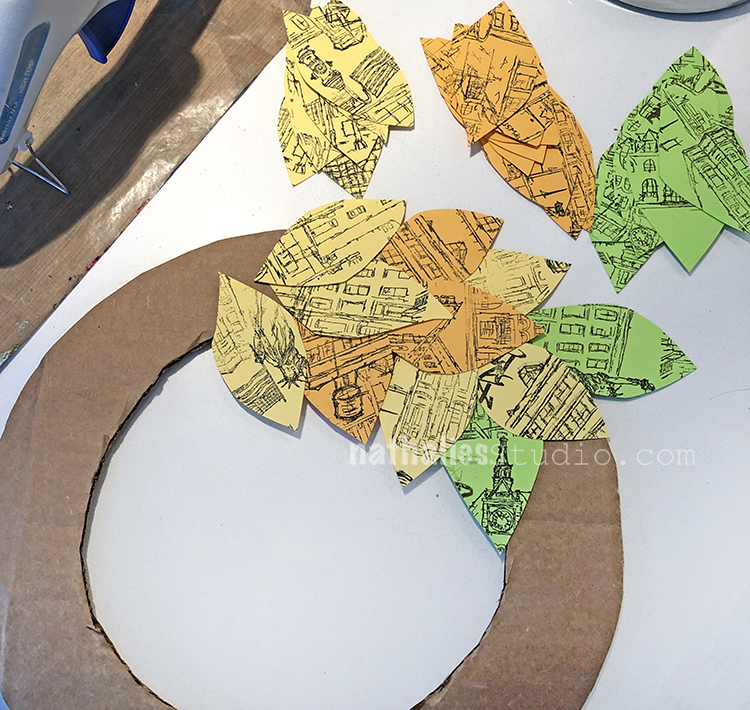
Choose paper (and maybe even inks if you have a lot of colored ink pads) in an analogous color scheme – colors that are next to each other on the color wheel.

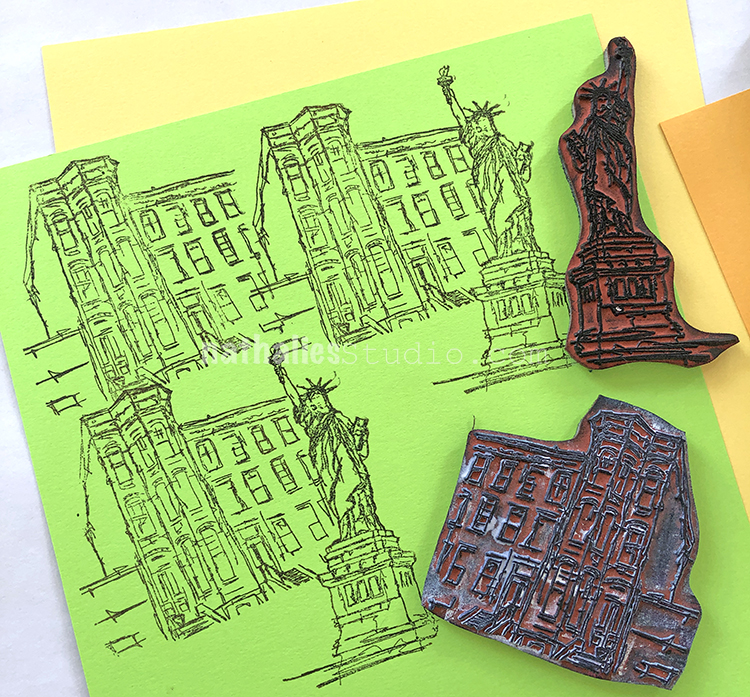
Then start stamping! Fill up the entire page with stamped images. It doesn’t matter how they line up – the point is to have some design and pattern all over the paper. Here is my Warehouse stamp in action.

Here is Lady Liberty and Brownstone filling a page.

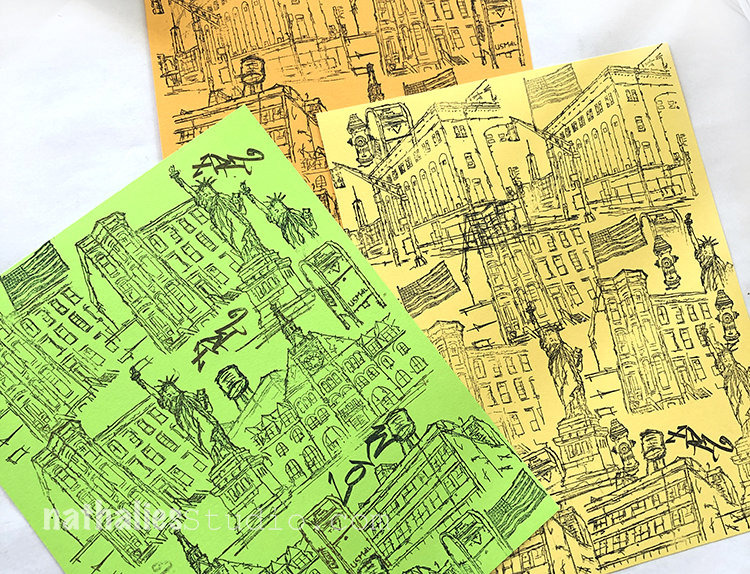
We recommend stamping 3-4 sheets of paper.

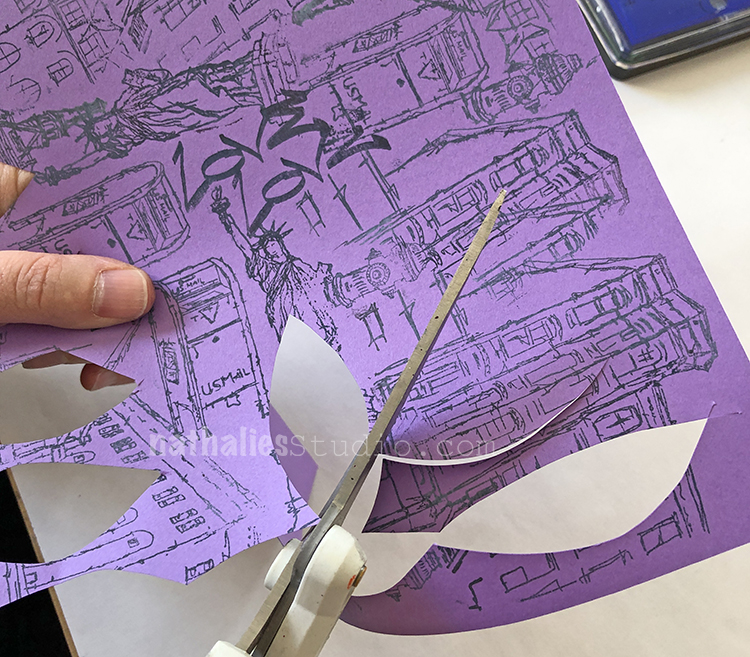
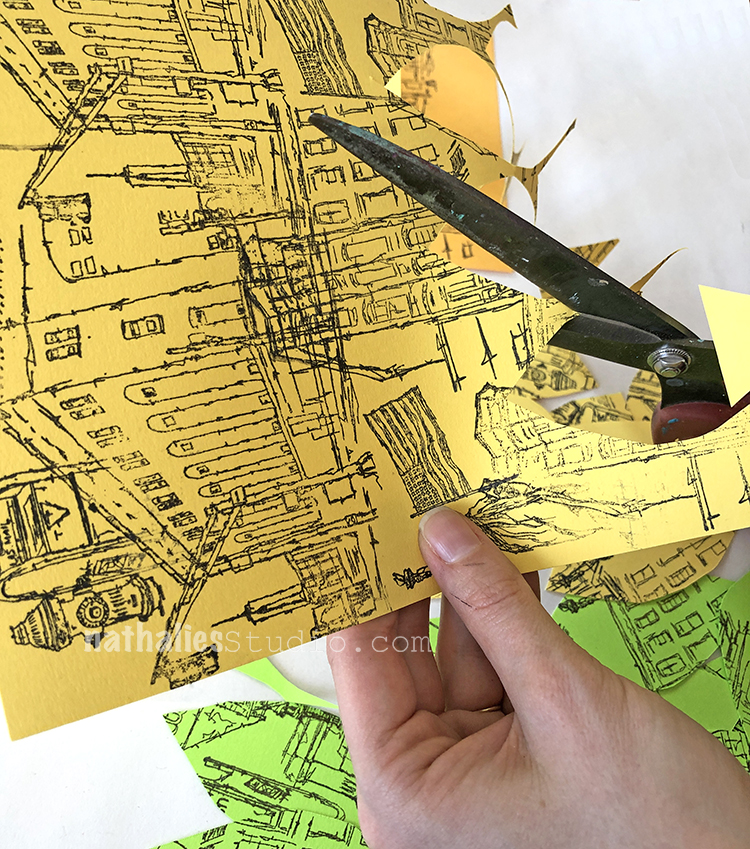
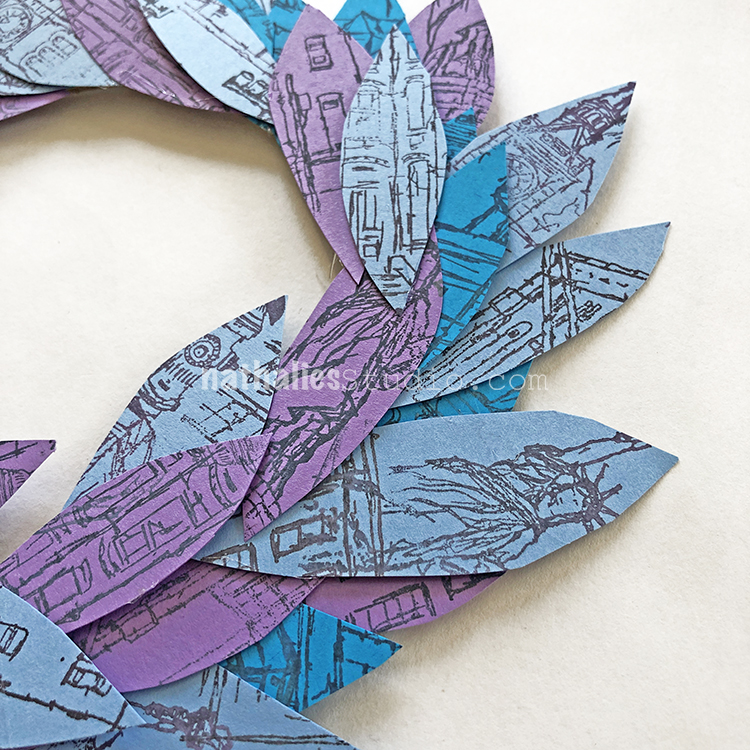
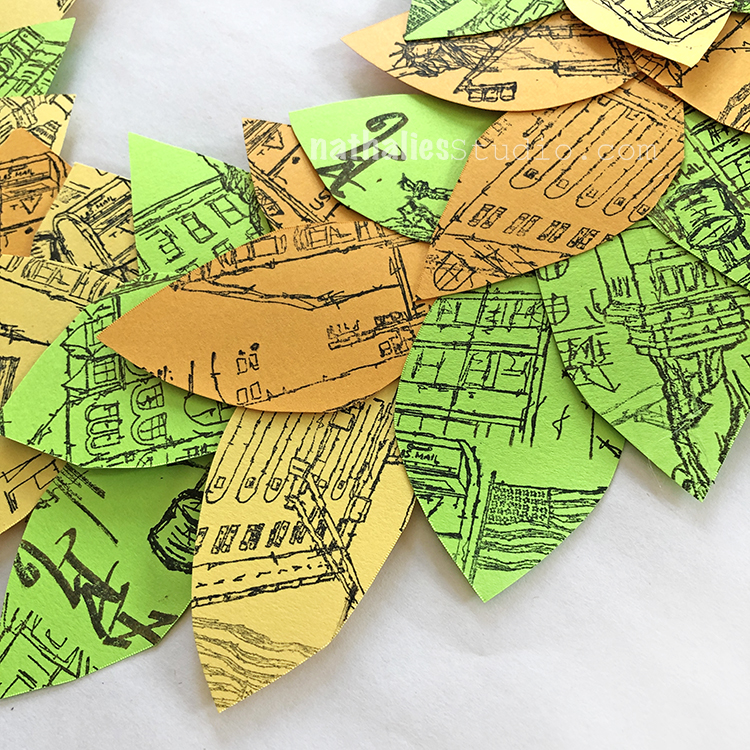
Then cut out leaf shapes. 2-3″ works for a smaller wreath and 3-4″ works for a larger wreath.

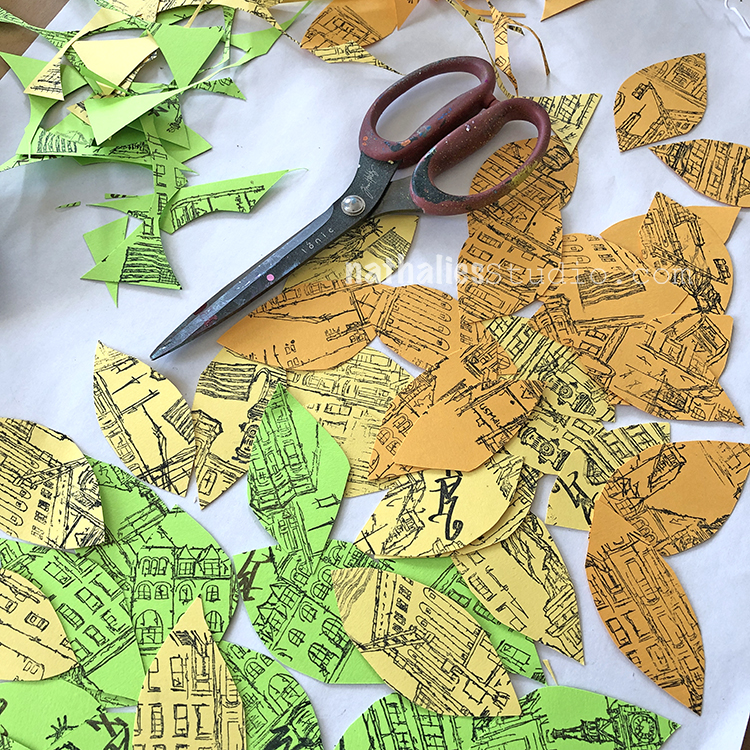
Try to get as many out of a sheet as you can. It’s ok to cut through your stamped images at odd places.

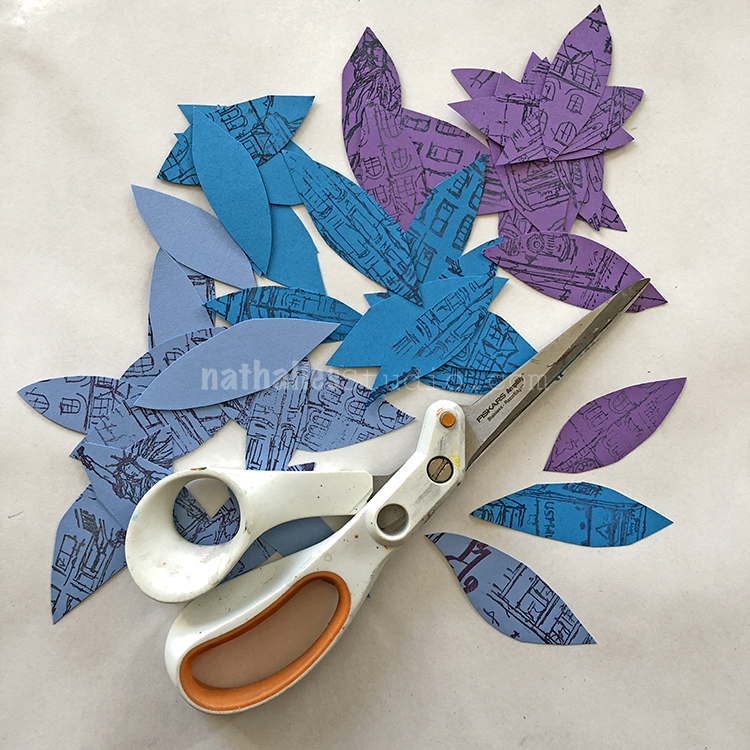
In the end you will have a pile of leaves.

Try arranging the leaves on the cardboard ring to see how they fit.

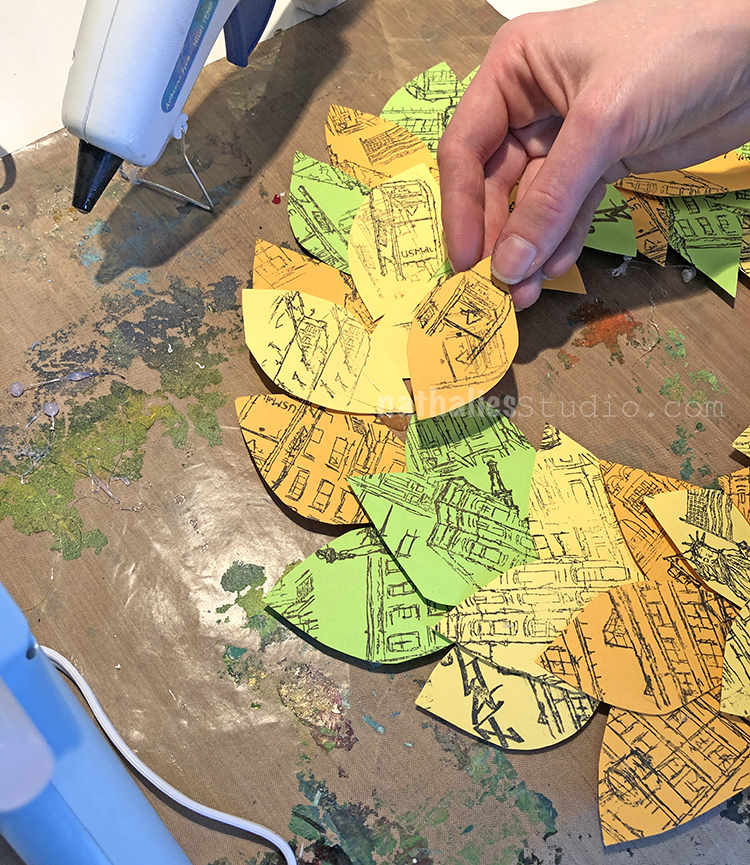
You can experiment with color patterns too.

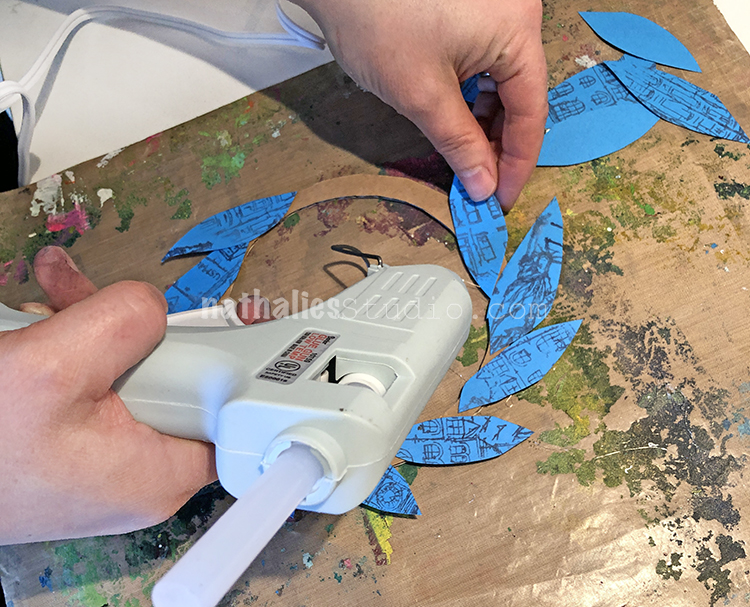
Use a glue gun to adhere the leaves in place. I finally bought a glue gun – yes can you believe this is my first ever glue gun? lol

Three leaves across seemed to cover the cardboard.

In the end you will have a charming little spring decoration.

Look at all the stamp images peeking through.

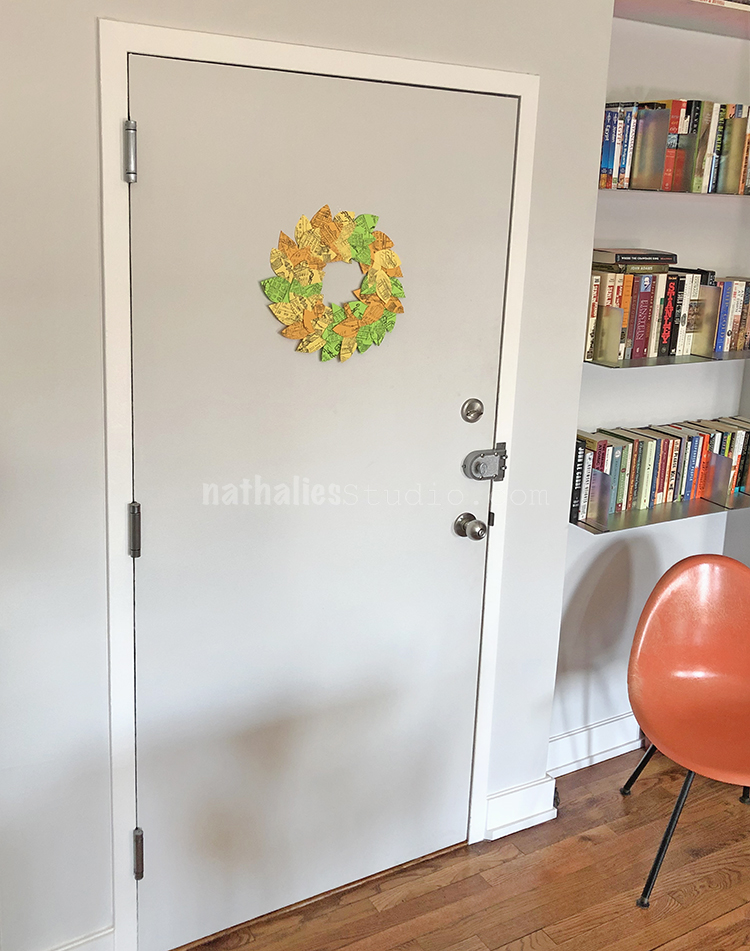
The big one is just right for hanging on a door.

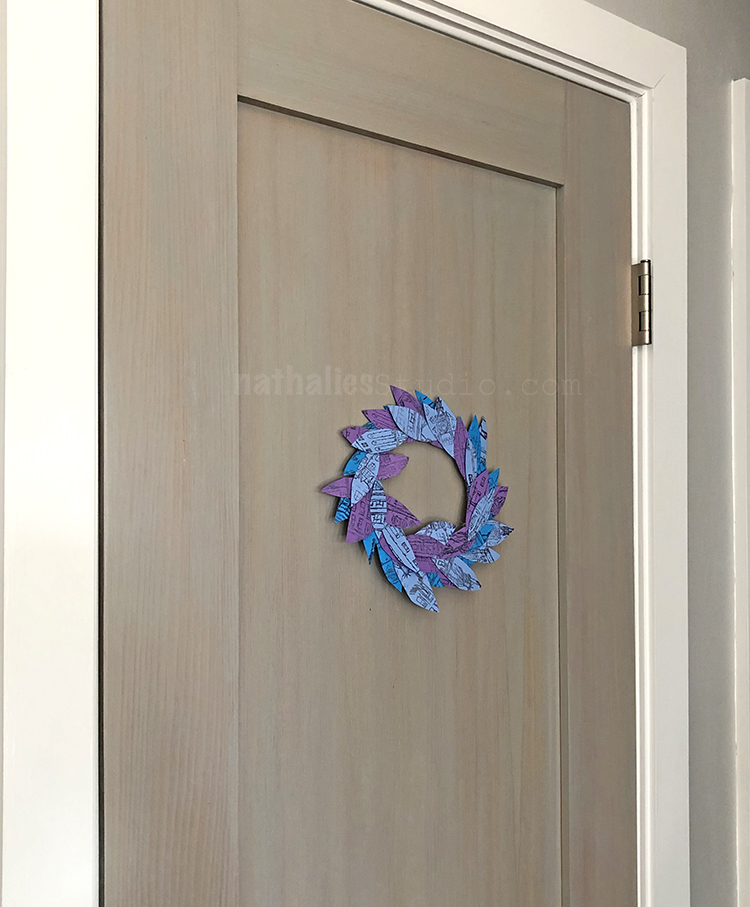
Two paper wreathes, ready for spring.

One on the inside of Kim’s front door.

Looks nice on a smaller door here.

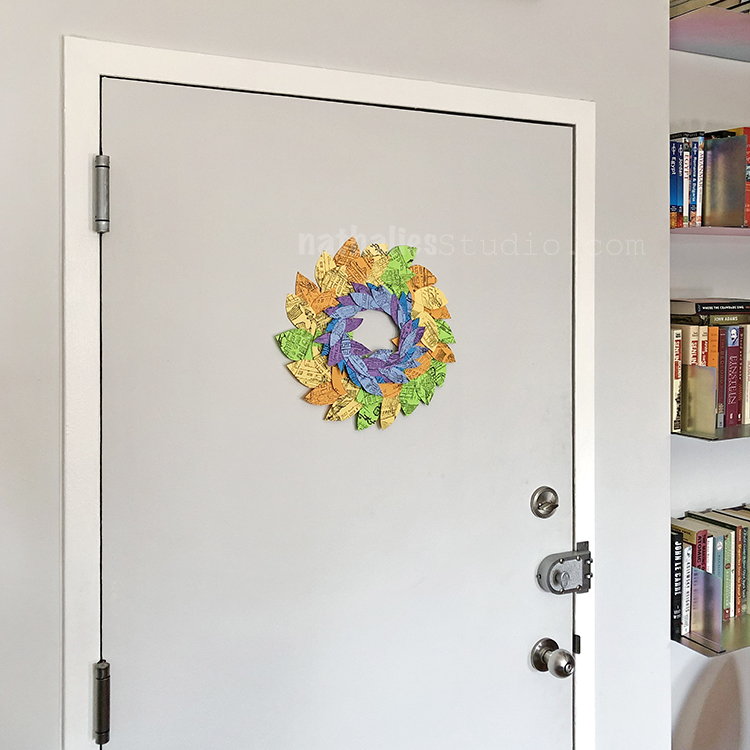
You can even layer them up for more impact.

This was a great way to use up some colored paper we had on hand and to have some fun stamping. I love how the stamps give it some more visual interest, and you could really play with ink colors and different papers if you wanted to. I hope you try it!

You can find my rubber stamps in my online shop. Here are some of the supplies that we used in this play date:


Comments (1)

  • stephanie

    |

    your art play date projects are always an inspiration! thanks Nat

    Reply

Leave a comment

Be Bad – Art Journal

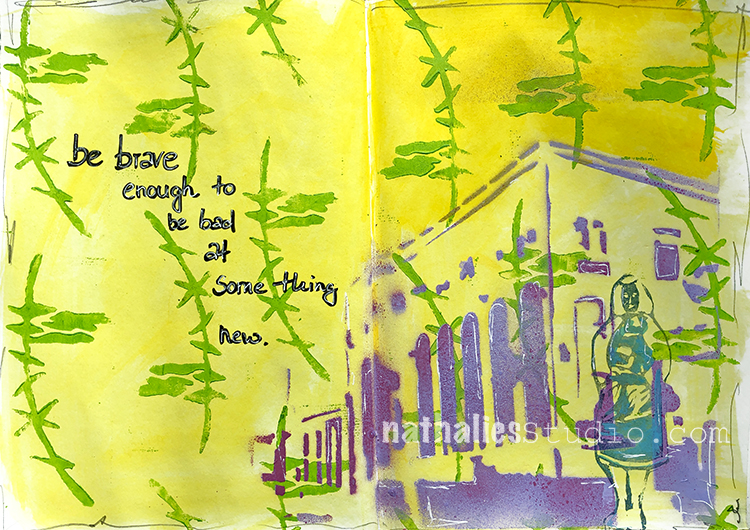
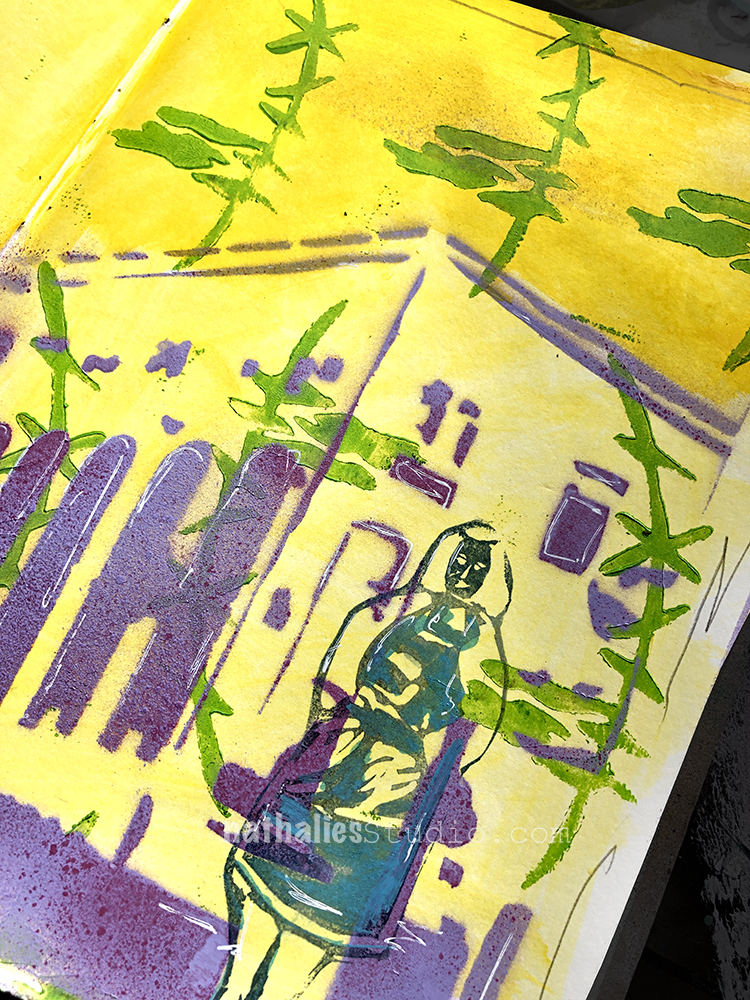
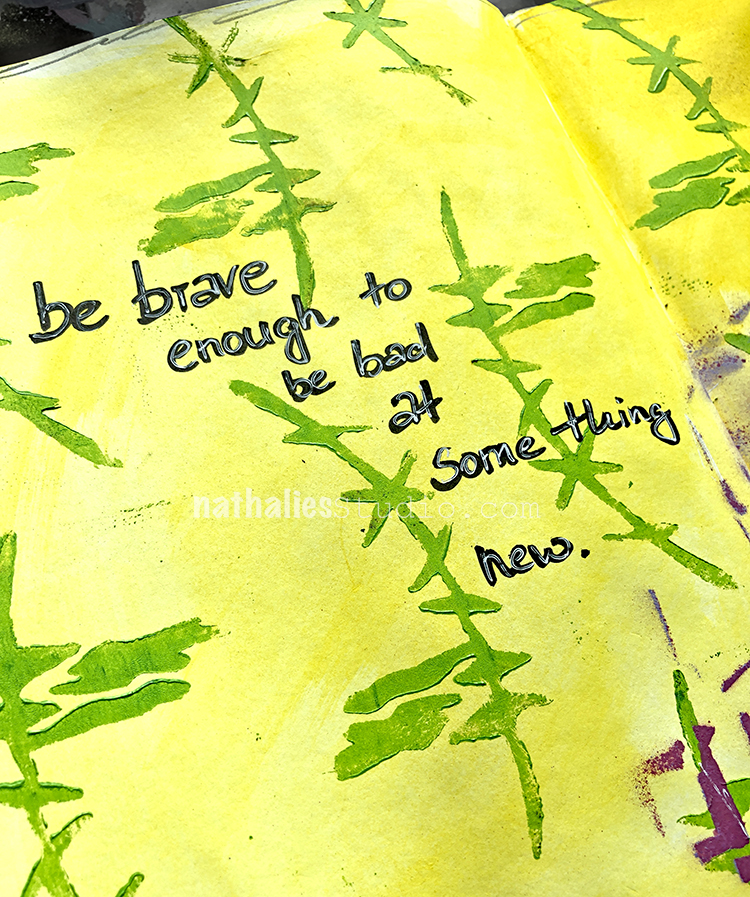
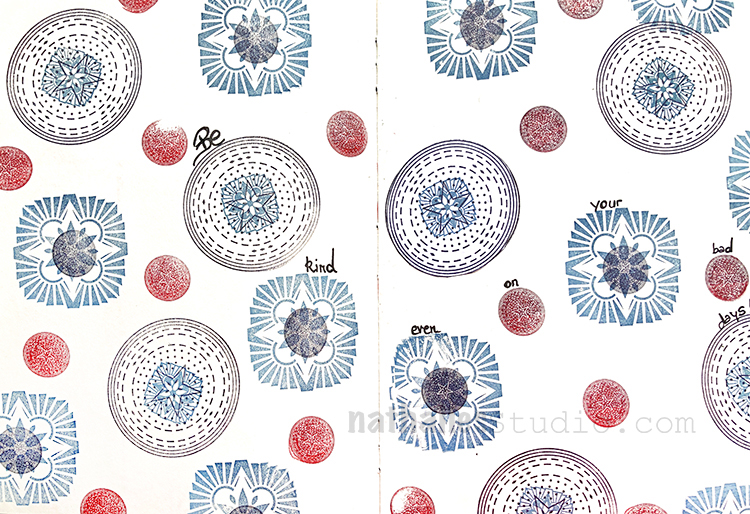
Ha- lol – I am not sure if I like this or if I feel slightly pushed into a psychedelic 60s comic – but I sure had fun playing ;)

I loved mixing up a hand cut stencil, my hand carved rubber stamp and my new Groovy Foam Stamp. I used spray paint with the stencil, an ink pad for the rubber stamp and acrylic paint with the Groovy Stamp.

Once all was dried brushed on yellow acrylic ink over the whole spread – and there you go …you feel like you landed in a 60s Bugs Bunny comic LOL.

Here are some of the supplies I used


Leave a comment

Today We Smile – Josefine Fouarge


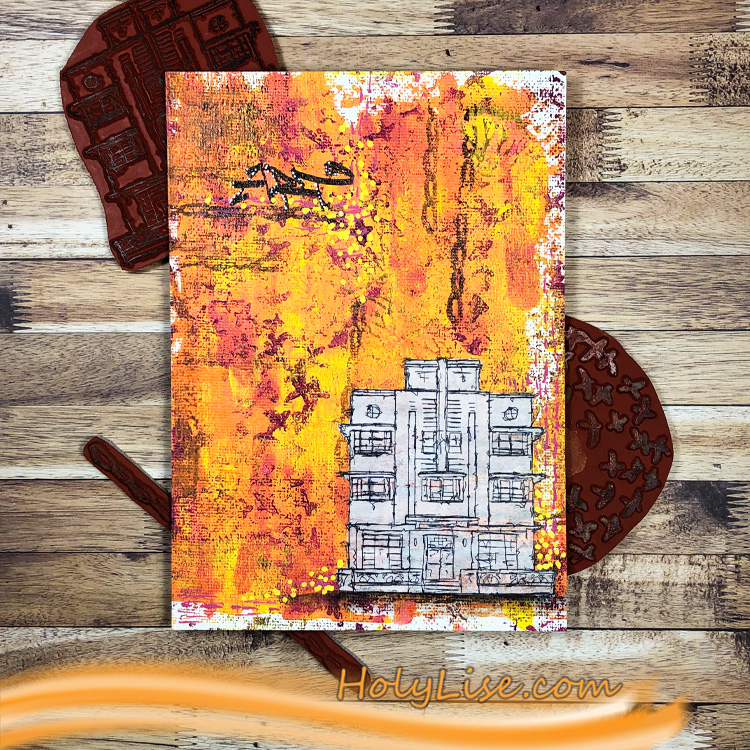
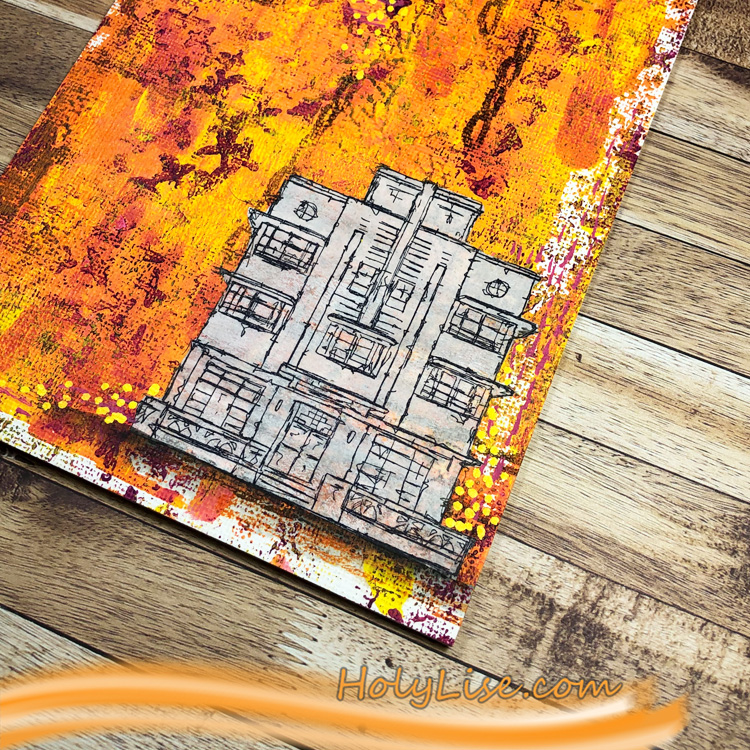
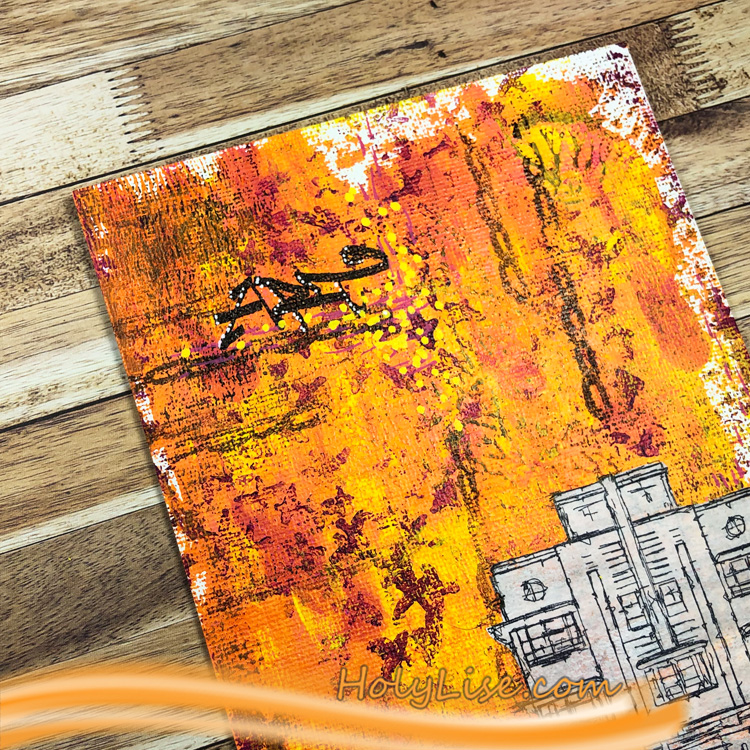
Hello from my Creative Squad and a mixed media piece by Josefine Fouarge! Josefine is using my Art Deco house, Art Tag, Chain Link, and Cross Circle rubber stamps and this month’s theme: Today We Smile – They say smiling can lift our mood and maybe improve our overall health. Let’s try it! Think about what makes you smile and share it with all of us. After all, smiles are also known to be contagious :)


Yes, let’s all smile. I smile when I can create, so surprise – I’m creating something ;) And I hope it will inspire you to create and maybe even smile yourself.

I enjoy creating the most when I can turn off my head while putting something onto paper (or in this case onto a board). Not thinking about what happens, just letting my inner joy guide me. This is what happens when I do exactly that:

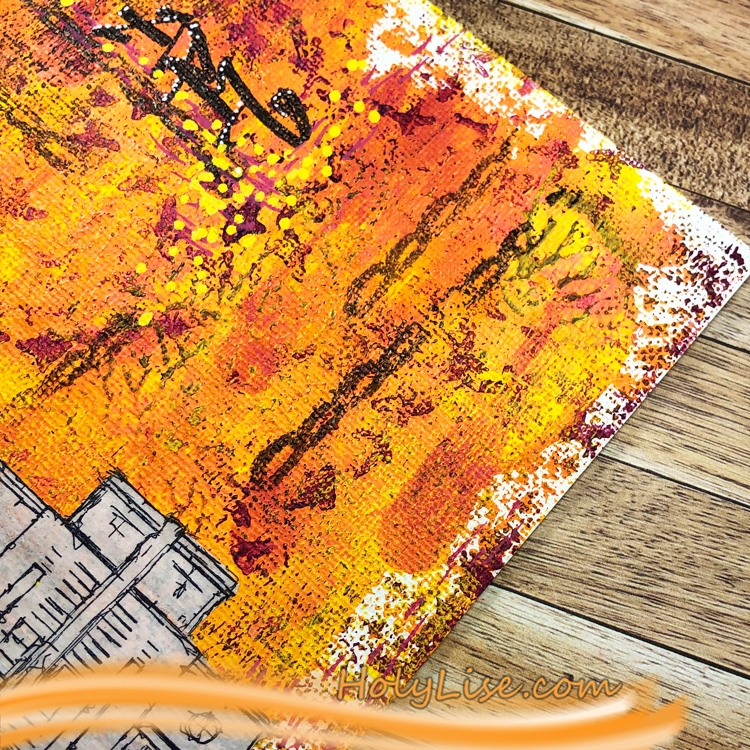
Here you can see how everything came together. Just imagine my smile on my face while I was smooshing around with paint, ink and stamps.

Can you see all the texture in the background? I really enjoy how the white house contrasts with the colorful and textured background. It’s a totally different look.

Thanks so much for stopping by. Don’t forget to take a look at all the other inspiration on Nat’s blog.


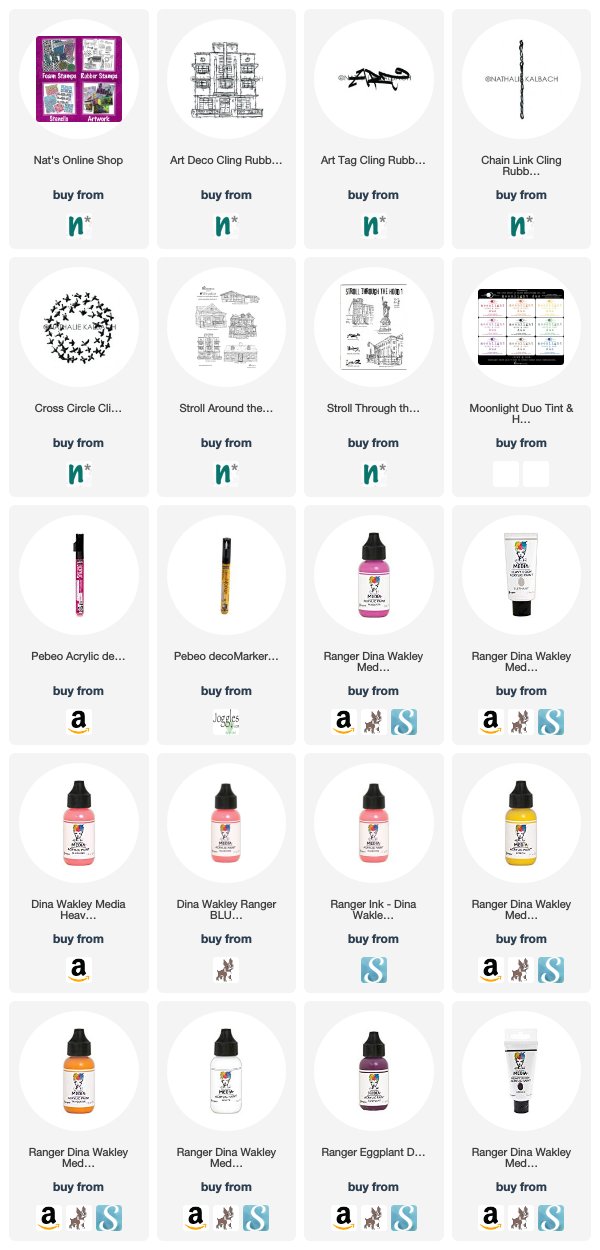
Thank you Josefine – I just love the colors in that background!!! In addition to my Rubber Stamps from my Online Shop , here are some of the supplies that Josefine used:


Feel inspired? Working on something yourself that you’d like to share?  I love to see how you interpret our monthly themes. Email me how you used my stencils and stamps with the theme and email me an image – I would love to share your projects in my next  “n*Spiration From Around the Globe“.
Leave a comment

Today We Smile – Jennifer Gallagher


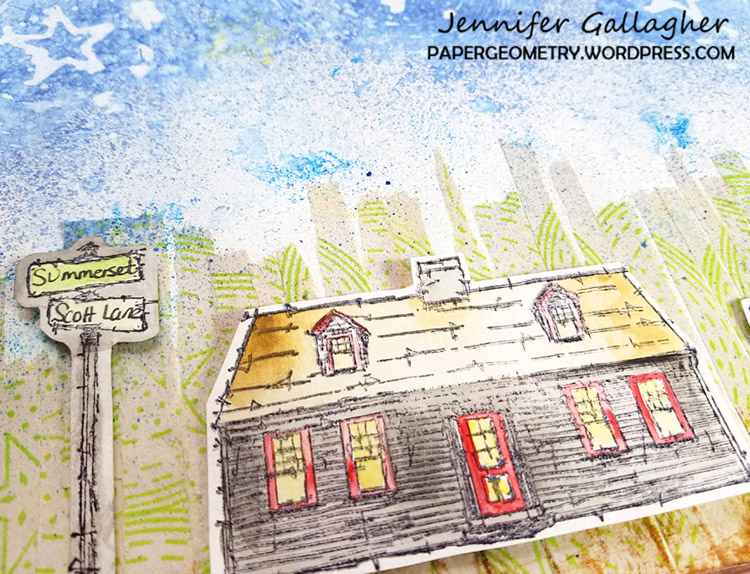
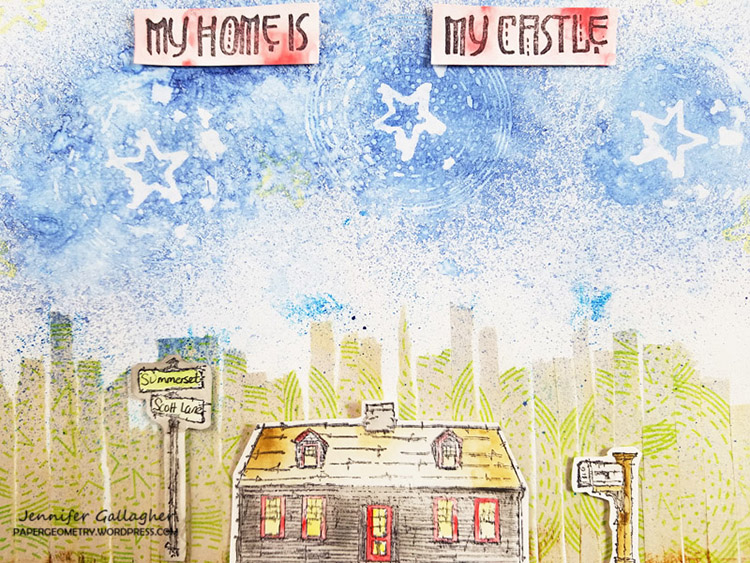
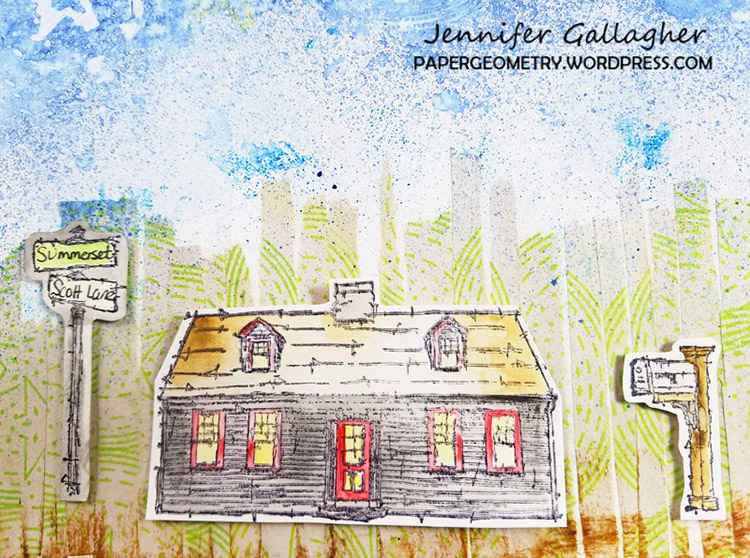
Hello from the Creative Squad and a post from Jennifer Gallagher to kick off February for us. Jennifer is using some of my Large Circle JumbleStroll Around the Block and My Home is My Castle rubber stamps for her charming piece on canvas. She was inspired by our theme this month: Today We Smile – They say smiling can lift our mood and maybe improve our overall health. Let’s try it! Think about what makes you smile and share it with all of us. After all, smiles are also known to be contagious :)


This month the Creative Squad is looking at what makes each of us smile. We are pondering what makes us truly happy and reflecting that feeling into our projects. Well, for me, the answer will always be my family. Nothing makes me happier than being at home with them. We love to cook together, play board games, and watch movies. With that in mind, I’ve put together an adorable little project that reflects my love of home.

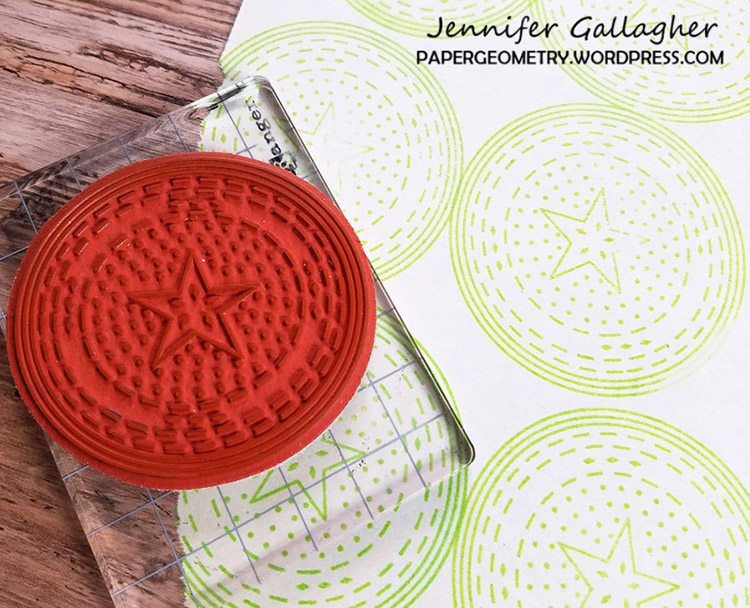
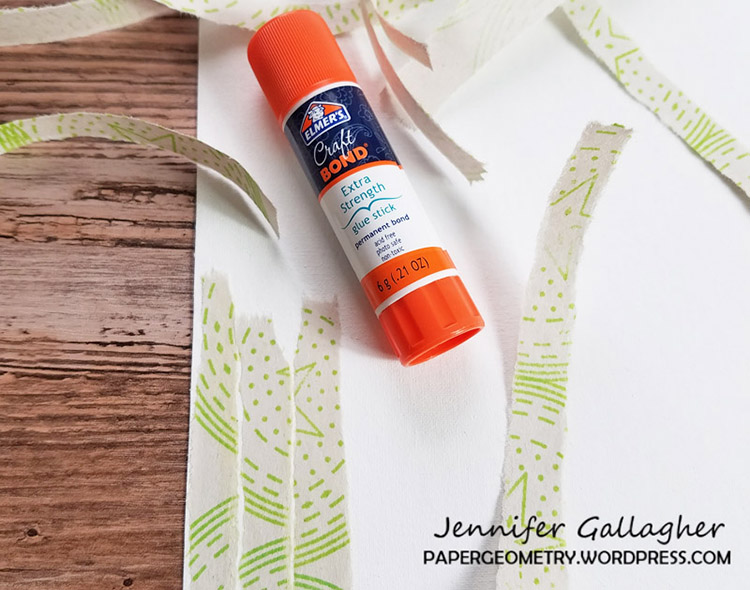
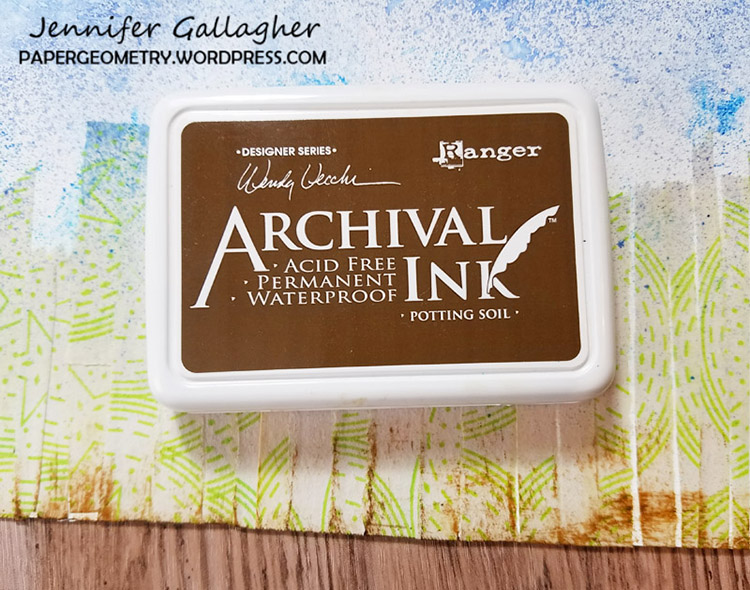
I started by stamping Nat’s Circle Drive (positive) stamp onto a sheet of newsprint in vivid chartreuse archival ink. Next, I ripped the sheet of newsprint into strips and glued them onto my canvas pad to represent grass.

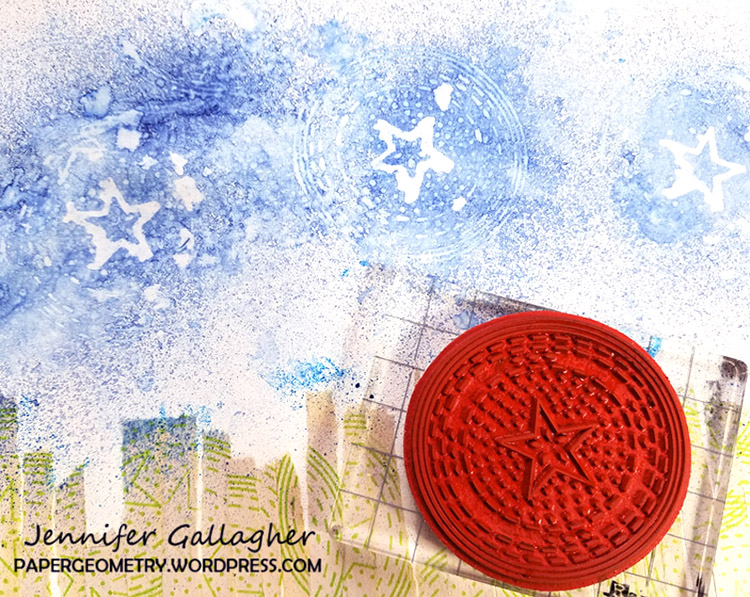
Then, I sprayed my canvas with dylusions periwinkle blue ink spray to represent sky. You can adjust the depth of color by adding more spray or dabbing with a wet paper towel.  Allow the ink spray to thoroughly dry. To add additional interest, I sprayed the Circle Drive stamp with a mist of water and pressed it into the blue ink spray in several spots and then dabbed the water up with a paper towel. It left behind the stamped design.

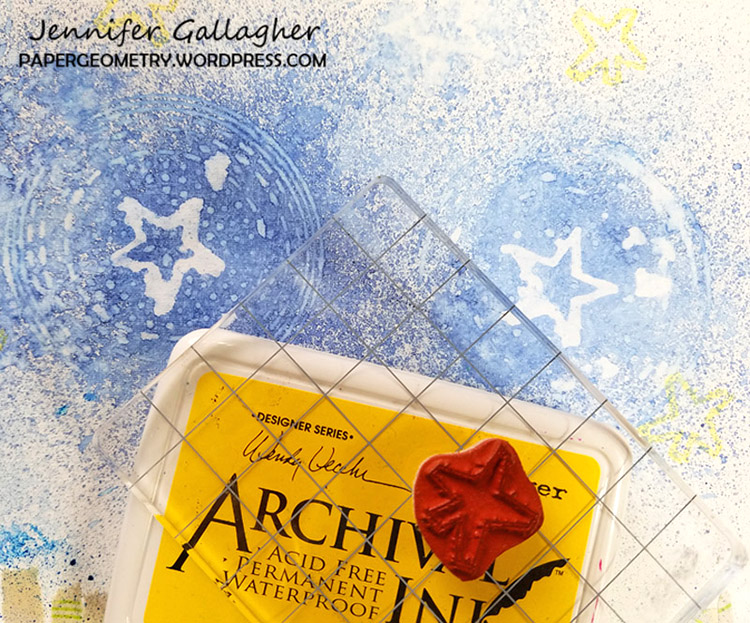
To add stars in the sky, I stamped Nat’s Star Tag stamp with buttercup archival ink and pressed it around the canvas.

For interest around the grass, I rubbed a brown ink pad on the edge of the canvas pad.

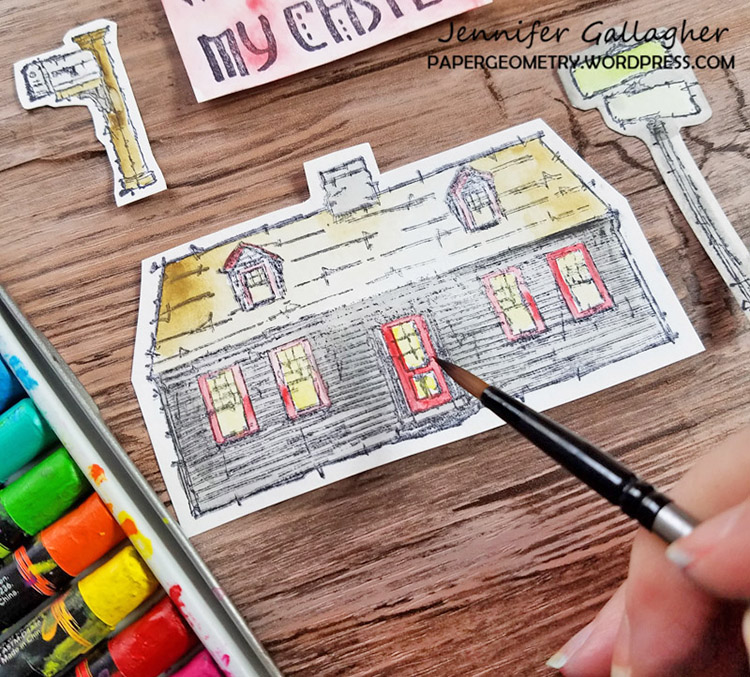
Next, I stamped Nat’s Cape Cod stamp along with the Street Sign, Snail Mail mailbox and the My Home is My Castle sentiment stamps onto scrap watercolor paper with black archival ink. Then, I colored them in with a wet paint brush and scribble sticks.

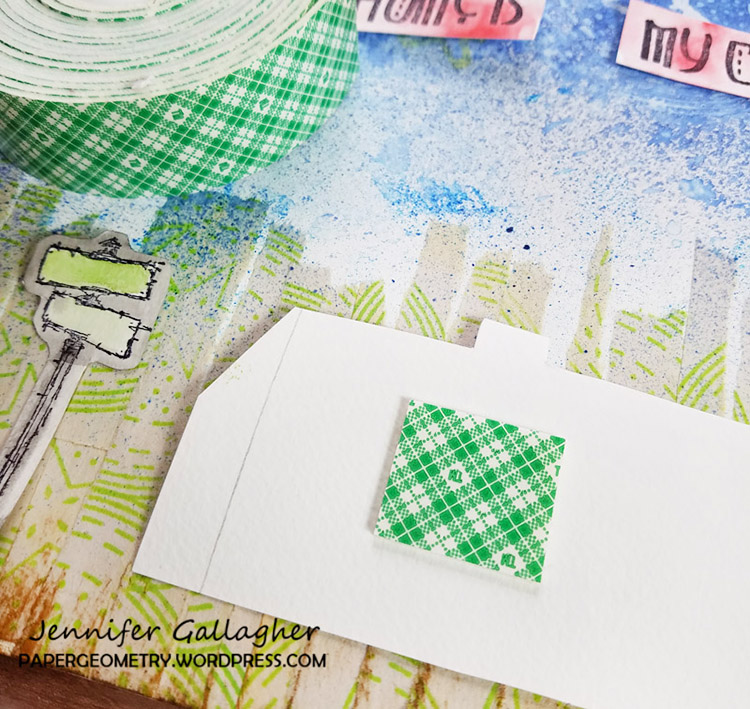
I cut each of the stamped images out and then mounted them onto the canvas pad with mounting tape.

I hope this project has inspired you to break out your favorite n*Studio stamps and make something today that puts a smile on your face. Be sure to share your creations with Nat and the creative squad!


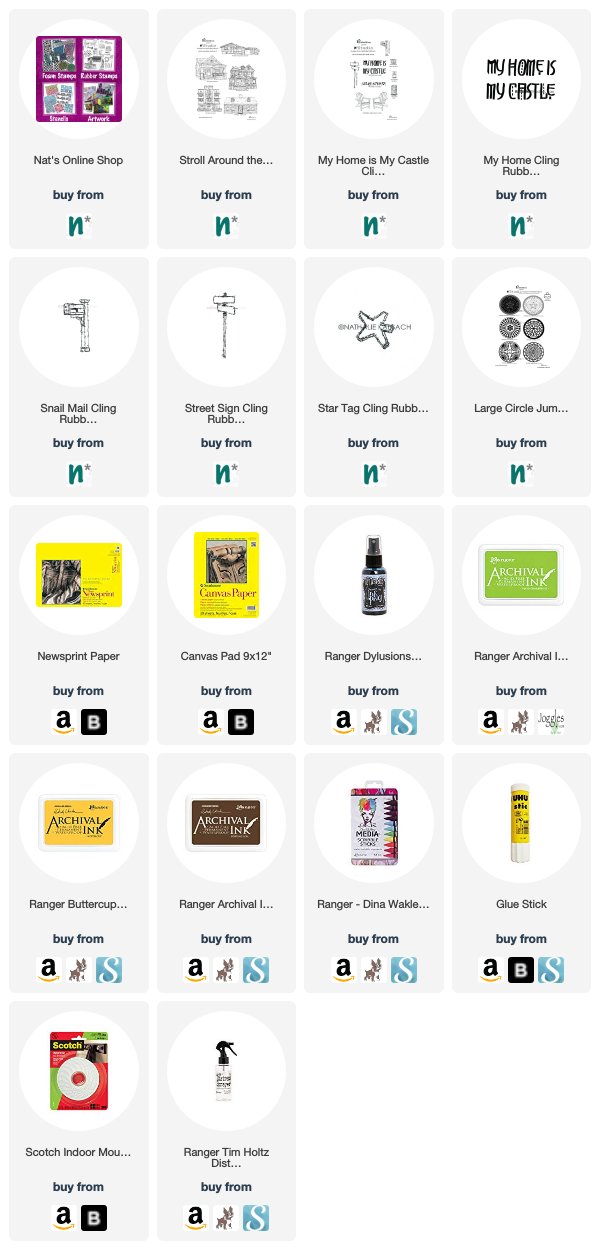
Thank you Jennifer for sharing with us what makes you smile and for showing us this gorgeous project. You can find my Rubber Stamps in my Online Shop and here are some of the other supplies that Jennifer used:


Feel inspired? Working on something yourself that you’d like to share?  I love to see how you interpret our monthly themes. Email me how you used my stencils and stamps with the theme and email me an image – I would love to share your projects in my next  “n*Spiration From Around the Globe“.
Comments (2)

  • Nancy A Olsen

    |

    I love this project ! The background really inspires me to work in my art journal ! Thank you for the inspiration !

    Reply

  • Sue Clarke

    |

    I just love how you made the “grass” Jennifer!

    Reply

Leave a comment

Where You Find Light – Art Journal

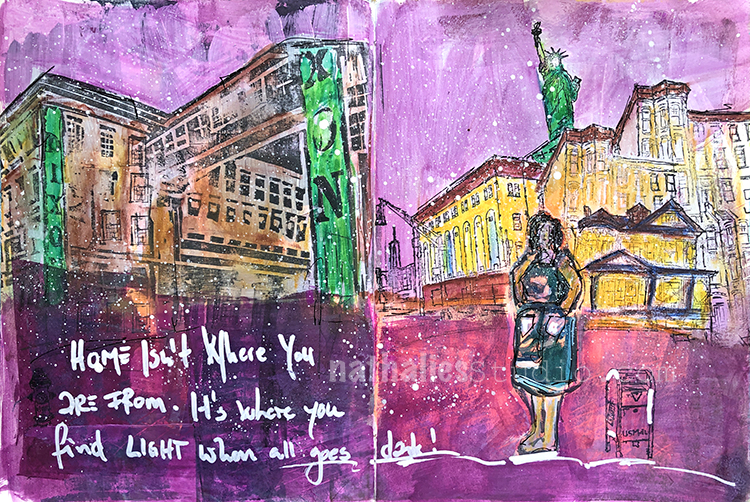
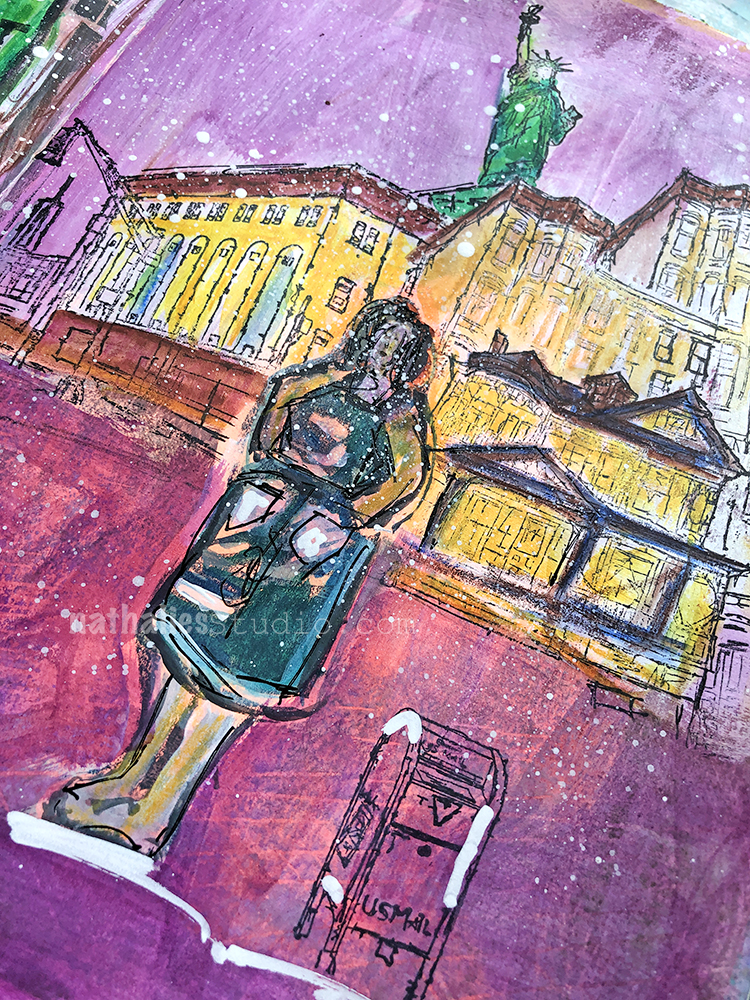
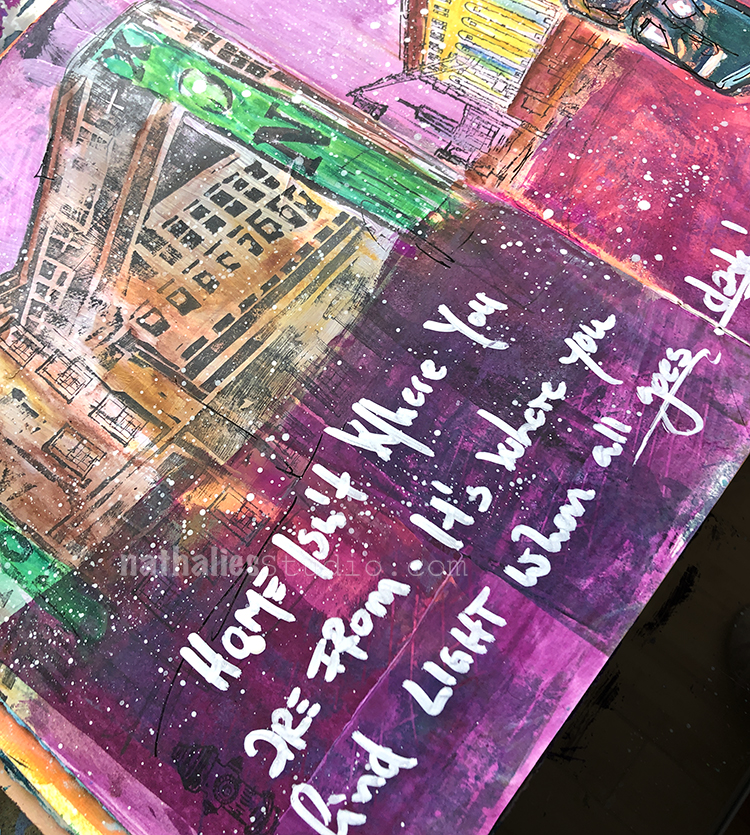
Here is a another art journal spread using the hand carved stamp I showed in my Creative JumpStart 2019 class video ( you can still join us if you want – lots of fun tutorials). Here I inked it up with black archival ink
and used it cut apart as shown in the tutorial. I also used it with my RubberMoon Rubberstamps – I love the mix of hand carved and hand sketched next to each other.

I painted the stamped images and the background in with acrylic inks and acrylic gouache and added the journaling with a white sharpie. Love how the colors glow.

Here are some of the supplies I used for this spread:


Leave a comment

Truly Yours – Art Journal

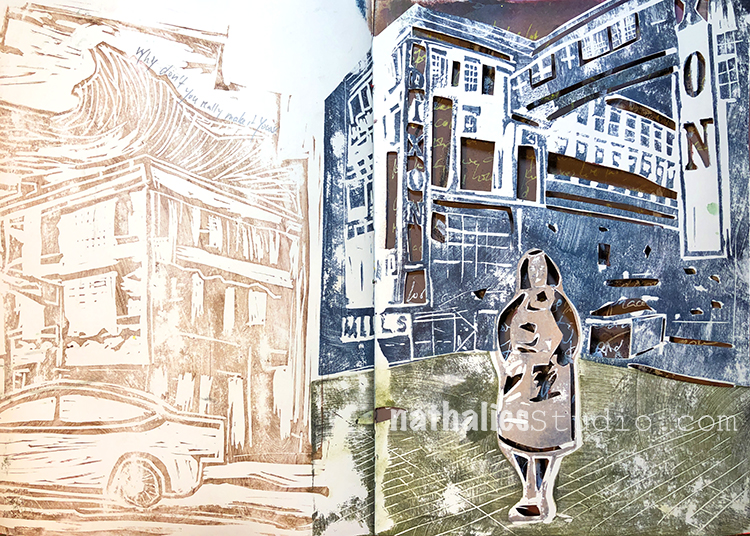
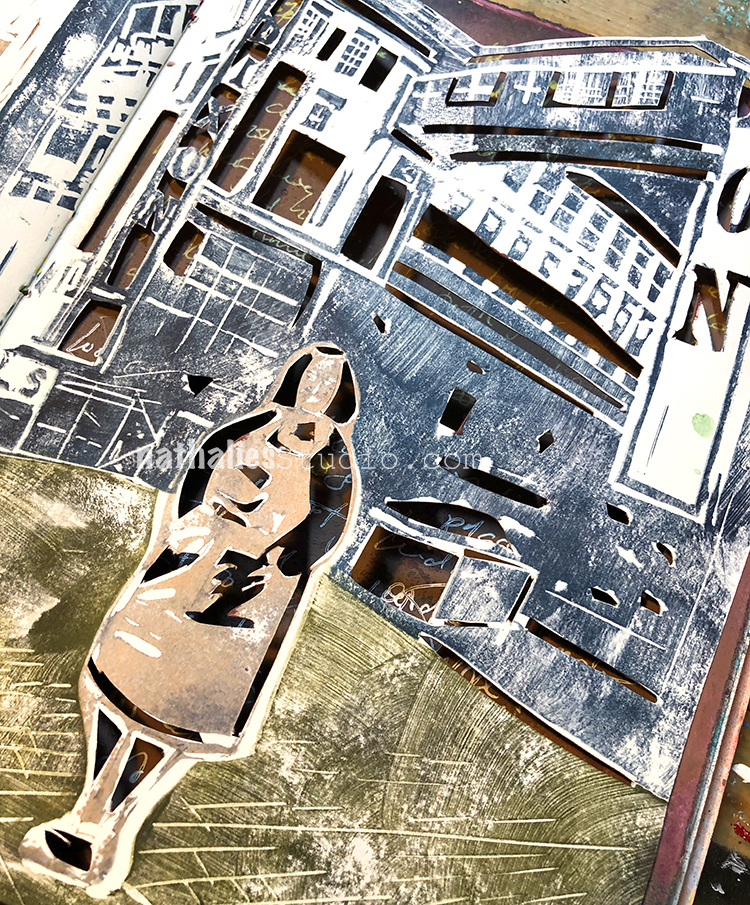
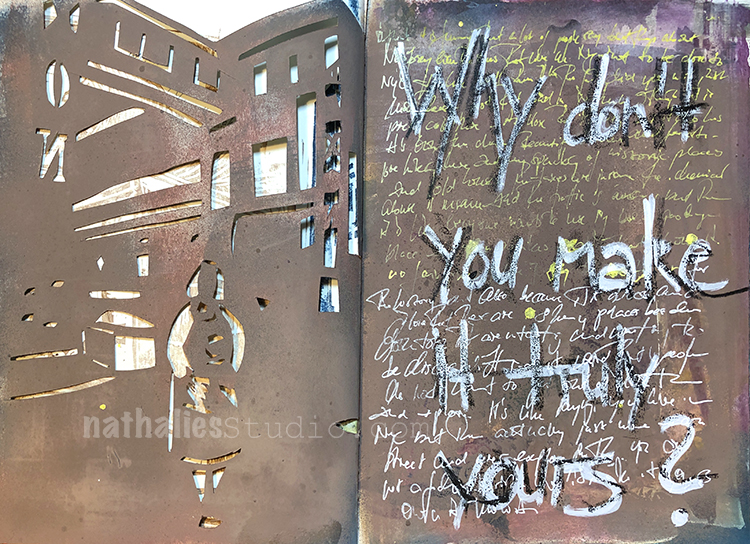
I used two hand carved stamps on this art journal spread and if you are part of Creative JumpStart 2019  you recognize especially the right one because I showed how to make it in my lesson and some printing ideas.

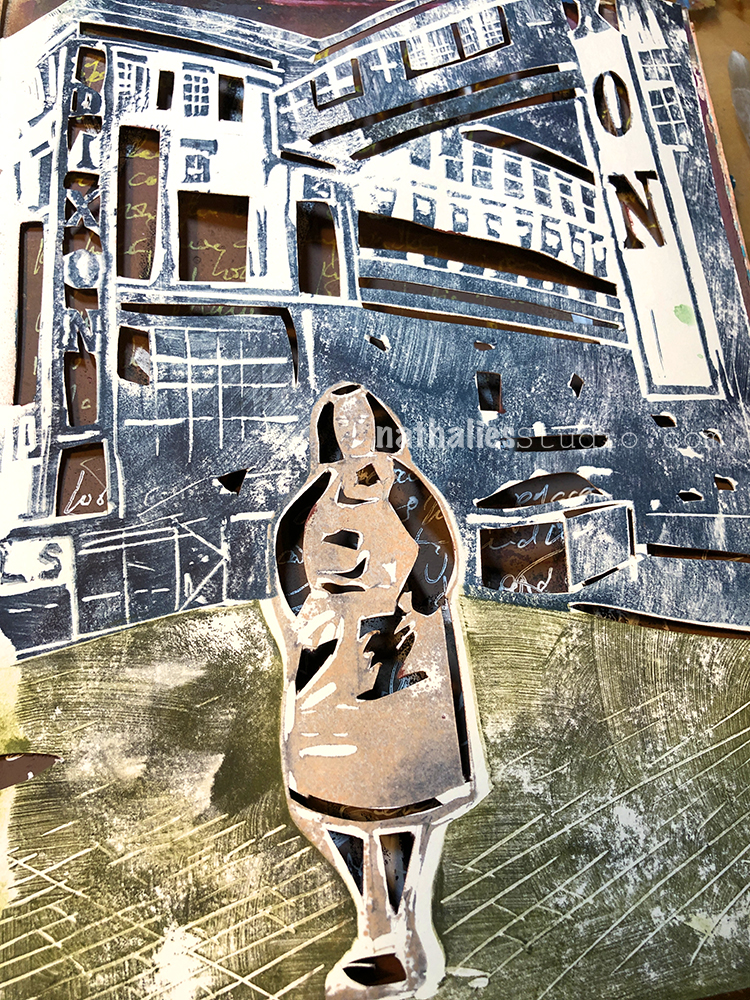
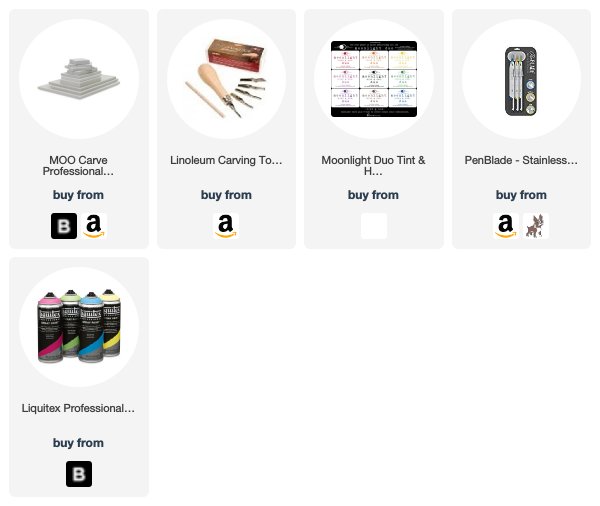
For this spread I used some Moonlight Duo Ink pads to ink up the stamps and then I cut out bits and pieces with a craft knife.

I love the effect . The pages on the next side I sprayed with some spray paint and then did some journaling.

I loved using the stamps in a different way and to try something different. Whatcha think?


Leave a comment

At the Corner of Good and Bad – Art Journal

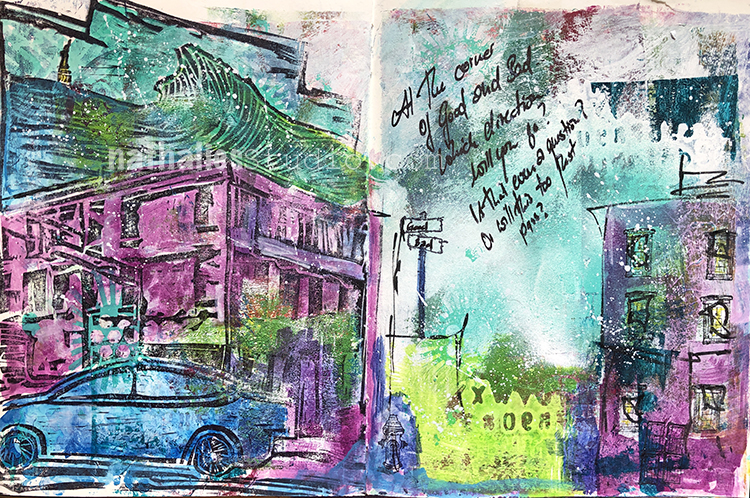
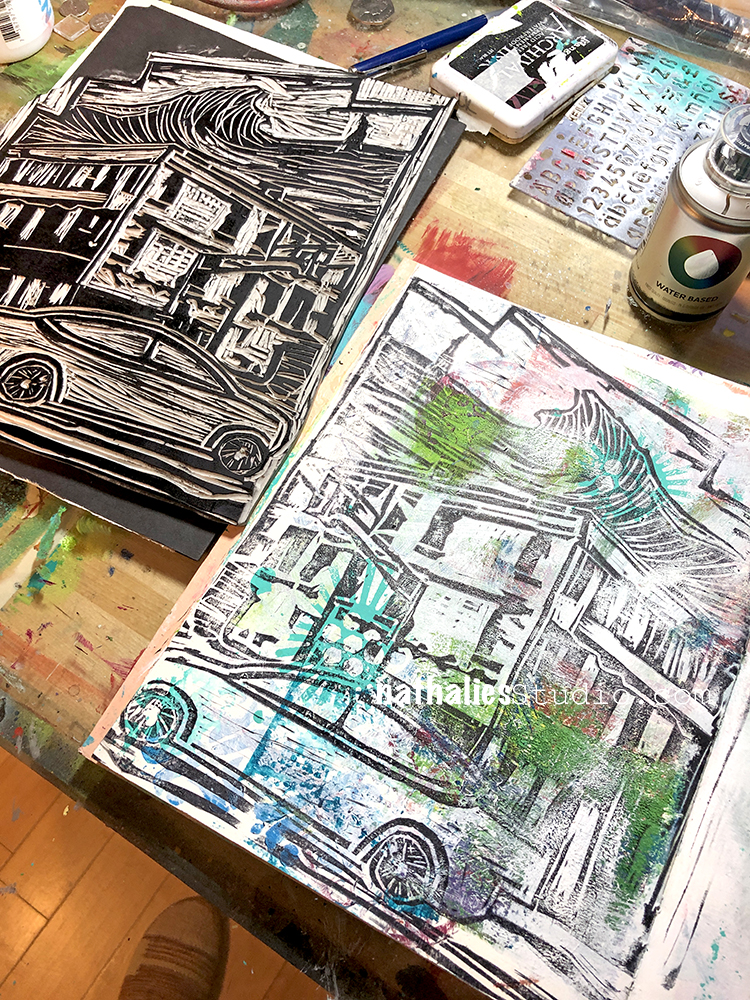
I had a lot of fun with this spread. I carved a big stamp of a building close by here in Jersey City with a mural by Shepard Fairey and used it for bags I made for the holiday market. But then of course I also wanted to use it in my journal.

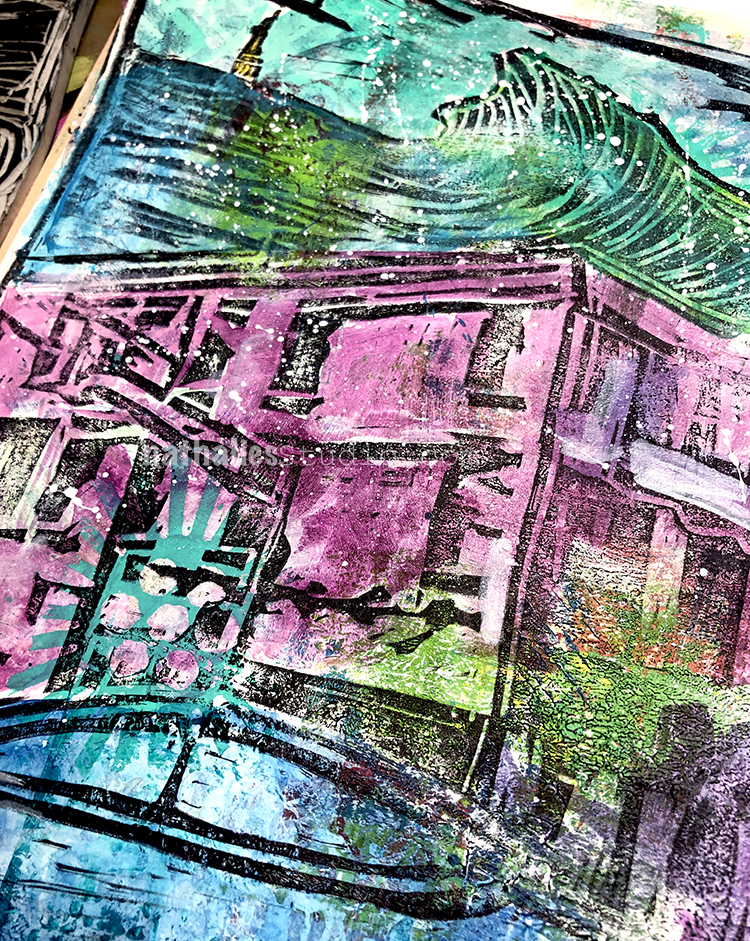
I printed on a page that I had previously used as a “clean up” page and then painted over the tamped images with acrylic paints.

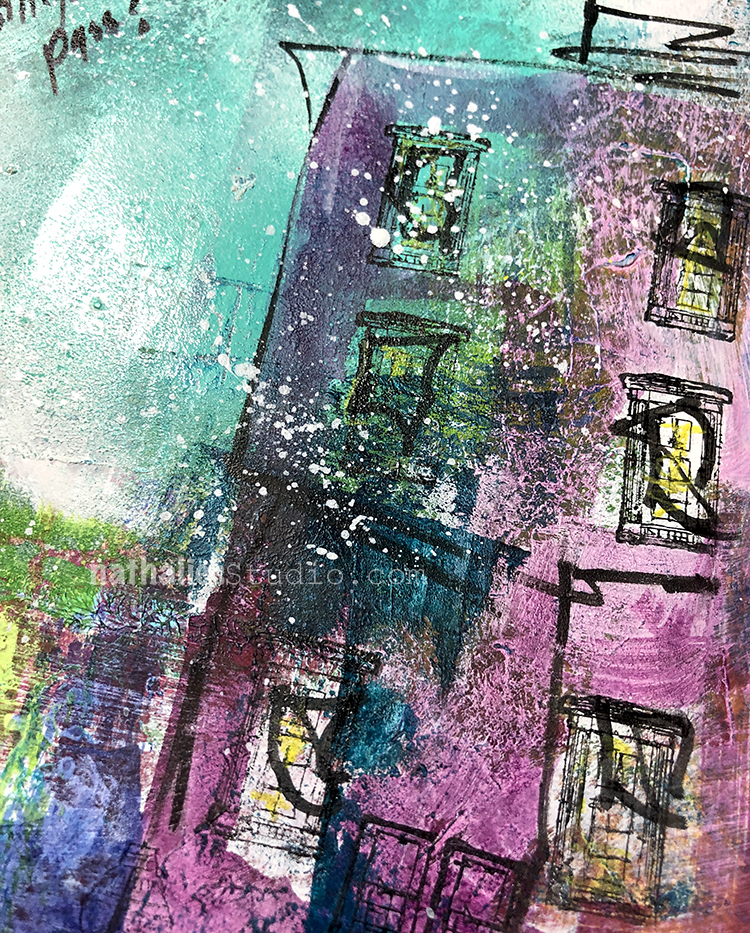
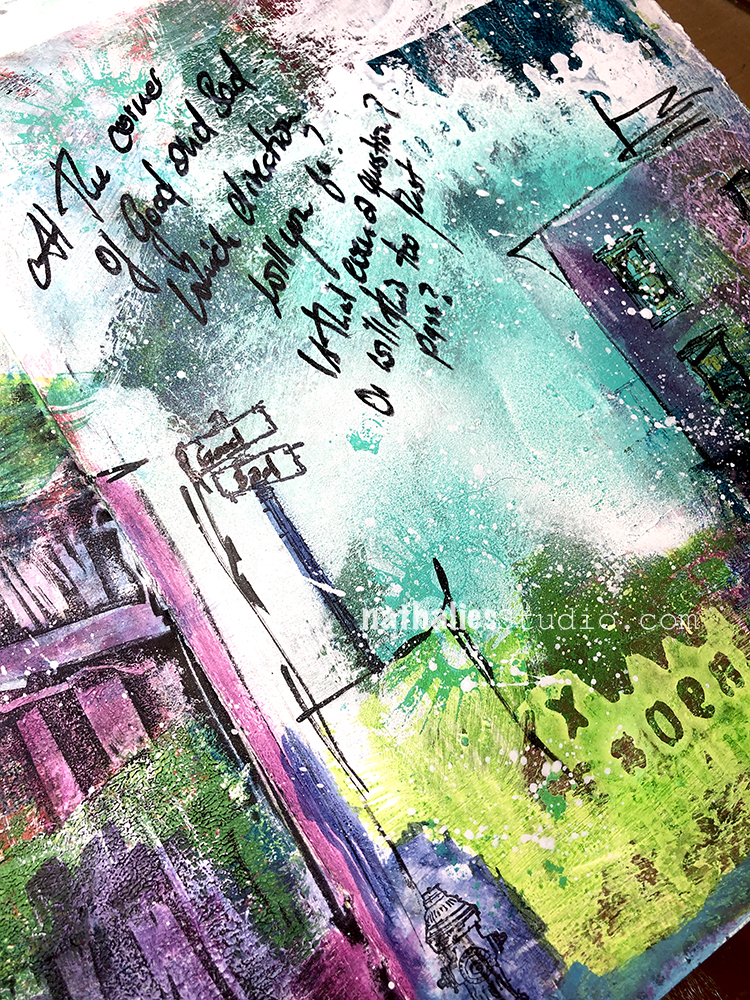
I added some hand drawn imagery and some of my Stamps as well

I love the contrast of very clean and fine line stamps and then the bold hand carved stamp. And all the texture – actual and optical that I created with brushstrokes, and spray paints.

That was fun :)

Here are some of the supplies besides Acrylic Paints I used for this spread:


Leave a comment