For a two weeks now I am challenging myself to get up at 5am and each morning I follow and work on a book binding or folding technique I have never done before – just to learn something new.
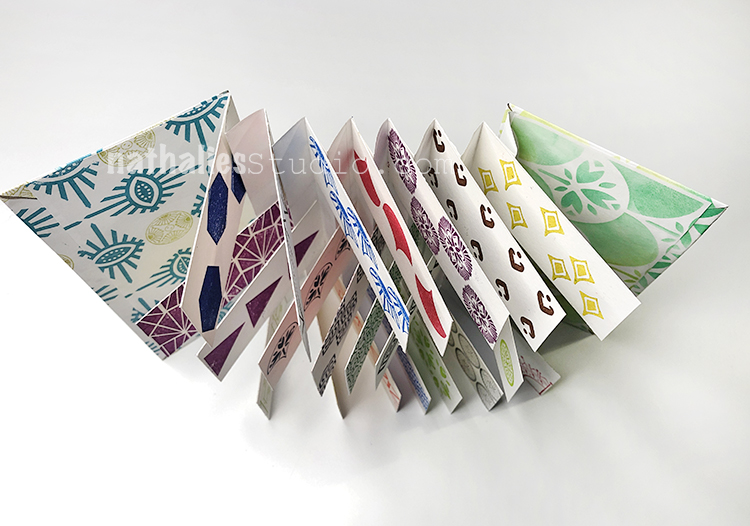
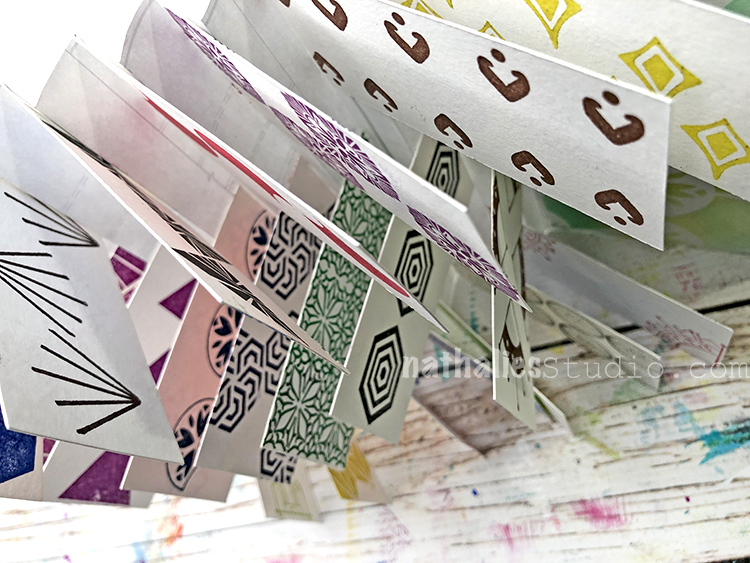
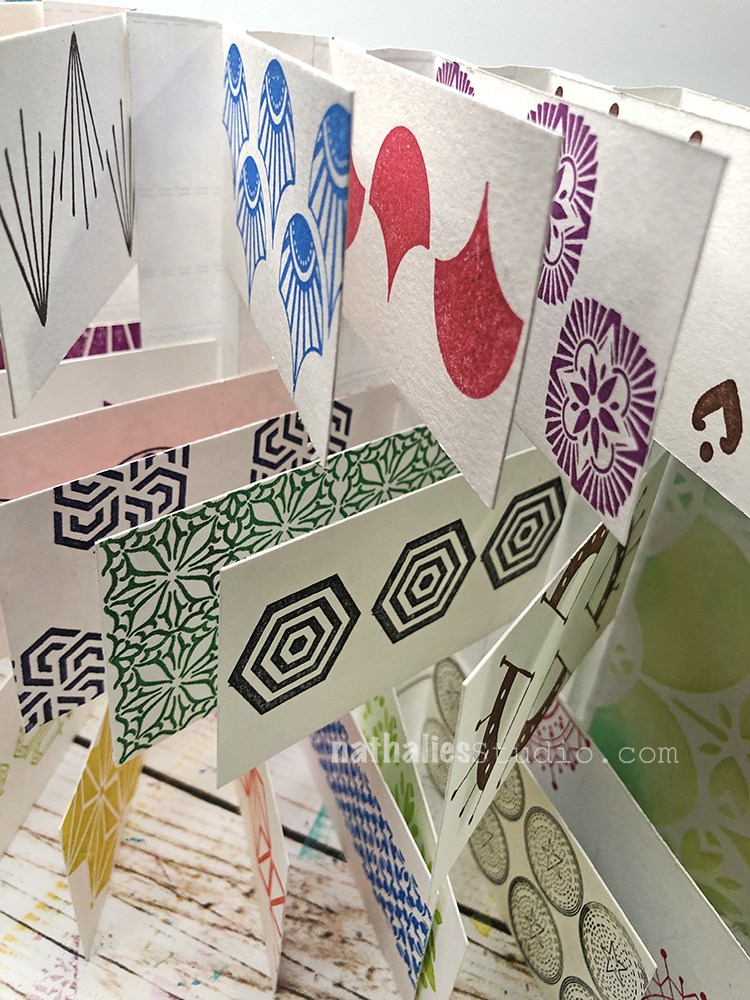
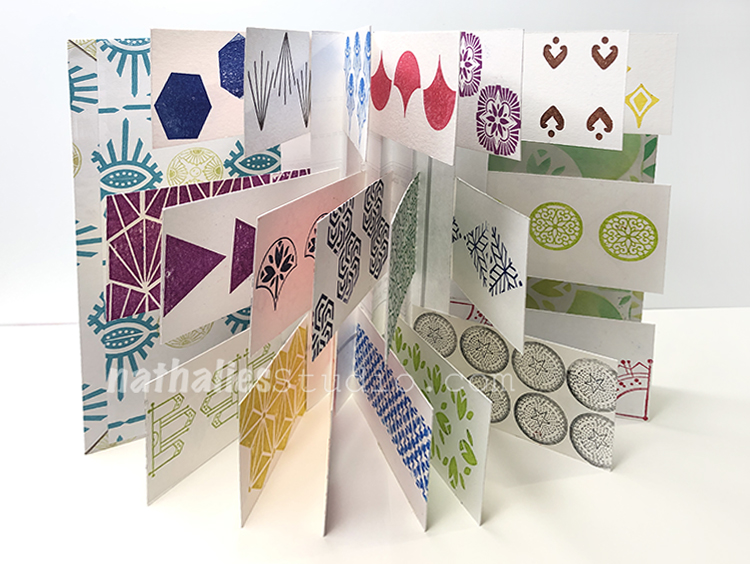
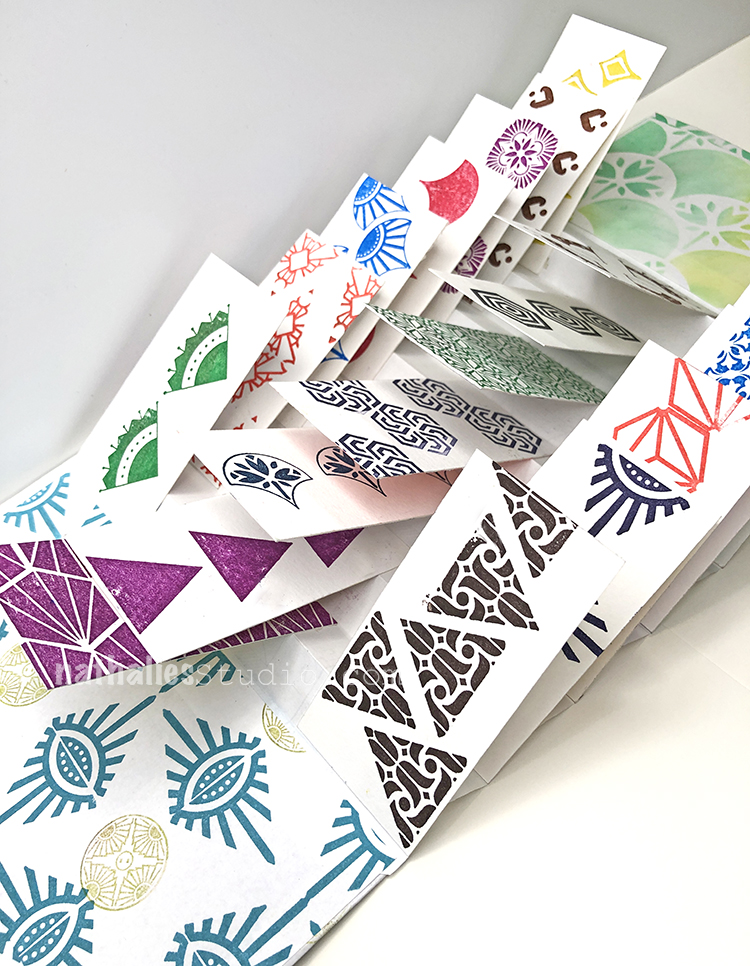
This is a so called flag book and boy it was so much fun to make – I made a little sample book out of it with some of my stamps.
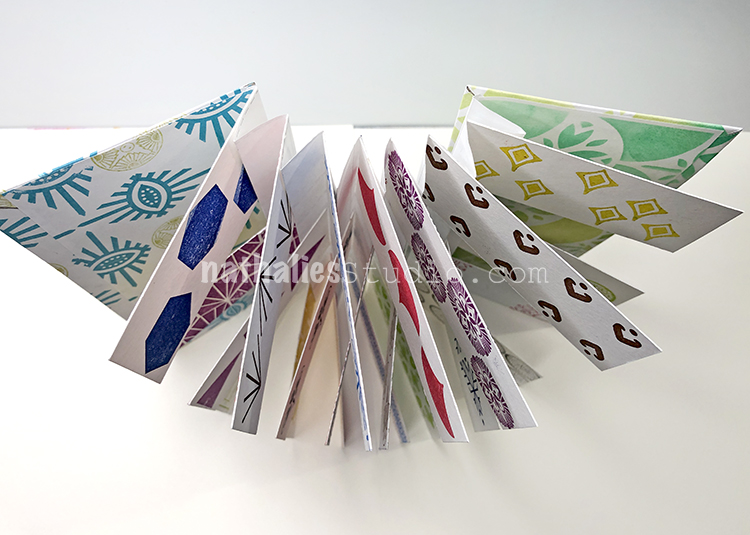
The book makes a fun noise when you open it up – like flags in the wind and I loved just the sculptural aspect of it when standing upright
or laying flat.
Now you might ask if that is worth it to get up at 5 am for? YEAHHH – LOL – because it makes me so happy when I make a book like this almost first thing in the morning before I even have breakfast – and I feel like I already accomplished and learned something new and fun. But now excuse me …. I need to take a nap – LOL ;)
Love your book. I never made one, so will give it a try!
I get up at 5.30am, yoga at 6.15am online on FB with my local class.
Occasionally, I may do a tiny bit of crafting before yoga starts, to finish off a project.
Love your Mail stamps.
Hi Tracie- there is a book called the 5am club- I don*t like the book and the story that much but the idea made sense to me to spend the first and very early hour of the day by learning something new and journaling . There is also a workout included …that I have to say is really to early for me hahaha. No – you do not have to be in bed by 9pm but naturally I am falling asleep around 10.30 pm LOL.
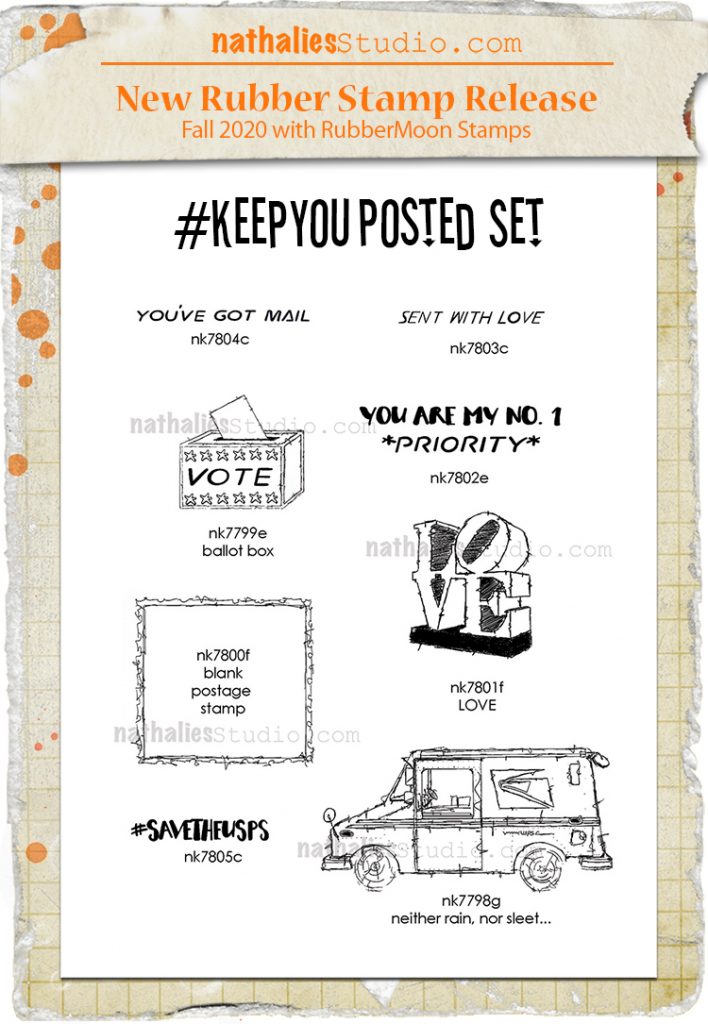
Happy to share this new set with you today as it was pretty important for me to design this one. I call it #KeepYouPosted and I think you can get the gist about it.
It includes 8 different cling rubber stamps, a mixture of text and graphic ones and some that are really appropriate right now…. but if you think about it, these messages are totally timeless. Check it out HERE. It might also get you into the big Mail Art craze that is going on right now because these guys are perfect for cards and envelopes!
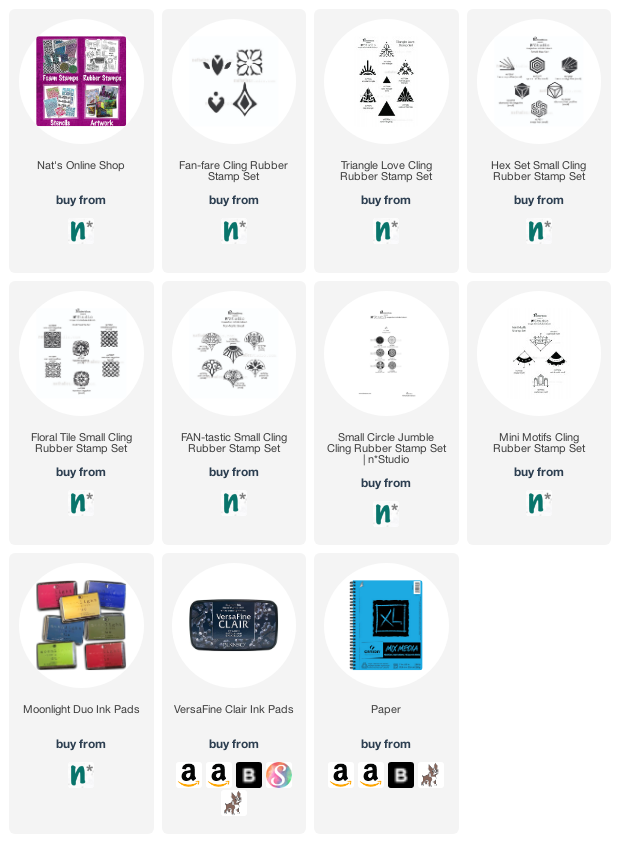
Here is the set:
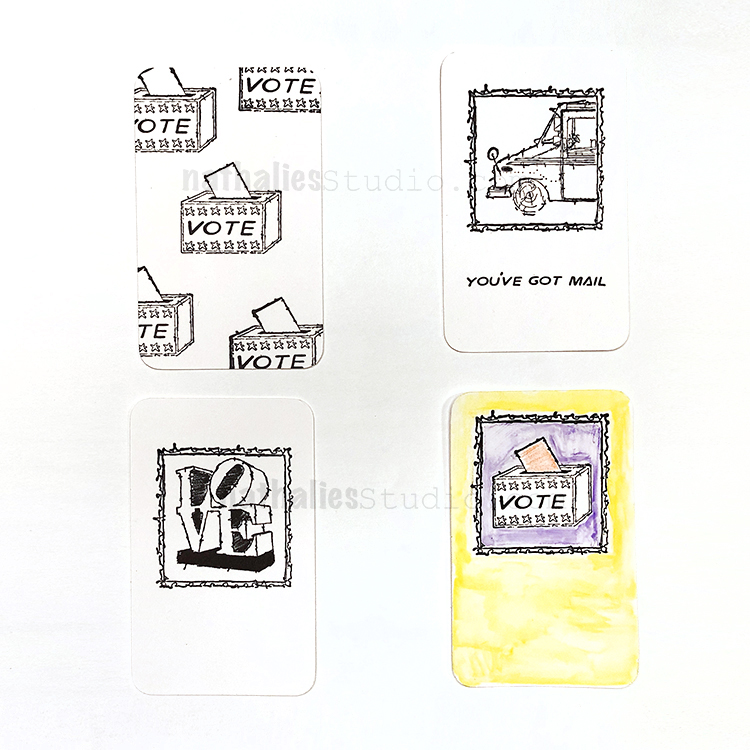
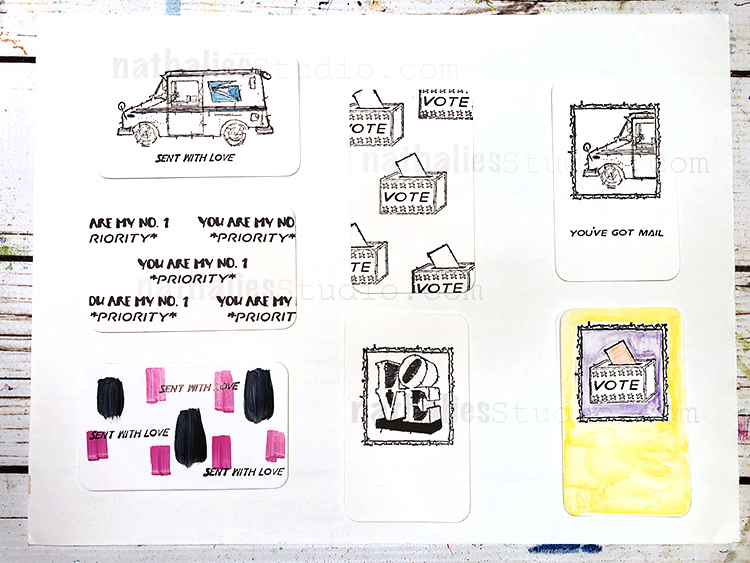
I made some small tags so you can see how they look and also how some of them work together:
The Blank Postage Stamp design can accommodate some of the other designs inside to make a faux postage stamp design. It’s also fun to put your own thing in that frame. And the Ballot Box is just such an important reminder now.
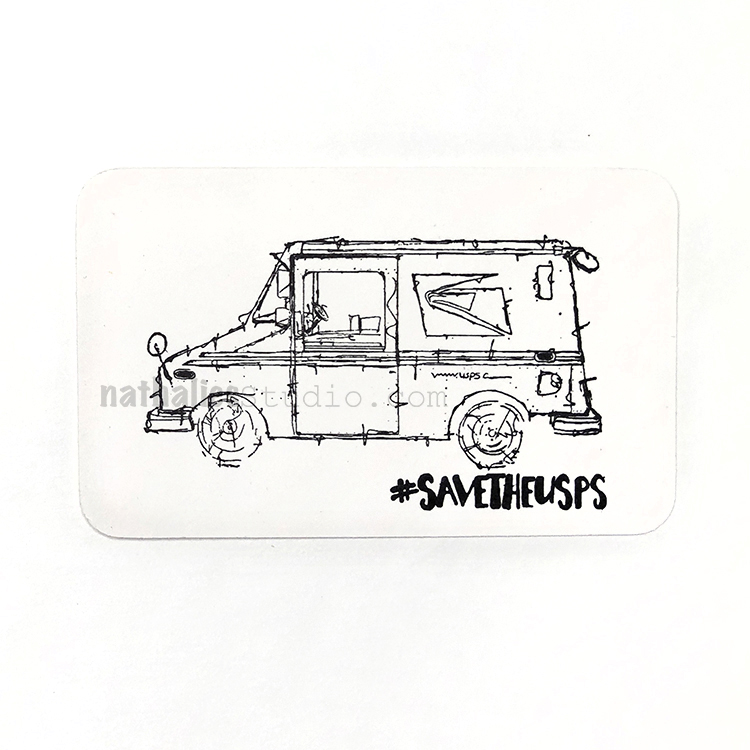
I love the USPS trucks here – such a unique vehicle – I had to capture that. And #savetheusps, well you know ;)
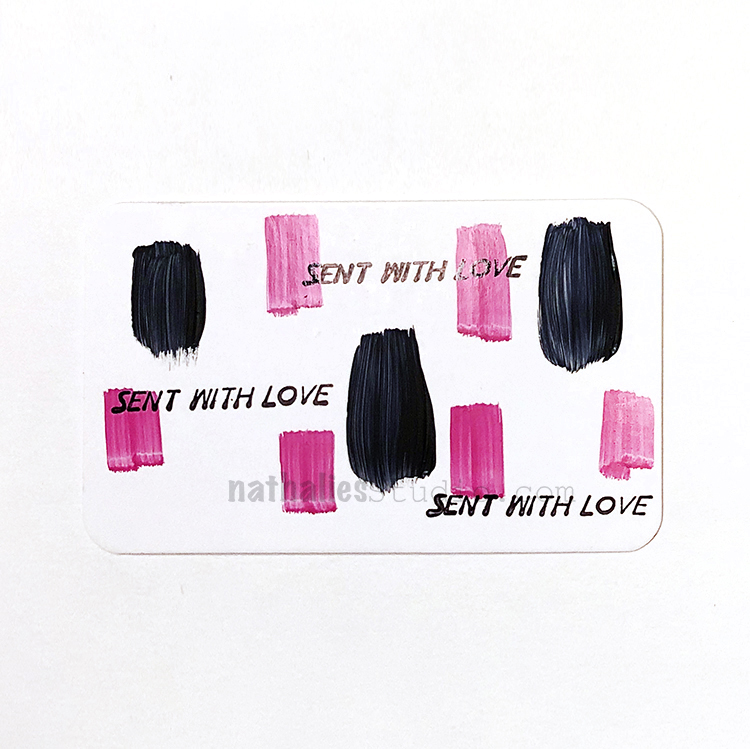
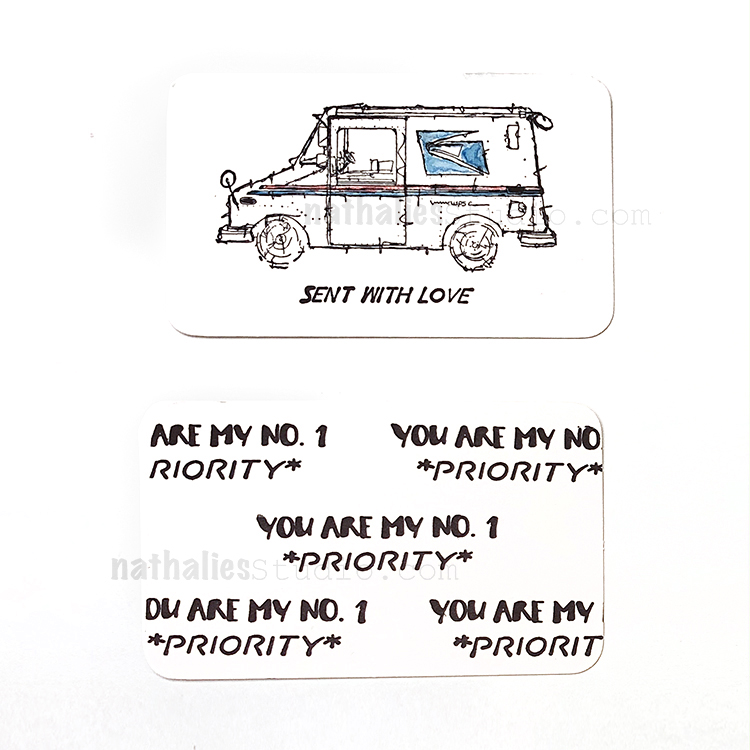
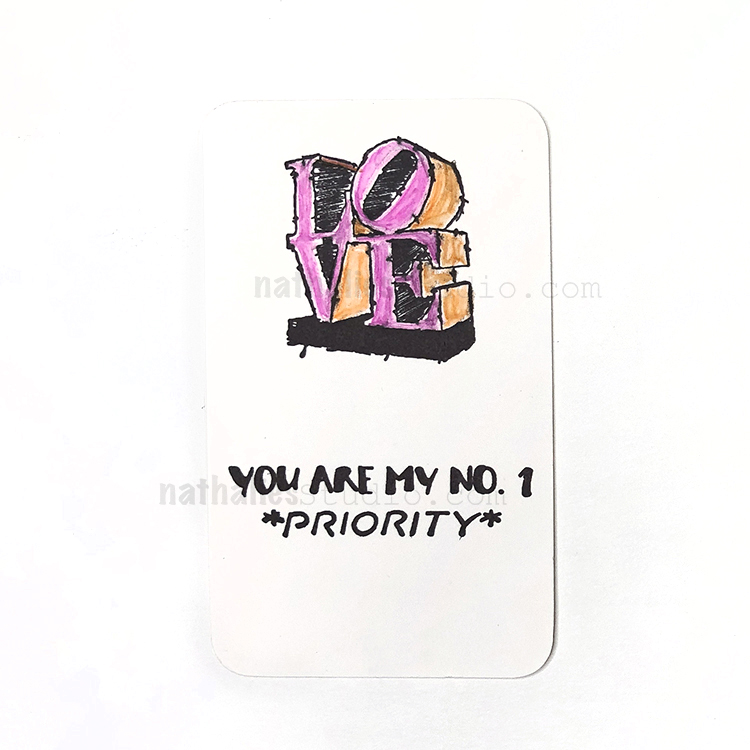
Sent with Love is such a classic. And I send out a LOT of Priority boxes so I thought a play off that would also be nice. Why not send a special note to your No. 1 Priority?
My LOVE stamp looks good on its own or in the frame.
Here is the whole bunch – tons of fun to mix these up. Anybody else want to spend the whole day making cards???
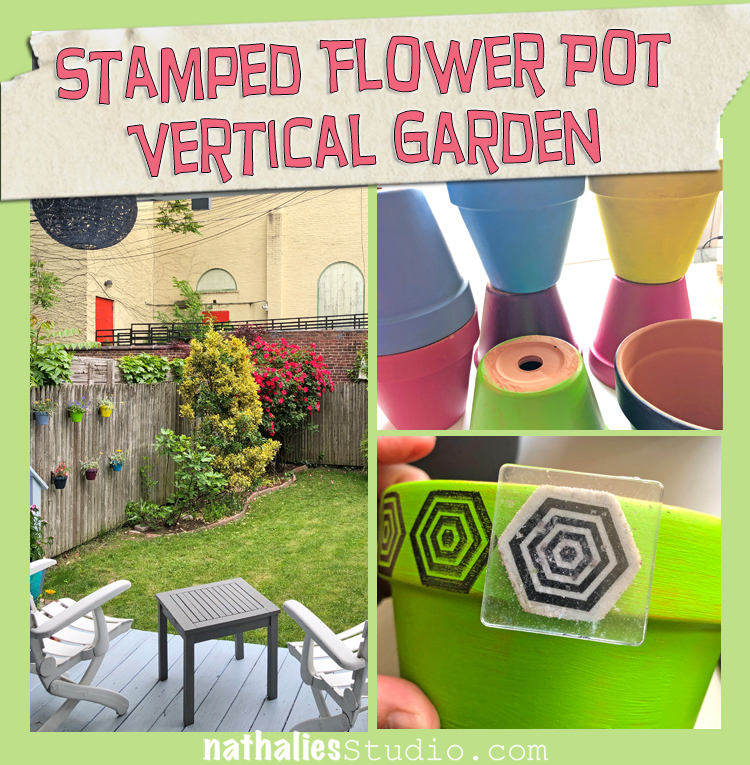
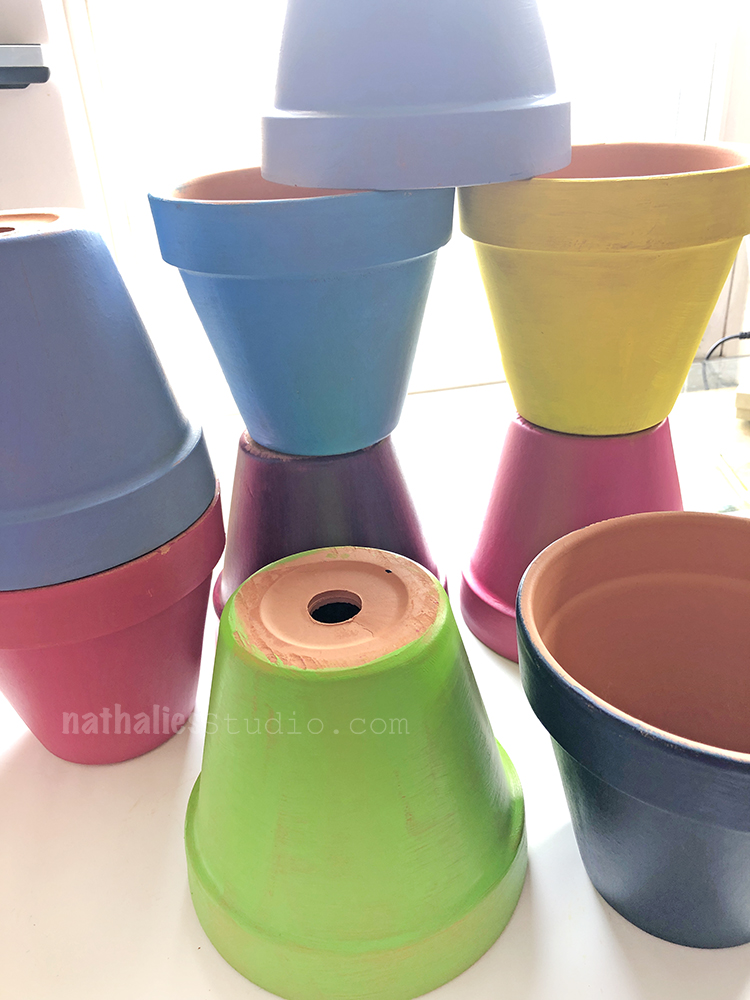
This project has been a long time in the making – I began during the renovation of my house last year and then put it all on hold until this spring. Anyway, I’m happy to share with you my DIY vertical garden that I made with simple terra cotta flower pots, some acrylic paint, my rubber stamps, and stazon inks.
Here’s how I did it:
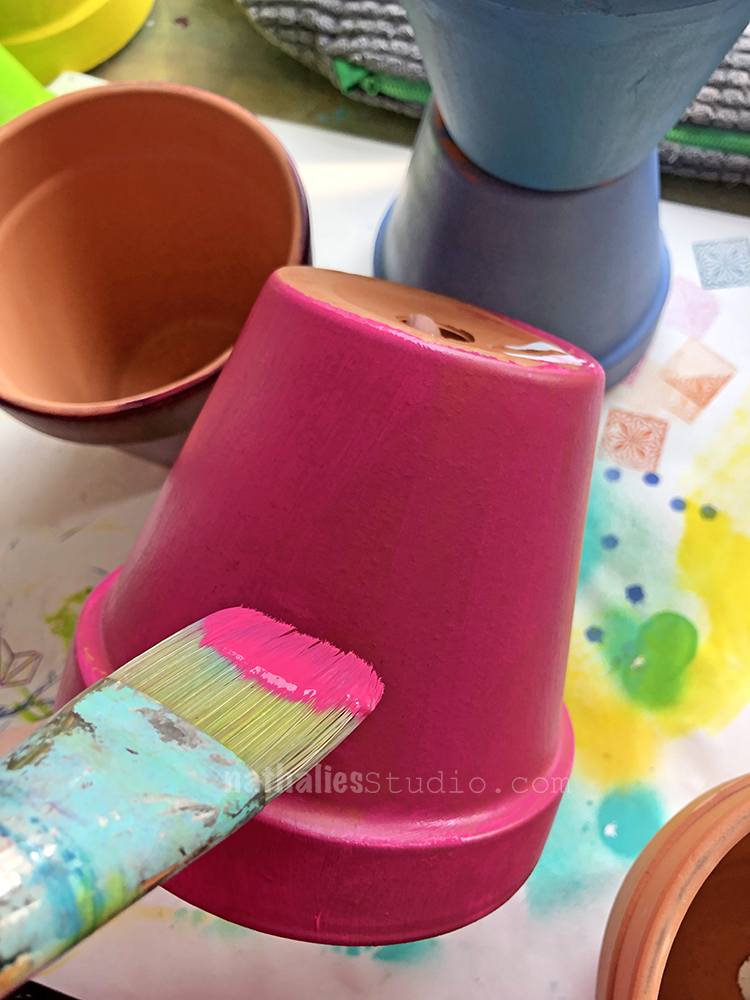
I painted a bunch of pots on the outside with a colorful array of acrylic paint. I know these may not last forever, but I am happy to enjoy them for definitely a few seasons :)
Can you tell I like happy colors lol
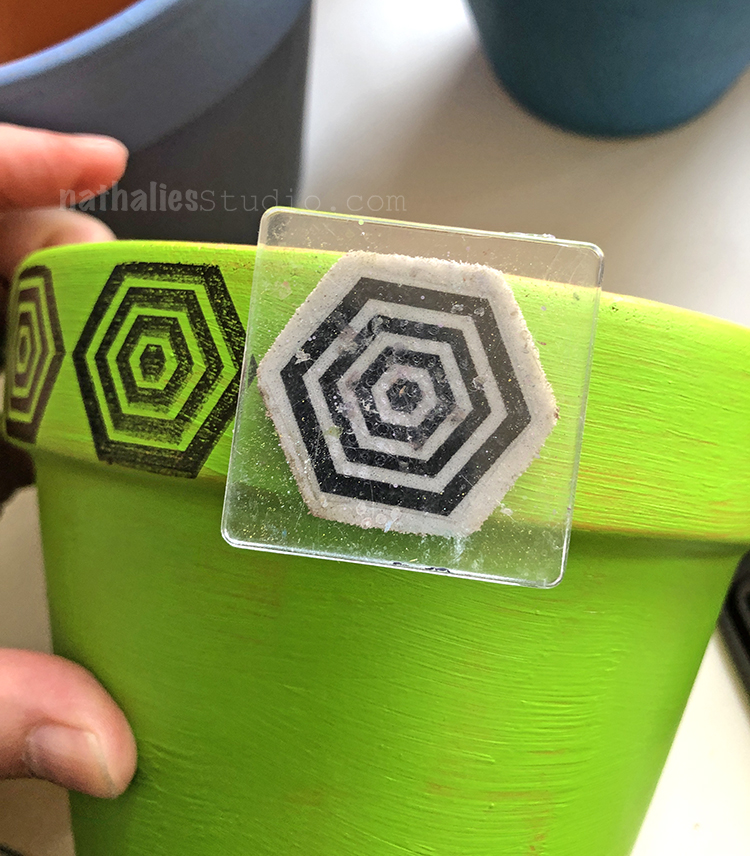
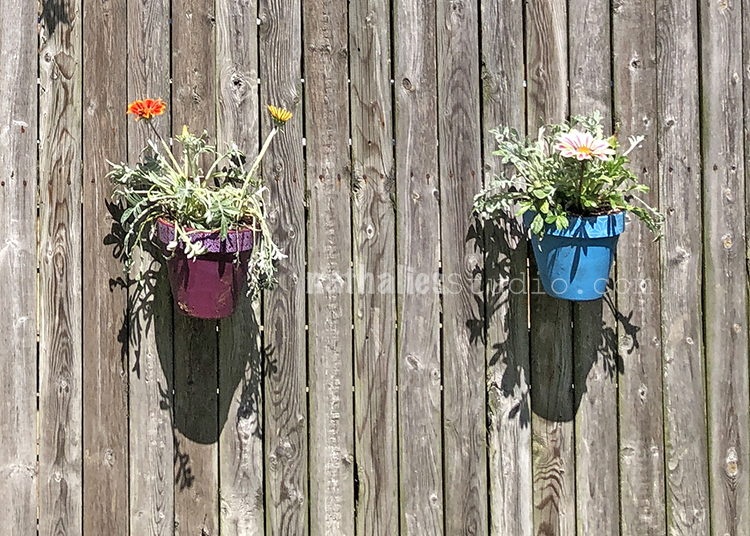
Then I went for rubber stamps that would work well around the rim. Here is one from my Hex Set Large set – and that set has 6 stamps that would work perfectly for this. I used Stazon inks.
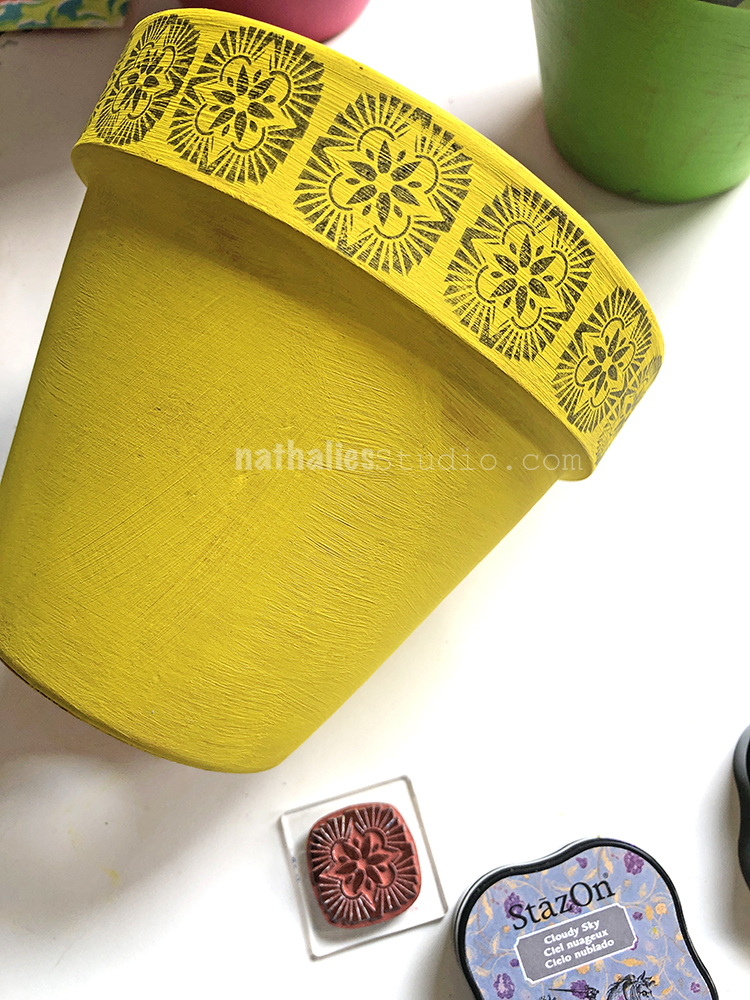
Here is one of the stamps from my Floral Tile Small set in action – another great stamp set option for making a group of pots with an array of designs.
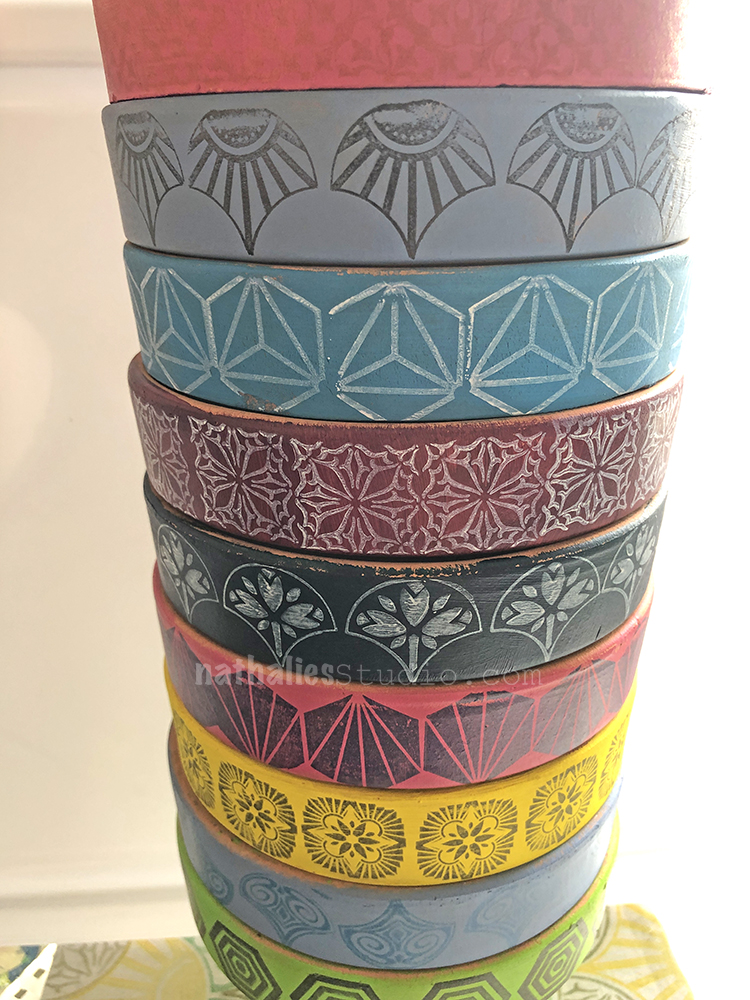
I created quite a few in a variety of colors and patterns.
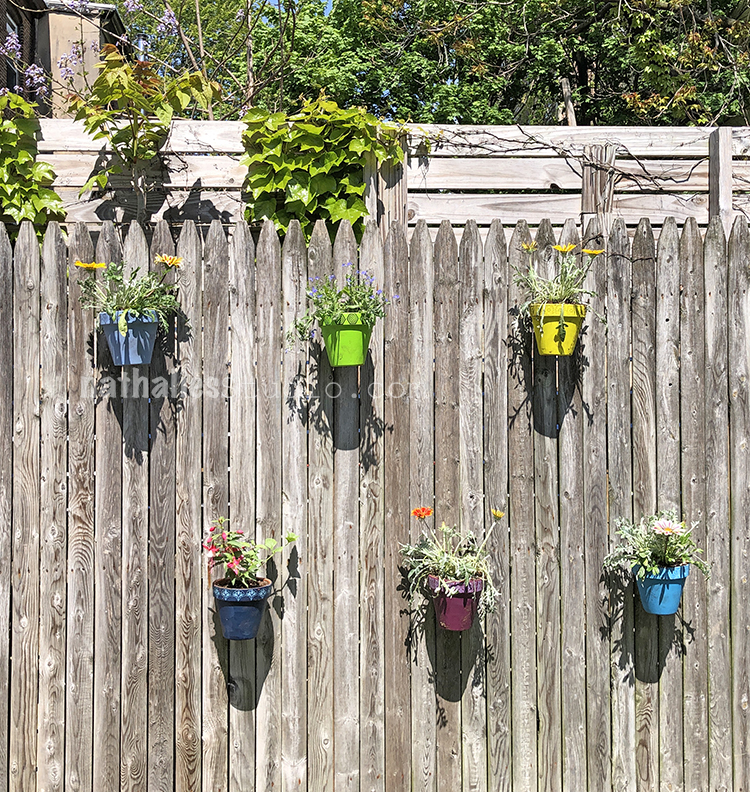
I installed the pots on the fence in our back garden. The fence is old and a bit shabby and a new one is not in the budget right now, but until it is – here is a nice pop of color. I used some nifty brackets to hang the pots – see the link in the supplies below.
I got a variety of different flowers in a mix of colors to fill them.
Like these! I got a flat from a local plant shop that created a mobile plant store in a truck that they drove all over the city, selling plants, while we were being careful during the lockdown. Pretty cool way to support a local small business!
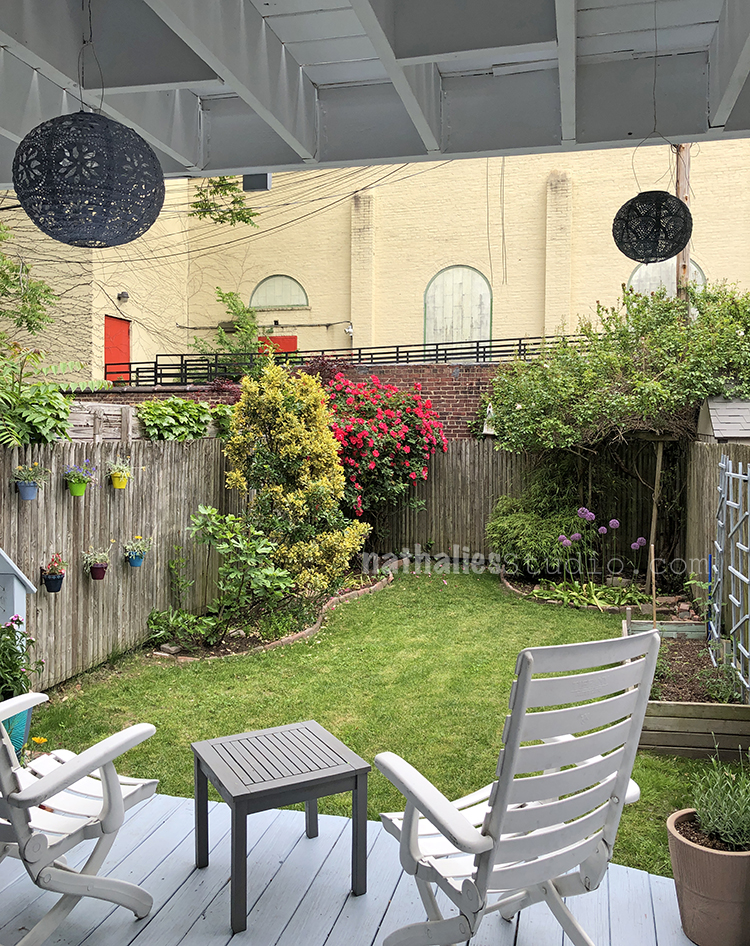
Ta-da! My colorful vertical garden :)
And a view of our happy oasis. I love spending time back here with hubby at the end of each day.
Are you planting anything this year?
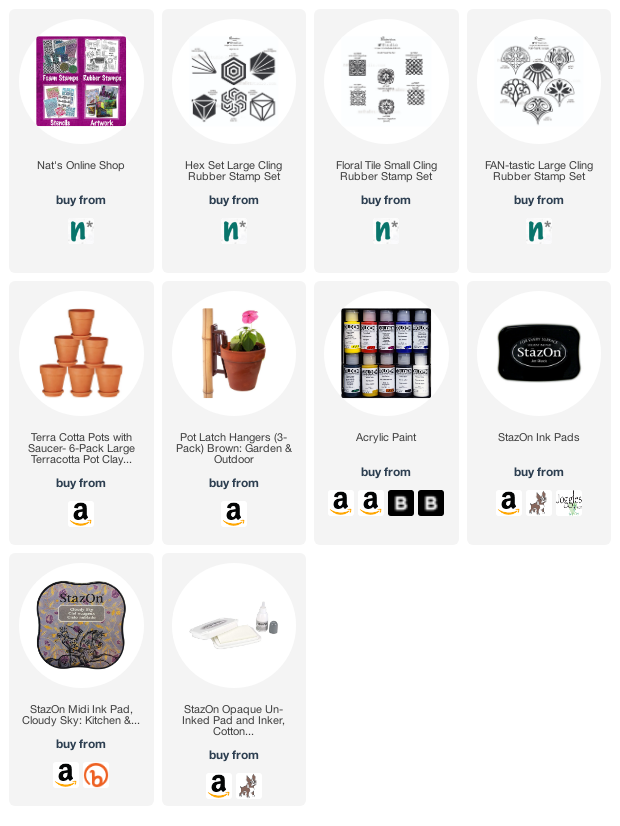
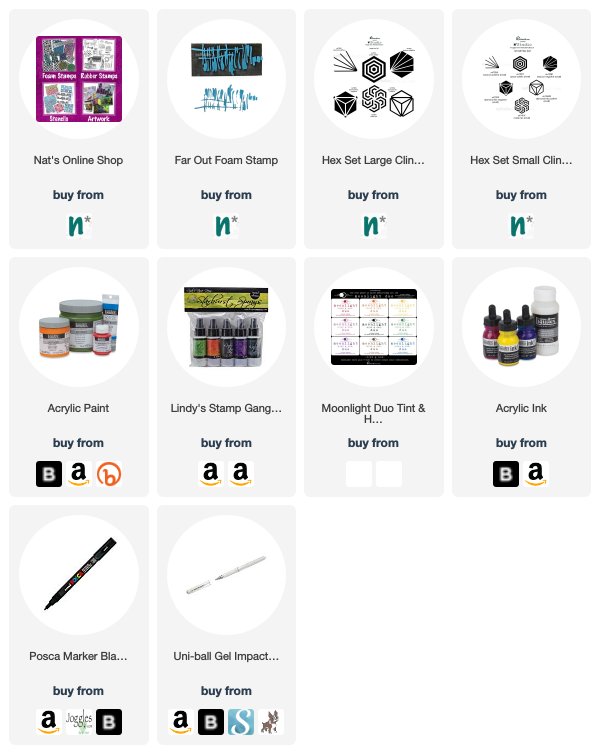
Here are some of the supplies I used for this fun project:
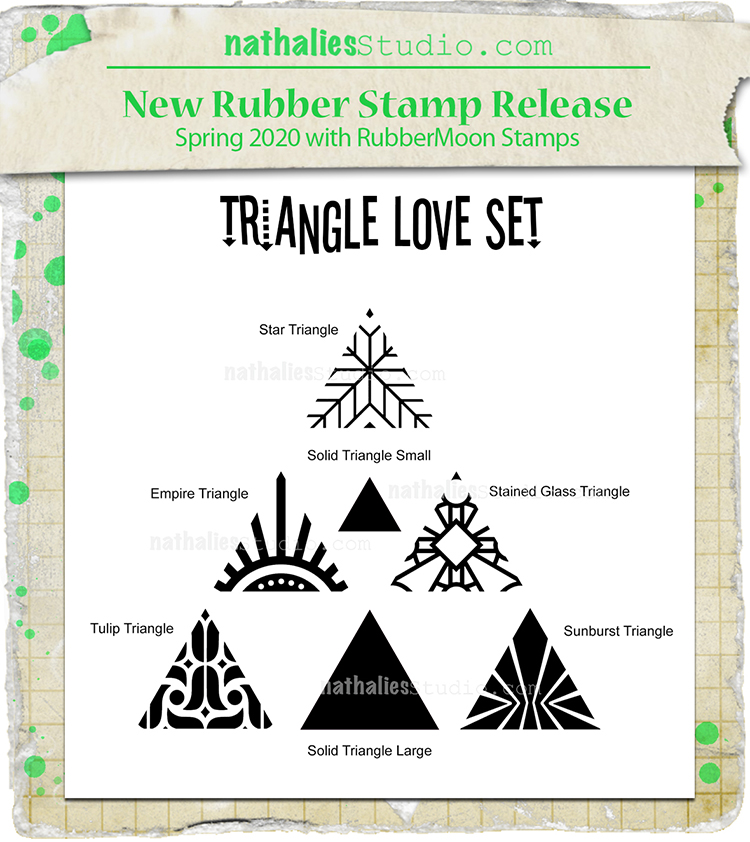
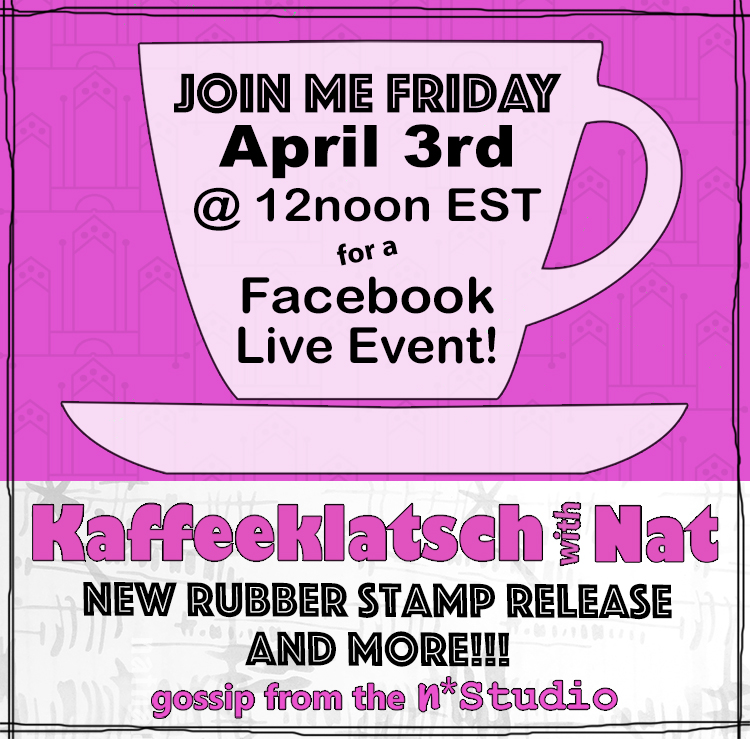
I have some NEW rubber stamps coming out today! It’s a big exciting group and I am very happy to be sharing them with you. AND if you are around today (April 3rd) at 12noon EST be sure to catch me LIVE on Facebook for my Kaffeeklatsch where I will be showing the new guys :)
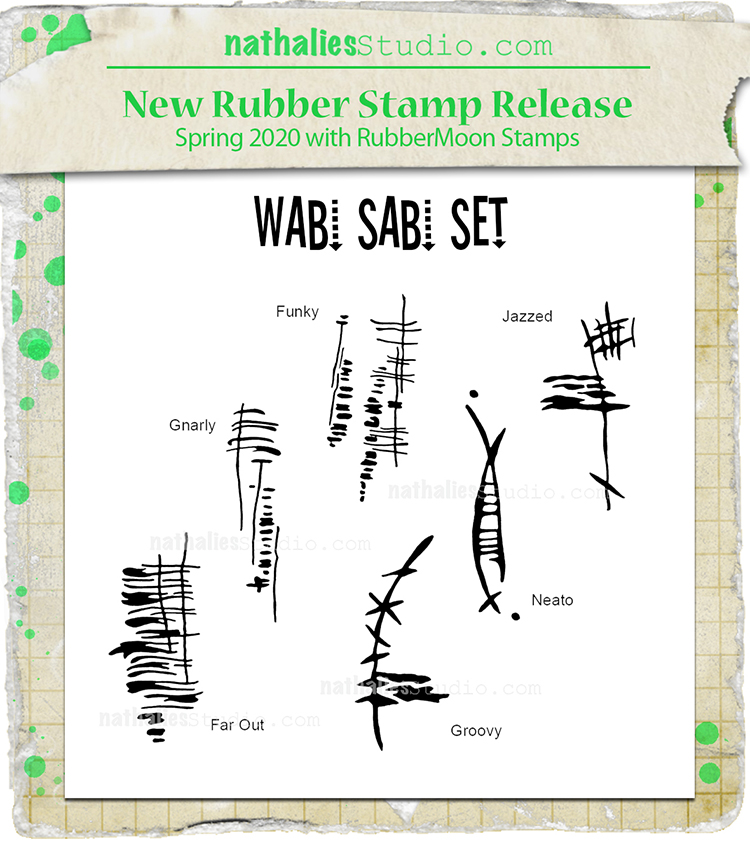
In the meantime, here we go. Here is the Wabi Sabi set, a fun set of 6 little stamps that are perfect for adding abstract, mark making to your artwork:
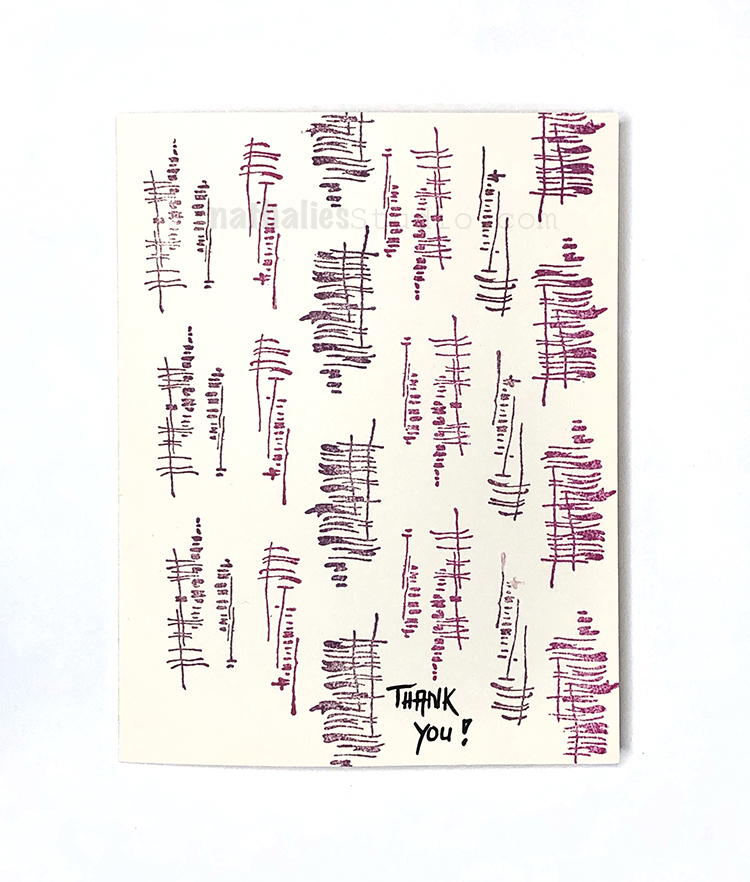
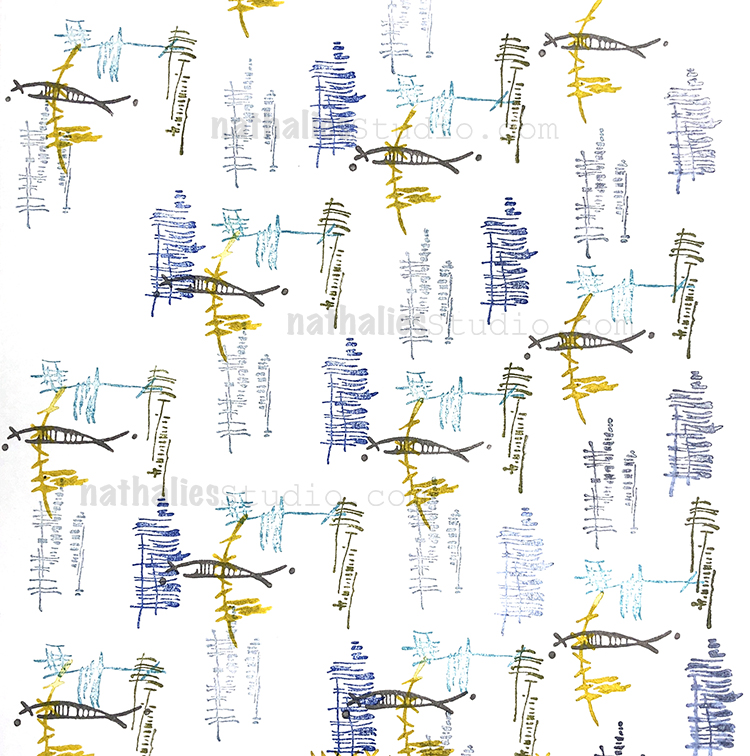
And here are some of these stamps in action:
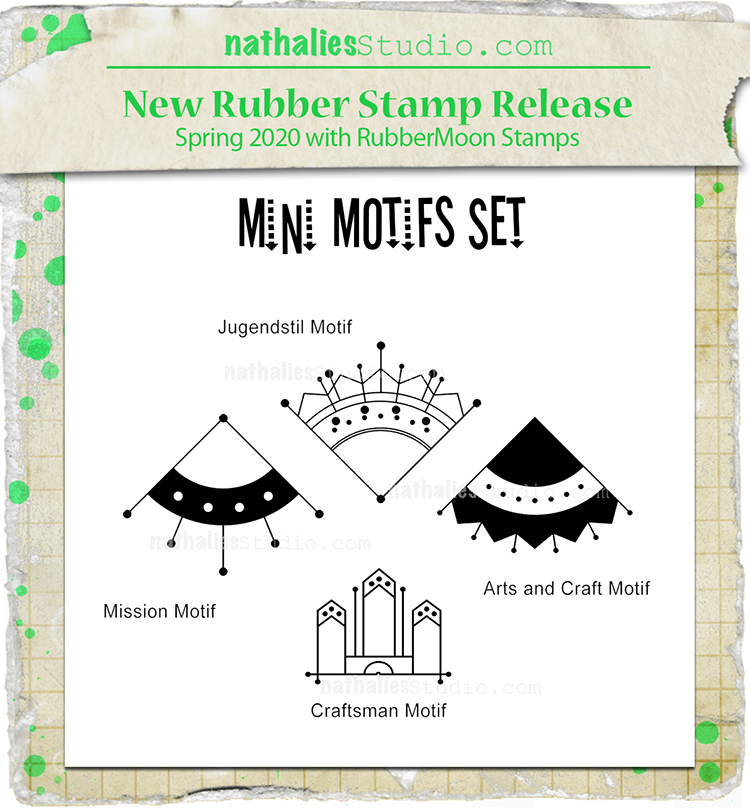
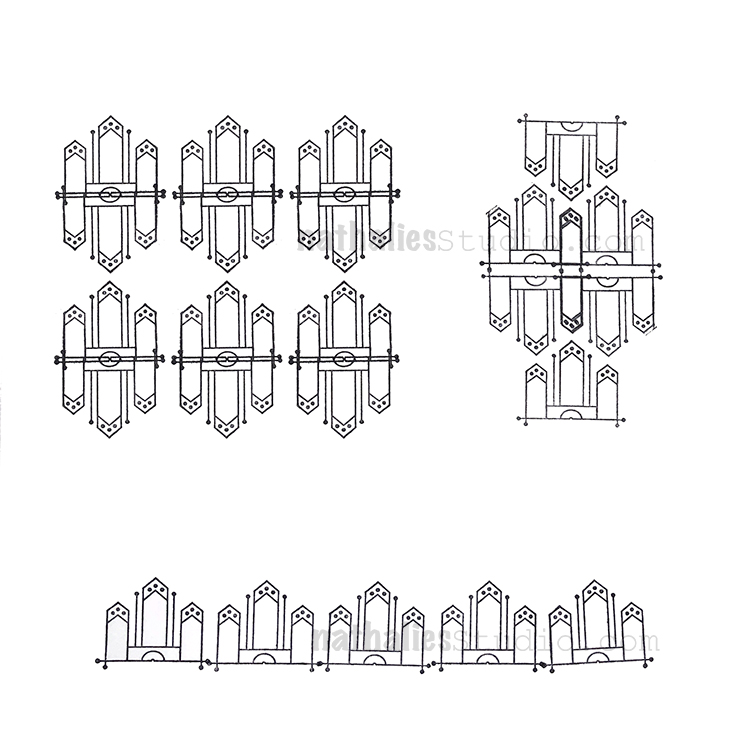
Next up is the Mini Motifs set – all these were inspired by designs that I found on my fireplaces at home!
The Mini Motifs can be used for so many patterns or for a little ornament here and there:
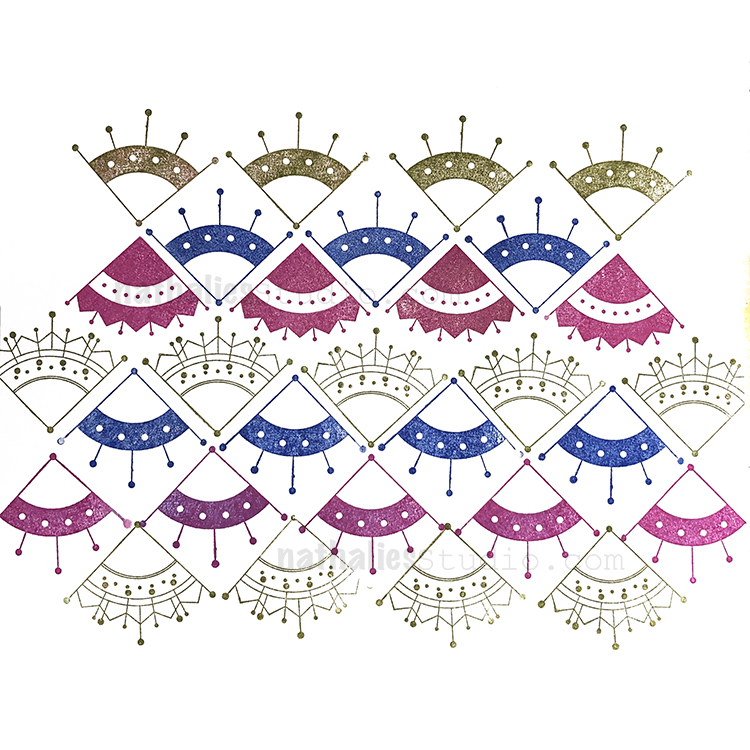
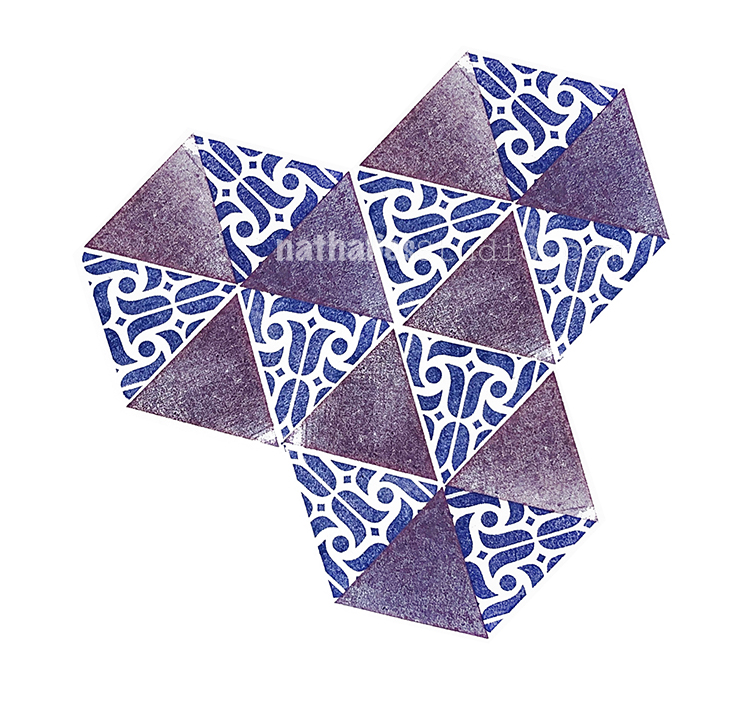
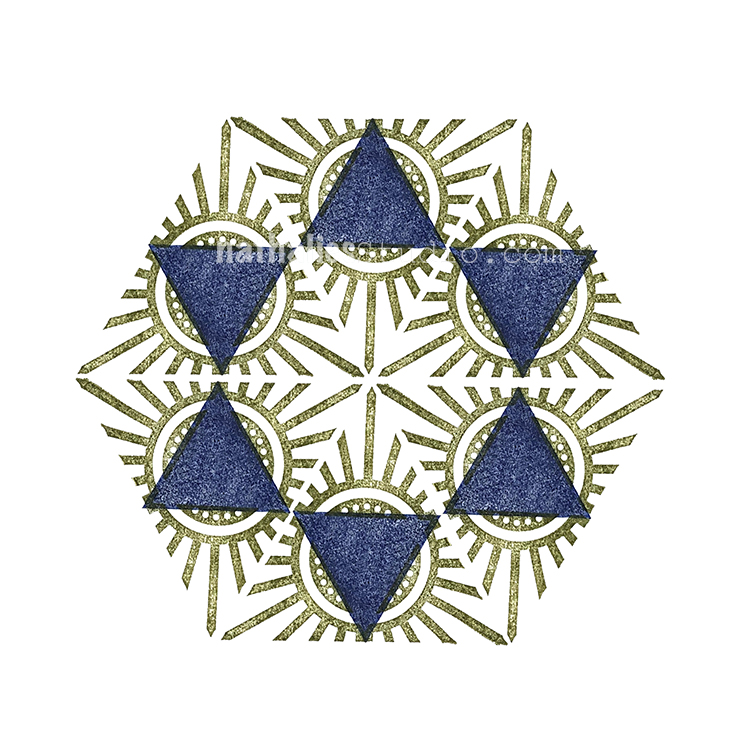
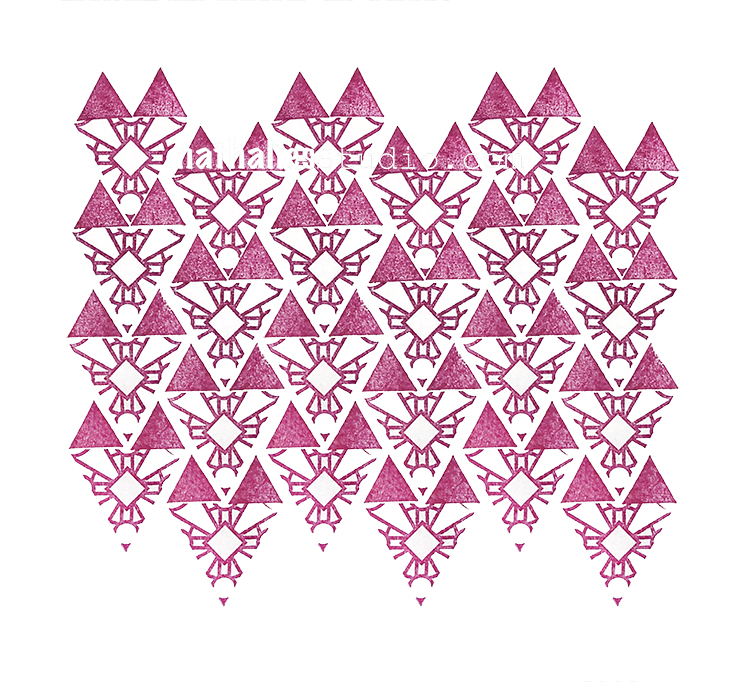
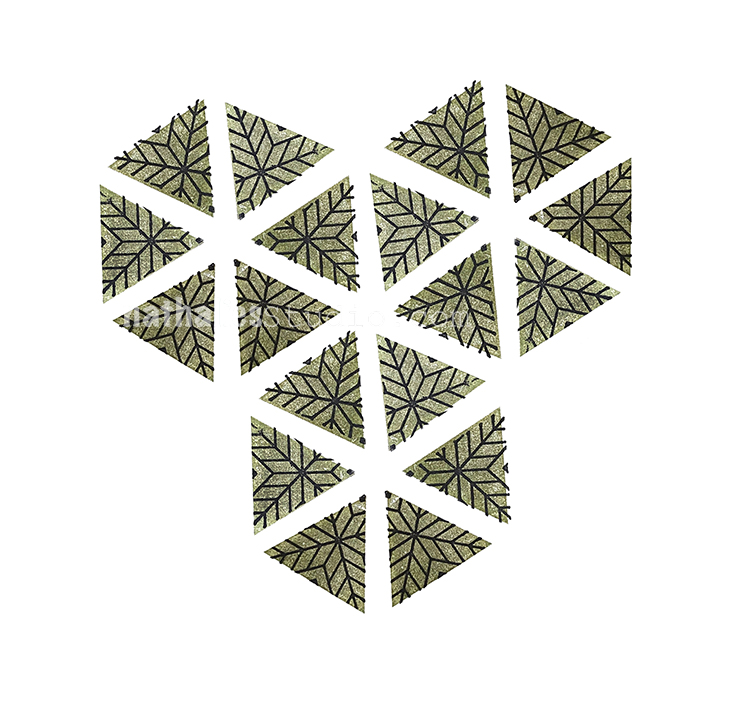
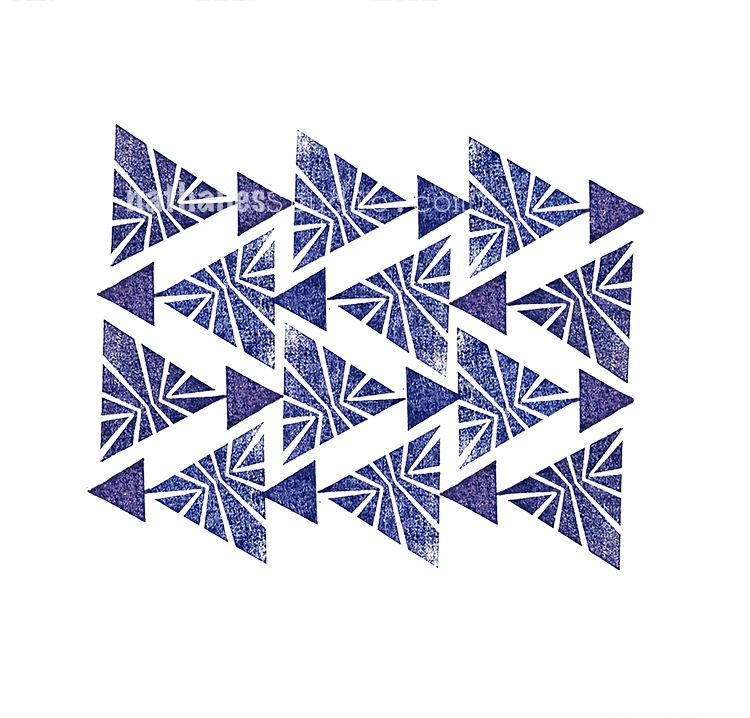
And then there is the Triangle Love set – wow these are fun to use for making patterns. I will show you in a bit how you can make kaleidoscope-like patterns by rotating and stamping the triangles…
These are amazing to play with to create patterns:
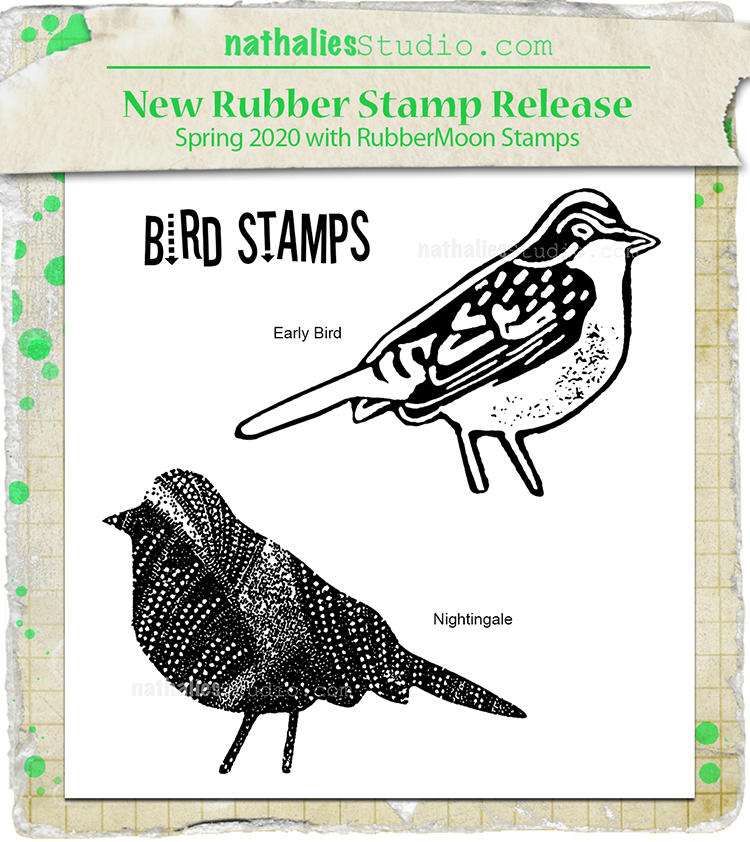
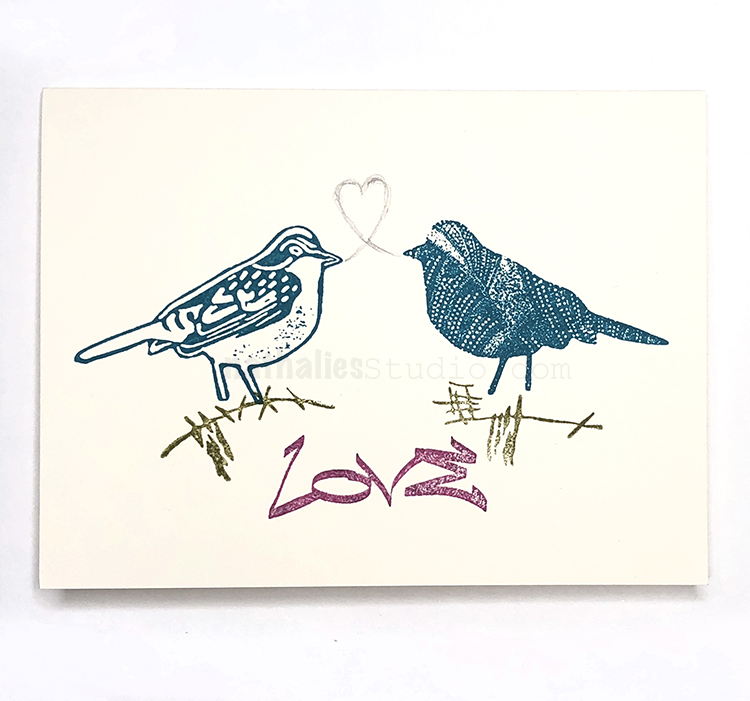
And finally two different birds in the Bird Stamps set – Early Bird and Nightingale so you can “put a bird on it” ;)
Here are these lovelies:
I hope to see you at the Kaffeeklatsch later today to see the new stamps and just to catch up on everything:
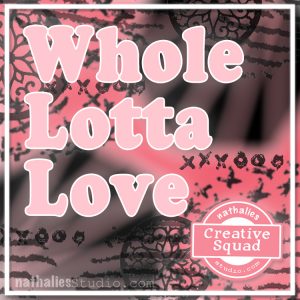
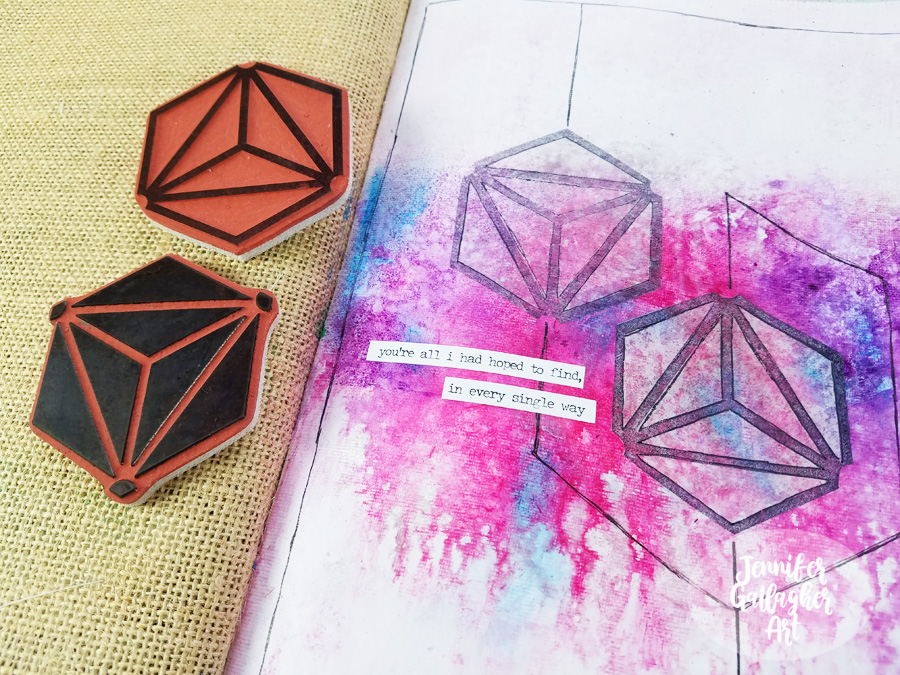
Hello from the Creative Squad! Today we have a post from Jennifer Gallagher that is definitely from the heart :) She is using my Large Hex rubber stamp set and this month’s theme: Whole Lotta Love – Who or what sets your heart aflutter this time of year? Let’s pay tribute this month to those warm fuzzy feelings of love and create something that celebrates that universal emotion.
This month we are feelin’ the love with a “Whole Lotta Love.” As soon as I read the prompt for this month, I got super sappy with an art journal page dedicated to my sweet husband. It is the time of year where we celebrate those that we love and show our appreciation for them. This page does just that. Let’s get started.
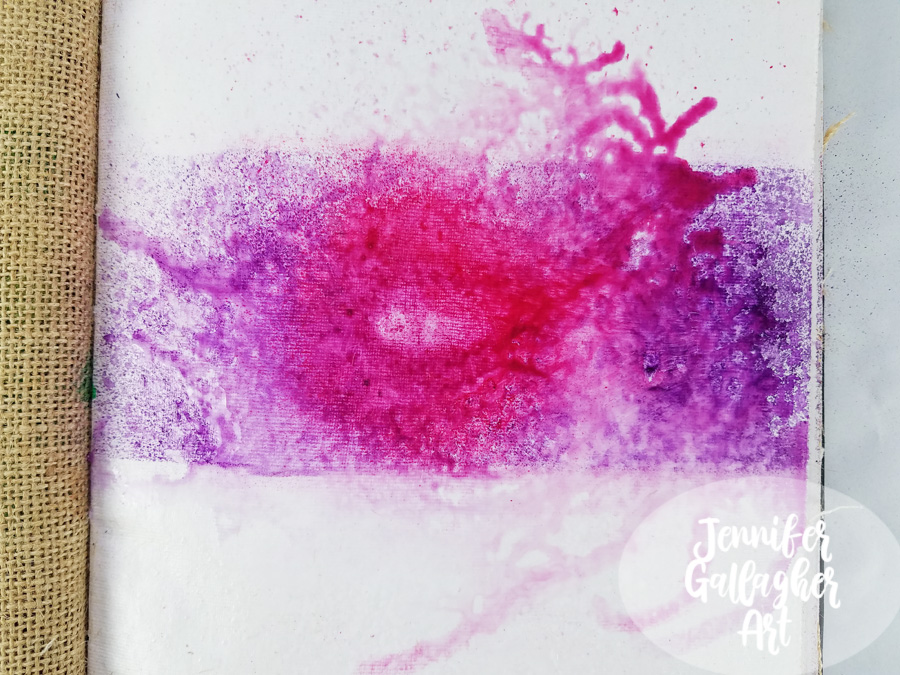
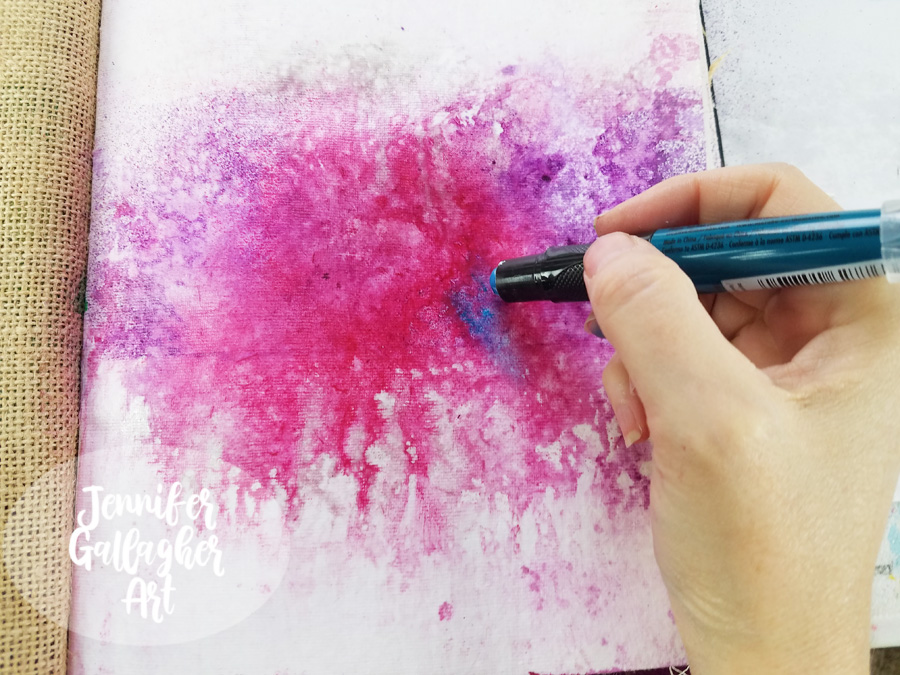
I am working in my Dina Wakley Media journal on one of the cotton rag pages. Before starting, I applied two coats of clear gesso to this page to prepare the surface. Once the gesso was dry, I chose a few colors of Marabu Art Spray and got to work. First I applied Cherry Red and then Aubergine. I protected the top and bottom of the page with some scrap paper to concentrate the color through the center of the page.
To encourage mixing and movement, I applied a small sprtiz of water into the art sprays.
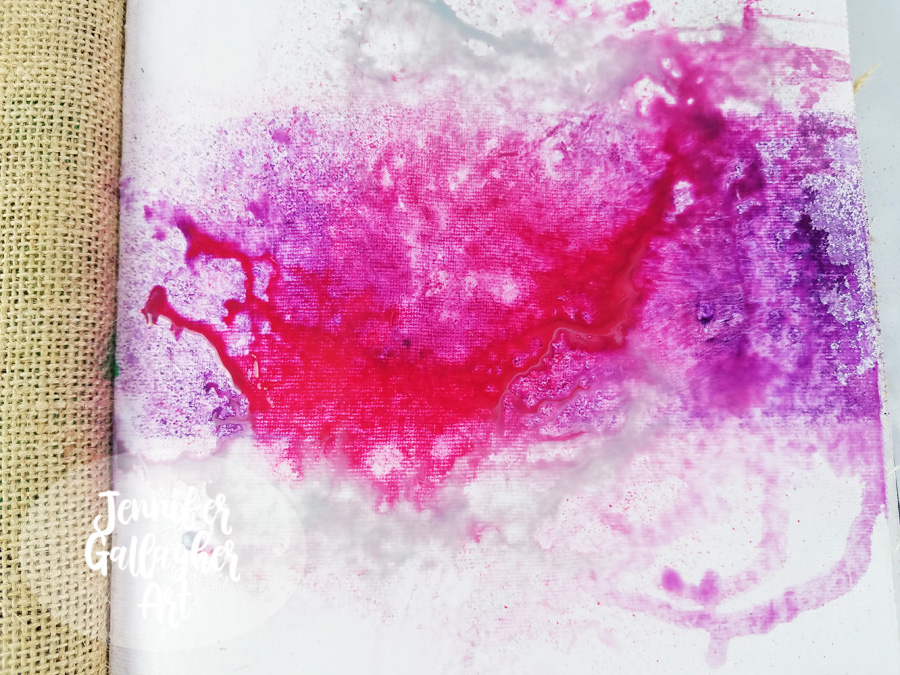
I dabbed up any excess moisture and then applied Marabu Art spray in silver.
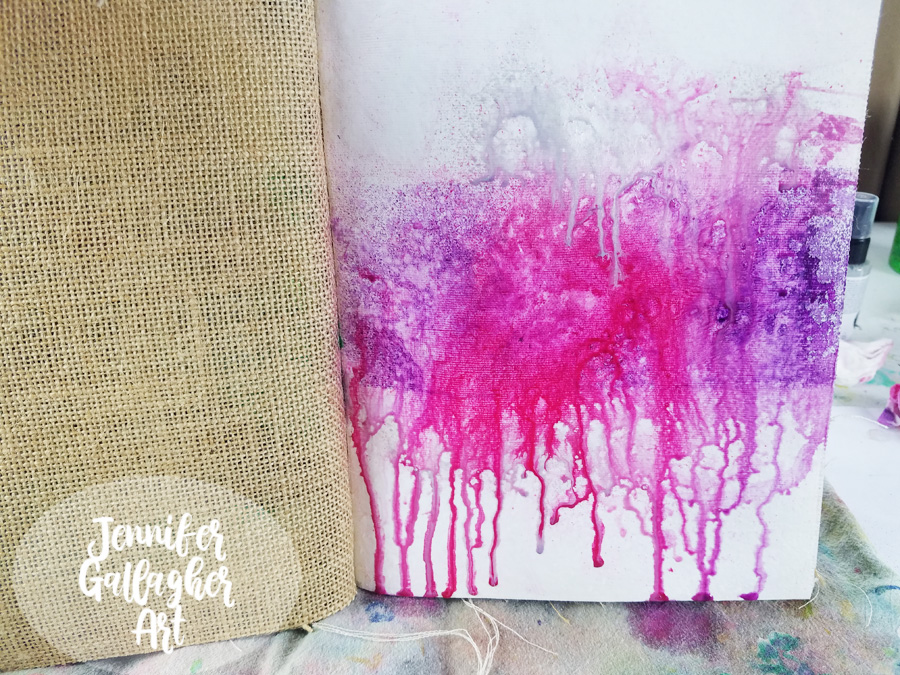
Then, over a towel I keep for art project clean-up, I tipped the book up and let the art spray trickle down the page until a good bit of the moisture was on the towel. Then I tipped the book the opposite direction to allow drips at the top of the page.
As soon as I finished letting it drip, I took a baby wipe and wiped the top and bottom of the page until it was pretty close to white again. I am not scrubbing hard or looking for perfectly white background areas. I just want to get a lot of the color off the top and bottom section. We are left with a far more organic looking page.
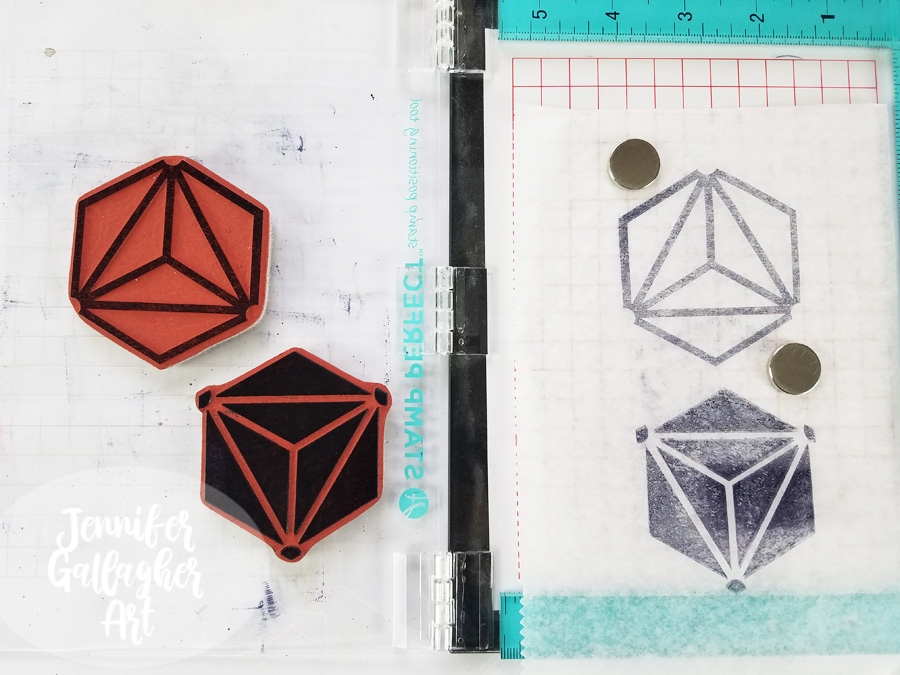
Using a stamp platform, I stamped Nat’s large Diamond Hex Positive and Negative stamps onto deli paper with black archival ink. I ended up only using the positive images.
Next, I went back to the completely dry background with a Marabu Art Crayon in Aqua Green and applied a little color here and there. Art crayons are soft enough to spread with your finger.
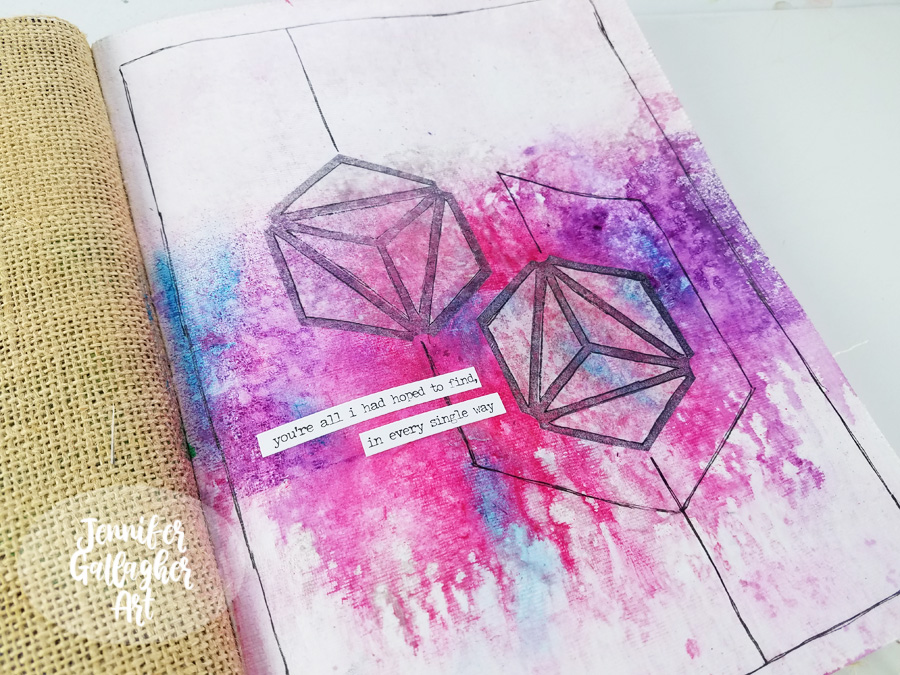
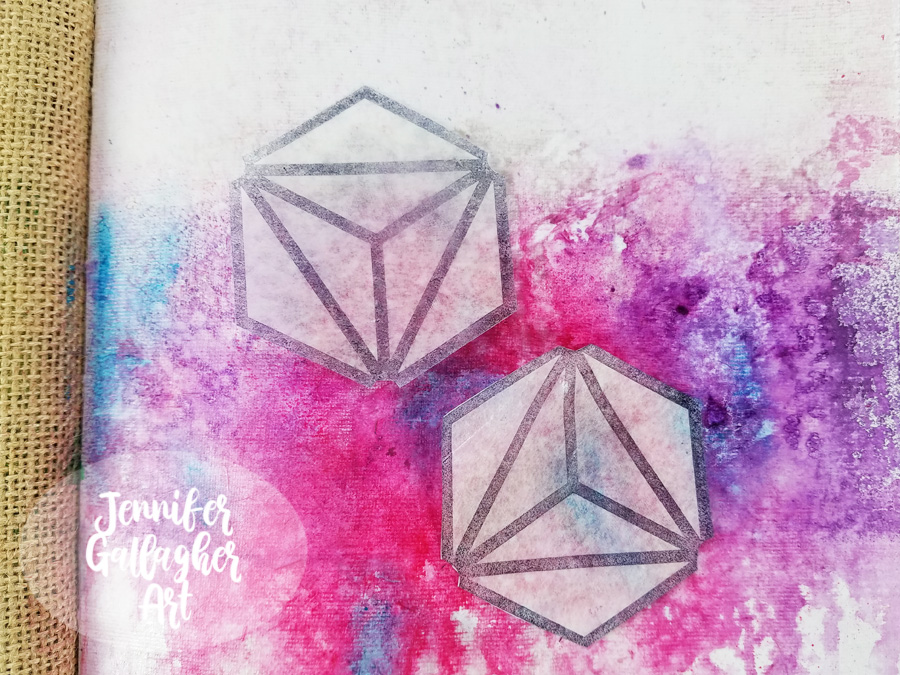
I cut out two of the positive stamped images and figured out where I wanted to place them. These images represent my husband and I.
Once I settled on the placement, I applied them to the background with matte medium.
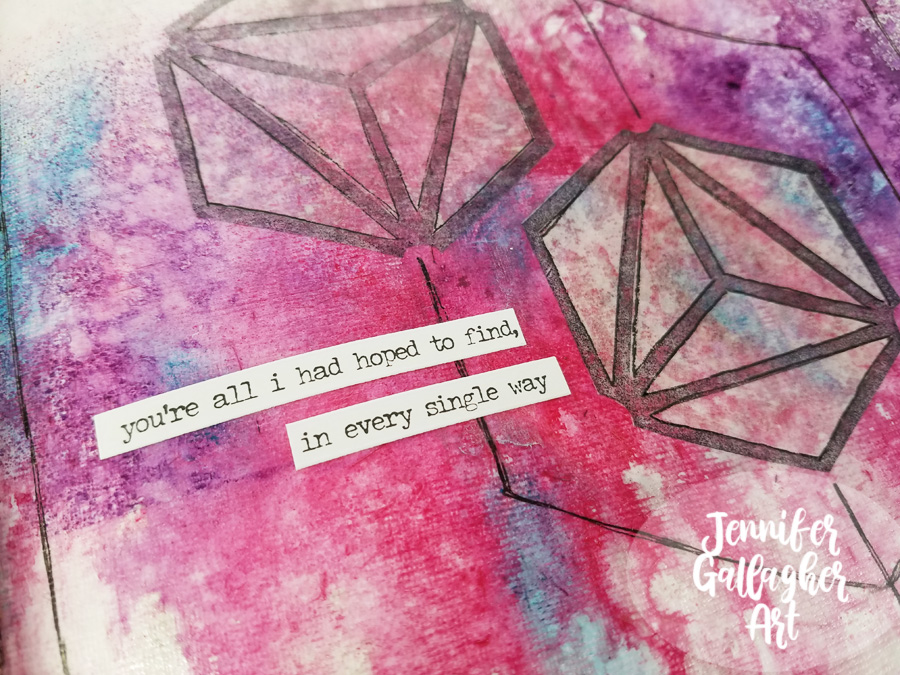
Using a Sakura Black Gelly Roll pen, I connected the shapes with lines and carried it around the page.
I chose a sentiment from a set of Tim Holtz Small Talk stickers and applied it to the page.
I hope you enjoyed this tutorial and found it a source of inspiration for your own art journal. Stamping on deli paper is a fun technique that you should try at home. Being inspired by love has reminded me how much I love sharing my ideas and processes with all of you. Thank you for stopping by.
Thank you Jennifer! Awww that definitely warms our hearts and makes us want to do our own little tributes in our art journals :)
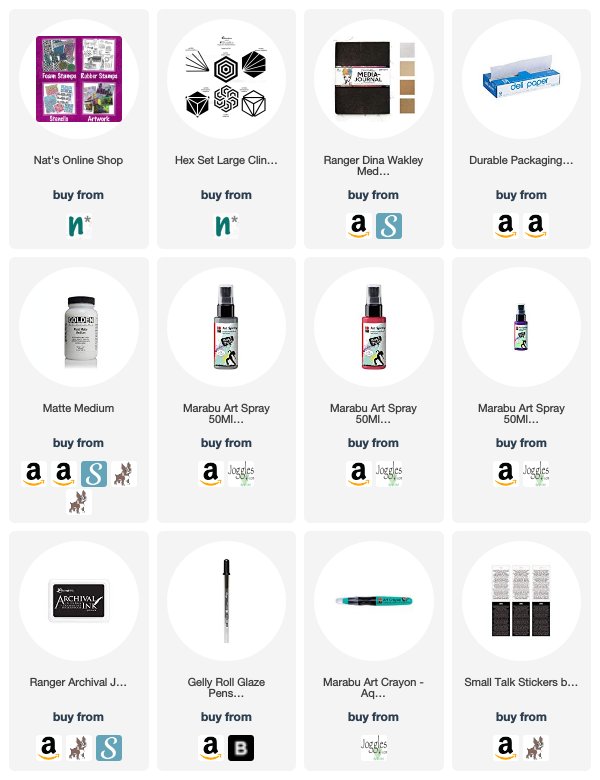
Give it a try: you can find all my Rubber Stamps in my Online Shop and here are some of the other supplies Jennifer used:
Feel inspired? Working on something yourself that you’d like to share? I love to see how you interpret our monthly themes. Email me how you used my stencils and stamps with the theme and email me an image – I would love to share your projects in my next “n*Spiration From Around the Globe“.
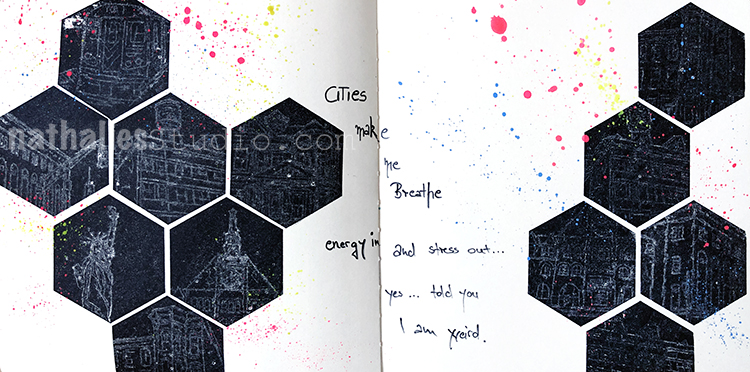
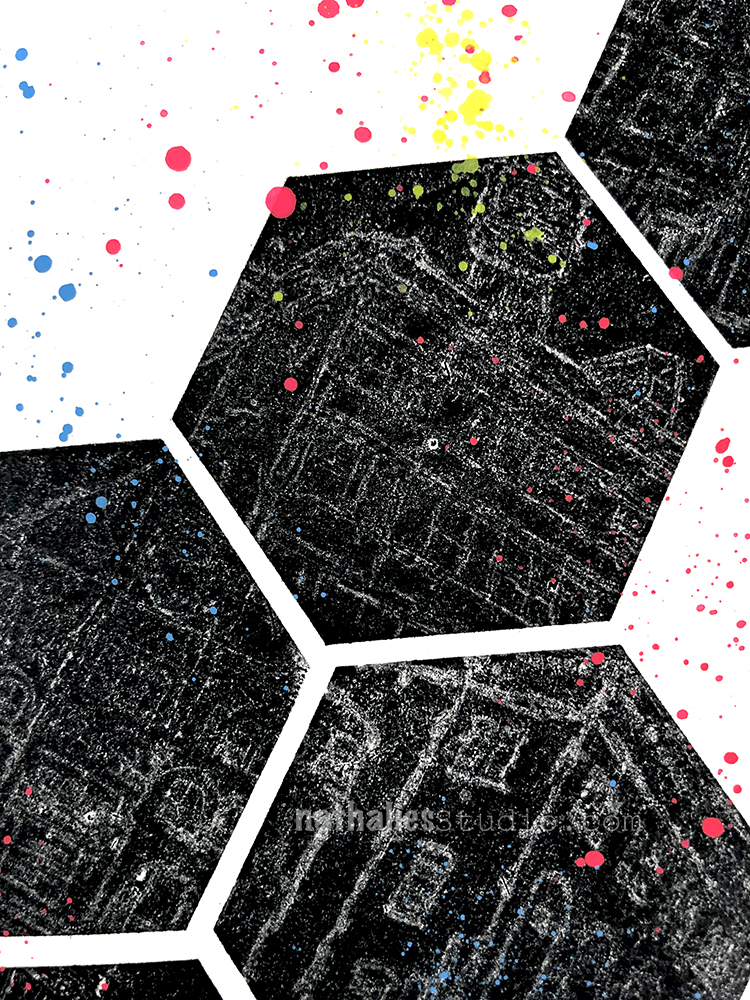
“Cities make me breathe energy in and stress out… yes… told you I am weird.”
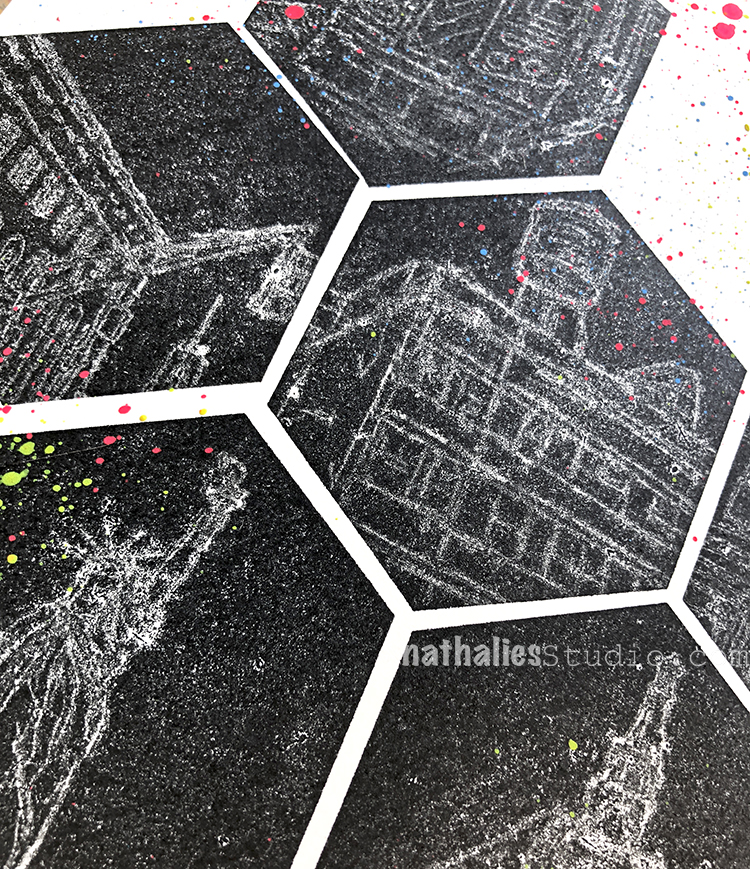
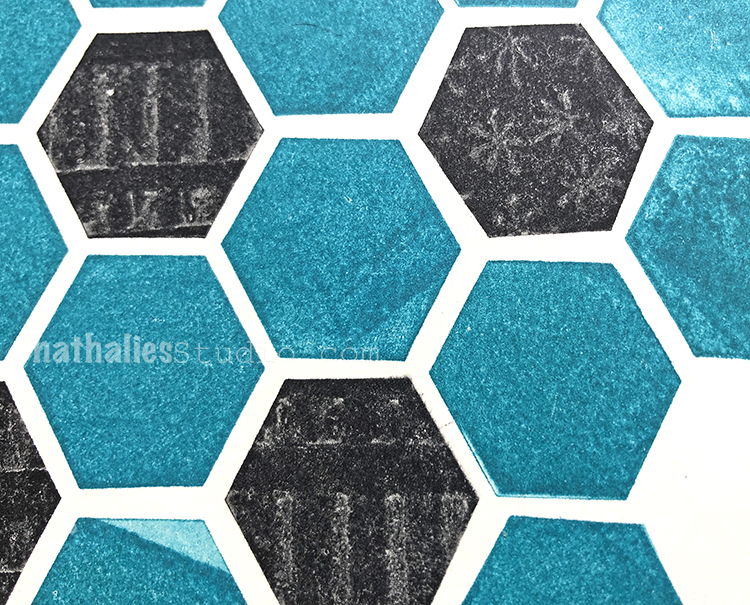
I used the “stamp kissing” technique for this page – I inked up a solid stamp and then pressed (kissed) the detailed stamp into the solid stamp to remove the ink. Then I stamped the solid stamp and you can see the design in there – pretty fun technique to play with. And I love the carbon paper effect.
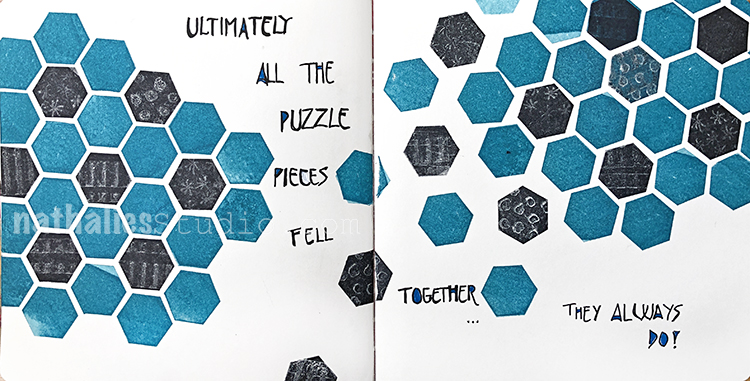
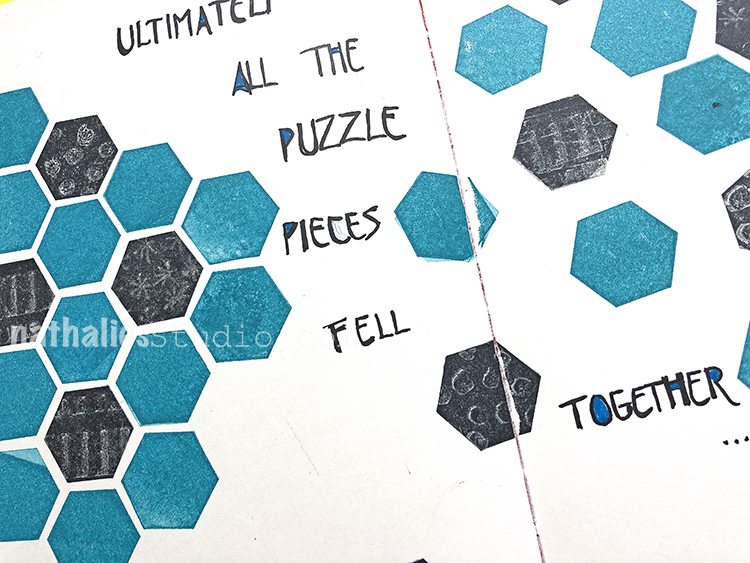
“Ultimately all the puzzle pieces fell together… they always do!”
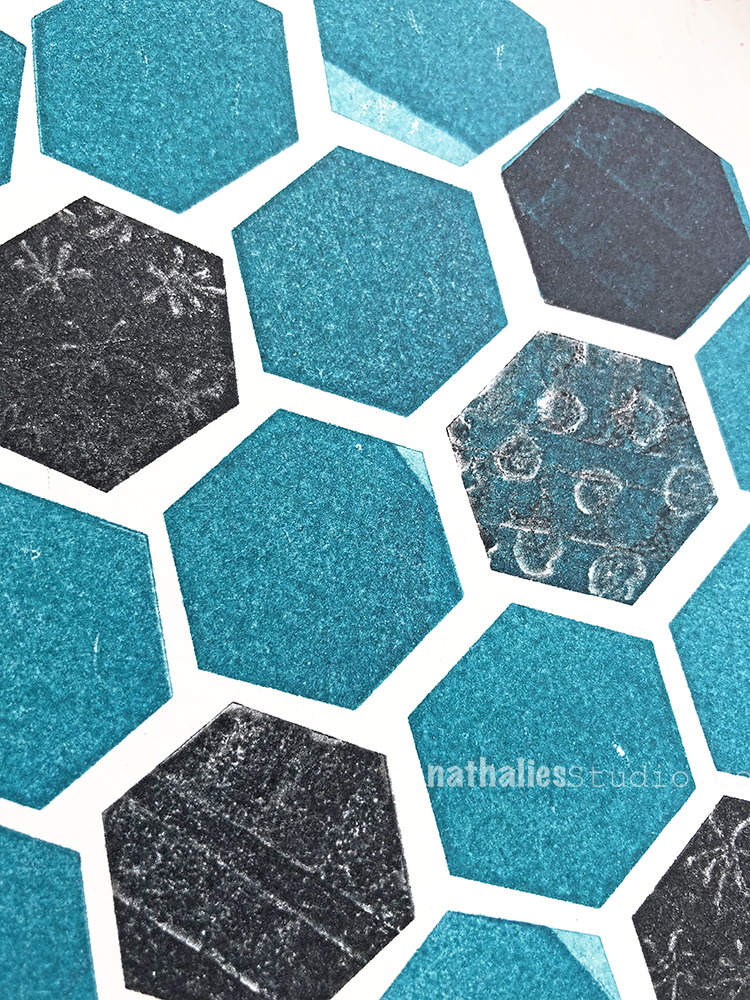
I used the stamp kissing technique with this art journal spread – inking up my Solid Hex Small stamp, then pressing a patterned stamp (here my Grannies, Star Fish, and Blocks stamps) into it to remove ink, and then stamping the hex onto my paper. It’s a great way to use solid and patterned or textured stamps together.
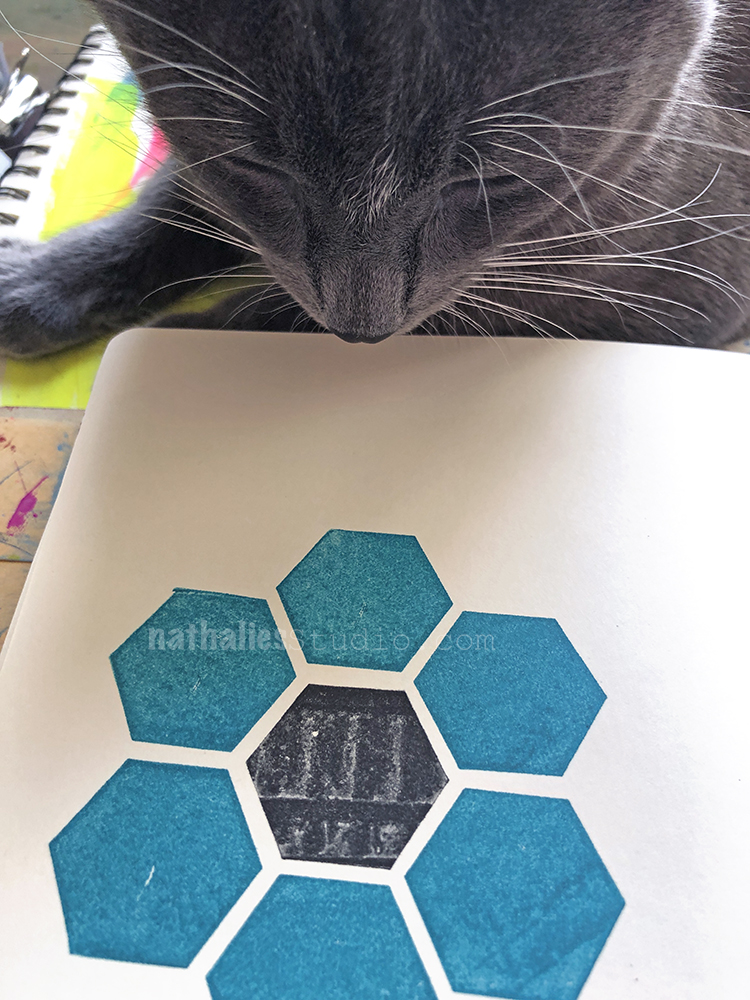
Oh look who showed up to give his kitty inspection? Pretzel always likes to get involved in the studio lol
I tiled up a pattern using plain Solid Hex Small stamps with teal ink and then went back into some with the stamp kissing in black ink.
I love that the stamp kissing gives a bit of grungy effect – almost looks like static on an old black and white tv or an old pixelated photocopy.
To finish it off I did my journaling with Winsor Newton fine liners.
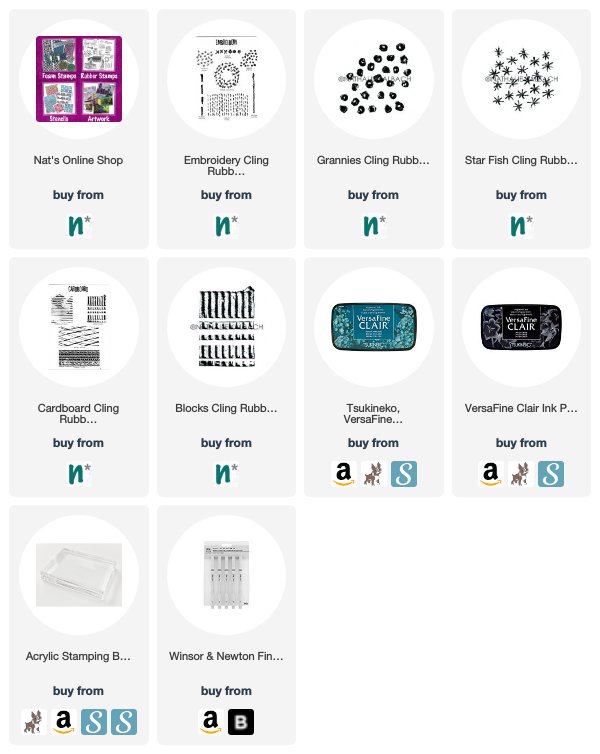
Here are some of the supplies I used:
And I hope you join me on Wednesday October 16th at 3pm EST for a Kaffeeklatsch chat on Facebook! I’ll be broadcasting live from my new studio and catching up with you on everything that’s been going on around here :) Stop by and say Hello!!!
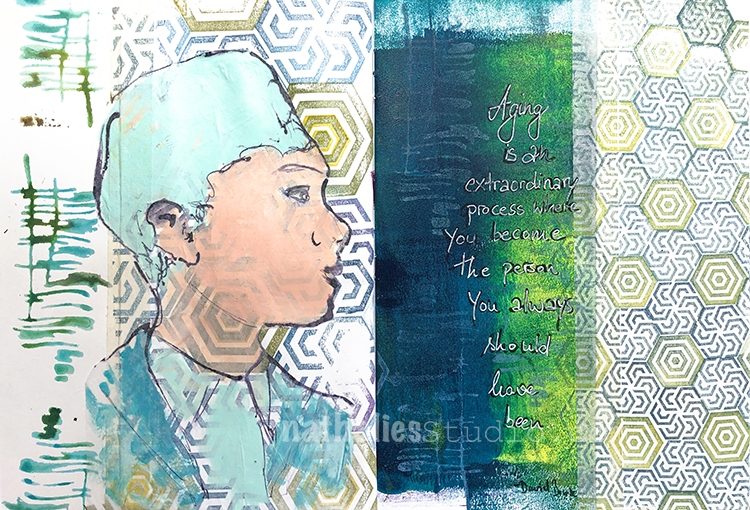
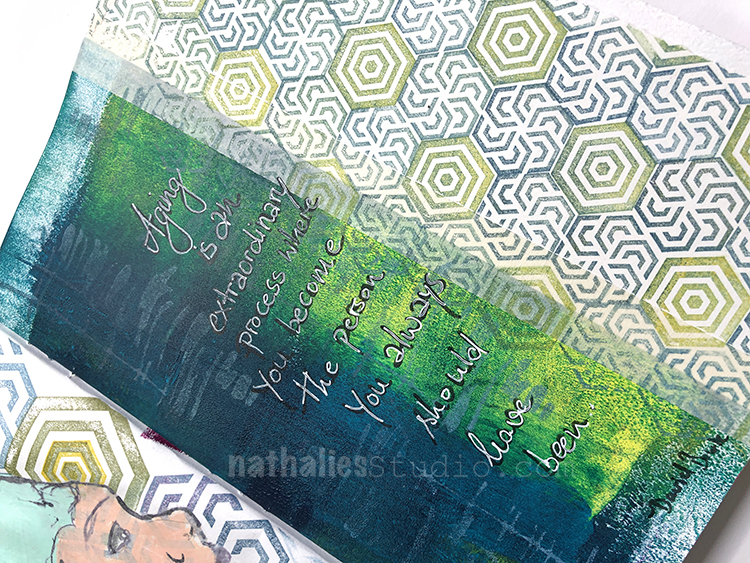
“Aging is an extraordinary process where you become the person you always should have been” David Bowie
This spread was tons of fun. I used dye spray paints on the left to stamp with my Far Out Stamp, then I used the Large and small Hex Rubber stamps with an inkpad to create a pattern. The area that is painted in acrylic and green was over stamped with white ink and the Far Out stamp- it is very subtle but I like the repetition of the pattern.
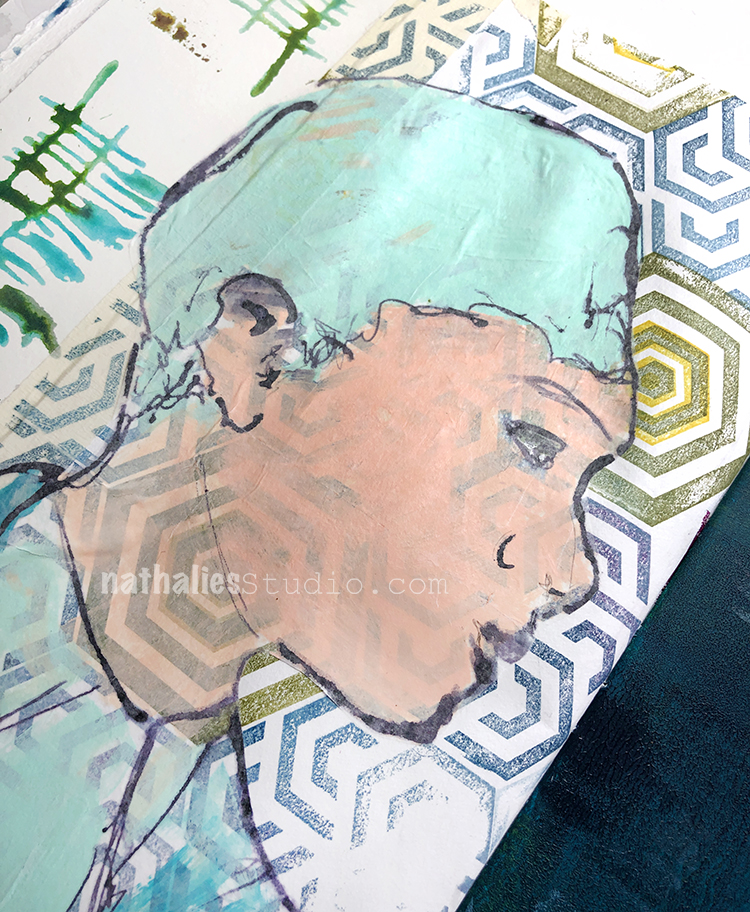
Some ink and acrylic paint for the lady and voila ..another very mixed media spread.
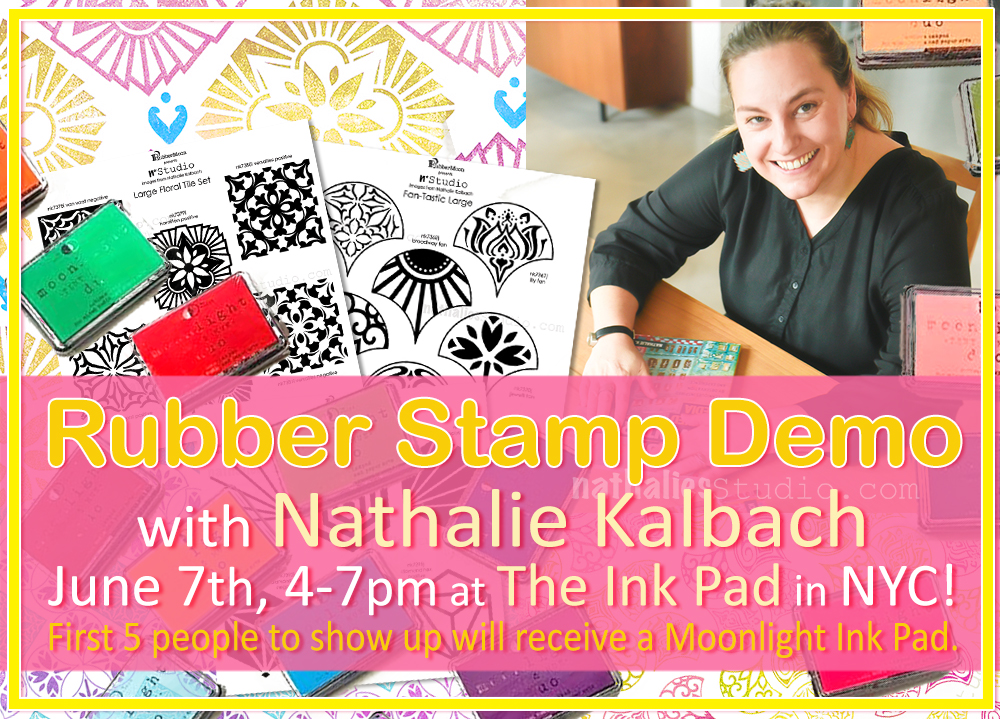
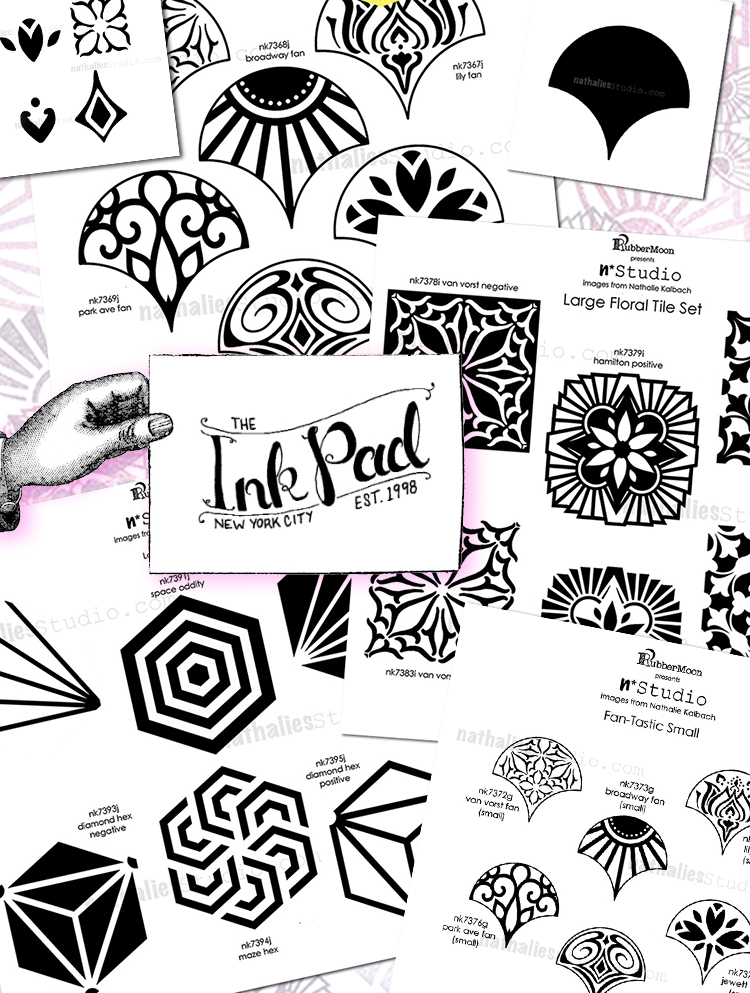
Join me Friday June 7th from 4-7pm at The Ink Pad in NYC! I’m super excited to be able to drop into this amazing store – right in the heart of New York City and so close to my own hood.
And The Ink Pad is making the event even more fun: The first 5 people to show up will receive a Moonlight Ink Pad.
I’ll be demoing my new rubber stamp sets. Maybe there will be some pattern demos and layering demos. I learned so much about these stamps just by playing with them myself. Join me and see for yourself.
The Ink Pad is located at 37 7th Ave, between 12th and 13th Streets. Drop in and say Hi! :)


Comments (6)
Mary Cheng
| #
Love your book. I never made one, so will give it a try!
I get up at 5.30am, yoga at 6.15am online on FB with my local class.
Occasionally, I may do a tiny bit of crafting before yoga starts, to finish off a project.
Love your Mail stamps.
Reply
nathalie-kalbach
| #
It is actually a real easy book and so much fun! You are an early riser as well !!! Wow!
Reply
Tracie
| #
This book looks so fun. I’m fascinated by the 5am thing. What prompted it? Do you have to go to bed a 9pm? Loved to hear more about the experiment
Reply
nathalie-kalbach
| #
Hi Tracie- there is a book called the 5am club- I don*t like the book and the story that much but the idea made sense to me to spend the first and very early hour of the day by learning something new and journaling . There is also a workout included …that I have to say is really to early for me hahaha. No – you do not have to be in bed by 9pm but naturally I am falling asleep around 10.30 pm LOL.
Reply
Theresa Carroll
| #
So inspiring, I have to make one! Thank you Natalie.
Reply
nathalie-kalbach
| #
Yeahh – I hope you do and share!
Reply