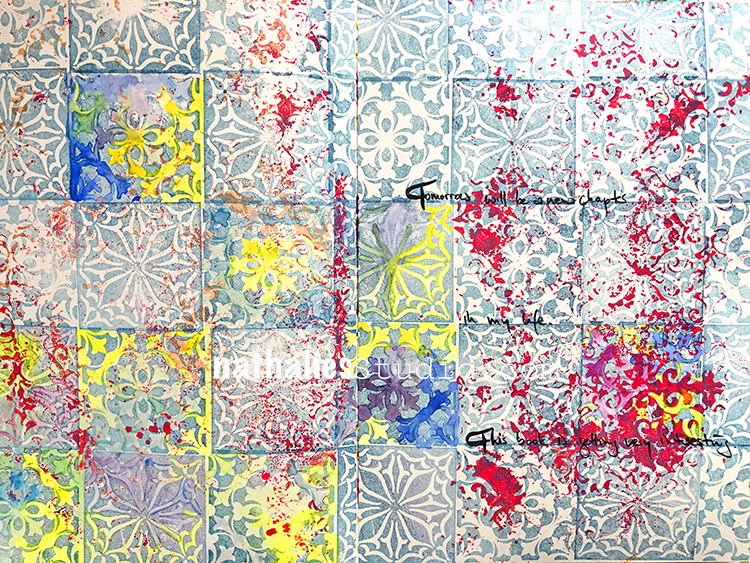
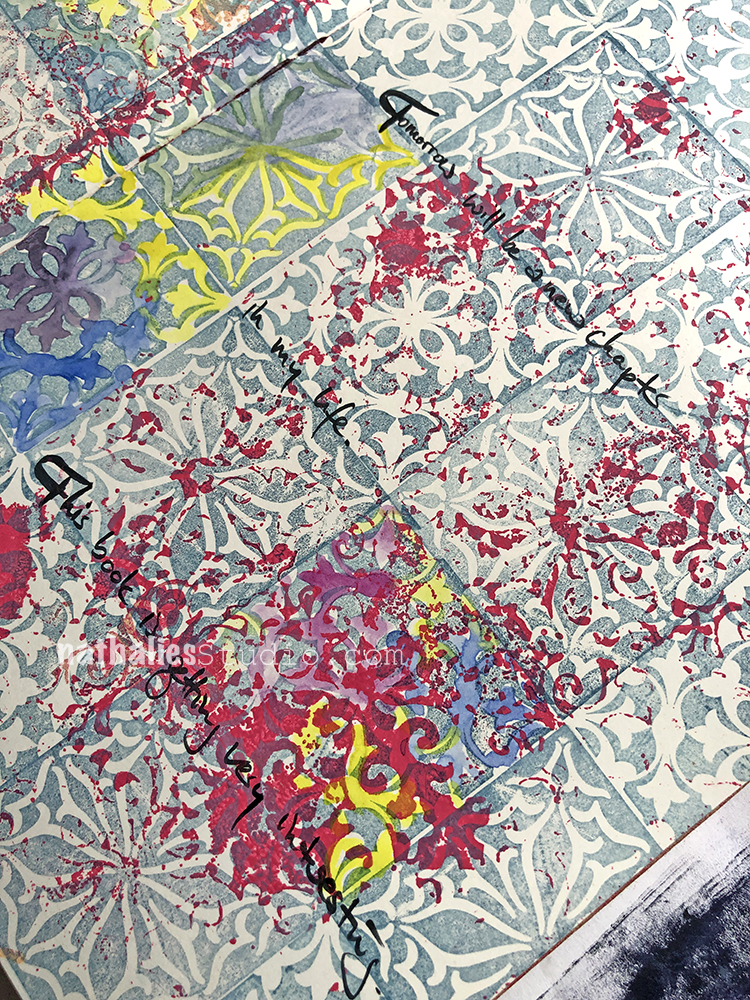
“Tomorrow will be a new chapter in my life. This book is getting very interesting.”
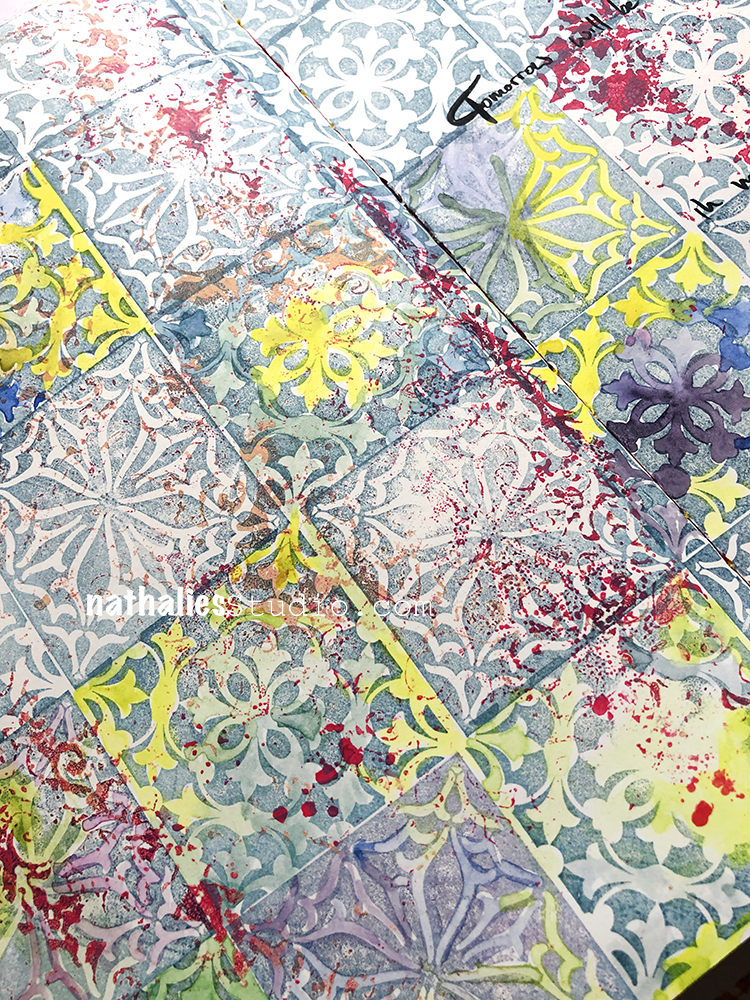
For the background I used the Van Vorst and Versailles rubber stamps from my Floral Tile Large set. Then I went back in with water color to bring out certain areas of the pattern.
The red was spray paint that I had on a stencil and cleaned off on the page before getting started. I loved the little snippets of the paint as random marks.
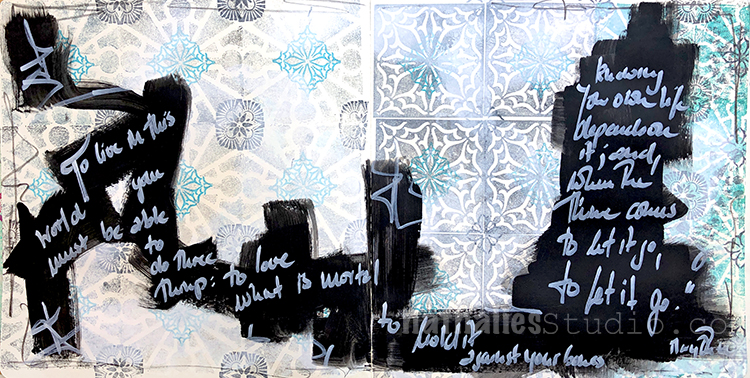
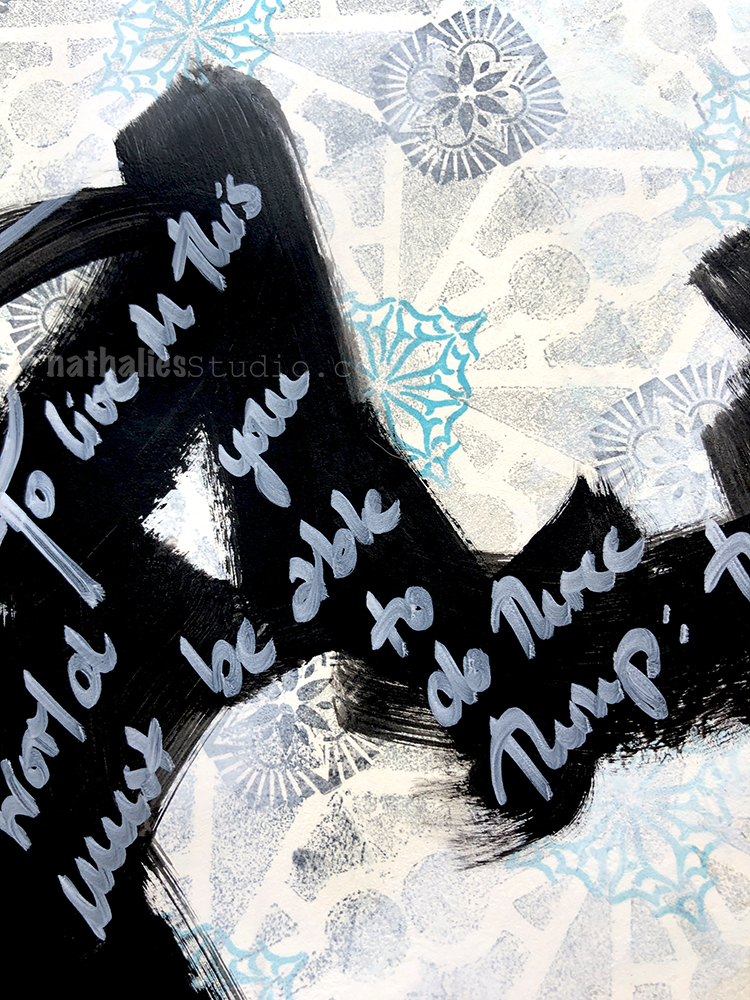
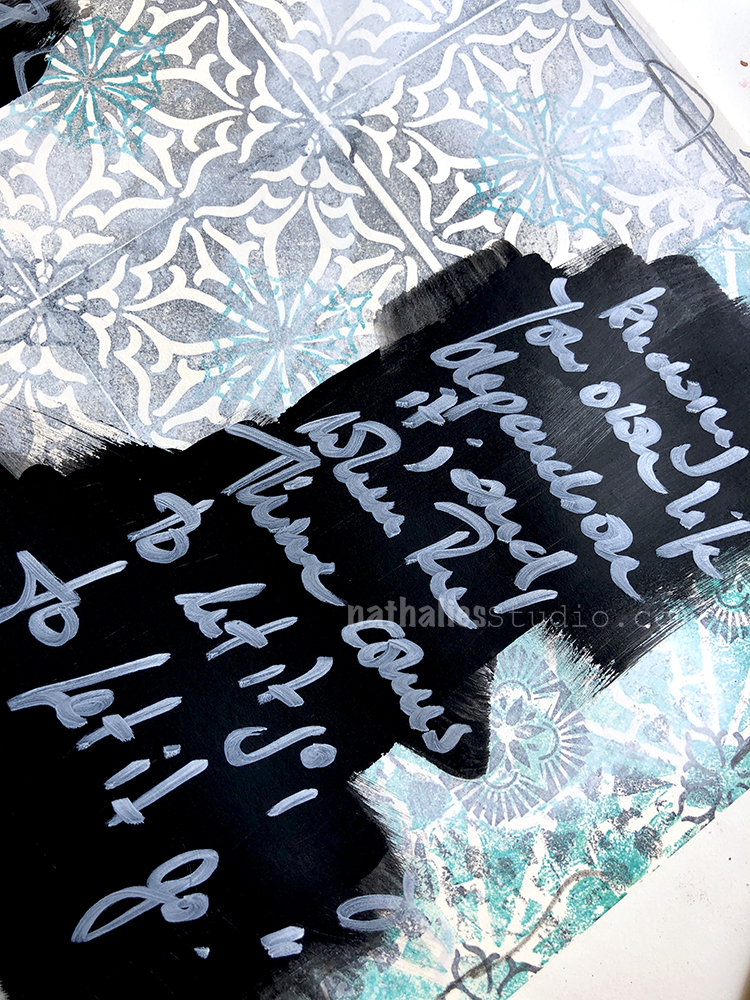
My inspiration for this page was Mary Oliver’s poem In Blackwater Woods. To create the background I stamped with my Buenos Aires foam stamp and my Floral Tile Large rubber stamps. Then I added the Floral Tile Small and Fanfare stamps.
To soften the background I used a thin layer of white spray paint and then painted areas with black gesso.
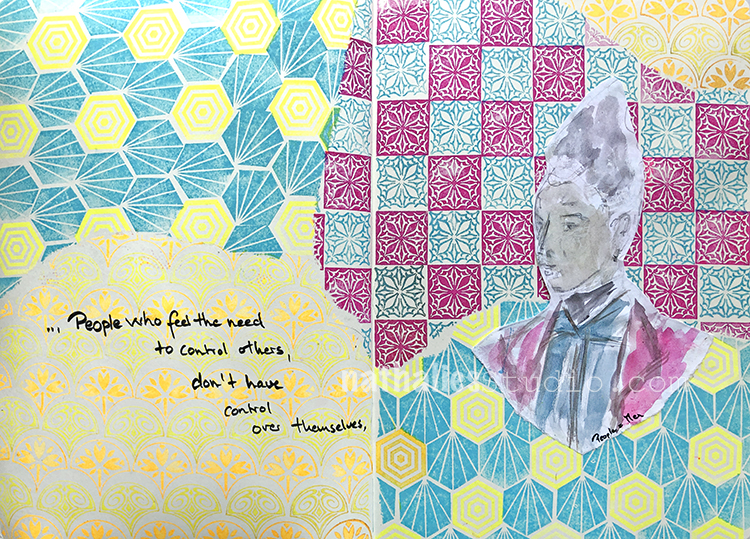
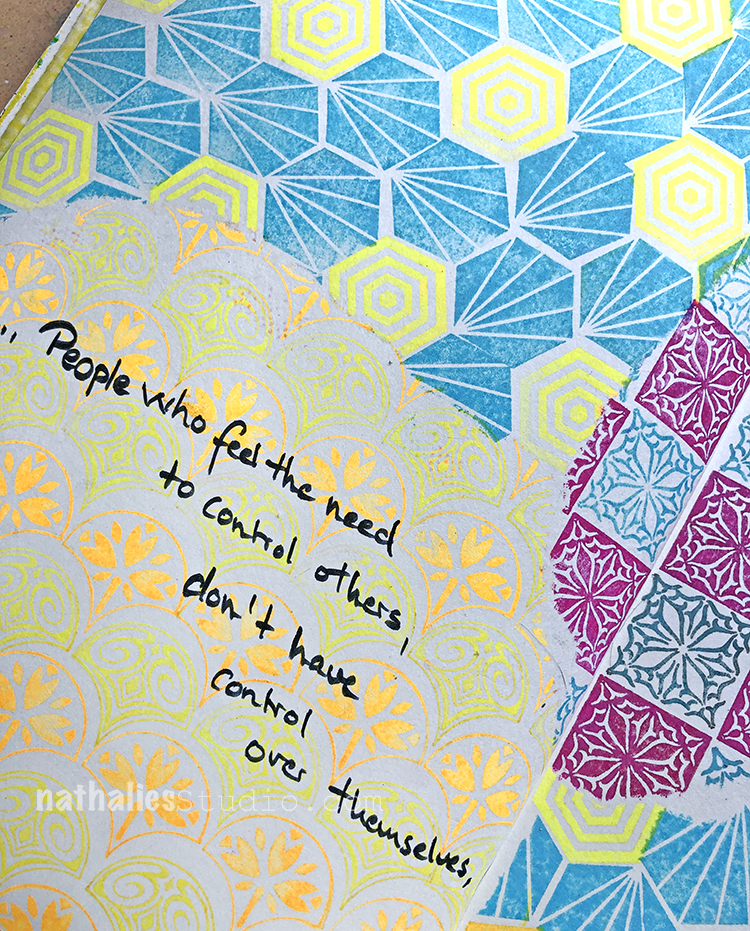
“People who feel the need to control others, don’t have control over themselves.”
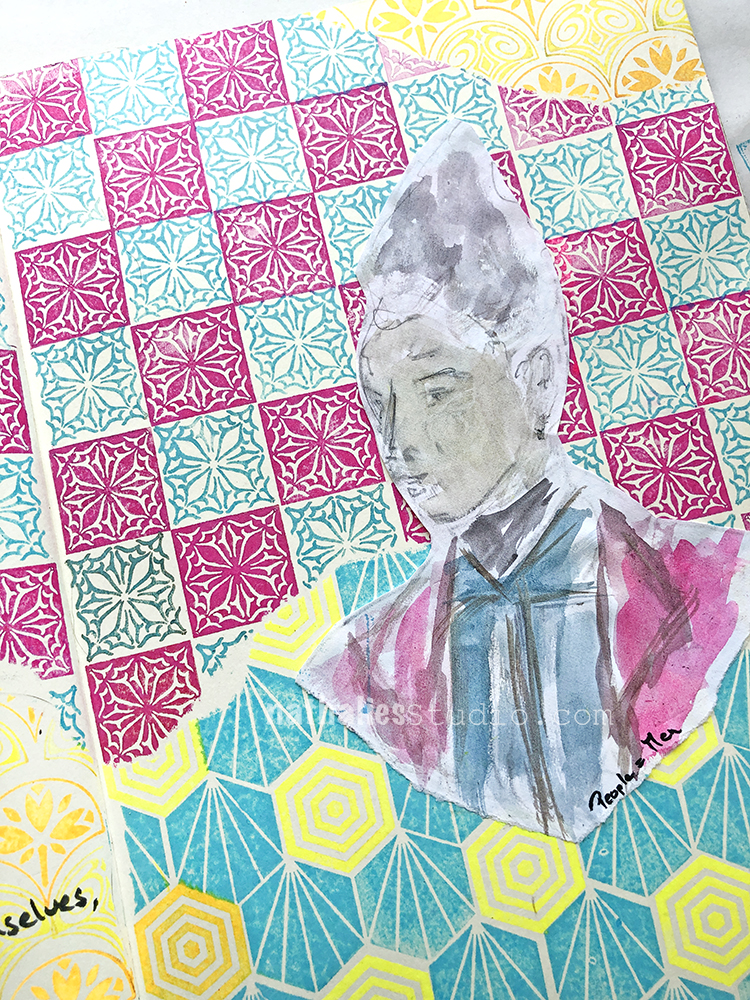
I tore some paper to cover up areas and stamped with my FANtastic Small, Hex Set Small, and Floral Tile Small sets so that the patterns came together. I used MoonGlo ink pads. Love the very bright and indeed glowing colors of those ink pads.
I used water colors for my figure and chose similar colors to help all the elements come together on the page.
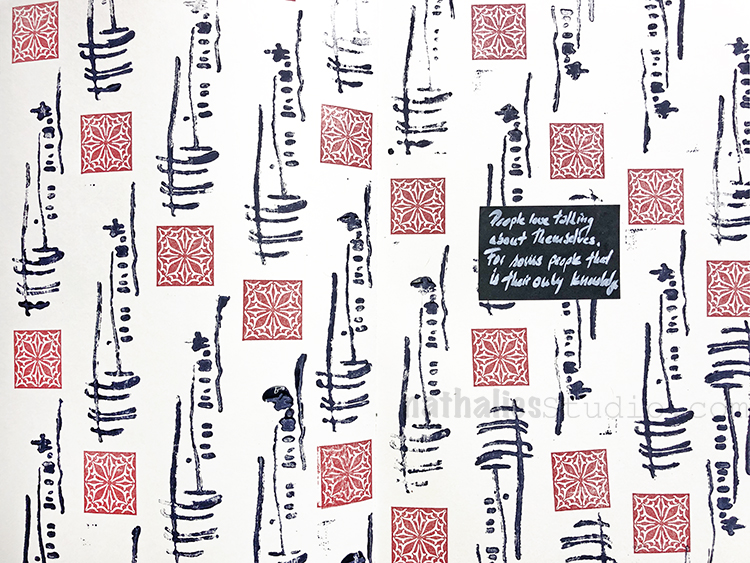
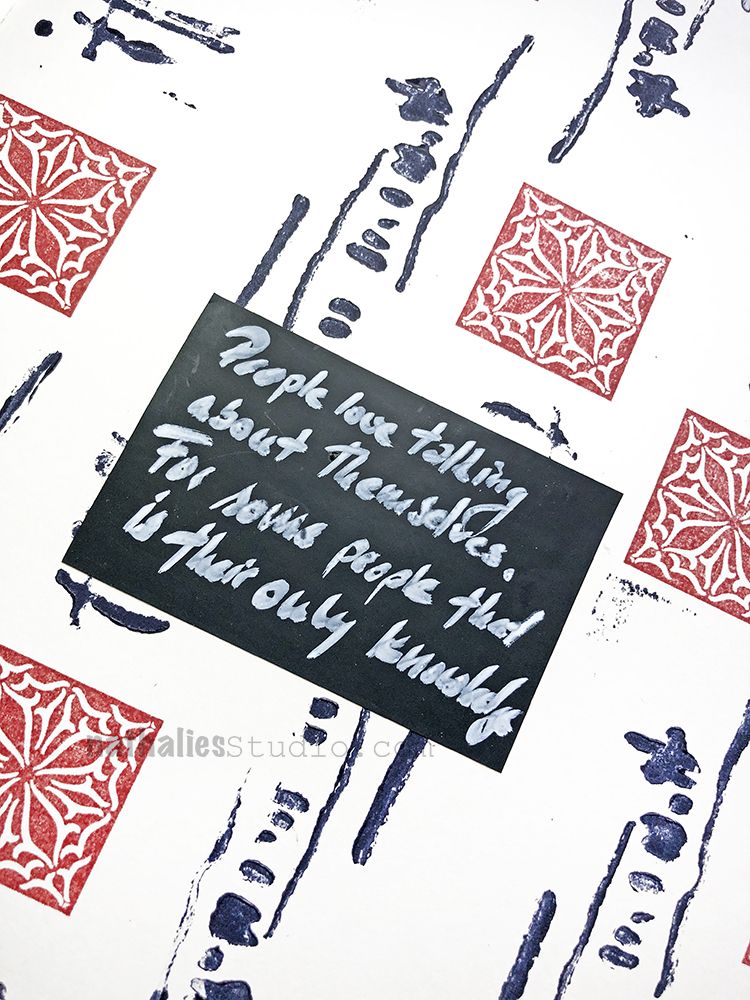
“People love talking about themselves. For some people that is their only knowledge.” From my shall remain anonymous assistant :)
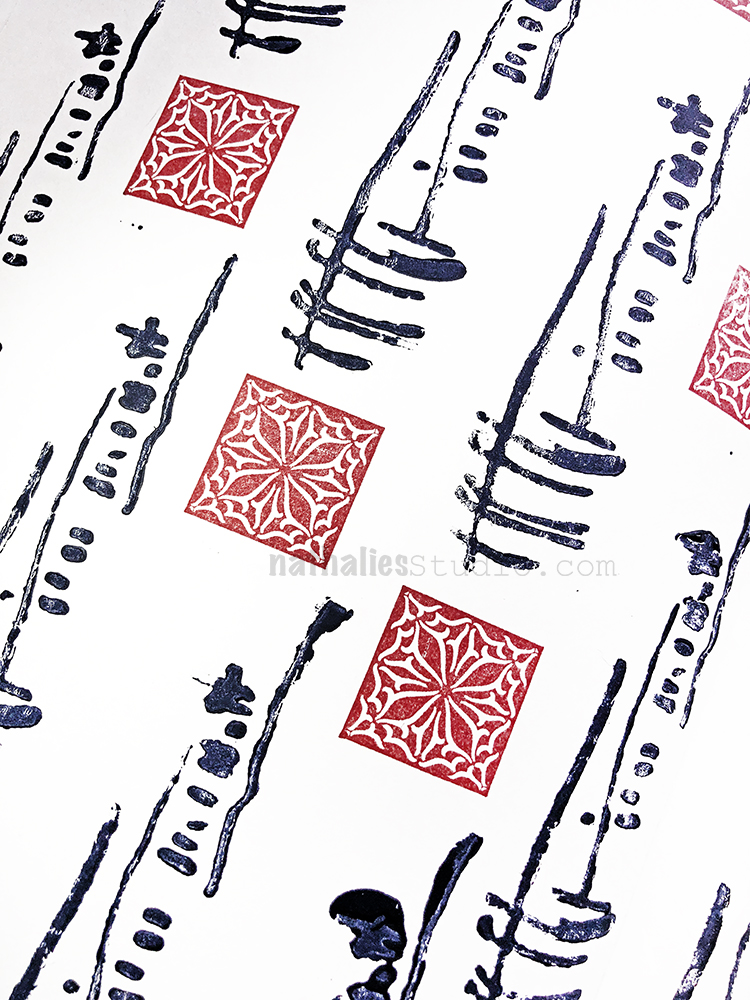
I made the background pattern with my Gnarly foam stamp and acrylic paint and the Van Vorst stamp in my Floral Tile Small rubber stamp set with red archival ink. The color scheme and the simplicity of it reminds me of Japanese calligraphy.
I put some chalkboard tape down for the quote and wrote in a white calligraphy pen.
Hello from my Creative Squad! Today we have an art journal page from Jennifer Gallagher using my Floral Tile Large rubber stamps and my Van Vorst stencil, celebrating this month’s theme: Pastel Dreams – This month we are focusing on the softer, gentler side of things and going pastel with our color palettes. These dreamy pale colors are undeniably appealing and just as powerful as their bolder cousins on the color wheel.
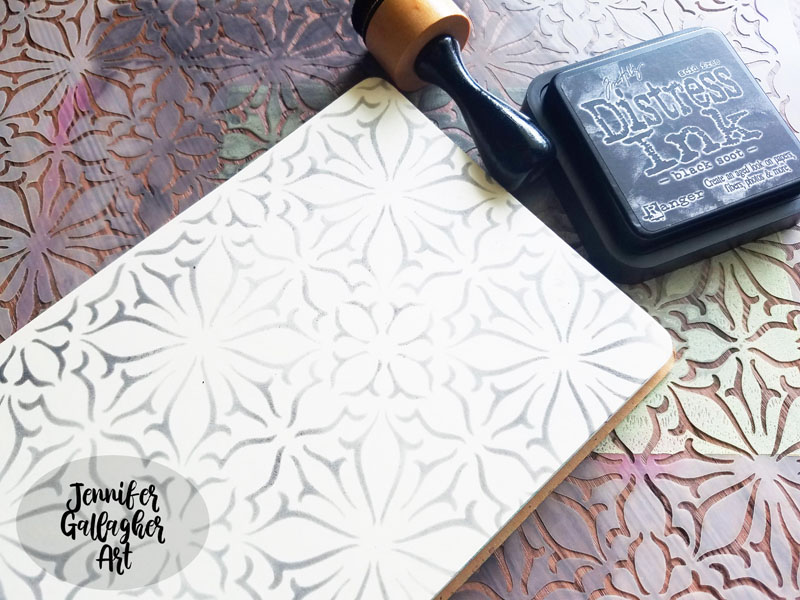
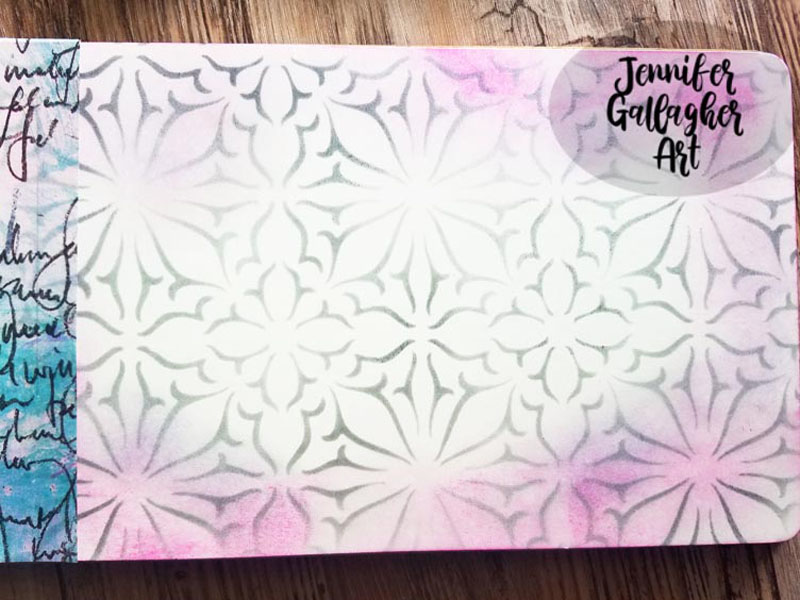
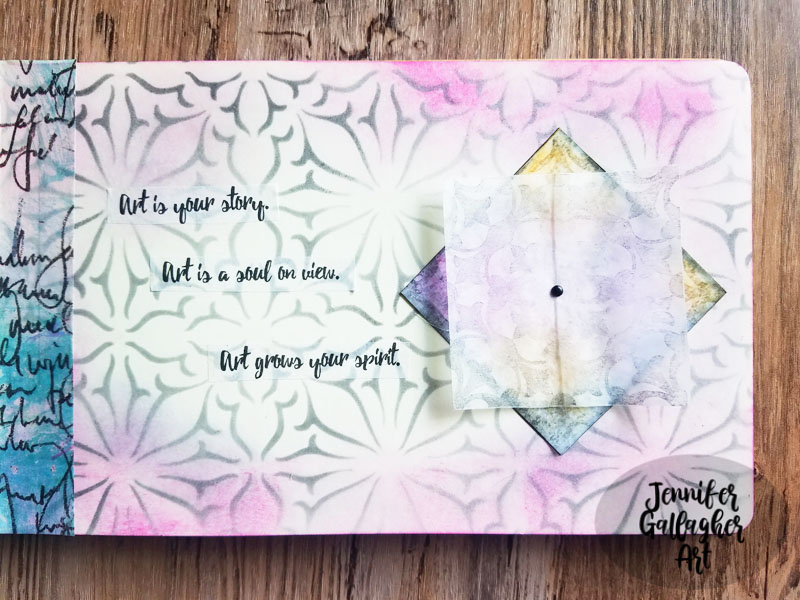
When I think of pastels, I think of softness and they evoke a certain delicate nature. I decided to create a two-page art journal spread that perfectly displays my idea of what pastels are all about. First, I began on the right page of a two page spread in my small dylusions journal. Using Nat’s Van Vorst stencil, I applied a light amount of black soot distress ink with the mini blending tool.
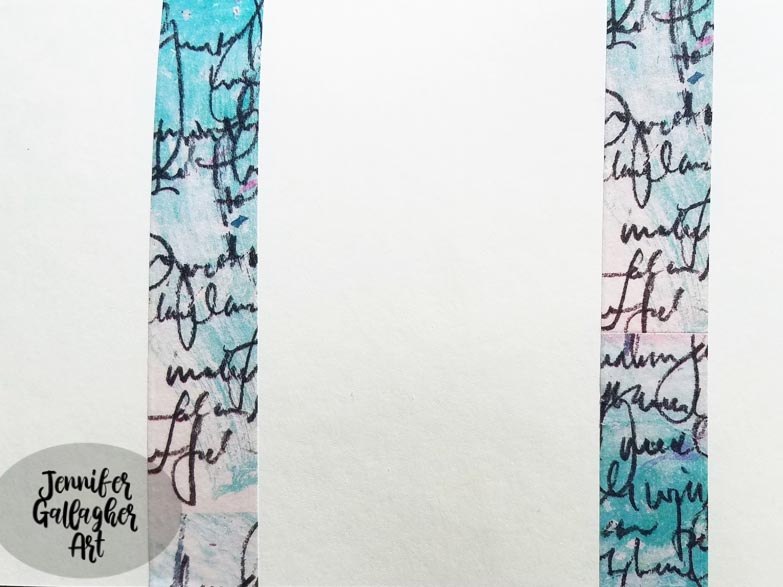
Next, I applied a little picked raspberry and shaded lilac distress ink around the edges of the same page. Then I placed some Dina Wakley Media washi tape in coordinating tones on both the right and left journal pages.
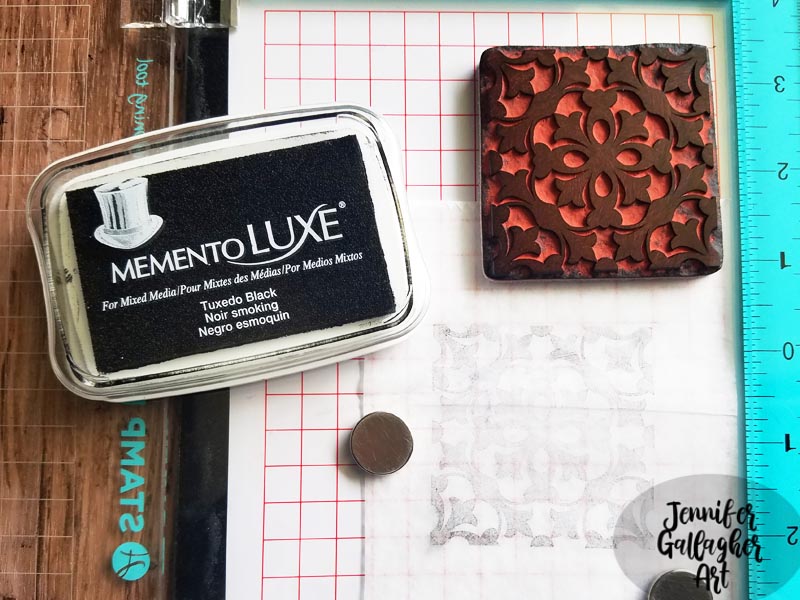
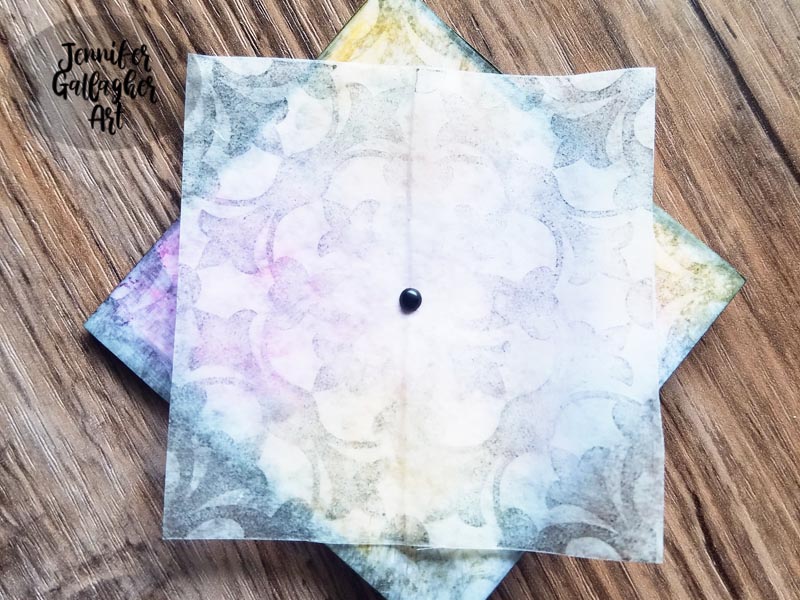
Using my stamp perfect platform, I stamped Nat’s Versailles positive stamp from the Large Floral Tile Set onto deli paper using Momento Luxe Tuxedo Black ink pad. This ink is perfect for stamping on deli paper! I stamped two images for each medallion I created for my page, stamping a total of six.
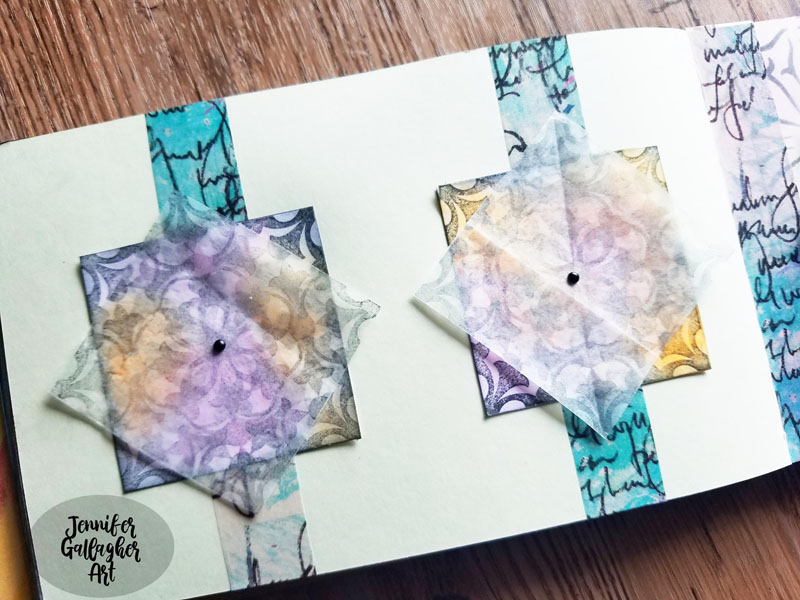
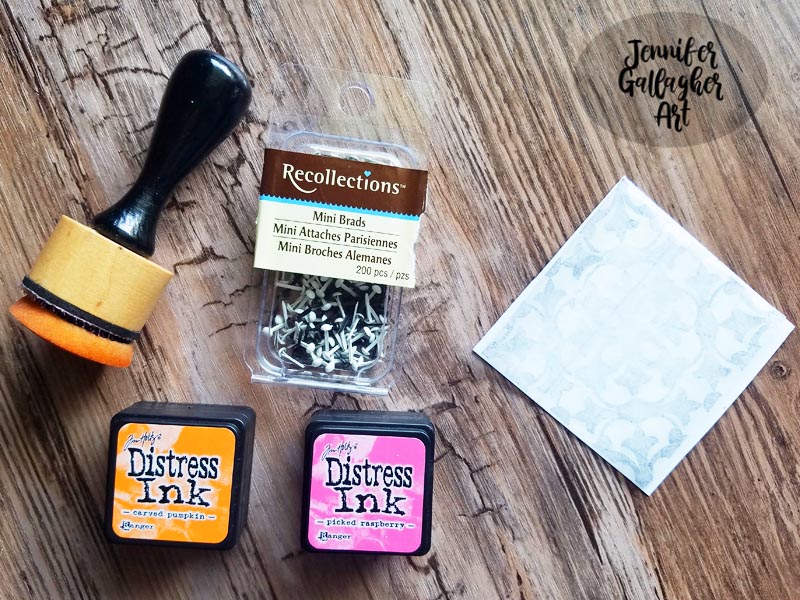
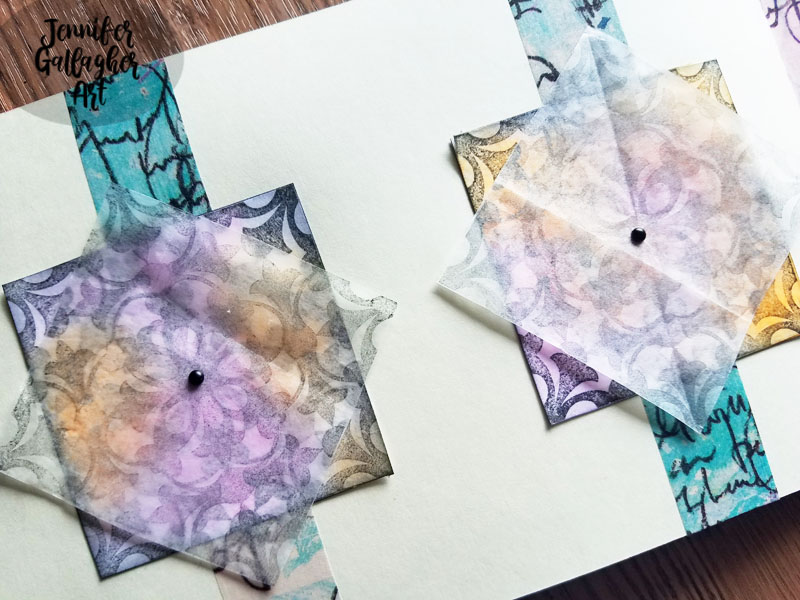
After cutting my stamped deli paper along the design, I cut out three coordinating squares from white copy paper. I glued one deli paper square onto each white square with a basic glue stick. I added a little color to each medallion with distress ink. Then I placed an extra deli paper square on top of that and attached it with a mini black brad. In all I made three of these two-piece medallions.
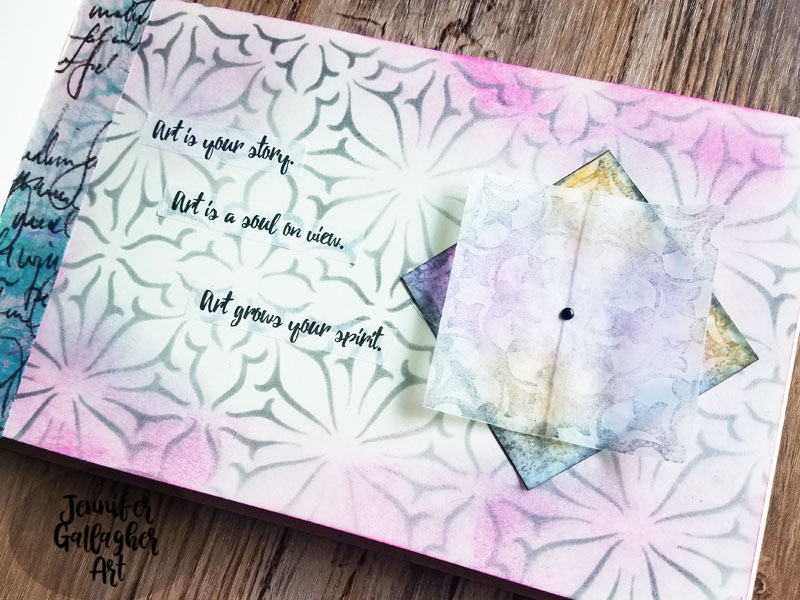
I attached two of the medallions on the center of the washi tape stripes I created earlier on the left page. The third medallion went on the opposite page. Each medallion was adhered with a basic craft glue stick. I also added a few tissue paper sentiments from Dina Wakley Media collage words.
These cute little medallions would also be a wonderful accent for your hand-crafted cards. Be sure to play along each month with the creative squad and share your creations. Happy creating!
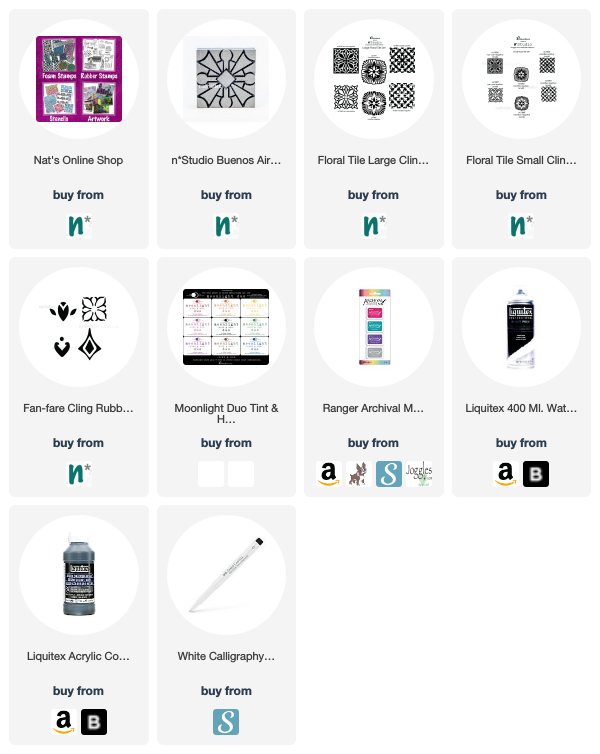
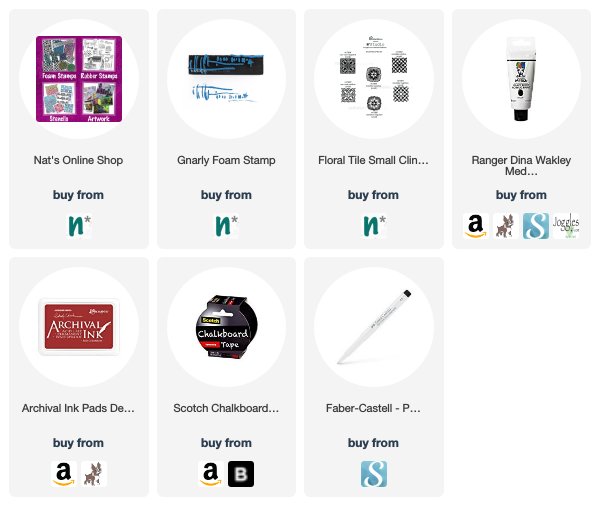
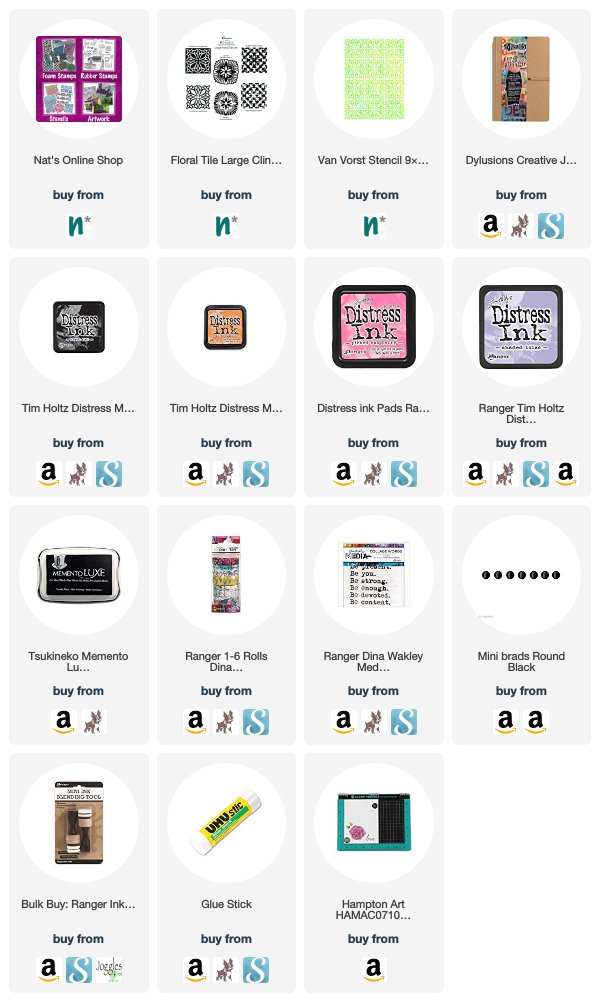
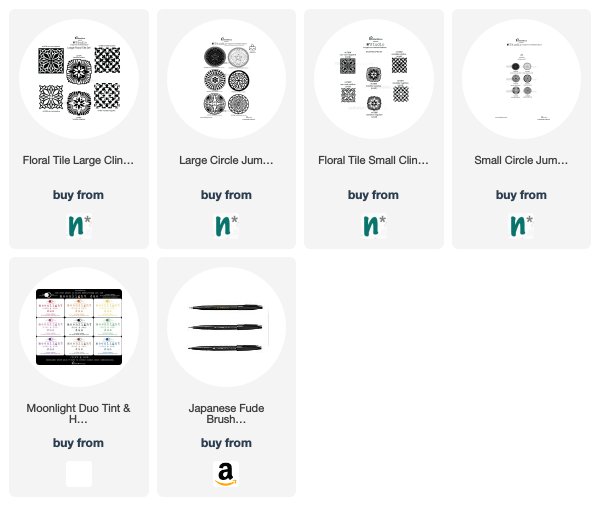
Thank you Jennifer – what a beautiful page! You can find all of my rubber stamps and my stencils in my online shop. Here are some of the other supplies Jennifer used:
Feel inspired? Working on something yourself that you’d like to share? I love to see how you interpret our monthly themes. Email me how you used my stencils and stamps with the theme and email me an image – I would love to share your projects in my next “n*Spiration From Around the Globe“.
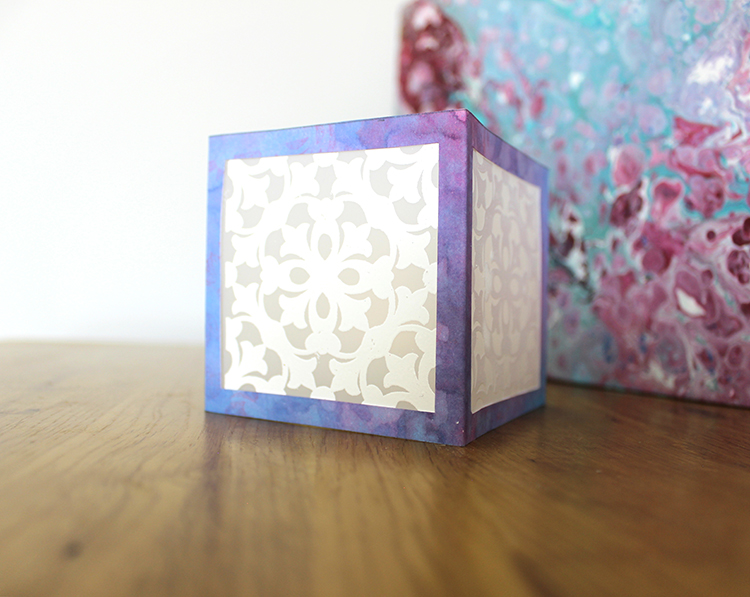
Hello from my Creative Squad! Today we have a beautiful paper lantern from Tania Ahmed that is sure to set the mood. She used my Versailles stamp from the Floral Tile Large rubber stamp set and this month’s theme: Pastel Dreams – This month we are focusing on the softer, gentler side of things and going pastel with our color palettes. These dreamy pale colors are undeniably appealing and just as powerful as their bolder cousins on the color wheel.
We love subtle mood lighting around the house and I love making little pieces like this paper lantern to use around the house as purposeful décor! I love the ornate filigree style pattern of the Versailles stamp so I knew that it would make a striking pattern for my paper lantern.
Steps:
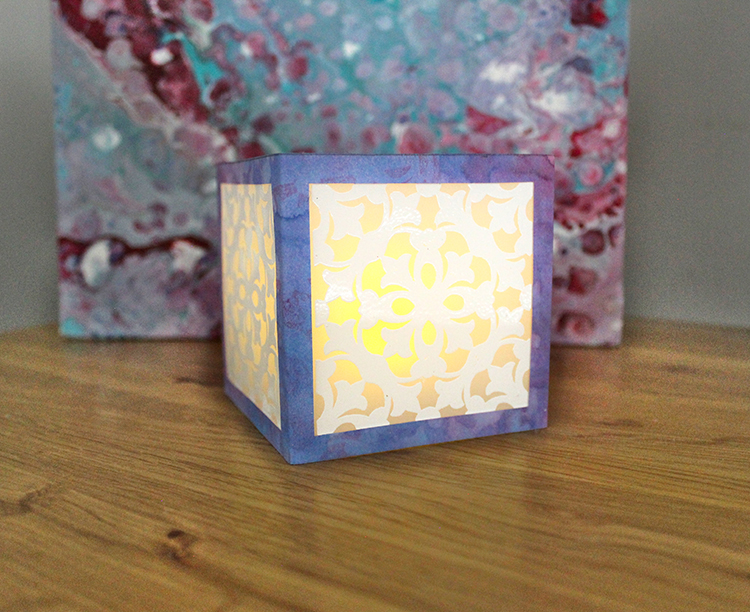
1 Stamp and heat emboss 4 times on Duralar with Versailles Positive
2 Spray a 3” x 12.25” piece of sturdy cardstock with Distress Oxides Sprays. Mist liberally with water and lift ink with kitchen towel. Dry thoroughly
3 Stamp Versailles Negative with water to get ink to react. Lift with kitchen towel.
4 Stamp Versailles Negative with Distress Oxide in Picked Raspberry. Dry thoroughly.
5 Score cardstock panel at 3” intervals. You will be left with a ¼” flap. Cut out 2.5” square from centre of each panel with craft knife.
6 Cute out heat embossed Duralar and attach to square panel aperture. Fold and securely glue flap to assemble lantern.
7 Add battery operated tea light and enjoy!
Thank you Tania! You can find all of my rubber stamps in my online shop. Here are some of the other supplies Tania used:
Feel inspired? Working on something yourself that you’d like to share? I love to see how you interpret our monthly themes. Email me how you used my stencils and stamps with the theme and email me an image – I would love to share your projects in my next “n*Spiration From Around the Globe“.
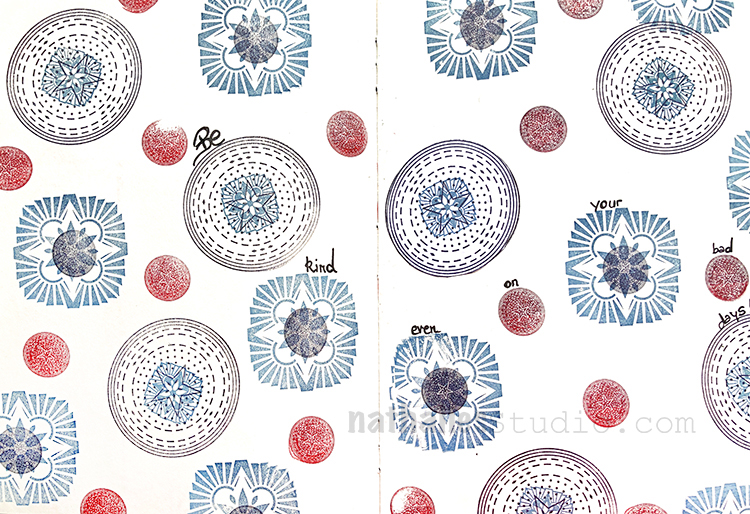
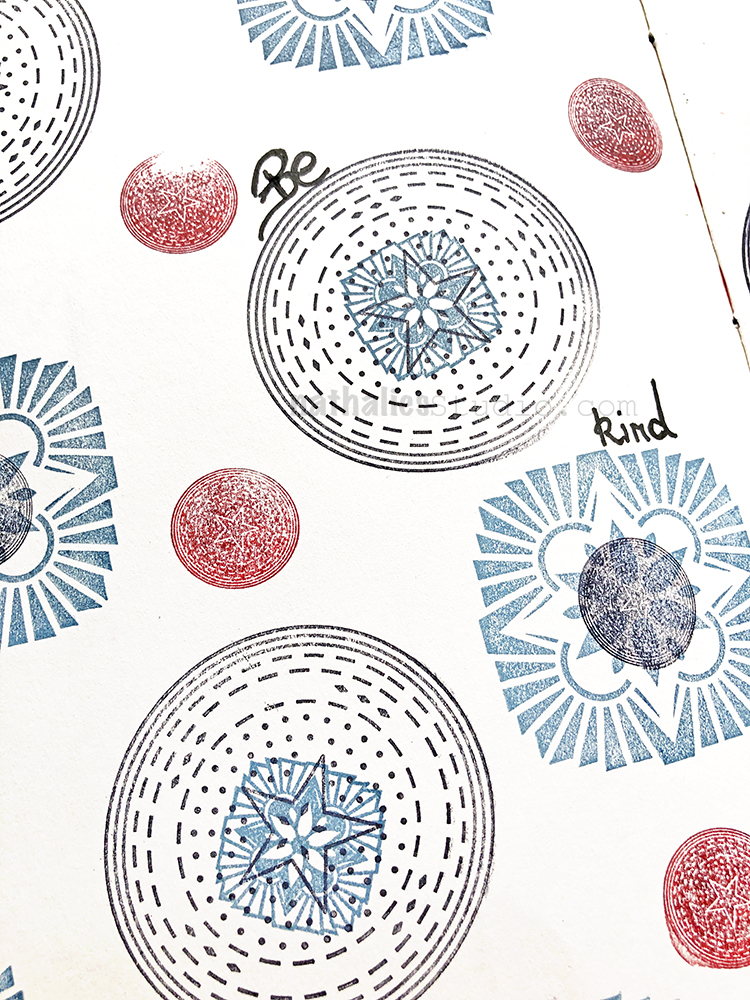
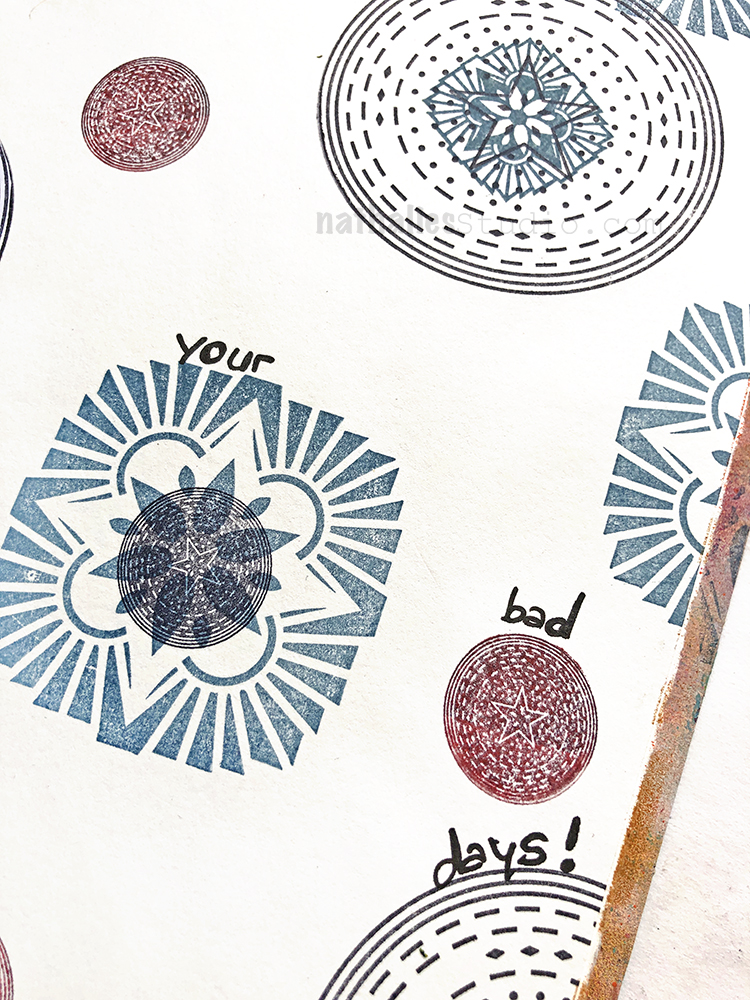
Such a great quote to live by. I had fun mixing my Floral Stamp Sets up with my Circle Jumbles and layering them in different ways on top of each other.


Elegant Nat…I really like it!
Reply