
This is a tutorial I actually originally posted on June 7th, 2010 *- but with all the Mixed Media stuff out there and using spray paints…I thought some of you might like to see it either again or for the first time ;) *I edited some of the wording and content to fit into 2012 :)
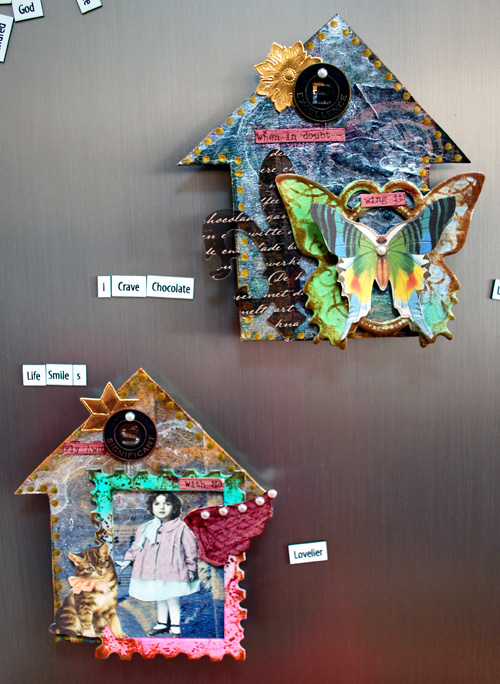
*Inspirational Fridge Magnets*
Supplies:
I used Tattered Angels:
Glimmer Mist: Turquoise Blue, Cosmos, Meadow Green, Delphinium, Pearl – you can use other water based spray paints too that are translucent and have a shine to them
Chalkboard: Evergreen, Cornflower – you can use other spray paints that are opaque
Glimmer Glam: Golden Goddess, Chandelier, Bordeaux
Regal Glimmer Glass
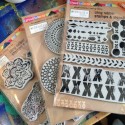
Framed Fonts Butterfly and Traveler
Glimmer Screens: Elegant Emblems and Fanciful Screens – you can use any stencils for example Crafter’s Workshop Stencils since Tattered Angels doesn’t produce Stencils anymore
Other:
Cardboard
Crafty Secrets Fairy Sheet or other Vintage Images
7Gypsies Paper Tape or Washi Tape
Ranger’s Crackle Paint, Sepia Archival Ink Pad and Glossy Accents
Tim Holtz Tokens or found objects
German Borders
Posca Marker
SCRAPBOOK ADHESIVES by 3L™
Magnets
half pearls- unknown
Acrylic Paint
vintage music sheets

Cut out a house shape out of Cardboard. Paint with acrylic paint.

add some stripes of paper (I used old music paper – old book paper would be also good) and/or tissue paper or washi tape

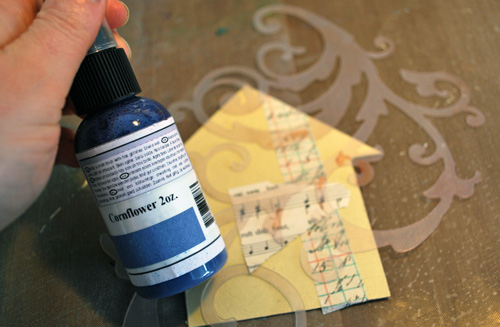
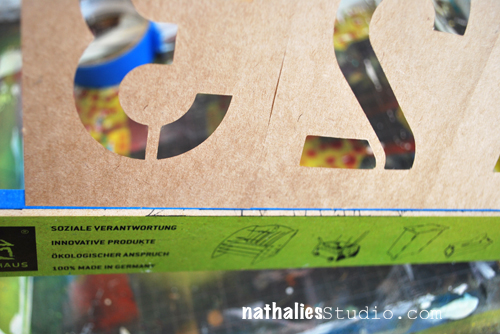
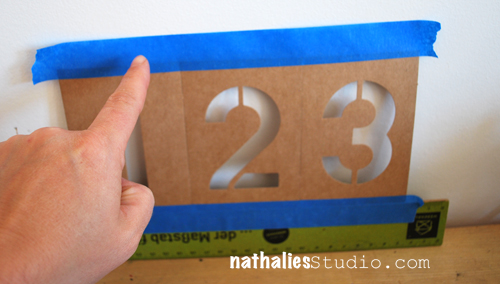
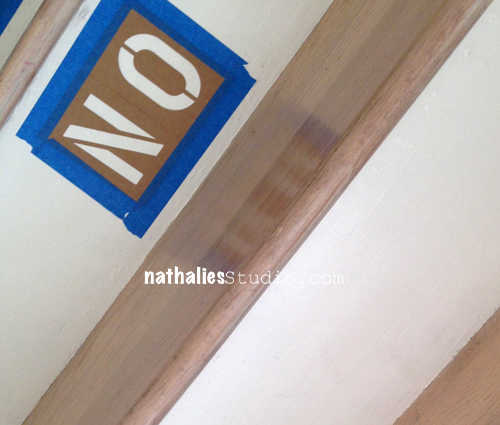
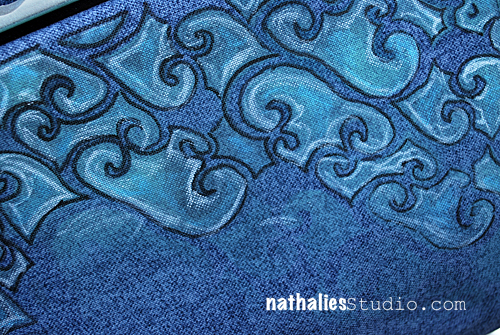
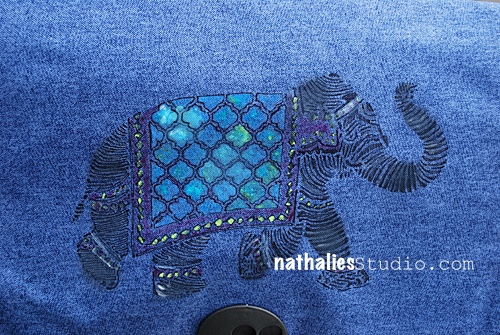
Place a stencil over the house and start spraying with chalkboard. Set aside to dry
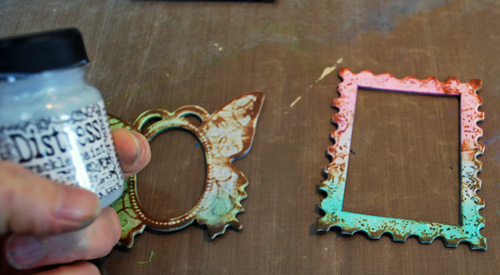
Take a Frame from the Frame Fonts and spray with two different Glimmer Mist Colors
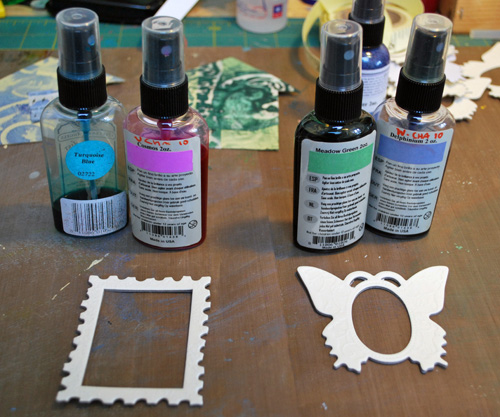
go over the frame with an archival ink pad and paint with clear crackle paint. Set aside to dry.
Paint Houses with Glimmer Glam which is also going to work as a sealer. You can use two different color – one for the roof and one for the bottom of the house.
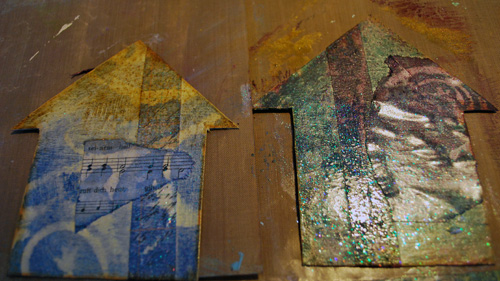
Now take the Pearl Glimmer Mist and spray over the House – heat it up – don’t burn it with the heating gun and move the liquid around with the heating gun. Once everything is dry, spray it again and repeat. Do several times until you get a mother-of-pearl like look.

Do this until you are satisfied with the look

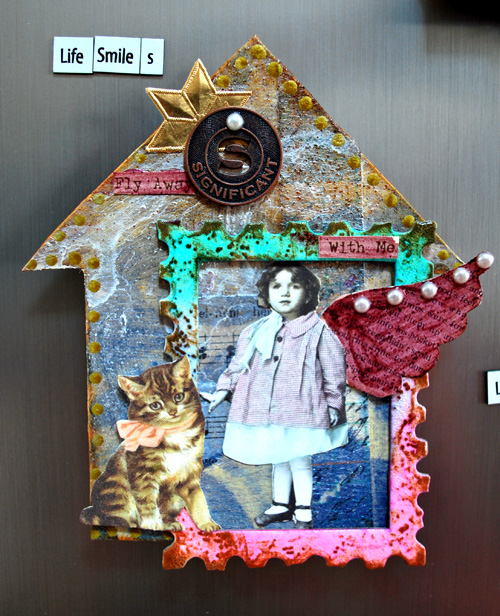
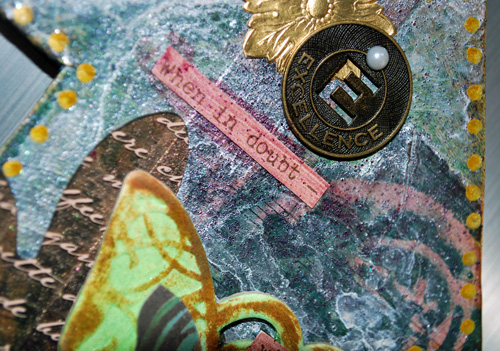
You can now dress up your houses – doodle with markers around the edges, add scraps and fairies, some nice inspirational sentences and the frames.
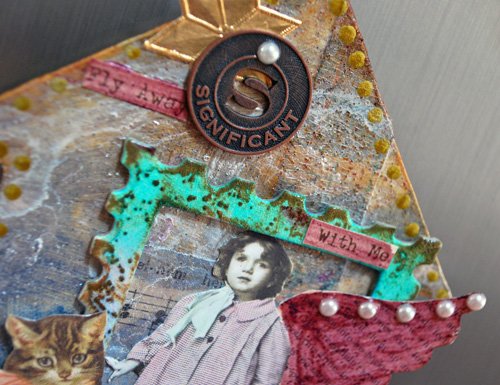
Attach strong magnet to the back – and take a walk to the fridge 
And there you go – a nice little present or to keep for yourself – an inspirational Fridge magnet.
I hope you had fun with this Oldie but Goodie :)
Have a gorgeous day
Nat


Comments (8)
susan salyer
| #
so many wonderful goodies went into the make of this . truly fabulous
Reply
Mary Holshouser
| #
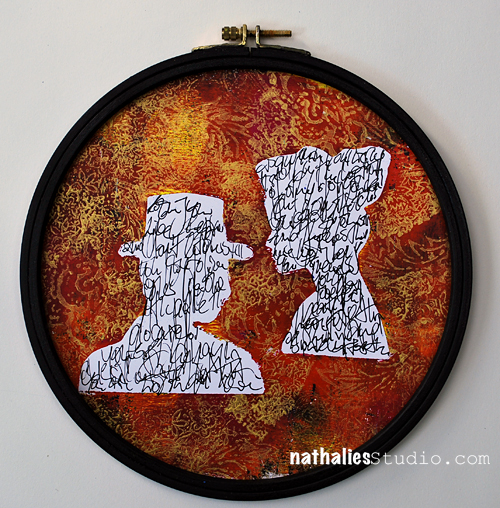
I love silhouettes and your take on them is so unique.
Using the embroidery hoop was a nice idea.
The stamps made a great background.
thanks for sharing a wonderful project.
Illinois
Reply
Viki B
| #
This is such an awesome look! I love your designs.
Reply
Sue D
| #
Very cool hipster version!
Sue in Ohio
Reply
D.Ann C
| #
What a cool silhouette variant and I’m in LOVE with that sumptuous background!! Sunny greetings from FL
Reply
beverly
| #
We like to get messy in Mississippi. Love the background paper.
Reply
windinn
| #
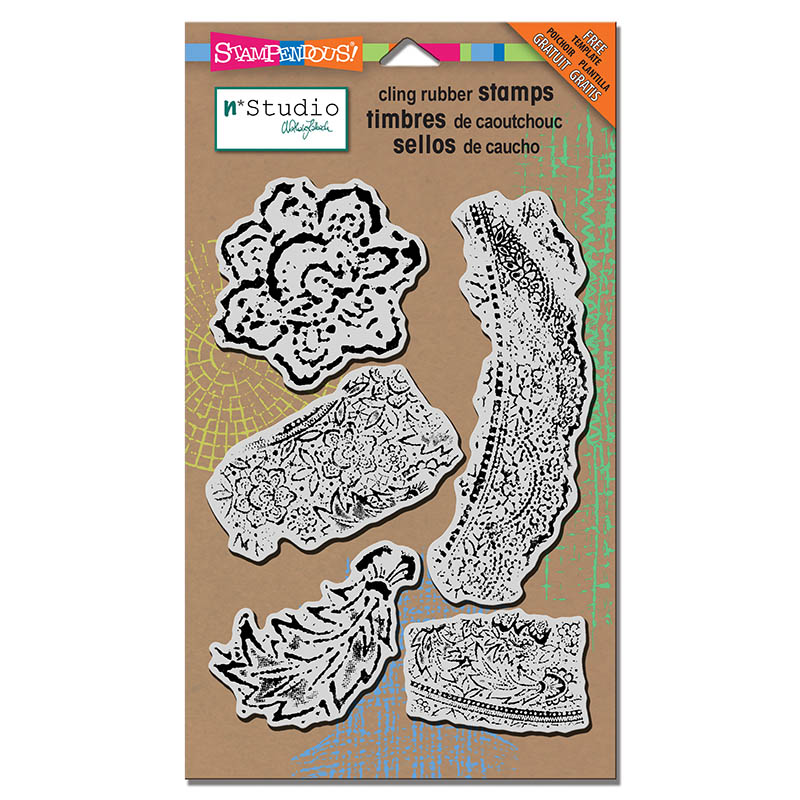
Love the fun and modern take with these stencils – it’s a beaut!
Reply
nathalie-kalbach
| #
thank yo so much Win!
Reply