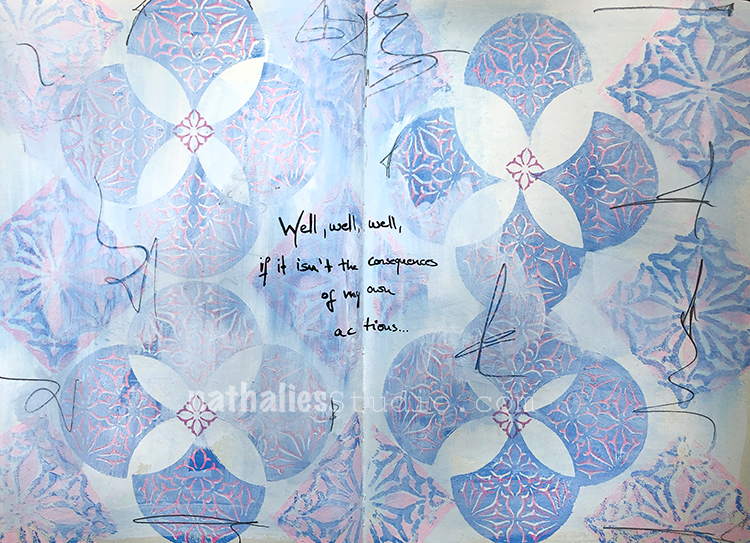
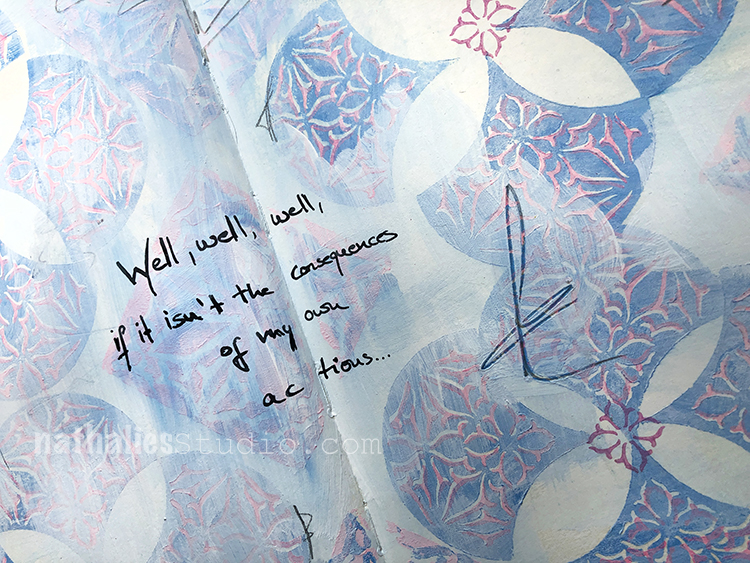
“Well, well, well, if it isn’t the consequences of my own actions…” lol Don’t you hate when that happens?
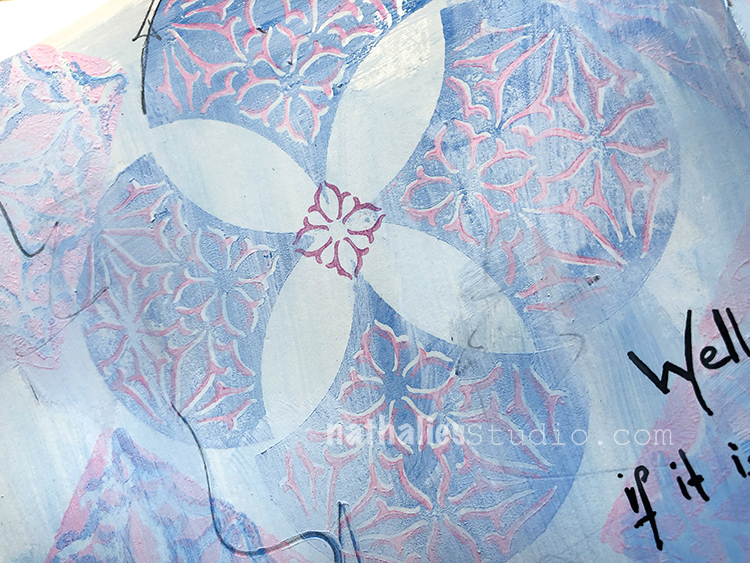
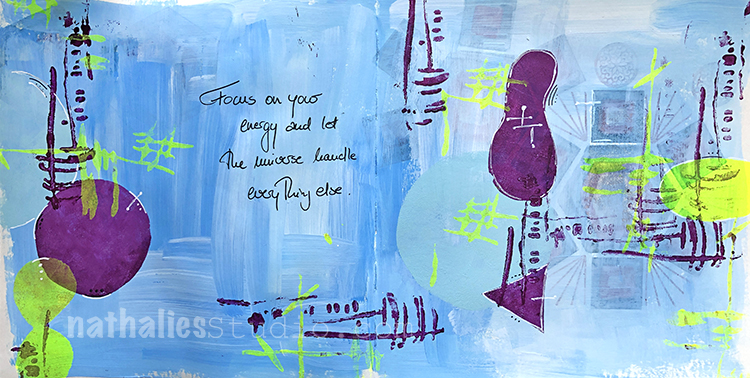
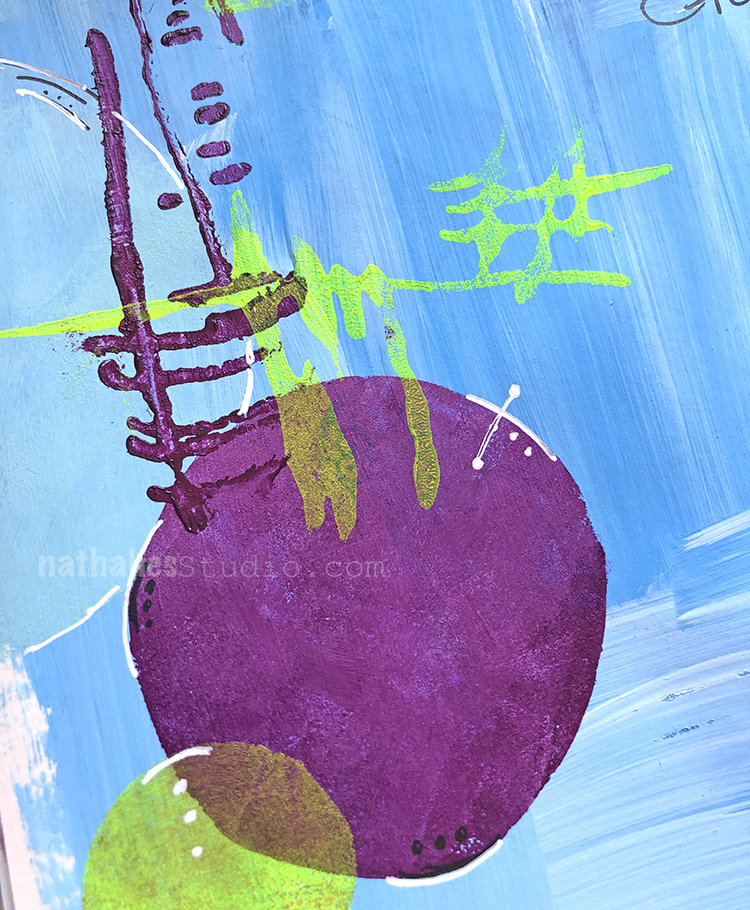
This page evolved a bit as I was working on it. Basically I actually didn’t like the outcome of the background due to the colors I chose, and then pushed everything to the backround by applying a thin layer of gesso. So peeking through you see the pattern I made using the Van Vorst Fan foam stamps and the Fanfare rubber stamps. Using gesso to knock stuff back a bit is one of my favorite ways to use it – works so well when you’ve gone a bit too crazy with colors and such.
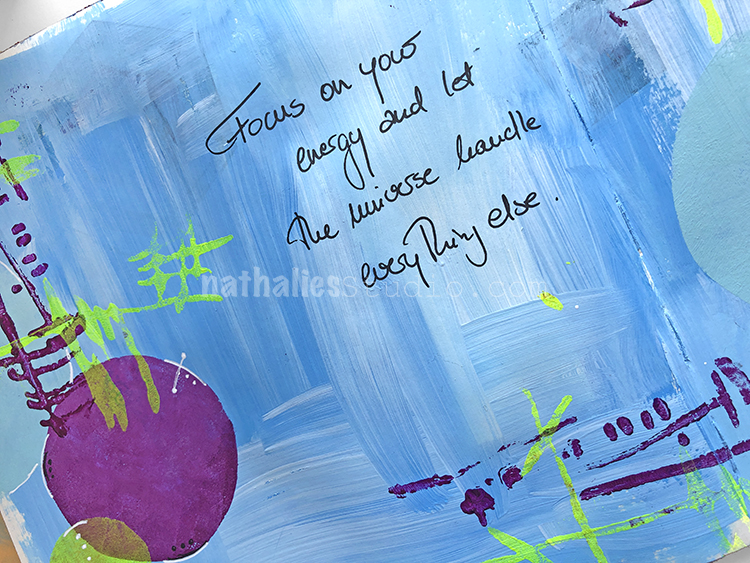
And it gives you a nice surface to journal on. Here I used a fountain pen.
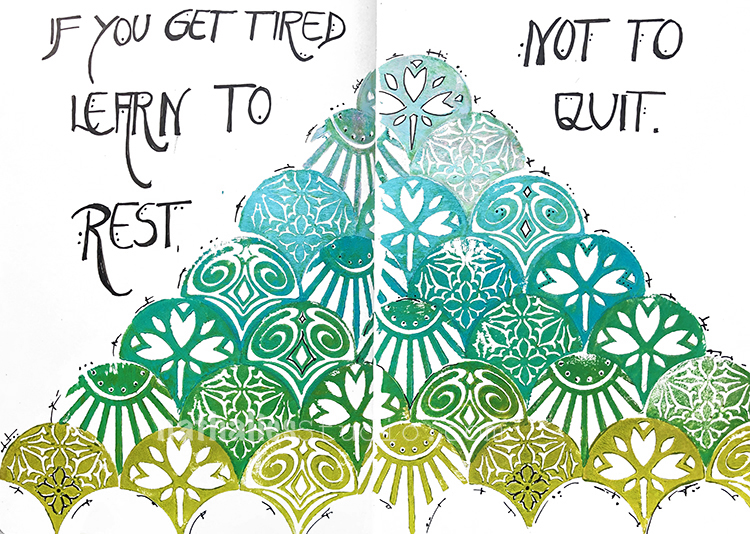
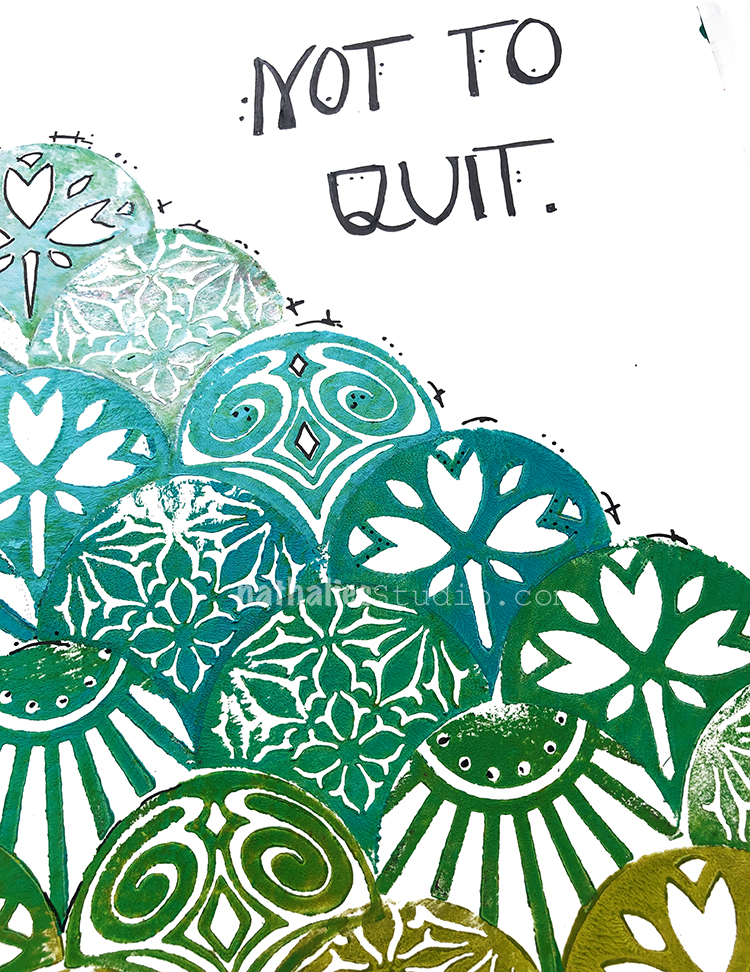
“If you get tired, learn to rest not to quit.” Here’s some motivation for your day :)
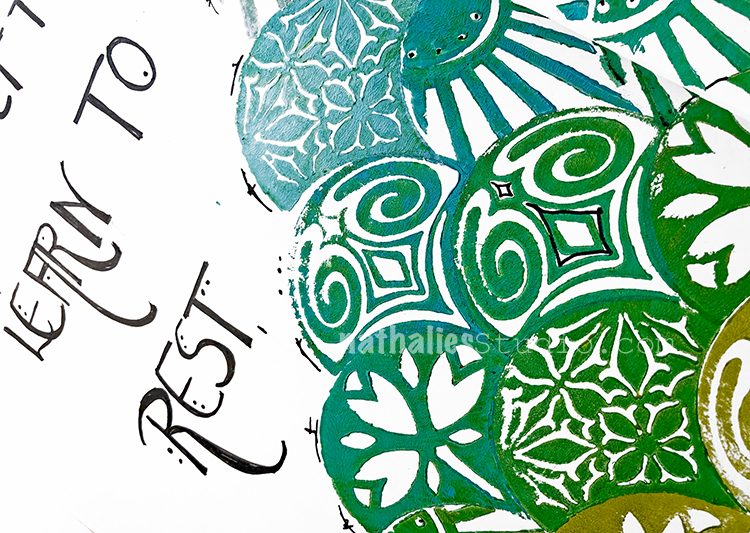
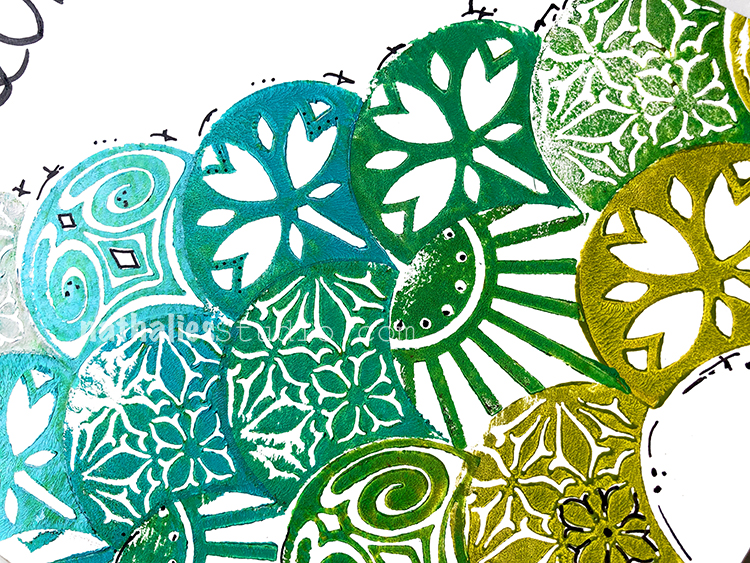
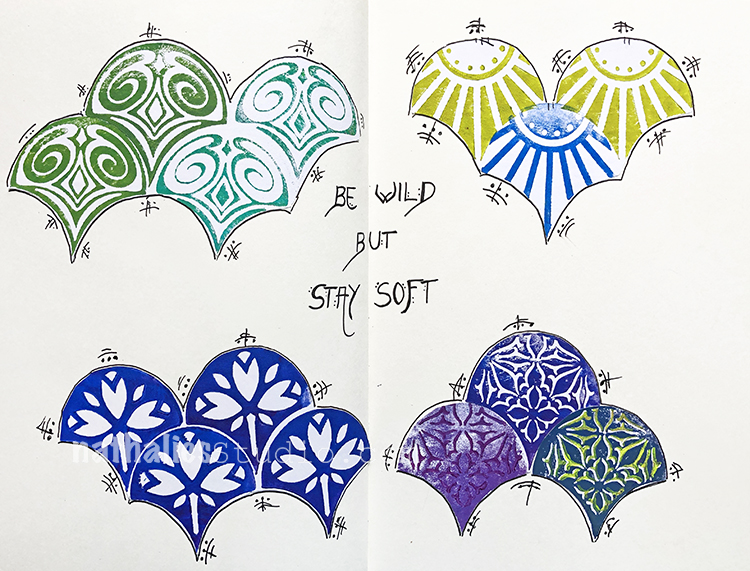
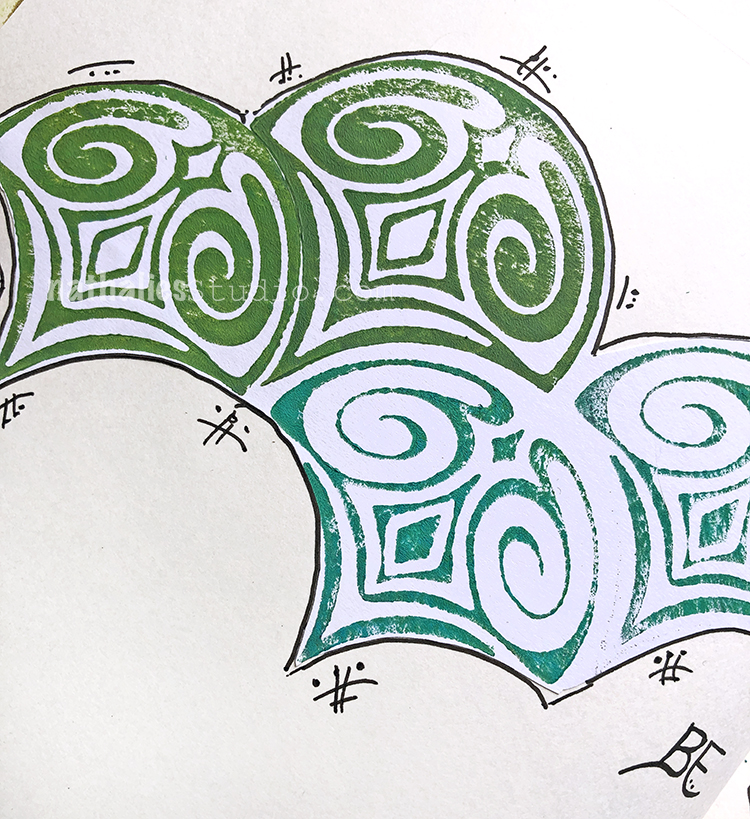
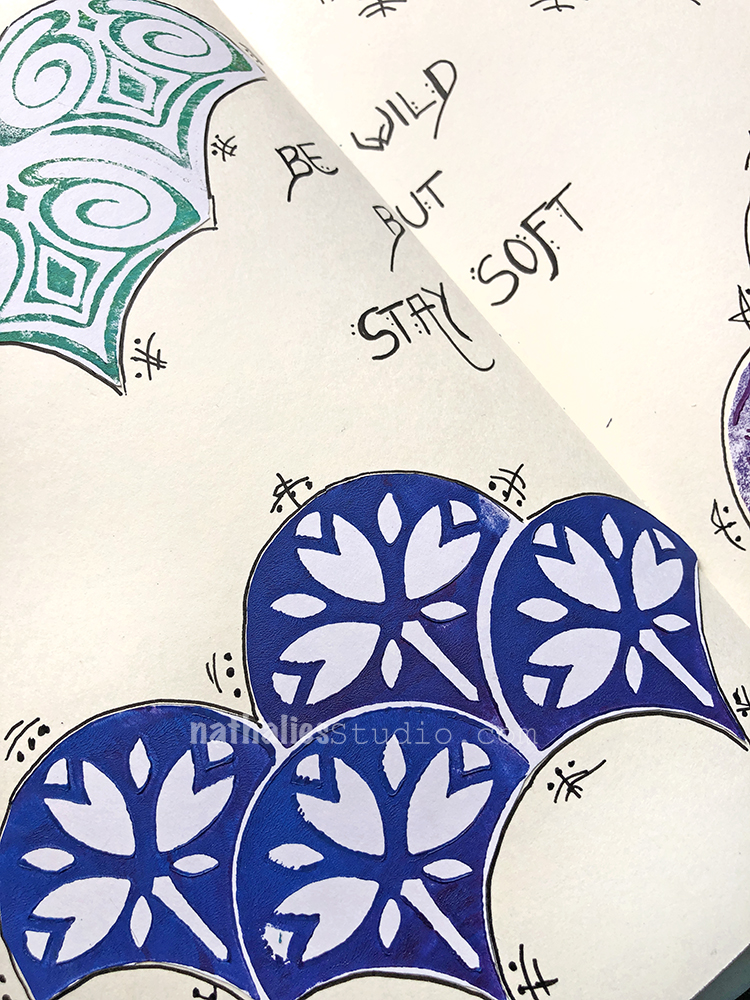
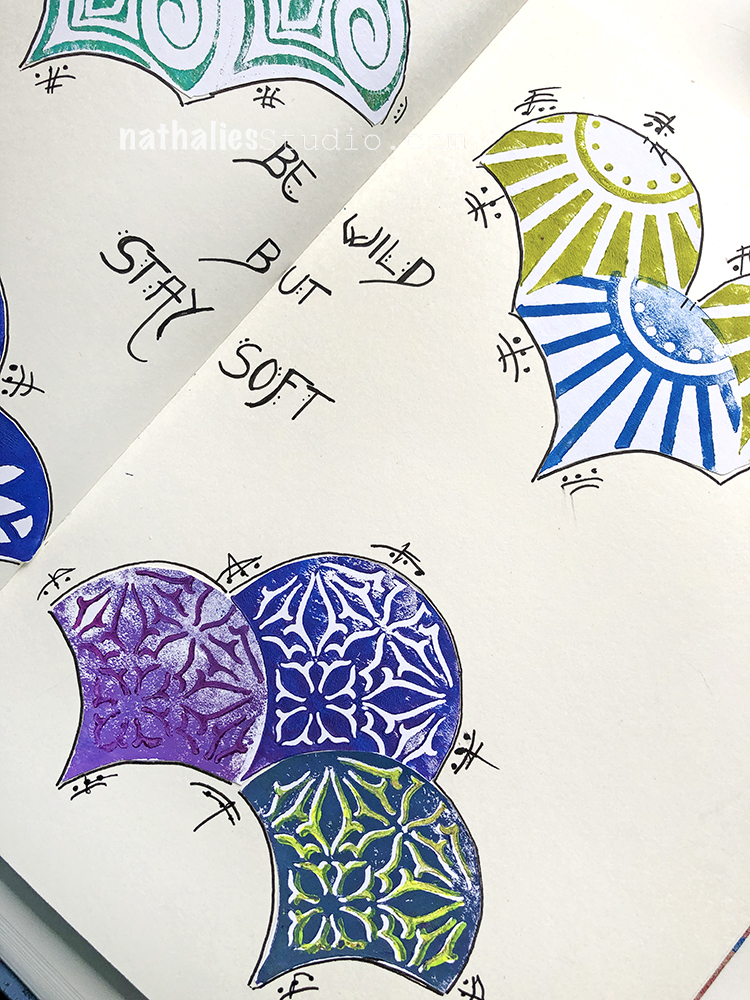
I wanted to try out my new Mini Fan foam stamp set for this one, so I stamped all 4 of the designs in the set into a nice ombre-esque pyramid using acrylic paint.
I went back into the designs with a little black pen – my new fav Winsor Newton fineliners.
And my quote with some nice flourishes – little dots here and there to give it character.
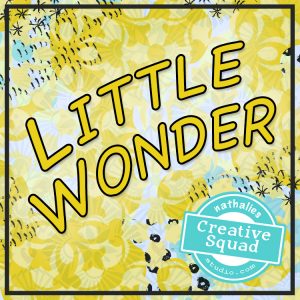
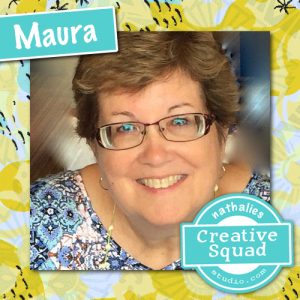
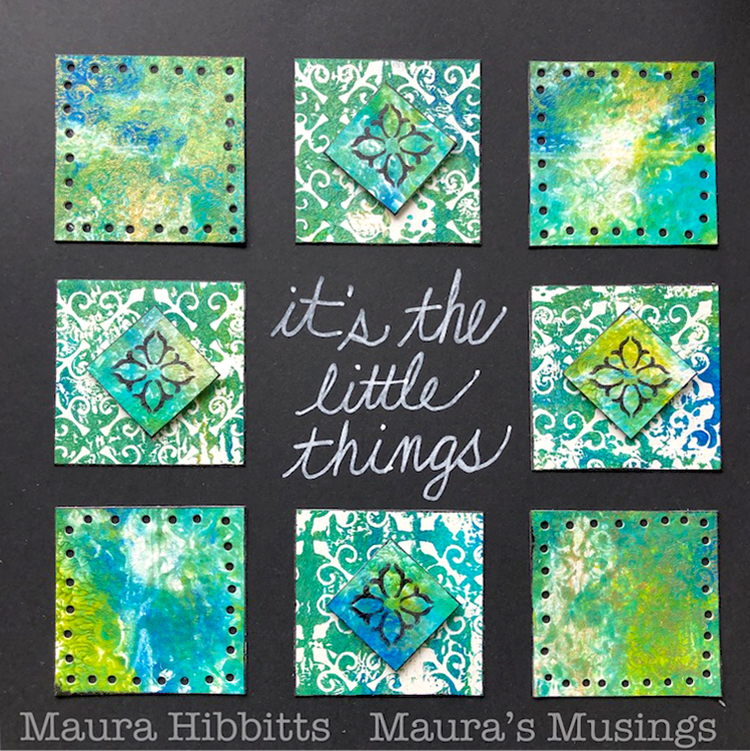
Hello and welcome to another post from the Creative Squad! Here we have an art journal page from Maura Hibbitts using inchies and twinchies (read on to learn more :) Maura is using my New Orleans stencil, one of the stamps from the Fanfare rubber stamp set, and this month’s theme: Little Wonder – We’re thinking small this month and focusing in on a tiny scale, exploring the delicate details, and creating something that is petite and precious.
Isn’t it often the little things that fill our lives with meaning? A smile, a hug, a flower in bloom, the flight of a bird, a good book, quiet moments, a song…to me, these are the little wonders that mean so much. Think about all of the little things that fill your own life to the brim!
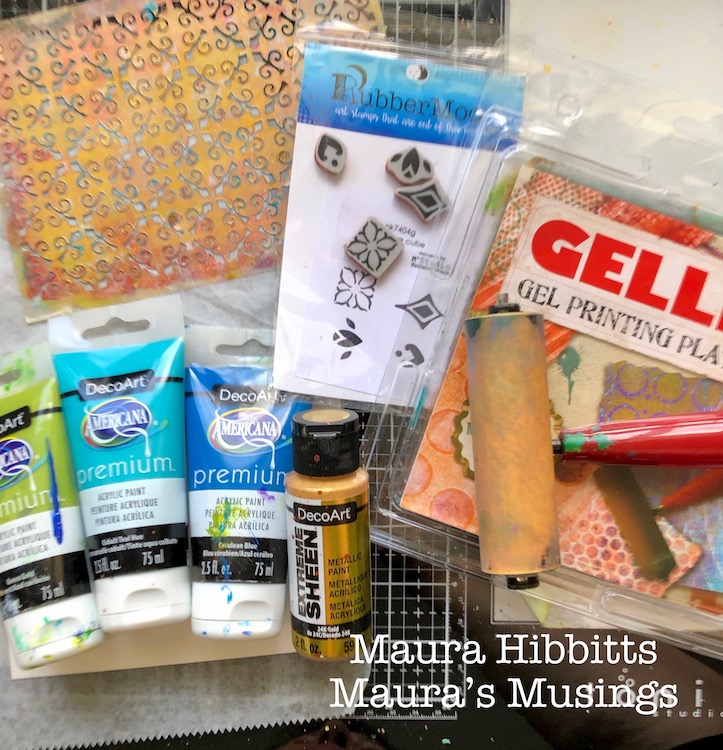
I decided to make my little wonders with inchies (1”x1”) and twinchies (2”x2”). You can turn these tiny squares into little works of art, but this time, I’ve kept mine simple. I also decided to keep my supplies simple.
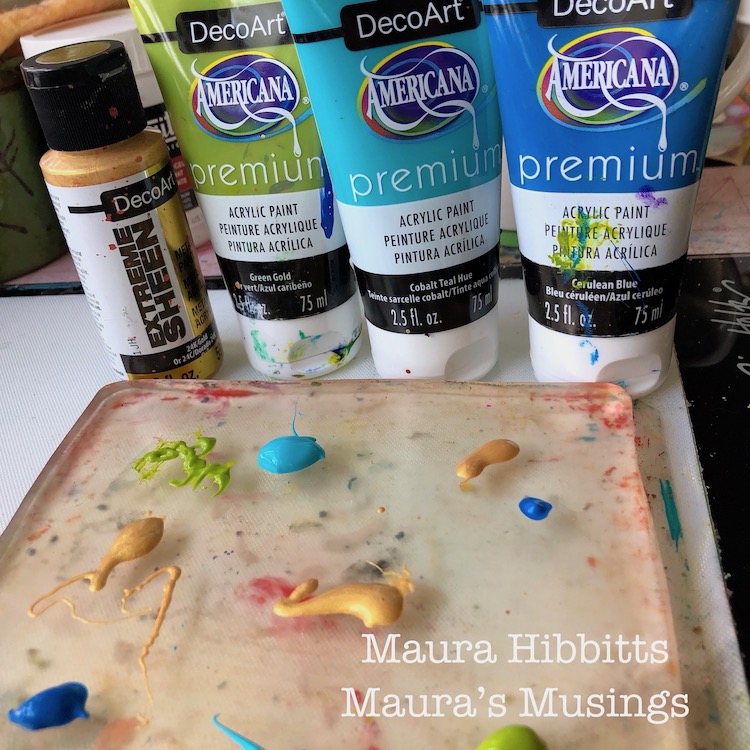
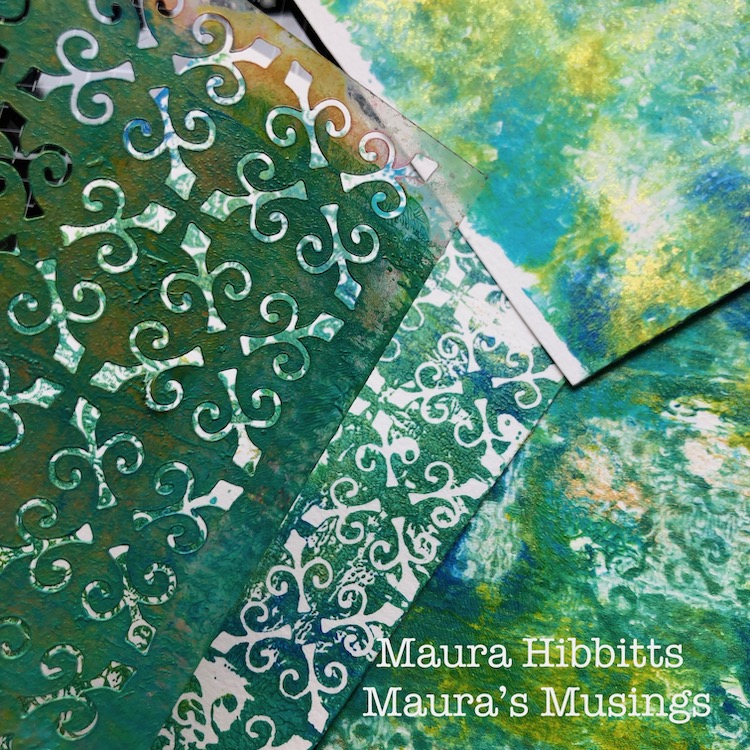
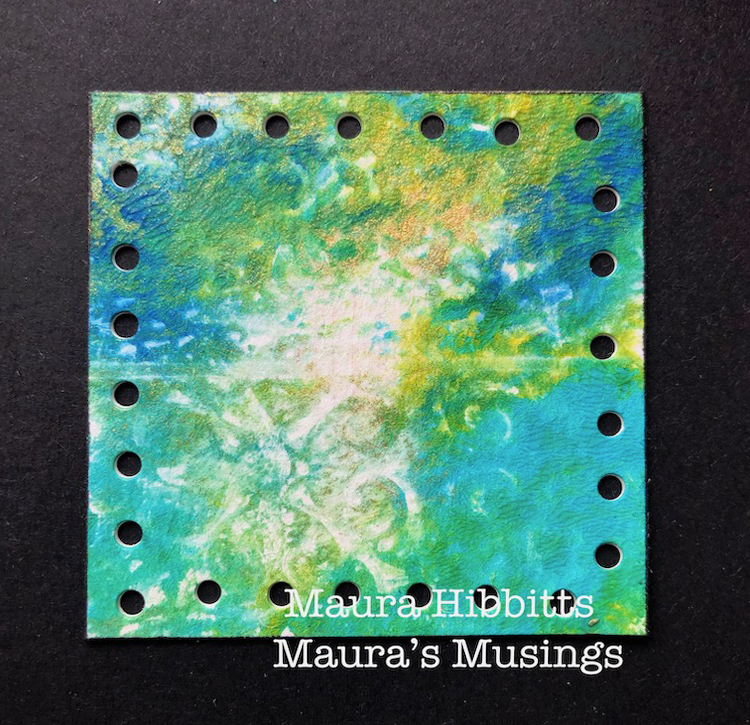
First step is some color blending on the gel plate – Green Gold, Cobalt Teal Hue, Cerulean Blue and Gold. I squirted small amounts of the four colors I am using and blended them with the brayer.
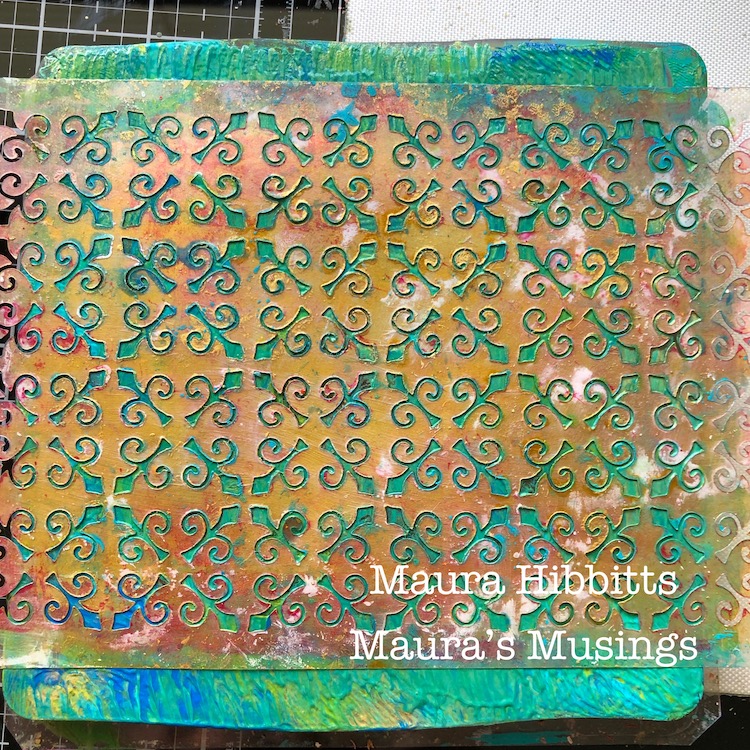
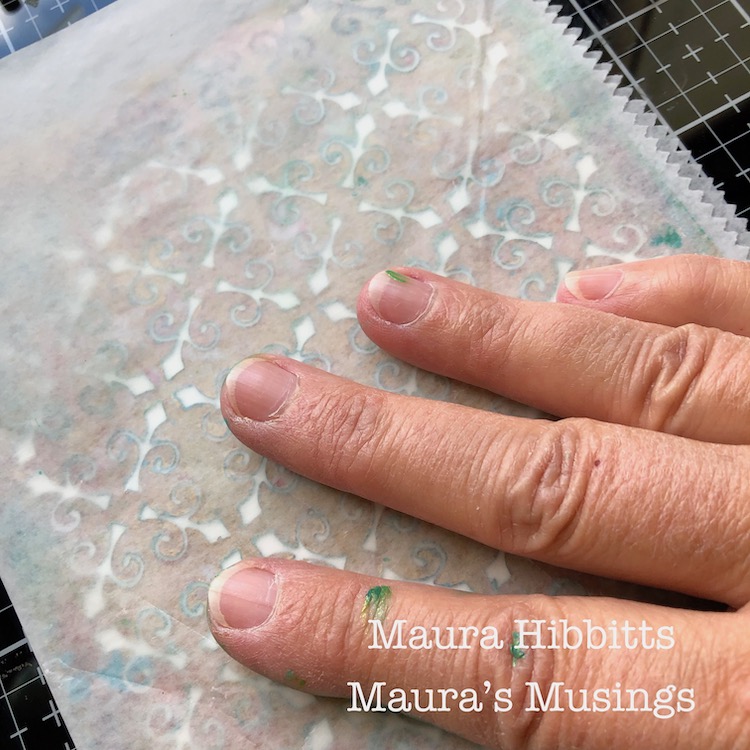
I have to say, I love printing on my gel plate, and once I start, I really having a hard time stopping. Once the paint is blended on the plate with the brayer, I laid the New Orleans stencil down into it, lifted it off with the paint on the stencil and pressed it on the water color paper. Since I still have some paint on the stencil, I laid it between a sheet of deli paper to get the rest off. These extra prints will come in handy in future projects.
I wanted a mix of designs, so I repeated the process, but this time after laying the stencil in the paint, once I lifted the stencil, I laid the paper on the gel plate.
I decided to add a bit more gold to one of the sheets, so squirted the gold on the gel plate, brayered it, and laid the stencil onto the paint. Then I lifted the stencil and pressed it over one of my painted sheets, just to add another layer.
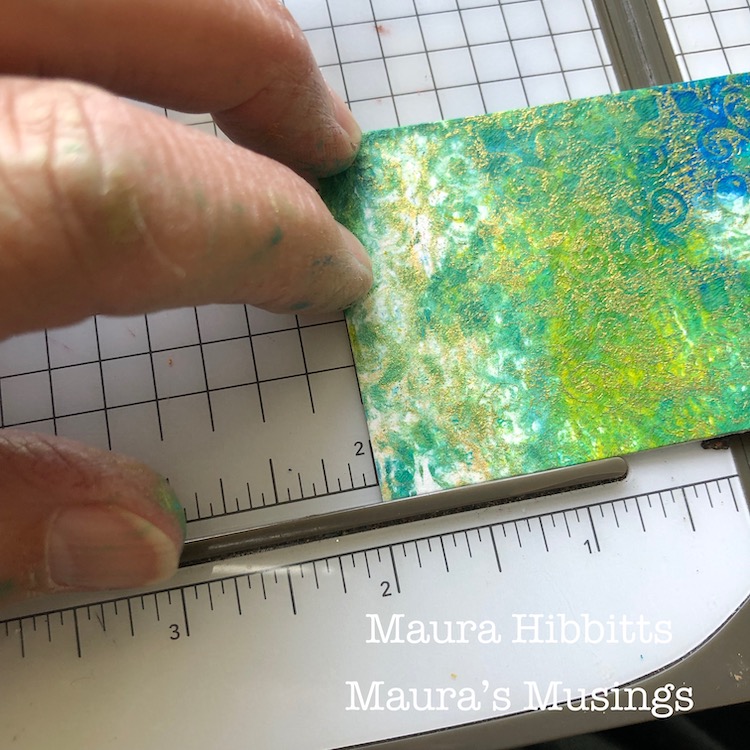
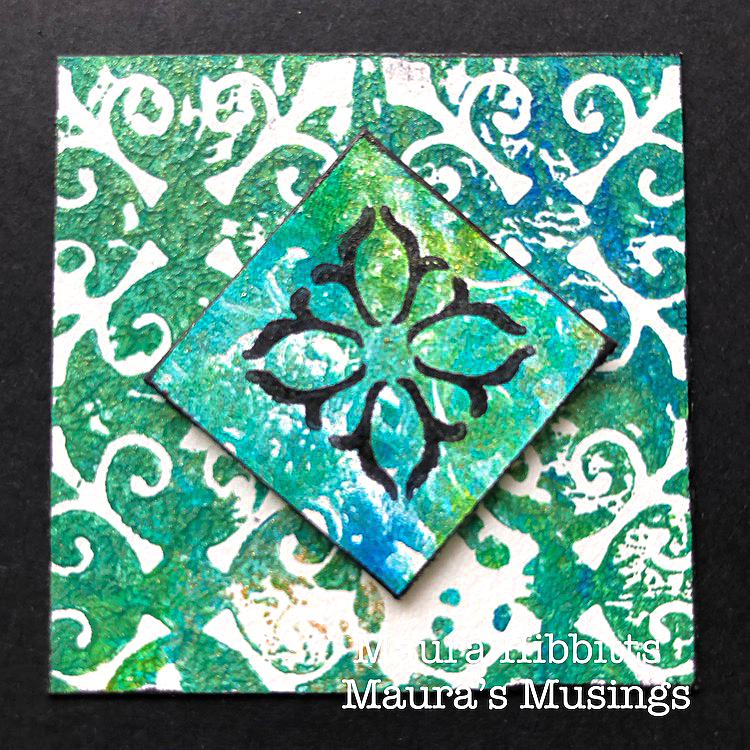
The papers are dry and ready to be cut to size, 8 twinchies (2”x2”) and 4 inchies (1”x1”).
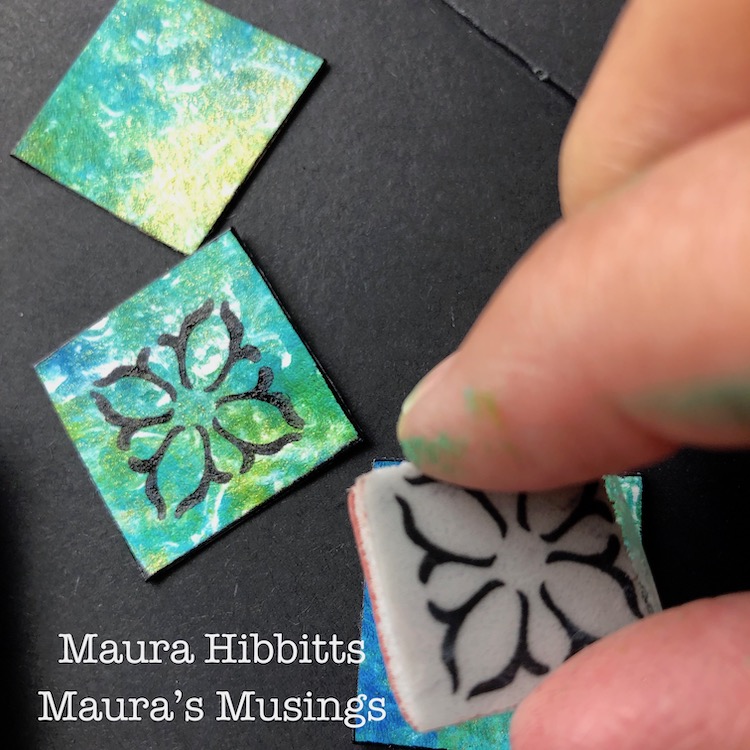
On the inchies, I stamped a design from the Fanfare set with archival black ink. I also edged all the pieces with the black ink.
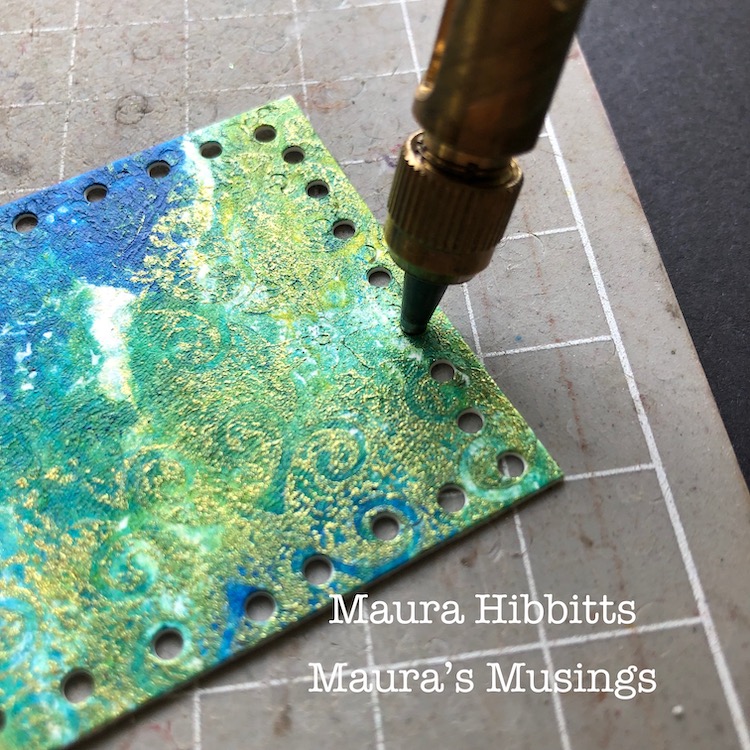
Just to add one more little element to my art journal page, I decided to punch small holes around several of the twinchies with my Japanese awl. I like the contrast between the painted pieces and the black background.
Then, I adhered all twinchies to the art journal page with adhesive, popped up the inchies with foam tape, and wrote my thought in the center with a white paint pen.
It’s the little things…day to day, in art, in nature…that add so much to our lives. Think about all the little wonders in your life, and enjoy each and every one of them! Maura
Thank you Maura and yes, we could not agree more that it is so important to be thankful for the little things in life :) Gorgeous page and gorgeous message!
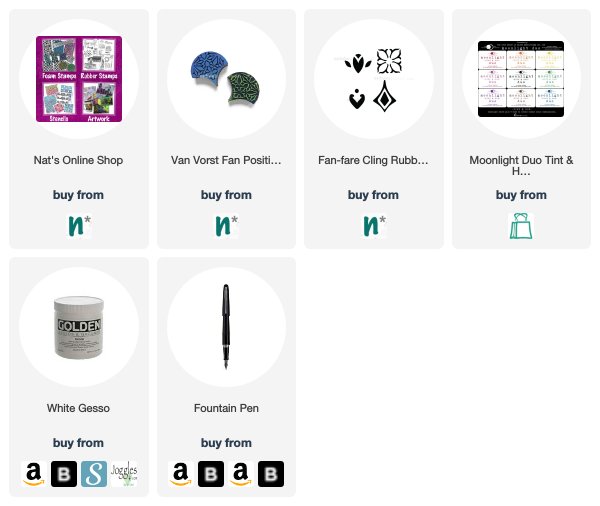
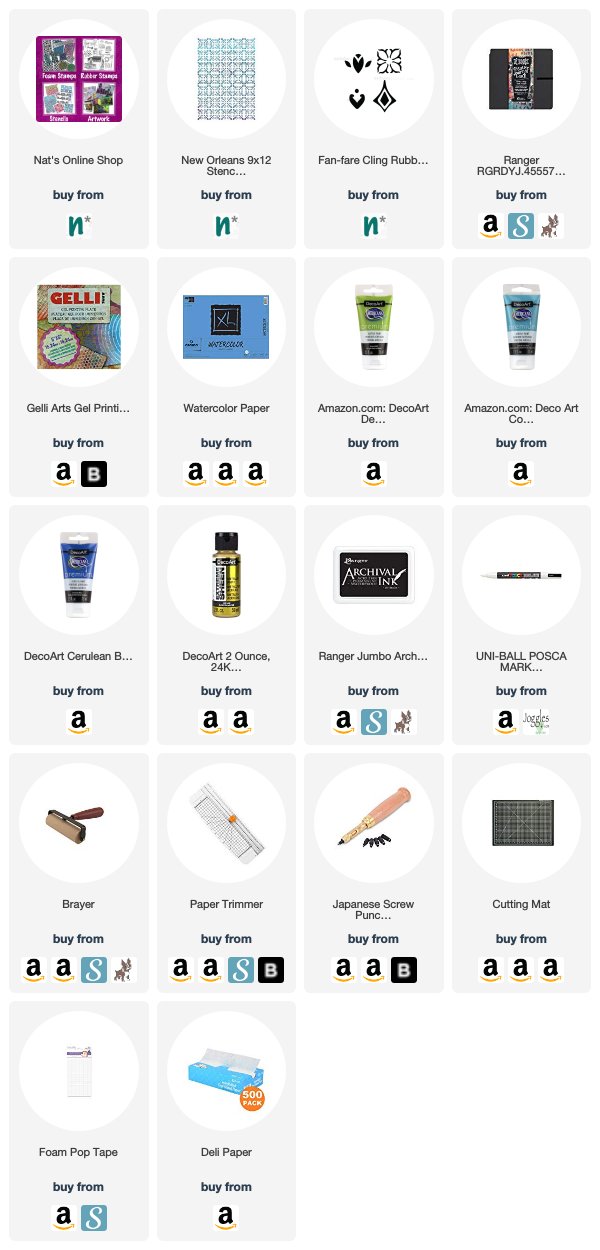
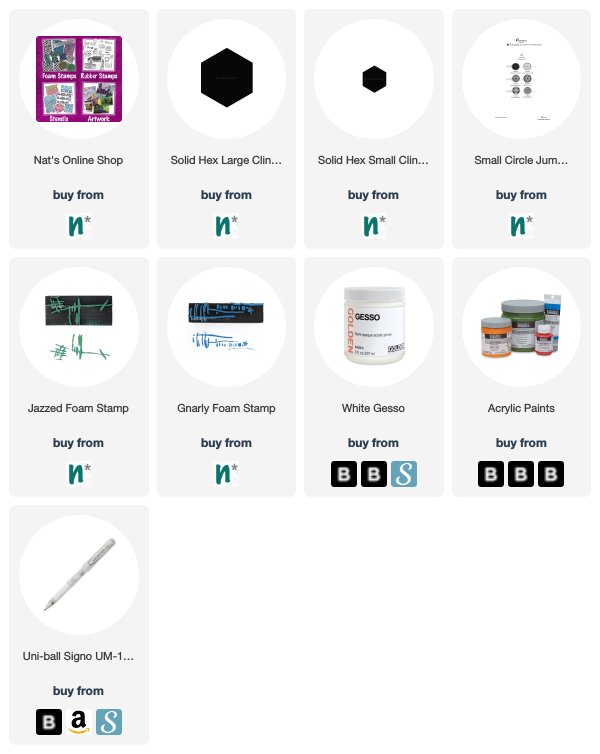
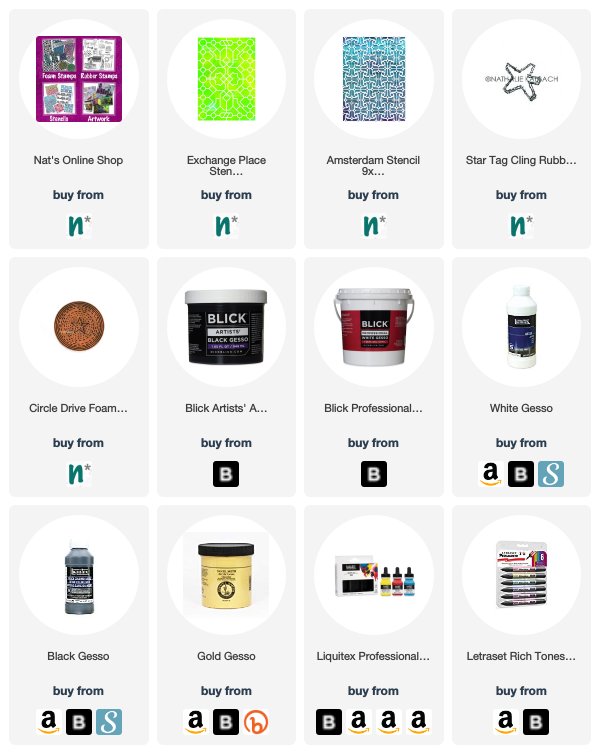
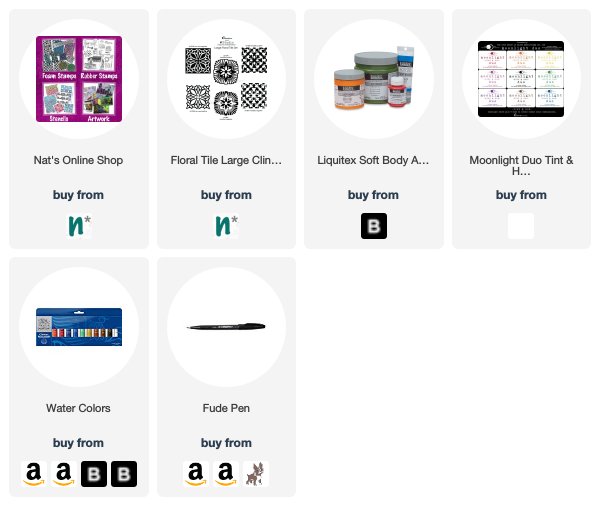
Want to try making something yourself? You can find all my Rubber Stamps and Stencils in my Online Shop and here are some of the other products Maura used:
Feel inspired? Working on something yourself that you’d like to share? I love to see how you interpret our monthly themes. Email me how you used my stencils and stamps with the theme and email me an image – I would love to share your projects in my next “n*Spiration From Around the Globe“.
For this spread I stamped out my new fan foam stamps with acrylic paint onto some white paper, cut them out, and collaged them into my art journal. Here is my Fairview Fan Positive Negative stamps.
And here is one of the stamps from the Jewett Fan Positive Negative pair. I went back into these elements with a bit of dots and marks using the new Winsor Newton fineliner pens – which I am super impressed with btw and links are below for them if you are also a fan of good fineliners :)
A Look Back – a blog series to show you some projects and posts that you may have missed – sometimes going WAY back in the archive. I think it will be fun to revisit a few ideas that we haven’t seen for a while. I’m excited to see how a little look back might inspire something new in the future :)
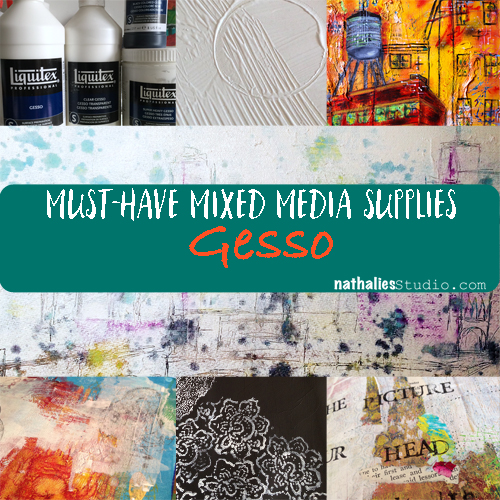
This time I’m looking at Gesso – yes that mixed media essential in my opinion. It has so many fun qualities and uses that it’s time to celebrate the powers of Gesso!!! Here’s a look back at some of the ways I’ve used it over the years. Enjoy!
Let’s start with the basics – why I call Gesso a Must-Have. I wrote this post back in 2015 but my feelings haven’t changed. Check out the original post for a really nice overview of the medium and some examples of it in action, as well as why I sometimes affectionately call it Dumbledore!
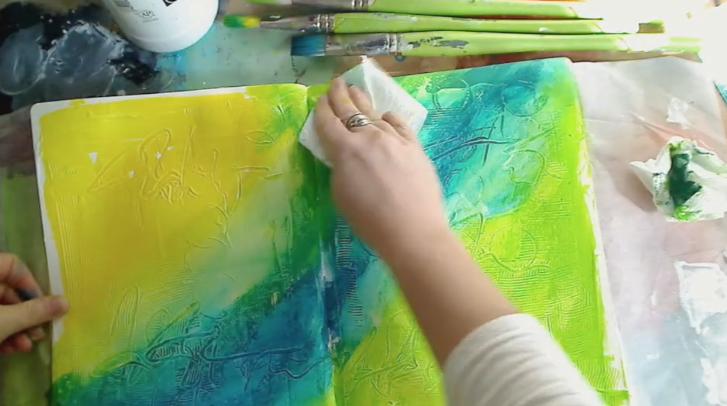
In 2015 I also shot a fun video showing Gesso and Acrylic Inks working together for background bliss. Check out the original post here to watch me create a textured background that gets layered up with luscious colored inks.
Let’s talk Black Gesso. Wow this is definitely the stuff I go to for BOLD backgrounds. If you want a patterned stencil (like my Exchange Place stencil here) to POP, Black Gesso is your BFF. Check out this post from 2018 for the full art journal spread to see why Black Gesso is just as essential as white.
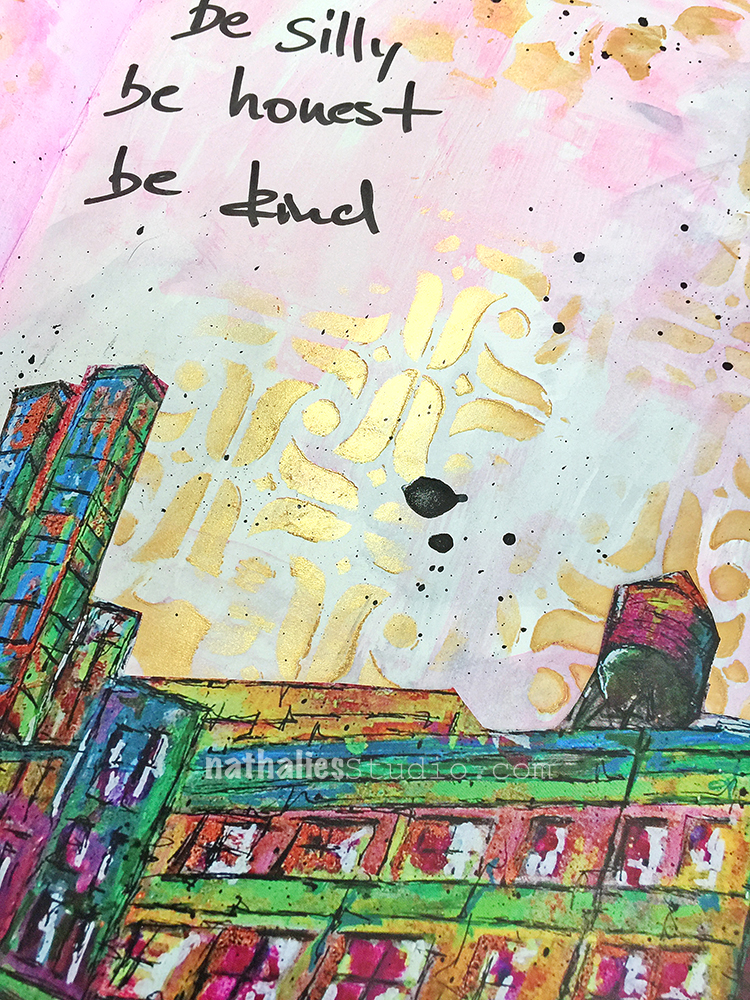
And then there is Gold Gesso! Who isn’t a sucker for a bit of shiny metallic gold? I love to use it like I have here with my Amsterdam stencil – just a bit of high impact Gold Gesso pattern to adorn this art journal spread from 2018.
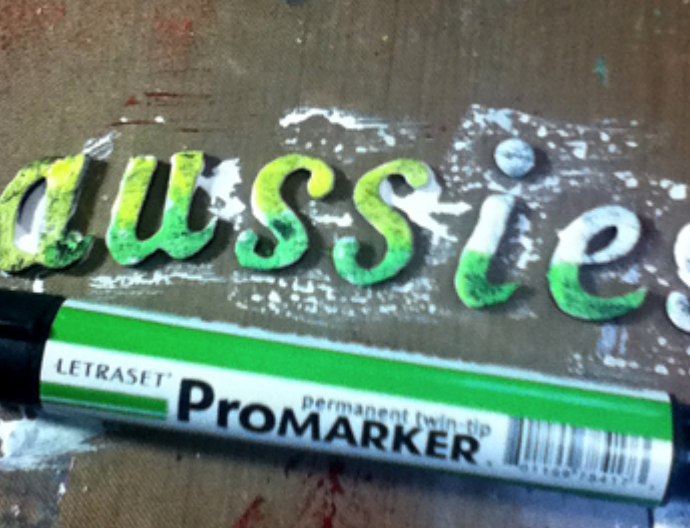
Looking waaaay back to 2012 for this one folks :) I had a LOT of the same kind of black felt letters and decided to spruce them up in this vintage post with… you guessed it: Gesso! Gesso is fantastic for covering stuff up and giving you a nice surface for almost any kind of media on top. In this case, some markers. So thank you Gesso for helping me give these letters new life.
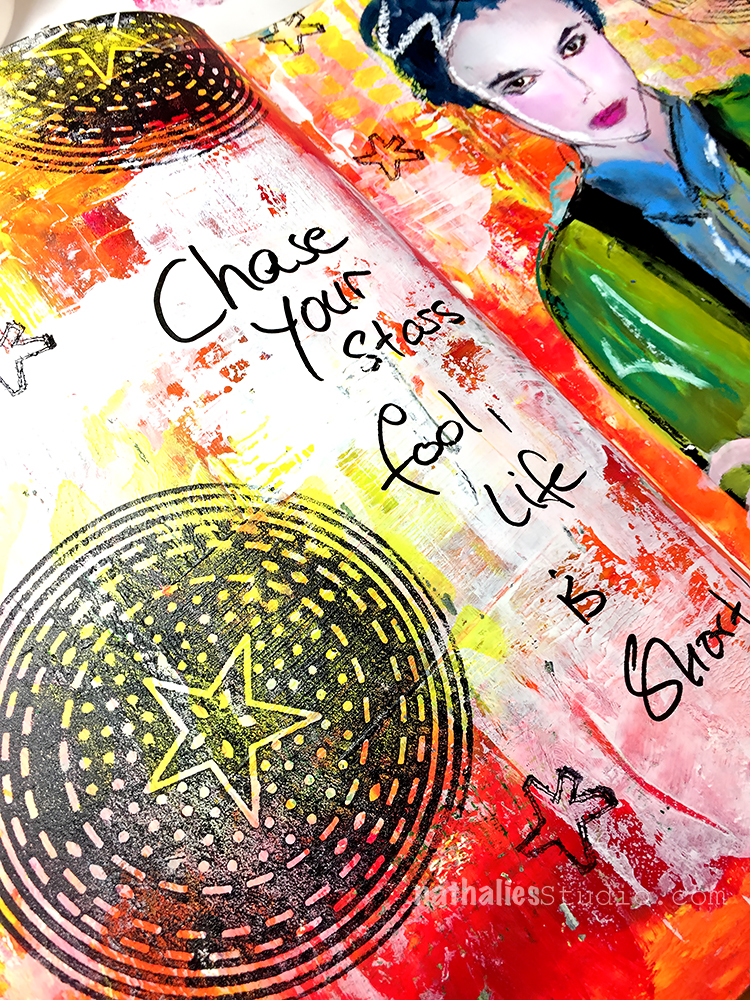
Speaking of covering things up – how about this art journal spread from 2017 where I use Gesso to tone down that extra hot background just a tad to give me a spot for journaling. Gesso is perfect for covering and giving a visual break from a wild background.
I hope you enjoyed A Look Back through my archive and maybe you are inspired to try some different things now too.
Here are some of the supplies I used in these posts:
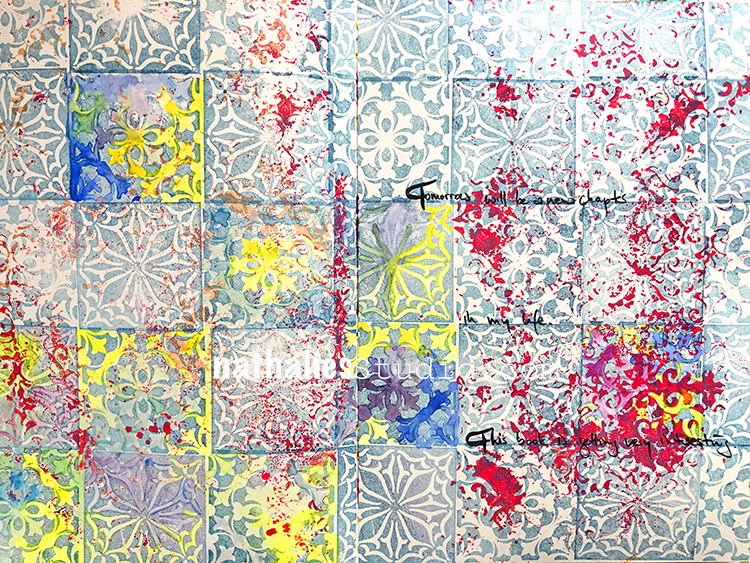
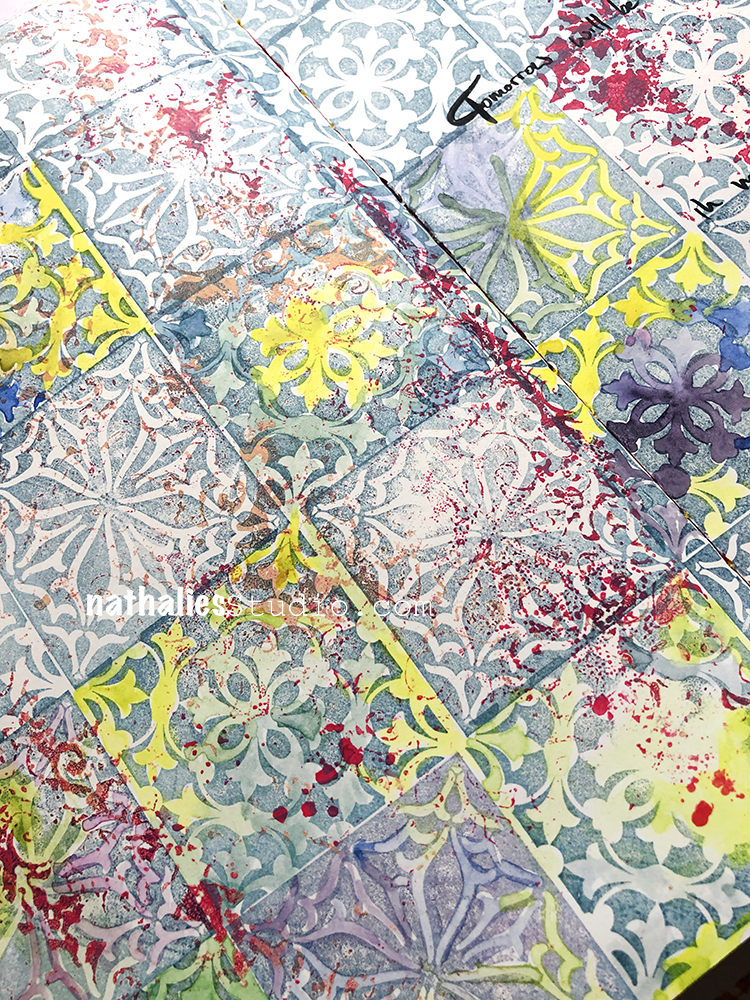
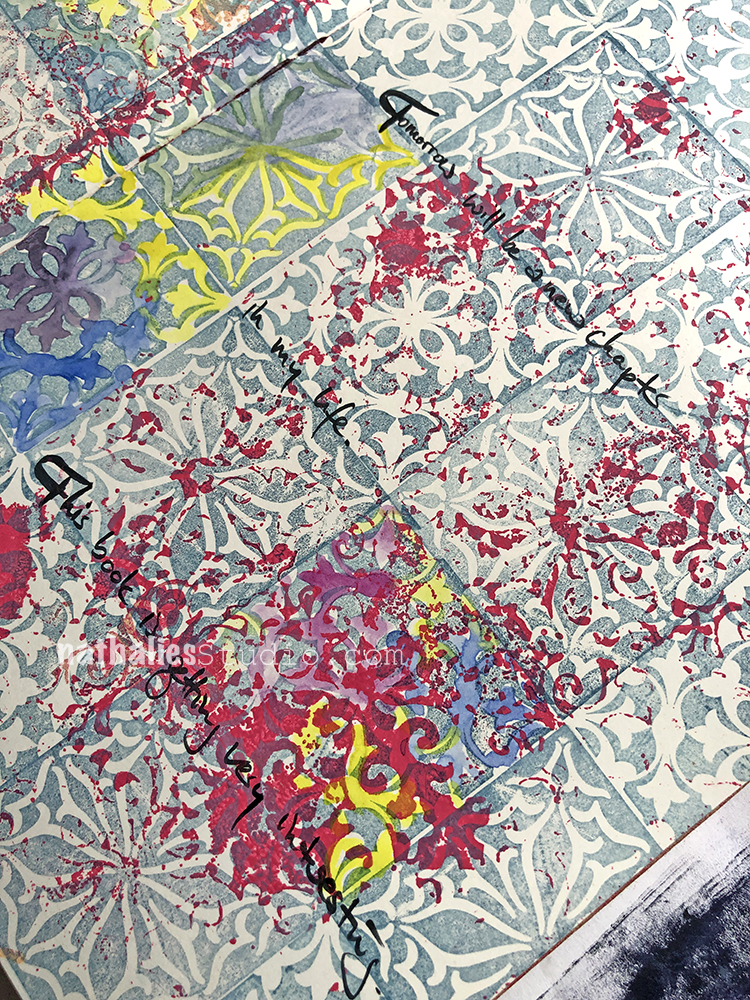
“Tomorrow will be a new chapter in my life. This book is getting very interesting.”
For the background I used the Van Vorst and Versailles rubber stamps from my Floral Tile Large set. Then I went back in with water color to bring out certain areas of the pattern.
The red was spray paint that I had on a stencil and cleaned off on the page before getting started. I loved the little snippets of the paint as random marks.


Nat, that is exactly what I needed to read this afternoon!
I especially like that the pattern is a hill…one more step.
Reply