Creative Squad

All Shapes and Sizes – Tania Ahmed


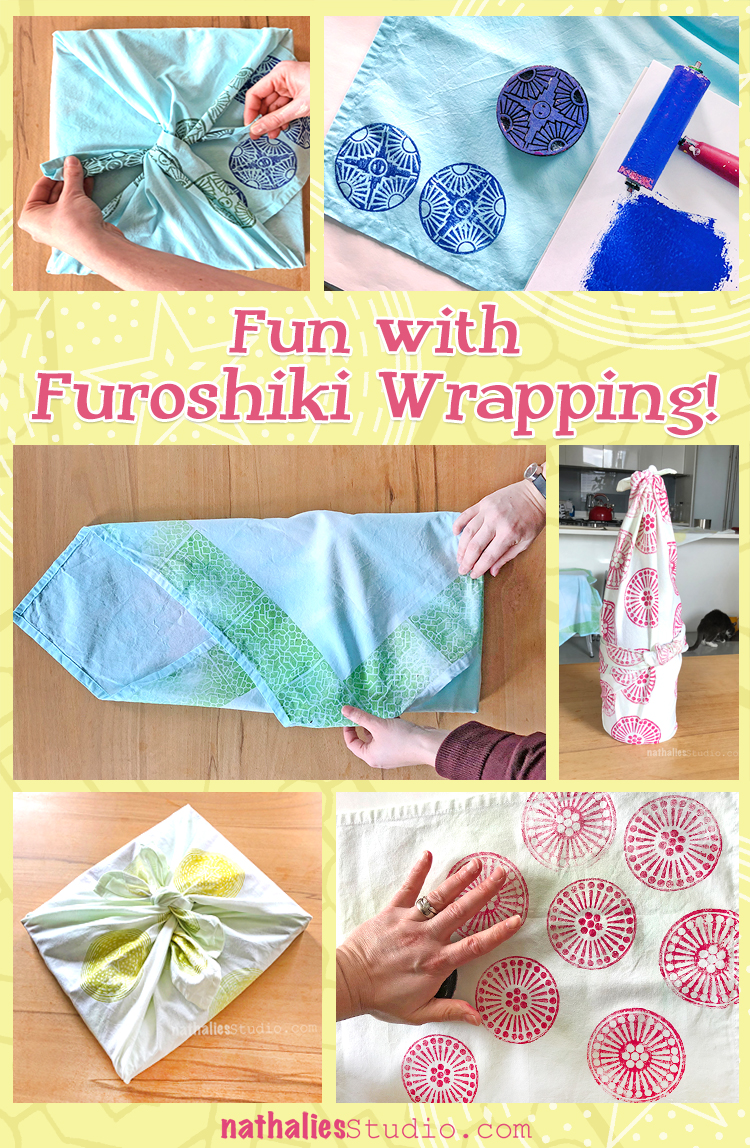
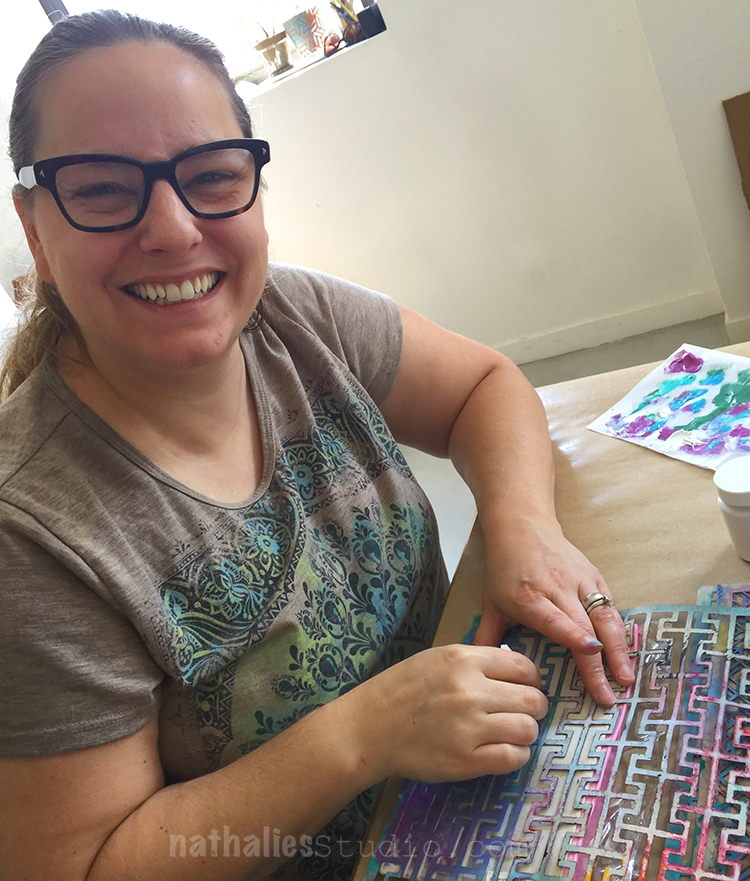
Welcome to a post from my wonderful Creative Squad! This week we have Tania Ahmed and her super cool tote bag project using my Buenos Aires and Broadway ArtFoamies stamps. I love using these foam stamps on fabric and Tania shares a video with us that shows just how easy it can be to get a great looking result. Tania was inspired by the new theme this month: All Shapes and Sizes – Circles and squares, big and small, let’s mix it up and play with different shapes and sizes this month. Just because things are different doesn’t mean they can’t look great together!


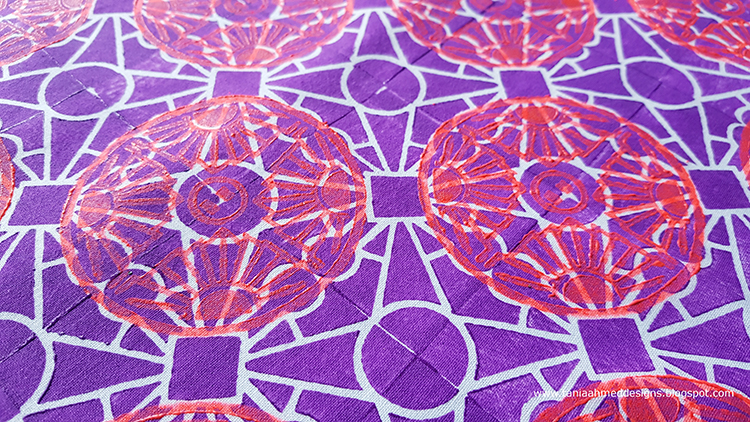
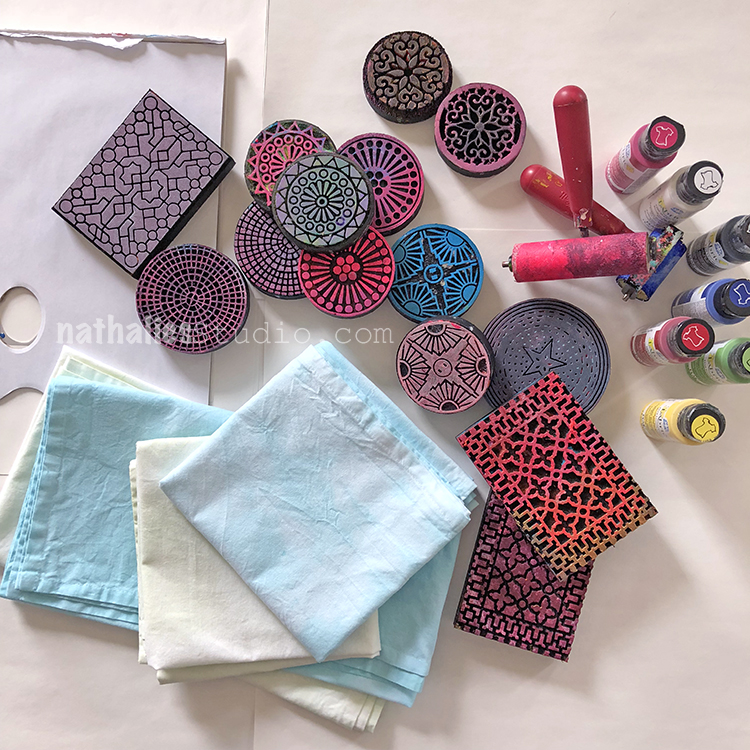
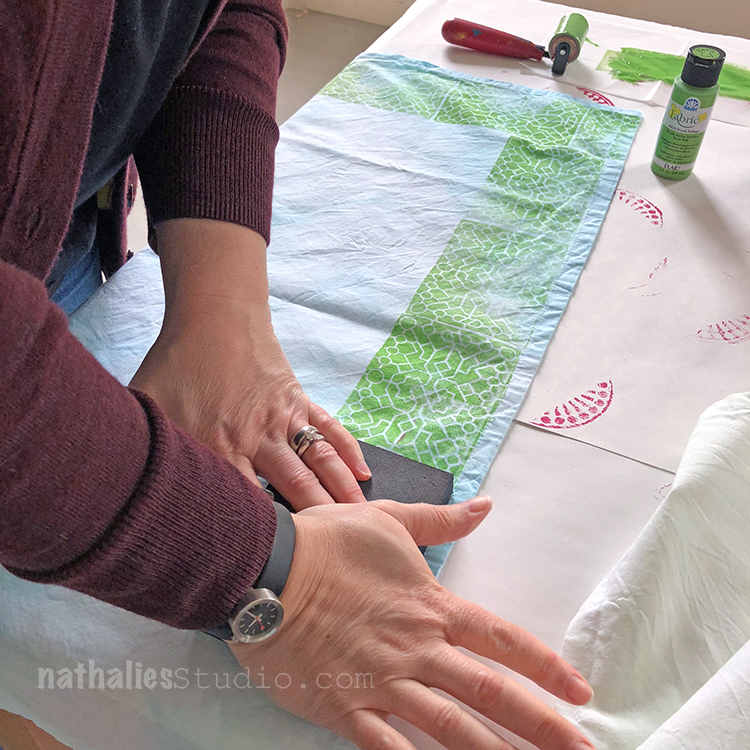
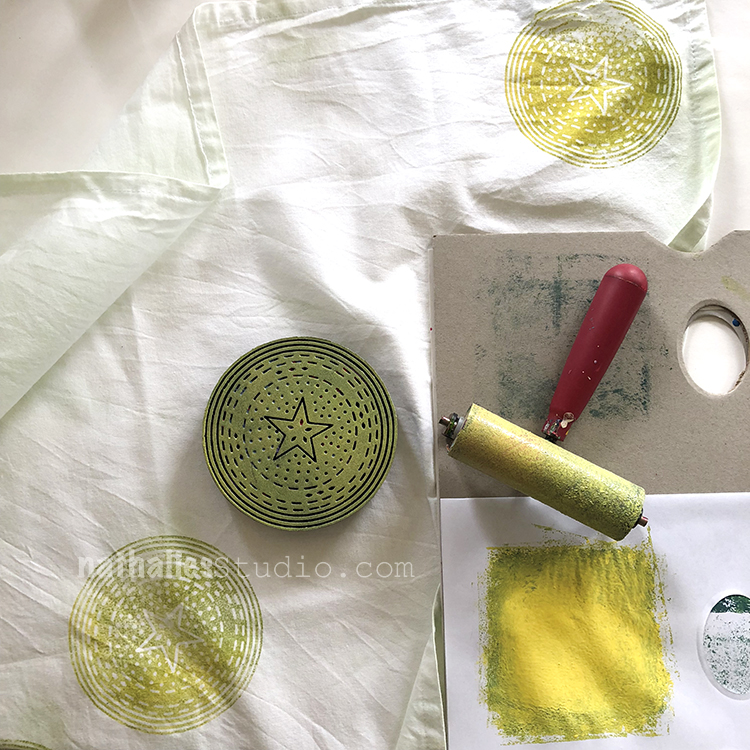
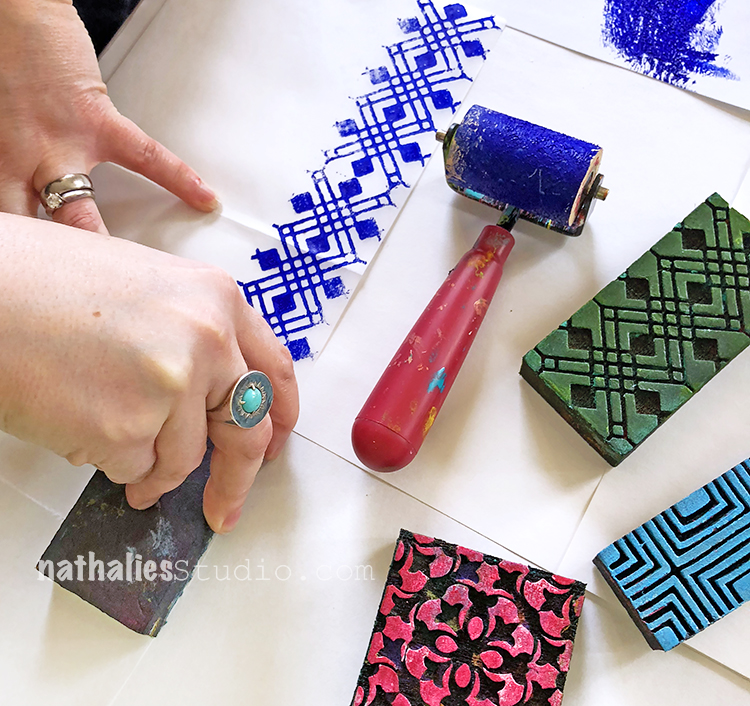
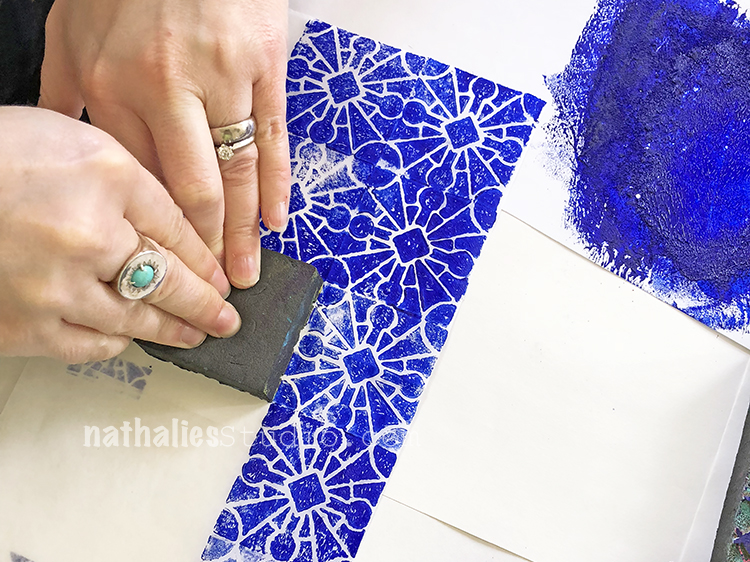
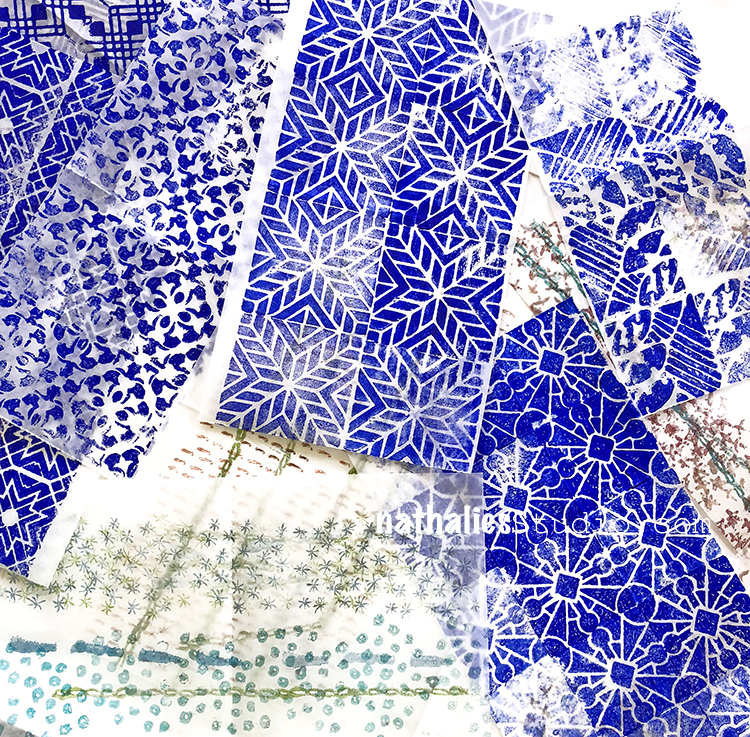
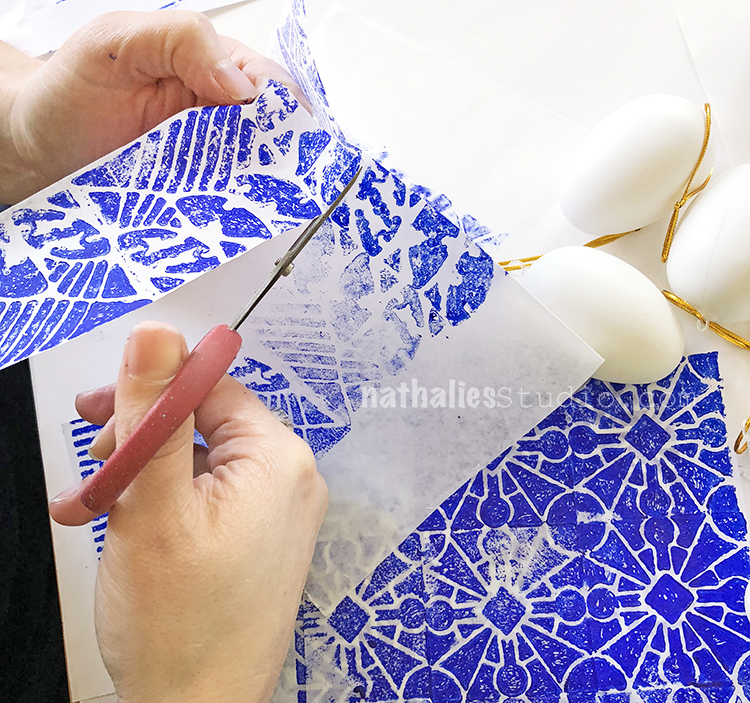
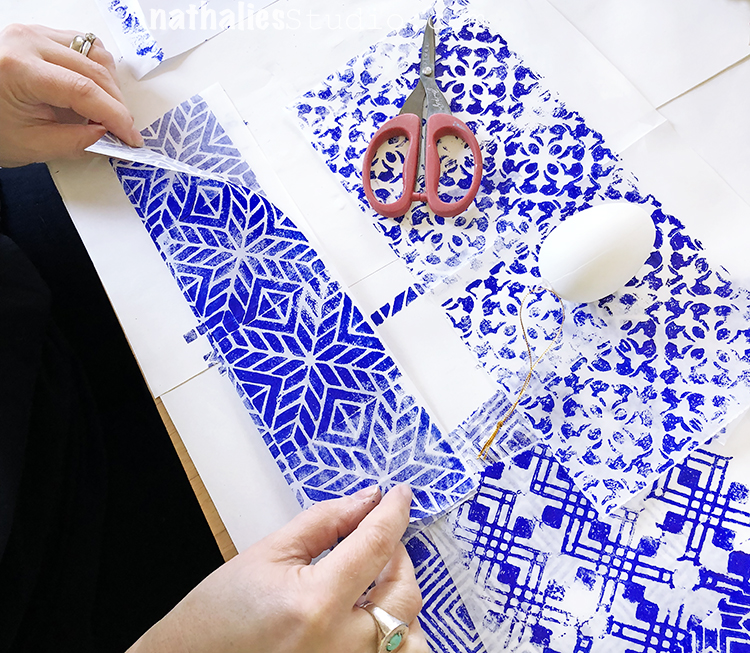
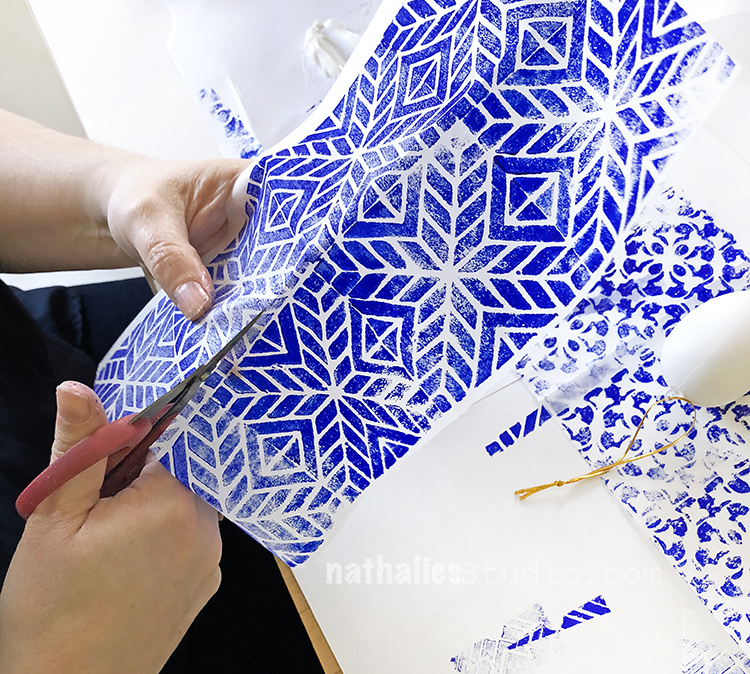
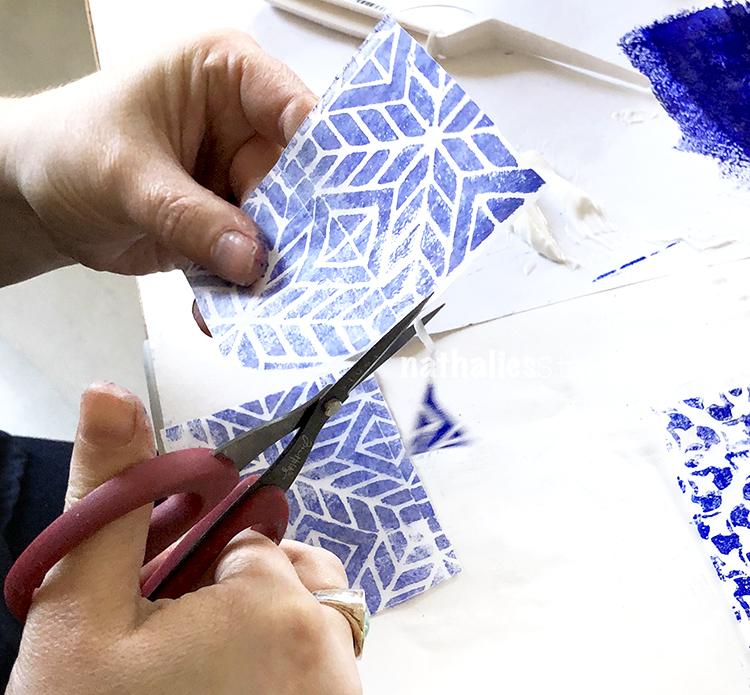
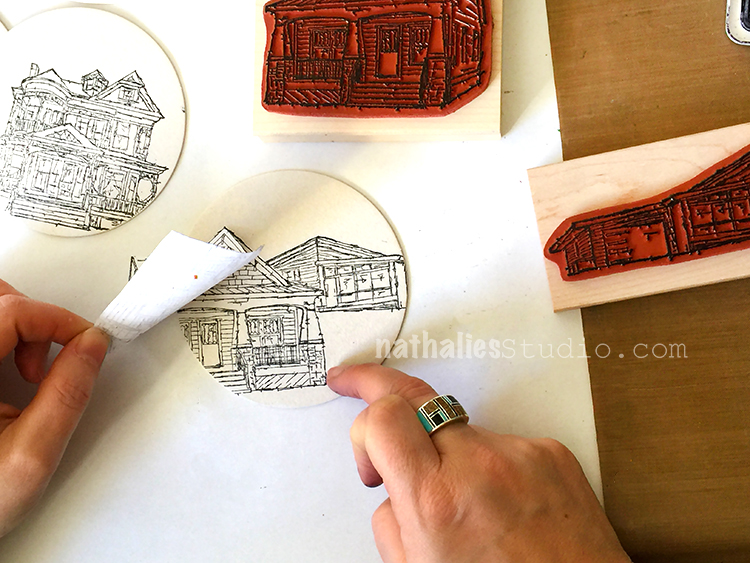
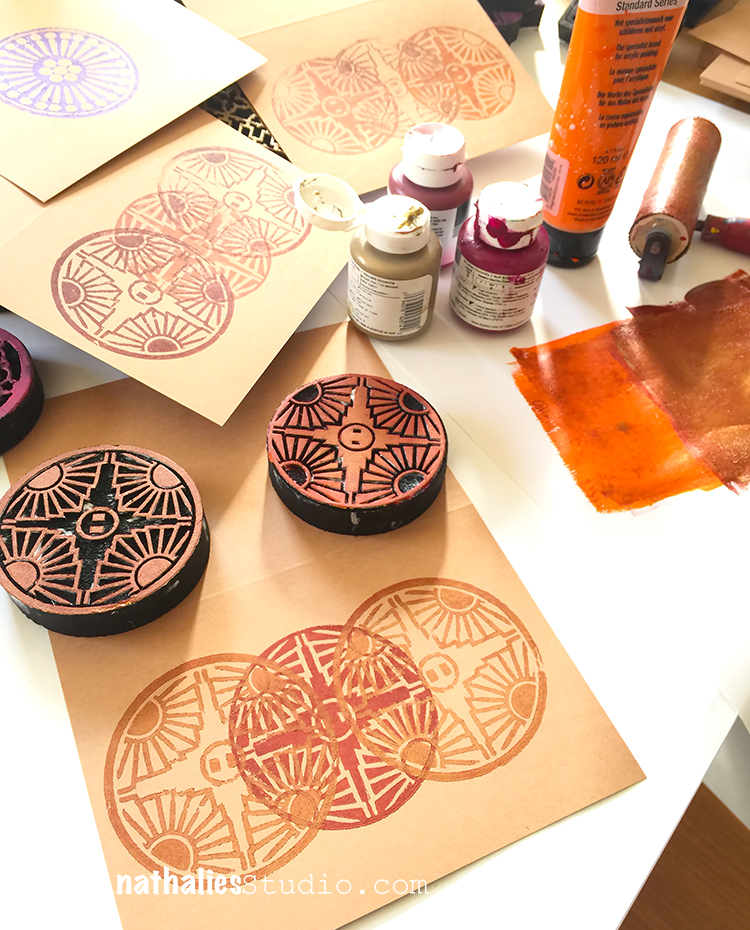
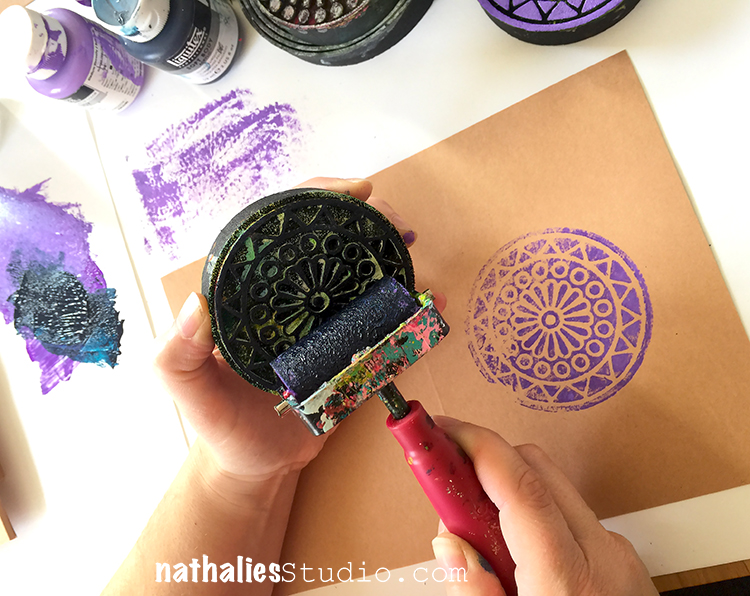
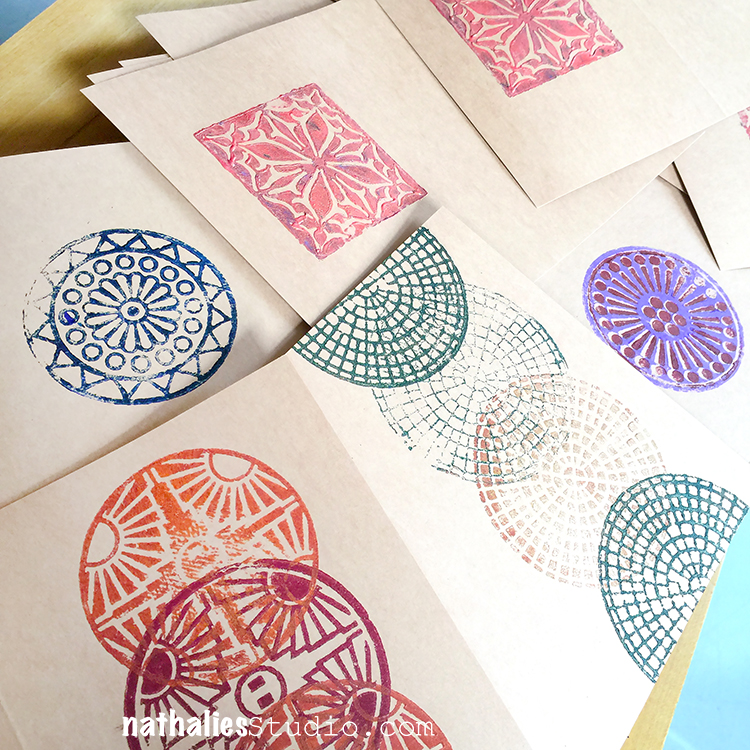
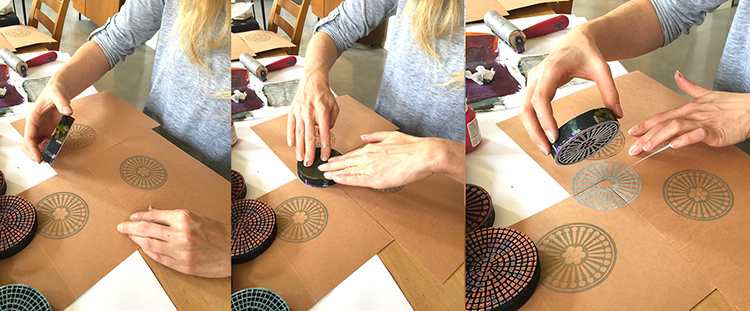
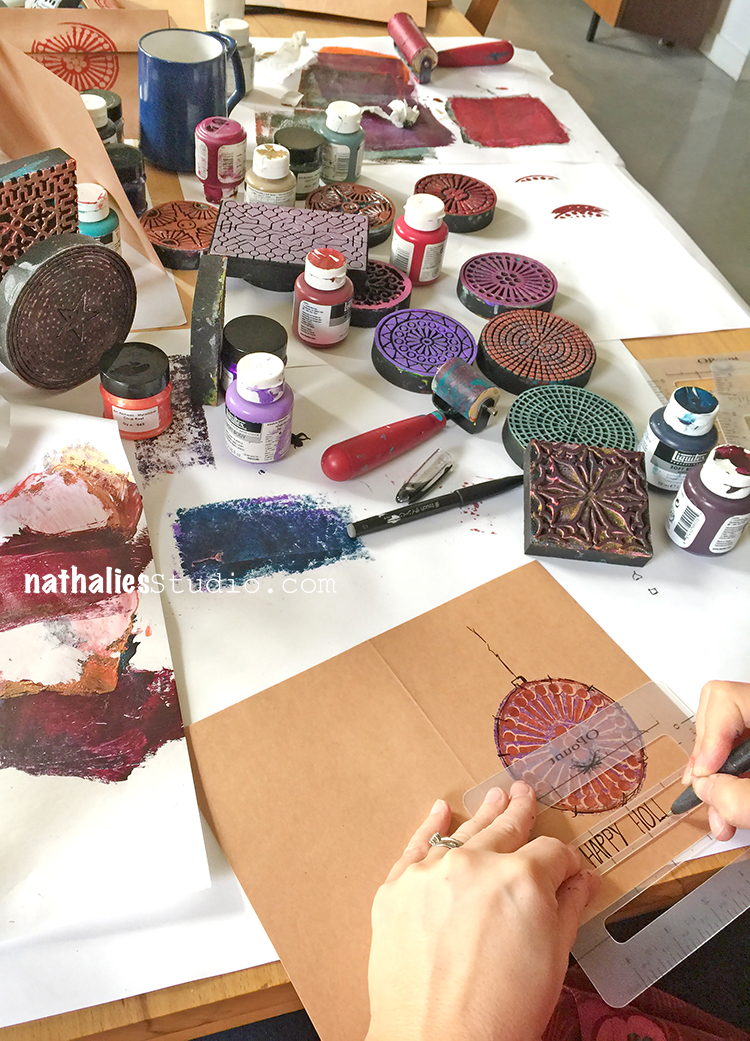
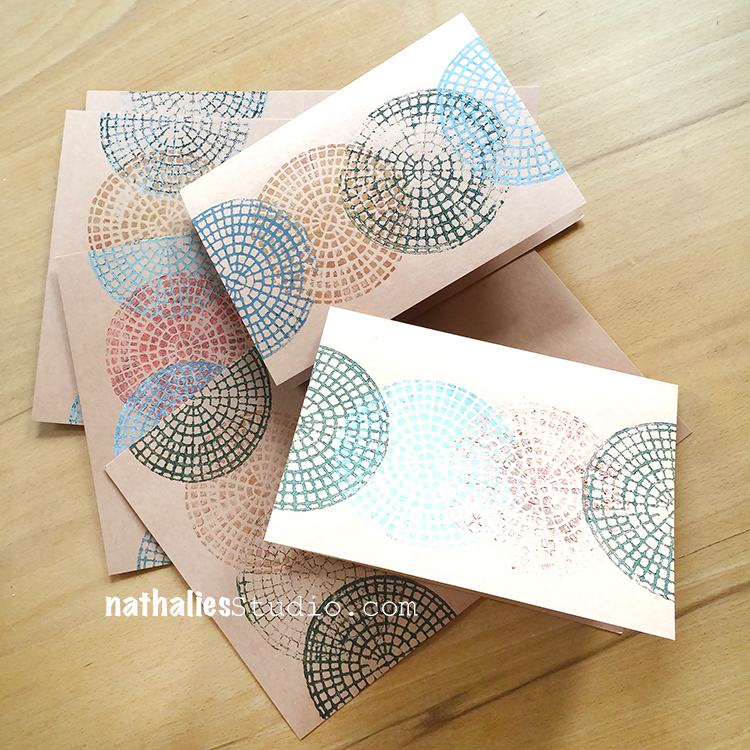
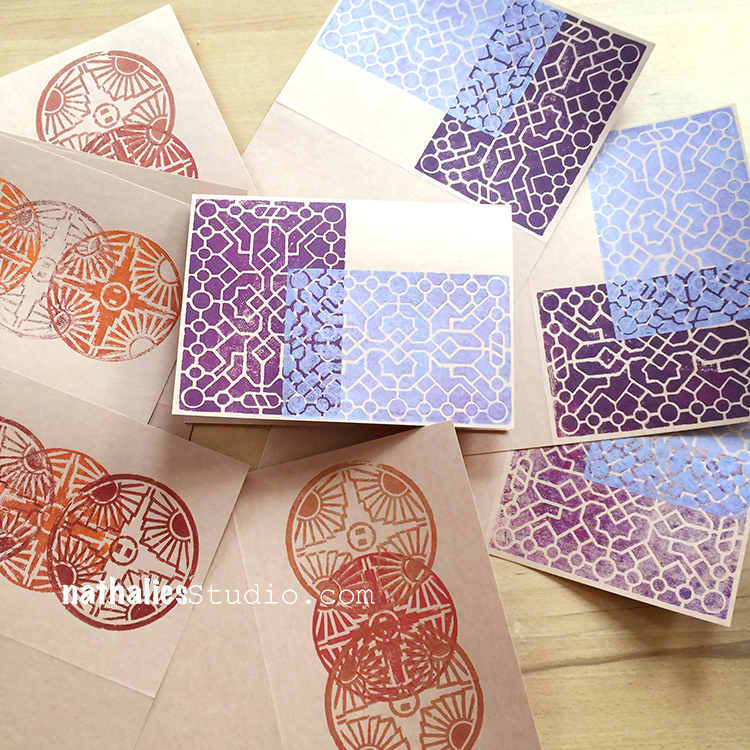
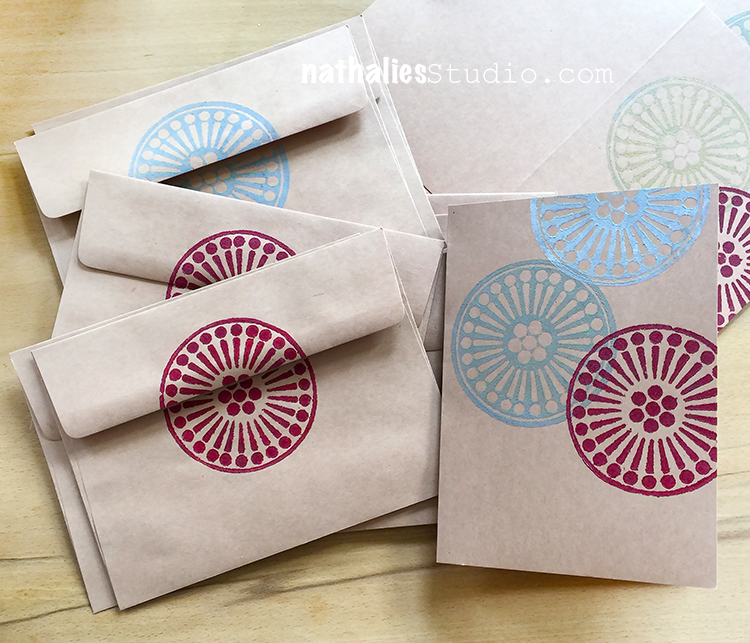
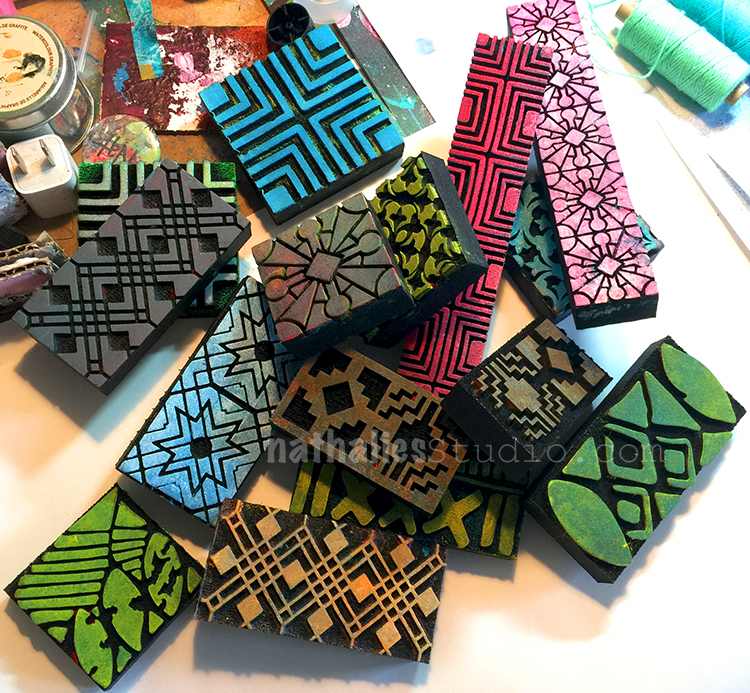
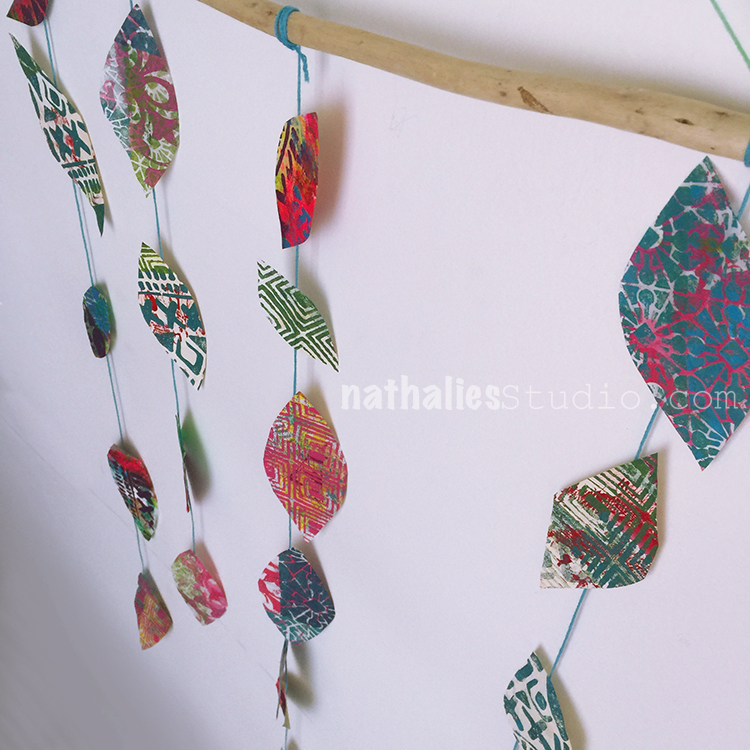
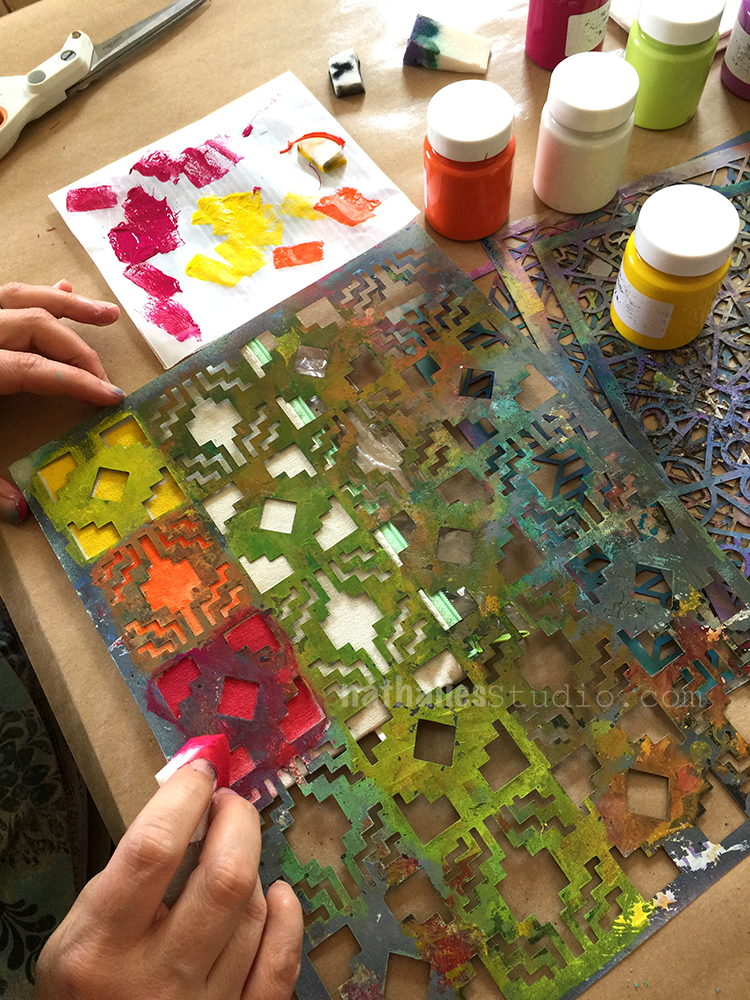
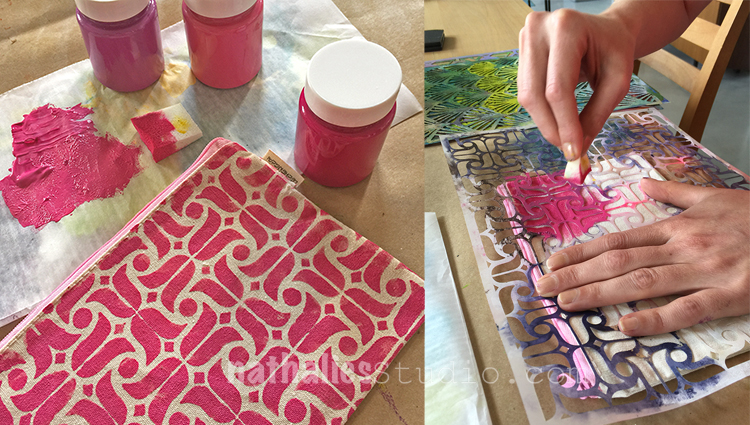
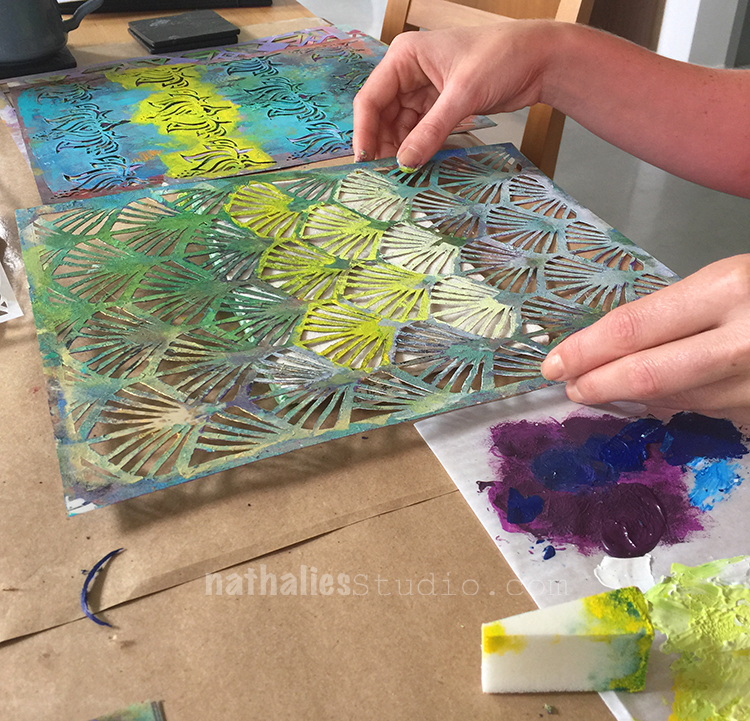
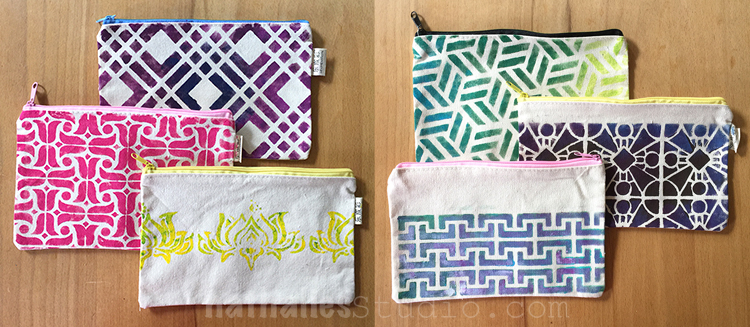
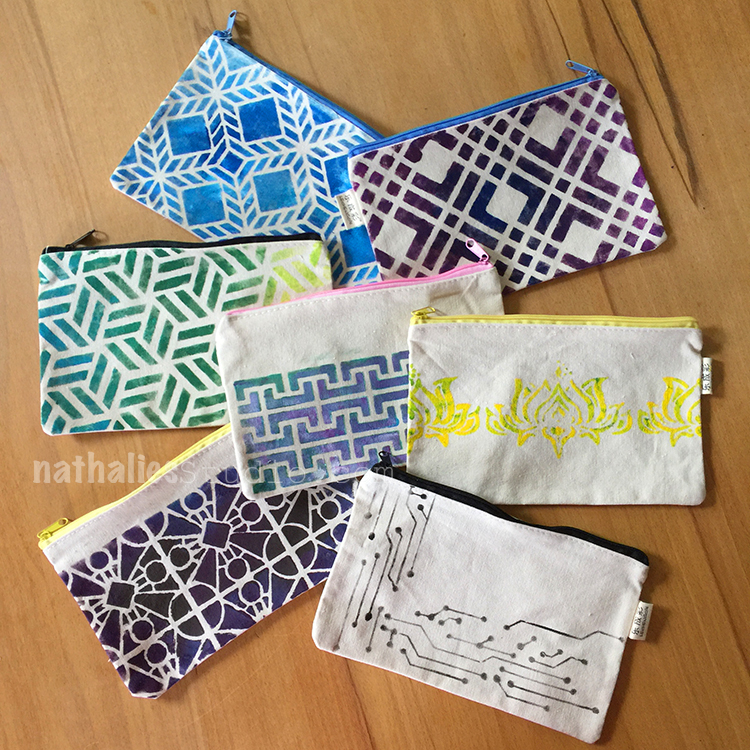
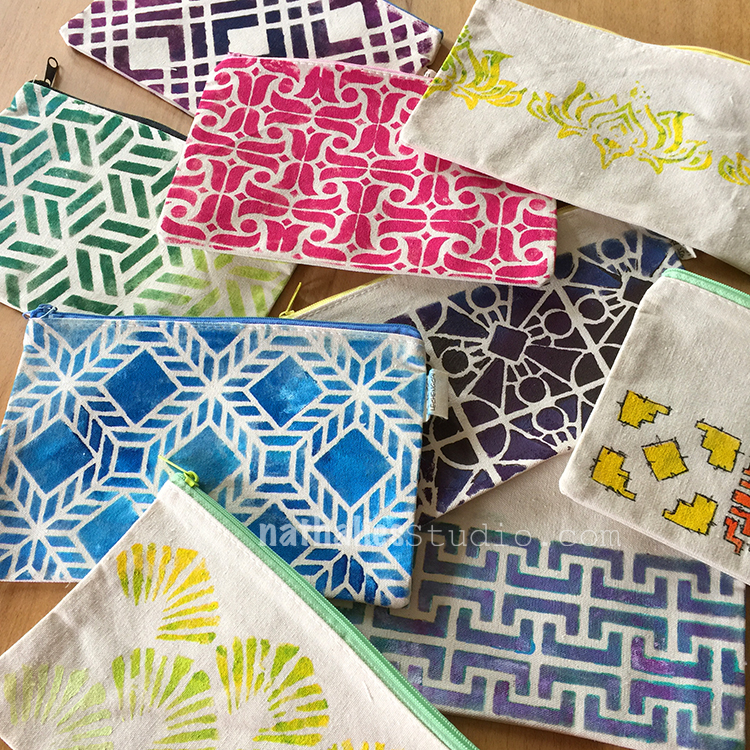
I have had a love for block prints all my life and have grown up wearing colourful prints with handmade patterns. Nat’s Art Foamies are perfect for creating backgrounds and patterns and are so very easy to line up.

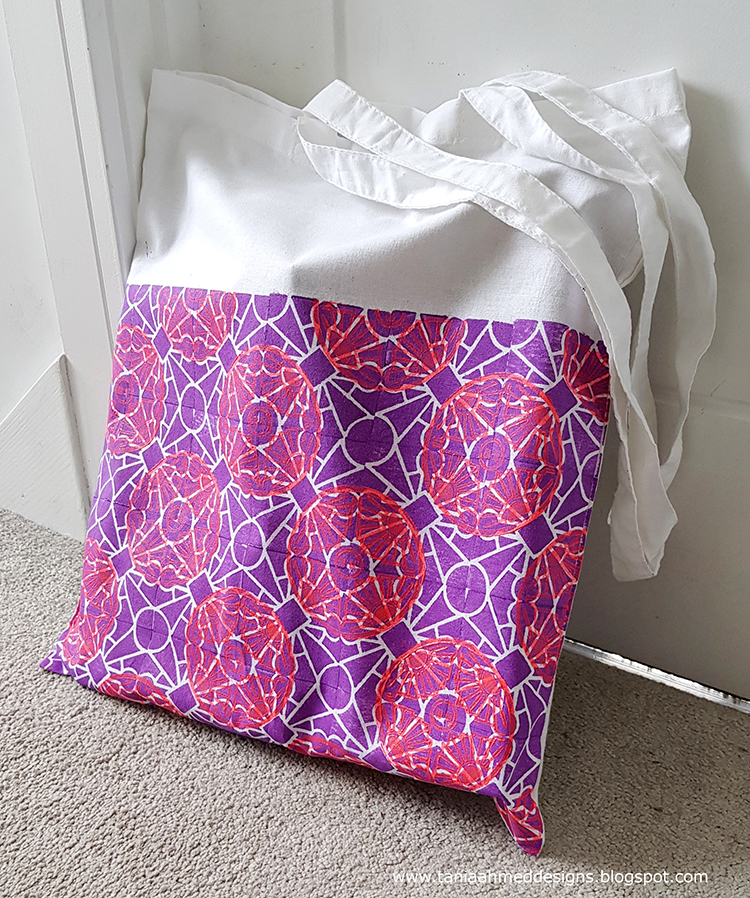
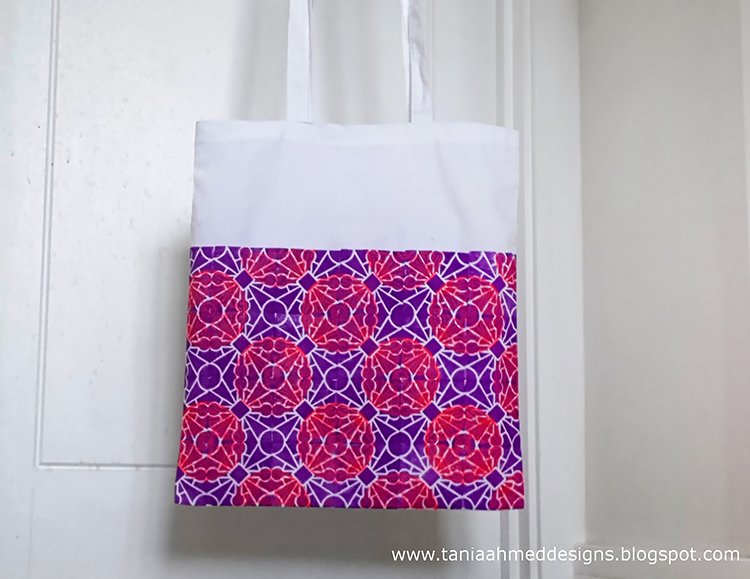
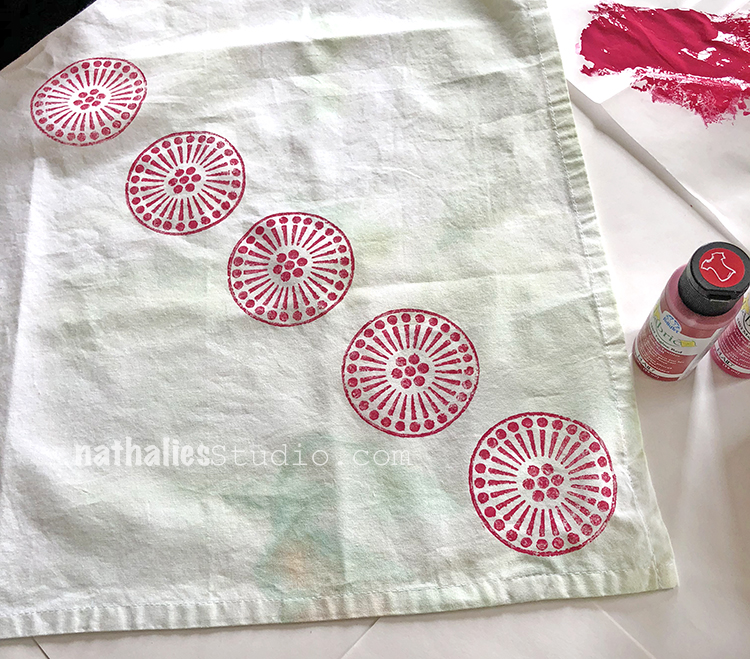
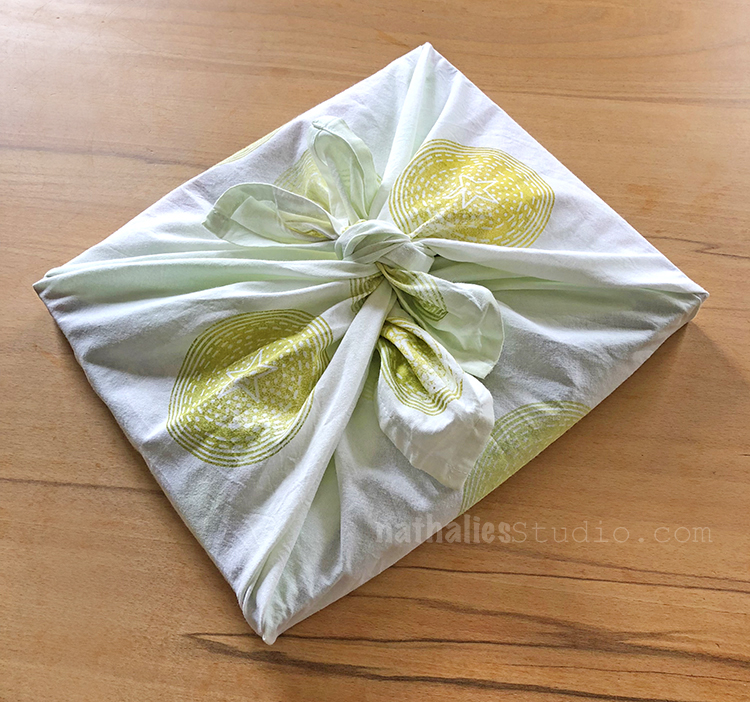
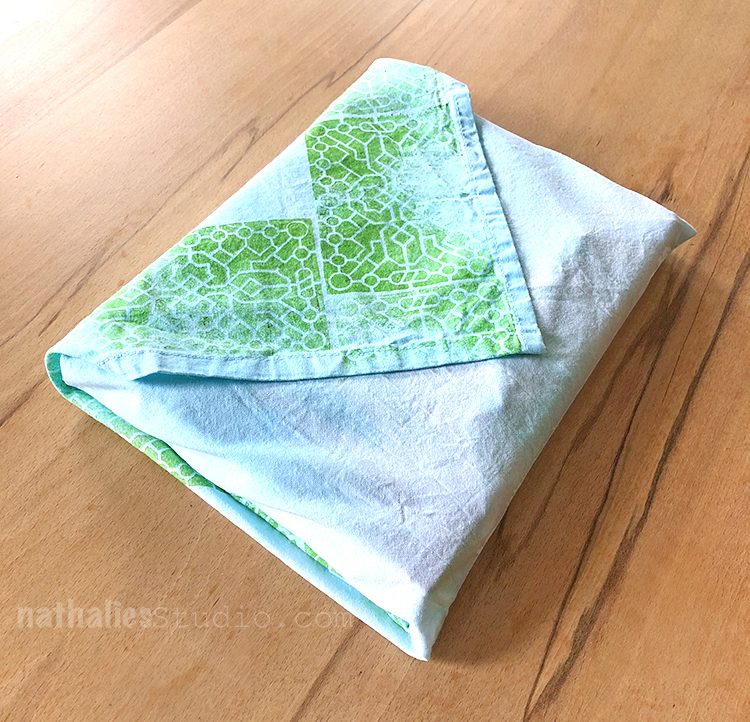
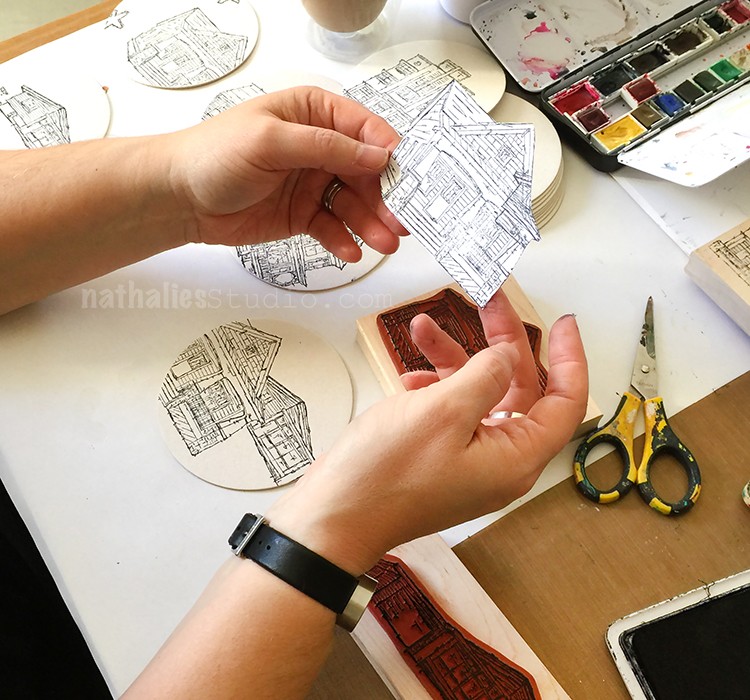
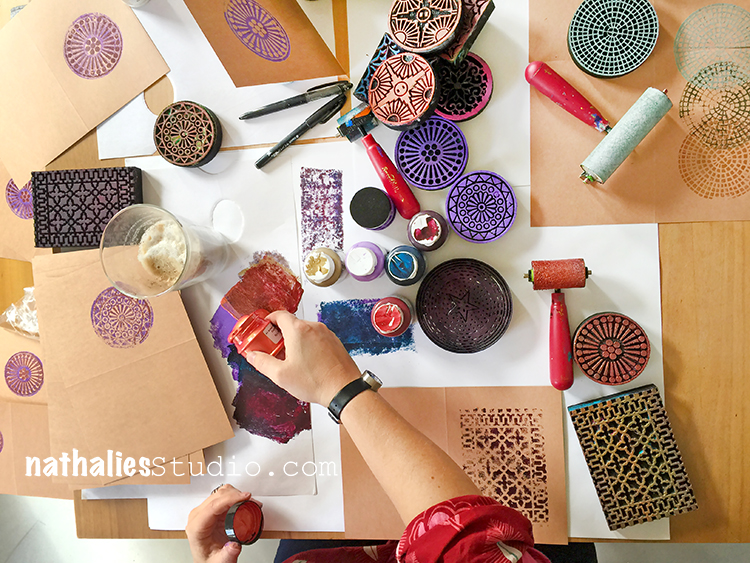
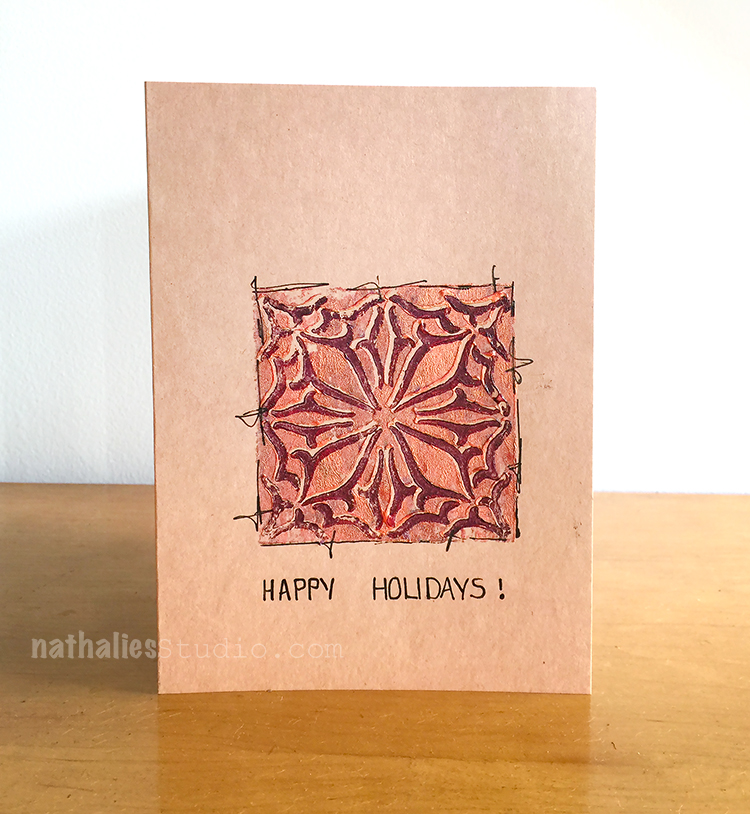
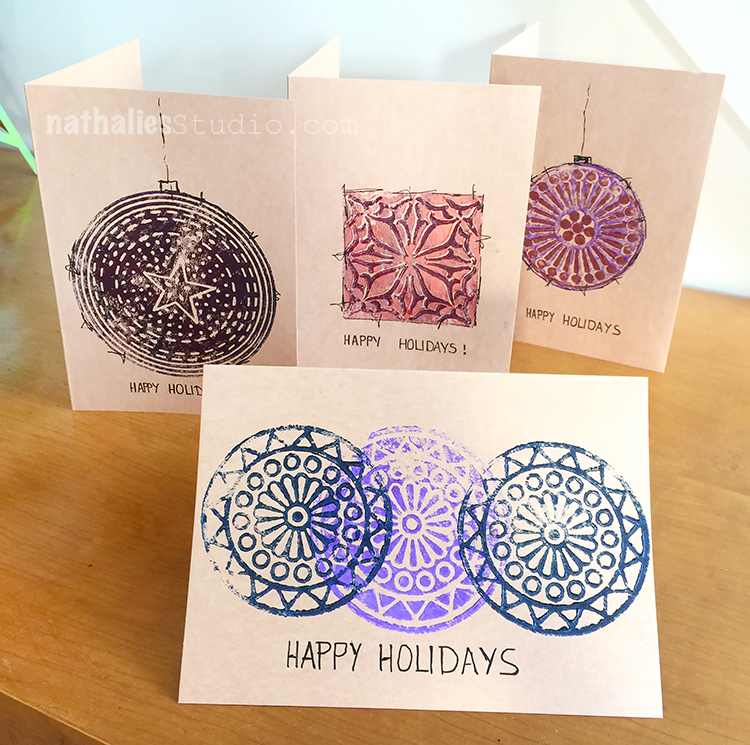
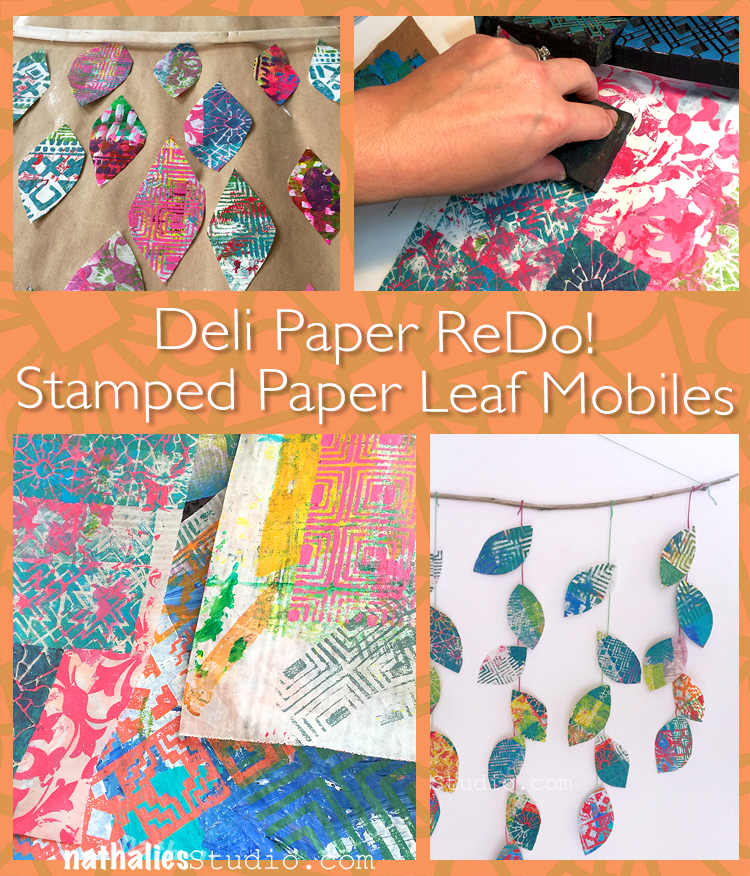
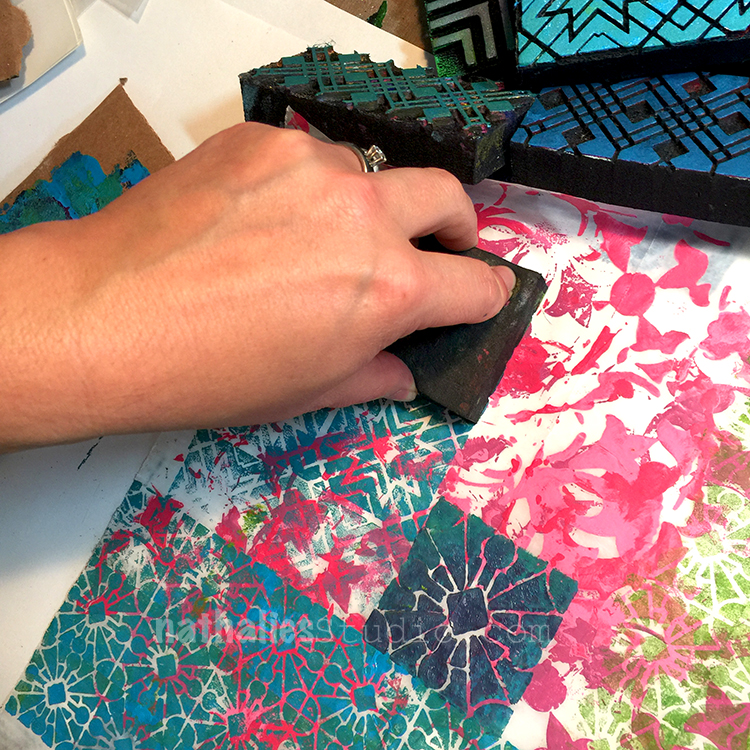
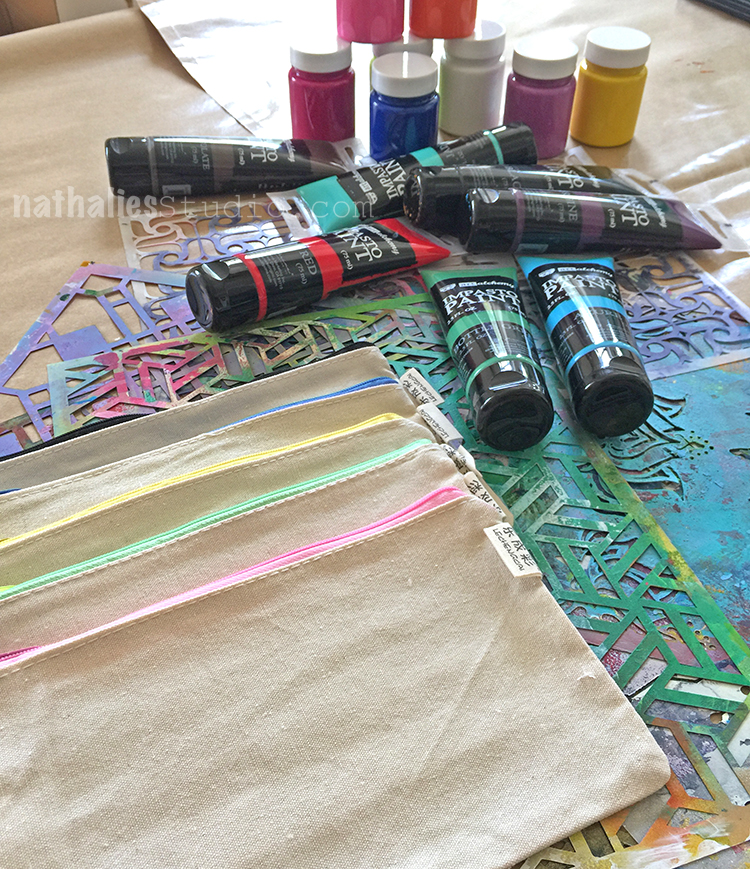
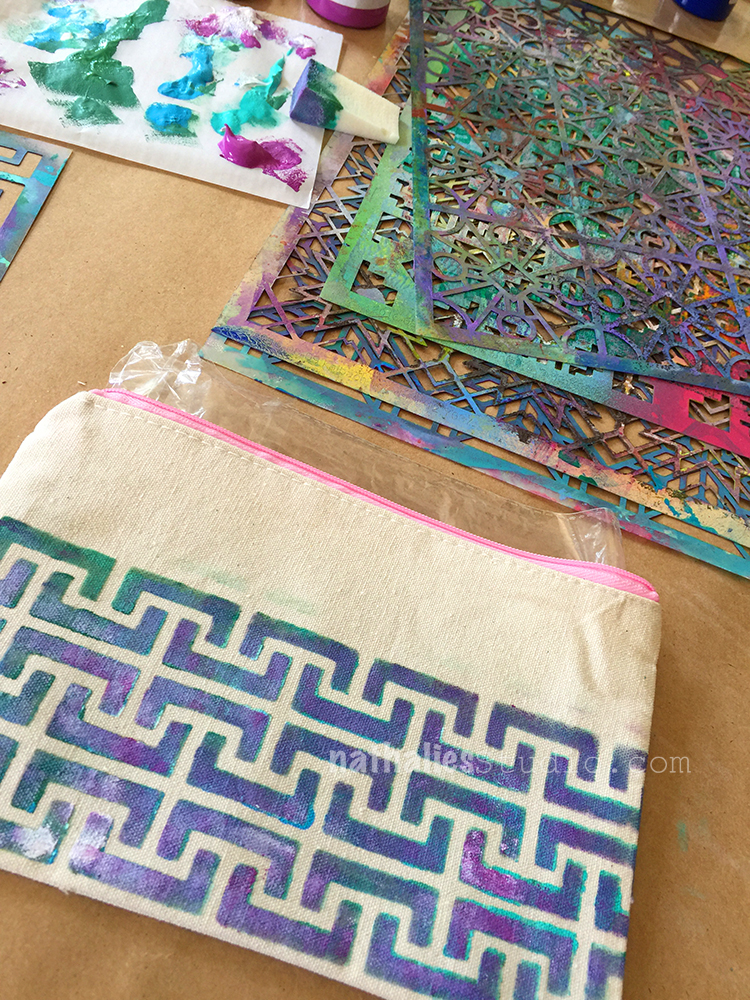
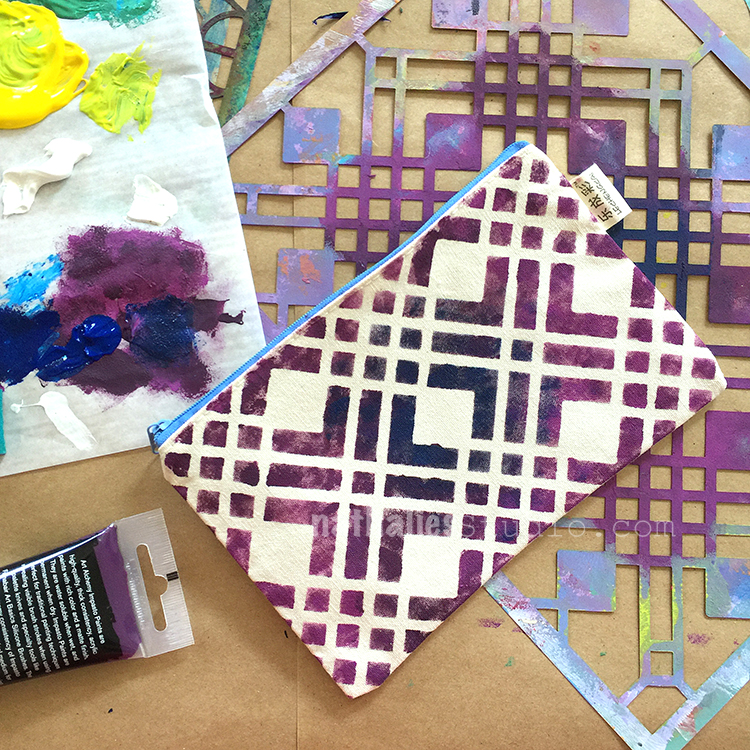
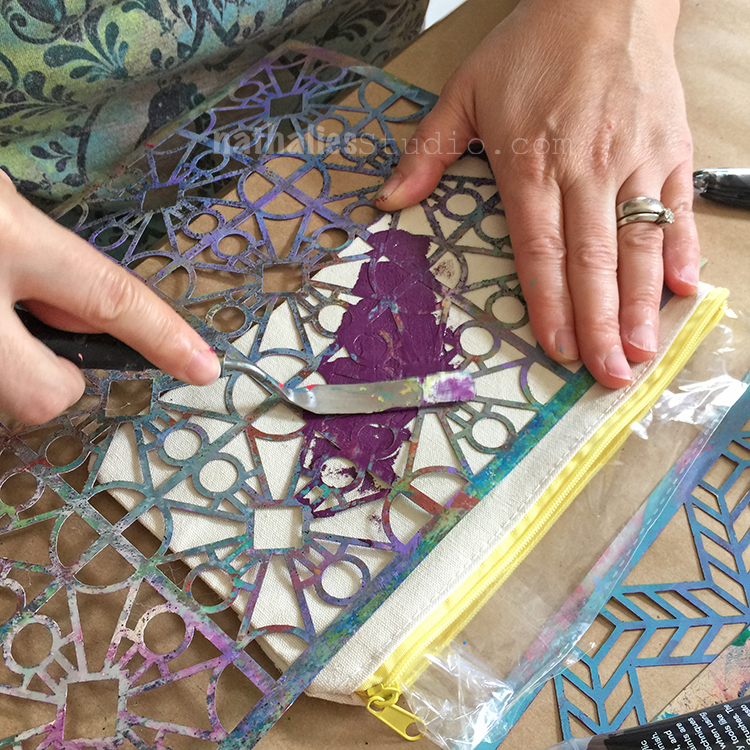
The challenge this month was “All Shapes and Sizes” and I was inspired to create a repeating pattern on a canvas bag that I had been saving for a while.

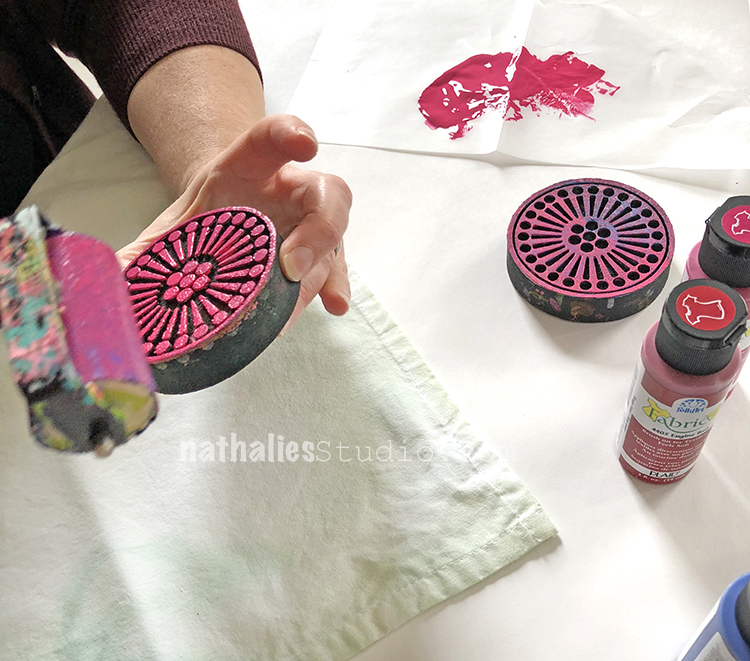
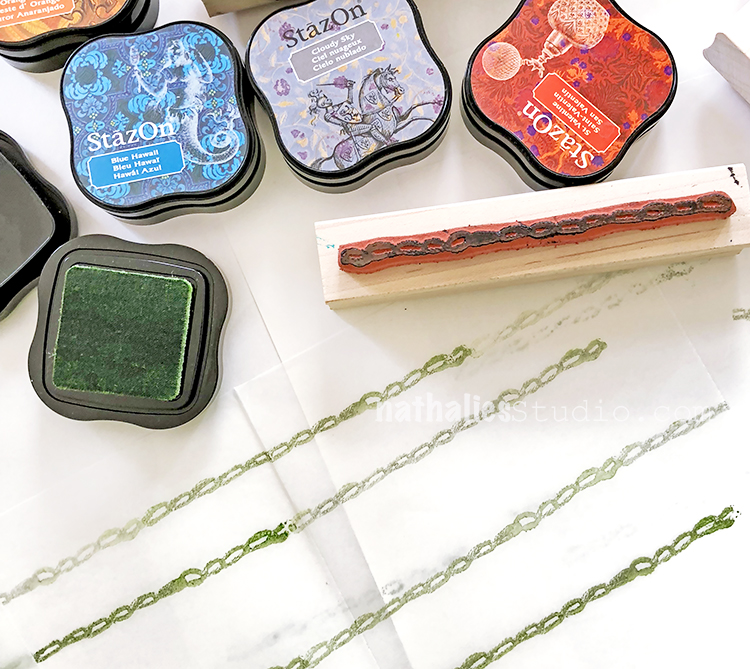
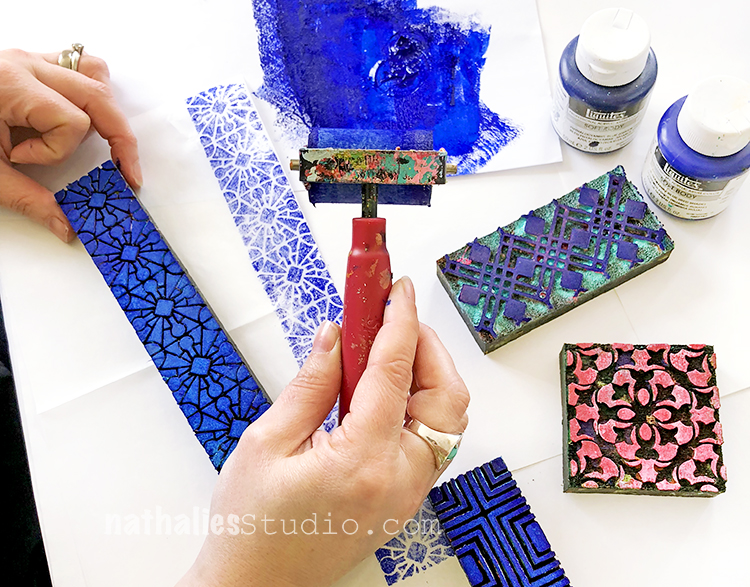
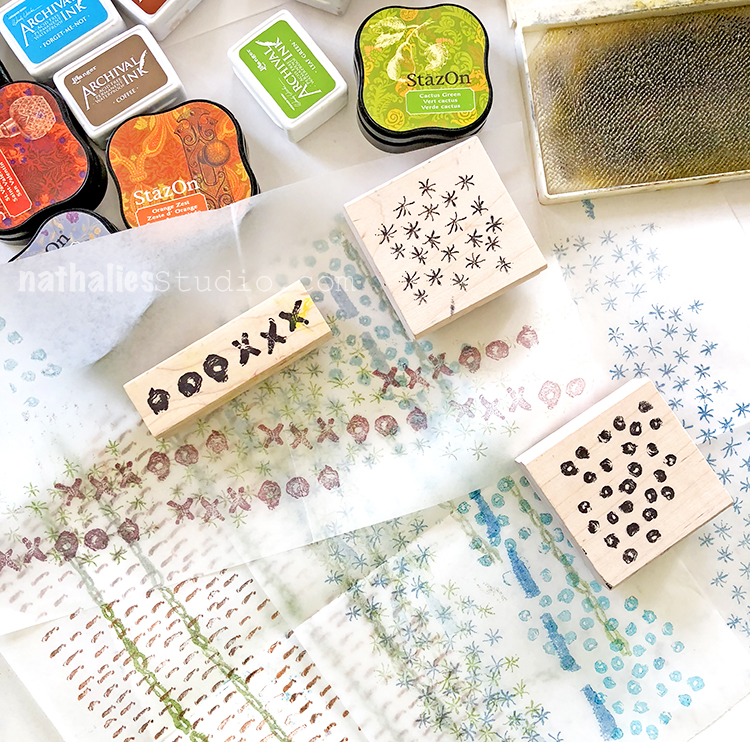
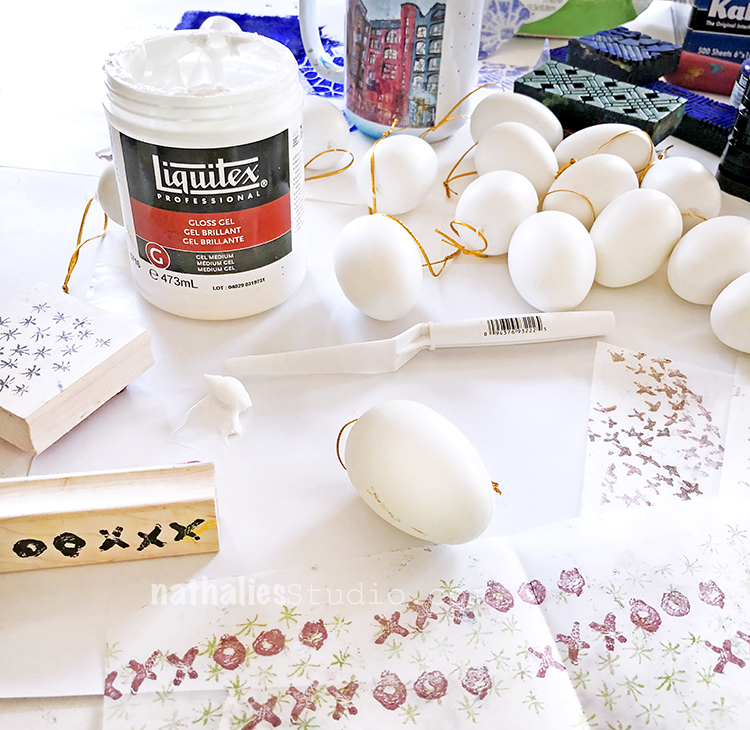
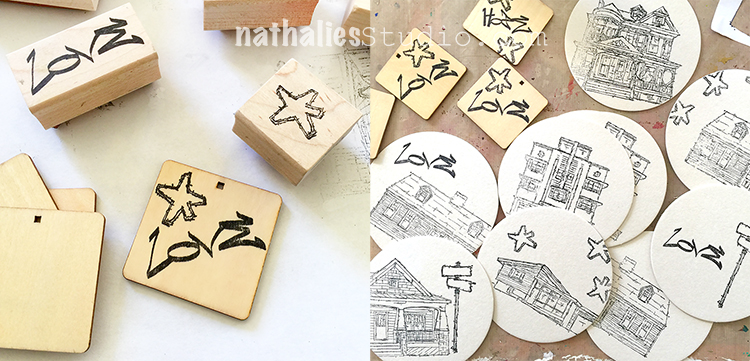
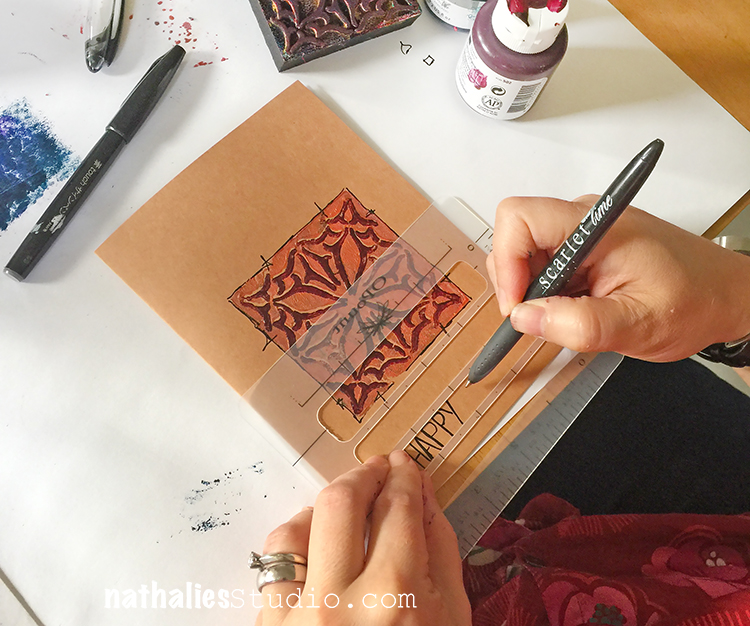
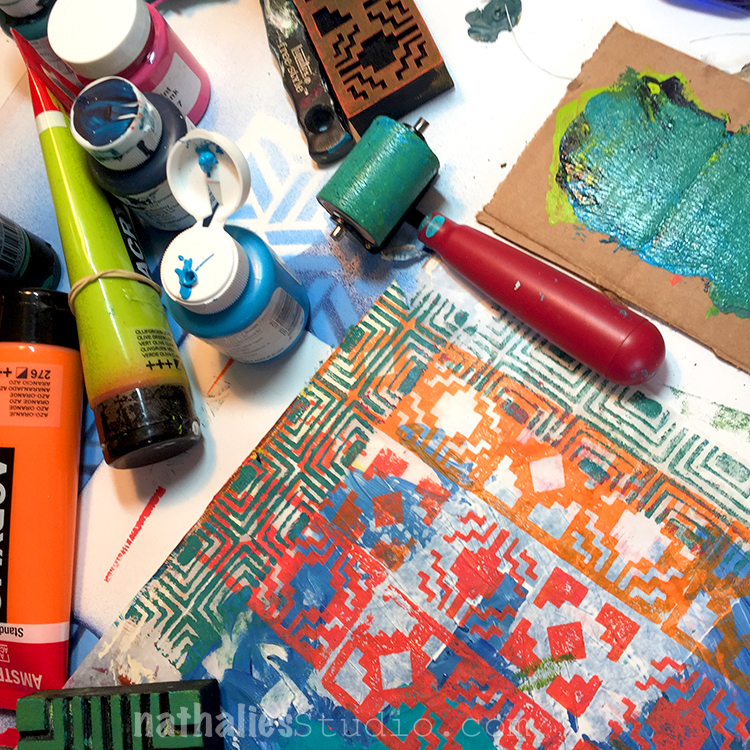
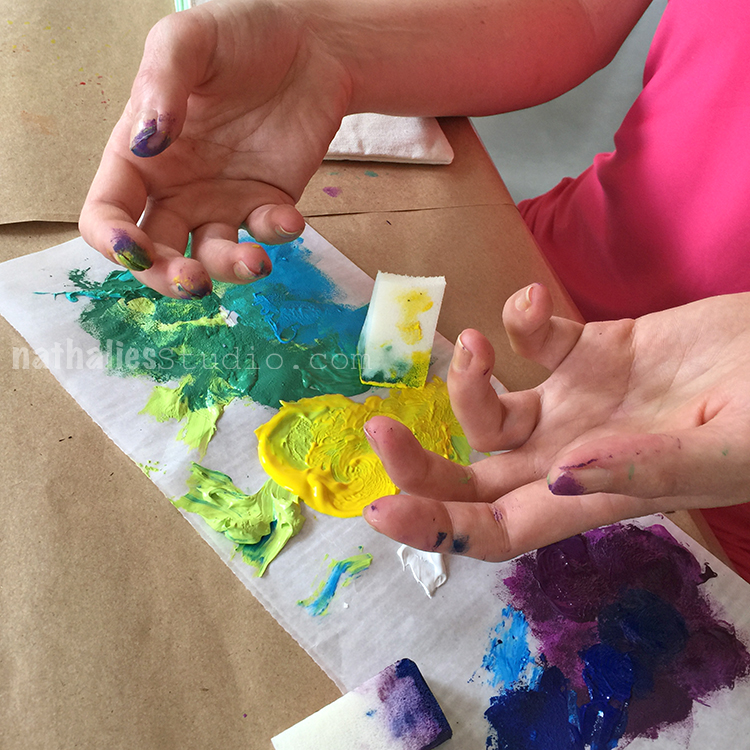
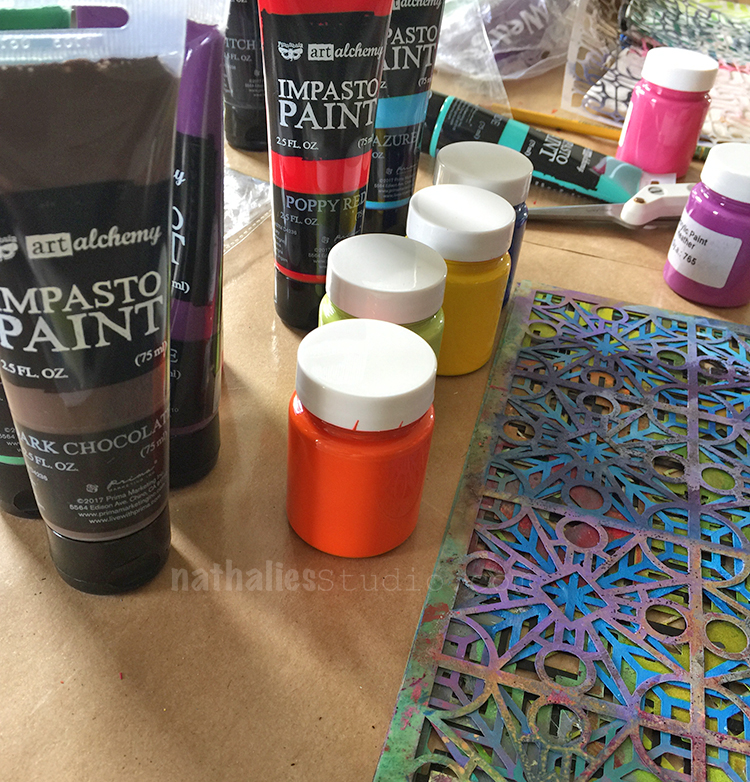
I made my own fabric paints using some fabric medium that creates paint that is the perfect texture for stamping on to cloth. Plus it makes it more durable.

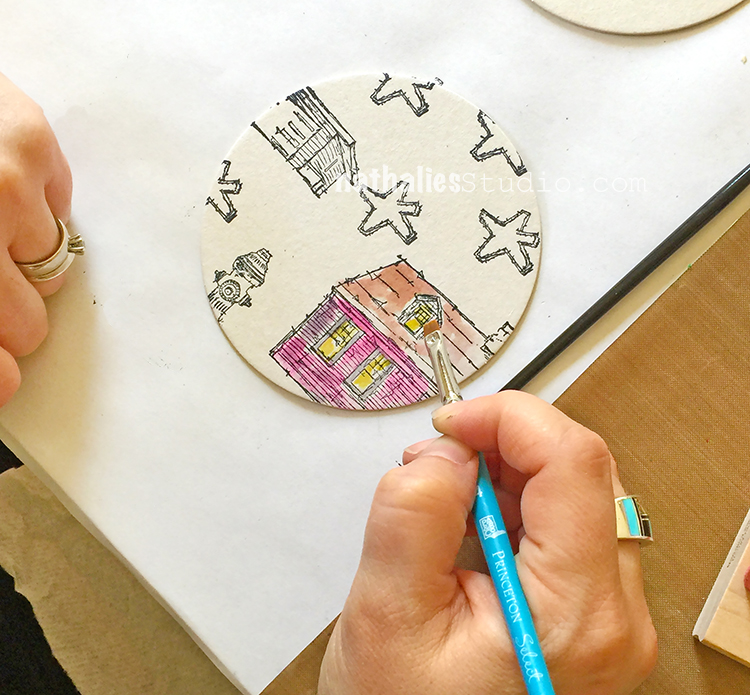
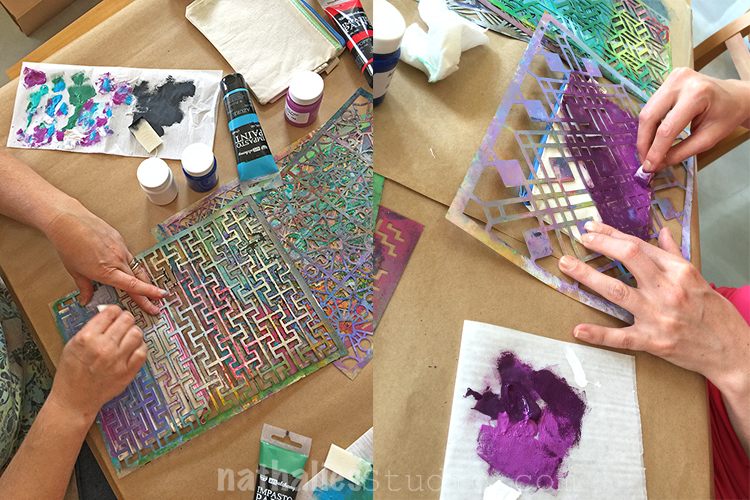
Watch the video below to see how I decorated the canvas bag:


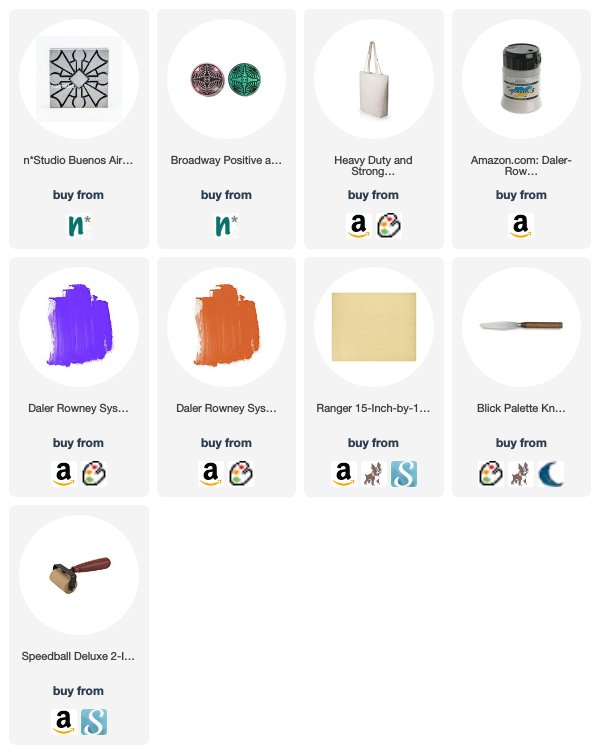
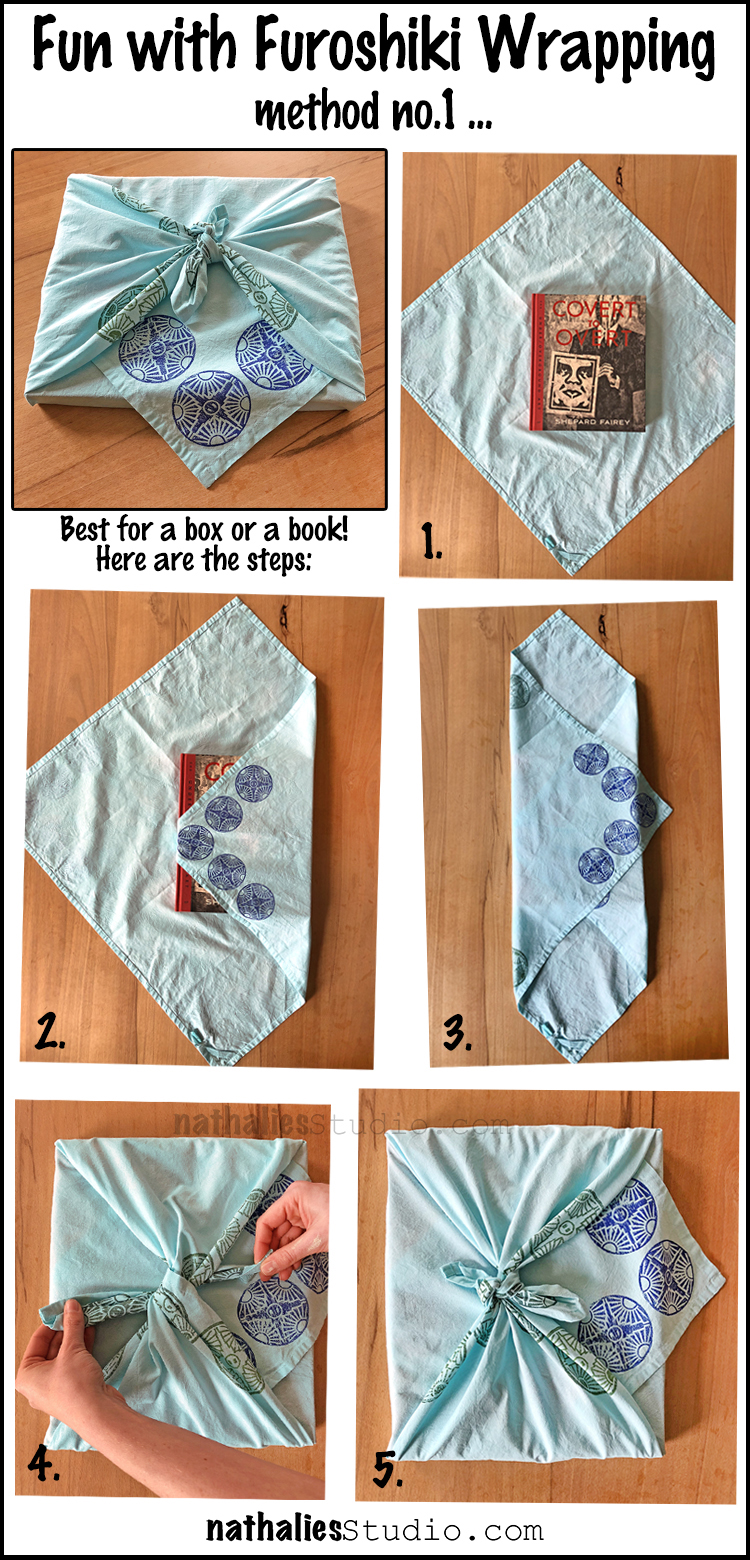
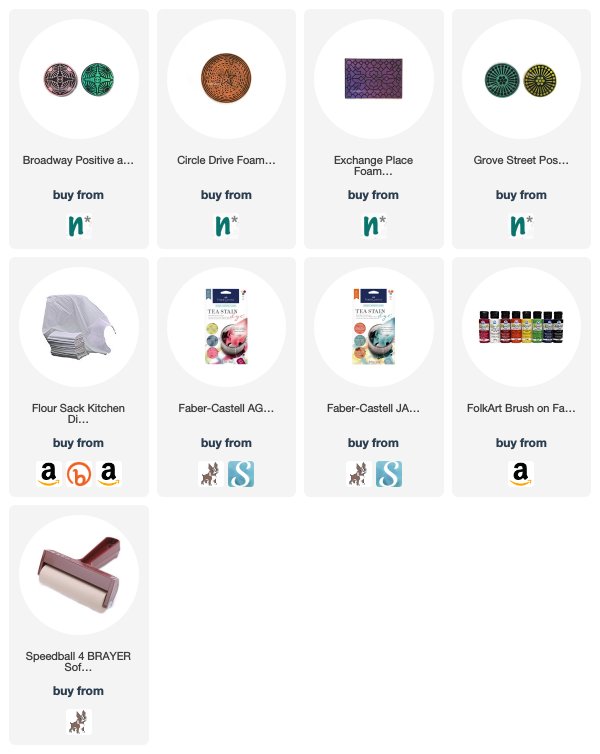
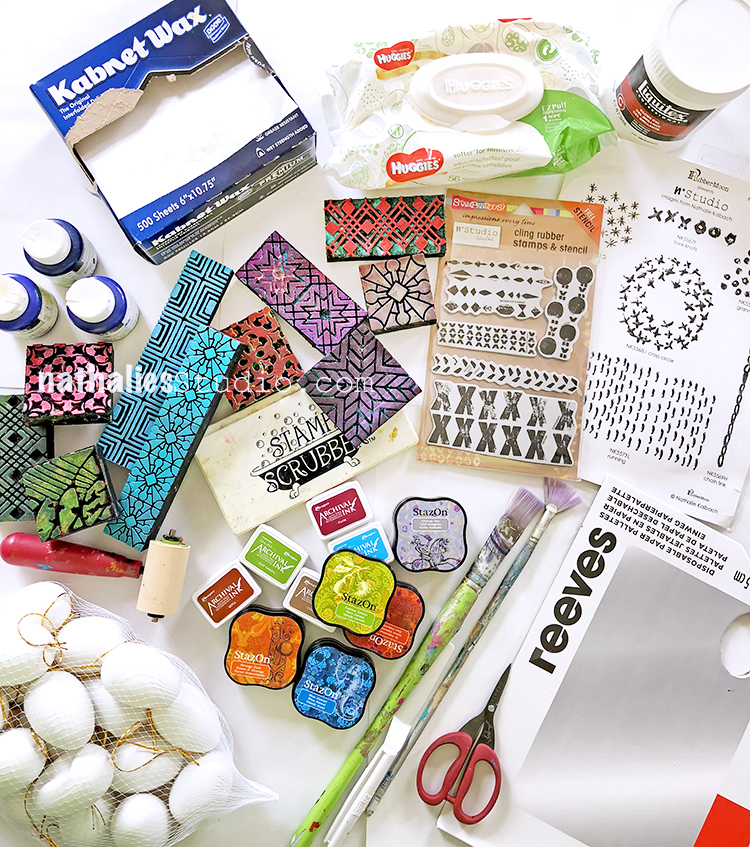
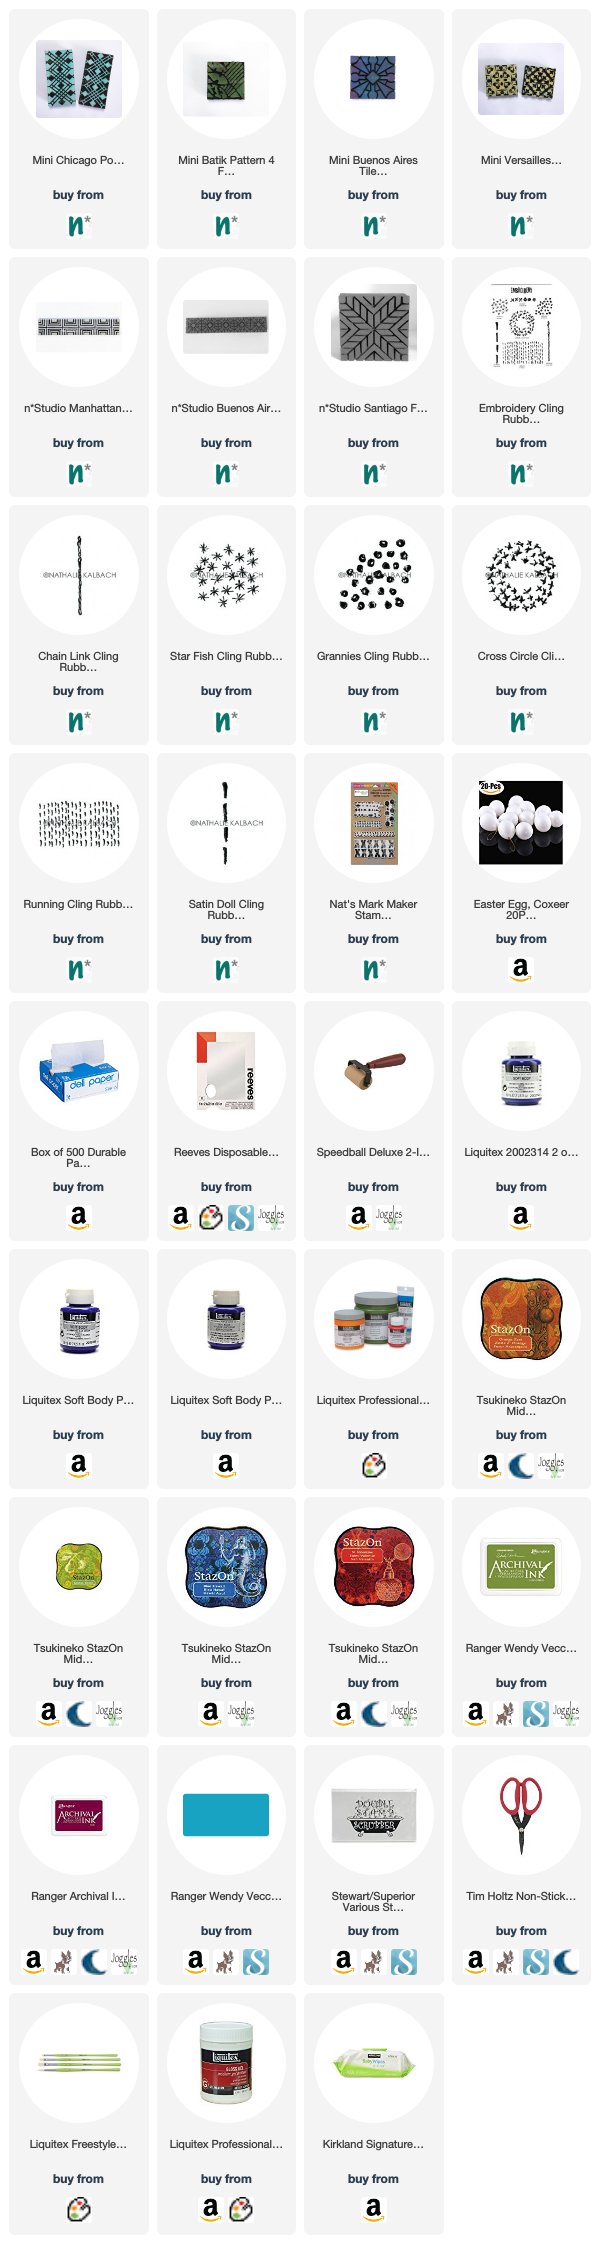
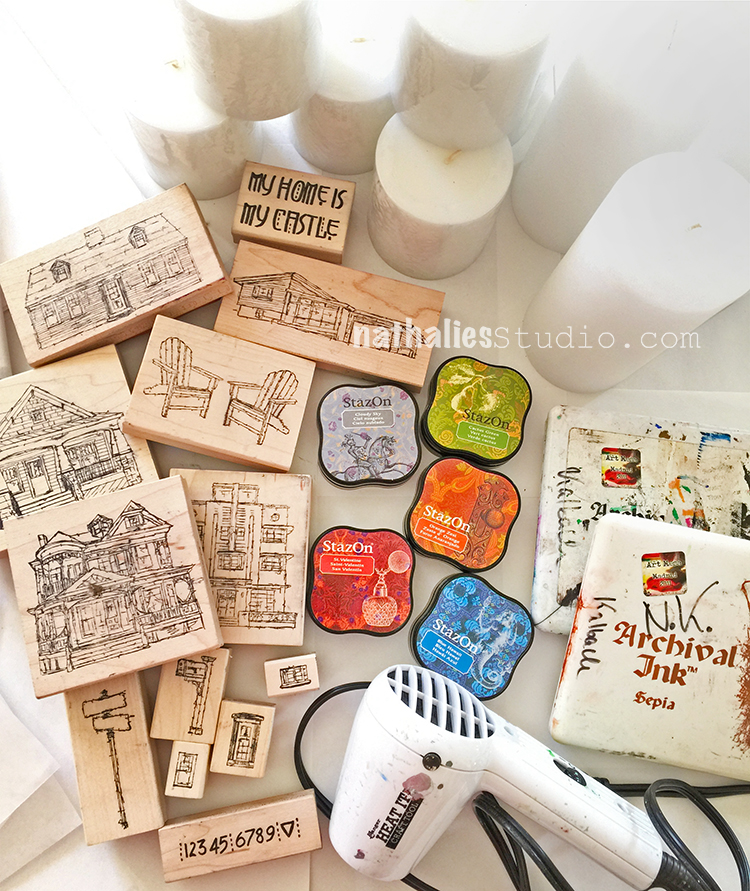
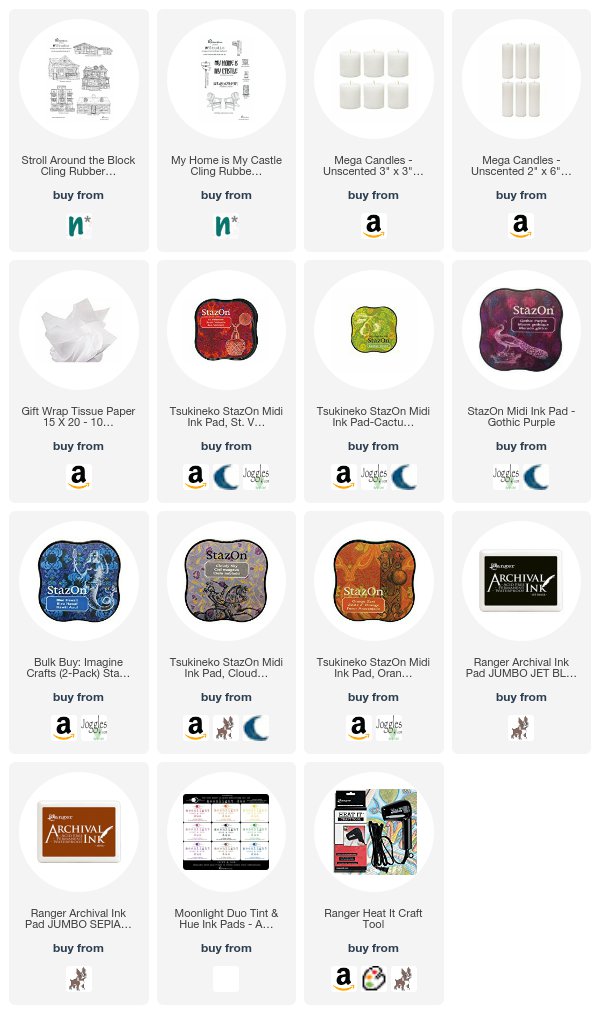
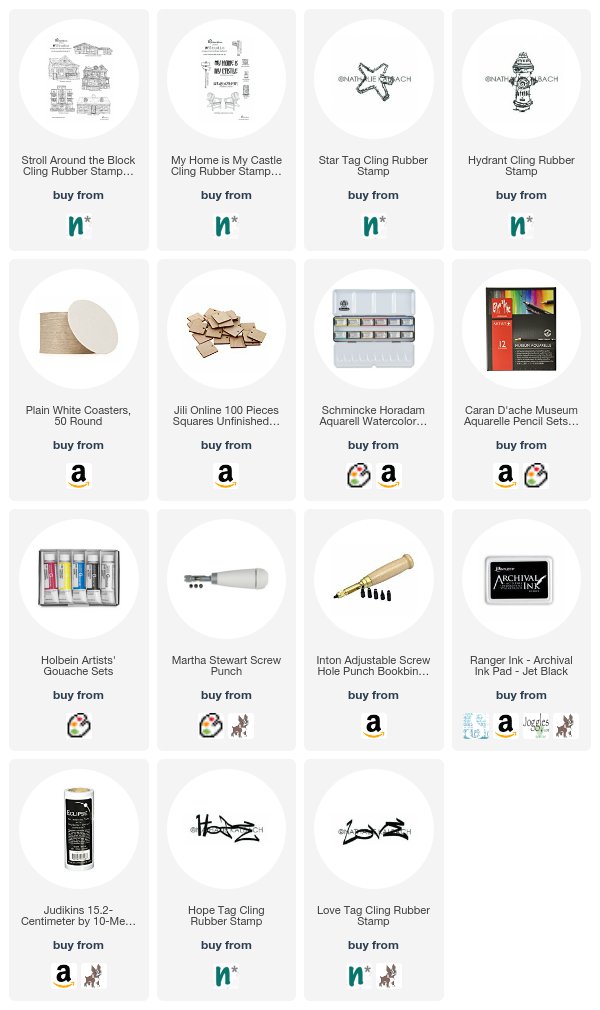
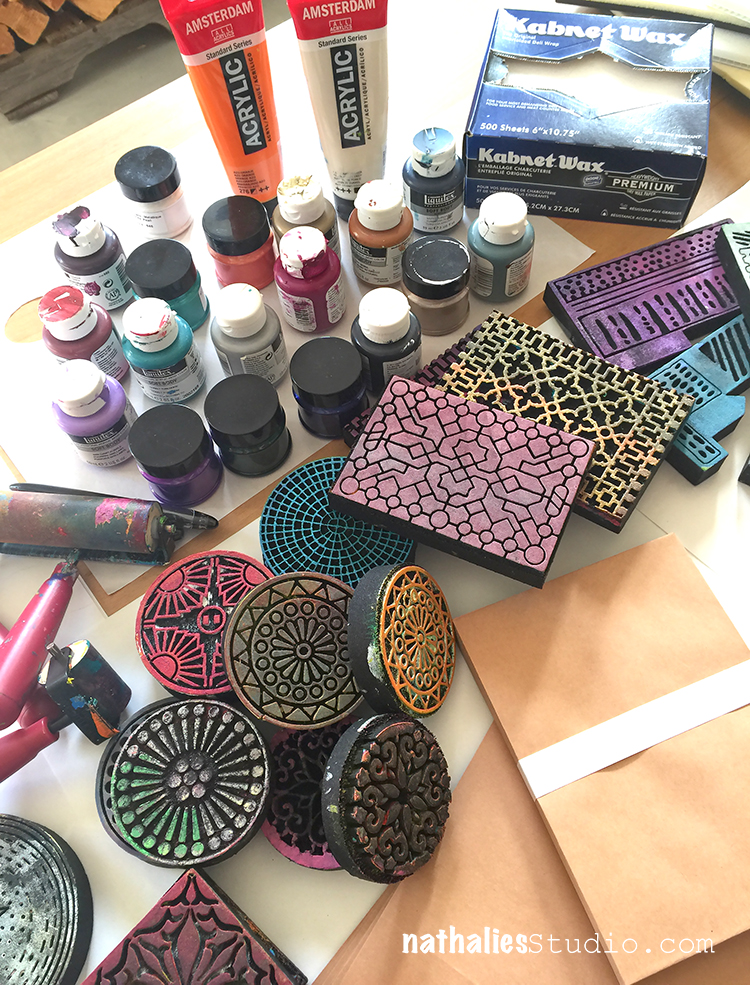
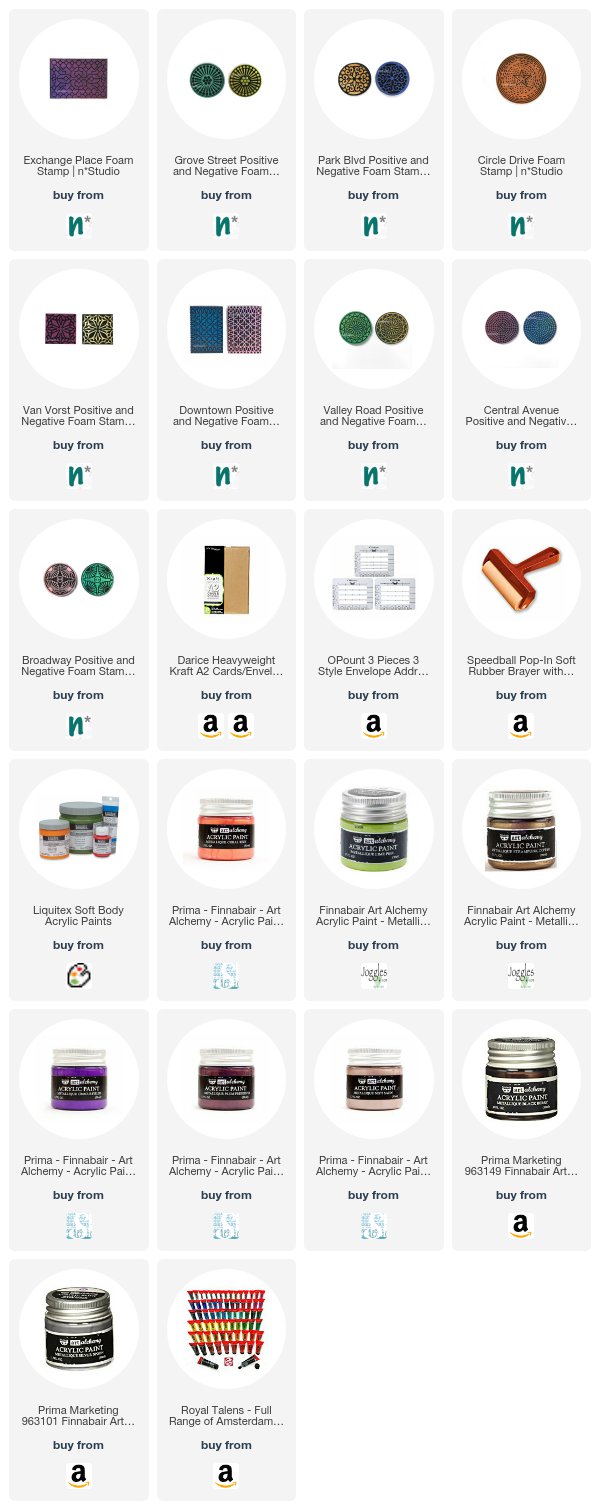
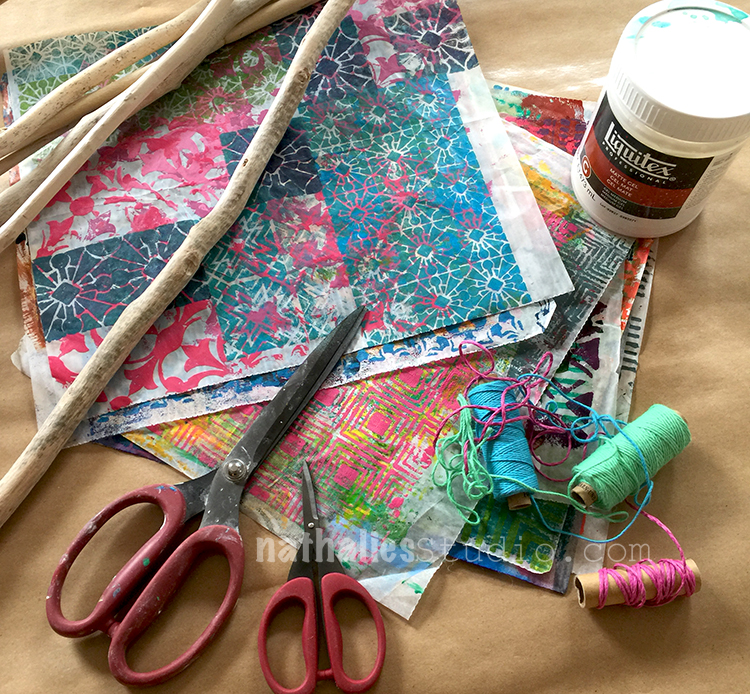
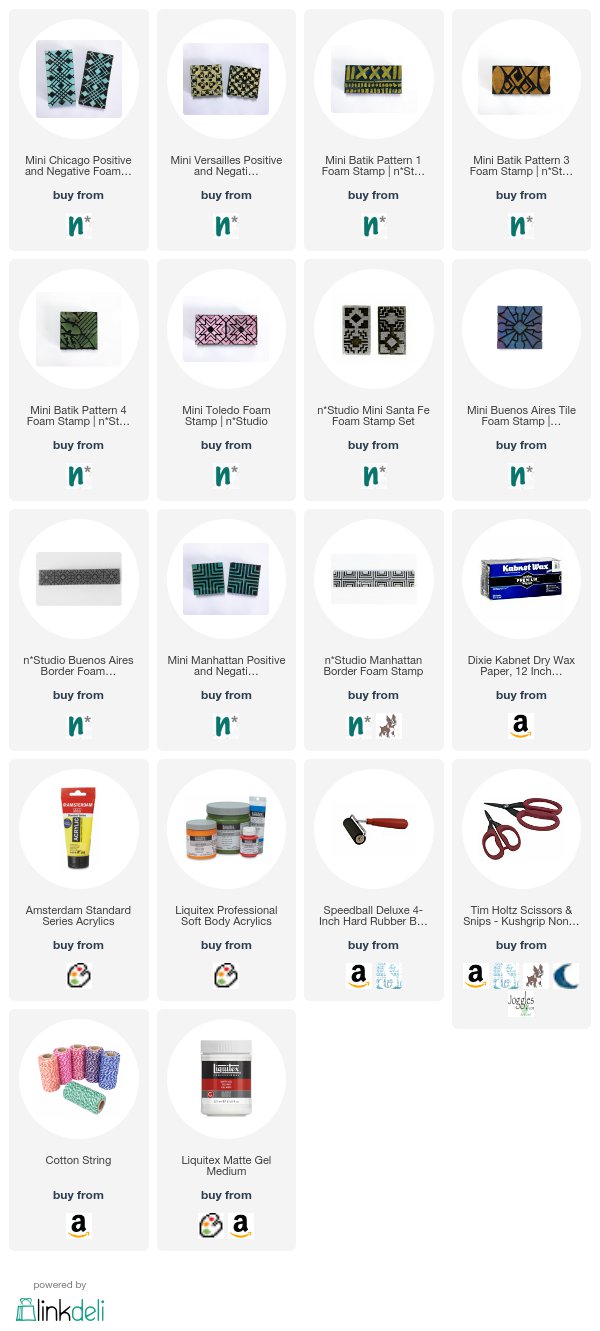
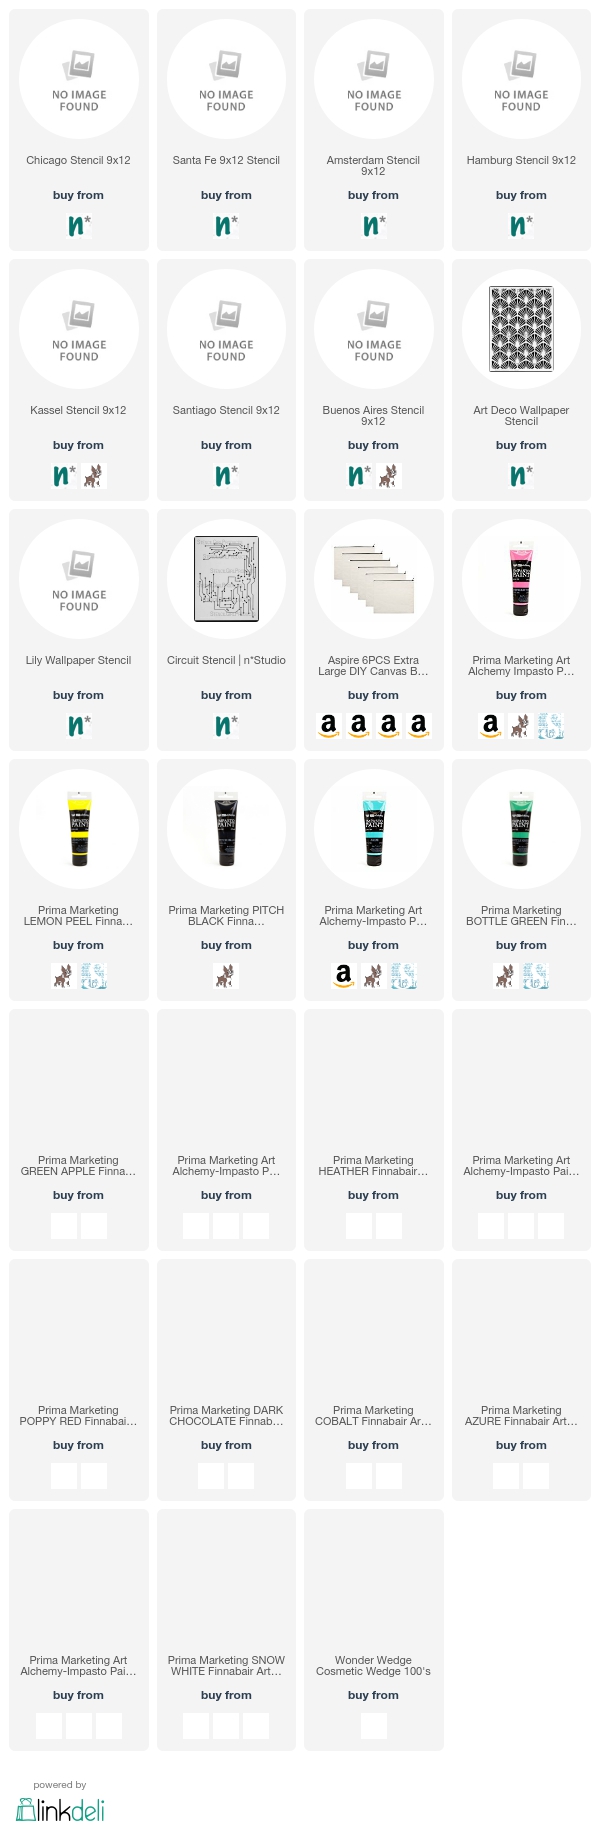
Thank you Tania! There are so many ideas for this one – spiffing up those shopping totes, maybe a new summer beach bag, or even a tote for summer library books. Here are some of the supplies that Tania used:


Feel inspired? Working on something yourself that you’d like to share?  I love to see how you interpret our monthly themes. Email me how you used my stencils and stamps with the theme and email me an image – I would love to share your projects in my next  “n*Spiration From Around the Globe“.

Comments (2)

  • Tracy Evans

    |

    Fantastic project , colours and step by step video. Thank you. Tracy x

    Reply

  • maura

    |

    Awesome bag, Tania! Love the colors you used, and how you left part of the bag natural. Maura

    Reply

Leave a comment

Fun with Furoshiki Wrapping

Furoshiki is the wonderful art and tradition of wrapping things in a nicely printed square cloth. When I was in Japan I saw specialized Furoshiki stores everywhere, selling not only the beautiful cloth but also showing how to wrap different gifts, books, and make bags etc. I totally fell in love with this and so Kim and I decided to have a little playdate to make our own wrapping cloth.

I dyed some white cloth beforehand so we would not just work with plain white and then gathered fabric paint, some foam stamps and brayers.

For one of of the pieces i used my Grove Foam Stamp Set and created a pattern leaving some white space as this seems to work the best for this purpose.

Kim created a pattern using the Broadway Foam Stamp Set.

And create a border using my Exchange Place Foam Stamp.

And Kim used for her second piece the Circle Drive Foam Stamp.

Then the wrapping part started. Our cloth was a tiny bit too stiff …it worked but when we do this again a thinner fabric would work even better.

Here is the close up

and wrapping a bottle

you can tell …the cat sneaked into the picture …but there you go- LOL ;)

Another method for boxes or books

And a simple but fun one

I love that these cloth can be used in so many ways by the recipients. Either reused for gifts yet again or as kitchen towels, or depending on the fabric as shawls etc. So many options and a great way to give a beautifully wrapped gift. I hope you liked our playdate and give Furoshiki a try.

Here are some of the supplies Kim and I used for this Furoshiki play date:


Comments (2)

  • Janene

    |

    Very beautiful! I would love to receive a gift (or even my lunch) wrapped in something so lovely. I don’t have any fabric paint (yet), but I’m seeing a trip to the store this weekend so that I can give this a try. Thanks for sharing!

    Reply

Leave a comment

Springtime Stamping: Easter Eggs!

This year I wanted to mix it up with an idea for coloring Easter Eggs and decided that stamping might be fun. So Kim and I had a play date and decorated a bag of plastic hanging eggs with lots of stamped deli papers.

To match my blue and white dinnerware, I decided to use all shades of blue acrylic paint and some of my mini ArtFoamies. Kim chose some cheery colored StazOn and Archival ink pads and stamps from my Embroidery and Marks stamp sets. We found that smaller scale patterns work best for this. This would also be an interesting way to use any collage papers you have been saving that are deli paper or tissue paper – thin paper is easier to decoupage on the eggs.

Then we stamped the full length of the deli paper – our deli paper is 6″x10.75″. Here I am using my Mini Chicago foam stamp set.

Kim used my Chain Link stamp from the Embroidery set.

More blue soft body acrylic and my Buenos Aires Border foam stamp for me…

…and then I used the Mini Buenos Aires Tile. Loving how saturated the blue is…

Kim layered up some rubber stamps – here are Love Knots, Starfish, and Grannies

We stamped up a bunch of papers :)

We used Liquitex Gloss Gel Medium to decoupage onto the eggs.

To figure out the best way to cover the eggs, we had some trial runs. You may need to play around with it depending on how big your eggs are. Here I tried a bit of paper stamped with my Mini Batik Pattern 4 stamp.

To fit our egg size (see the link at the end of the post for what plastic eggs we used), we folded the deli paper in half lengthwise. I chose a paper stamped with my Santiago foam stamp.

And cut it down the fold to make 2 strips, each 3″x10.75″.

I cut off a 4.25″ long piece. This will be the first piece I decoupage on the egg.

And with the leftover I cut a 3.5″ egg shape.

Both the rectangle and the egg shape get .75″ cuts in them, all around the edges and at the corners. This helps the paper conform to the curve of the egg.

The egg and the paper got a coat of gel medium…

…and then the messy task of applying the paper. First put the rectangle with the 3″ edge at the hook end and go around lengthwise until you wrap over the bottom of the egg. You will be overlapping your cut edges so some of the pattern does get obscured along the edges.

The front face of the egg has the pattern nicely. Next up is the egg shaped paper…

After a coat of gel medium on the back of the paper and egg, apply the egg shaped paper over the gap and again, overlap and smooth the cut edges around the sides.

Here are some of the eggs I created, ready to hang. The patterns are (clockwise from top left) Manhattan border, Mini Chicago, Mini Buenos Aires, and Santiago.

I picked up some flowering branches at the local market (not sure if they are dogwood maybe?) and set up a very lovely display in my dining room.

A closer look.

Kim’s set are very pretty too with the delicate patterns.

I like how the Starfish stamp ones turned out.

Here are some of the supplies we used:


Hope you stamp some eggs this year too!

SaveSave

SaveSave

Comments (1)

  • Deb

    |

    Love it! Very clever, fun project. Thanks for sharing.
    I love reading your blog posts and look forward to them in my daily email browse! Always brightens my day.?
    Deb

    Reply

Leave a comment

Ready for Spring Sneakers – DIY

I am telling you, I am longing for spring!

I painted two pairs of plain white sneakers a couple weeks ago with basically the same colors but different designs.

I removed the shoe laces and taped off the rims of the soles and then started painting. I used acrylic paint and ink and I dipped the brush instead of into water into Flow Aid between every paint application.

The Flow Aid serves two purposes, it makes the acrylic paints react more like watercolor and it also keeps the canvas of the shoes soft.

Since the are painted with acrylic paint, the paint is permanent, so there is no further step for setting the paint needed. It was easy to paint on the shoes- and I have to say the Keds fabric was also nice because the paint didn’t bleed crazily and I felt I was in control (and no I am not affiliated with Keds nor did they sponsor this post :) )

For the second pair I used the same colors but since they are a different design, I chose a different flower design as well.

I personally like the second pair better, while Kim likes the first pair better, and so those shall be hers when I get them back (they were for an assignement) :)

It was actually less difficult when I thought it would be – I was a bit intimidated starting to paint on those pristine white sneakers but then I just kept on going. I figured worse case scenario I will paint them over with a really dark color and stencil white on them- LOL. Which pair of spring sneakers do you like better, the first one or the second one?

Spring can come now – I am ready :)

Here is what I used to paint those sneakers:


Comments (2)

  • Sue Clarke

    |

    The first pair yell SPRING at me but the second pair are more my style to actually wear.
    Looks like fun and yes, worse case you go dark (purple perhaps) and then add some white.

    Reply

    • nathalie-kalbach

      |

      Oh I like the idea of dark purple and white! Great idea!

      Reply

Leave a comment

Burning Bright: Stamped Candles

Kim and I had so much fun again at our monthly Craft Play Date. This time we made some candles and it was so easy and ohhhh I love them !

All you need are some stamps, some ink pads (try different ones as some might bleed) some tissue paper, wax candles and a craft heat tool.

We used my new RubberMoon Stroll Around the Block and My Home is My Castle Stamp Set.

We just stamped along on the tissue paper with different colors and brands

the less juicy the ink pad the less it was bleeding into the tissue but I also liked the bit of a painterly look a little ink bleed would give.

Then we just cut out the stamped images very close to the edges

and smoothed it out on the candle.

With a heat tool place on some deli paper(or non stick paper) we placed the candle and carefully heated it up – once the wax is molten the stamped tissue paper fuses right into the wax.

I used the deli paper while the wax was still warm and smoothed out any wrinkles. Make sure to be careful and not burn yourself !

I love this so much

We just couldn’t stop

but there were only so many candles- LOL

I love them with different houses and different sizes like below

I love Kim’ Number Candle as well

And the Adirondack chair candle on the right makes me want to gather some sand dollars and sea shells and set up a beach themed plate for the candle in the center.

And …I still want the Mid Century House that would host the candle below … I mean…for myself- LOL- One can dream, right?

Hope you liked it and give it a try- guess what everyone is getting for next birthdays- LOL.

Here are some supplies we used  – of course you do not need a huge amount of ink pads


Can’t wait for our next play date- always love getting creative with Kim :)

Comments (4)

  • Karen Bearse

    |

    What a great idea! Love this, thanks for the tutorial.

    Reply

    • nathalie-kalbach

      |

      Hope you will give it a try, it was super easy and fun!

      Reply

  • Sue Clarke

    |

    Nice presents and they can even be personalized with the number of the house.

    Reply

    • nathalie-kalbach

      |

      Such a great idea to add the number of the house! Thanks, Sue!

      Reply

Leave a comment

Rubber Stamped Ornament Merriment

Kim and I had our monthly playdate and made some Christmas Ornaments and Gift Tags. OH that was so much fun!

We mostly used my new RubberMoon Stroll Around The Block and My Home is My Castle stamp as well as some small stamps from the release before.

We used some chipboard drink coasters and stamped on top of them with black archival ink

For some I used Eclipse Tape – which has a tacky side, stamped on top to duplicate the stamped image and mask off the image on the coaster.

It is such an easy and fun way to create a scenery by working from the foreground to the background.

Here is the midcentury house now appearing behind the craftsman house.

The cool thing about the Eclipse Tape is that you can reuse it.

We also stamped on top of some wooden small tags.

And then we were ready to start the fun.

We used watercolors

and watercolor pencils- I love he vibrancy of the Caran D’Ache Museum Aquarelle pencils.

I also mixed the pencils with some Gouache paint. Love how the the transparency of the watercolor pencils and the opacity of the gouache work look together.

Here are my ornaments

and here are Kim’s

and on the left my gift tags and the right Kim’s.

Using my very old, very beloved Japanese Screw Punch we made holes into our ornaments and threaded some string through it for hangers.

Look at the details in Kim’s ornaments- I love this so much – She created little Christmas lights, and wreath and garlands, and even some candles in the window.

And the wreath in watercolor around the Cape Cod – soooo love it.

I think this was our favorite Playdates so far :)

And here are mine hanging in the tree- I really like how they look like- the colors really pop off the tree

Hope you enjoyed our playdate and give it a try . Here is a list of the supplies we used:


Hope you have a wonderful holiday season!

Comments (2)

  • stephanie

    |

    Oh my gosh — What fun. These are so cute. Merry Christmas!

    Reply

    • nathalie-kalbach

      |

      thank you so much Stephanie!!! hope you had a wonderful christmas!!!

      Reply

Leave a comment

Foam Stamped Ho-Ho-Holiday Cards

Last week Kim and I got into the holiday spirit a little early and made some stamped cards with my newest ArtFoamies.

We had some craft paper card and envelope sets, my ArtFoamies foam stamps, a whole bunch of acrylic paint, brayers, and some deli paper or palette paper.

First Kim used my Broadway Positive Negative foam stamps and made a few cards for Thanksgiving – one of my favorite upcoming holidays (hosting again this year woot woot!).

We didn’t limit ourselves to the typical holiday colors – here I am doing a card with my Valley Road Positive Negative set and just decided to go with purple. Why not?

We overlapped and mixed colors and here used my Central Avenue Positive Negative stamps for a modern card. Maybe it’s a snowflake or Christmas ornaments or just festive and fun :)

We went a little nuts and both made enough cards for just about everyone on our lists. Here I layered up the Downtown Positive Negative stamps and used a bit of metallic paint.

I love how intricate this design is. Maybe I will go back to this card as I got a bit too much paint on the stamp. It will not go to waste.

Kim chose an unusual arrangement for this card using my Exchange Place stamp and some mauve and purple paint. She could write a personalized message in the corner when she’s ready to send.

It was easy to stamp out a bunch at a time.

Kim lined up the edges of a few cards and stamped them at once to get the designs moving off the edge of the paper.

In the end I decided to add a message on this one (stamped with my Van Vorst Positive Negative stamps), using an Opount envelope addressing guide.

I dressed this one (used the Grove Street Positive Negative stamps) up with a bit of black pen to look like an ornament.

At the end of our play date we had made a bunch of cards for all the upcoming holidays! It was quick and easy and took a little of the stress of the season away knowing we have them ready to go!

Here are some of the supplies we used (some are affiliate links):


Hope you enjoyed our HO-HO-Holiday playdate :) We already have some fun project lined up for the December one.

Comments (2)

  • Sue Clarke

    |

    I especially love the one that is a purple ornament.
    Fun fun fun creating right there!

    Reply

    • nathalie-kalbach

      |

      Thank you Sue- it was super fun and so easy too – stress free holiday card making in this case :)

      Reply

Leave a comment

Deli Paper ReDo! Stamped Paper Leaf Mobiles

A couple weeks ago Kim and I had yet another play date and we decided to use up some of left over painted deli paper and make stamped paper leaf mobiles.

Often when creating I clean off left over paint or inked stamps on top of deli paper and those were the perfect pieces to enhance further by stamping with my foam stamps.

we grabbed all my Art Foamies Mini Foam Stamps and the border Foam Stamps.


and stamped with them with acrylic paint on top of the deli paper.

Kim had found some really beautiful drift wood branches at the beach and also gathered some thread, matte gel, scissors and tape.

We freehand cut out leaves

We sorted them a bit by color and pattern to see which ones would look best together

And then arranged them loosely to see how they would best look like when hanged.

We added string to the branches making loose knots and then added the leaves with tape to the strings.

Once we were happy with the result we secured the strings with gel medium to be held in place and hung up the mobiles.

Love the little colorful home decor as a transition piece from summer to fall decor

It was a fun and super easy project.

A great way to use some left over deli paper and also to do with kids.

Hope you enjoyed our little play date as much as we did. Here are some of the supplies we used.


Comments (4)

Leave a comment

Stenciled Storage Pouches For All Your Bits and Bobs!

This week my friend Kim and I had a DIY morning again. I love our monthly creative time and this time we decided to stencil canvas pouches.

We each had five pouches and my friend Anna Dabrowska aka finnabair had just sent me a box with her new acrylic paints to play with and so we used those.

We both grabbed our favorite stencils and started dabbing through the stencils with cosmetic sponges. We added some plastic to the inside of the pouches to ensure that no paint seeped through the fabric.

For this pouch I had first stenciled with green and teal through the Hamburg Stencil and then after it dried went over again with purple and white color – it leaves some of the initial color peeking out which I really like.

Ok…Kim…if you have to take a picture of me ;)

Kim used the Chicago Stencil  with Blue and purple and I love how she created a darker middle area with the dark blue and then went to purple.

I used different colors through the Santa Fe Stencil – stenciling just one row of three squares of the pattern.

I also added some of the thicker paint with a palette knife through the stencil – here with the purple and Buenos Aires Stencil, which worked extremely well and was fast . After the thicker paint had tried, I made sure to place the stencil back on top in the same spot and used a cosmetic sponge to stencil the sides and make it all look nice.

Yessss- Kim has paint all over her fingers- SUCCESS ;)

Kim using the Amsterdam Stencil 

and then the Art Deco and Lily Stencil – I liked the yellow and green mix she used with both designs.

It was a nice morning project and easy and fun – and here you go

So many things that can be stored away

my new embroidery thread ….ohhhh- I should embroider on top of the pouch …bingo …just had this idea while looking at the photo :)

Hubs got a new pouch for his cable salad …although of course the German plug on top is mine as you can see as the paint specks give it away ;)

Travel pouch for games….

Mini Art-on-The-Go Kit

And hey a make up pouch…

or a good old pencil case

We will be so organized with our Bits and Bobs- HA

Hope you liked our litte fun DIY-project and don’t forget, if you are eyeing the stencils we used and that are listed below – the n*Studio SALE is still going in the n*Store where you can get 20% off Stamps, Stencils, Mugs, Cards, and DVDs now through Sunday 7/16/2017. Just use the coupon code JULY20 when you check out to save. Start shopping here :)

Here are the supplies we used for the pouches – some of the links are affiliate links:


have a wonderful day!

Comments (4)

  • Ally

    |

    As soon as I saw the email, I thought of embroidering on top of the stencilled paint, I already have a pack of pouches ready to play with! Time to get inky! Thanks Nat xxx

    Reply

  • Sue Clarke

    |

    Yes, please put some stitching on that gorgeous blue one.
    How perfect for gifts since you can personalize the designs and colors.

    Reply

  • Maura

    |

    Nat and Kim, I love these! What a great idea, and they turned out beautifully! I think I may have to try the canvas ones (I’ve done plastic before) and thanks for the tip about putting plastic inside. I see some gift making in my future! Maura

    Reply

  • Delores

    |

    What a fun idea! Thanks!

    Reply

Leave a comment