Blog: Card

Grungy Cards – DIY

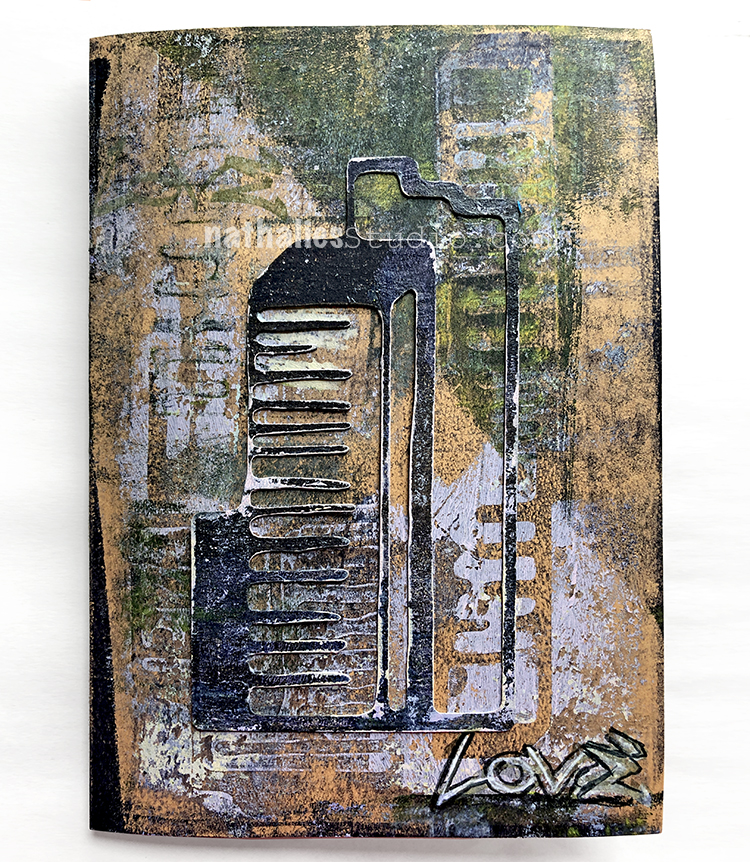
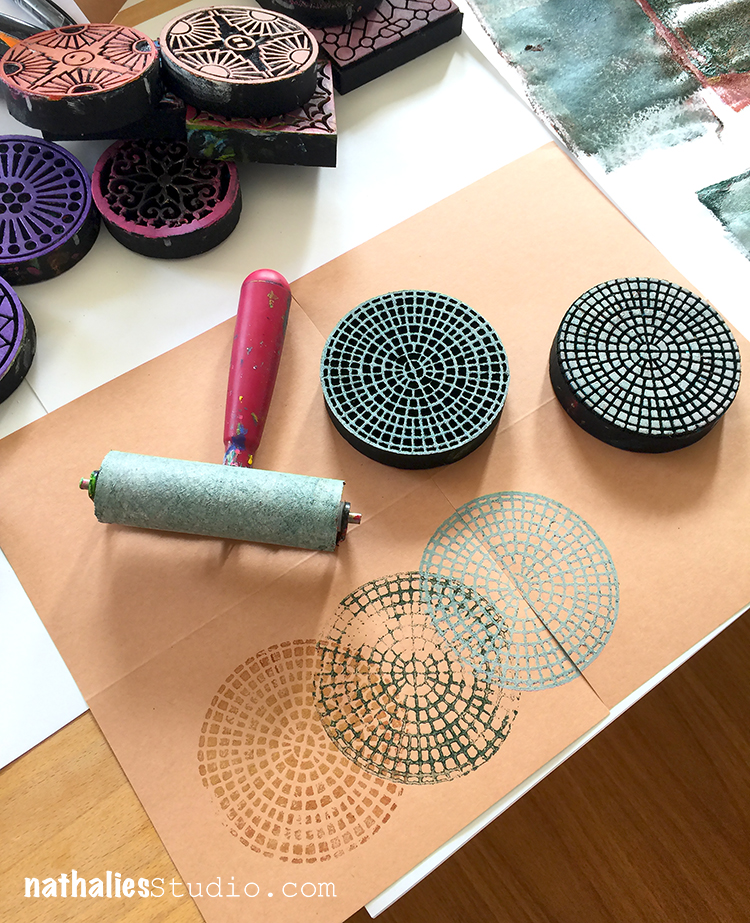
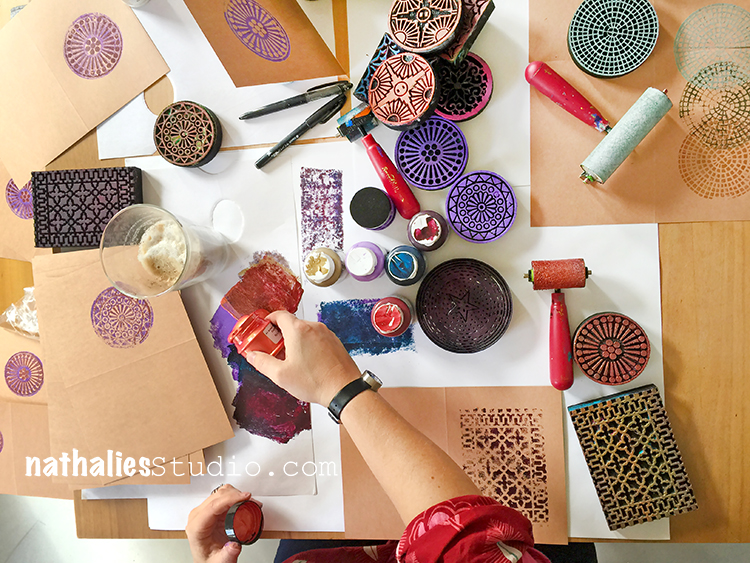
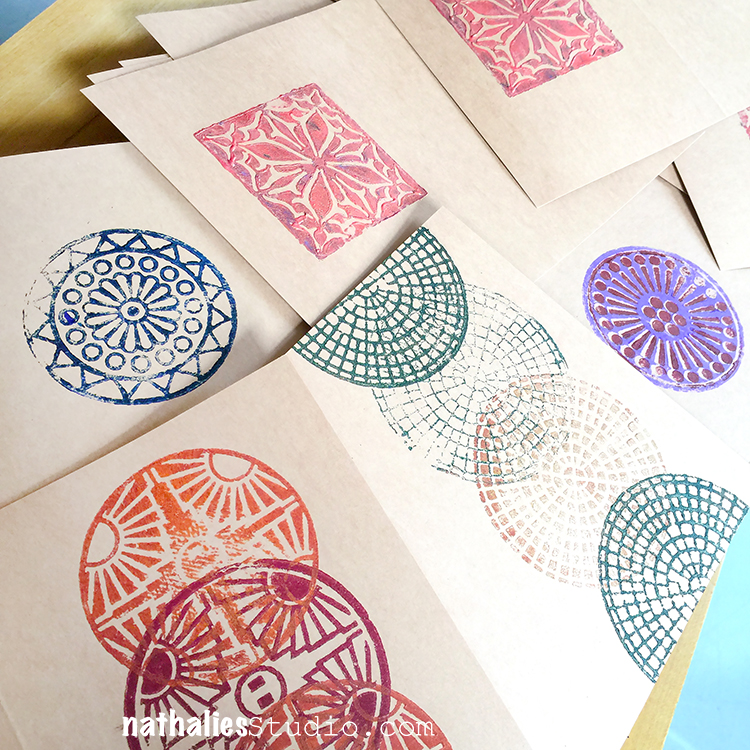
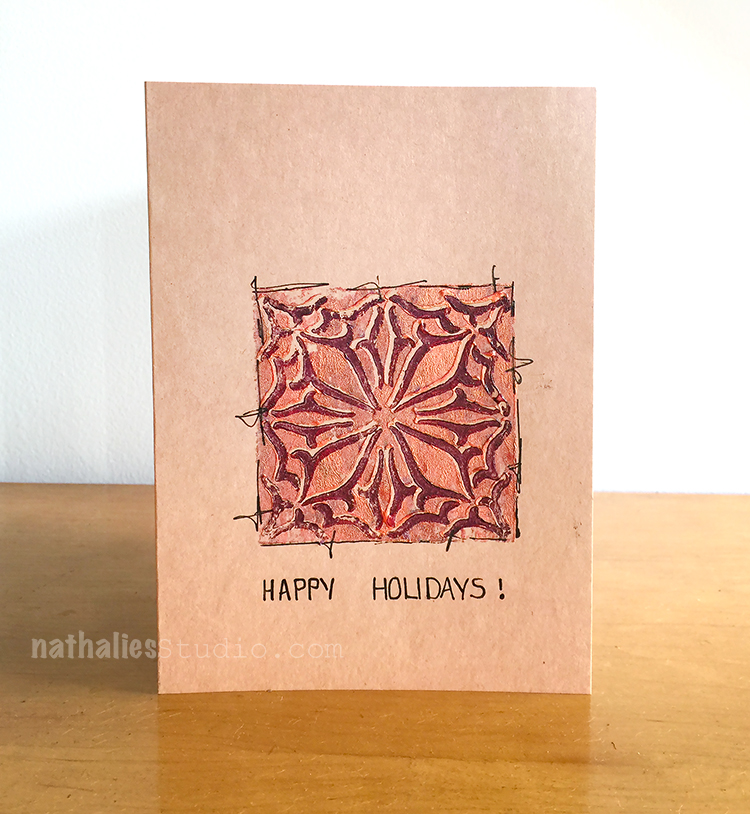
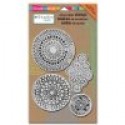
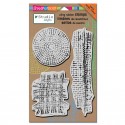
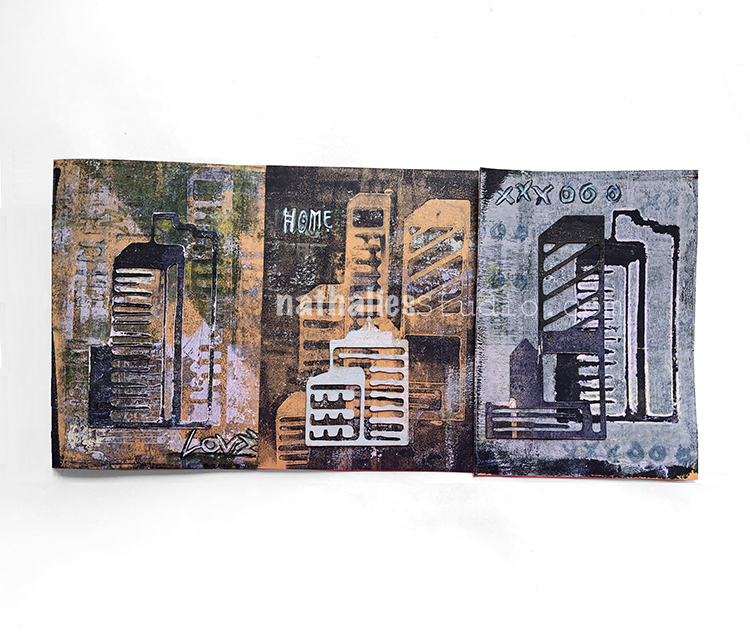
I thought I would make a few cards using a monoprinting technique with my new Mixed Media Chips.

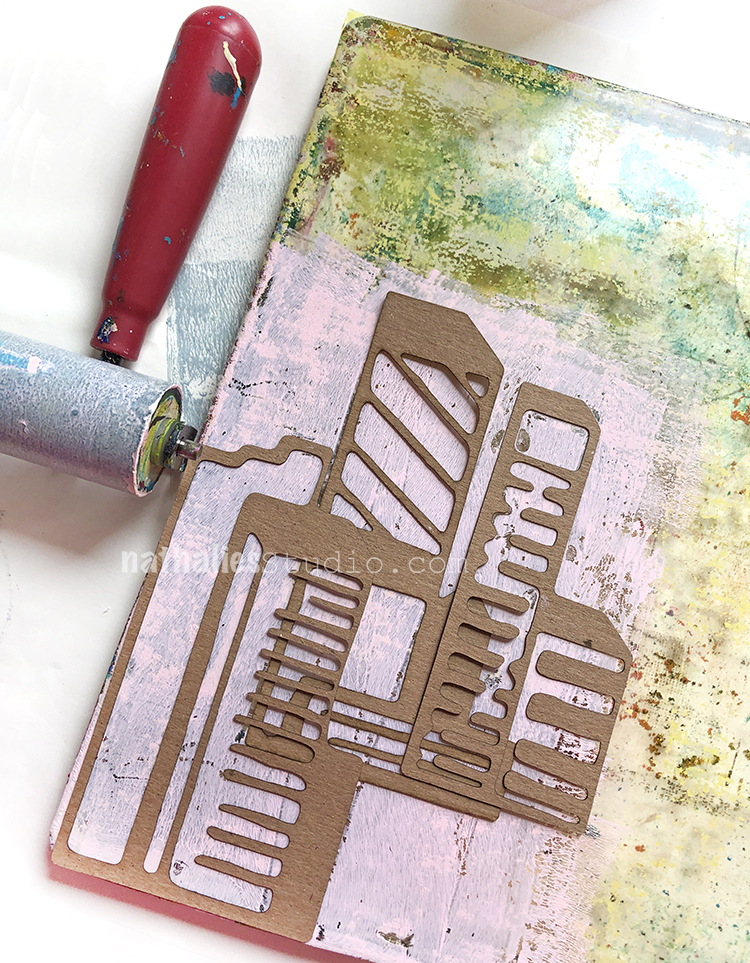
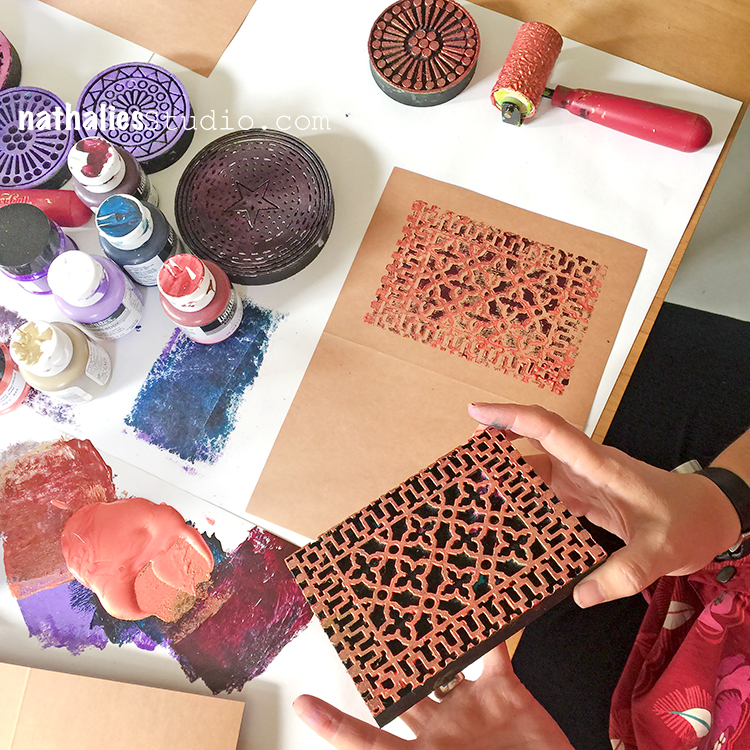
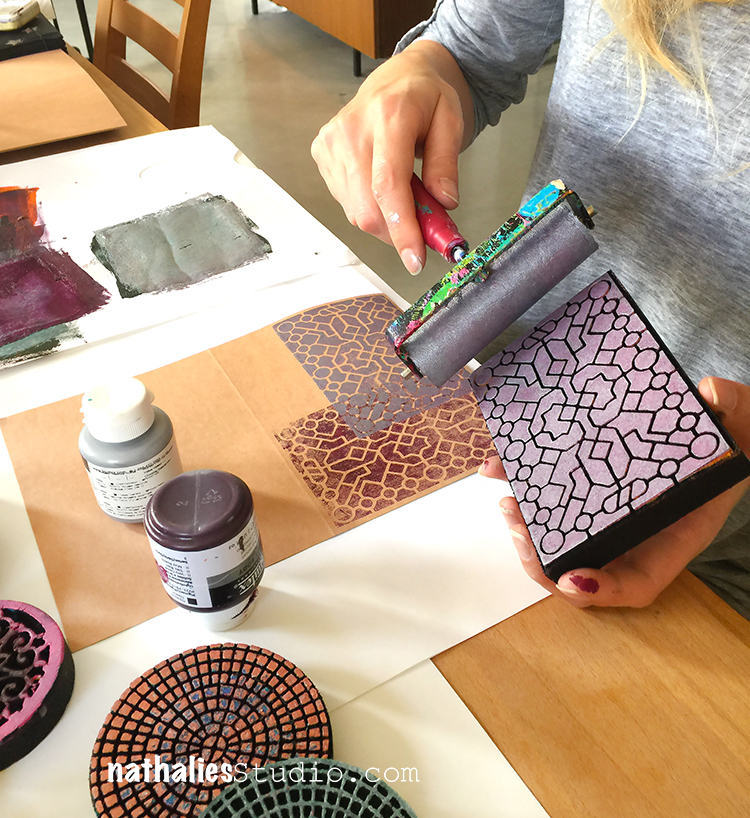
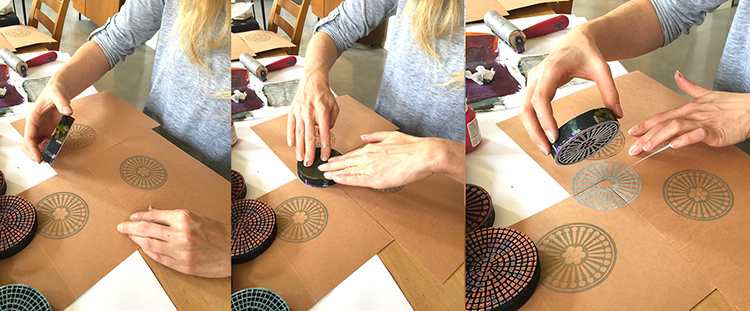
On a gelli plate I rolled out some acrylic paint with the Midtown 1 and Midtown 2 chips.

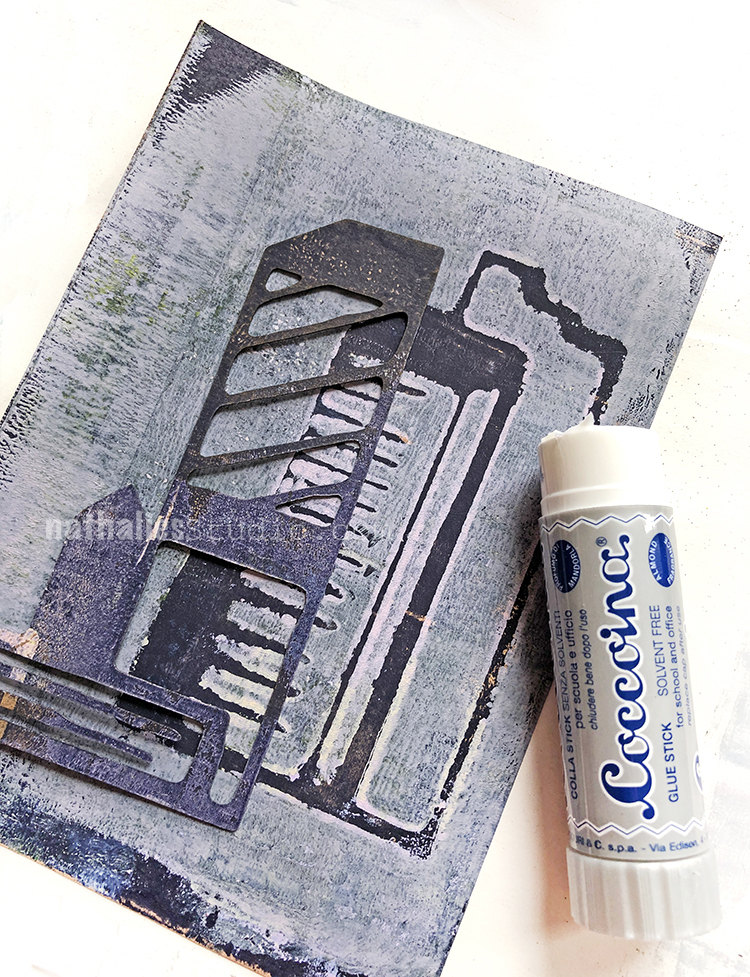
Then I printed directly onto blank cards. To attach the chip, I used Coccoina glue stick. I always loved this glue stick- smells a bit like almonds and I am so happy that I found it now also available in the states. It is great for paper and thin paper embellishments.

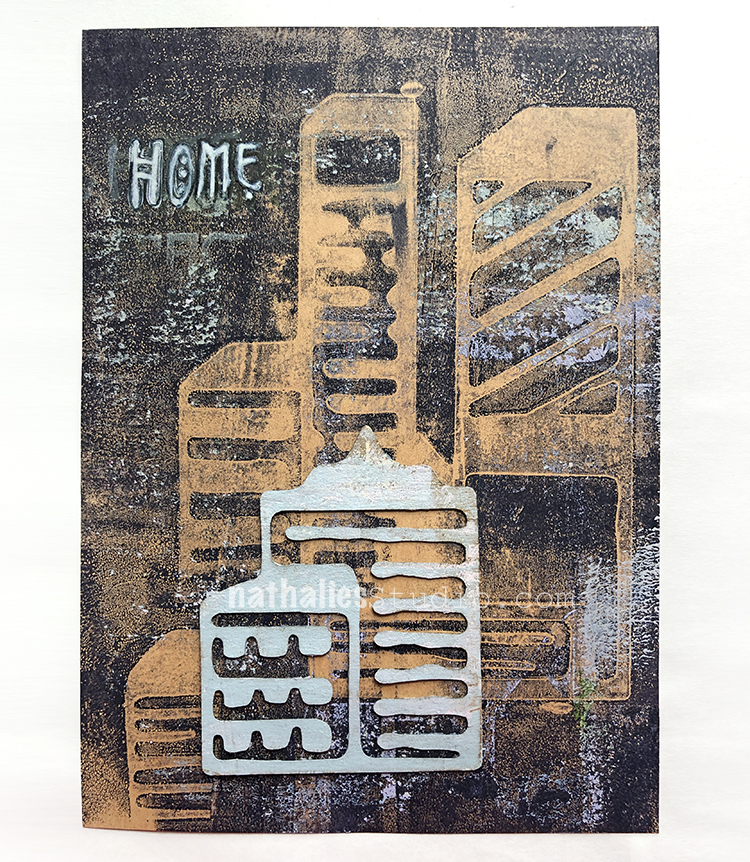
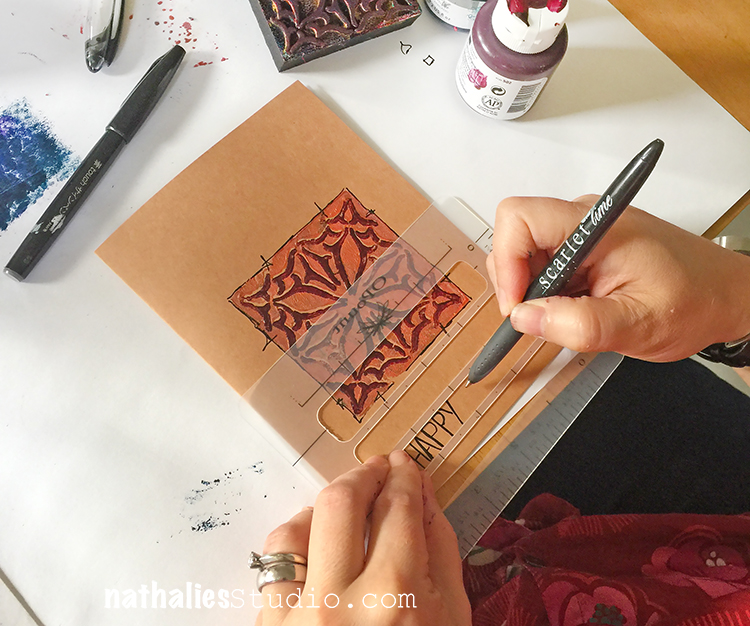
In addition to my nice and grungy monoprint I also stamped part of the My Home rubber stamp on this one.

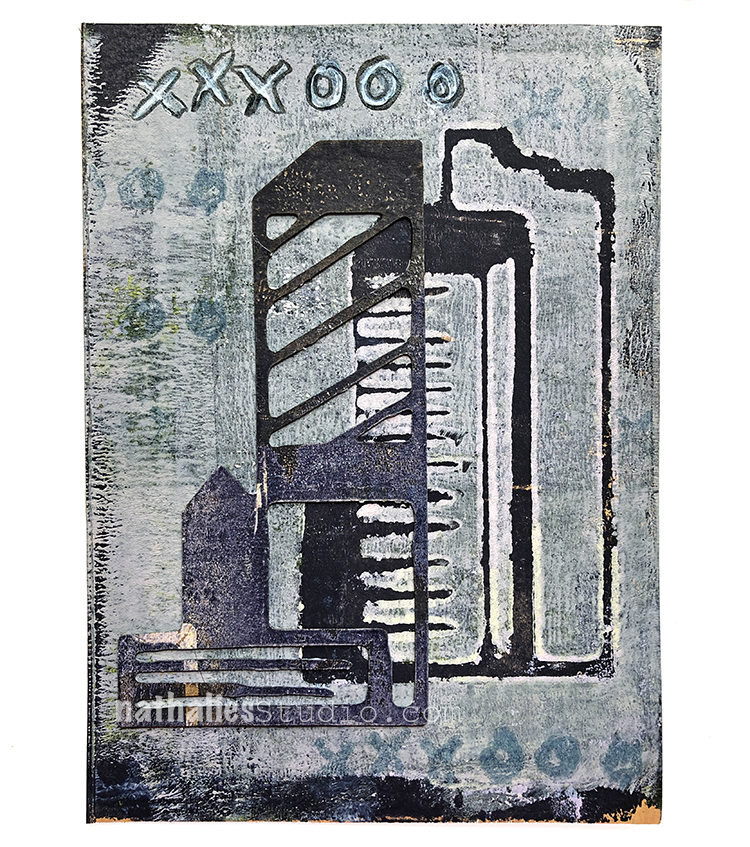
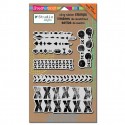
This one I snuck in my Love Knots stamp for the xxxooo.

And this one got really yummy grungy and then I also added my Love Tag stamp. I’m really happy with how they turned out, especially with the addition of the painted Mixed Media Chips.

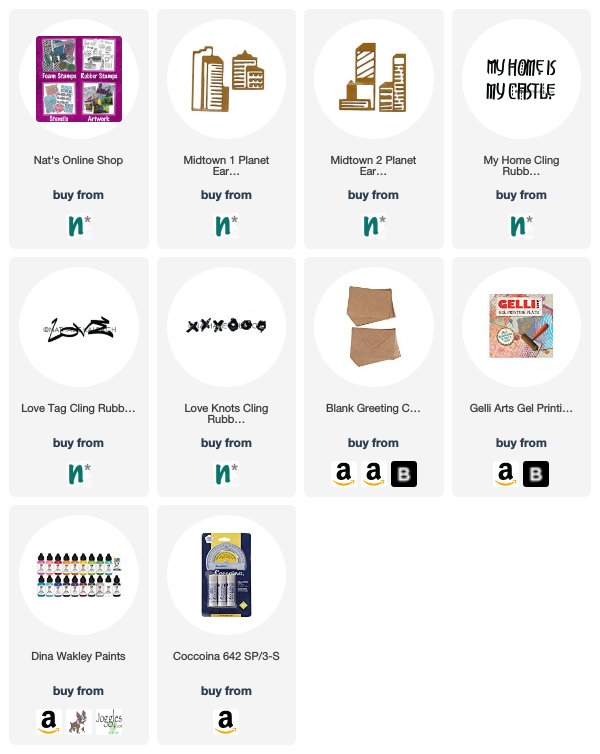
Here are some of the supplies I used:


Leave a comment

Inside Outside – Tania Ahmed


Hello from my Creative Squad and welcome to a project from Tania Ahmed. Tania is bringing us a super fun easel card using my Stroll Around the Block set of house stamps, my My Home is My Castle stamp, and my What’s the Point stencil. Be sure to watch her awesome video for the how-to and join us for this month’s new theme: Inside Outside – Inside can be cozy and warm. Outside is about fresh air and freedom. Are you a homebody or do you suffer from cabin fever? We’re creating with these opposites in mind.


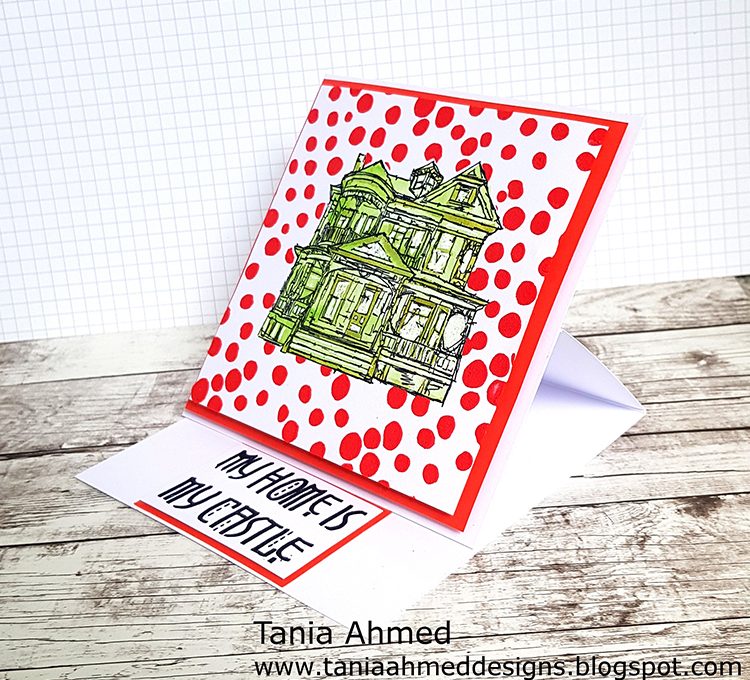
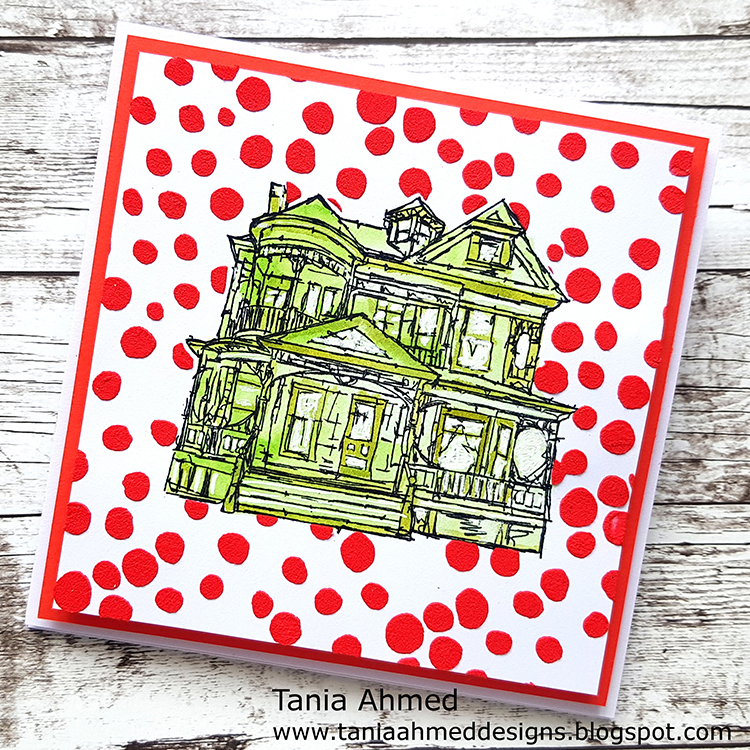
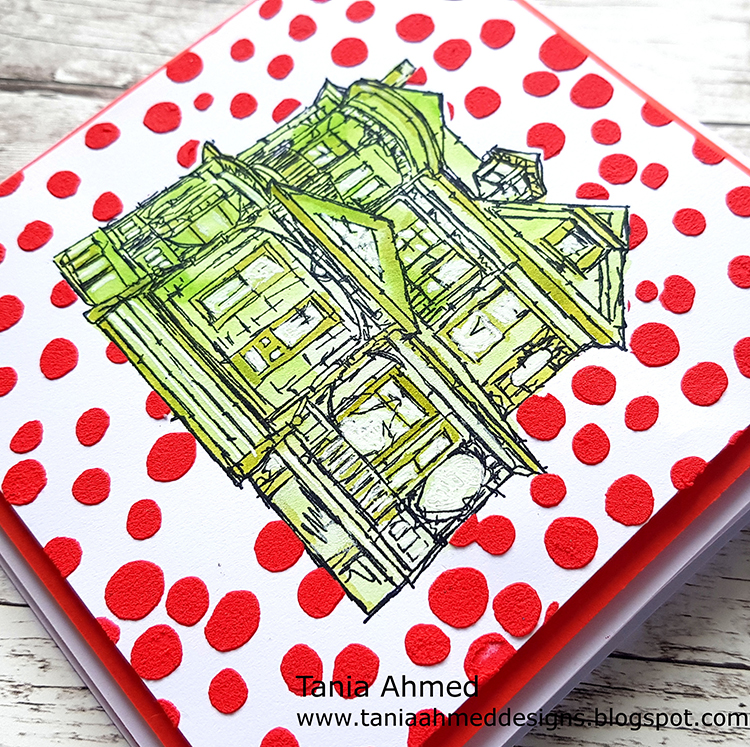
I was inspired by this month’s theme to create an easel card as a play on the “inside Outside” theme! My main focus was the Queen Anne Building stamp which is a part of the Stroll Around the Block Set #1.

The theme made me think about whether I preferred to stay at home or be outside. Did I prefer my own company or to be around people? As I get older I am getting more and more comfortable in my own skin and realising that I can have moments where I prefer one or the other scenario and that it’s okay! I’ll have days where I want to make a clean and simple project and then there will be days when I will be absolutely covered in paint and making happy creative messes!

I decided to make a video tutorial showing how I made this easel card, and I loved how it turned out :) Click on the video below to watch:

Here are also some photos:


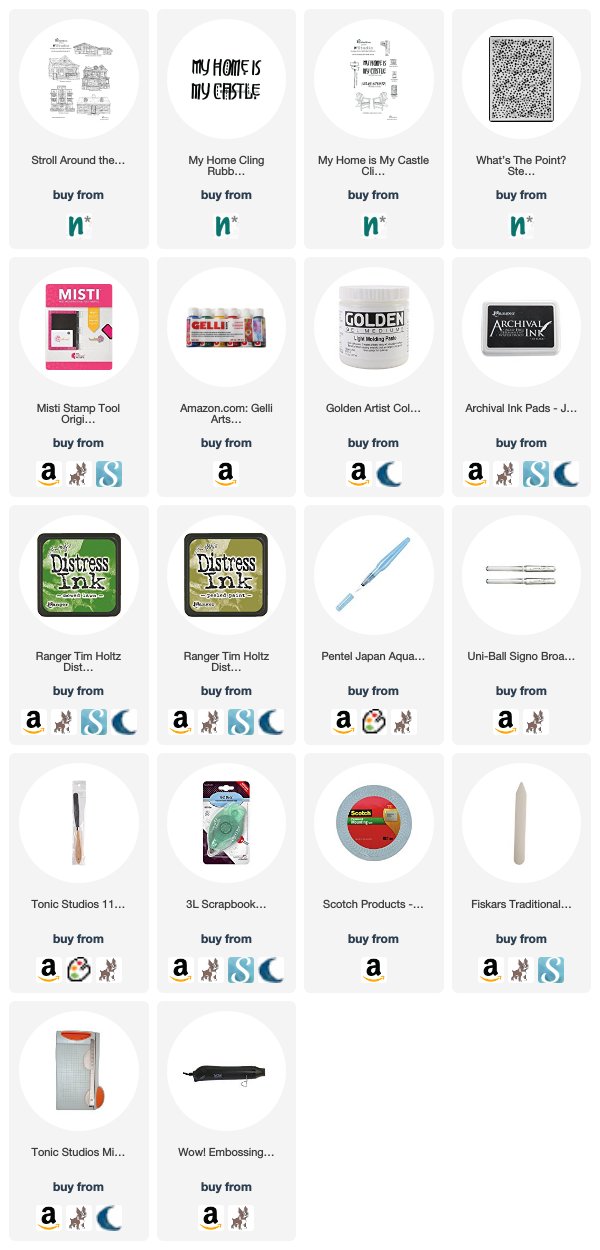
Thank you Tania! I’m just loving your video and seeing the awesome texture you created with my What’s the Point stencil on this card! Also those colors are yum! In addition to various cardstock and papers, here are some of the supplies that Tania used:


Feel inspired? Working on something yourself that you’d like to share?  I love to see how you interpret our monthly themes. Email me how you used my stencils and stamps with the theme and email me an image – I would love to share your projects in my next  “n*Spiration From Around the Globe“.

SaveSave

SaveSaveSaveSave

Leave a comment

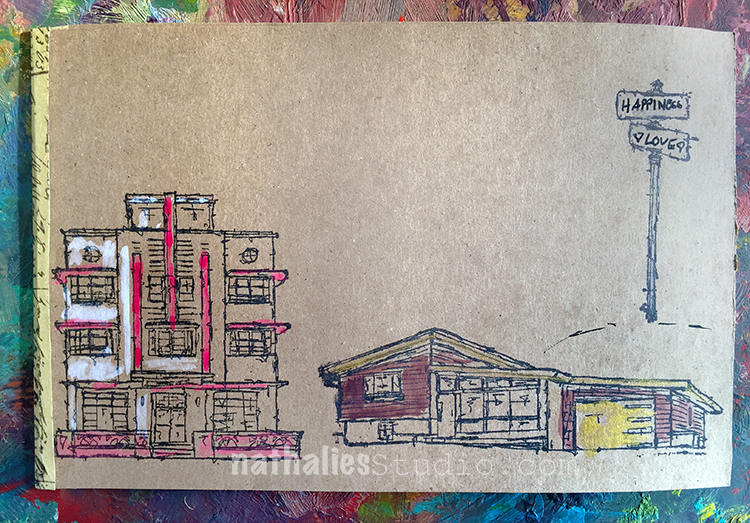
My Home is My Castle – Card

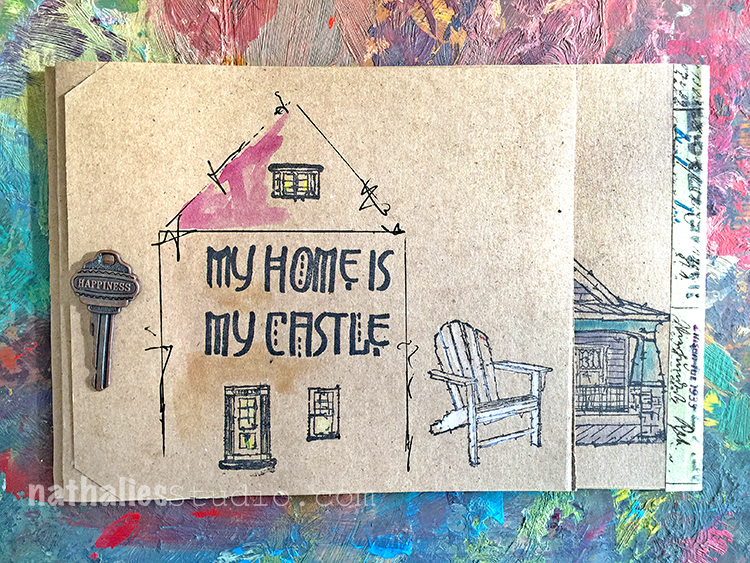
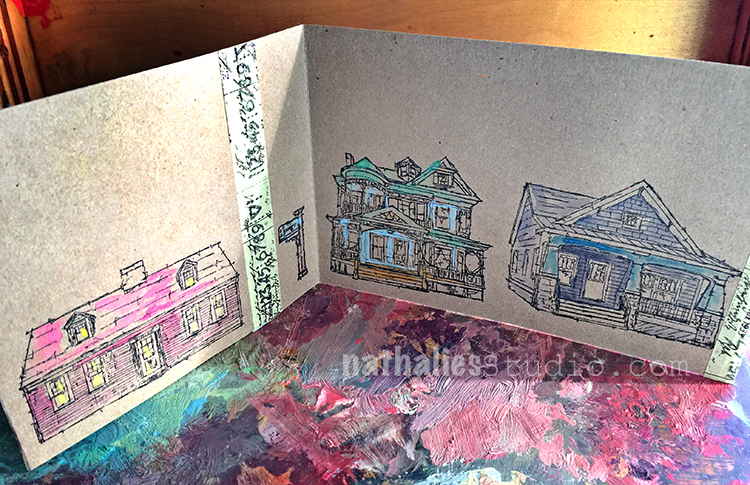
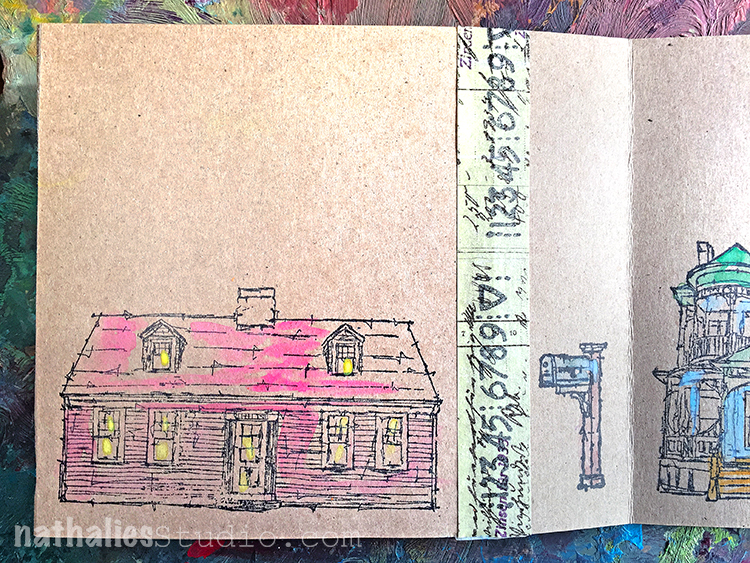
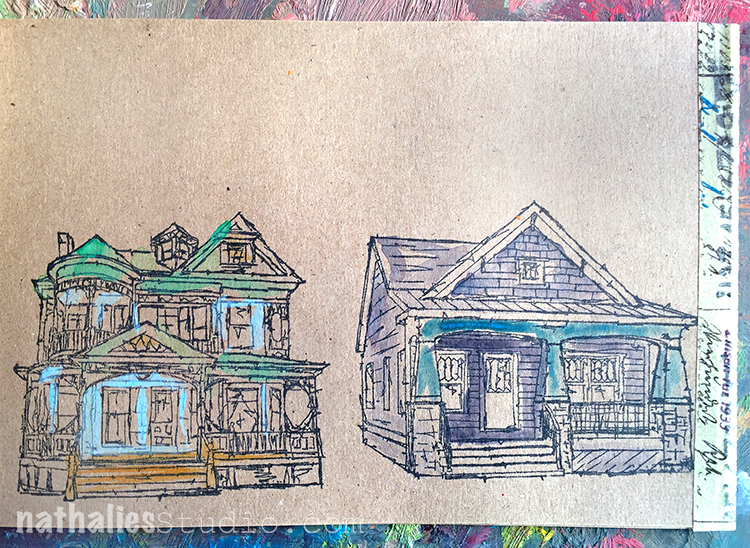
Using some large kraft tags I made a little accordion card for some friends who just moved.

I stamped the different houses from my Stroll Around the Block set as well as the stamps from the My Home is My Castle set on the different panels.

I used some watercolor to add some color here and there and added some words to the street sign :)

I love using kraft paper- it is also surprisingly making some of the watercolors appear more opaque – so I learned something :)

I want all those houses …or maybe just one- …LOL- I woudl take any of them :)

Here are some of the supplies I used:


Comments (1)

  • Sue Clarke

    |

    What a thoughtful card!
    I especially like how the stamped houses look on the kraft paper.
    Happy Holidays,
    Sue

    Reply

Leave a comment

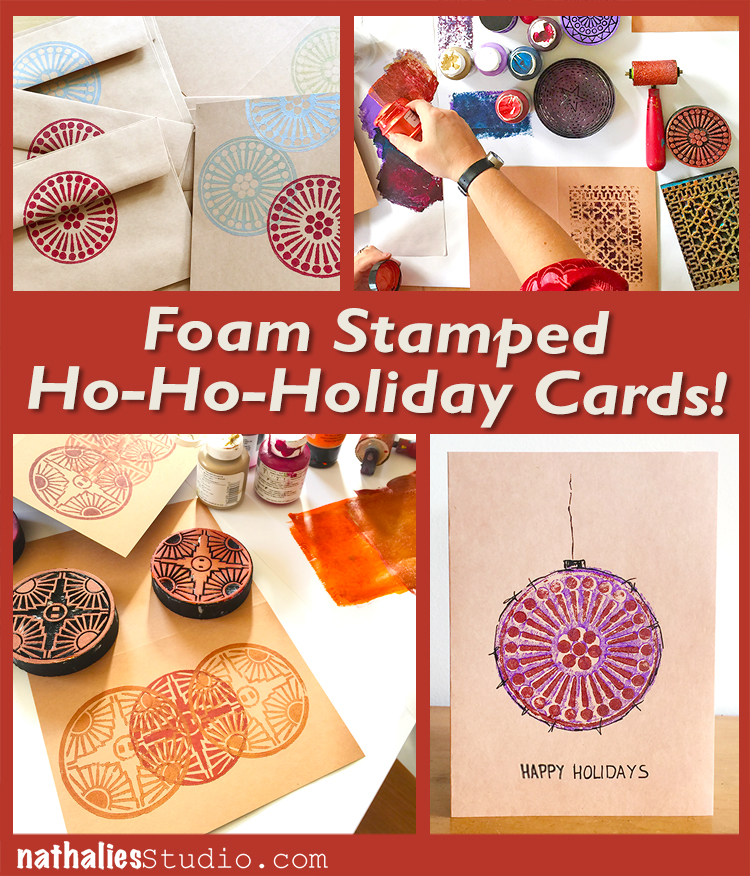
Foam Stamped Ho-Ho-Holiday Cards

Last week Kim and I got into the holiday spirit a little early and made some stamped cards with my newest ArtFoamies.

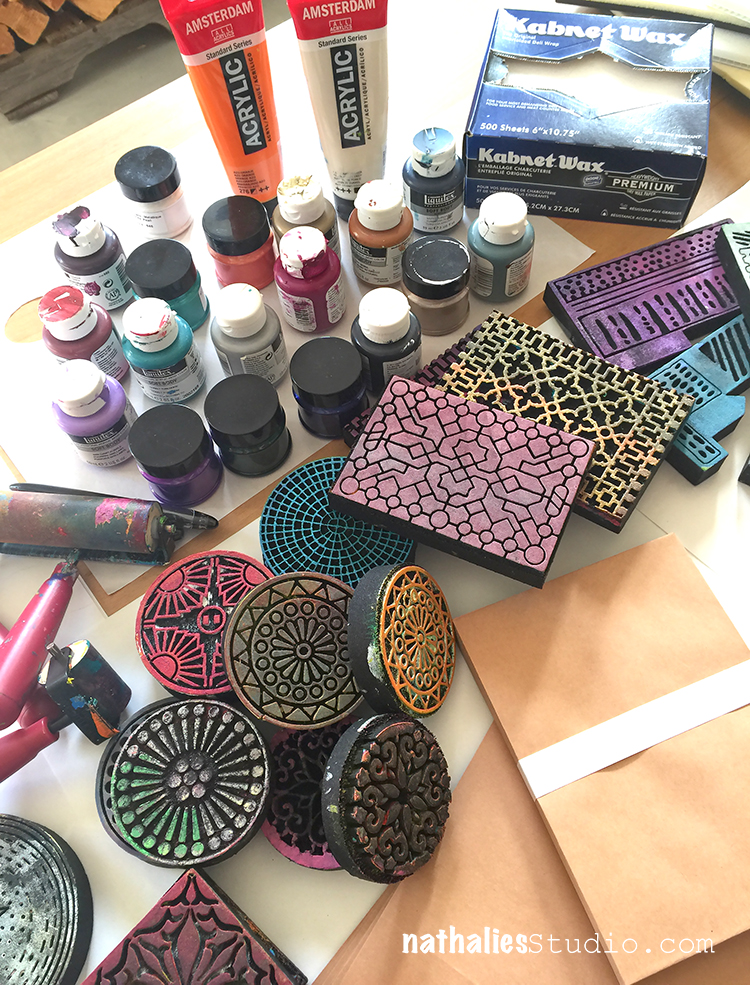
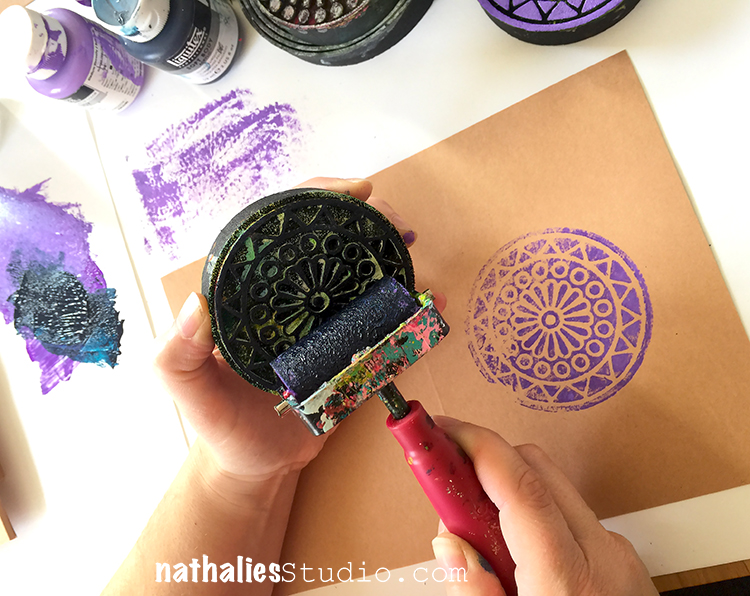
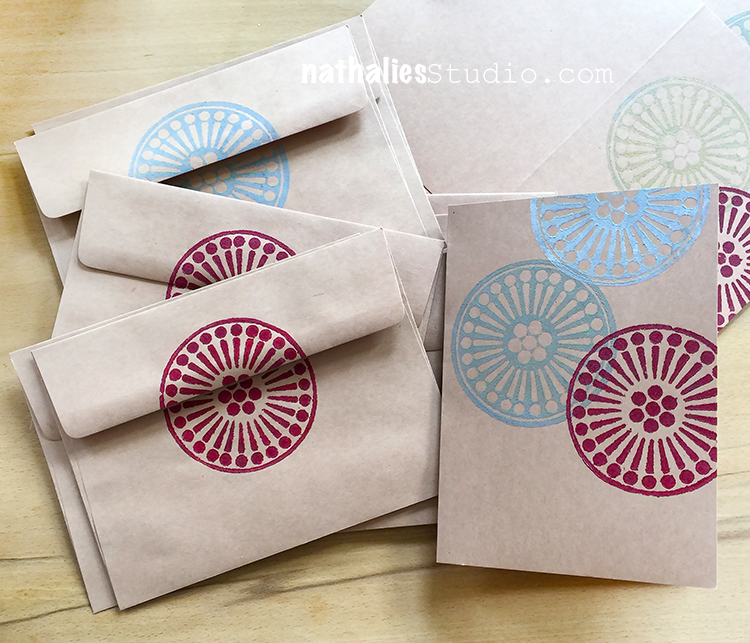
We had some craft paper card and envelope sets, my ArtFoamies foam stamps, a whole bunch of acrylic paint, brayers, and some deli paper or palette paper.

First Kim used my Broadway Positive Negative foam stamps and made a few cards for Thanksgiving – one of my favorite upcoming holidays (hosting again this year woot woot!).

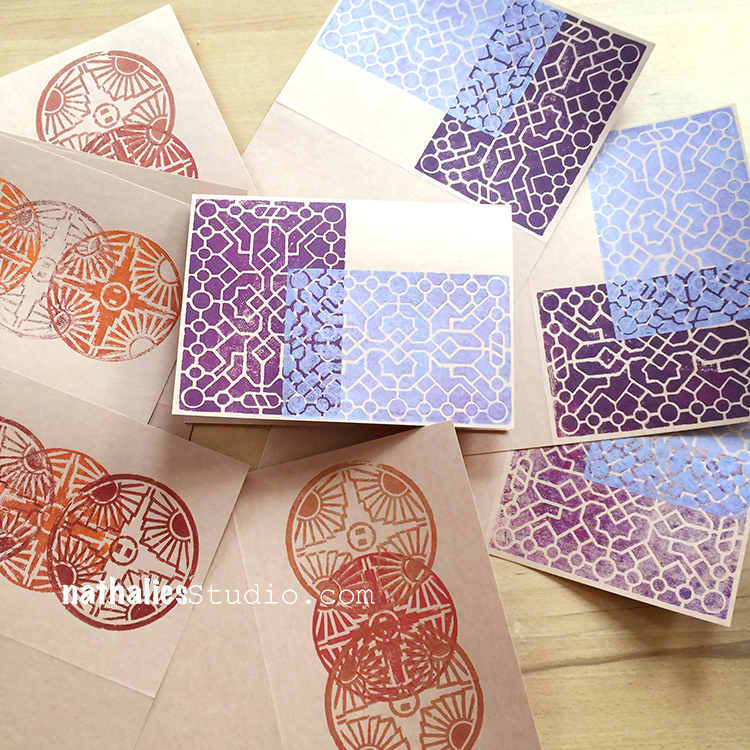
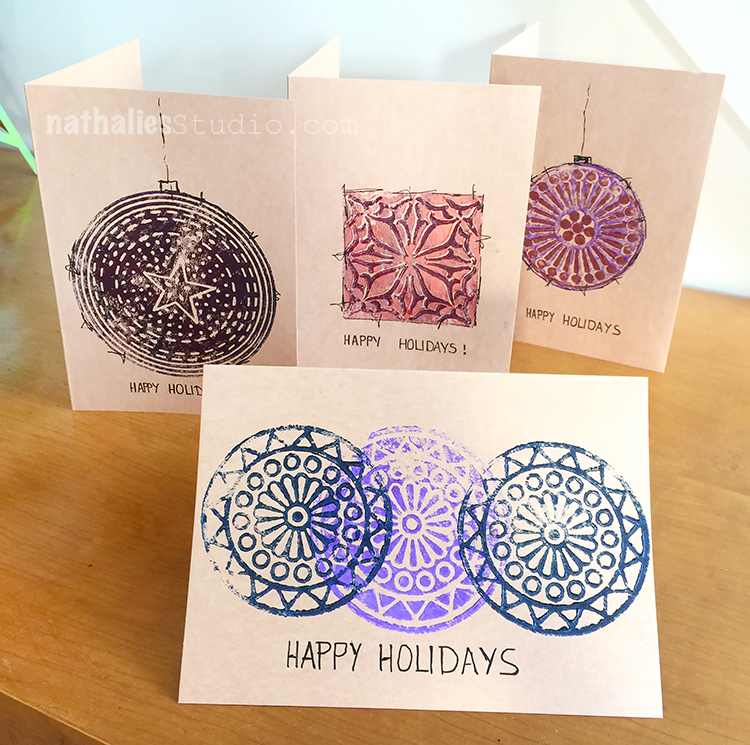
We didn’t limit ourselves to the typical holiday colors – here I am doing a card with my Valley Road Positive Negative set and just decided to go with purple. Why not?

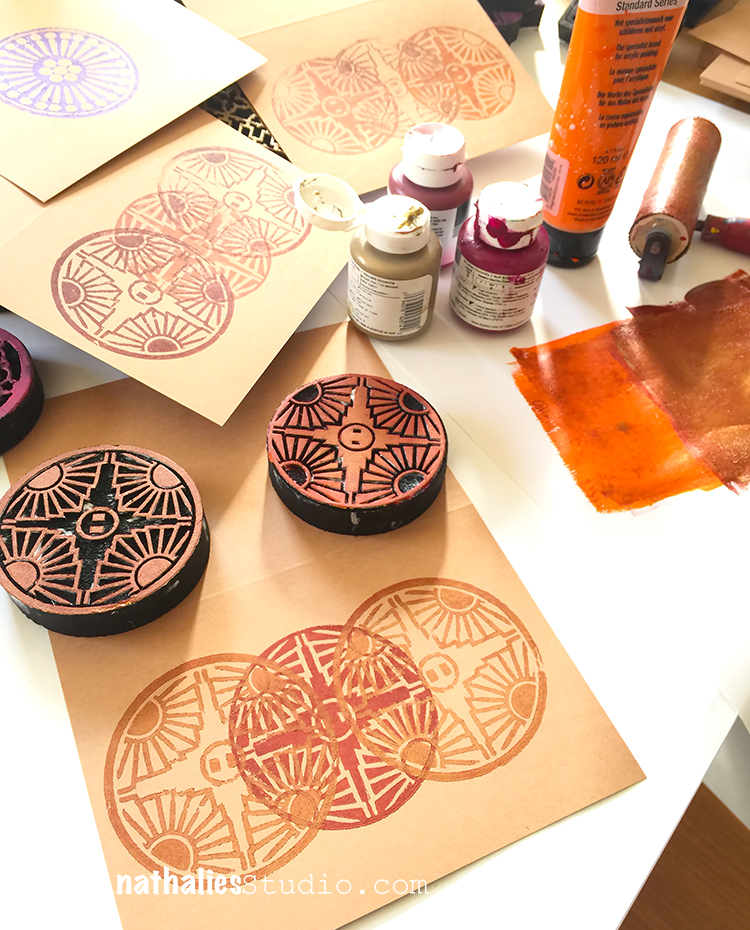
We overlapped and mixed colors and here used my Central Avenue Positive Negative stamps for a modern card. Maybe it’s a snowflake or Christmas ornaments or just festive and fun :)

We went a little nuts and both made enough cards for just about everyone on our lists. Here I layered up the Downtown Positive Negative stamps and used a bit of metallic paint.

I love how intricate this design is. Maybe I will go back to this card as I got a bit too much paint on the stamp. It will not go to waste.

Kim chose an unusual arrangement for this card using my Exchange Place stamp and some mauve and purple paint. She could write a personalized message in the corner when she’s ready to send.

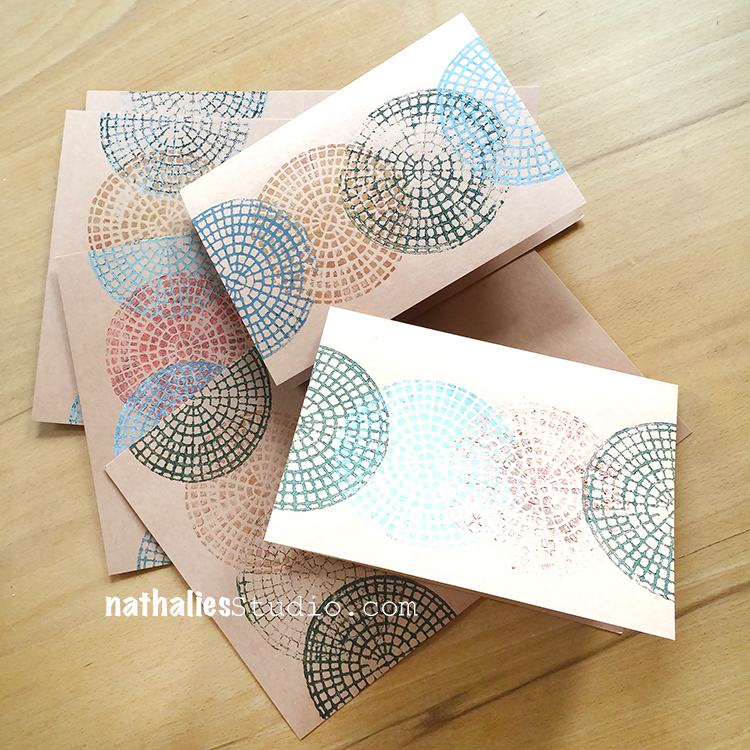
It was easy to stamp out a bunch at a time.

Kim lined up the edges of a few cards and stamped them at once to get the designs moving off the edge of the paper.

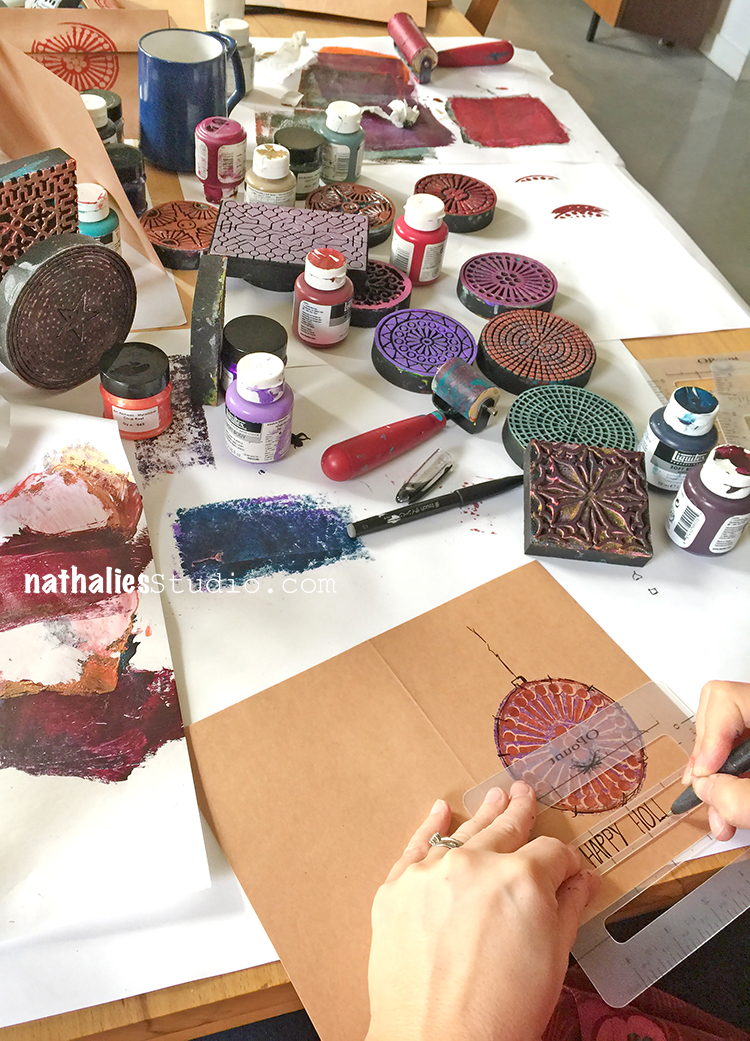
In the end I decided to add a message on this one (stamped with my Van Vorst Positive Negative stamps), using an Opount envelope addressing guide.

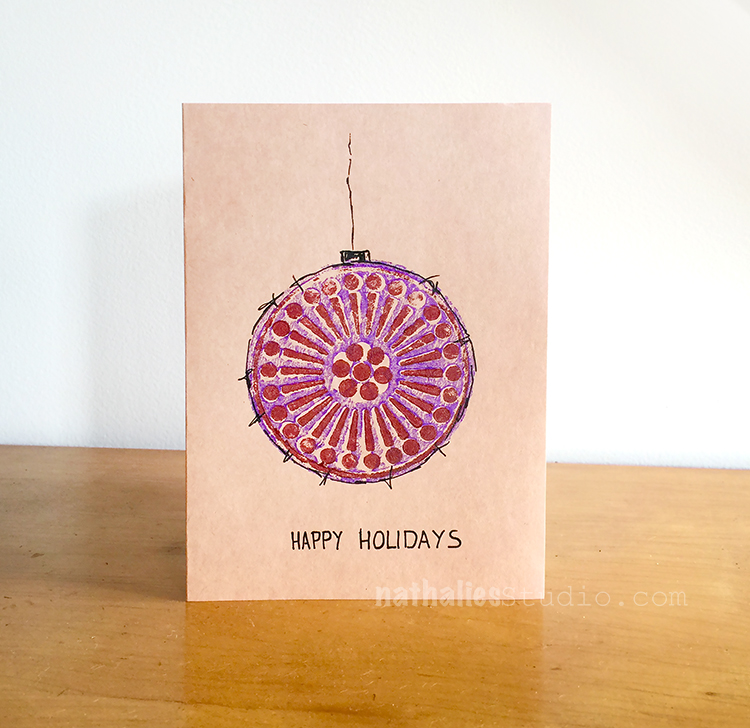
I dressed this one (used the Grove Street Positive Negative stamps) up with a bit of black pen to look like an ornament.

At the end of our play date we had made a bunch of cards for all the upcoming holidays! It was quick and easy and took a little of the stress of the season away knowing we have them ready to go!

Here are some of the supplies we used (some are affiliate links):


Hope you enjoyed our HO-HO-Holiday playdate :) We already have some fun project lined up for the December one.

Comments (2)

  • Sue Clarke

    |

    I especially love the one that is a purple ornament.
    Fun fun fun creating right there!

    Reply

    • nathalie-kalbach

      |

      Thank you Sue- it was super fun and so easy too – stress free holiday card making in this case :)

      Reply

Leave a comment

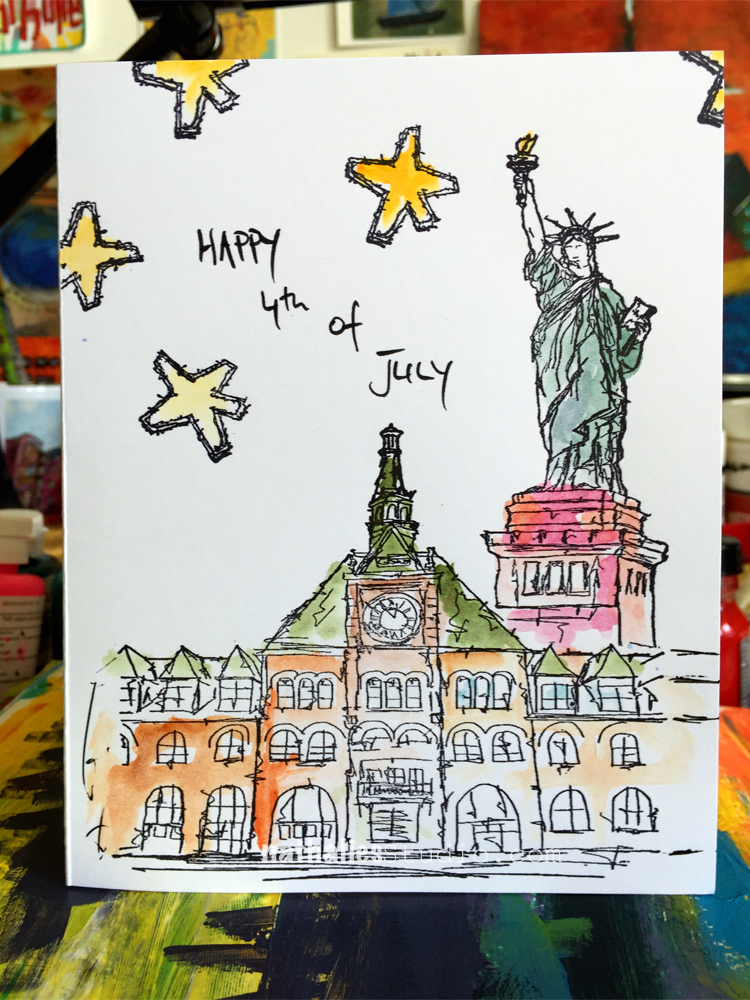
Happy 4th of July

Wishing everyone a wonderful week ahead and my American friends a great celebration day tomorrow!

Comments (1)

  • julie b

    |

    What a fabulous card!

    Reply

Leave a comment

Live Like It’s Spring – Cheiron Brandon


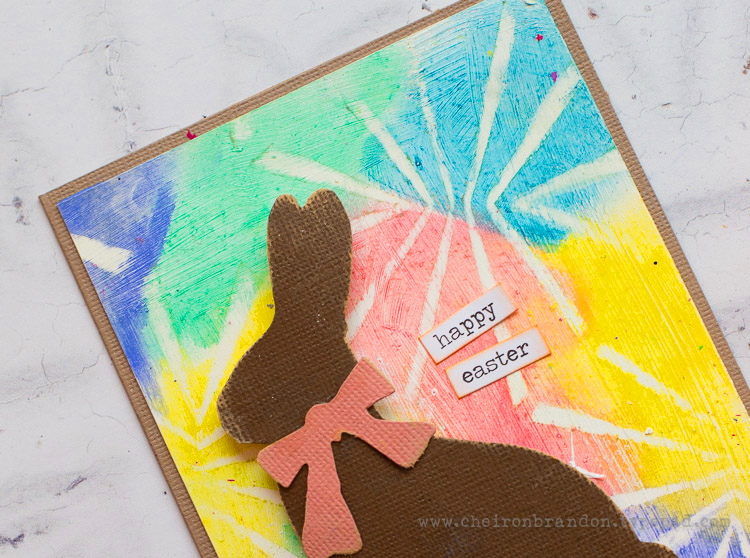
Happy Tuesday (or should I say Hoppy?) and hello from the Creative Squad! Today Cheiron Brandon has a lovely and very apropos card for us that uses my Beacon stencil and the monthly theme Live Like it’s Spring – Springtime is when Mother Nature kicks it into high gear. It’s the time to wake up and approach life with renewed energy.  Let’s join Mother Nature in this reawakening and create some things in the Spirit of Spring!


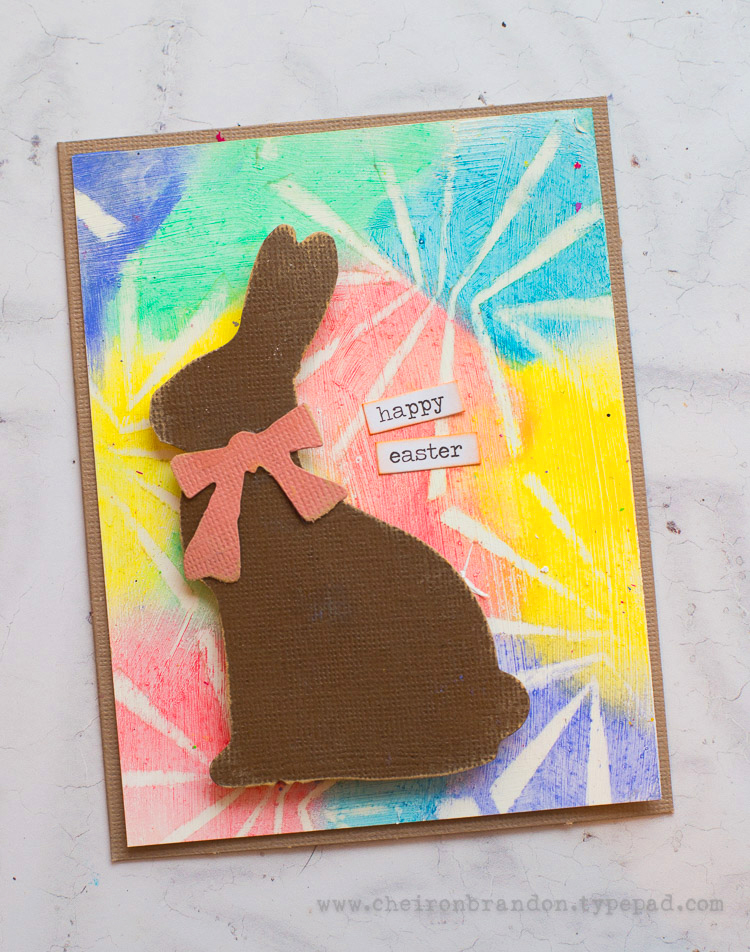
Hi there! It’s Cheiron here with my monthly post. I am so excited for spring here on the east coast, but it seems like it’s never going to arrive. I always have best intentions of sending cards for the holidays to friends and family, but they never seem to come to life. I decided to “spring” into action in my studio with some stencils and spring colors and make this fun card that can be easily replicated to send out for Easter to family and friends.

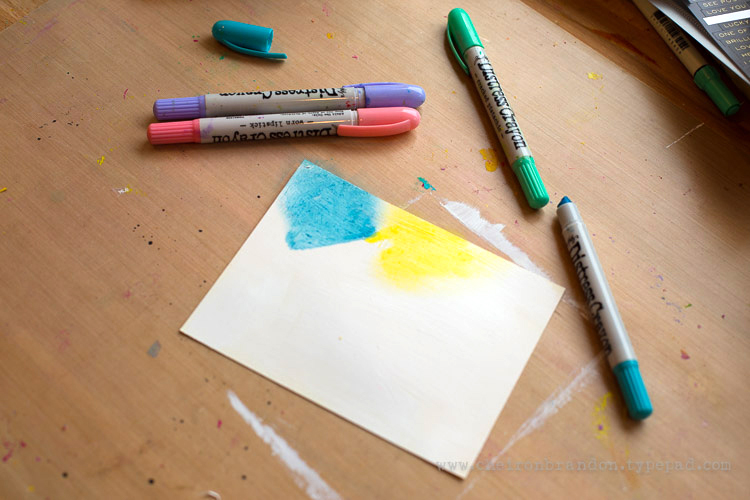
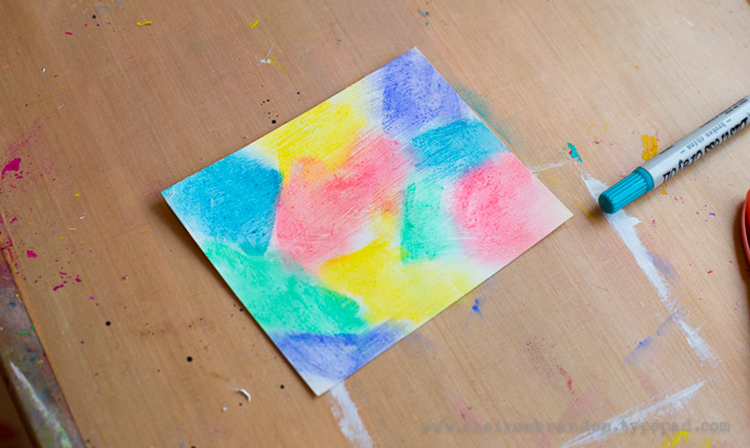
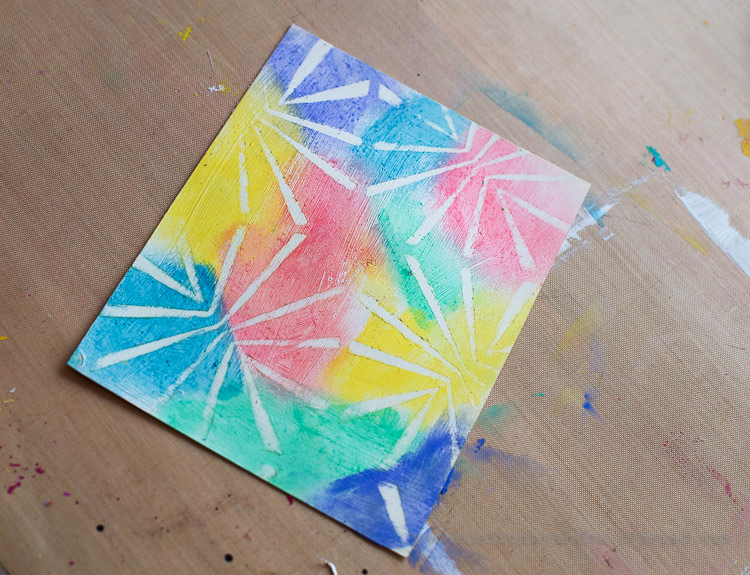
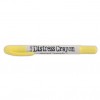
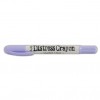
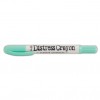
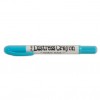
To start, I used some Distress Mixed Media Heavy Stock and applied a thin coat of gesso. Once the gesso has dried, apply Distress Crayons in spring colors to the panel (I used spun sugar, squeezed lemonade, shaded lilac, cracked pistachio and broken china ) blending each color with your finger as you go along.

Keep blending until the entire panel is covered.

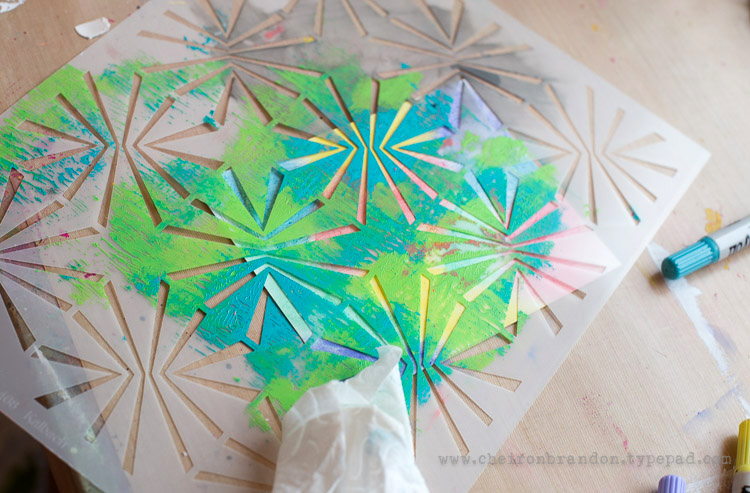
Once you are finished blending, put the Beacon stencil over the panel and rub through the stencil gently with a baby wipe to reveal the gesso underneath and create a pattern.

Remove the stencil, add a die cut and some word stickers to you card. It’s as easy at that! You could even use multiple stencils to create this effect. I hope you enjoyed this Easter card, and maybe it will inspire you to make some fun cards to send out to those you love.

See you next month!


Thanks Cheiron! This is so cute and happy! We just love your card designs. Cheiron used these supplies – some links are affiliate links:


Play along with us! I love to see how you interpret our monthly themes. Email me how you used my stencils and stamps with the theme and email me an image – I would love to share your projects in my “n*Spiration From Around the Globe“.

Leave a comment

Say It Like You Mean It – Cheiron Brandon


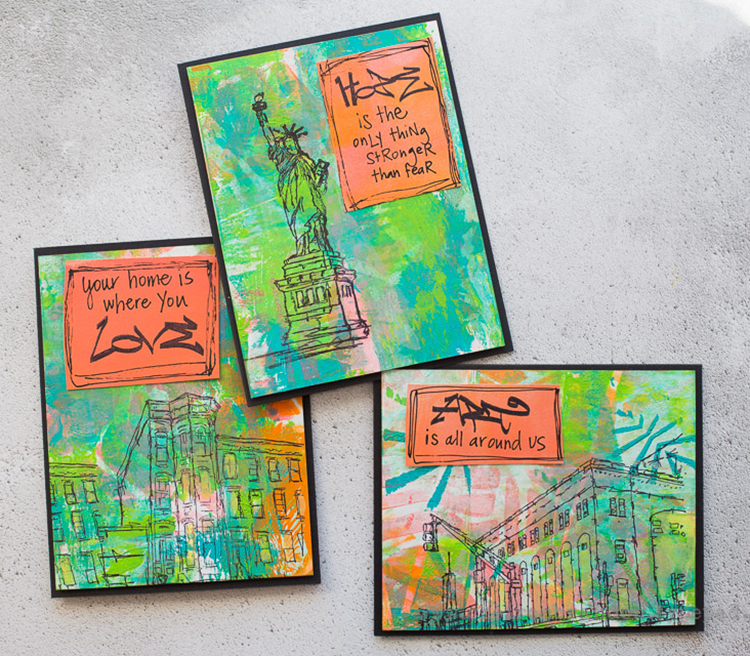
Happy Tuesday! This week Cheiron Brandon from my Creative Squad is sharing 3 gorgeous cards that use my Stroll Through the Hood #1 cling stamp set, and my Beacon and Kassel stencils. Cheiron took a more subtle, but also uplifting, approach to this month’s theme Say it like you Mean it – Let your unique voice be heard and tell us what’s on your mind. Be bold. Be yourself. We all have something to say and sometimes we need to shout it!


Hi there! Cheiron here with my post for the March theme… Say it Like You Mean it. I know it is great to be big and bold and say what you mean, which is what I do almost all of the time. Today I thought I’d go a bit smaller with some subtle messages that can be sent in the mail. I love Nat’s new stamps, especially the graffiti words from Stroll Through the Hood #1 and I have incorporated them all into a set of gelli printed cards for you today.

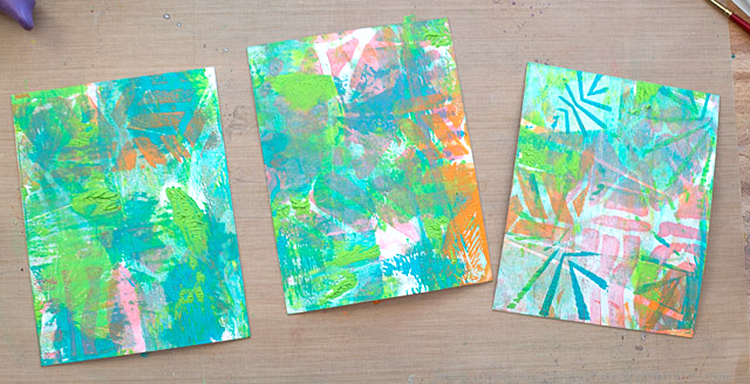
I gelli printed a few panels using the Beacon and Kassel stencils to serve as my background:

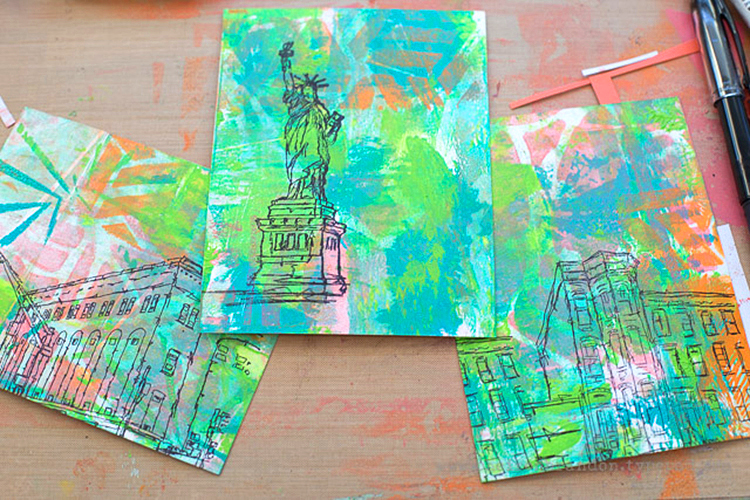
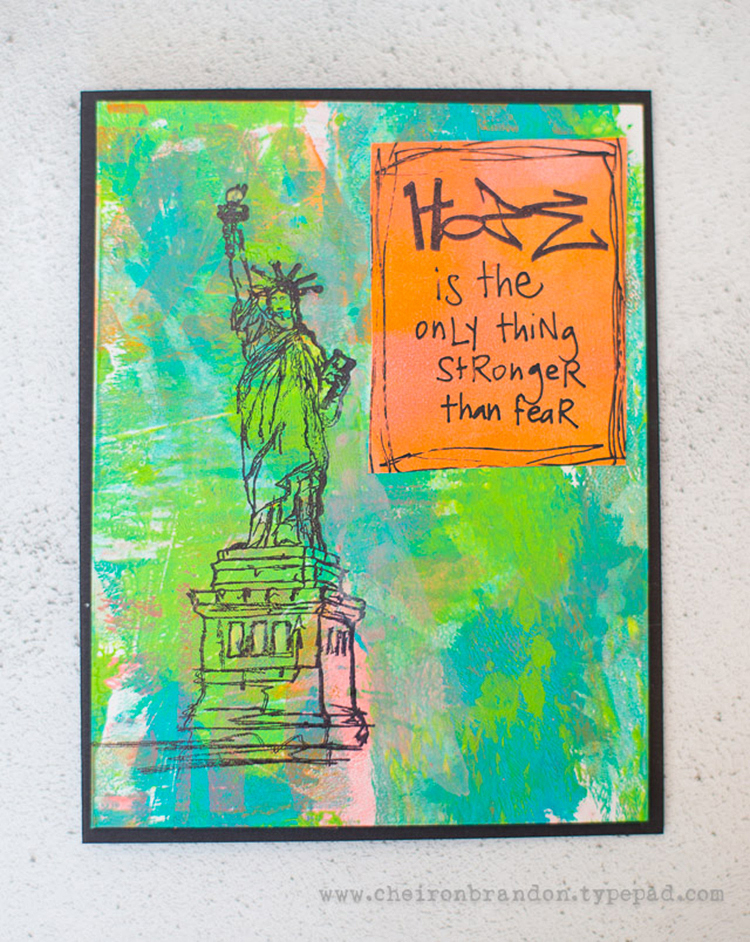
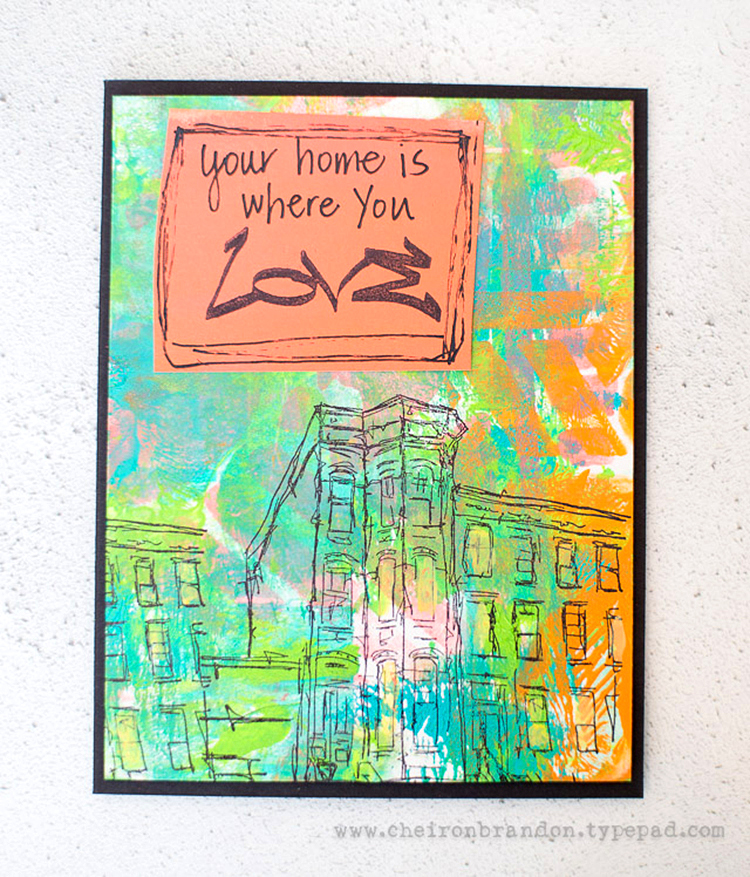
Then I stamped the Powerhouse, Lady Liberty, and Brownstone stamps onto each:

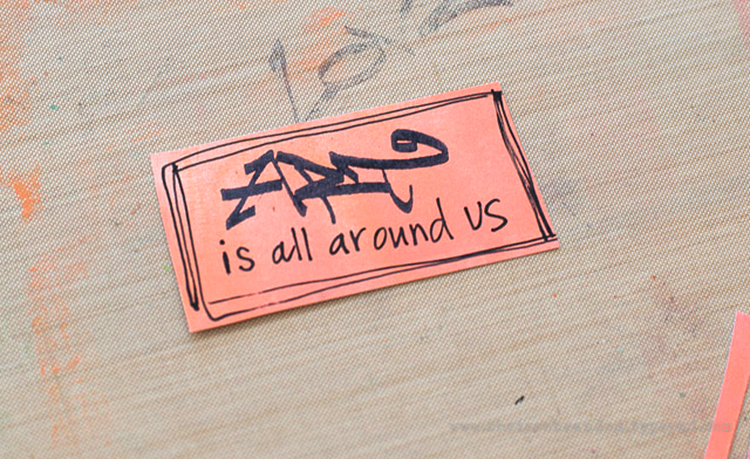
I painted some printed paper with a brayer then stamped it with the different tag stamps: Art, Hope, and Love, and added some handwritten words and outlining to make little quotes for my cards.

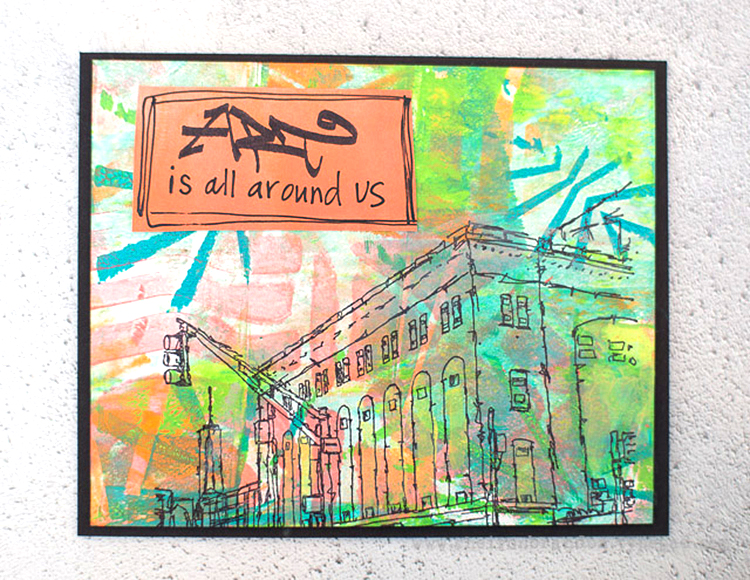
I then mounted each gelli printed panel onto a black card base, then adhered the quote to each. Such a simple way to send a thoughtful message.


Thank you Cheiron for sharing such lovely designs with us – those colors are absolutely gorgeous. And I couldn’t agree more with your quotes. In addition to various papers, adhesive, and a black pen, Cheiron used these supplies – some links are affiliate links:


Play along with us! I love to see how you interpret our monthly themes. Email me how you used my stencils and stamps with the theme and email me an image – I would love to share your projects in my “n*Spiration From Around the Globe“.

Comments (1)

  • Michelle Rydell

    |

    These are beautiful Cheiron! and so do-able! Thank you!

    Reply

Leave a comment

From Small Beginnings – Cheiron Brandon

CS September Theme 2

It’s Tuesday and time for my Creative Squad to share a project with you with this month’s theme: “From Small Beginnings”. Throughout the month of September, the team will be using my n*Studio Stamps to interpret the theme. The change in seasons and the childhood ritual of Back to School in September has me thinking about starting new things – new projects, learning new things, and meeting new people, and all the excitement and challenges that come with all of these “new”s. For this theme, From Small Beginnings, my Squad will think about the process of starting something new and the very first steps they took. I’ll ask them, how did you experience a Beginning?

So this week we have 3 different card designs from Cheiron Brandon to celebrate her love of cardmaking – the thing that got her started in the creative life :)

—————————————————————————————————
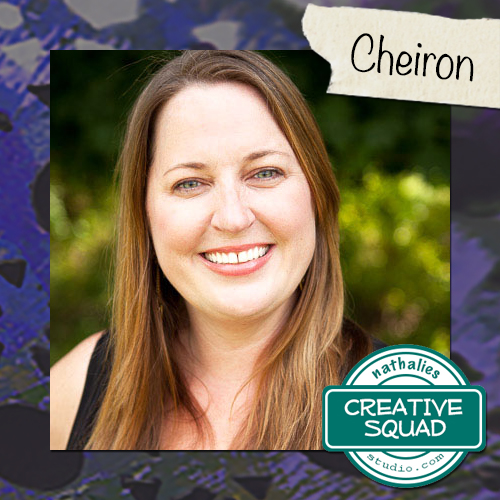
Cheiron September Headshot

Hi there! It’s Cheiron here with my September project. When I initially thought of the theme From Small Beginnings, I thought back to how I got started in art, crafting and art journaling as an adult. About 12 years ago, I moved back to NJ and there was a small stamp shop that opened right down the street from me. I was always interested in making things and I remember making watercolor cards in high school and putting simple messages on them. Rubber stamps opened a whole new world to me. In the past several years, I have had the opportunity to work with several stamp companies and design teams, the most recent being a part of the N*Studio squad.

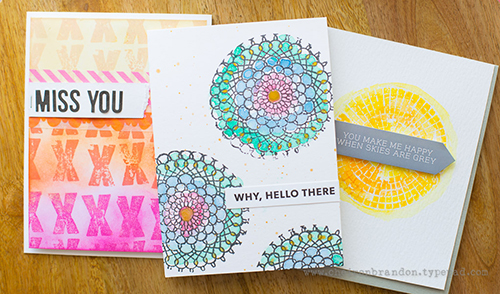
I am grateful for having art, stamping and especially card making in my life. In the past 10 years I have amassed a HUGE collection of supplies, but I always find for me that the cards I love to make are the most basic. I am sharing 3 simple cards with you today, each was made with only one stamp and a sentiment or word pulled from a giant bin of stickers I still have. I made all three of these cards in under an hour and now have some happy mail to send to friends!
cheiron-simple-stamped-cards-with-n_studio

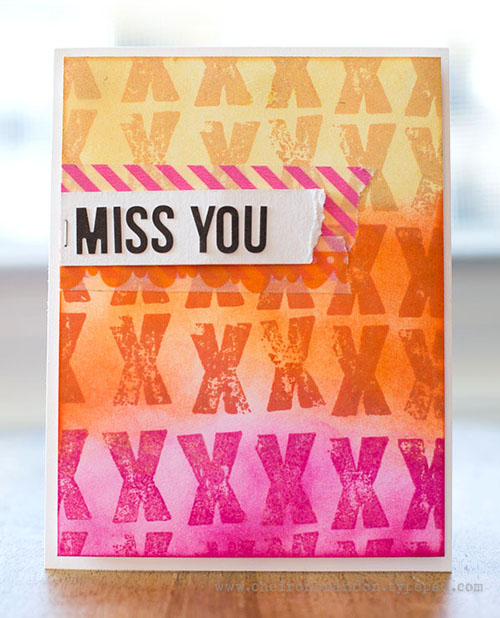
This first card is made with a stamp from the Marks stamp set. I love these X’s and stamped them in 3 different colors then went over each section with an ink blending tool with the same color. A few letter stickers, pieces of washi tape and a staple with my tiny attacher, and voila!
cheiron-miss-you-with-n_studio

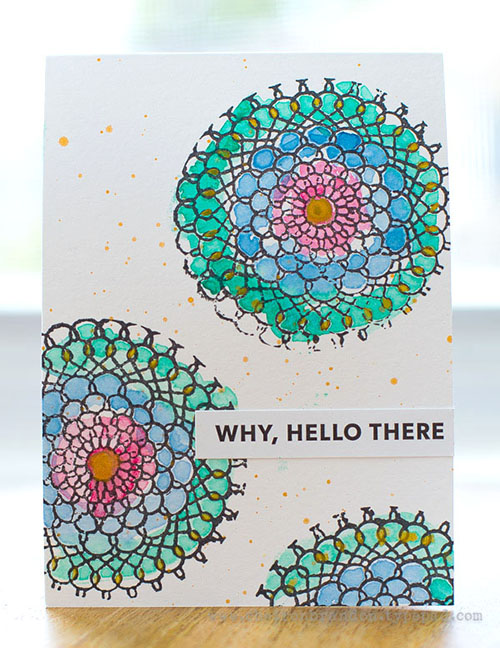
The second card was even easier…a few stamped images from the Kaffee Klatsch stamp set colored in with watercolors, and a little gold splatter and one simple sentiment sticker.
cheiron-why-hello-there-with-n_studio

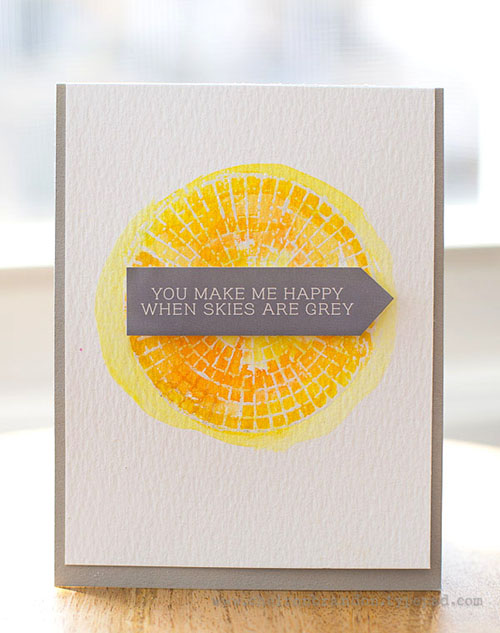
For the final card, I used a stamp from the Mish Mesh stamp set as a sunshine, and painted it loosely with watercolor, another sentiment and it’s good to go.
cheiron-you-make-me-happy-with-n_studio

I hope these cards remind you of why you got started with this hobby, and what initially brought you joy. I had so much fun making these quick cards and sharing them with you :)

—————————————————————————————————

I love Cheiron’s story of her “beginning” and the cards are simply beautiful.  I think everyone would like to be on her mailing list!

In addition to washi tape and various word stickers from her stash, Cheiron used the supplies listed below (some are affiliate links):
SuppliesCJS

Maybe you will even play along with us -I would love to see how you interpret our monthly themes. Email me how you used my stencils and stamps with the theme and email me an image – I would love to share your projects in my next “n*Spiration From Around the Globe“.

See you next Tuesday for another project from the Creative Squad!
Comments (2)

  • ,Mary Holshouser

    |

    Love the card with the XXXXX
    I have that stamps and will be using that
    idea.
    A pretty, colorful card.
    thanks for sharing.

    Reply

  • Brenda

    |

    These cards are so colorful. Makes me want to go make some. Did you emboss in white on the last card?

    Reply

Leave a comment

Elephants Never Forget – Cheiron Brandon

CS May Elephants Never Forget

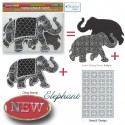
It’s Tuesday and time for my Creative Squad to share a project with you with this month’s theme: “Elephants Never Forget”. Throughout the month of May, the team will use my new Elephant Foam Stamp, Rubber Stamp and Stencil Set to interpret the theme. I asked them to draw from a childhood memory, and to use the elephant as a symbol of something that fascinated them as a child, inspired awe, or just got their little brain all wrapped up with wonder. And if you want to hear a little bit about my childhood, you can read about my personal connection to elephants here (just scroll down to “WHY an elephant…”)

Today we have a card design by Cheiron Brandon. She shares a very sweet memory and a wonderful card project with a fun inking method that I know you will all enjoy!
—————————————————————————————————

Cheiron May Headshot

Ever since I was a little girl, I have been obsessed with pens and stationery. I remember going shopping with my dad at the office supply or card store, and getting to pick out special stationery to write letters to my great Grandmother on. We called her GaGa and I used to send letters back and forth with her. I sure wish I still had some of those letters today.

I fondly remember picking out one stationery set that came in a cardboard box with a lid that contained writing paper, matching envelopes and a special pen…all in my favorite color, rainbow! I did not let ANYONE touch that stationery box and the only person who got a special letter on it was my GaGa.

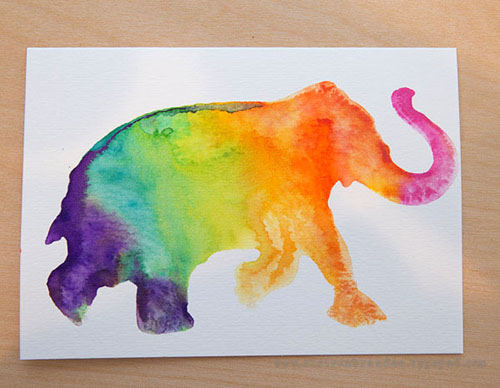
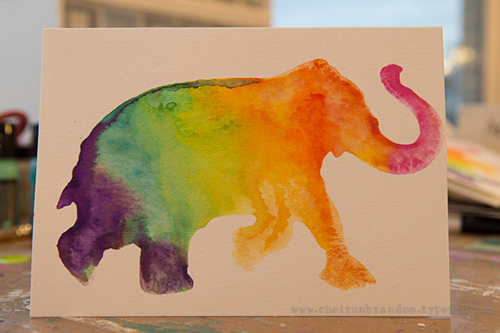
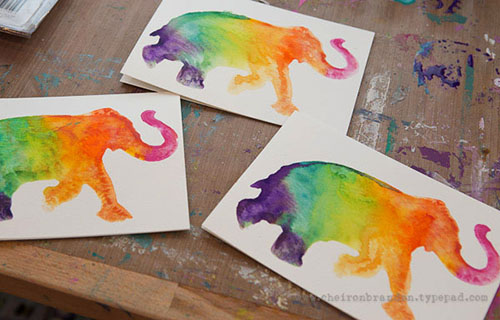
I still am fascinated with anything rainbow colored and love bright colors. This month I am restocking my stationery stash with some notecards featuring rainbow elephants. I am going to keep a bunch of these on hand, and I will definitely share them this time. I left them blank so I always have a card for any occasion and I can add a sentiment as I use them.

cheiron_elephant card 1

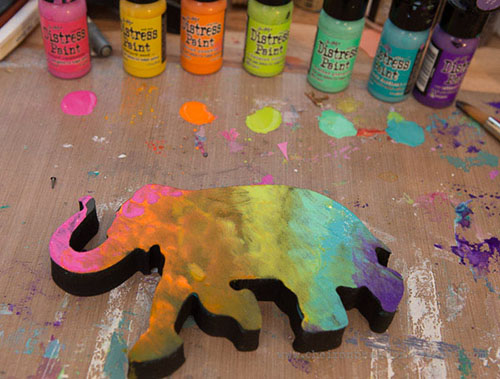
To make my card, I used the big elephant solid foam stamp from the Elephant Stamp & Stencil Set. I used a paint brush to paint Distress Paints onto the stamp, then sprayed it with water and stamped it onto a watercolor notecard. I got 2-3 stamped images for each time I painted the stamp.

cheiron_elephant card 2

I got so wrapped up making rainbow elephants, that I have a dozen of these. I can’t wait to send out happy elephant mail! Each one is a bit different, but so vibrant.

cheiron_elephant card 3

I hope you are inspired to make some stationery of your own. And please remember to share it :)

cheiron_elephant card 4

—————————————————————————————————

I love Cheiron’s herd of rainbow elephant cards and am so happy she shared the design with us! I think anyone on the receiving end of one of these will definitely be smiling.

SuppliesCJS

And maybe you will even play along -we would love to see how you interpret the theme. Email me how you used my stencils and stamps with the theme and email me an image – I would love to share what you did at the end of the month!

See you next Tuesday for the another project from the Creative Squad, with the theme Elephants Never Forget.

Also, the winners of the Stampendous blog hop have been announced! Thank you to all who participated and find out who the winners are here!
Comments (2)

  • Joi@RR

    |

    Heheheheh – totally ADORE your rainbow elephants Cheiron. I am smiling big. You made my day!! j.
    Reply

  • Michelle Rydell

    |

    Your rainbow elephants are gorgeous Cheiron! Those vibrant colors are so happy-making! Now I want to go make some rainbow cards too!

    Reply

Leave a comment