Creative Squad

Feel the Rhythm – Marsha Valk

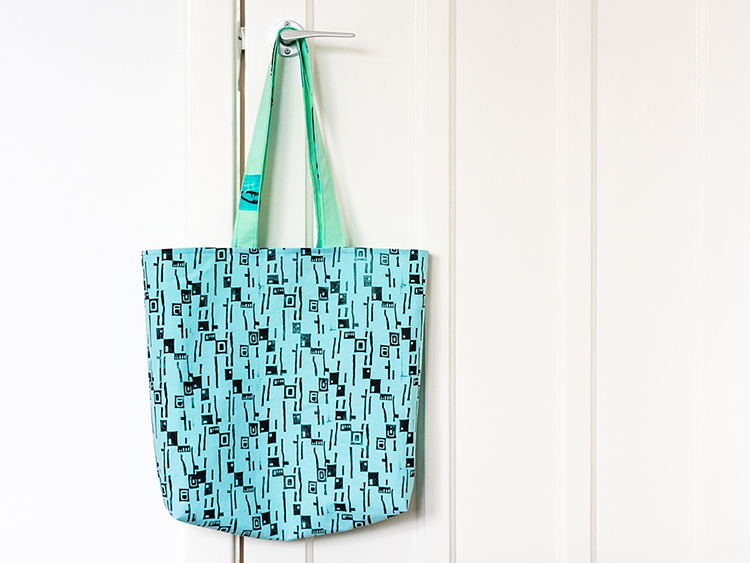
Here’s a post from my Creative Squad! Today we have Marsha Valk back with us again for another round of fun. Welcome back! Marsha is using my Mid Century Squared, Neato, Funky, Gnarly, Groovy, Jazzed and Far Out foam stamps for this awesome tote… and our theme for April: Feel the Rhythm – We’re thinking about patterns this month and using stamps to create a rhythm of marks. Show us your sense of rhythm!


I remember that when I saw Nat’s new stamp designs for ArtFoamies I immediately thought of stamping them on fabric. So that’s what I did!

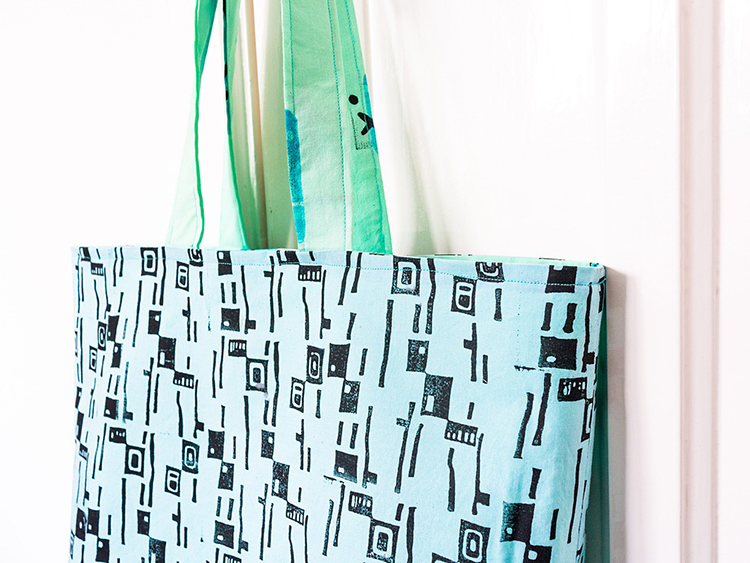
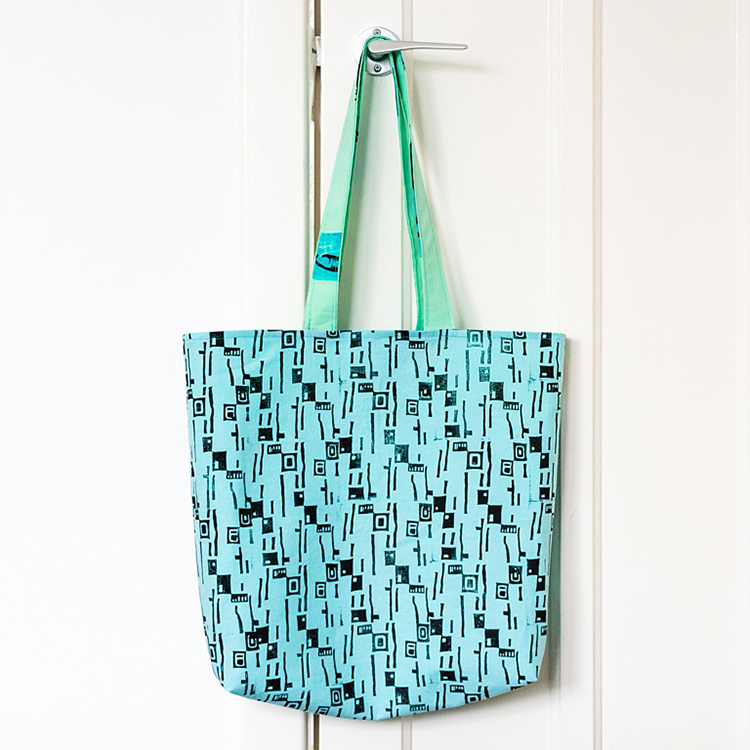
When it comes to stamping fabric designs, I always like to think about what I want to do with the fabric. This time I thought it would be cool to try and sew a simple tote bag.

You can find tons and tons of great sewing tutorials on YouTube these days. So what I tend to do is to look for a tutorial that matches my sewing skills, gather all the materials and then go from there.

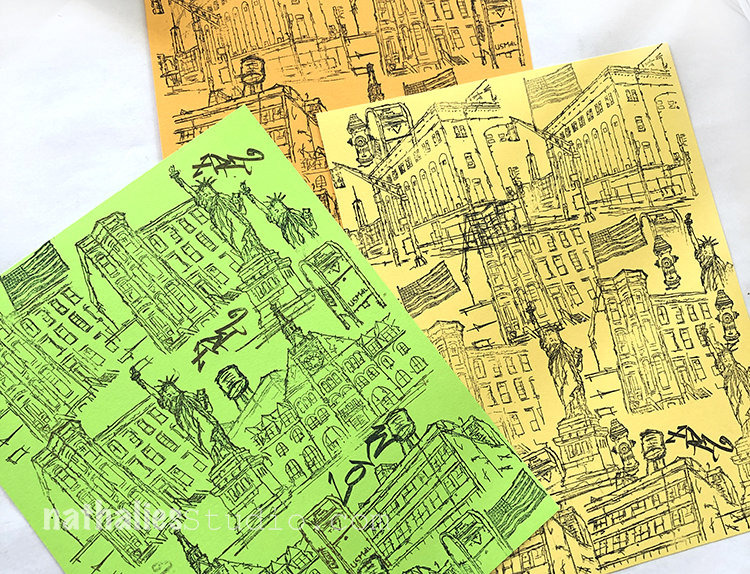
For the tote bag pattern I chose, I needed two different fabric designs, so I bought two slightly different colours of cotton fabric.

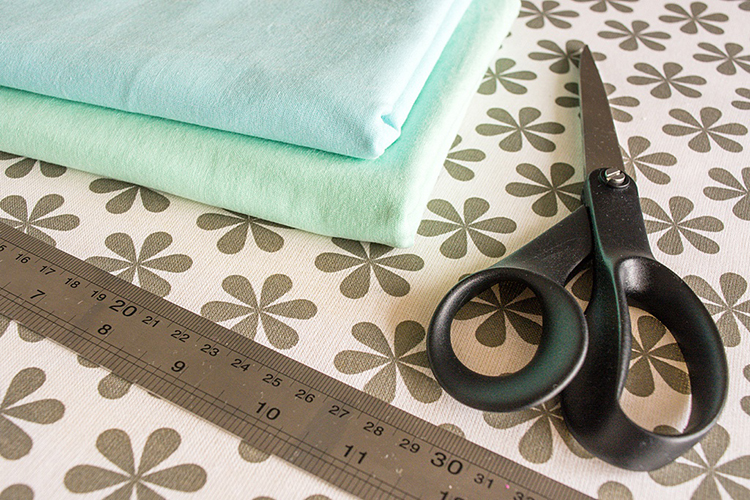
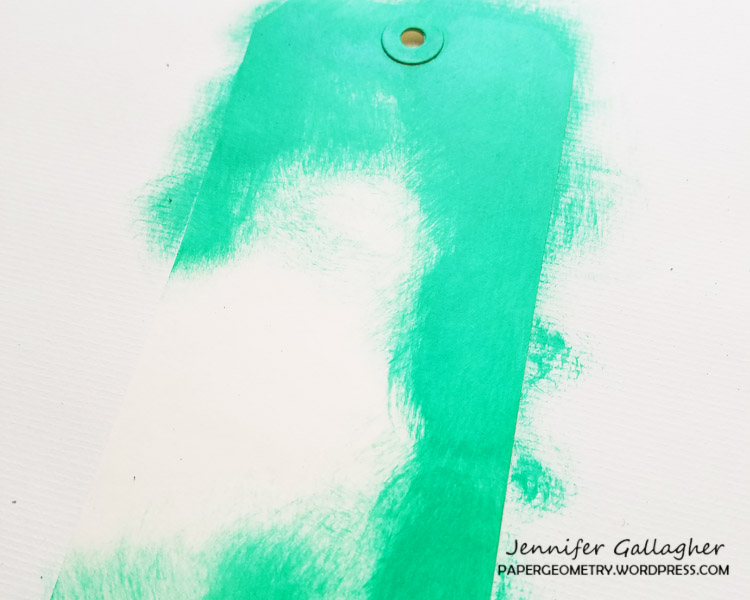
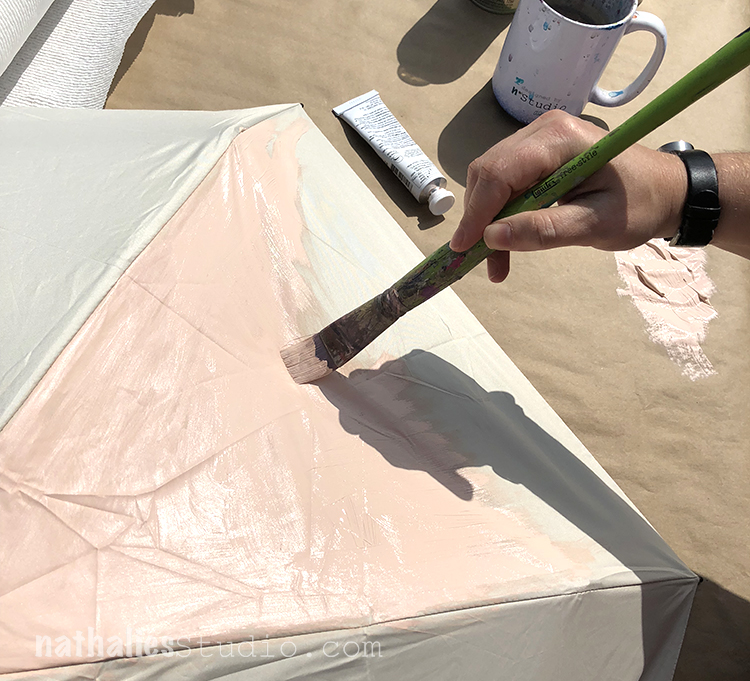
Step 1 Pre-wash and iron the fabric before printing. The paint will grab the cotton fibres a lot better when all the sizing is washed out.   

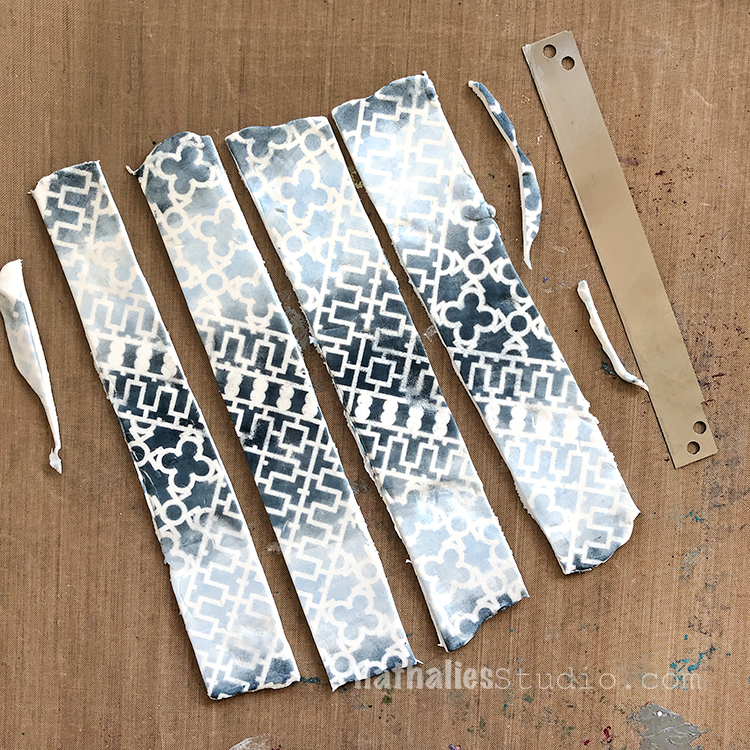
If you already know what you are going to make with the fabric once it’s printed, you can cut it to the sizes needed for your project at this point. 

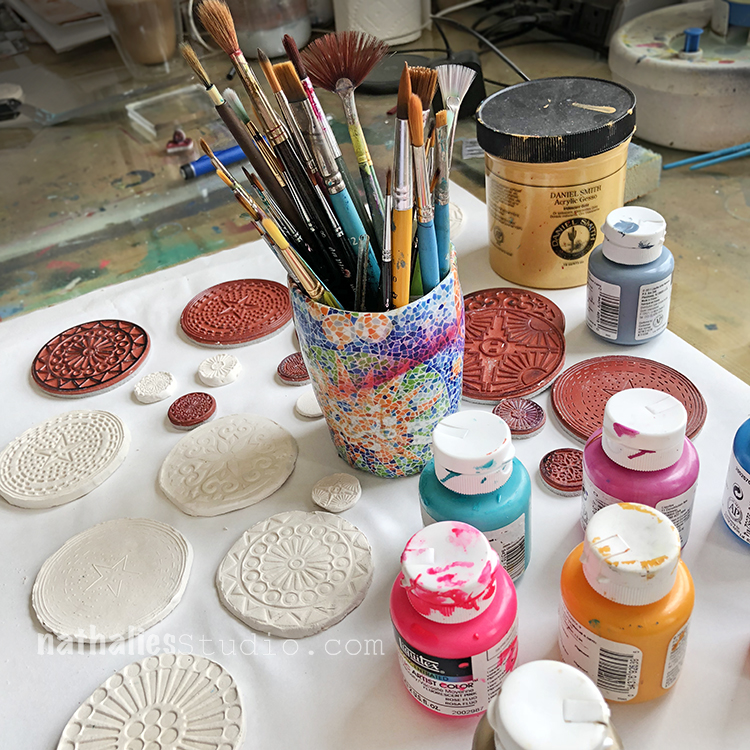
Step 2  Set up your printing station. Protect your work surface if needed. The paint usually seeps through the fabric onto the underlying surface, so make sure you can easily wipe it clean.

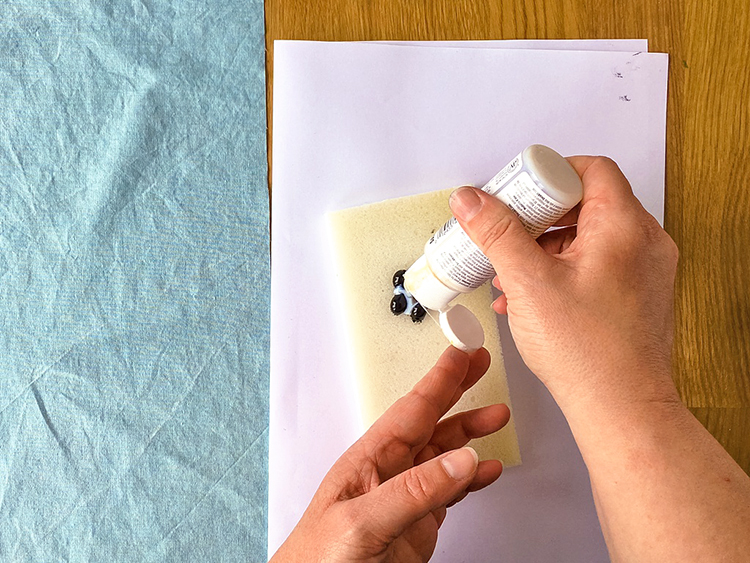
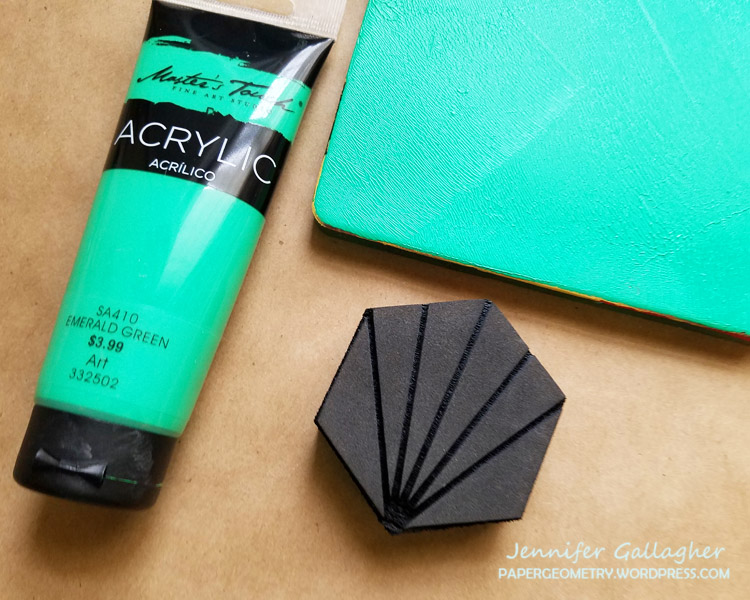
Choose the paint colours you want to use. Limit your colour palette to a maximum of two colours plus a neutral. 

You can use regular acrylic paint to print on fabric, but if you want it to be washable, you’ll need to use fabric paint or acrylic paint mixed with a fabric medium.  

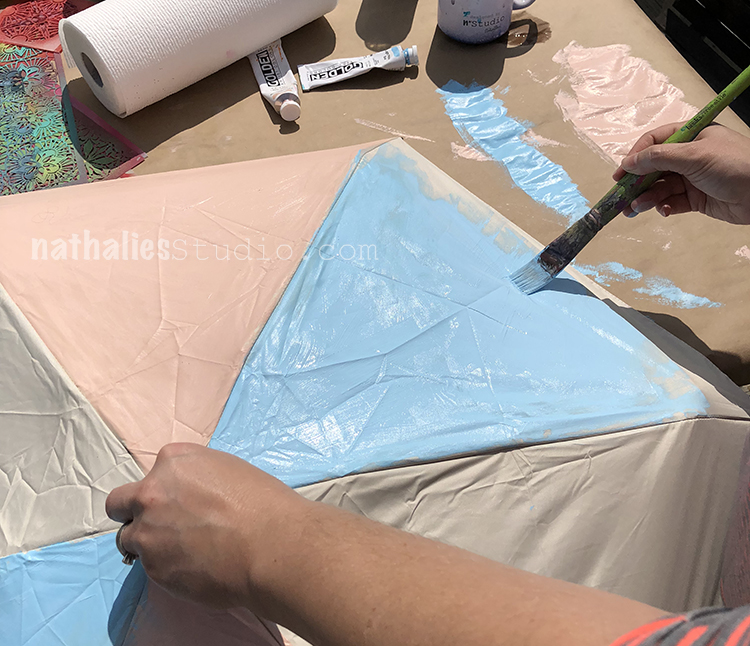
Follow the instructions on the packaging to make sure you are mixing the correct amount of paint/medium for the best result. 

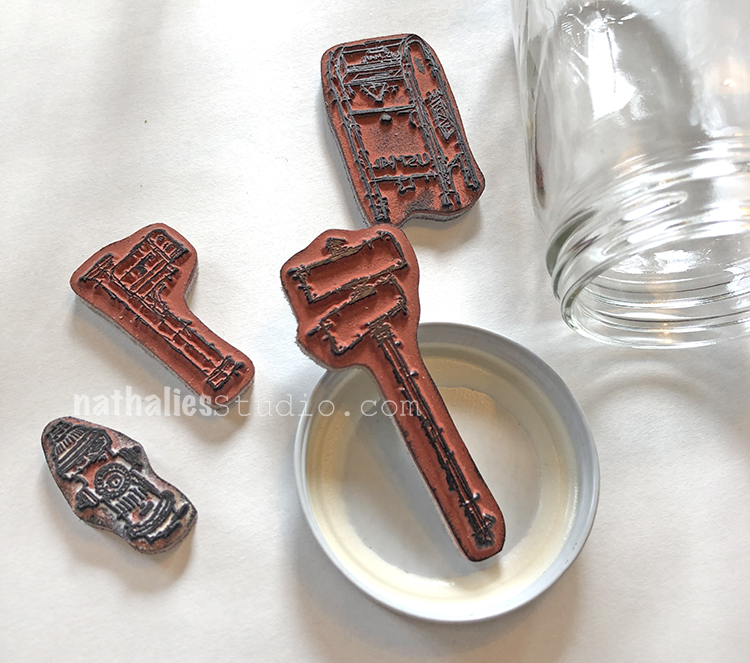
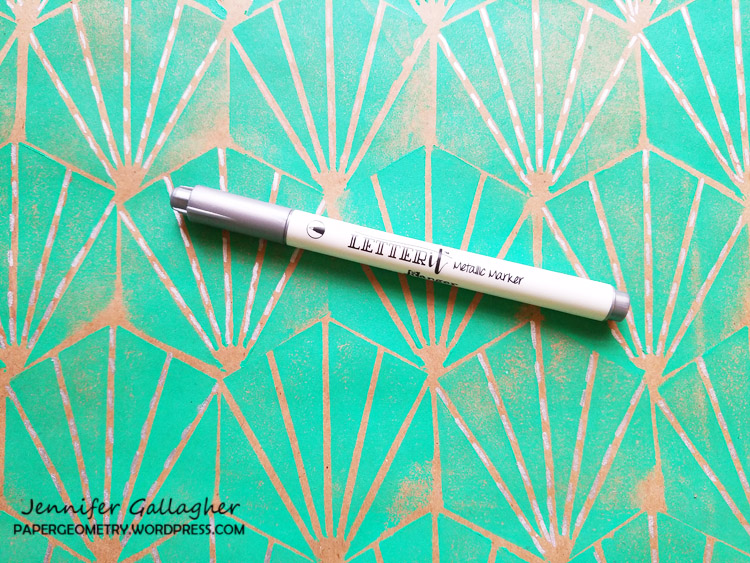
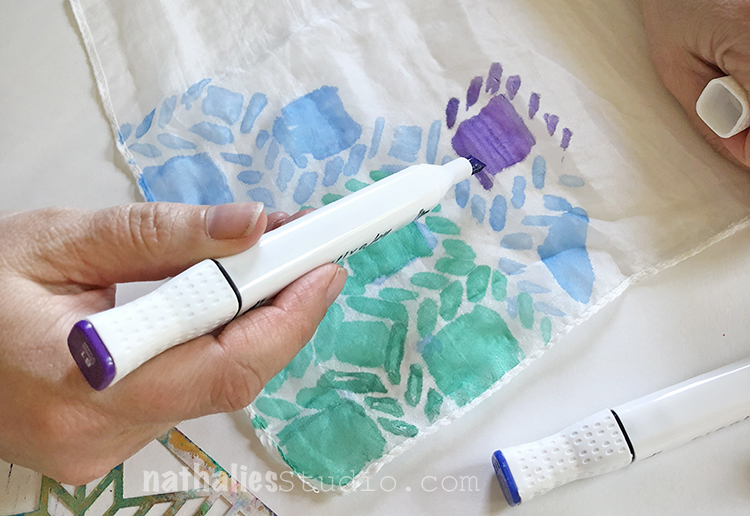
I’m using acrylic paint mixed with a fabric medium. You can mix it on an inking palette and use a brayer to apply the paint to your foam stamps or you can create a custom stamp pad using an ArtFoamies StampBuddy. 

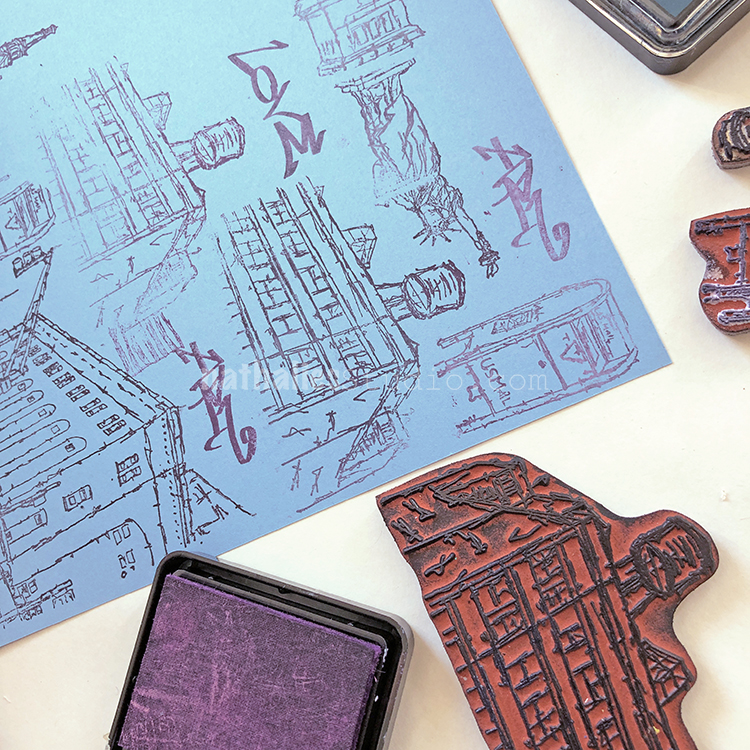
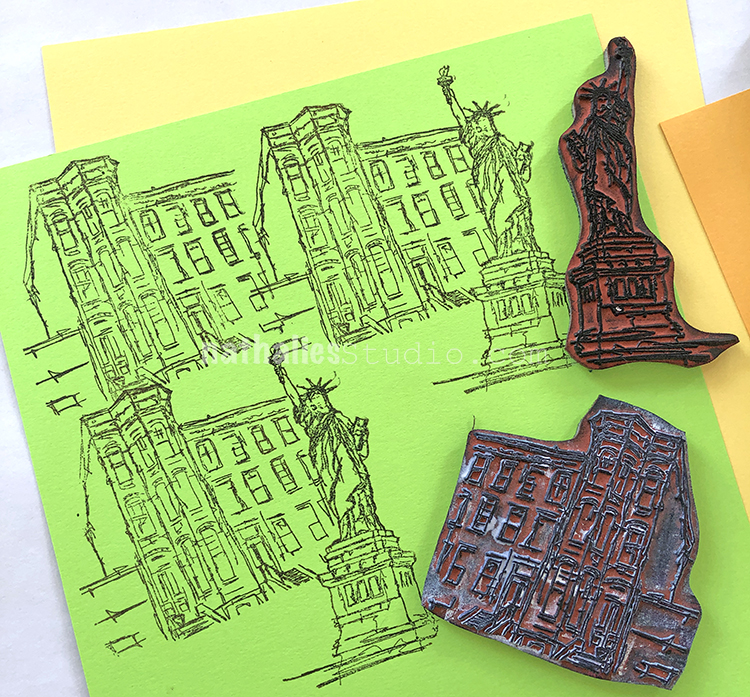
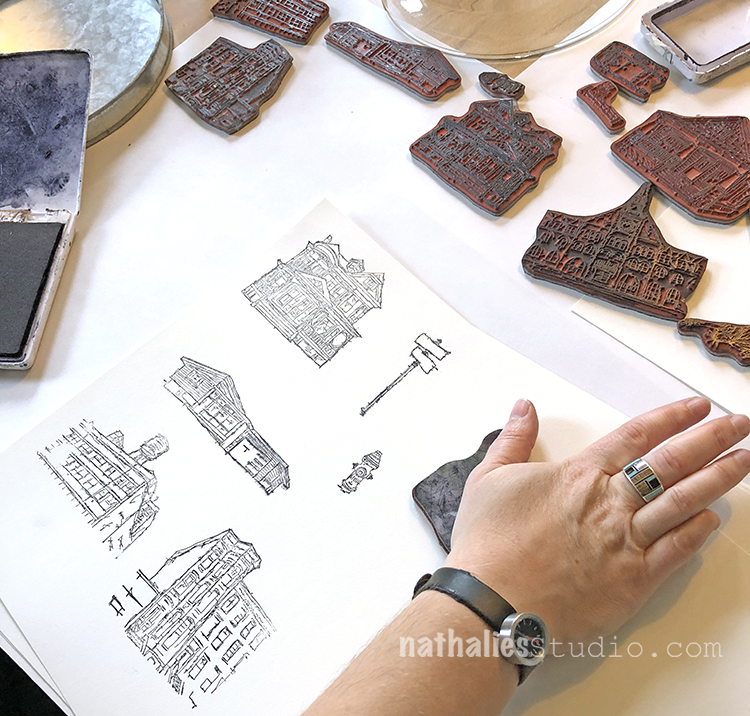
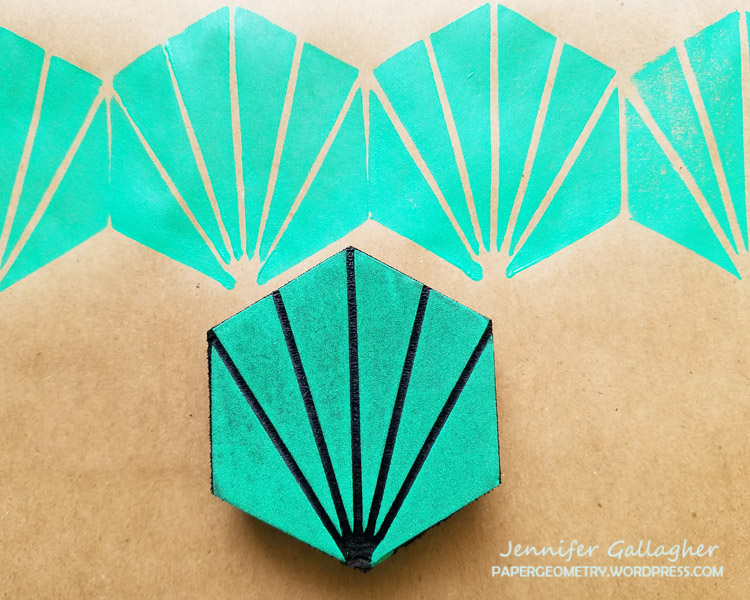
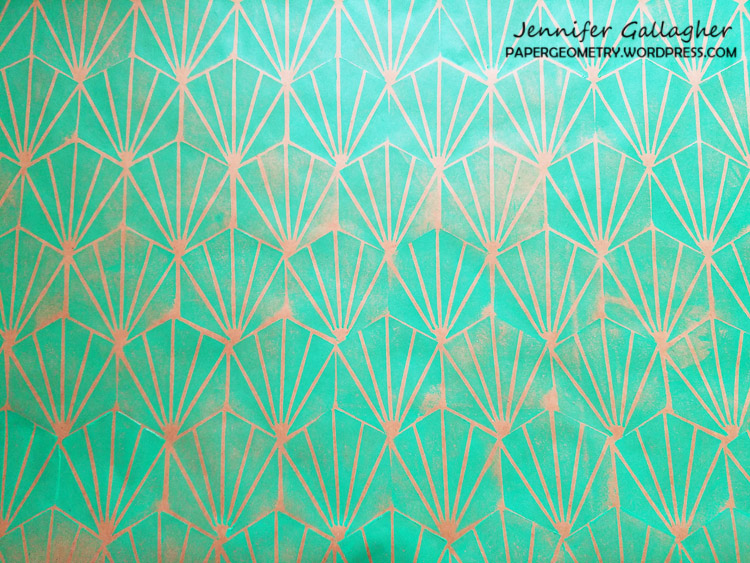
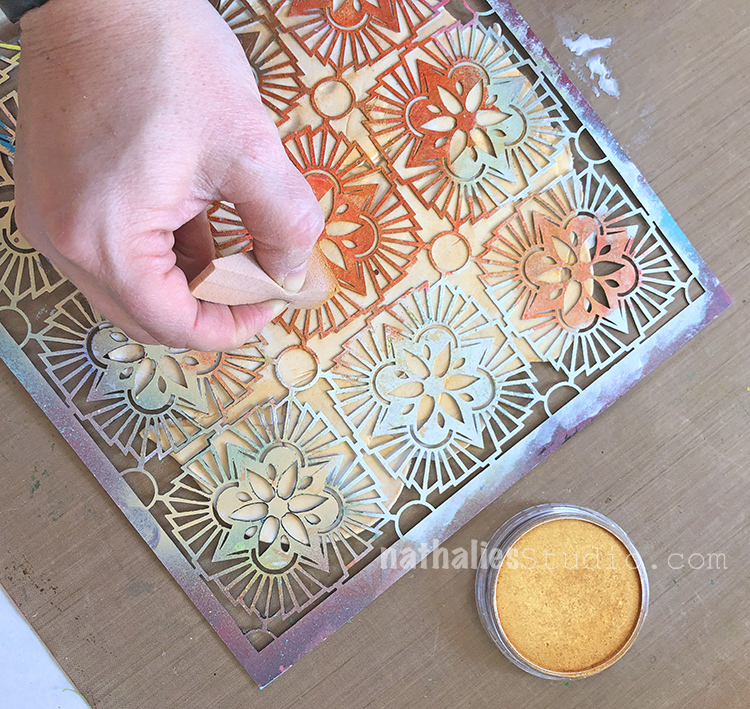
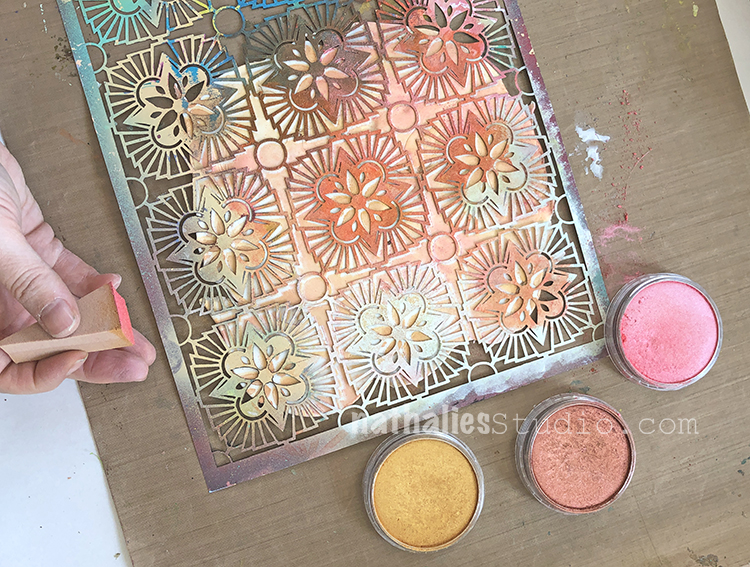
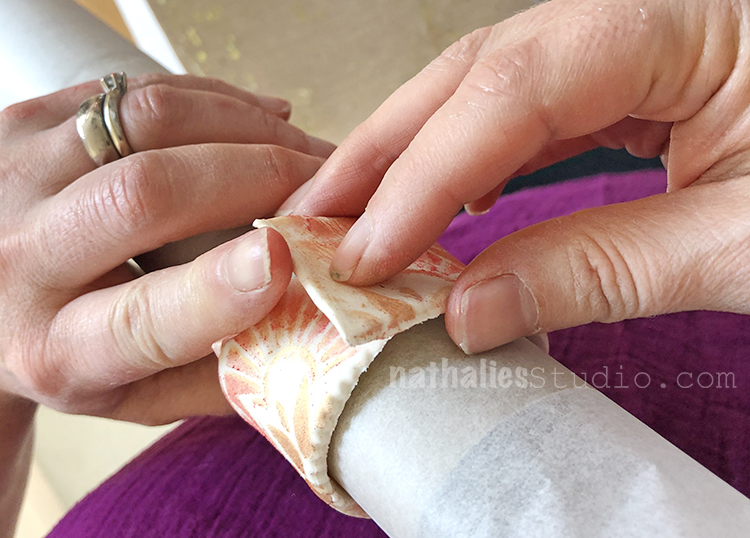
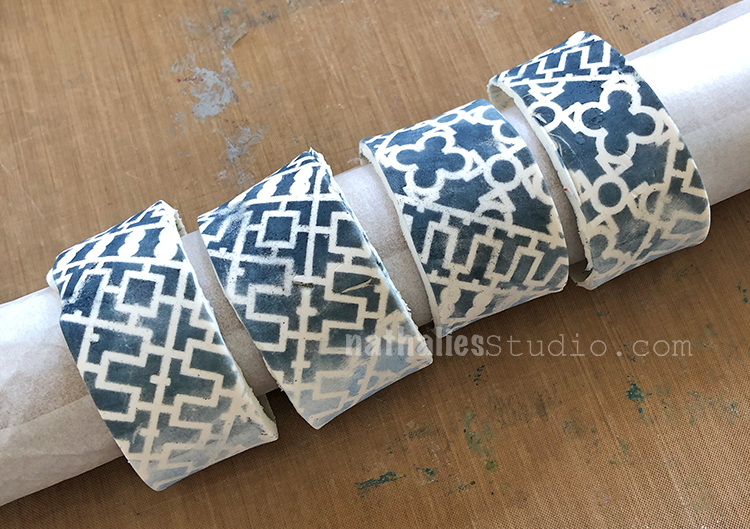
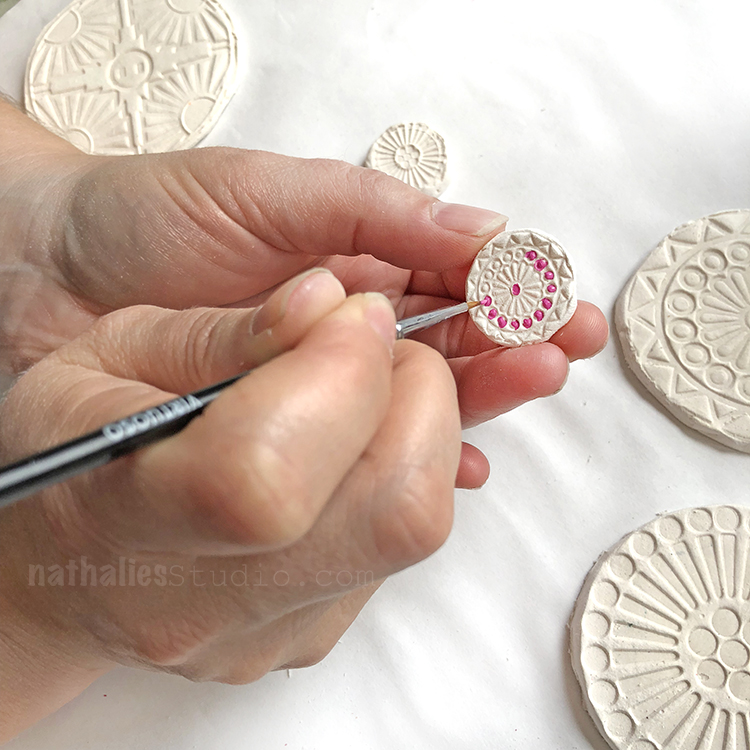
Step 3 Start stamping!

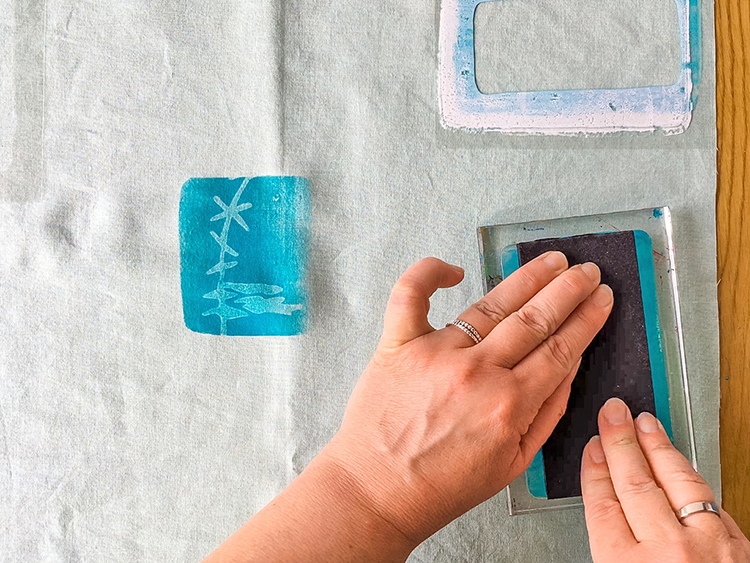
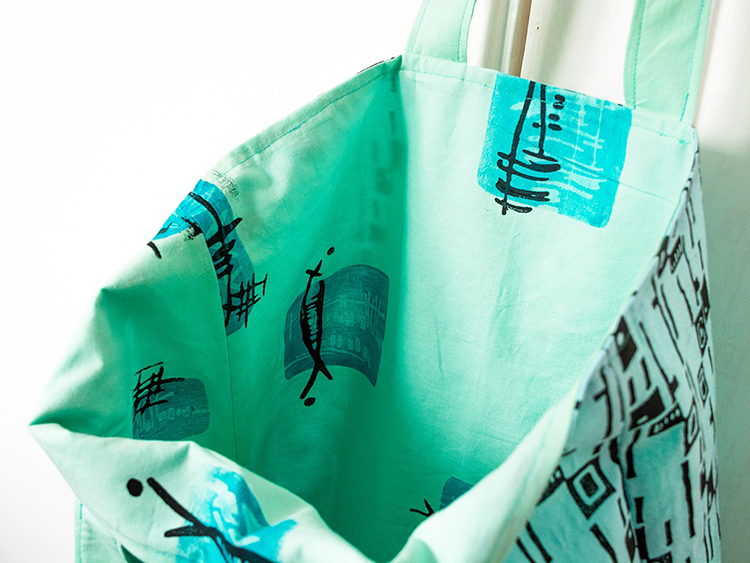
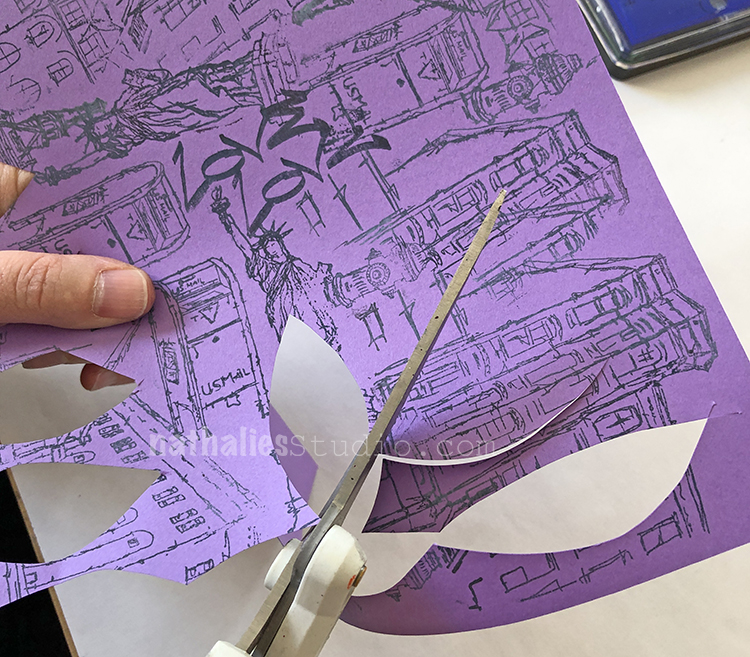
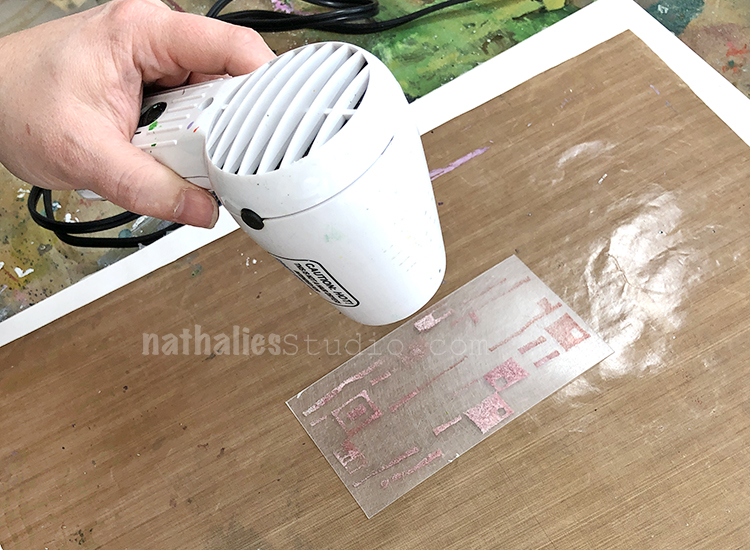
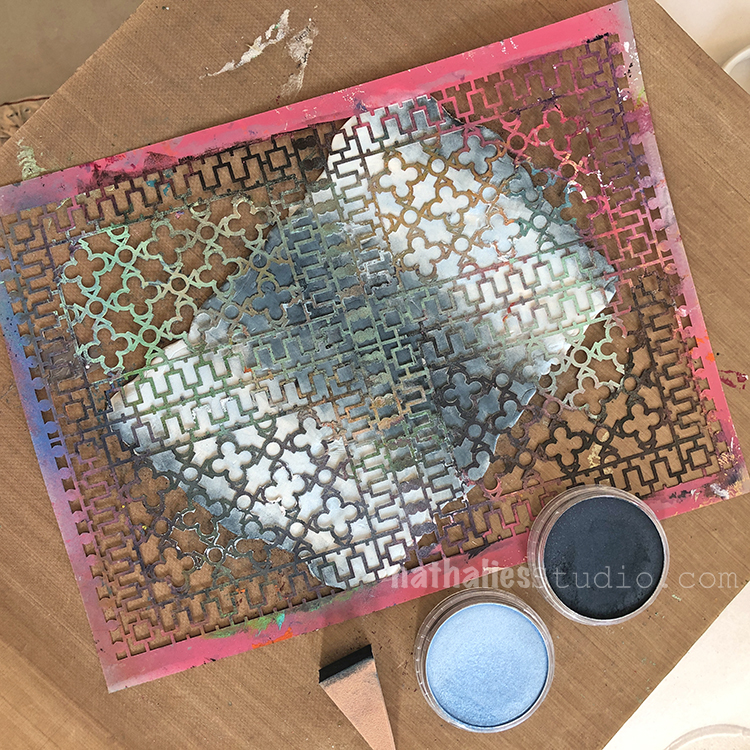
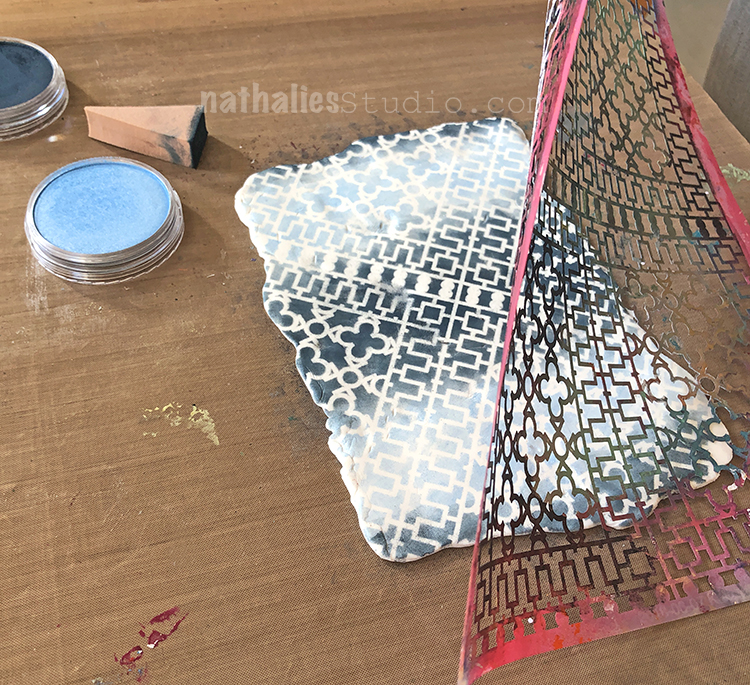
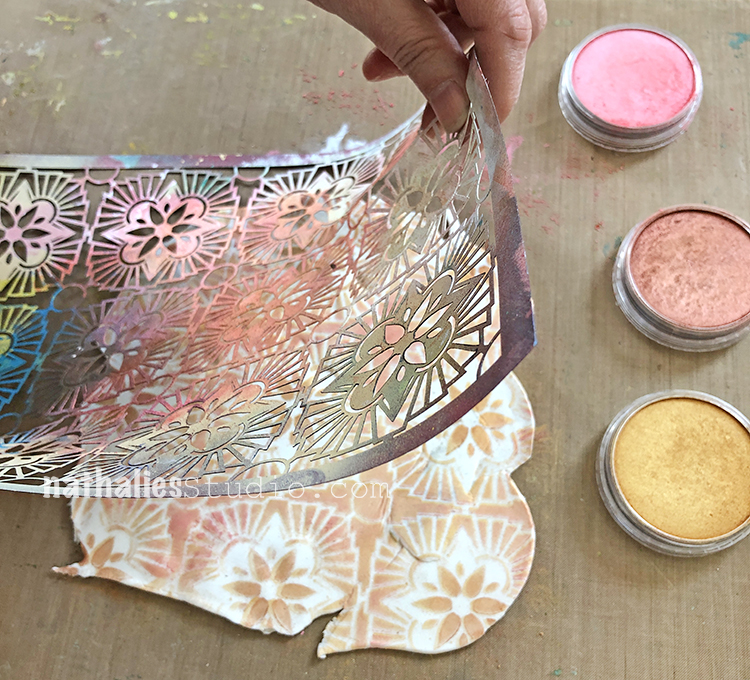
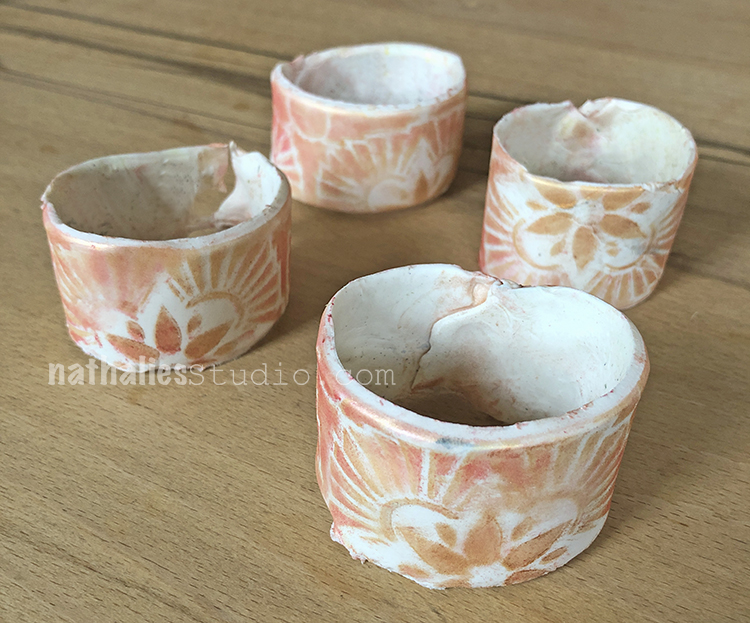
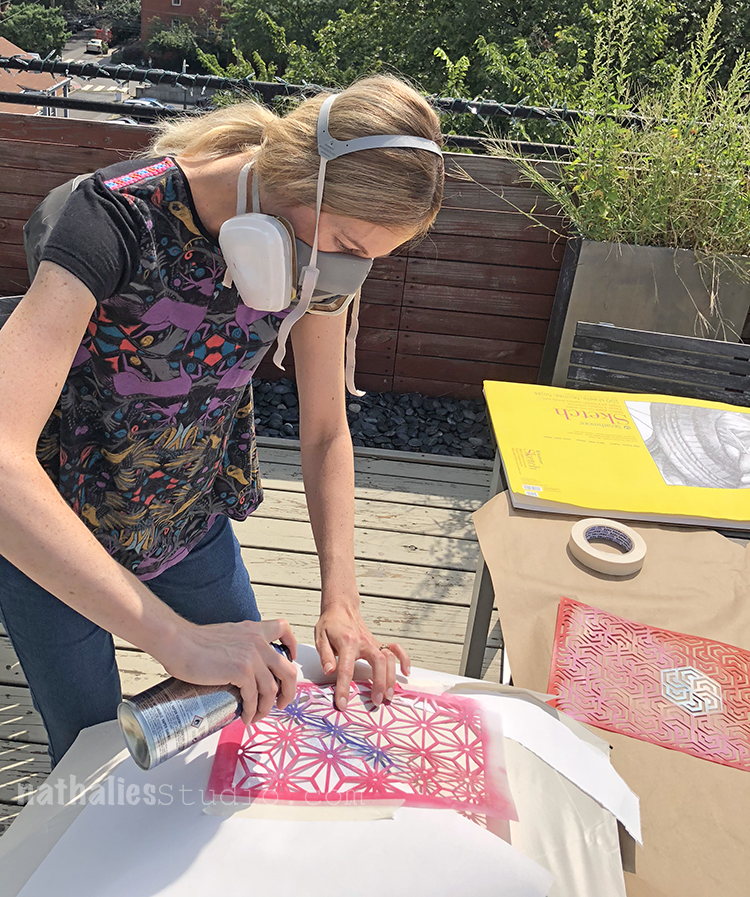
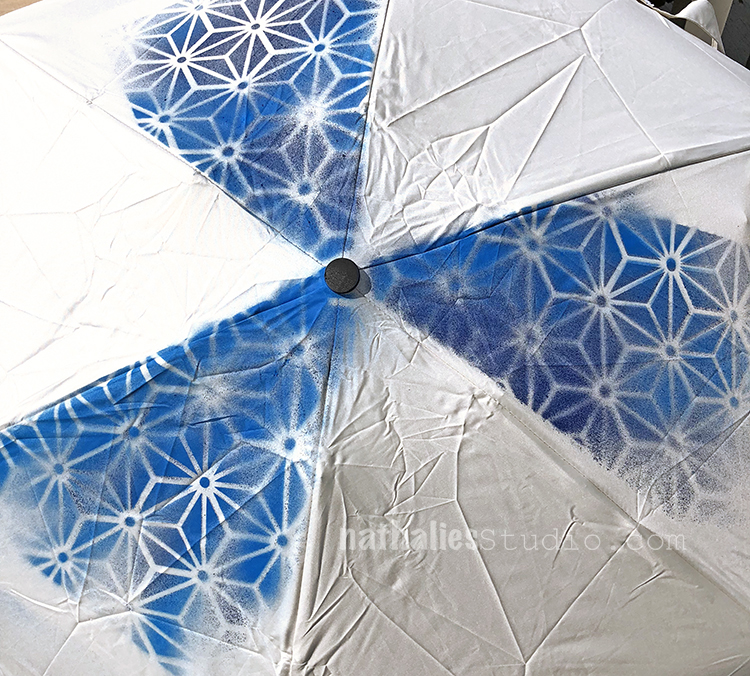
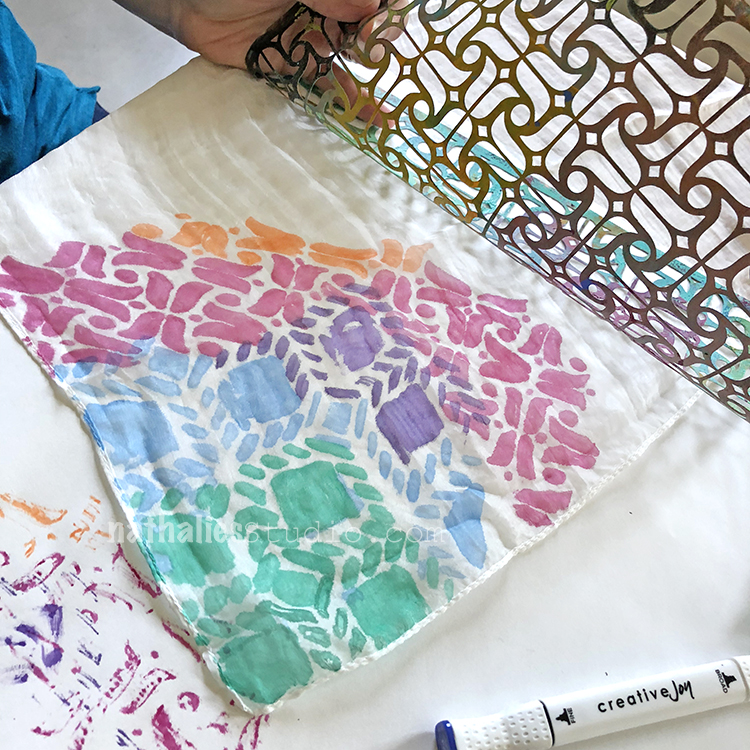
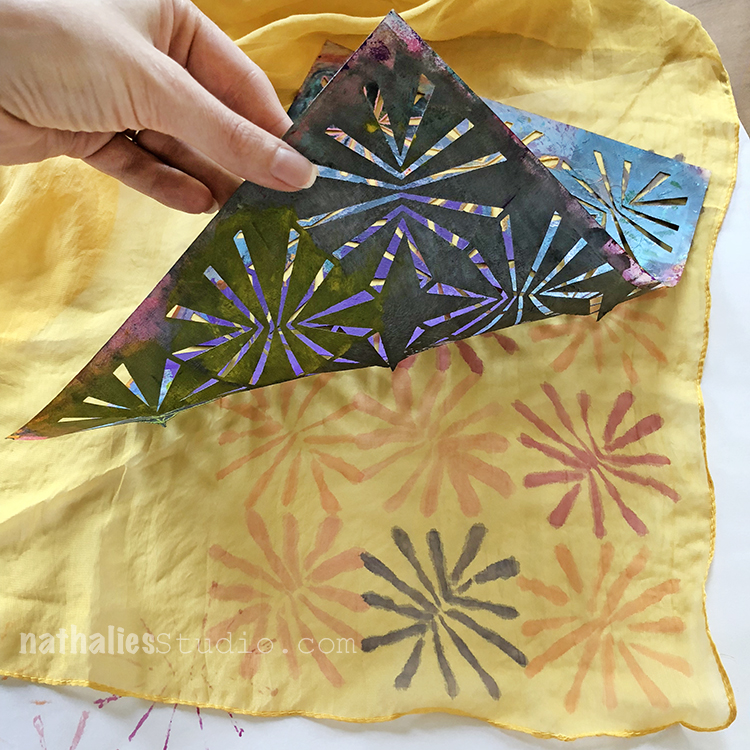
Step 4 For my second fabric design I also used one of my smaller gel printing plates to print with.

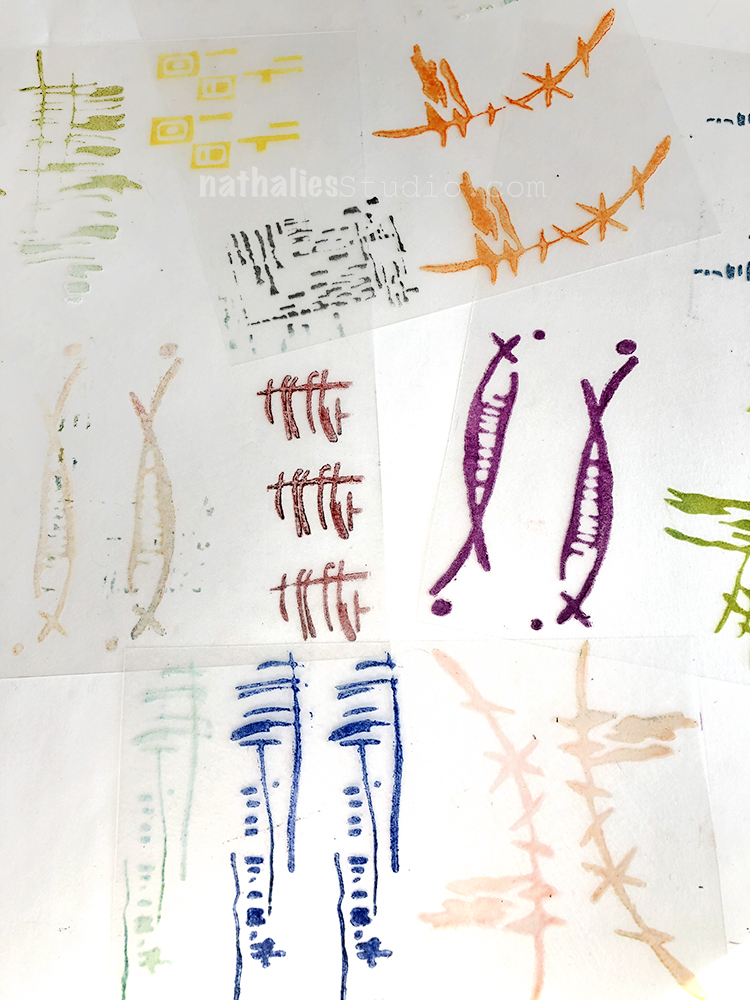
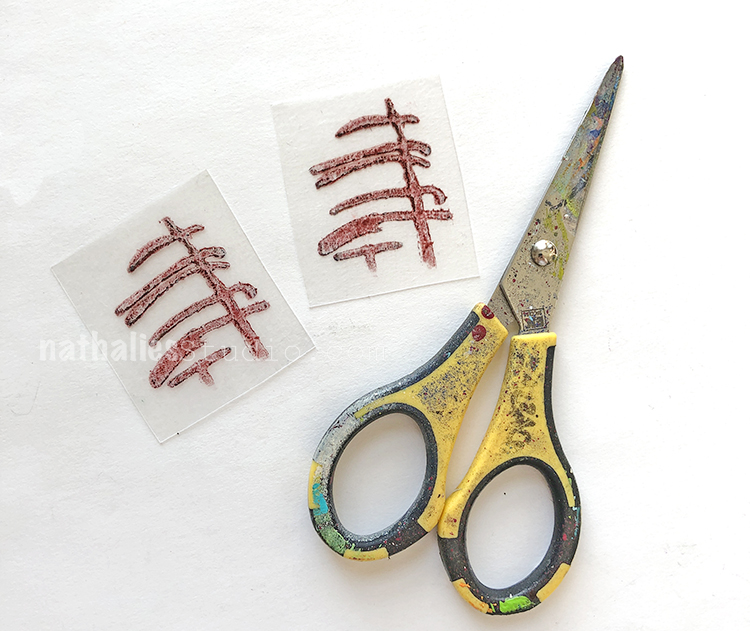
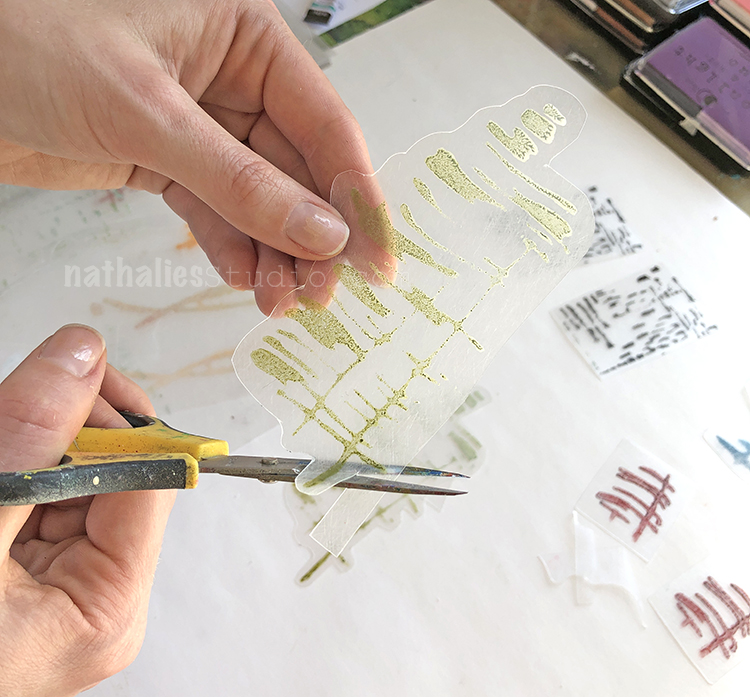
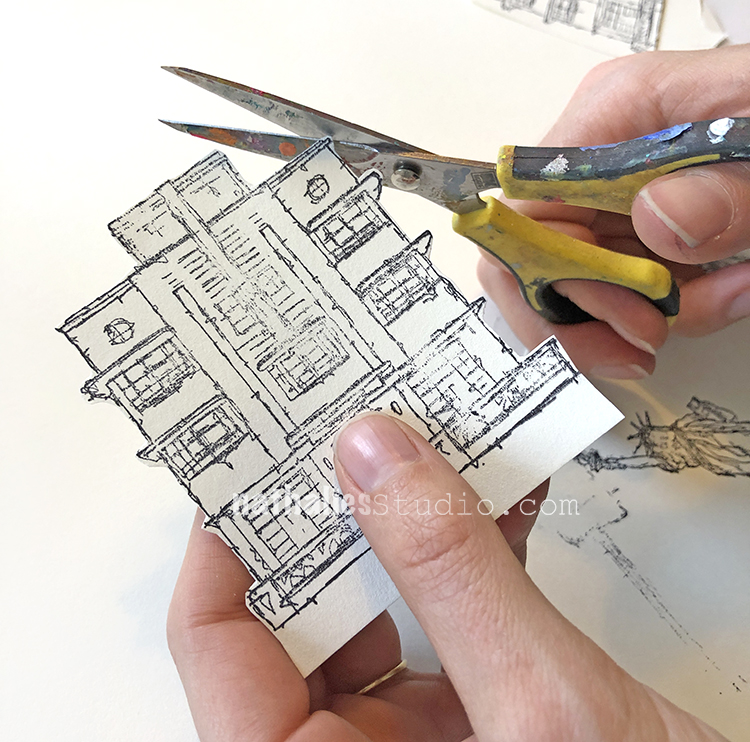
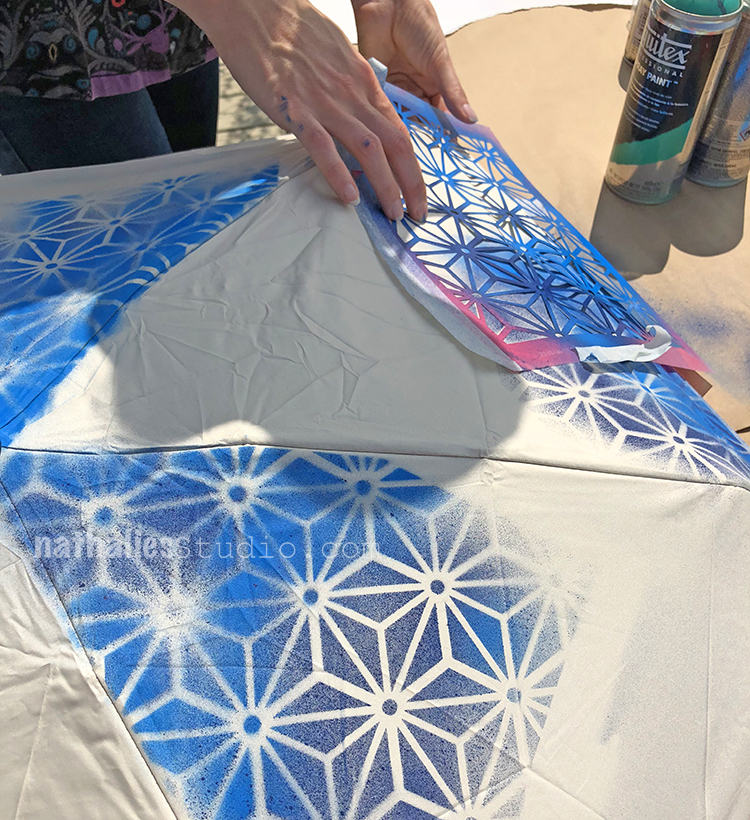
First I handcut three stencils from transparencies slightly larger than the gel printing plate and I placed the stencils on my fabric to help me determine the pattern I wanted to print.

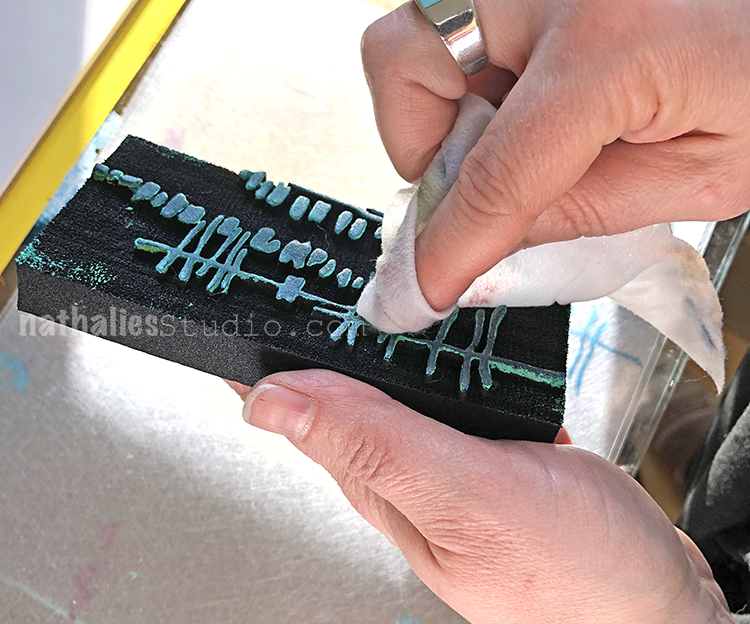
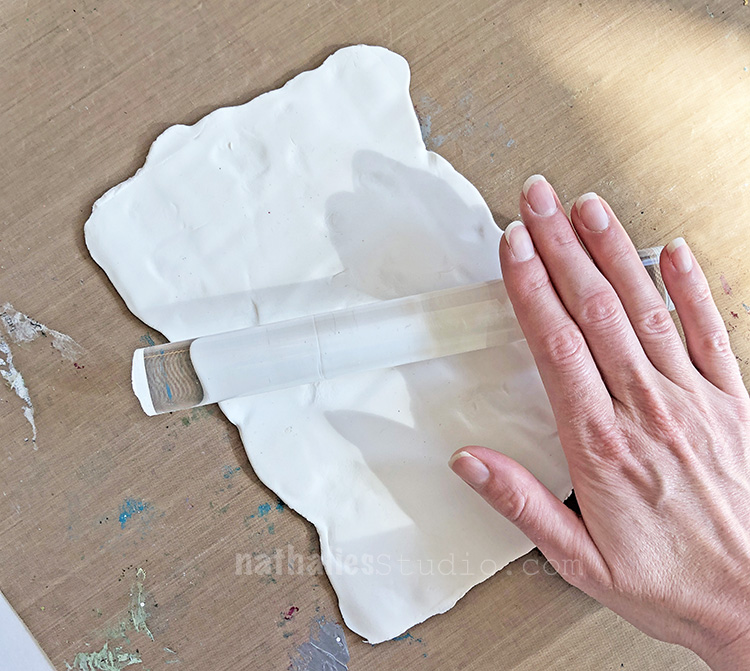
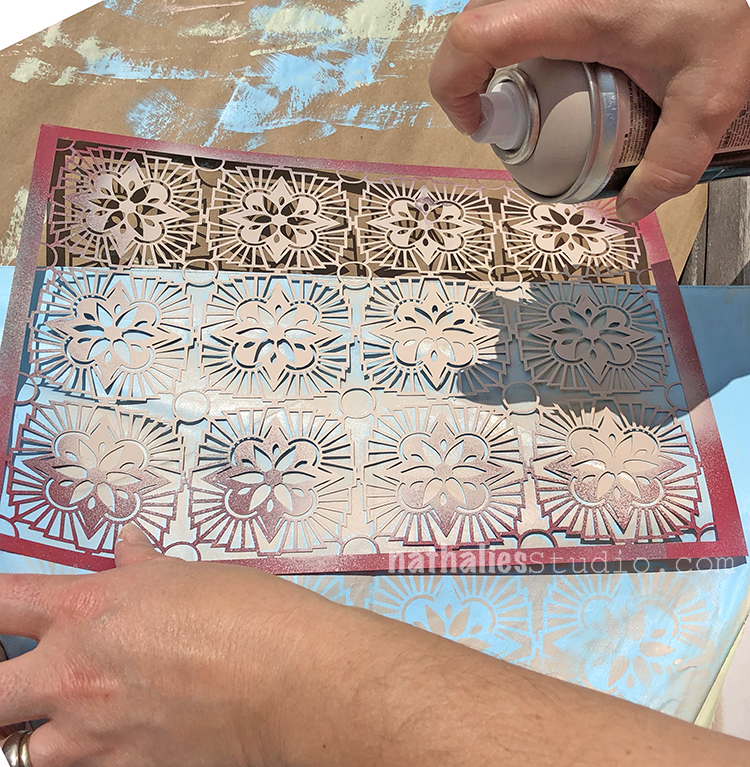
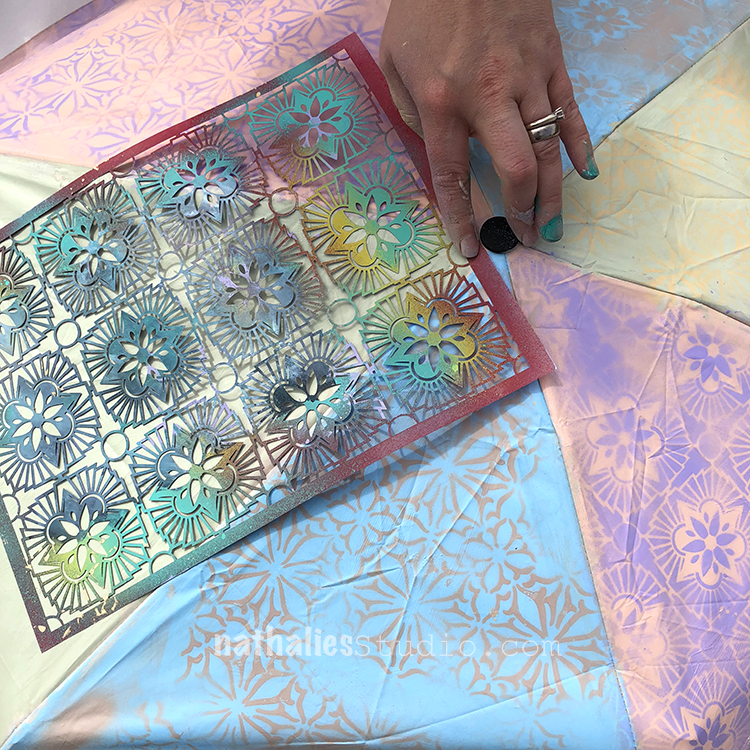
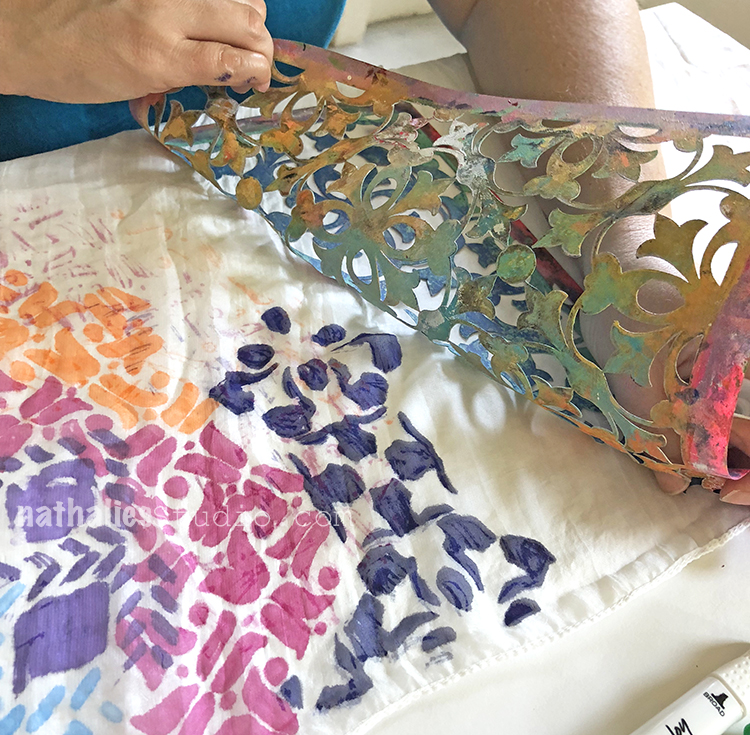
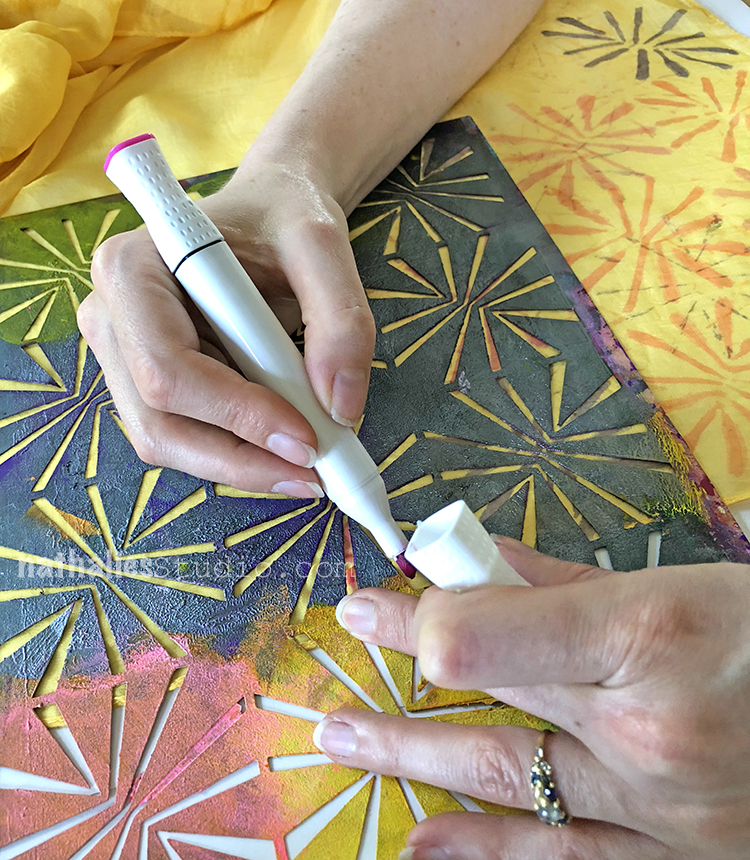
Cover the brayer with paint and then roll the paint out over the gel printing plate. 

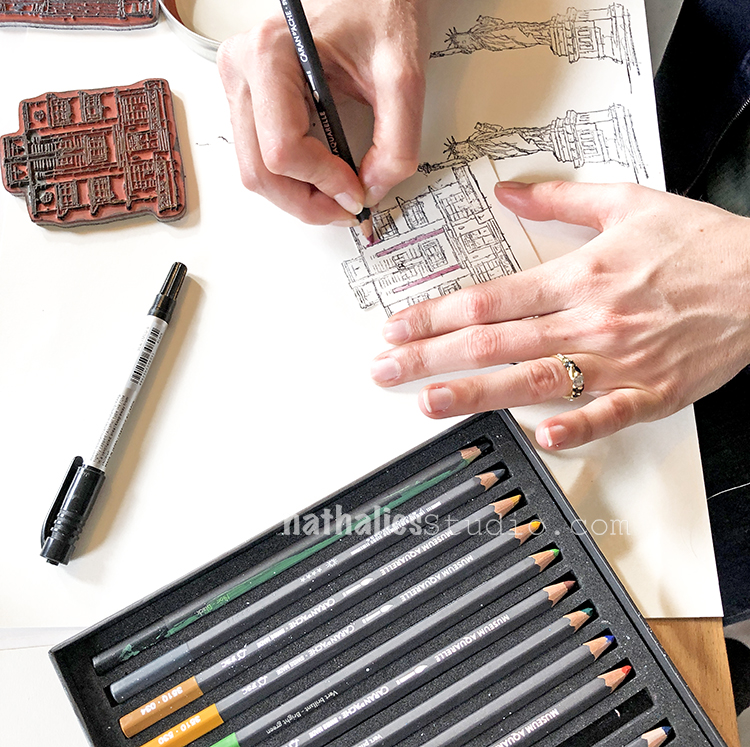
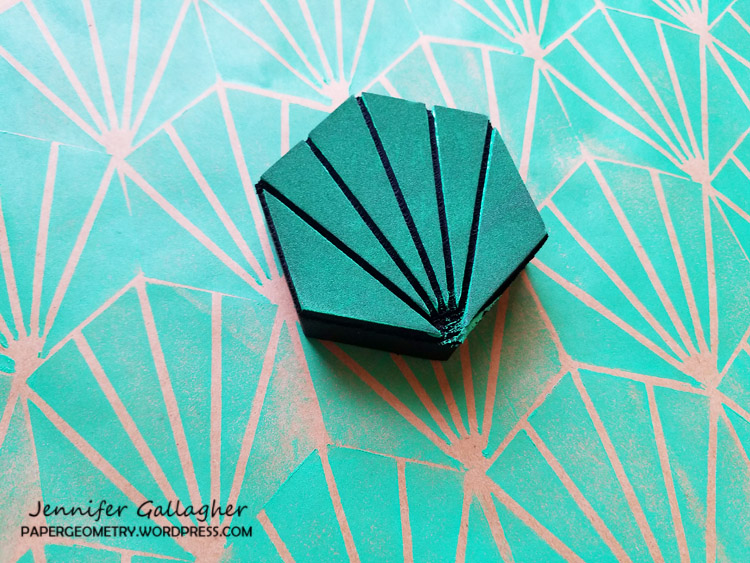
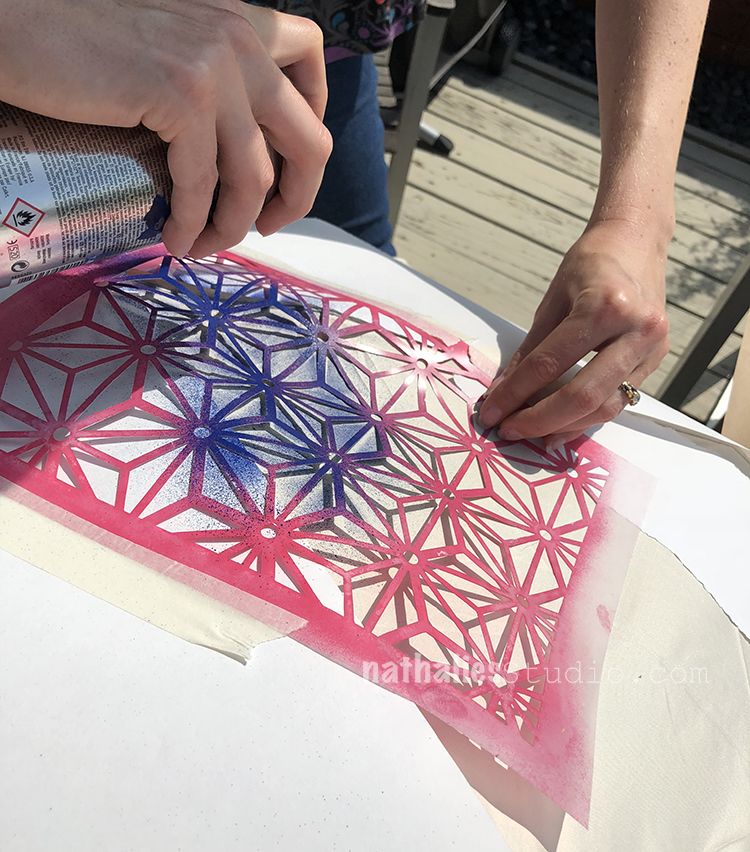
Take a foam stamp and stamp it into the paint. Here I am using Nat’s Groovy stamp.

Press the gel printing plate paint-side down onto the fabric on top of the stencil. Lift up the gel printing plate. 

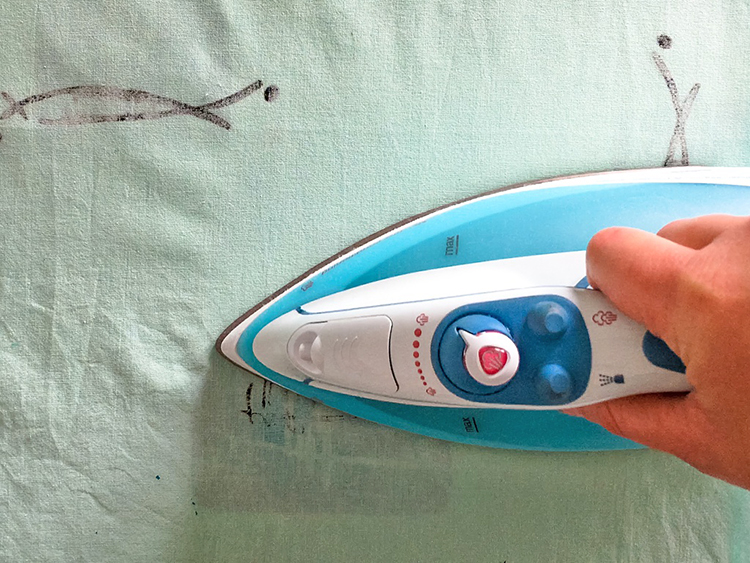
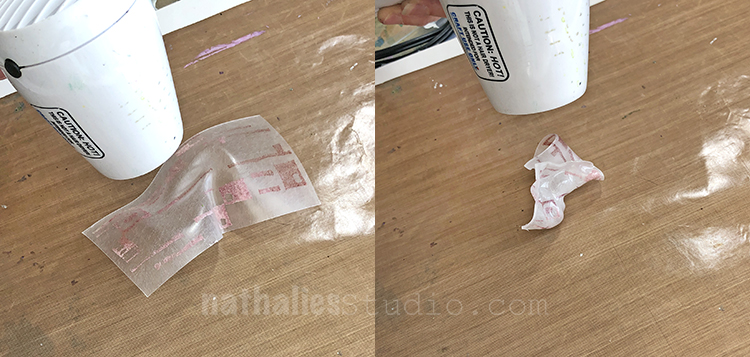
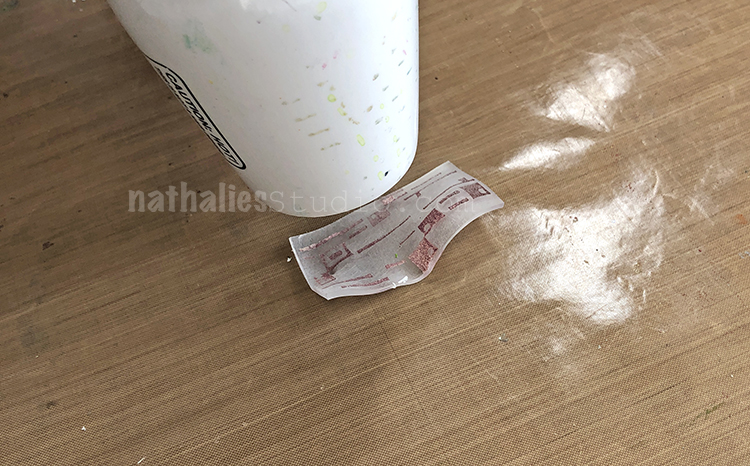
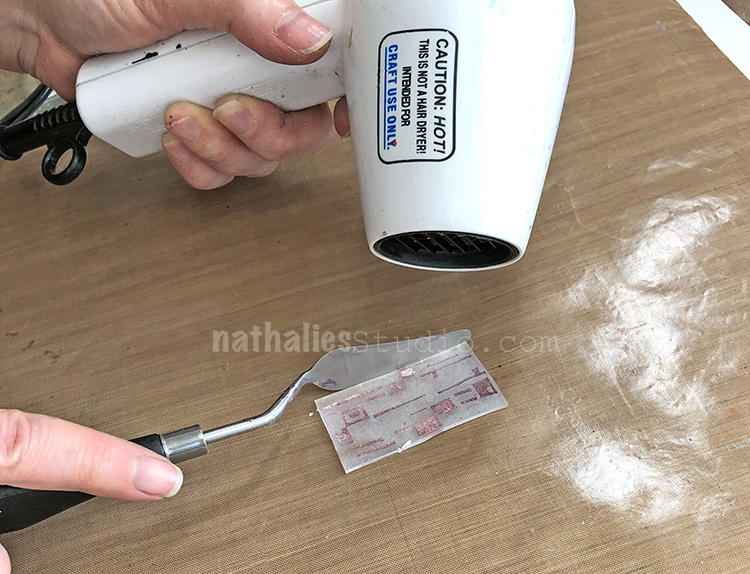
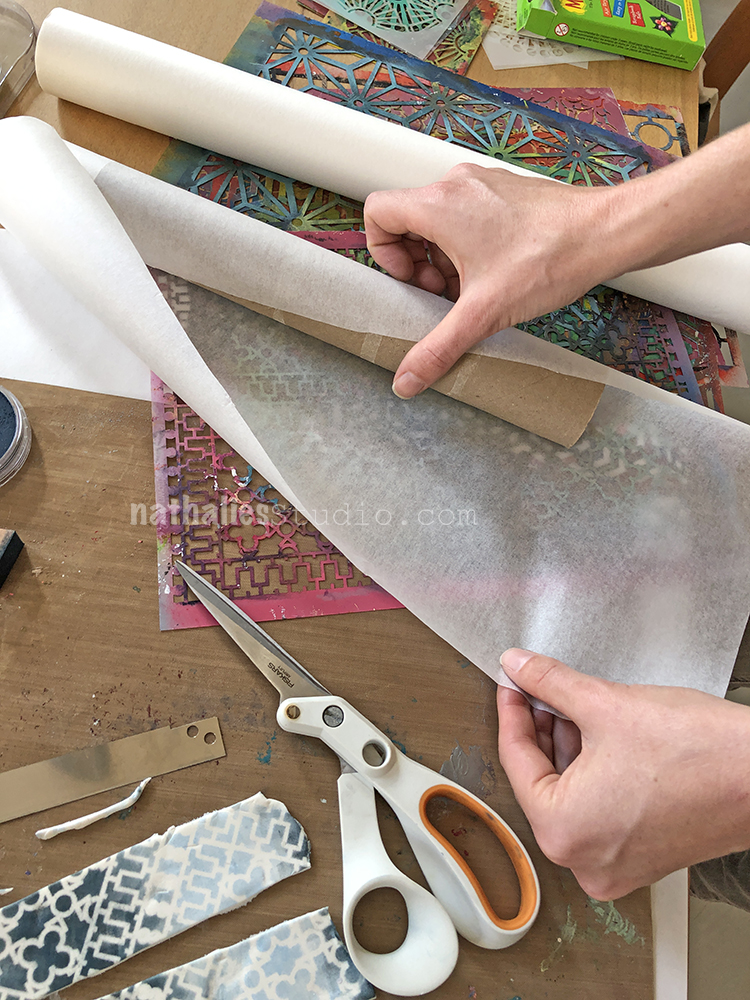
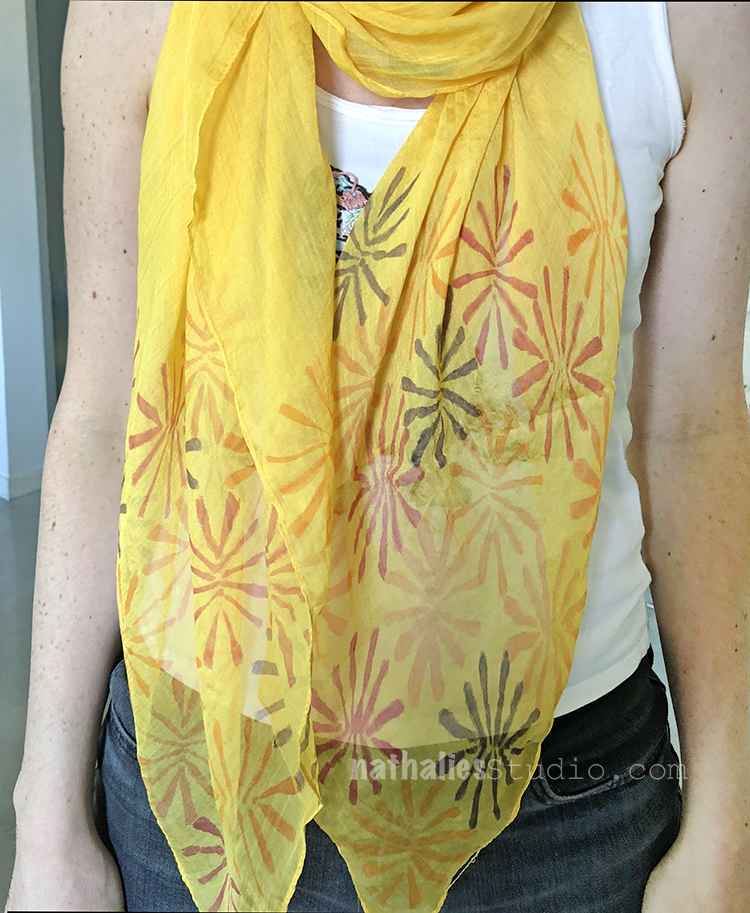
Step 5 Leave your gel printed fabric to dry entirely before heat setting the paint with an iron. Consult the label of your fabric paint or fabric medium for the exact instructions. 

Be sure to protect your ironing board cover with a cloth or parchment paper before ironing printed fabric. This will prevent the paint from accidentally staining the cover. 

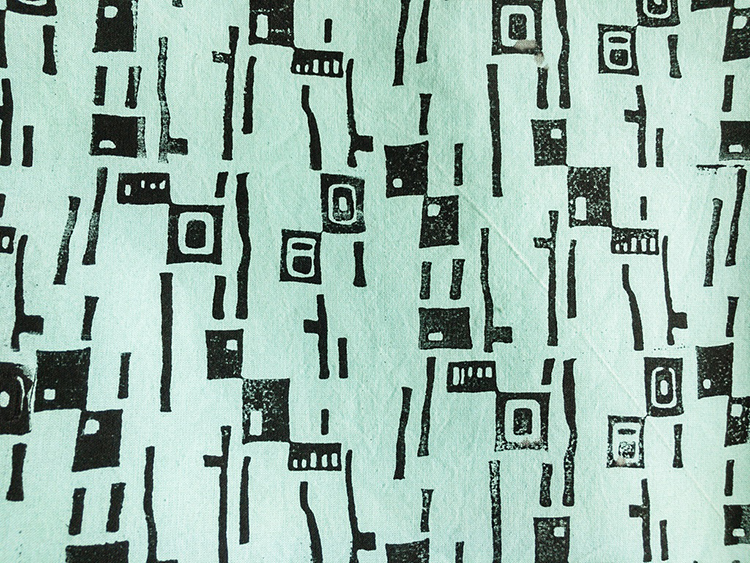
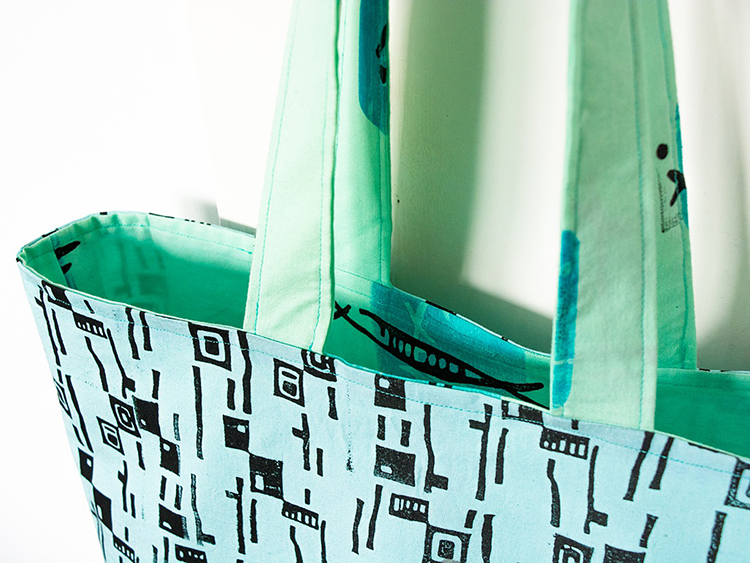
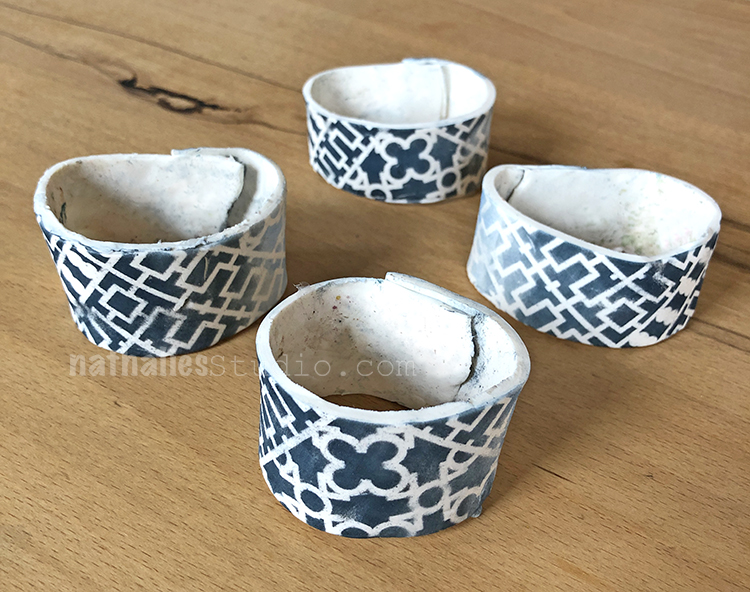
Step 6 Now your fabric is ready for the sewing project of your choice! This one I printed with Nat’s Mid Century Squared stamp.

Happy foam stamping!


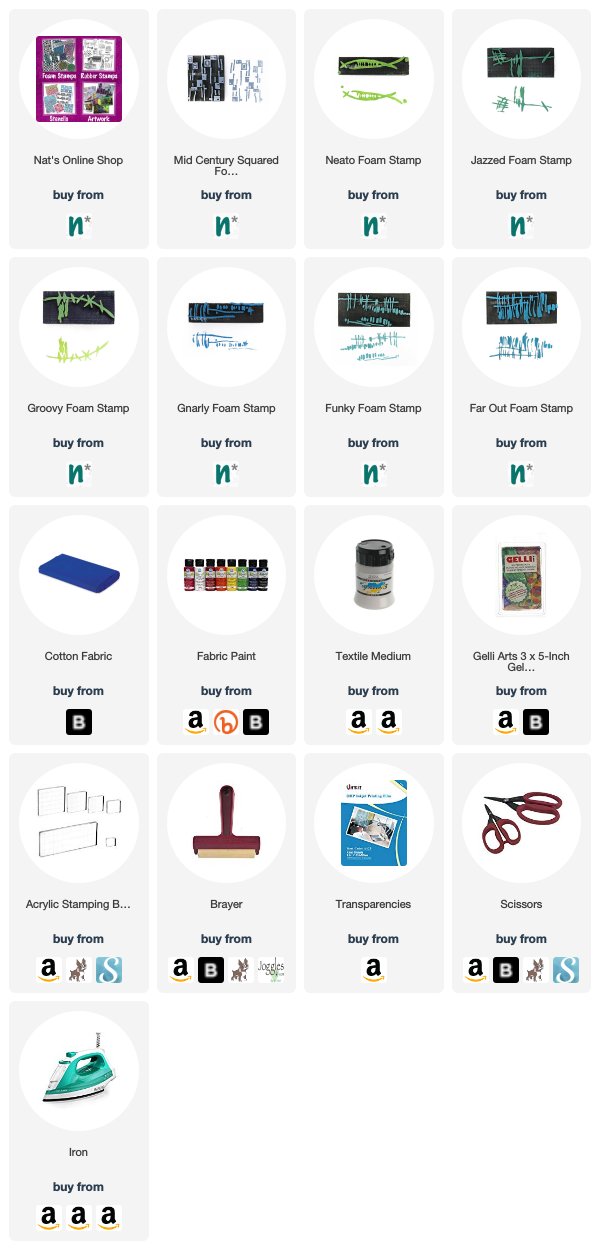
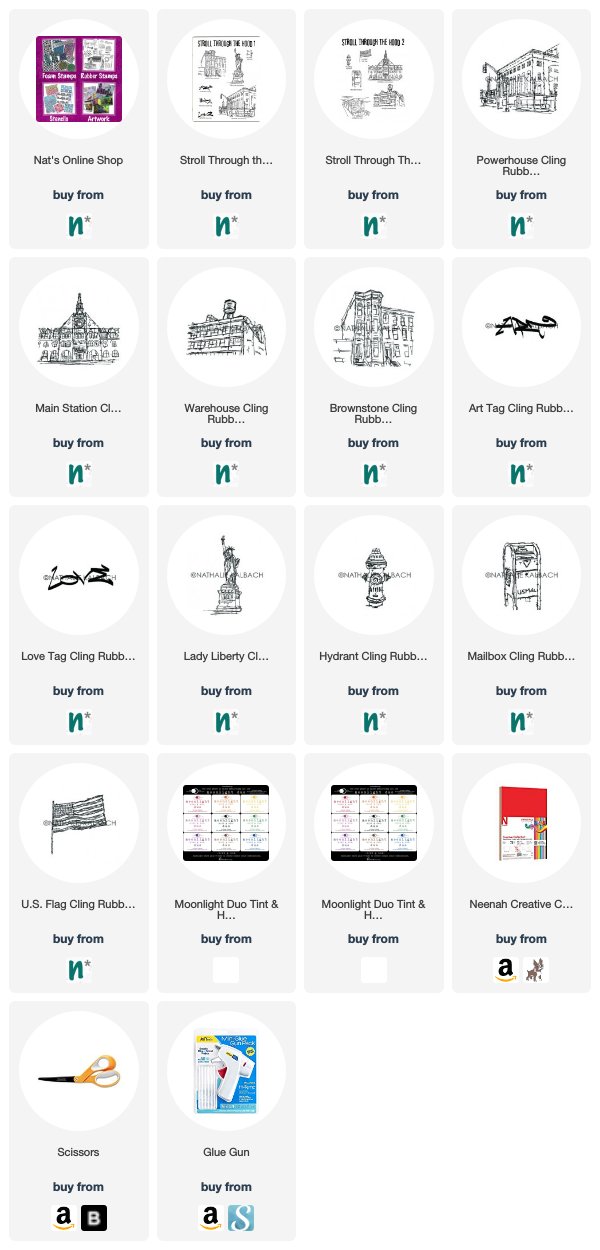
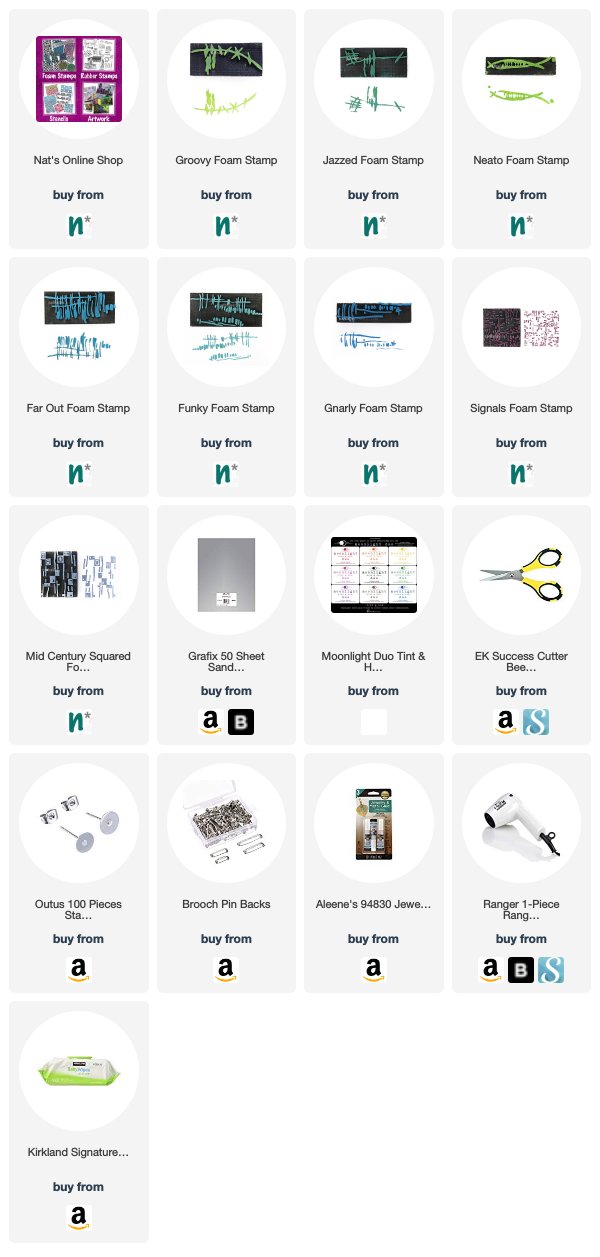
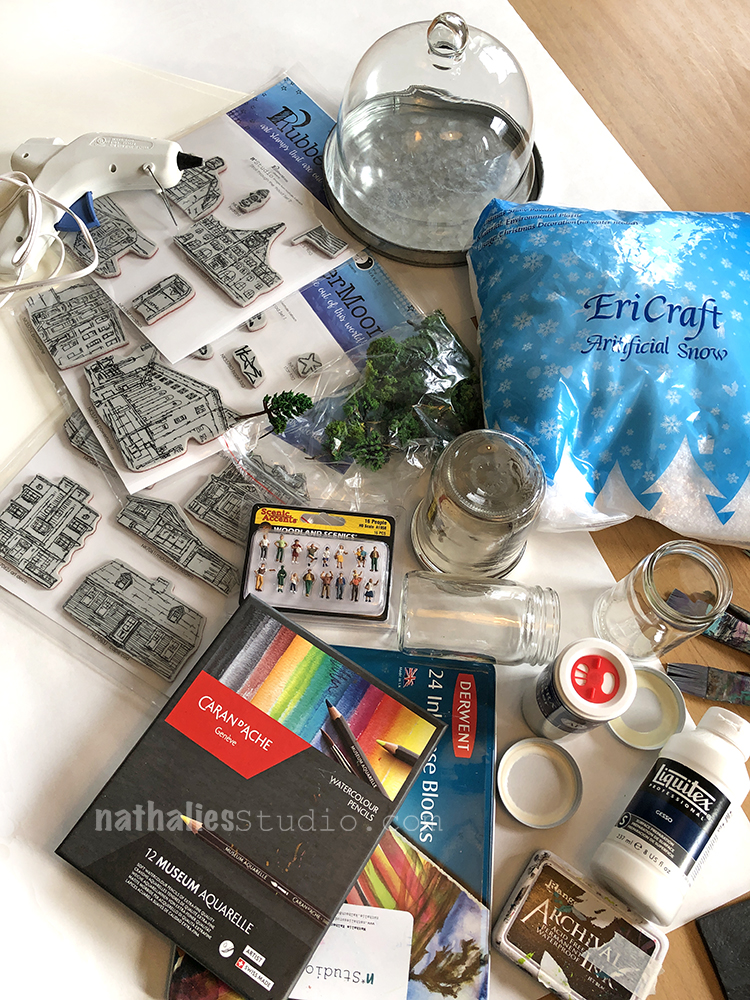
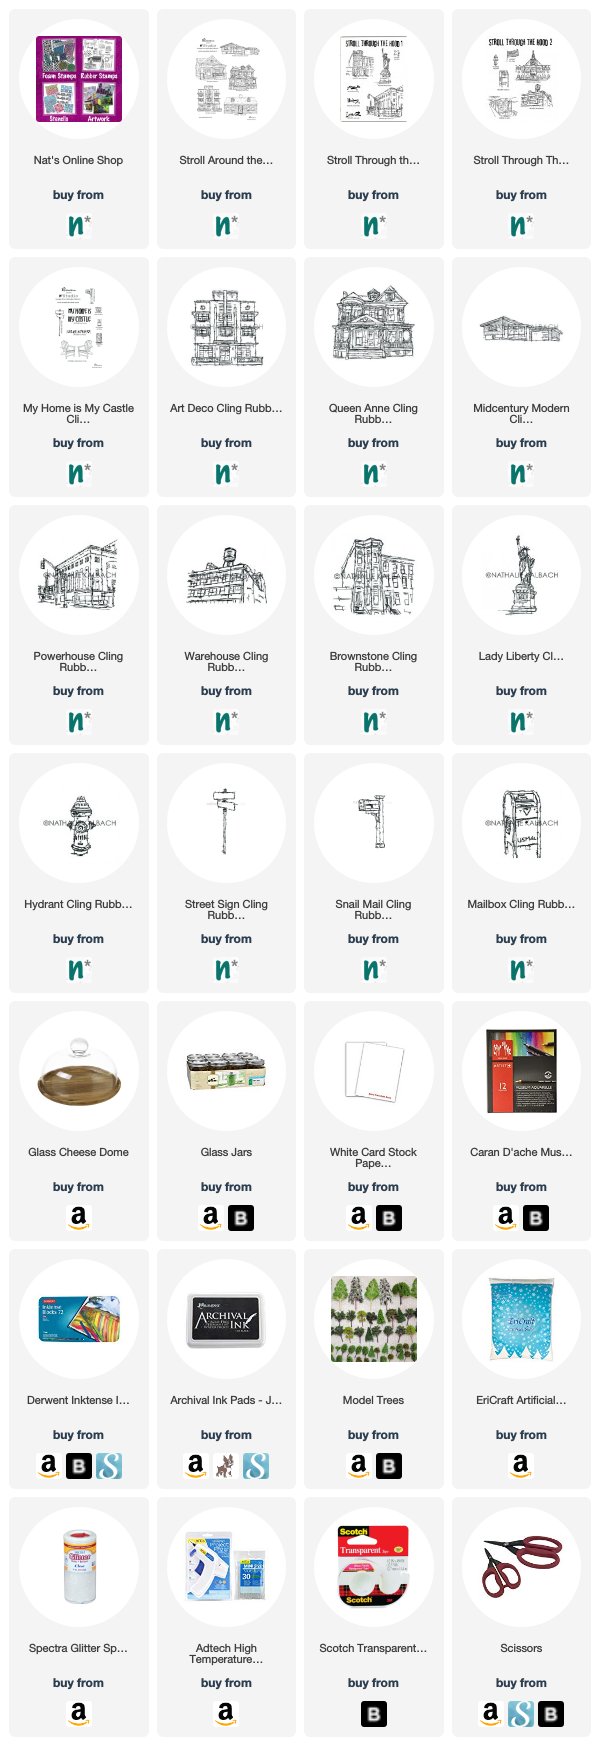
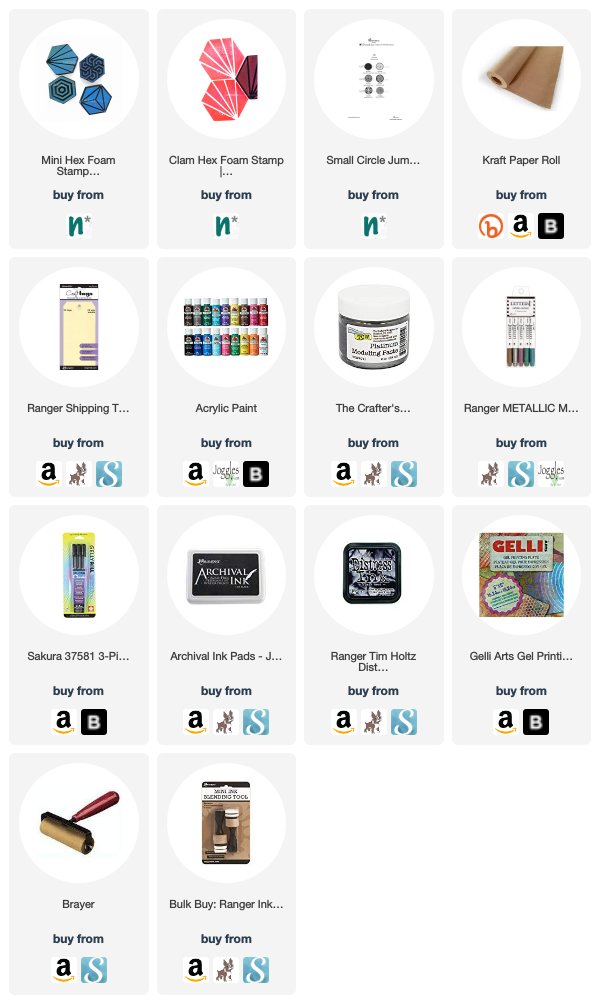
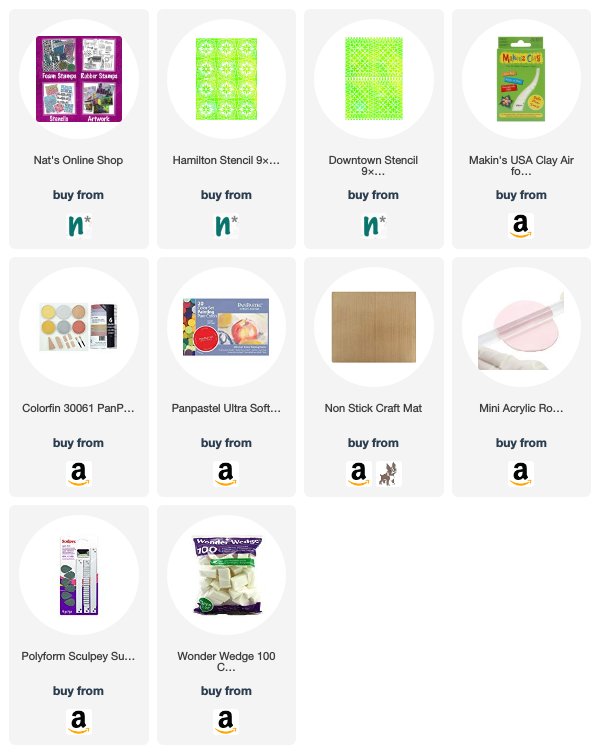
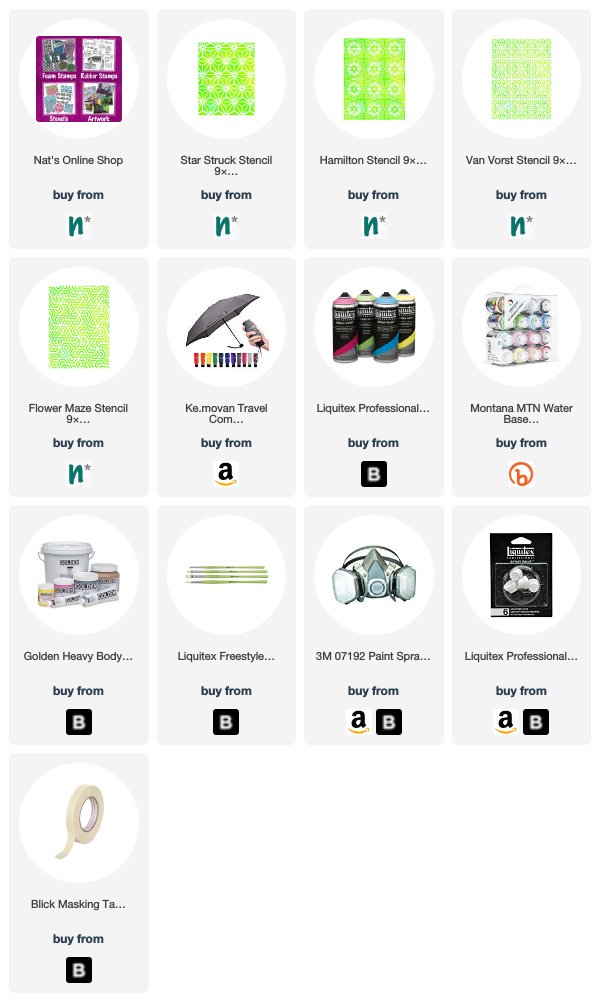
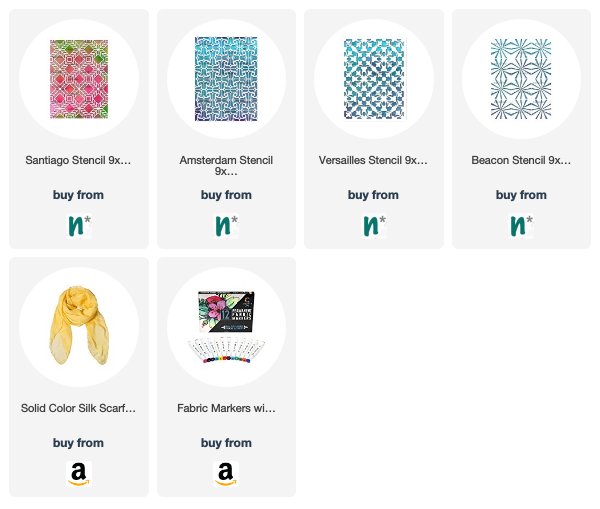
Thank you Marsha for inspiring us to create some of our own printed fabrics for sewing projects! You can find my foam stamps in my online shop if you’d like to create the patterns that Marsha shows. In addition to sewing equipment, here are some of the other supplies that she used:


Feel inspired? Working on something yourself that you’d like to share?  I love to see how you interpret our monthly themes. Email me how you used my stencils and stamps with the theme and email me an image – I would love to share your projects in my next  “n*Spiration From Around the Globe“.

Comments (2)

  • Sue Clarke

    |

    Marsha…LOVE love LOVE this bag!!!

    Reply

  • Janene

    |

    Fabulous and one-of-a-kind! I love the stamp patterns and the colors used. I might have to get out my sewing machine and give it a try. It’s been awhile since I’ve sewn anything, but I think I can manage the straight lines of a tote bag. :-)

    Reply

Leave a comment

Stamped Paper Wreaths – DIY Play Date

Last week Kim and I decided to do a little Spring Play Date with my rubber stamps. We saw some cool pictures of paper wreaths online and thought we would try our own. We had just an hour or so and had fun making ours and dreaming of beautiful spring weather :)

You will need rubber stamps (we used my Stroll Through the Hood 1 and 2 stamp sets including the Powerhouse, Main Station, Brownstone, Warehouse, Lady Liberty, Mailbox, Hydrant, US Flag, Art Tag, and Love Tag stamps), ink pads, colorful paper, scissors, glue gun, and a cardboard ring. We cut our cardboard rings from old boxes, using plates to trace a circle and then cutting out the center.

Choose paper (and maybe even inks if you have a lot of colored ink pads) in an analogous color scheme – colors that are next to each other on the color wheel.

Then start stamping! Fill up the entire page with stamped images. It doesn’t matter how they line up – the point is to have some design and pattern all over the paper. Here is my Warehouse stamp in action.

Here is Lady Liberty and Brownstone filling a page.

We recommend stamping 3-4 sheets of paper.

Then cut out leaf shapes. 2-3″ works for a smaller wreath and 3-4″ works for a larger wreath.

Try to get as many out of a sheet as you can. It’s ok to cut through your stamped images at odd places.

In the end you will have a pile of leaves.

Try arranging the leaves on the cardboard ring to see how they fit.

You can experiment with color patterns too.

Use a glue gun to adhere the leaves in place. I finally bought a glue gun – yes can you believe this is my first ever glue gun? lol

Three leaves across seemed to cover the cardboard.

In the end you will have a charming little spring decoration.

Look at all the stamp images peeking through.

The big one is just right for hanging on a door.

Two paper wreathes, ready for spring.

One on the inside of Kim’s front door.

Looks nice on a smaller door here.

You can even layer them up for more impact.

This was a great way to use up some colored paper we had on hand and to have some fun stamping. I love how the stamps give it some more visual interest, and you could really play with ink colors and different papers if you wanted to. I hope you try it!

You can find my rubber stamps in my online shop. Here are some of the supplies that we used in this play date:


Comments (1)

  • stephanie

    |

    your art play date projects are always an inspiration! thanks Nat

    Reply

Leave a comment

Foam Stamp and Shrink Film Earrings – DIY Play Date

Earlier this week my friend Kim and I got together for a little play date with my new Foam Stamps. This time we made some really nifty shrink film earrings and brooches that I’m excited to wear!

Here are the supplies – we used my new ArtFoamies designs, Moonlight Duo ink pads, shrink film, jewelry adhesive, scissors, a heat tool, and earring and pin backs.

Here Kim stamped on shrink film my Far Out foam stamp in green and just a bit of my Mid Century Squared stamp in yellow.

I stamped Groovy in peach, Gnarly in blue, and a bit of the Mid Century Squared in pink.

It’s a good idea to gently wipe off your stamps with a baby wipe so you don’t contaminate the ink colors.

We stamped lots of different pairs onto the shrink film.

Time to cut out. Here Kim stamped just one end of my Gnarly stamp and cut it into a rectangle.

You can also fussy cut them out. Here is my Far Out stamp.

Time to shrink the shrink film :) Work on a clean craft mat over a surface that can get hot. Gently move the heat tool around, evenly heating the film. I started with my Mid Century Squared stamp in pink.

It will start to buckle and curl and can get pretty gnarled up. Move the heat tool around, hitting every side and surface to shrink it evenly. Be careful! It can get hot!

By moving the heat tool around and flipping over the shrink film and heating it evenly, it will start to calm down and flatten.

A clean palette knife is useful in flipping the piece over, and gently flattening it out.

We tried a more powerful heat tool and actually melted and ruined the piece – it was too hard to heat it gently and evenly and it curled up and melted before we could flatten it out. This was the Jazzed design.

We used the lower power heating tool on the second Jazzed piece – so cute!

Kim did a pair with just a section of my Signals stamp in black ink.

In the end we used the jewelry adhesive and glued them onto the earring post backs and the brooch pin backs.

Here is the Jazzed design in green.

Kim wearing some purple Neato earrings :)

These are part of the Funky stamp – love these in dark blue/green.

Kim’s little black earrings with part of the Signals stamp.

And one of my favorites – part of the Mid Century Squared stamp in yellow.  So in the end we made some pretty cool looking earrings and brooches for us and our friends!

Give it a try! It’s a fun project for a morning or afternoon and you can definitely play around with how you use the patterns.

In addition to my Foam Stamps from my Online Shop, here are some of the supplies that we used:


Leave a comment

Rubber Stamped Waterless Snow Globes – DIY Playdate

This is my favorite Play Date with Kim yet!!! Seriously, I geeked out on this and had too much fun making a little Winter Wonderland under glass. We knew we wanted to do snow globes and waterless is the way to go – easy peasy and sooooooo cute! Here we go – waterless snow globes filled with little rubber stamped scenes to warm your heart this holiday season and into the winter beyond.

You’ll need a jar or cool glass cheese dome like I found. The size of the jar and lid will determine what rubber stamps you can use. We went right for my Stroll Around the Block house stamps, and the little street elements and buildings in my My Home is my CastleStroll Through the Hood 1 and 2 sets. Then we got some fake snow, some tiny trees and tiny people, heavy card stock, archival ink, colored pencils and ink blocks to color our stamped images, scotch tape, a hot glue gun and scissors. How many accessories you want to add is up to you – there are so many choices when it comes to miniature scenery – plants, animals, different people, etc.

My cheese dome was wide enough to have a little city scene in it, so I played with various arrangements to see what fit. Here I am testing out my Powerhouse, Queen Anne, and Brownstone stamps. You can use the stamps to see what will actually fit in your jars.

Kim had a canning jar that she found the Art Deco image would fit right into.

And another smaller jelly jar for a Lady Liberty snow scene :)

If you have small jars like baby food jars, you can choose small stamps like my Hydrant, Snail Mail, Mailbox, or Street Sign stamps.

Ok time to stamp! I’m using a few different stamps to build my snow globe neighborhood.

Next you cut them out, leaving a “foot” at the bottom to fold over and tape onto the lid. You can cut them out before or after you color them.

Color your stamped images with watercolor pencils – after all these snow globes won’t have any water :)

Kim added some seasonal details to the Street Sign stamp.

I love to use Derwent Inktense blocks with water and a brush, almost as watercolors to color in my stamps. They have beautiful rich colors and you can use a fine brush to get very detailed with them. Here I am adding some color to my Powerhouse stamp.

I chose a lot of different colors for my snow globe scene.

Use some tape to tape the image into the lid. Here is Lady Liberty, ready for winter I hope lol

She just fits.

Here is my scene and SQUEEEEEEL it is coming together so amazing!!! This was a test to make sure the lid fit.

Now I glued in some trees and shrubs with hot glue.

And people to bring your snow globe to life.

Kim put together 3 scenes.

Time for the blizzard!!!

Just spoon some snow into the jars.

Or gently spoon around the elements in the cheese dome.

On goes the lid

Kim assembled her North Pole snow globe :)

This is where we realized that for lidded jars, you may want to build your scene up a bit so it sits above the bumpy rim at the bottom of the jars. You could cut out a cardboard circle and paint it white and stick it in the lid first, then put buildings etc on top. We would definitely do that next time. Also if your jar has a colored lid, you may want to paint it with gesso before you begin.

But oh WOW this was sooooo fun! And looksie at my little winter wonderland!!! What a success and done in under 2 hours.

Take a stroll through my snow dome :)

Kim’s waterless snow globes – waaaaay cute!

That guy in the bottom cracks me up!

And for even more fun, I added a small battery operated tea light into the back of my snow globe so now it glows at night. Ooooooo!

I hope you try this project and I hope you have as much fun as we did. It’s a nifty way to get into the holiday spirit :)

In addition to my Rubber Stamps from my Online Shop, here are some of the supplies that we used:


Comments (4)

  • Sue Clarke

    |

    Love love love these Nat!
    Now maybe make some on shrinky material and you can use water too???
    Super fun project that you and Kim made.

    Reply

    • nathalie-kalbach

      |

      Great Idea Sue! We really wanted to have no glycerin or water involved – it was so much easier and gives more possibilities to add candles and use a cheese dome too :) It was so quick and I bet it is fun to make with kids too!

      Reply

  • stresso

    |

    oh my gosh – how fun!!!

    Reply

Leave a comment

Doin’ My Thing -Jennifer Gallagher


Hello from my Creative Squad! Today we have a post from Jennifer Gallagher to inspire you this holiday season with some creative gift wrapping ideas. Jennifer is using my Mini Clam Hex foam stamp and my Small Circle Jumble stamp set, along with this month’s theme: Doin’ My Thing – We all have a unique artistic style and way of working with supplies. This is the time to rock it! Be yourself. Do your thing.


This month we are doin’ our thing over on the n*Studio blog. So, what is my thing? That is hard to nail down because I love so many products and techniques. Then I realized that using my supplies to create useful items that others will enjoy is definitely ‘my thing’.

Often when we think of seasonal gift wrapping our minds go straight to decorated trees and snowmen. But who says that you can’t create beautiful, nontraditional holiday wrapping using some of your favorite n*Studio art supplies? Let’s break out our artfoamies and stamps and create some one of a kind paper!

Start with an inexpensive roll of kraft paper. I found mine at a local dollar store. Lay the paper down on a flat surface and tape down the corners and edges with painters tape. This will help keep the paper from rolling up as you work. Brayer out some paint onto your gel plate and press your artfoamie into the paint. I am using Nat’s mini clam hex foam stamp. Now firmly press the stamp onto your kraft paper.

Repeat this process creating whatever design you wish.

Add some pizzazz and additional interest with metallic markers. I have added dashed lines with my silver Letter It Metallic Marker by Ranger.

What would a beautifully wrapped package be without a gift tag? Start with a #8 mixed media tag. Apply the same emerald green paint onto the tag in a haphazard fashion using a mini blending tool.

Thinly apply platinum modeling paste with a dry coarse bristled brush in some areas of your tag. You can continue to layer the green acrylic and platinum modeling paste until you achieve an affect you like.

Add black soot distress ink around the edges and throughout the tag to add additional interest.

Next, stamp a few of the negative circle drive small stamps from the Small Circle Jumble Stamp Set – don’t forget to add the ornament topper. Draw a few strings from the ornaments and add a little silver highlights.

Thanks for joining us. We would love to see what unique and creative gift wrapping you can come up with using your favorite n*Studio products. And be sure to stop by each Tuesday to see what the Creative Squad is up to.


Thank you Jennifer! We can’t wait to try some papers of our own this year. You can find all of my foam stamps and rubber stamps in my online store and here are some of the other supplies that Jennifer used:


Feel inspired? Working on something yourself that you’d like to share?  I love to see how you interpret our monthly themes. Email me how you used my stencils and stamps with the theme and email me an image – I would love to share your projects in my next  “n*Spiration From Around the Globe“.

Leave a comment

Stenciled Napkin Rings for Thanksgiving – DIY Play Date

This week my friend Kim and I got together to have a little pre-Thanksgiving play date :) Our project idea was to make something new for the table for entertaining and we decided to make stenciled napkin rings. It was a fun and pretty simple technique and a new way to use stencils – with clay and pan pastels!

We got some air dry clay (this box was just right to make 4 napkin rings), Pan Pastels, a bunch of my stencils to choose from, a non stick craft mat, a small polymer clay rolling pin, and a paper towel tube for a mold.

First we flattened out the clay into a rectangle with our fingers and then smoothed the surface with the rolling pin. The rectangle needs to be big enough to cut into 4 long strips and to wrap around the tube, so we made ours about 6″ x 8″.

Time to choose a stencil. A small intricate pattern works best to fit the scale of the rings. I am using the Hamilton stencil.

And I decided to use warm, autumnal Pan Pastel colors. Pan Pastels are so lovely to work with, just take a cosmetic sponge and start dabbing on the pigment.

You can blend in other colors too.

Kim choose my Downtown stencil and some blue colors to match her dinnerware.

The big reveal! I love how the navy blue pattern pops.

Mine will look great with my ivory and gold china.

We used a polymer clay knife to cut the clay into strips and trim the uneven edges. Maybe use a ruler to make them equal… we didn’t… Oops! Also maybe smooth the edges as much as possible – it will look better in the end with smooth clean edges.

Prepare the mold by covering the tube with waxed paper.

And wrap the strips around, squishing the ends together. Be careful not to rub the pigment design too much – it will smear.

Let them dry overnight.

We dried them resting on the seam, just to encourage it to stay stuck.

The next day they were firm and ready to go.


You can spray them now with fixative to set the Pan Pastel pigment.

My table set with those pretty new stenciled napkin rings.

You can match them to your decor or go holiday-specific with your color choices.

The Pan Pastels I chose were metallic and look very festive.

Kim’s table in ivory and blues with a bold pattern napkin ring. So unique and a nice touch when you want your table to be memorable for Thanksgiving or any occasion.

We had fun making these – it was pretty quick and you don’t need a lot of supplies. And the Pan Pastels really made the stencil patterns crisp and clean. Give it a try for your tablescape this season!

You can find my stencils in my online shop. Here are some of the supplies that we used:


Comments (2)

  • Sue Clarke

    |

    Love that bold navy and the candle on the table made with one of your stamps as well.
    Wishing you a Happy Thanksgiving Nat and Kim!

    Reply

    • kimnstudio

      |

      Happy Thanksgiving Sue! Good eye spotting that candle – that was back from a previous play date with Nat and another project that I loved :)

      Reply

Leave a comment

Stenciled Umbrellas for a Rainy Day – DIY Play Date

Did you know you can stencil on an umbrella and turn it into a work of art? You can and it is a fun project. Kim and I got together on a sunny day to transform a couple umbrellas into something that will brighten any rainy day we encounter.

We chose white umbrellas as our “blank canvas” and some of Nat’s new stencil designs. We worked outside with acrylic spray paint (and proper protection – face mask) and each tried a different way to approach the project.

I began by painting my umbrella with heavy body paint to create a new background color.

I chose three different colors to alternate on the panels. This is a great way to make your umbrella any color you want.  BUT I learned the paint definitely stiffens the fabric and makes the umbrella hard to wrap up when you are all finished. I could almost not get the velcro tie around it in the end. Oops. It’s still doable, but tight.

Kim decided to spray paint directly on the fabric. She taped down the stencil and some paper as a mask. She began with my new Star Struck stencil and some blue paint.

The 9×12 stencils are a nice size to cover a large area with color and pattern.

She covered the top of 3 alternating panels with a couple colors of blue. The Star Struck stencil almost looks like umbrellas so it works nicely.

She then moved to the bottom to add more.

I chose my new Hamilton stencil – absolutely loving this pattern!!! I used a buff color on the blue panels.

I lined up the pattern and covered the whole panel with the design.

On some panels I used Hamilton and on others I used my new Van Vorst stencil – both are beautiful and delicate designs.

Here is my umbrella with the patterns. I might add more to the yellow panels – I chose a very subtle color for that one and it’s hard to see it once it dried.

Kim added green with my new Flower Maze stencil and just blended one pattern into the other.

Peekaboo :)

Looks great and all ready to brighten up a dreary day!

So you have lots of options when you start with a white umbrella. You could choose colors and coordinate it with your rain coat or rain boots or you could just aim to make something that makes you smile on a rainy day :)

You can find my new stencils in my shop here, as well as all my other products. Here are some of the supplies that we used:


Comments (4)

  • LindaLubovich

    |

    If you add textile medium to the acrylic paint you’ll avoid the stiffness you experienced when you base-coated your umbrella. Hi from San Jose.

    Reply

    • nathalie-kalbach

      |

      Great tip Linda, thank you! In this case on of the main problems was that I used heavy body paint which just made a too thick of a coating so that the string to tie it together became to short. Kim didn’t have the same problems using just spray paint.

      Reply

  • Sue Clarke

    |

    Clever and colorful…did you put anything on to preserve the paint…so it doesn’t run in the rain?

    Reply

    • nathalie-kalbach

      |

      thank you Sue. Since Acrylic paint is water proof I did nothing else to it- it should be stay as is :)

      Reply

Leave a comment

Paper Clay Magnets with Rubber Stamps – DIY Play Date

For our monthly play date, Kim and I wanted to show another great way to use rubber stamps – to make an impression in paper clay!

We thought my new Large Circle Jumble and Small Circle Jumble sets would be a nice shape and size for some magnets. Our plan: to stamp into the clay, paint them with some acrylic paint, and attach magnets to the back for the refrigerator, bulletin board, wherever magnets will stick.

Paper clay is fun and easy to work with and is air dry so you don’t even need to turn on an oven. Here we chose the Circle Drive stamp from the Large Circle Jumble set, and flattened out some clay on a non stick surface to about 1/8-1/4″ thick and big enough to fit the design.

Time to stamp!

Press the stamp evenly into the surface, making sure to cover the whole design with pressure.

Really press it in there!

Then we cut around the stamp using a knife and the edge of the stamp as a guide. Work over a cutting mat and watch your fingers :)

Trim all the way around the stamp and pull away the excess clay. You can save the extra for later use.

Gently lift the edge of the stamp to reveal the impression.

Here is the big reveal and a great impression in the clay!

We tried almost every design from both the Large Circle Jumble set and the Small Circle Jumble set. Follow the directions on your paper clay package for drying times. Ours took a few days to completely dry before we could move to the next step.

Once the clay is completely dry, you can use a sanding block to smooth down the edges. Be gentle!

Now it’s time to assemble some acrylic paint and fine brushes for the detailed painting.

The Valley Road stamp from the Small Circle Jumble set looks so cute!

Here is the Broadway stamp from the Large Circle Jumble set getting some paint on the design.

And here is from the Park Blvd from the Large set…

…with different orange colors to bring out the design.

It takes a little patience to paint them but it was fun to spend the morning chatting and painting with a friend :)

When the pain was dry, we cut our magnetic tape into squares and put it on the back of each magnet.

Here are the finished paper clay magnets with rubber stamped designs.

And in action holding up some cards and such! Here are some of the supplies that we used for this project:


SaveSave

SaveSave

Leave a comment

Stenciled Summer Scarves Tutorial

Last week Kim and I got together for a little stenciling playdate. We had already done some things with fabric paint but this time I was wanting to try fabric markers.

I found this nice set of non-toxic permanent fabric markers with both a fine and a broad tip ends and some silk scarves online. I chose a white scarf as my backdrop and Kim went for yellow. We gathered all my stencils to decide what patterns we might like.

I jumped right in with my Santiago stencil – trying to decide how best to line it up. These are large square scarves so we decided to decorate the corners so you can see the design as it’s wrapped around your neck.

The fine tip end worked nicely with the stencil and the colors were pretty and bright – especially on the white scarf. The thin and smooth silk fabric was a bit tricky to hold down and we found you had to really hold the stencil and fabric in place to keep the pattern lined up. Another trick on thin silk – use very little pressure with the marker – it doesn’t take much ink to make a mark.

The ink spreads and gives a watercolor look to the design. This is maybe not a project for the very fussy – the silk and markers produce a more hand-painted look than precise line. I found the broad end of the marker worked well for filling in large areas of the design. As you can see, I switched colors several times with the same stencil.

Another tip: make sure you have paper or some protective surface underneath the scarf to catch the pigment that bleeds through. I added another stencil here: Amsterdam, and a few more of the marker colors. My tactic was “more is more”.

And finally I added a bit of the Versailles stencil and one final color. You can see that this scarf is thin and translucent (those marks near the orange pattern are actually on the paper underneath) and the markers are transparent too.

Kim chose to use only the Beacon stencil on her yellow scarf.

The designs look like flowers and she stayed with pinks, orange, and purple colors. Again, she worked on the corners of the scarf.

Here is her field of flowers when she was done. You can see the markers bleed on the thin silk, but it gives a pretty painted look.

My scarf is a colorful collection of patterns and so unique!

And here is the final result for Kim, a one-of-a-kind scarf for summer! This was a fun and easy project and just took an hour or so. I also really liked the color selection of the marker set so I’m definitely going to try them on some other things too. I hope you try it and share your results with me!

Here are some of the supplies we used for this project:


Comments (1)

  • stephanie

    |

    What a fun project! Both scarves are lovely

    Reply

Leave a comment