Blog: DIY

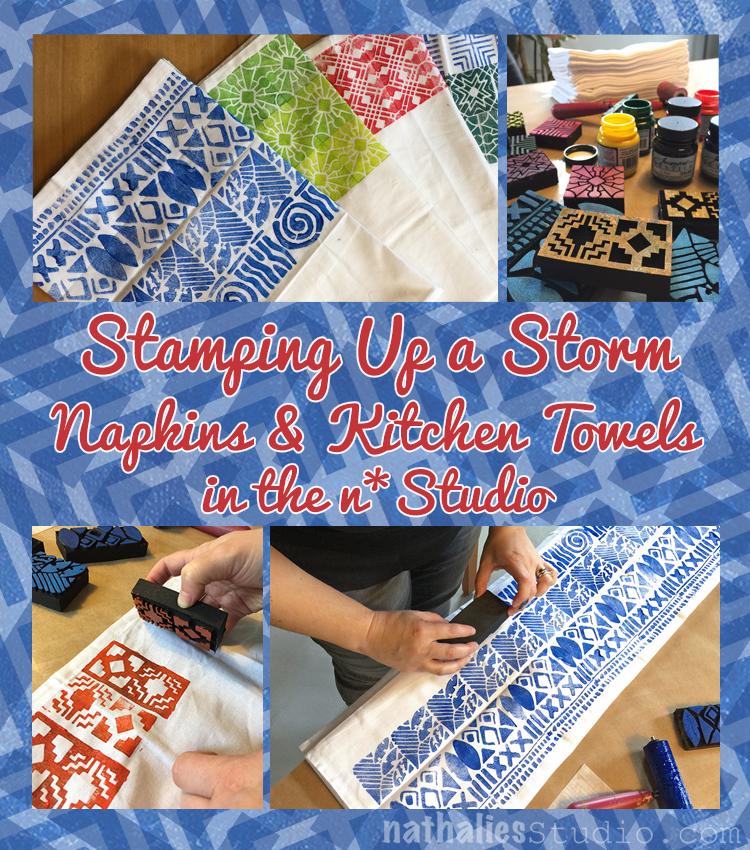
Stamping Up a Storm – DIY Napkins and Kitchen Towels

By now my friend Kim and I made it a habit to meet every couple weeks for a fun project and I love this so much. This time we decided to make some napkins and kitchen towels.
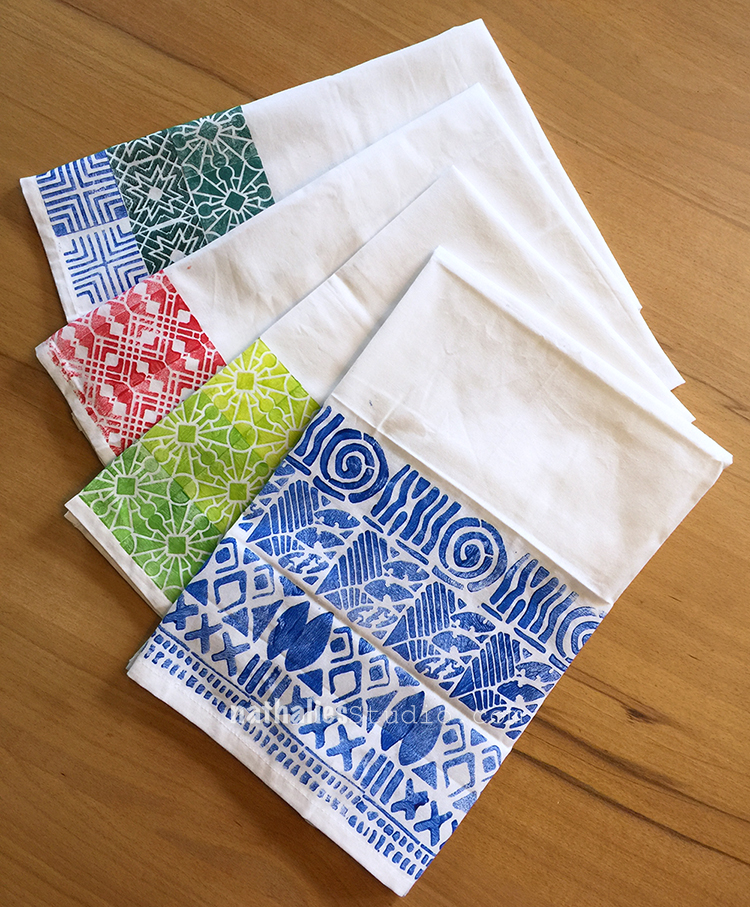
We got some fabric paint and nice white kitchen towels which can also serve as nice big napkins and started playing.
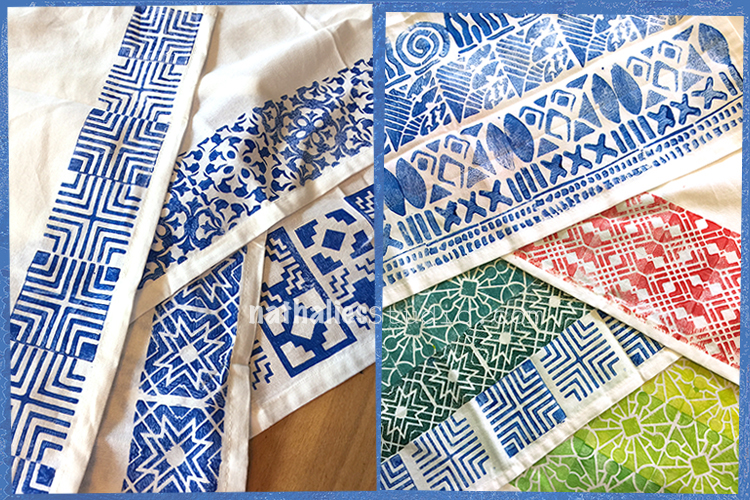
Using my ArtFoamies Minis on those were the perfect pick. Foam Stamps work so well on fabric!
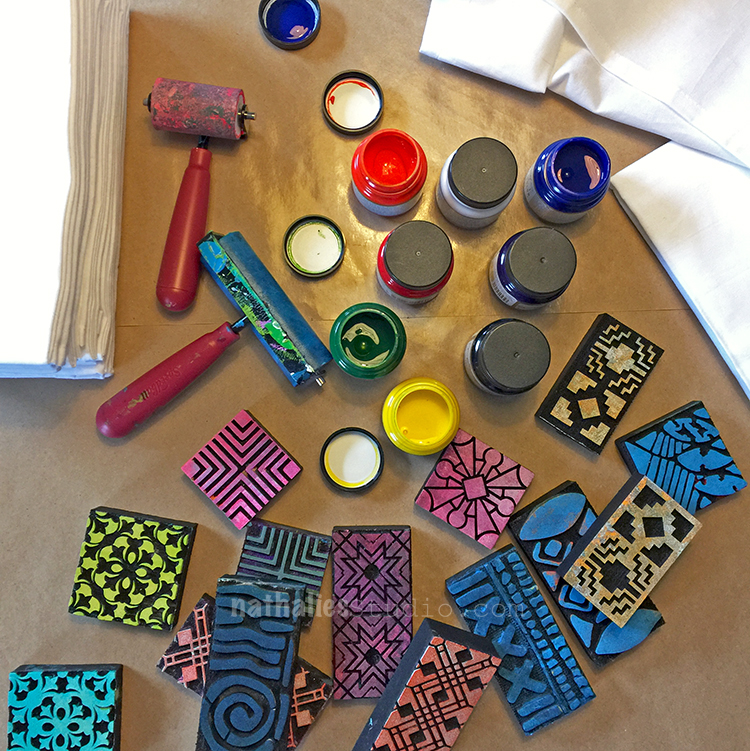
The size is great and it was a quick and fun way to enhance the fabric.
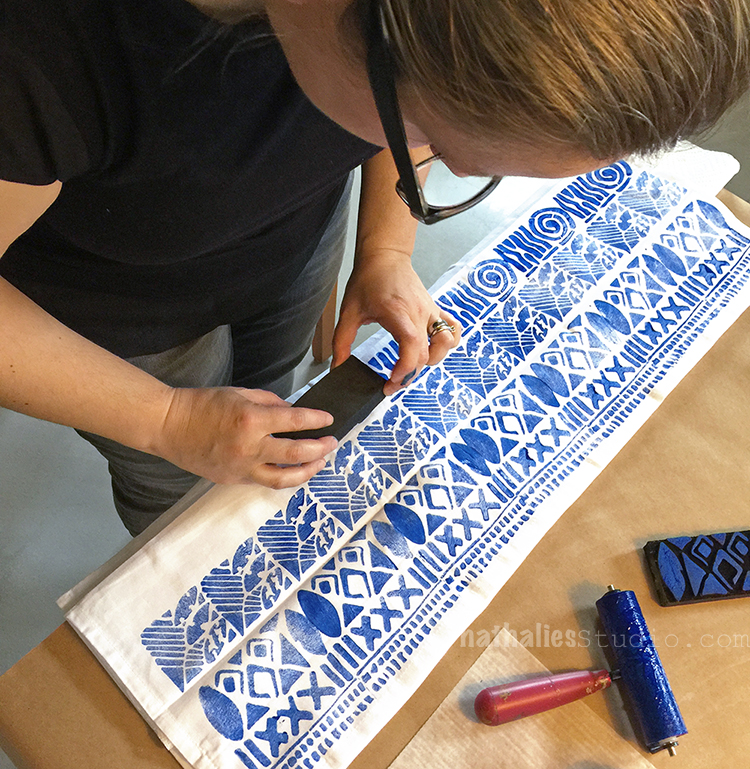
The fabric paint we used was a little bit too fluid for our taste but it actually worked well – after brayering the paint on top of the stamp we went sometimes with a cotton swap over the stamp to even out some areas or even to take off some paint if it seemed too much. At the end of the day this is a handmade result- so hey- let go of perfectionism :)
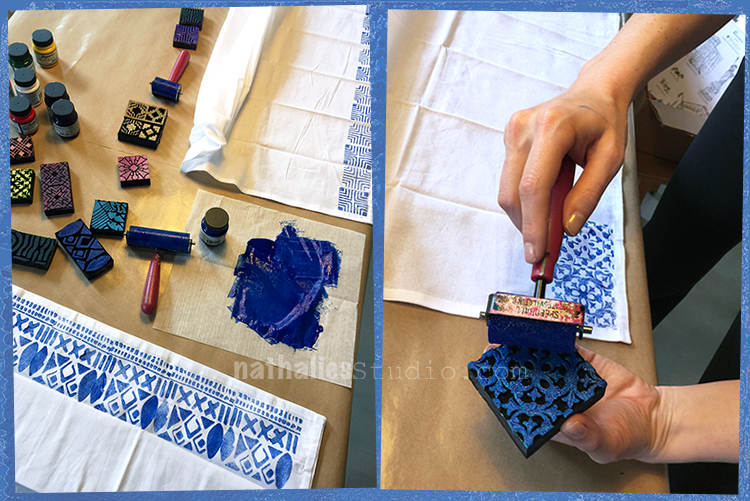
Because the paint is a bit thin it tends to seep through the fabric- so putting something for protection underneath the area you stamp when you layer up your fabric is a good idea. We just used paper towels.
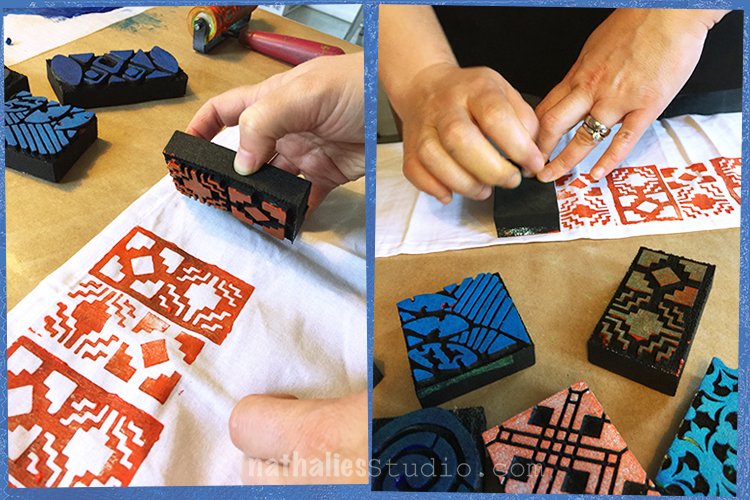
We both especially liked the blue.
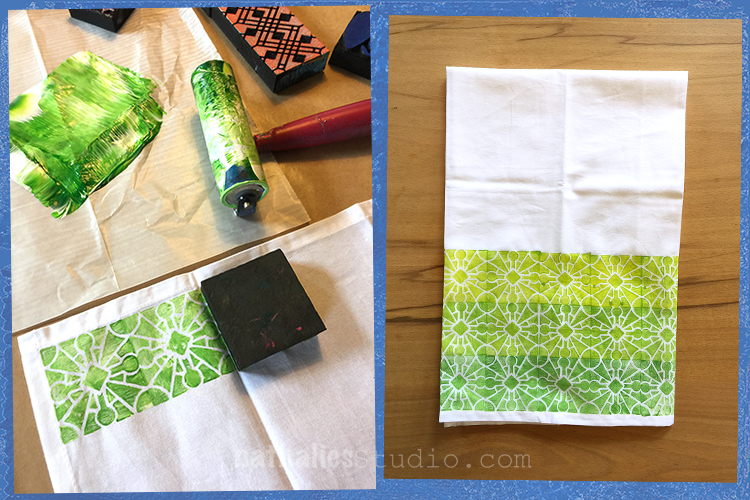
But also adding more and more white and yellow to the dark green after each row was fun for getting a kind of ombre effect. I love this.
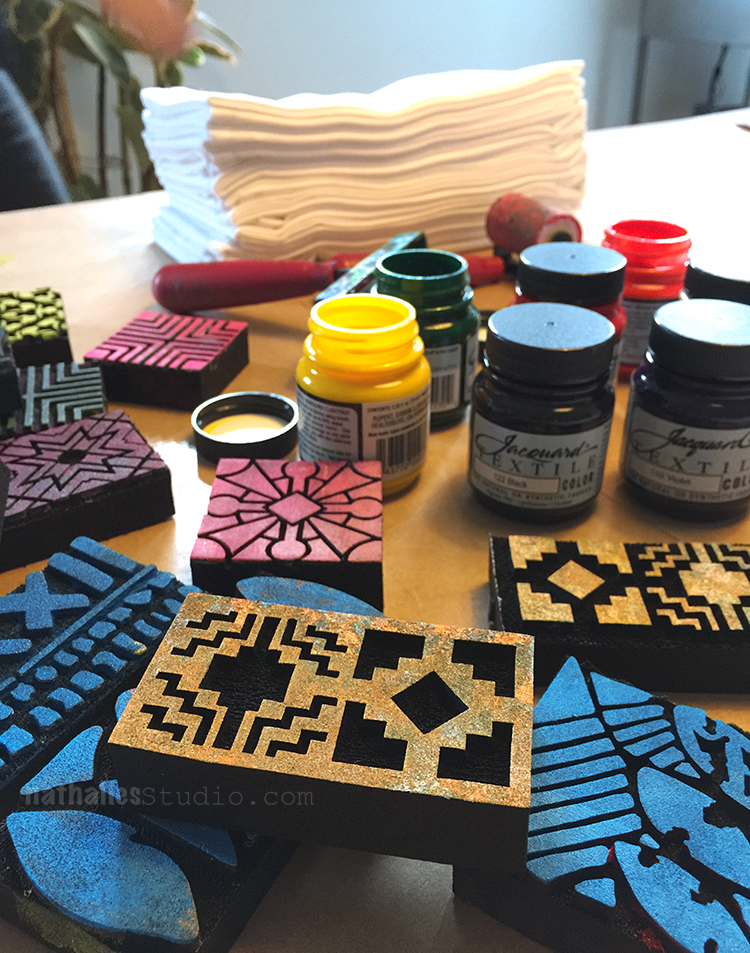
It didn’t take long for the paint to dry and after following the directions on the paint jars to iron the back side of the printed fabric, and then washing them- they are ready to be used.
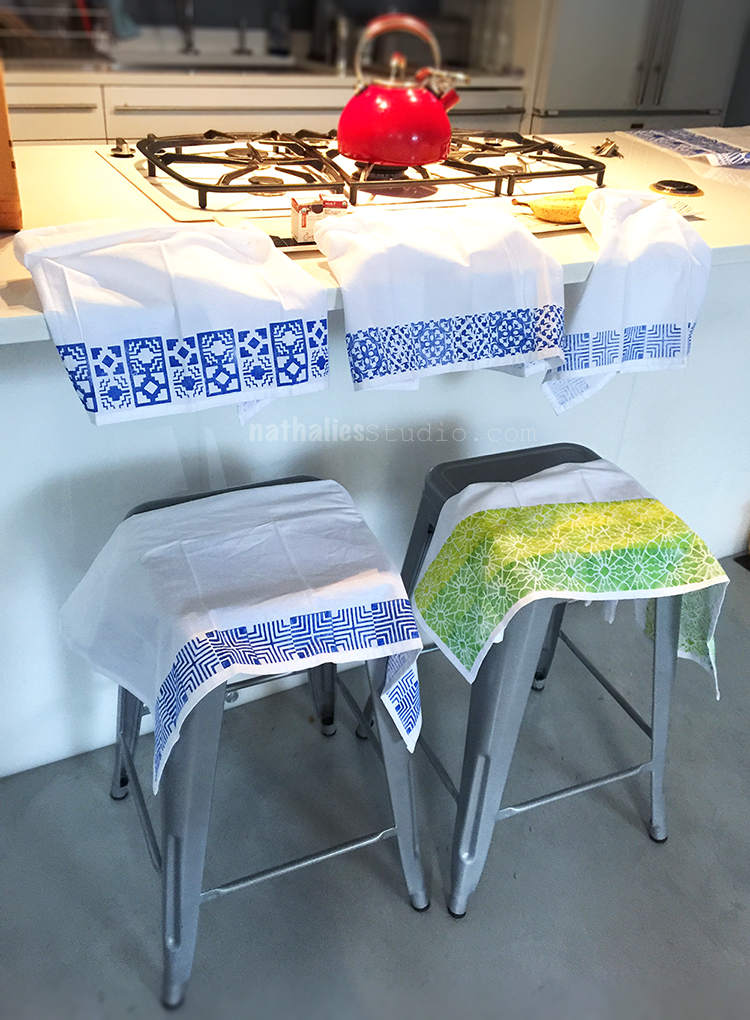
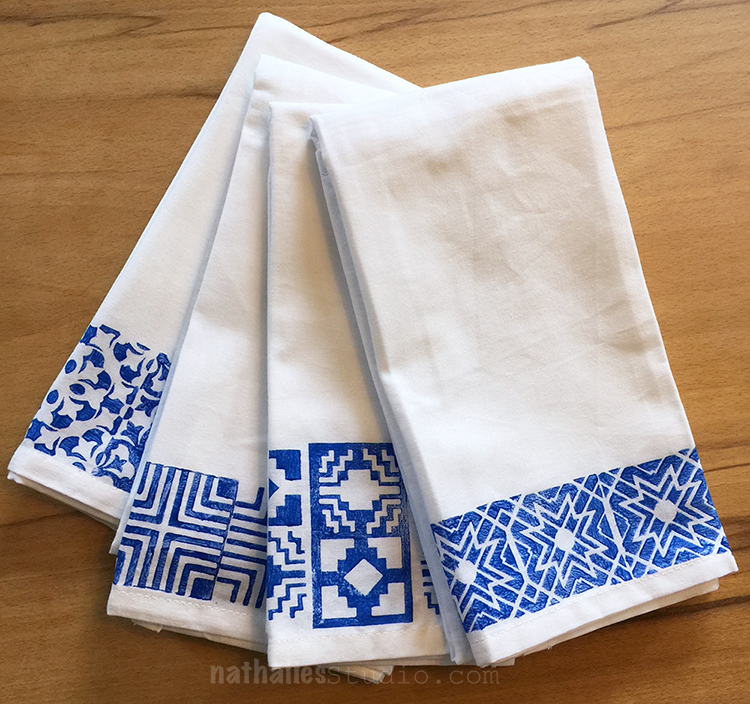
 

Here are some napkins- I love the set -even though the patterns are different they belong together due to the same color. For the napkins we mostly only printed one row.
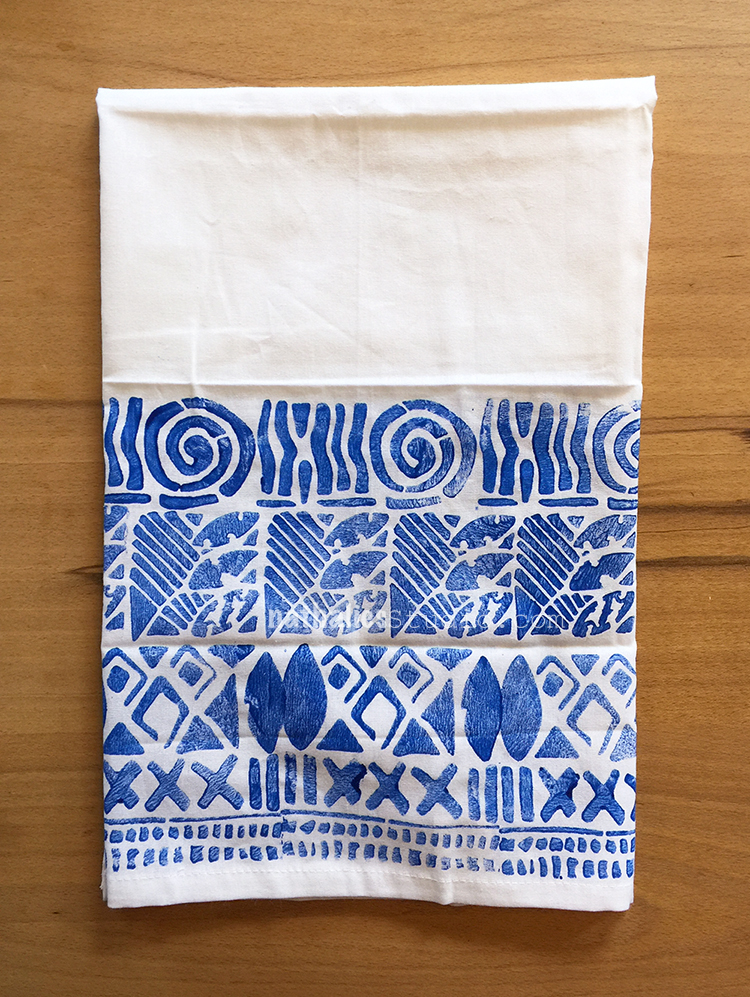
For the kitchen towels we added a bit more
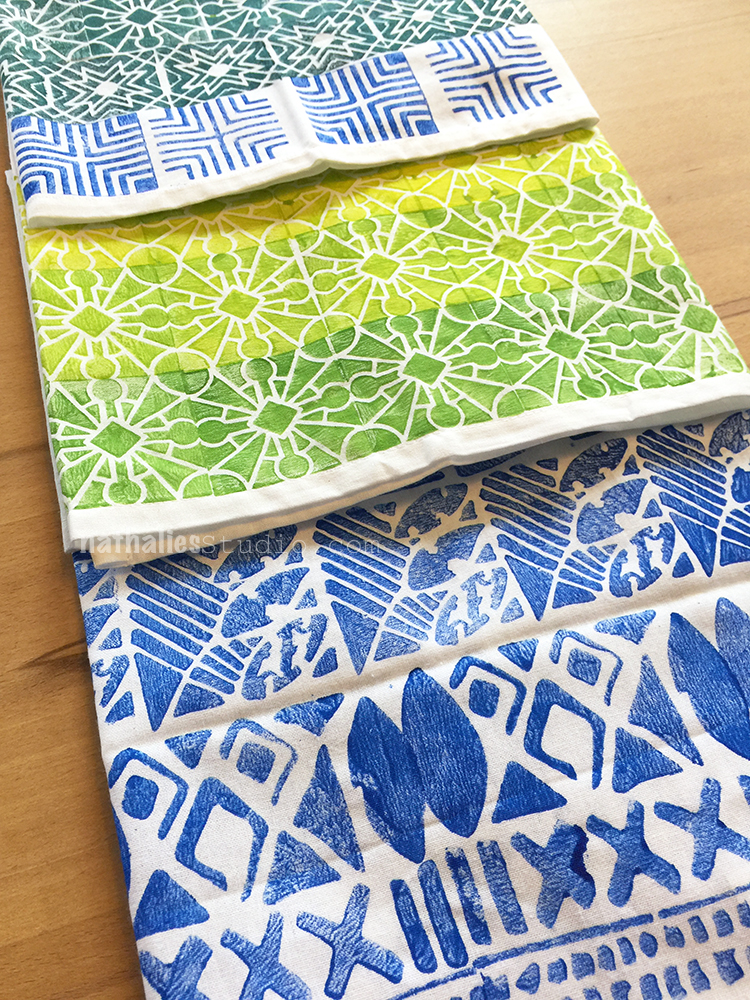
Aren’t they fun?
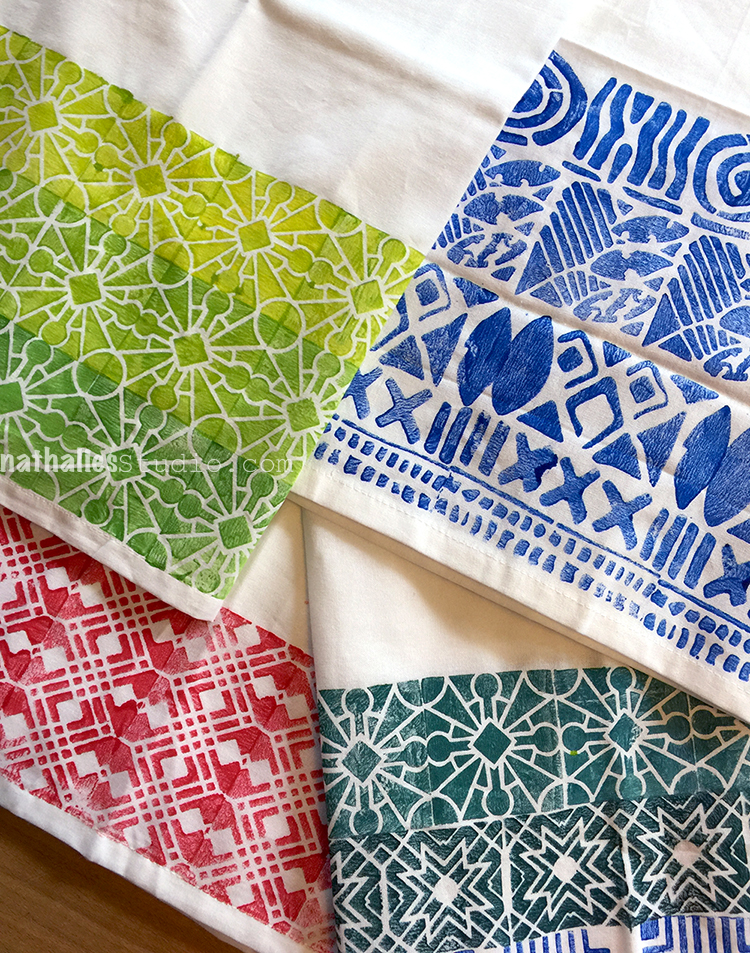
I will definitely make more of those- they make a really good  and personalized gift too. Hope you like Kim and my little project – we already scheduled the next one :)

Here are the supplies I used:


Comments (7)

  • Kalpana

    |

    They are absolutely beautiful 👌👌
    Did you add any fixer to the colour?
    Where did you buy the blocks from?
    Thank you 🥰

    Reply

  • Ally

    |

    Pure awesomeness!!!

    Reply

  • Klara

    |

    I love these so much! Green set and blue set are my favorites! What a fantastic idea!

    Reply

  • Stephanie

    |

    What a great idea! Thanks Nat

    Reply

  • margaret griffiths

    |

    OK I love your stamps!!! I guess its time to go buy them…
    Thanks, for the wonderful website and ideas

    Reply

Leave a comment

DIY: Flower Pot Madness
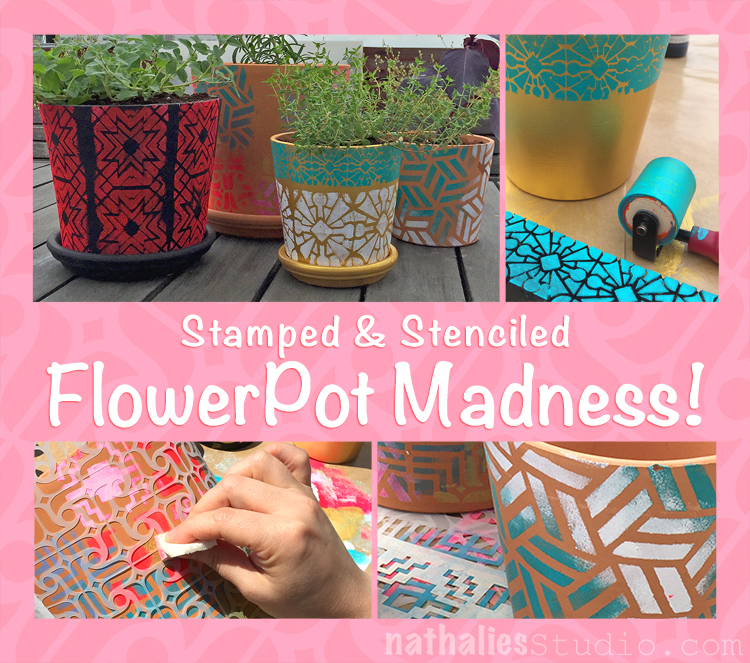
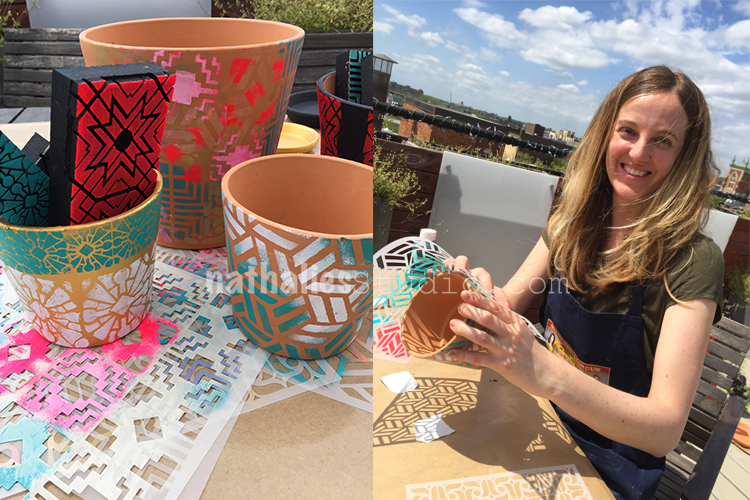
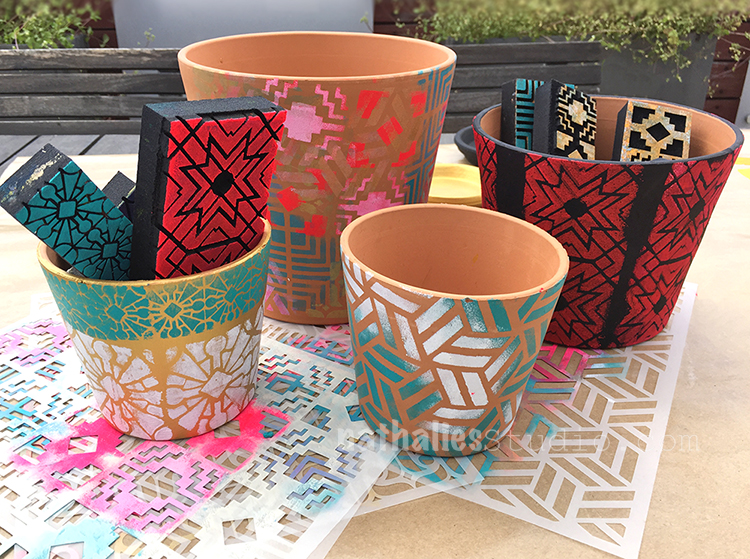
My friend Kim and I decided a while ago that we would stamp and stencil some flower pots and even create some as an upcoming Mother’s Day gift. I also think that Kim can’t bare seeing my really badly neglected plants on the terrace ;) (I do have a brown thumb for sure!)

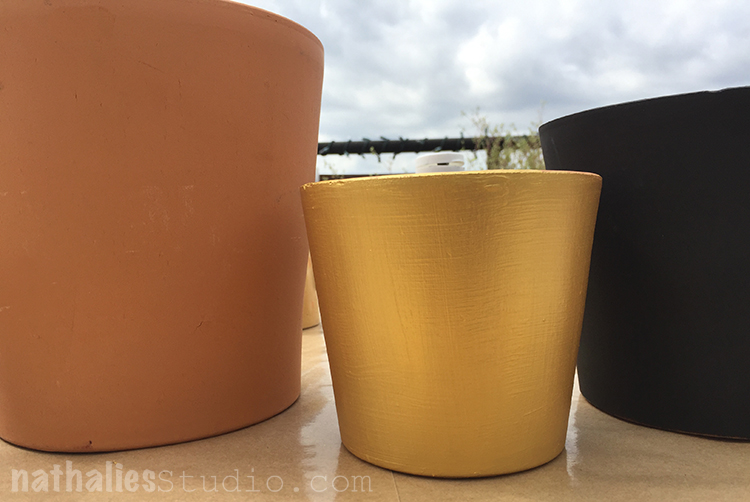
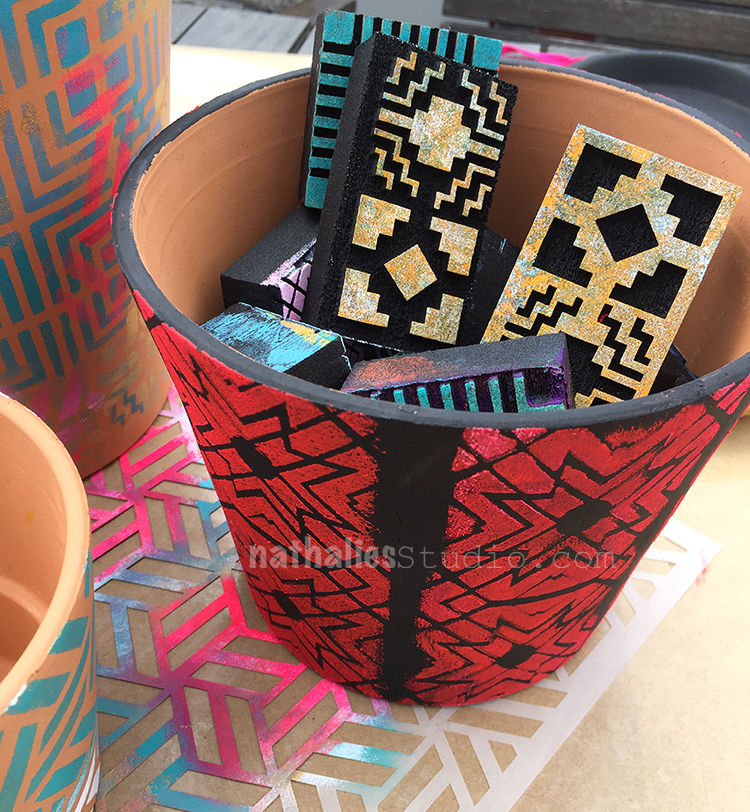
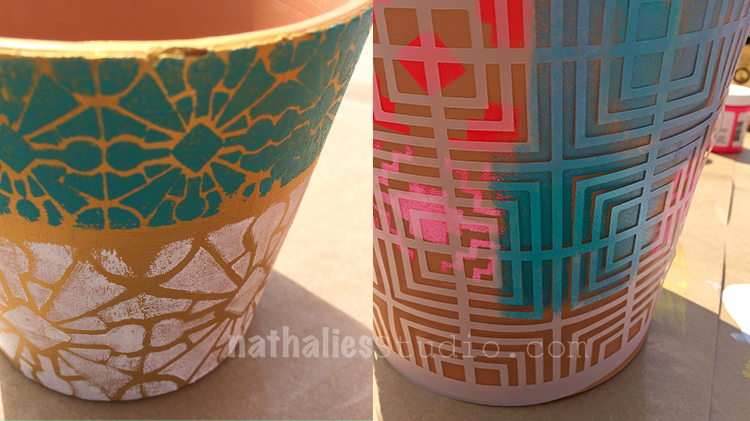
We left some pots in their natural color and painted others with golden gesso and black gesso.

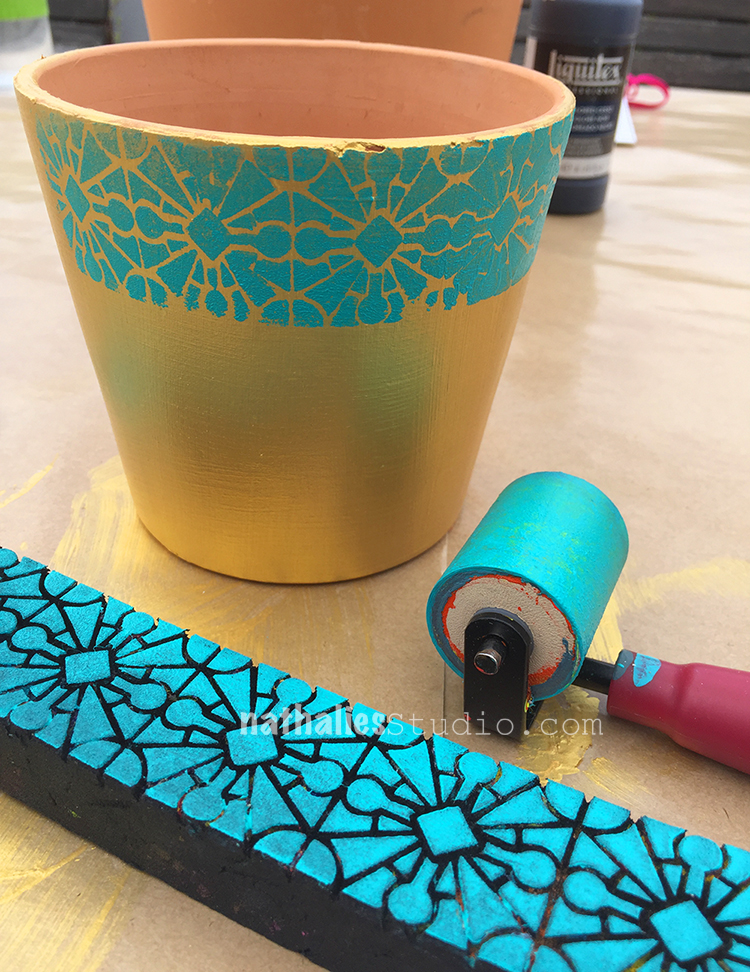
On some pots we used my ArtFoamies Foam stamps. We used a brayer to apply acrylic paint to the foam stamps and then used them on the pots. Especially the border stamps worked well since they can easily and carefully wrapped around the pots.

We both really loved how the colors popped off the black and golden gesso-ed pots.

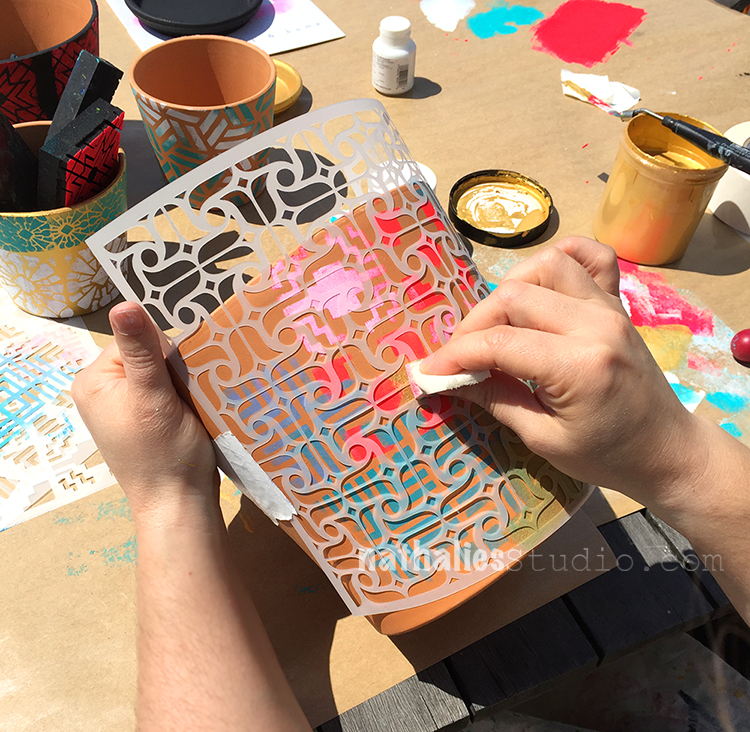
For some pots we used Stencils – we secured the stencils with masking tape and it was so fun and quick.

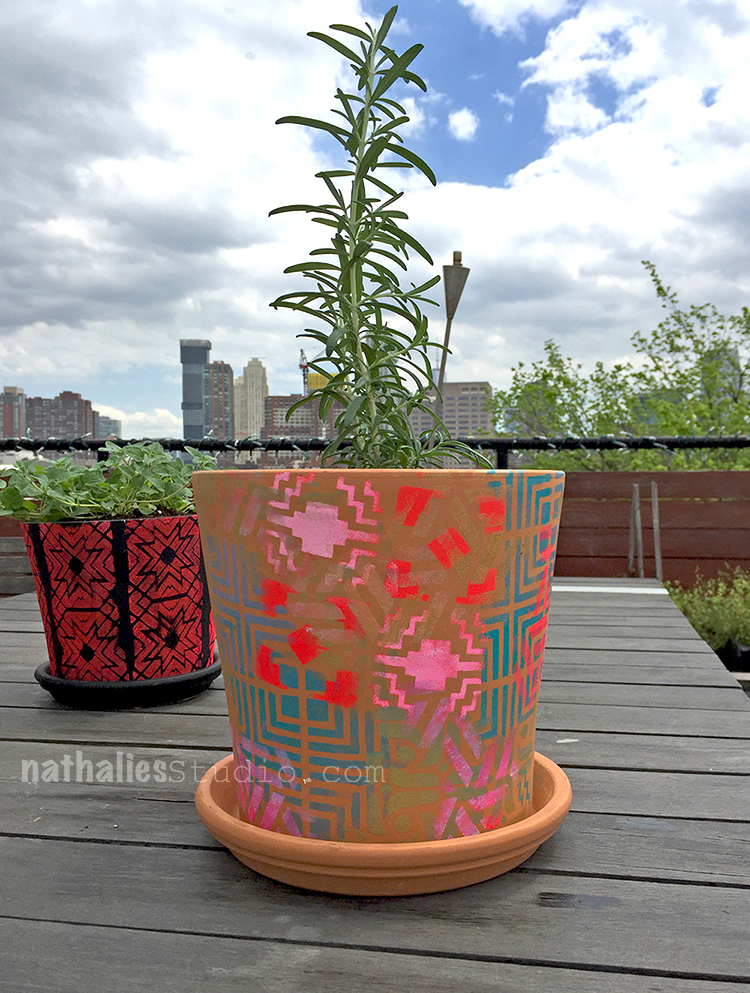
On one pot I got a bit wild and layered all kinds of stencil designs.

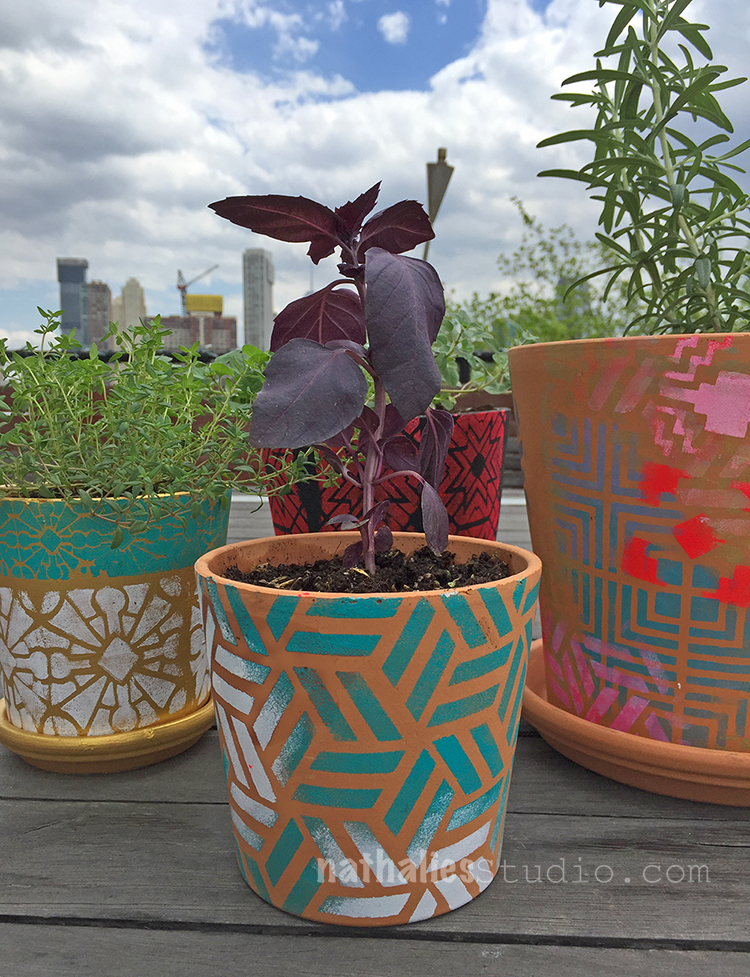
While Kim took a more “less is more” approach and used one stencil with variations of color – I like that very much :)

We loved being outside and it was such an easy and colorful project – I could do this all day long- no kidding.

And then we added some herbs and dirt and voila

Don’t you think this rosemary should be happy in this new home? Well…I promised to also water it ;)

Mother’s Day can come now and …summer – Cannot wait to sit outside and enjoy my new funky colorful pots on the terrace!

Here are some of the supplies we used – some links are affiliate links:


Hope you have a wonderful day and enjoyed this little project!!!

Comments (4)

  • Sherri Scott

    |

    Nat, they’re beautiful! I might try to brighten my flower pots

    Reply

    • nathalie-kalbach

      |

      Sherri, so glad you like them and yeahhhh – brighten yours too :)

      Reply

  • Sue Clarke

    |

    Looks like you and Kim had fun and what a nice collection of pots you ended up with as well.
    Will you put any kind of protection over the paint to help the design last longer Nat?

    Reply

    • nathalie-kalbach

      |

      thank you Sue :) You can seal those with Matt Medium of course.

      Reply

Leave a comment

DIY – Stamped Easter Eggs

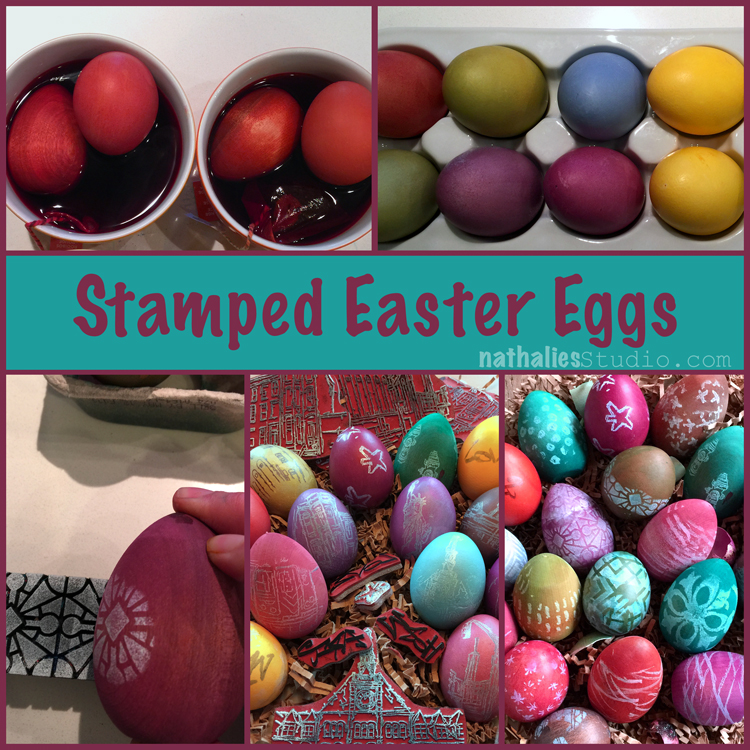
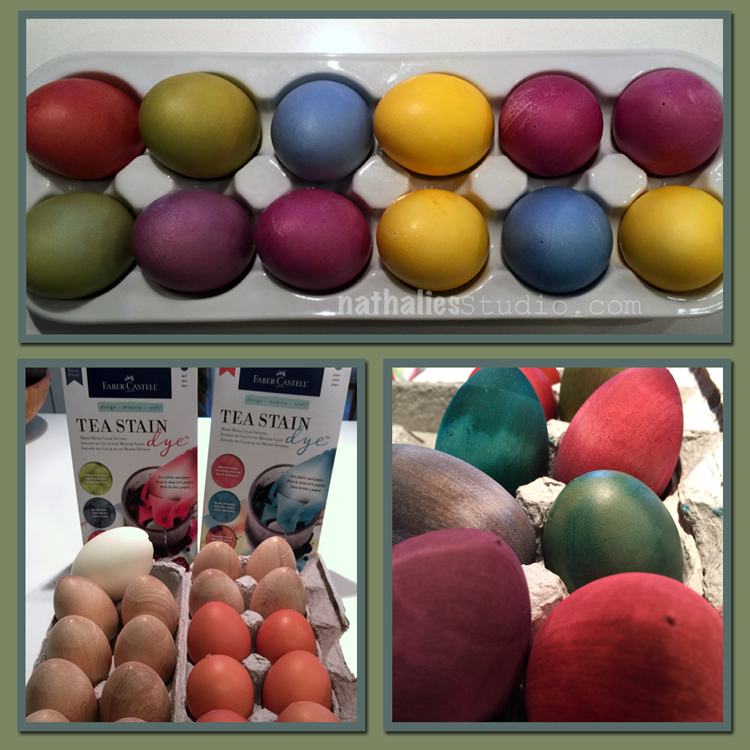
For the upcoming Easter Holiday I decided to dye some eggs. I bought some wooden eggs, blew out some brown eggs and cooked some white eggs to have a variety to play with.

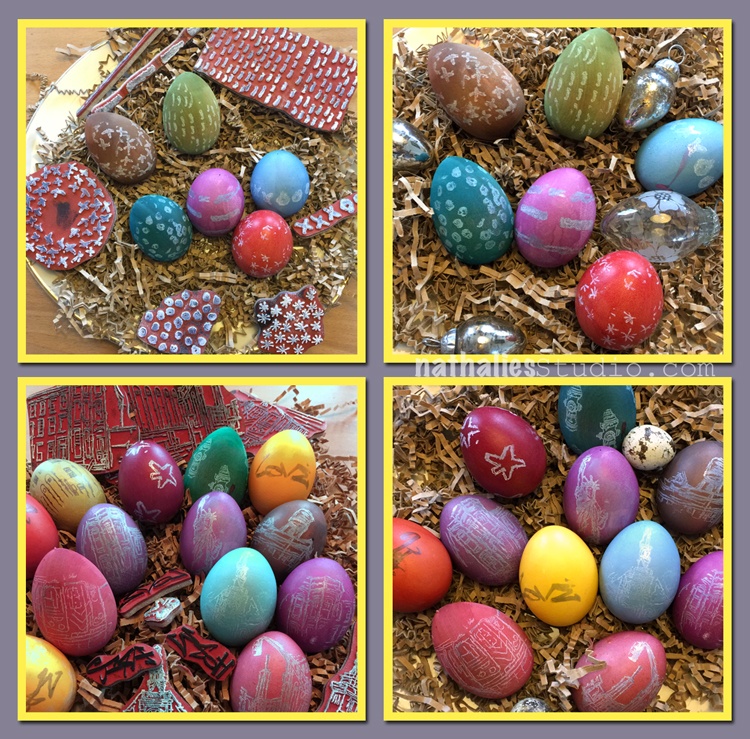
I dyed the cooked white eggs with some natural dyes (Yellow/Orange (Annatto extract), Purple (Radish), Blue (Cabbage) – see picture on top of the collage. For the blown out brown eggs and the wooden eggs I wanted to try the new Tea Stain Dyes by Faber Castell, which are not suitable for food. They are meant to dye fabric and paper but I thought it should work with wood and egg shells too. I loved how the colors came out with these dyes, especially on the wooden eggs, the brown eggs were a bit tricky with the light green, but it was all good. Both dyes resulted in colors that I was super happy with.

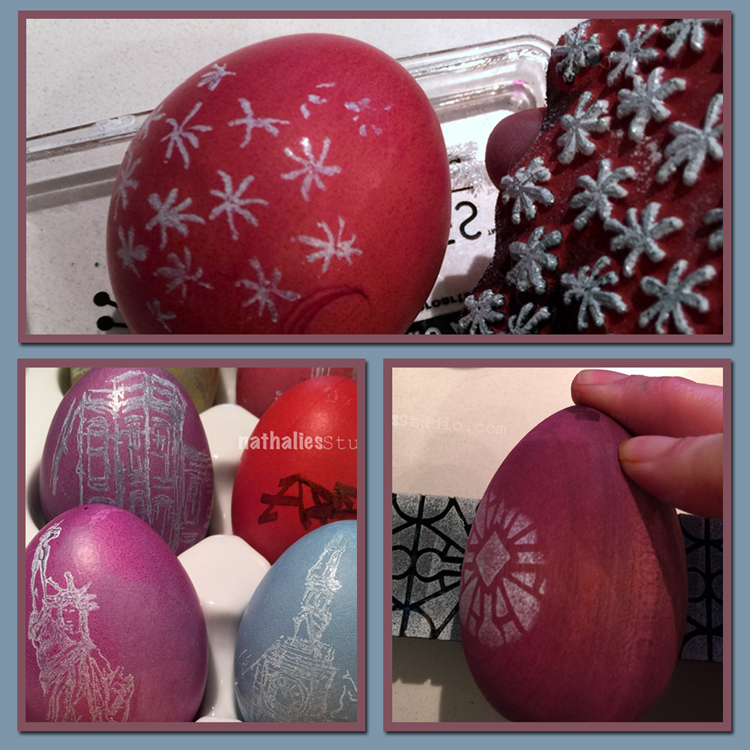
I stamped the eggs with a white pigment dye stamp pad – using my inked cling rubber stamps by wrapping those carefully around the egg, and using some of my foam stamps by rolling the egg over the inked stamp.

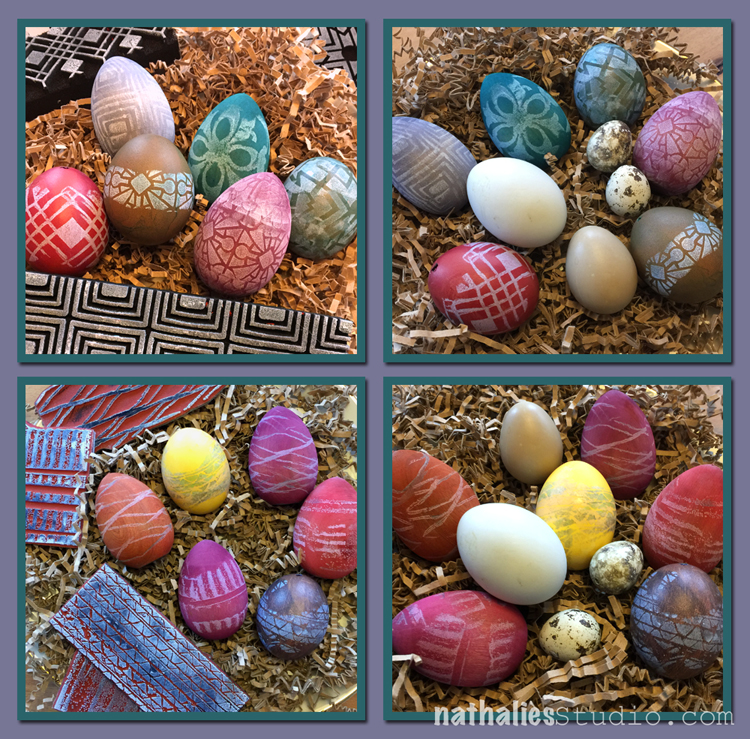
On the top row you see the eggs stamped with my ArtFoamies foam stamps – I love how they turned out- the impression is bold.

On the bottom I used my Cardboard Cling Rubber Stamp Set. I loved especially how the Tread stamp gave a look of rubber bands but I do love ever single one. The yellow of course was a bit tough with white ink …so I used an archival ink on top which made it a bit smudge. Oh well.

Next I tried my Embroidery Cling Stamp Set – ohhhhh- i so loved the look of this. The different stitches came out really well on the eggs.

On the bottom you see eggs used with the Stroll through the Hood Cling Stamp Sets -see the Hydrant pattern – I was geeking out- LOL- I know it is random but I love it.

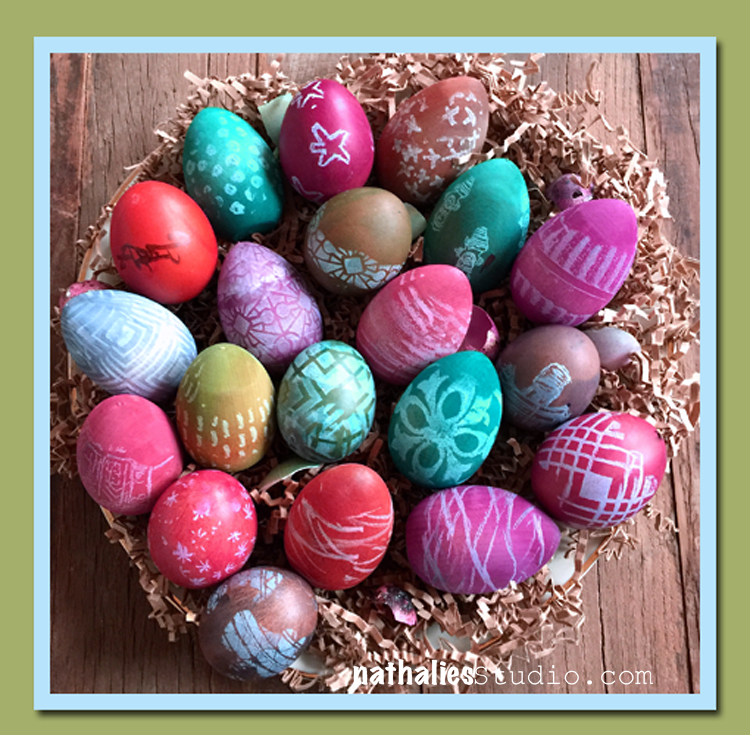
Here you have a couple of the eggs as decoration on my table. The cooked eggs are in the fridge waiting to be consumed in the next couple days ;) That was super fun to make, so easy ! I hope you like them and give these a try :) Here is the supply list of what I used besides some brown and white organic eggs:


Comments (4)

  • stephanie

    |

    great eggs!

    Reply

  • Joi@RR

    |

    Heheheh – love your EASTER PARADE of EGGS Nat! They are GORGEOUS. Your stamps are perfect on them. Xj.

    Reply

    • nathalie-kalbach

      |

      thank you Joi, I am so glad you like them :) Have a wonderful start into the week! <3

      Reply

Leave a comment

DIY Gift Wrapping Paper

KalbachGiftWrapCollage

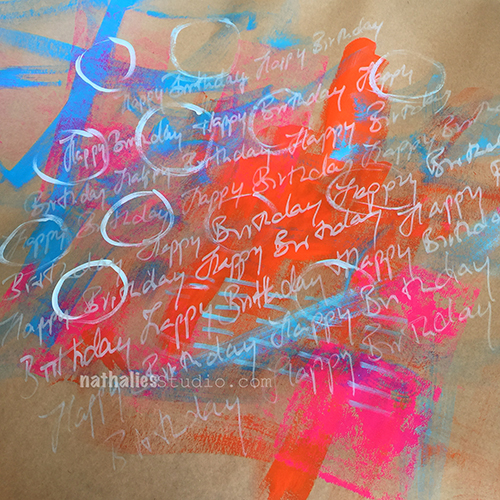
I love making my own gift wrapping paper and it is a really quick thing to do . I needed some paper for the Suburbia Painting I made for my brother in law and laid out some kraft paper.

KalbachGiftWrap01

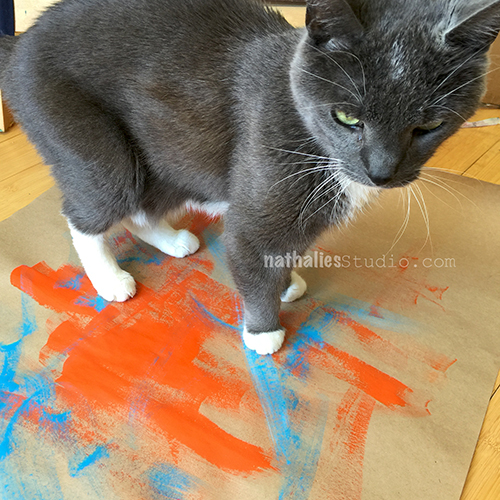
As you can tell Niles really wanted to help – if you want to have your cat help you, add half an hour of time for your DIY gift wrapping paper though – the clean up will keep you occupied *wink. I basically cleaned off my brush onto the kraft paper when I was doing an art journal spread.

KalbachGiftWrap02

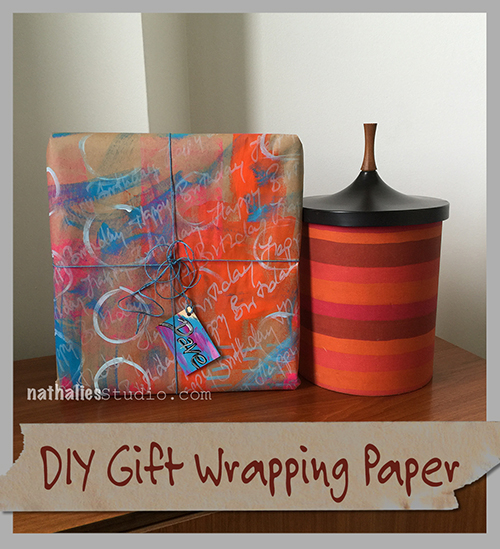
I added some circles with a brush to add some pattern and used a white acrylic marker to write Happy Birthday all over.

KalbachGiftWrap03

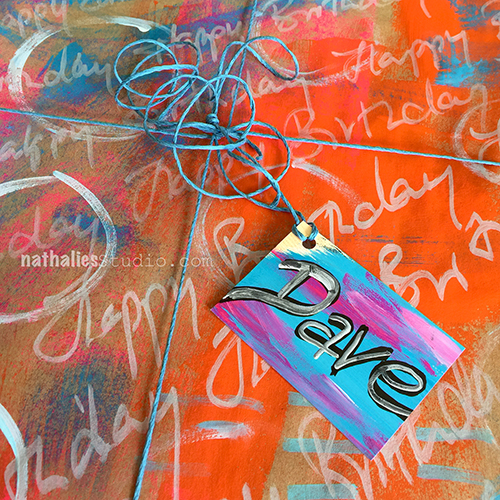
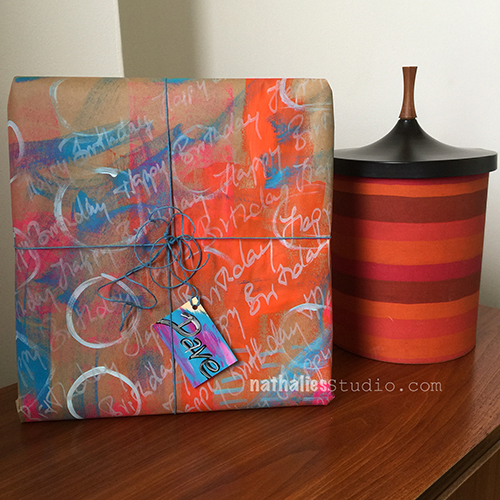
I made a small tag, used some twine in a similar blue as I had used in the background and BAM – done .

KalbachGiftWrap04

Of course you can also use stamps and stencils -but in any event this is a super quick, easy and cheap way to make some personalized gift wrapping paper.

Here are the supplies I used for my DIY Gift Wrapping paper- some links are affiliate links.

SuppliesCJS


Have a wonderful day!

Comments (12)

  • Dee Spillane

    |

    Love the kit! Haven’t seen him in a while. Are you going to do jumpstart for 2017? I love it so much.

    Reply

    • nathalie-kalbach

      |

      glad you liked seeing Niles, Dee :) As for JumpStart ….wink wink …yes :)

      Reply

  • Sue Clarke

    |

    Love this gift wrap and even better that Niles “helped” you out!
    I may have to do this project with my dear doggie.

    Reply

    • nathalie-kalbach

      |

      Yeah- I think Niles should help me more often :) I cannot wait to hear about your doggie helper ;)

      Reply

  • Joi@RR

    |

    Oh so fun – both the great gift wrap for Dave and your darling baby!! Smiling!! Xj.

    Reply

    • nathalie-kalbach

      |

      thank you Joi – Niles is very proud of his accomplishment- LOL

      Reply

  • Muriel

    |

    Making my own wrapping paper is exactly what I did last week. It adds a supplément to the gift itself.

    Reply

  • stephanie

    |

    Your kitty is so cute. The paper is great. Thanks for sharing.

    Reply

    • nathalie-kalbach

      |

      thank you – I will tell Niles- he likes compliments ;)

      Reply

  • Brenda

    |

    What a cute helper. Love the colors on the wrapping paper and the vessel in your photo.

    Reply

    • nathalie-kalbach

      |

      thank you Brenda! The vessel is an old ice cube container – which my friends gave me. I love the colors on it very much :)

      Reply

Leave a comment

Paper Clay Play

FiestaPlate_NatKalbach_02

A couple months ago I was looking for some little bowls or plates that I could use for dropping of my bling in the evening but nothing really made me truly wanna spent money as colors or shapes weren’t what I was looking for.

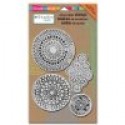
So I remembered a tutorial that I had seen a long time ago on Pinterest on using Paper Clay and Lace to make your own little bowls and decided to give it a try with my newly arrived Stamp Sets. The Paper Clay I used doesn’t need any firing or heating and just air dries. Easy peasy :)

KaffeeKlatschPlate_NatKalbach01

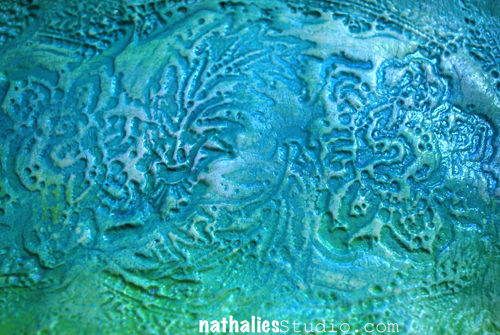
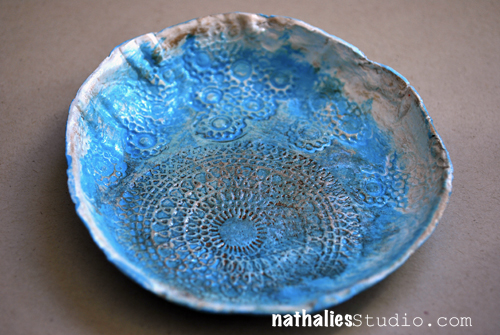
For this bow I rolled a piece of Paper Clay to a little ball and then rolled it out with a rolling pin to a flat wonky circle. I then stamped into the clay with some of my Kaffee Klatsch Stamps. You don’t need to press to hard to get a nice sharp impression. I found a bowl where I liked the shape on the bottom as a guide – since I wanted mine to be not a high bowl and a bit quirky – and pressed the top onto the clay to cut out a nice circle. Next I  formed the clay circle into the bottom of the bowl.  I let everything in the bowl dry for 12 hours and then carefully took the new paper clay bowl out. Since the moisture in the paper clay mostly is evaporated by then it shrinks a bit so that it is easy to get it out of the template bowl. It was still a bit moist on the bottom since now air could get there so I just put the paper clay bowl upside down and let it dry for another 12 hours.

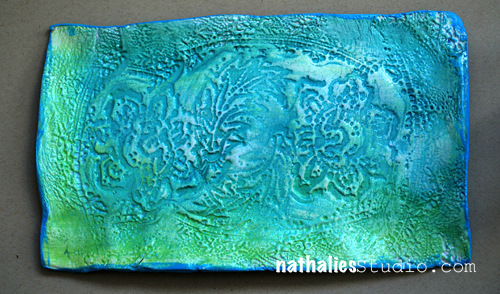
I did the same steps with this plate – just using a plate as a template and the Fiesta Stamp set for the Impressions

FiestaPlate_NatKalbach_01

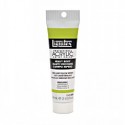
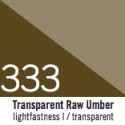
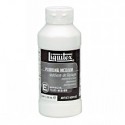
Once they both were dry I used Liquitex Soft Body paint thinly over the surfaces, waited a couple seconds and then using a paper towel rubbed some of the paint off again, so that the impressions were more colored and more prominent. That way the texture really popped off. For the plate I used two colors to and blended them. I painted outside of the bowl and the bottom of the plate and then everything dry again. I applied some Liquitex Transparent Raw Amber Acrylic Ink over the circle impression of the bowl to have it pop up even more and to give it some patina and let that dry again. To finish everything off I coated the bowl and plate with Liquitex Pouring Medium which gave it a nice shiny glossy and glass like look and feel. I coated it twice leaving a couple hours in between for curing.

Done :) Hope you like this little crafty fun project – I also made some christmas ornaments using the same technique…there is a lot of potential in this – you just have to play . Here is the full supply list:

nSupplies


Comments (11)

  • AmyO'

    |

    I have some Paper Clay in my stash from long ago – I’ll be digging it out this weekend to see if I can still use it – I love these!

    Reply

  • Stephanie

    |

    Great project. Thanks for the tutorial

    Reply

  • andrene

    |

    OK I am so doing this. Hope mine turn out as beautiful as yours!!

    Reply

  • Sue Clarke

    |

    That dish is so sweet and I love the new stamp on it.
    It’s nice to have a place to place one’s rings and such at the end of the night (or while washing yucky pots and pans).

    Reply

  • Petrin Diaz

    |

    Oh, Nat…so long not writing, but always take time to read all your publications…Love thiis “little idea”…and will try asap, as soon as i can. Thanks always for your kindness! lovely colors!

    Reply

    • nathalie-kalbach

      |

      So good to “see” you again! thanks for your sweet words!

      Reply

  • Kathy Gledsdale

    |

    Oh these are gorgeous, I adore them, thank you for sharing the idea.

    Reply

  • Win Dinn

    |

    Love these, and I love it that you made it rather than buying something that was less then appealing – living the art-ful life!

    Reply

    • nathalie-kalbach

      |

      Thank you Win! I agree, making something your own instead of buying is always double the fun!

      Reply

Leave a comment