Jump into Autumn! Creative JumpStart 2018 Sale

Fall is just a week away and maybe you are looking for some inspiration? If you missed Creative JumpStart 2018 this January, it’s not too late to take advantage of the online workshop. For the next few days (September 14-17, 2018), I am running a 20% off sale on CJS18 for those of you who might need a little JumpStart to your mixed media projects :)

The price is just $40 when you sign up by September 17th, 2018. You can sign up here and get started right away!

Creative JumpStart 2018 features 31 downloadable videos by leading mixed media artists. The videos are downloadable until November 15th 2018 and once downloaded, are an invaluable resource when you need some new ideas.  Although you may have missed the fun and excitement of playing along in real-time with the CJS community, you will still have access to the CJS18 Classroom through Nov 15, where you will find material lists, artist bios, and galleries of project images that Jumpers uploaded during January.

Enjoy the sale and I hope to see you in January 2019 for the next Creative JumpStart!

Leave a comment

Decay – Art Journal Spread

I see beauty in decay, because I see beauty in what was, what is and what is yet to come. Isn’t that such a freeing and exciting way to look at things?

I used my new Downtown Stencil over a background which I had painted and also adhered masking tape too.

I love the pattern – well yeah —-um I am partial I guess ;)

Do you find beauty in things that are showing age or decay?

Here are some of the supplies besides acrylic paints that  I used:


Comments (2)

  • Sue Clarke

    |

    Yes I do, as long as it’s not me. LOL
    Especially decaying trees and old remains of stone/brick buildings.
    I like to imagine the lives that they’ve had!

    Reply

Leave a comment

Never Stop Dreaming – Josefine Fouarge


Today we have a post from my Creative Squad. Squad member Josefine Fouarge is sharing with us a fun art journal page that really shows off my new Millie rubber stamp, and my Hamburg and Lily Wallpaper stencils. Josefine was inspired by this month’s theme: Never Stop Dreaming – This month we’re sending a message of confidence and empowerment to all those in the world (near and far and maybe even you!) who have been told “You can’t”, “That’s not possible”, or “Not you”. Actually we can and we will! And we’ll never stop dreaming either :)


For me, creating is all about expressing myself and experiencing with new mediums, styles, etc. I love to sit down and come up with several ideas of how to use a specific stamp or stencil – sometimes I see a finished project, sometimes I just see the beginning – and then just start creating.

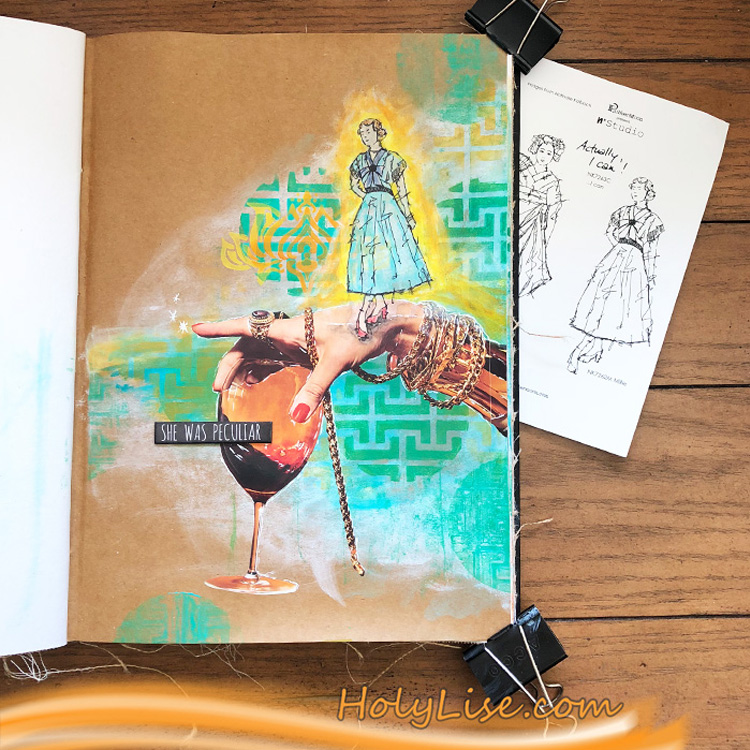
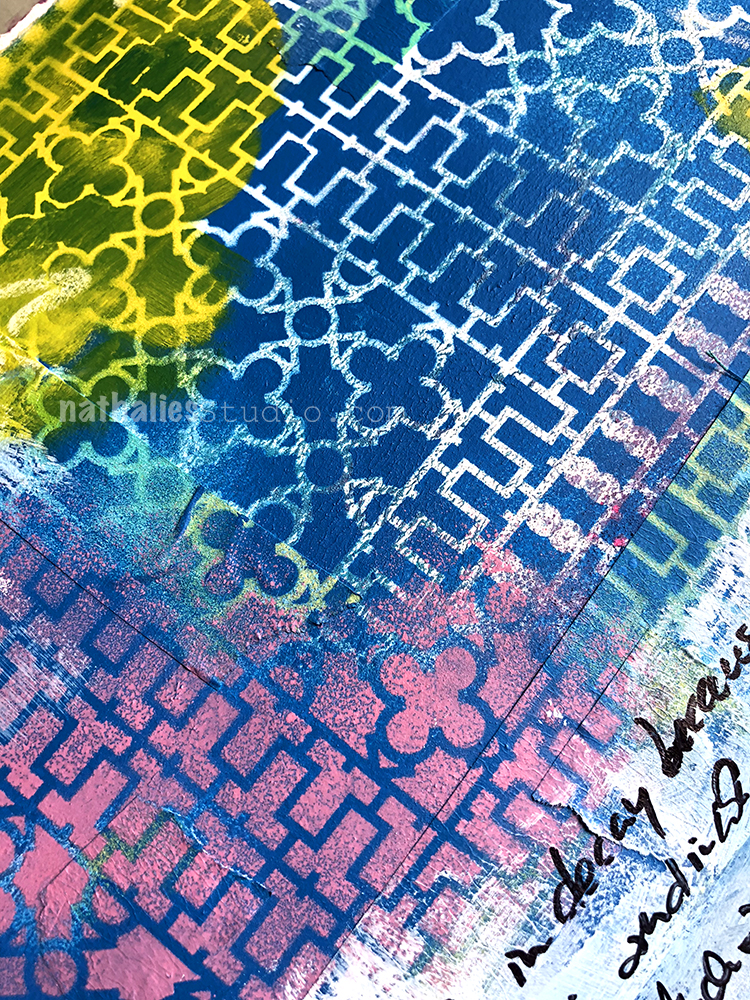
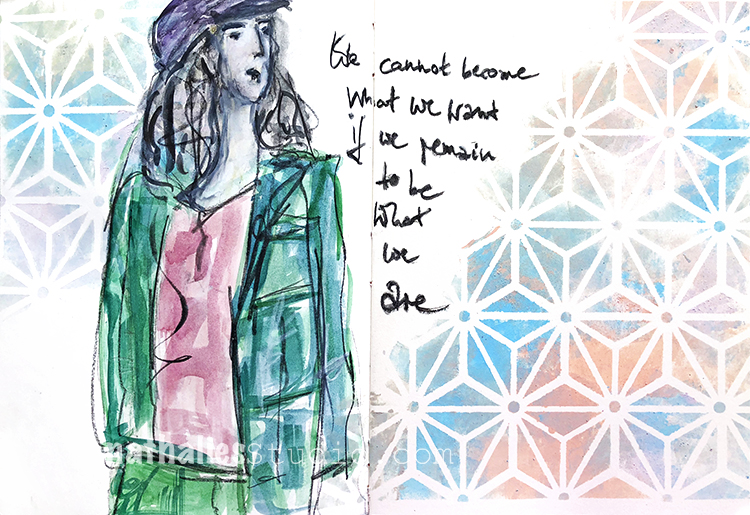
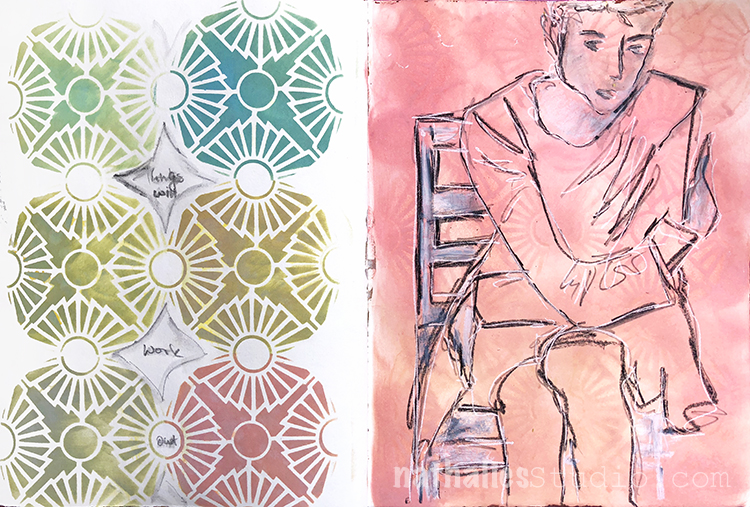
For this page, I decided to use Nathalie’s Hamburg and Lily Wallpaper stencil as well as the new Actually, I Can stamp set. I knew that my image would end up being rather long, so I grabbed my large Dina Wakley journal and primed one of the craft card stock pages.

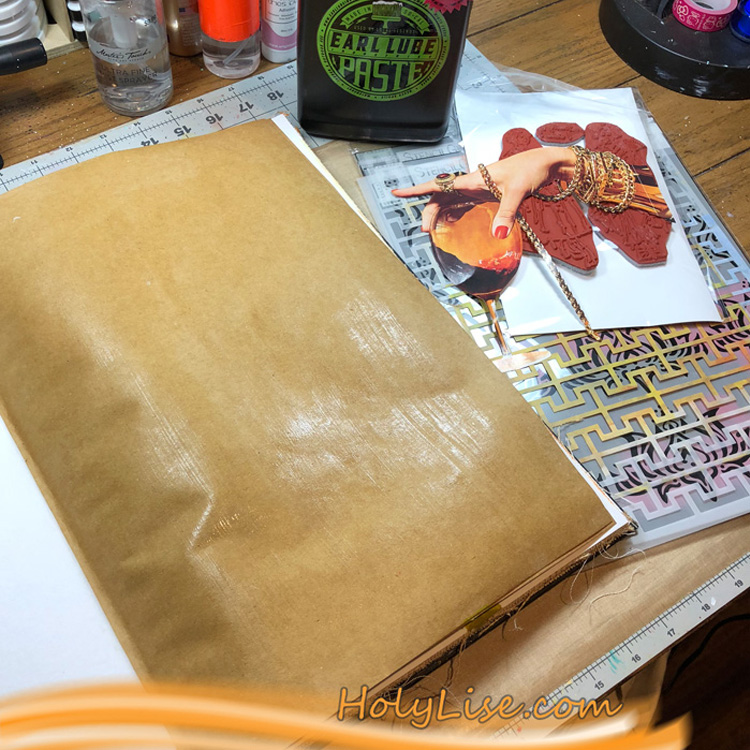
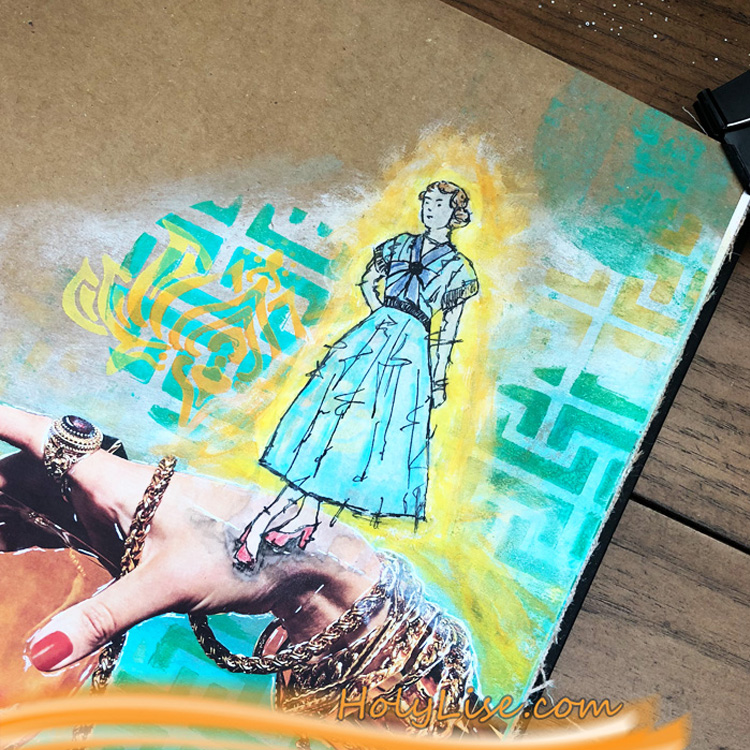
I didn’t want to cover the entire page in paint, so I applied a very thin layer of white gesso to create a fog like coverage. This allowed the blue tones that I added on top to shine nicely.

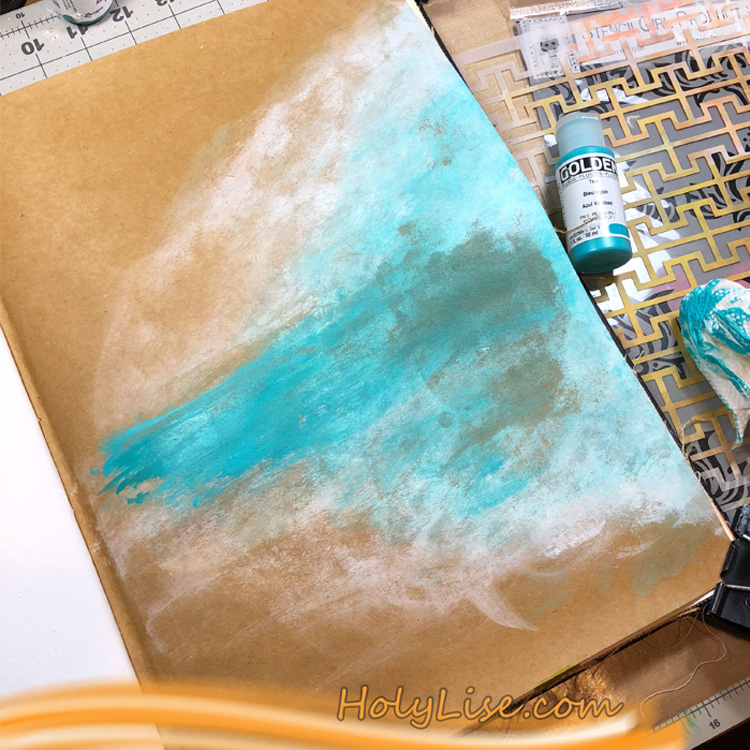
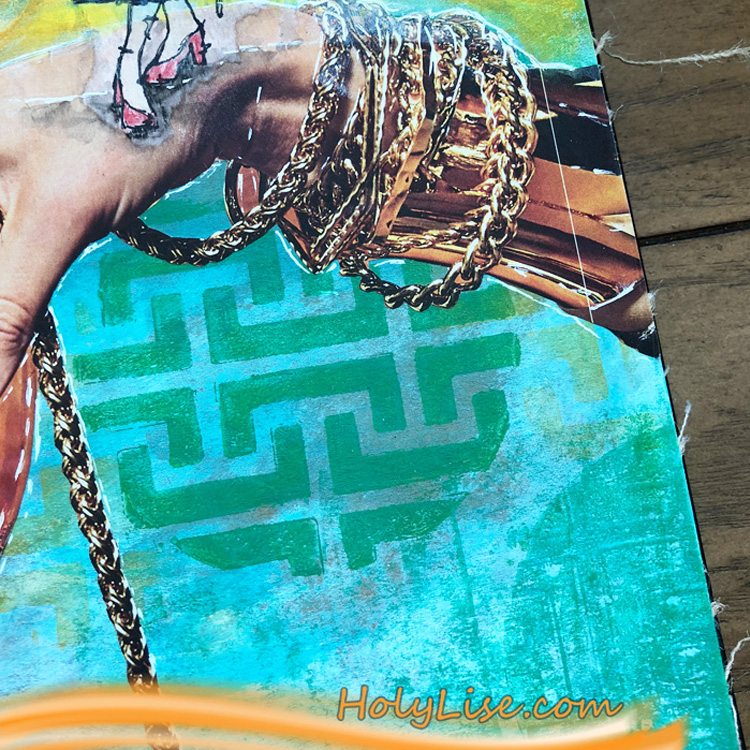
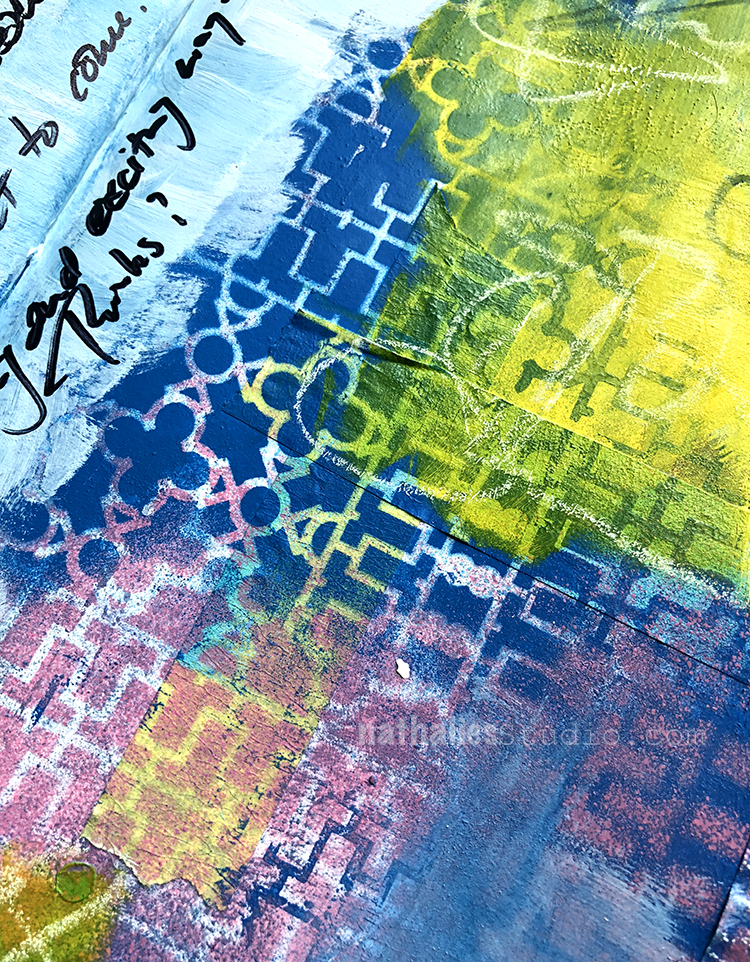
To keep the page light, I added a few accents. I made these by mono printing different green and blue shades through the Hamburg stencil using a round Gel Press.

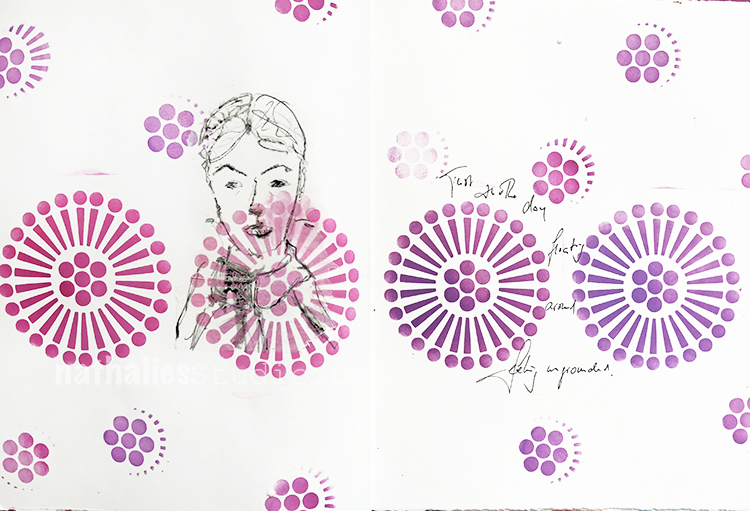
To clean up my Gel Press, I applied the leftover paint to the page, creating round shapes with the impressions from the stencil in them. To add a little more interest to the circles, I stenciled one lily from the Lily Wallpaper stencil into one of the circles.

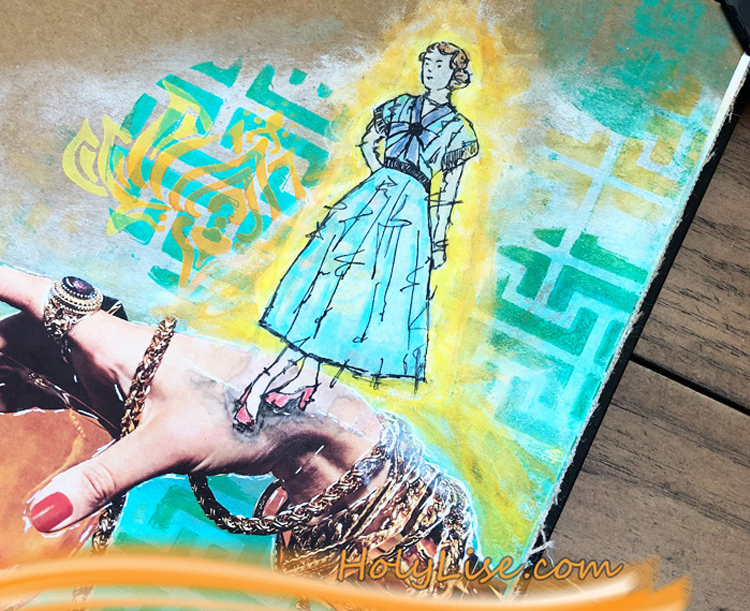
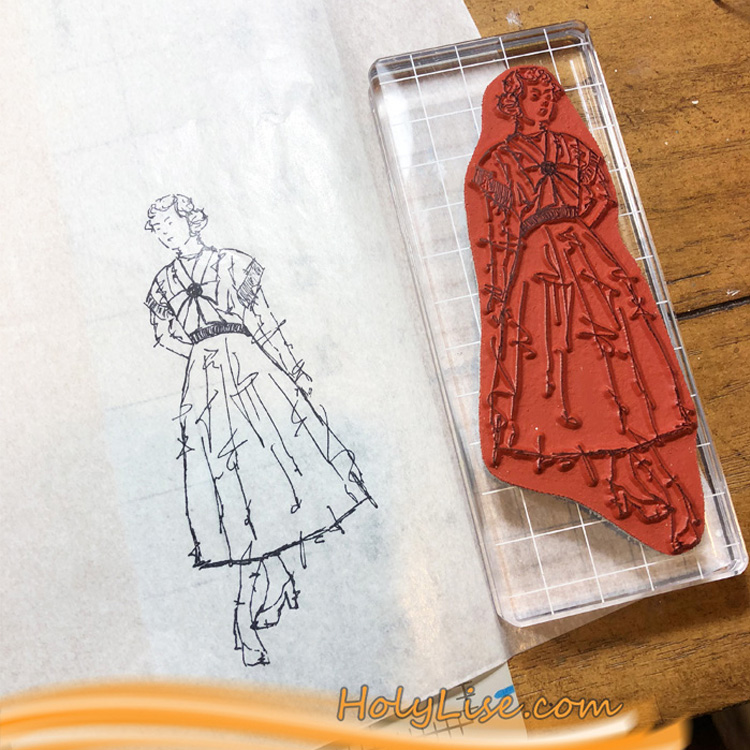
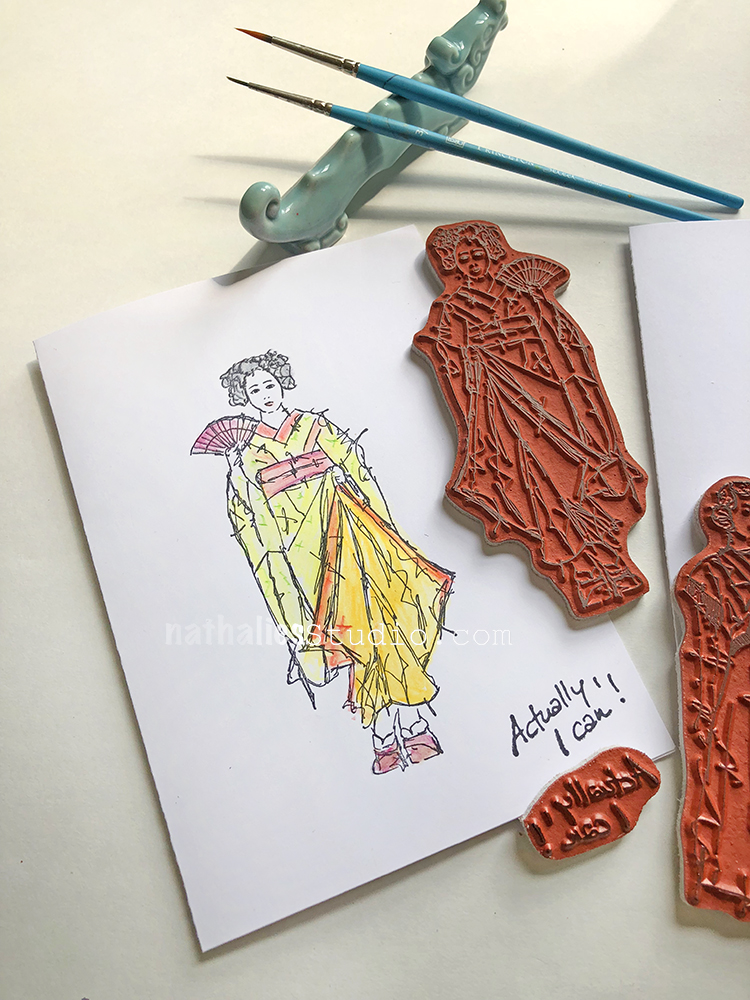
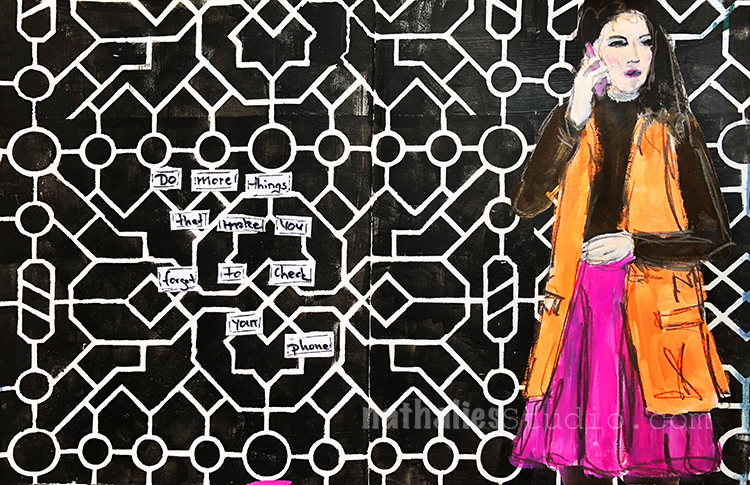
I stamped one of the girls from the “Actually, I Can” stamps onto a piece of collage paper. This allowed me to adhere a crisp image of her to the page.

First, I adhered the hand with gel medium, then the girl. I overlapped them a little, so it looks like she’s standing on the hand.

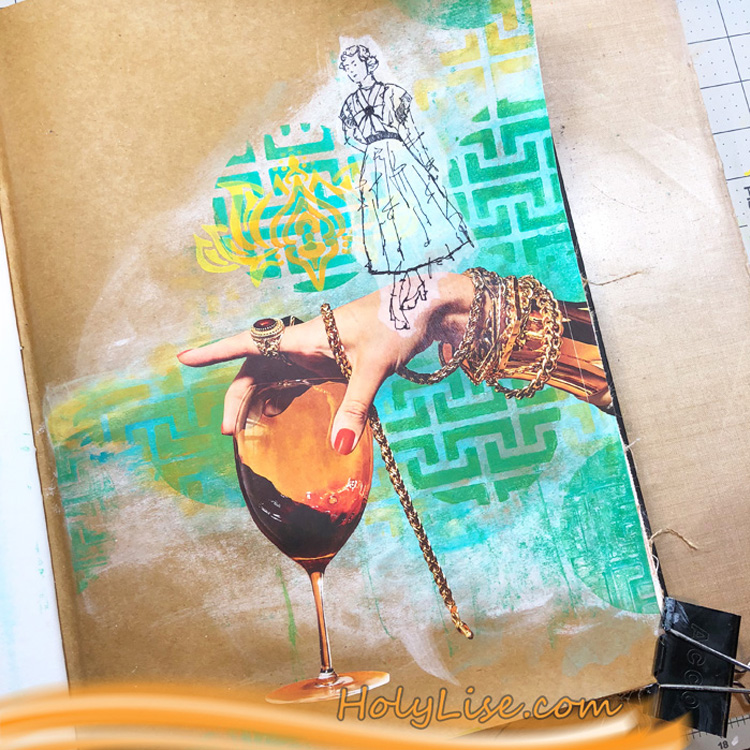
Unfortunately, the collage paper didn’t merge with the background entirely, so I “fixed” it by applying a thin layer of gesso all around her.

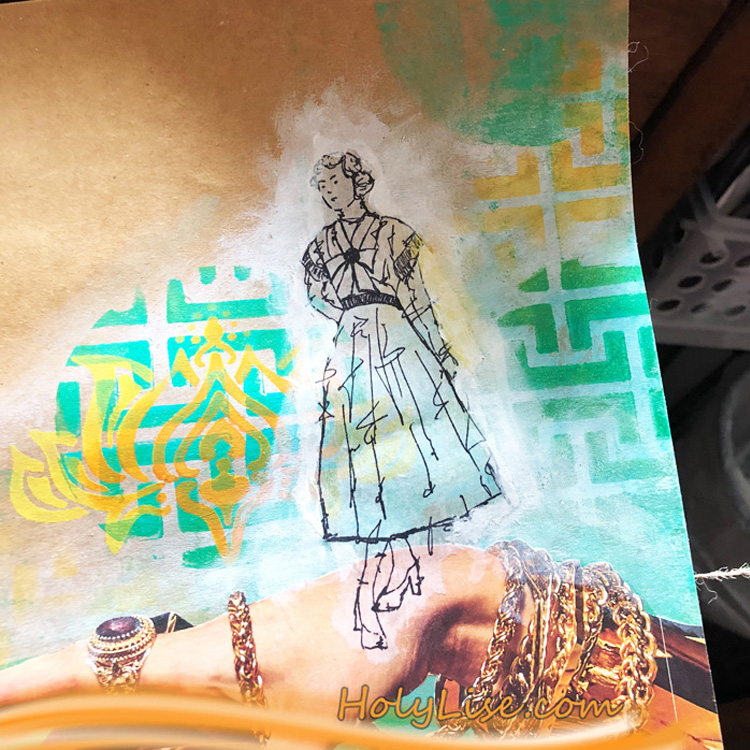
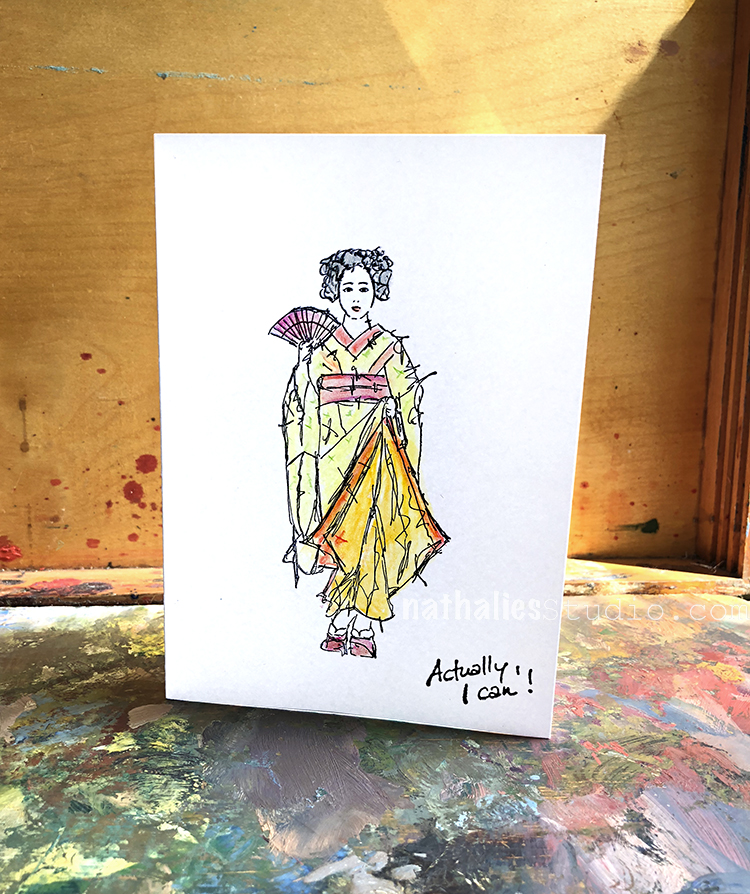
This felt like an aura to me, so I decided to embrace that fact. I applied layers of yellow and orange all around her till it looked like she’s on fire. I also lightly colored her using Liquitex paint markers.

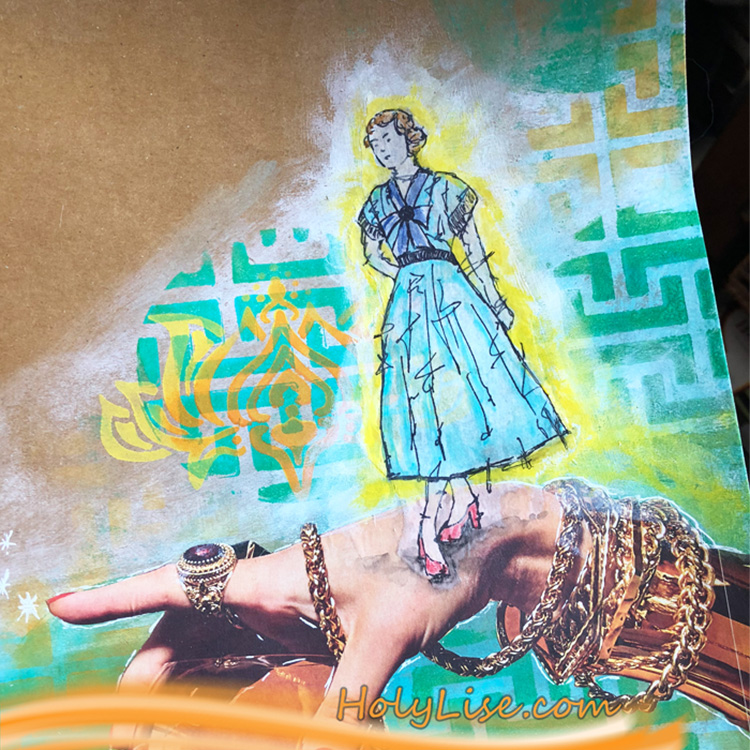
Now, she really felt magical to me. As a final touch, I added a few outlines around the hand and some finishing touches around her. She definitely can, no matter what anyone says :)

Everything came alive and played so well with each other – the elegant hand, the girl on fire – so it just needed a little sentiment, which btw, I interpret as something very positive.

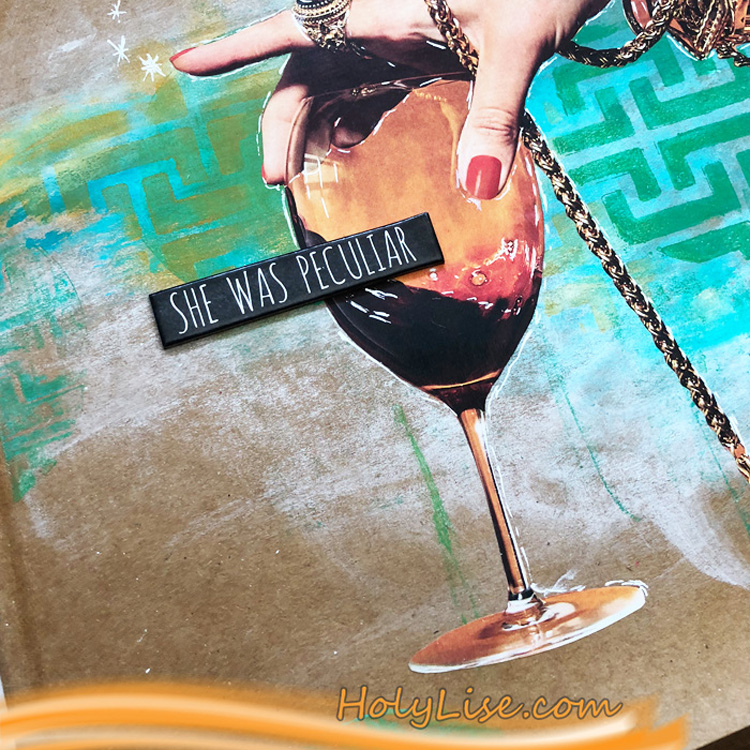
It’s exciting to see all these layers melt into each other and shine through.

I hope you enjoyed my magical page with the girl that could and feel encouraged to let your dreaming girl out.

Thanks for stopping by and don’t forget to come back every Tuesday for more inspiration from the Creative Squad.


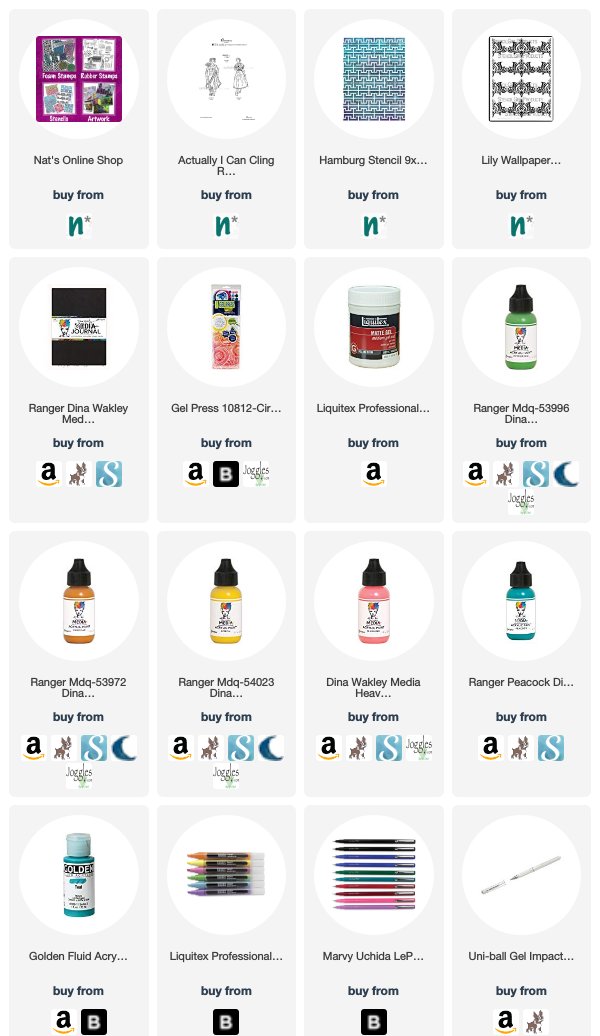
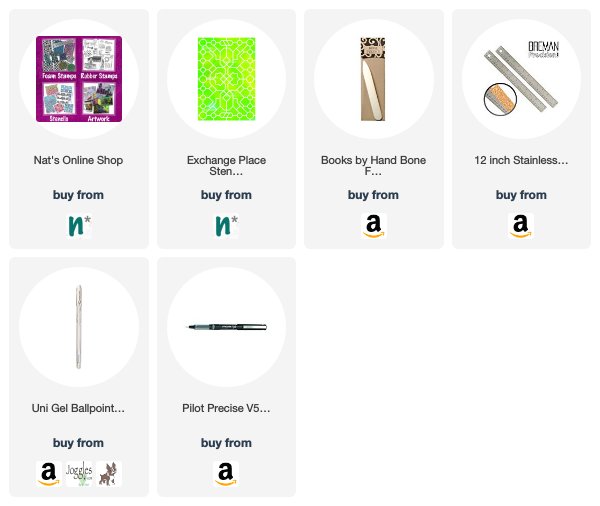
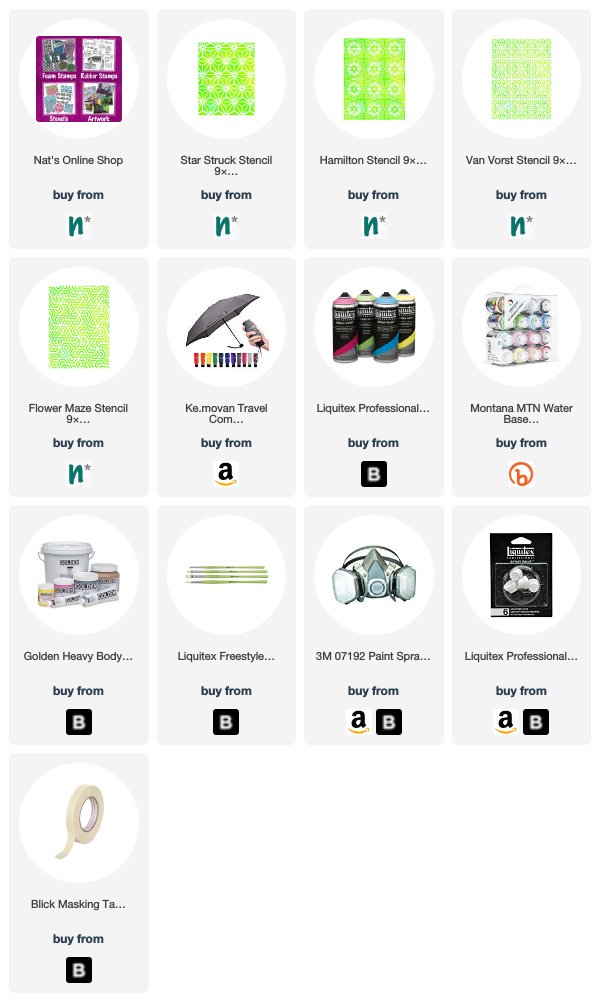
Thanks Josefine! Love how you layered the Hamburg and Lily Wallpaper stencils together! You can find my new Millie rubber stamp here in my online shop as well as all of my stencil designs. Here are some of the other products that Josefine used in her post:


Feel inspired? Working on something yourself that you’d like to share?  I love to see how you interpret our monthly themes. Email me how you used my stencils and stamps with the theme and email me an image – I would love to share your projects in my next  “n*Spiration From Around the Globe“.

Comments (1)

  • Sue Clarke

    |

    I love how this came out Josefine! I also like mixing magazine elements with other images/stamps…very fun page.

    Reply

Leave a comment

Gift Box DIY

For a little gift I was looking for a gift box and it happened that I had my new Exchange Place Stencil on my workbench and when I looked at the middle I realized that this would make an awesome template for a little gift box.

I used a cosmetic sponge and some acrylic paint and dabbed the paint through the Exchange Place stencil through the middle section of the stencil as seen in the photo onto a sheet of self adhesive canvas.

I then cut the canvas piece out, adhered it to a piece of cardstock and then cut along the edges of the cardstock as well.

I outlined some of the stenciled areas with black and white.


Using a bone folder and a ruler, score the folds

applied my gift and tied it all up for a little package.

Voila. That was fun. The box measures approximately 3″x3.5″x2″

Here are some of the supplies besides Acrylic paint and Cosmetic sponges I used:


Comments (2)

  • Peg Gulrich

    |

    Hi. This looks great. Can you tell me what kind of adhesive backed canvas you used and what the dimensions of the final box you made are?
    Thanks

    Reply

  • Rae Missigman

    |

    I fell in love with this all over again! ❤️

    Reply

Leave a comment

Actually I can – Cards

I made some cards using my new Actually I can Rubberstamp set.

I used some Derwent pencils to color in the stamped images and then blended some areas with a wet brush together.

Fun, quick and now I cannot wait to send those out :)

Here are some of the supplies I used:


Comments (2)

  • Rebecca

    |

    Love these stamps, got mine this week!

    Reply

Leave a comment

Stenciled Umbrellas for a Rainy Day – DIY Play Date

Did you know you can stencil on an umbrella and turn it into a work of art? You can and it is a fun project. Kim and I got together on a sunny day to transform a couple umbrellas into something that will brighten any rainy day we encounter.

We chose white umbrellas as our “blank canvas” and some of Nat’s new stencil designs. We worked outside with acrylic spray paint (and proper protection – face mask) and each tried a different way to approach the project.

I began by painting my umbrella with heavy body paint to create a new background color.

I chose three different colors to alternate on the panels. This is a great way to make your umbrella any color you want.  BUT I learned the paint definitely stiffens the fabric and makes the umbrella hard to wrap up when you are all finished. I could almost not get the velcro tie around it in the end. Oops. It’s still doable, but tight.

Kim decided to spray paint directly on the fabric. She taped down the stencil and some paper as a mask. She began with my new Star Struck stencil and some blue paint.

The 9×12 stencils are a nice size to cover a large area with color and pattern.

She covered the top of 3 alternating panels with a couple colors of blue. The Star Struck stencil almost looks like umbrellas so it works nicely.

She then moved to the bottom to add more.

I chose my new Hamilton stencil – absolutely loving this pattern!!! I used a buff color on the blue panels.

I lined up the pattern and covered the whole panel with the design.

On some panels I used Hamilton and on others I used my new Van Vorst stencil – both are beautiful and delicate designs.

Here is my umbrella with the patterns. I might add more to the yellow panels – I chose a very subtle color for that one and it’s hard to see it once it dried.

Kim added green with my new Flower Maze stencil and just blended one pattern into the other.

Peekaboo :)

Looks great and all ready to brighten up a dreary day!

So you have lots of options when you start with a white umbrella. You could choose colors and coordinate it with your rain coat or rain boots or you could just aim to make something that makes you smile on a rainy day :)

You can find my new stencils in my shop here, as well as all my other products. Here are some of the supplies that we used:


Comments (4)

  • LindaLubovich

    |

    If you add textile medium to the acrylic paint you’ll avoid the stiffness you experienced when you base-coated your umbrella. Hi from San Jose.

    Reply

    • nathalie-kalbach

      |

      Great tip Linda, thank you! In this case on of the main problems was that I used heavy body paint which just made a too thick of a coating so that the string to tie it together became to short. Kim didn’t have the same problems using just spray paint.

      Reply

  • Sue Clarke

    |

    Clever and colorful…did you put anything on to preserve the paint…so it doesn’t run in the rain?

    Reply

    • nathalie-kalbach

      |

      thank you Sue. Since Acrylic paint is water proof I did nothing else to it- it should be stay as is :)

      Reply

Leave a comment

New Stencil Designs! September 2018

Today I am releasing 11 new stencil designs with StencilGirl Products and am over the moon to be able to share them with you finally! You can check them out now in my Online Shop.  I’ve been playing with them for the past month and wow am I loving these new patterns.

Of course I love using the big ones as backgrounds in my art journal, but you don’t have to stop there with these guys. Here are a couple fun ideas to inspire you – I will show the details later this month:

Star Struck

Above the Exchange Place Stencil – loving it.

Downtown Stencil .

Art Journal Spread using Flower Maze.

Hamilton

Van Vorst


For the small round ones, I created the samples below:

Grove Street.

Broadway

Park Blvd

Central Ave

Valley Road

I hope those new stencils make you as excited as me :) Do you have any favorites???

Come and join me as I talk about the stencils and a few other exciting developments TODAY, September 6th at 2pm EST on Facebook Live:


Comments (4)

  • stephanie

    |

    Congrats! These are great. What did you use for the Central Ave card? Pan pastels?

    Reply

    • nathalie-kalbach

      |

      Hi Stephanie- sorry for the late reply – I used Woody Stabilo Pencils with the stencil- I will show a step-by-step this coming week :)

      Reply

  • Sue Clarke

    |

    Flower Maze and Star Struck if I must just pick one or two.
    I appreciate you showing your samples since it gives me so many ideas on how to use them.
    It’s so wonderful to see your success.
    May you sell many new stencils!

    Reply

    • nathalie-kalbach

      |

      Awe thank you Sue! Love those two too- …well I guess am biased LOL

      Reply

Leave a comment