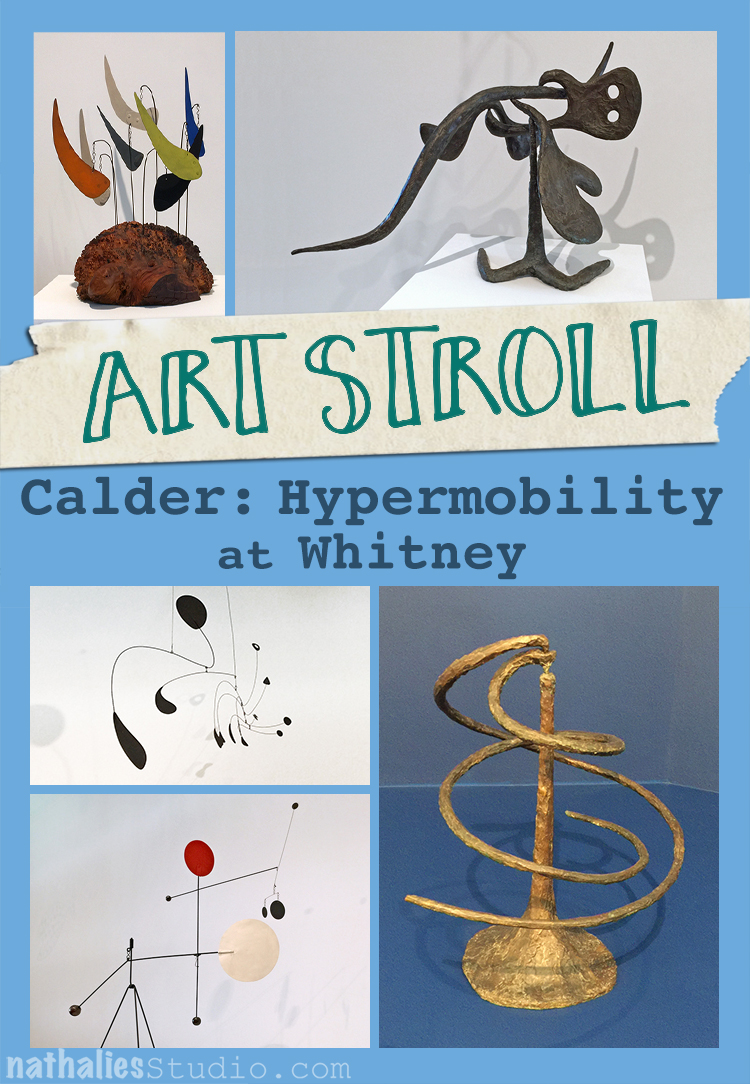
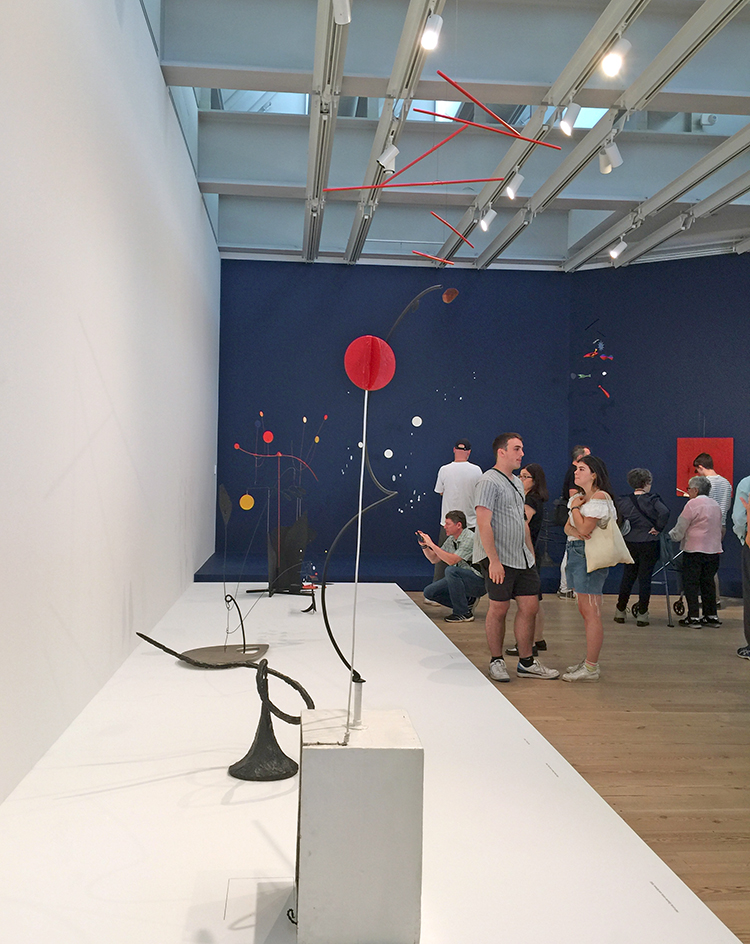
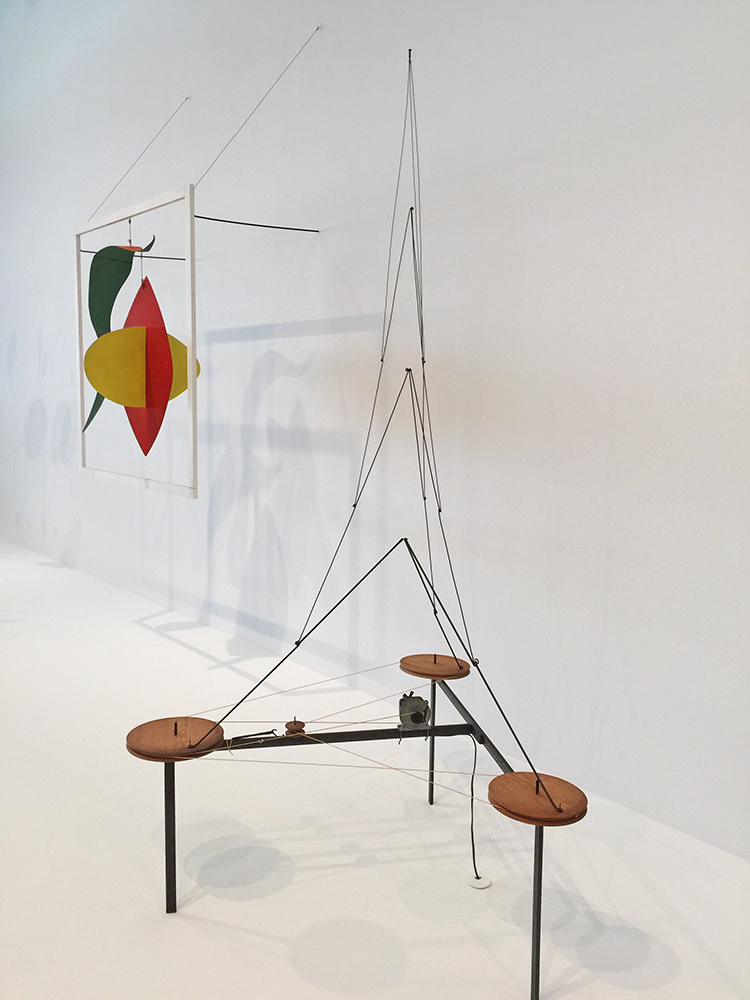
Last Saturday my husband and I went to the Whitney museum to see the Calder: Hypermobility exhibition. In the early 1930s, Alexander Calder invented an entirely new mode of art, the mobile—a kinetic form of sculpture in which carefully balanced components manifest their own unique systems of movement. The exhibition showcases major examples of Calder’s work including early motor-driven abstractions, sound-generating Gongs, and standing and hanging mobiles.
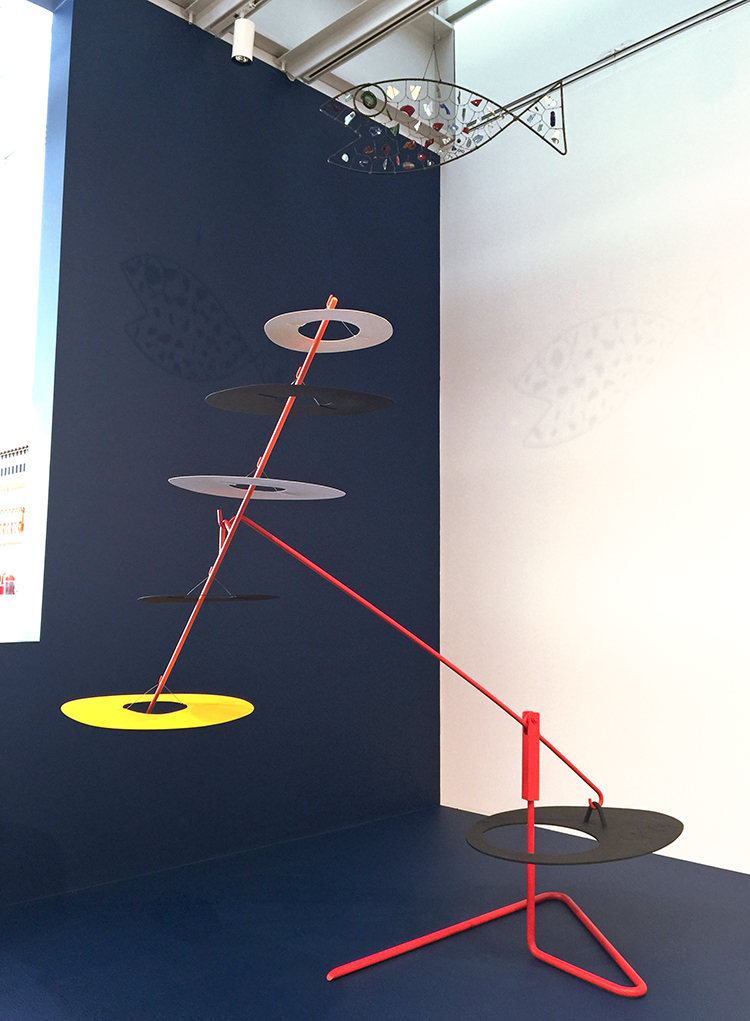
We arrived right on time for one of the activations of the artwork which the Whitney performs on certain times throughout each day
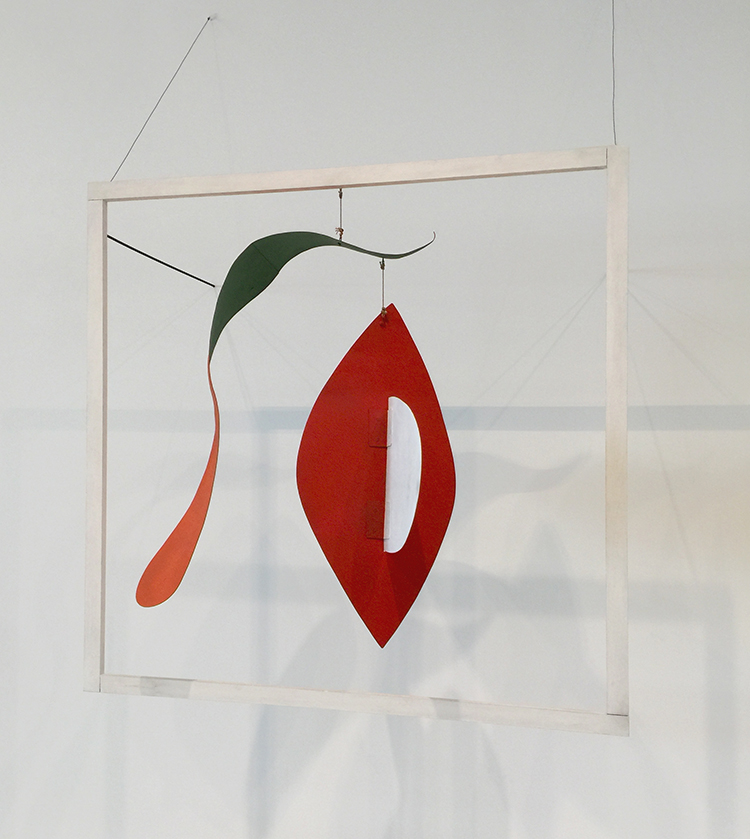
and it was really my favorite to see these pieces in motion – check out the short one minute video below to see the two pieces above being activated:
Calder: Hypermobility from Nathalie Kalbach on Vimeo.
I loved the exhibition – there was something so playful and happy about all the pieces
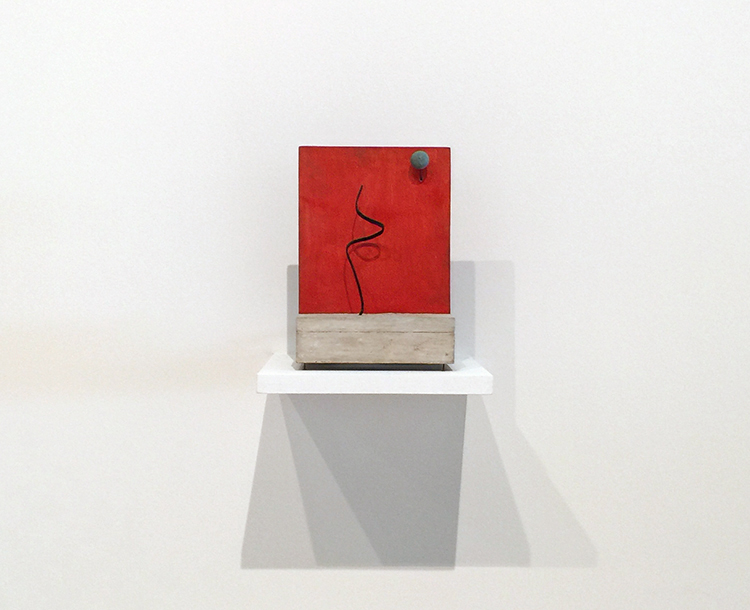
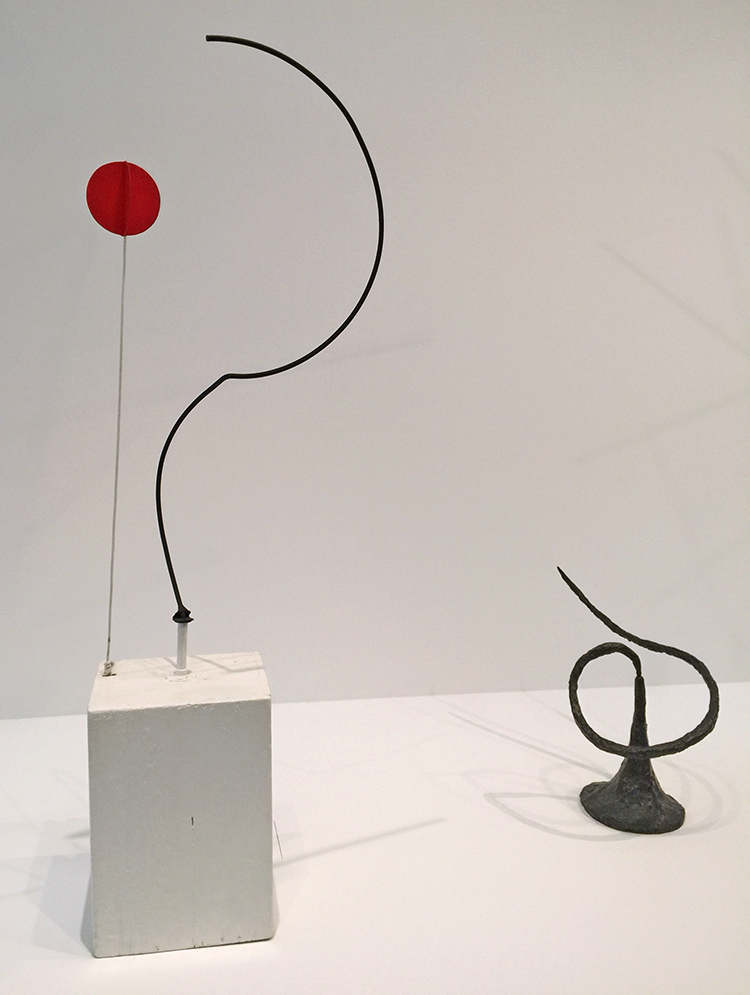
and I was equally fascinating by the way they were assembled
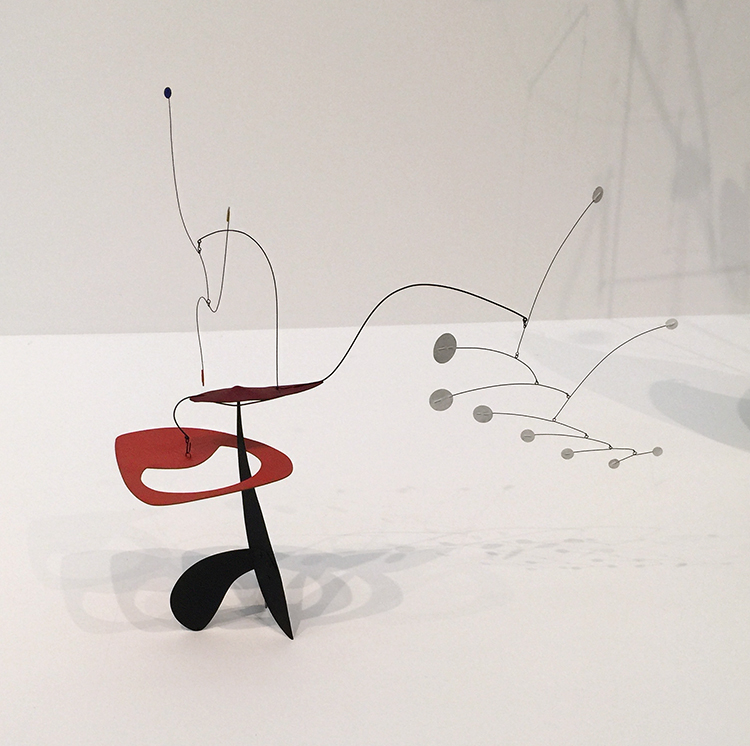
the forms, shapes and use of color
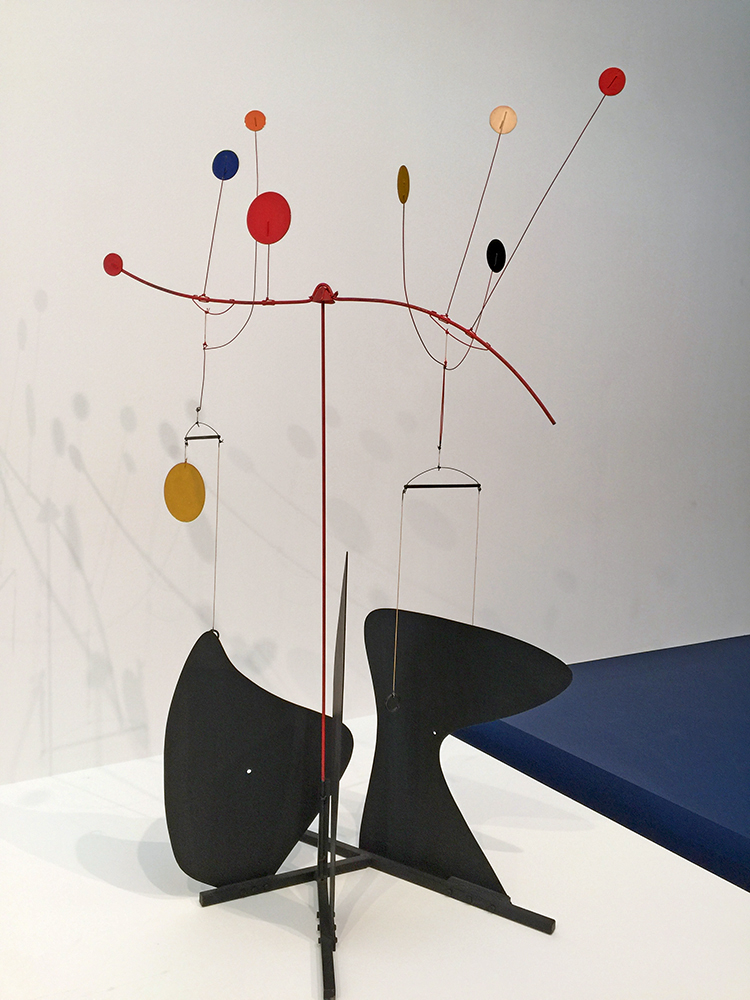
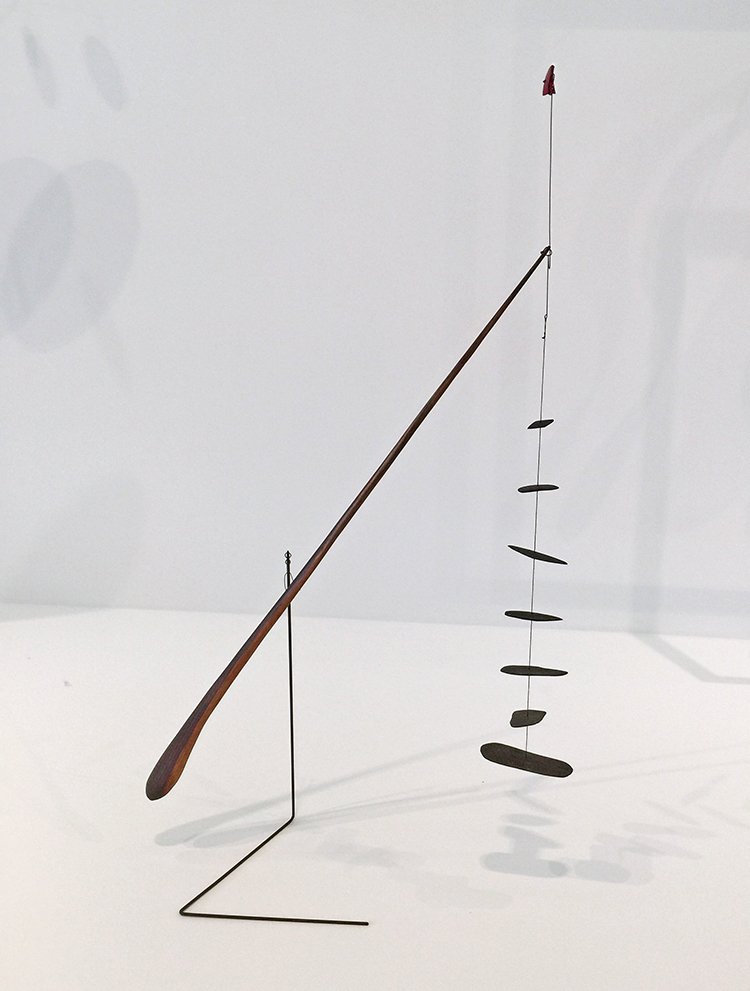
as well as the really intriguing shadows
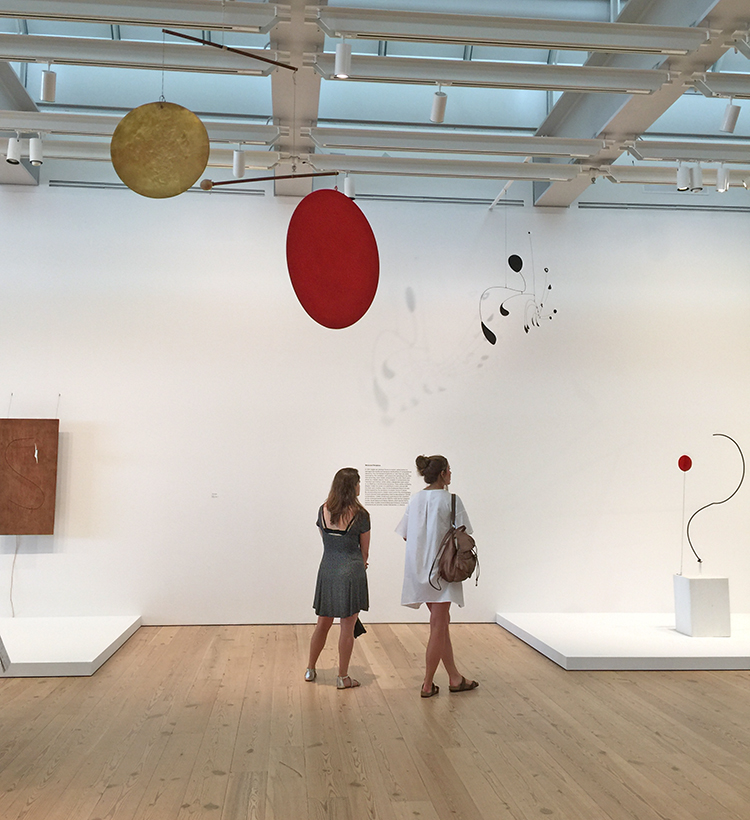
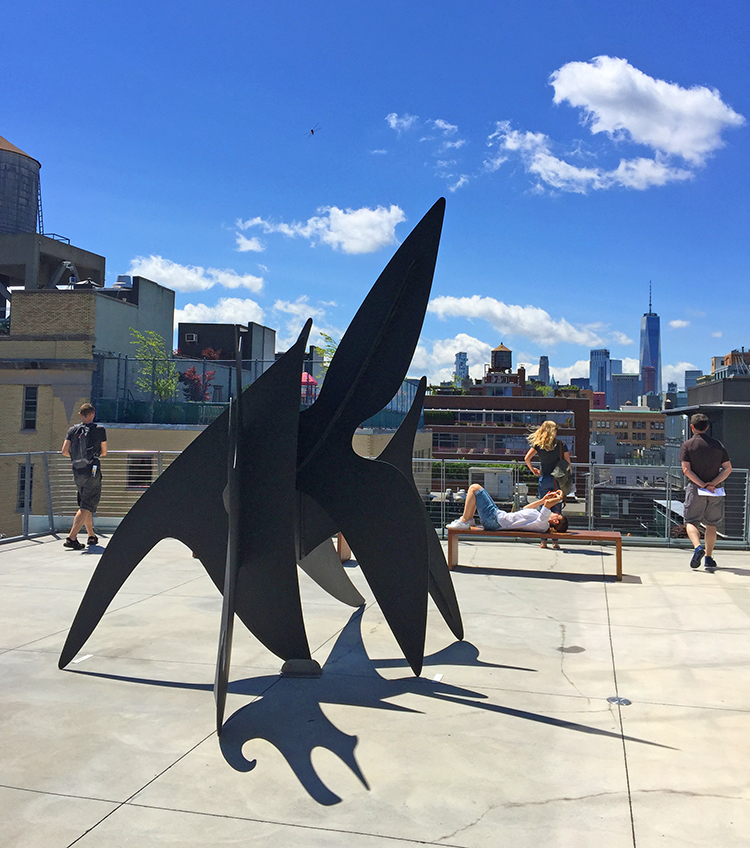
I loved seeing all generations being equally fascinated by the work.

and the shadows in motion
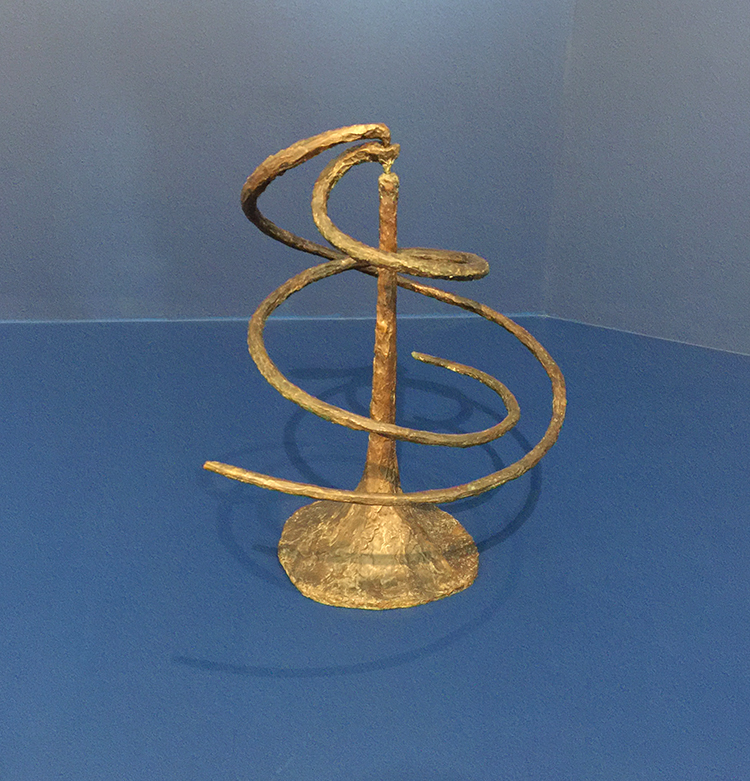
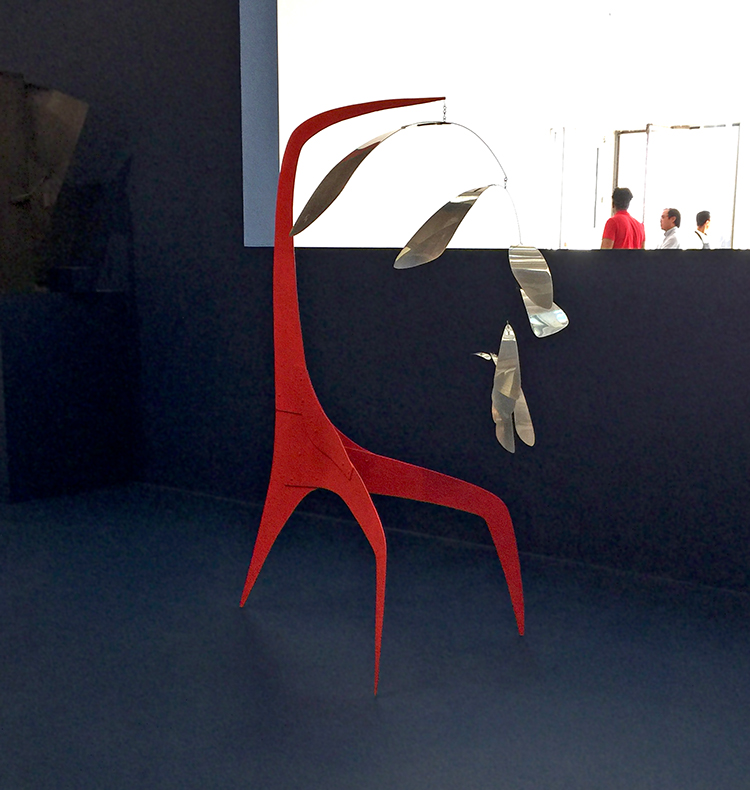
I loved the sculptures
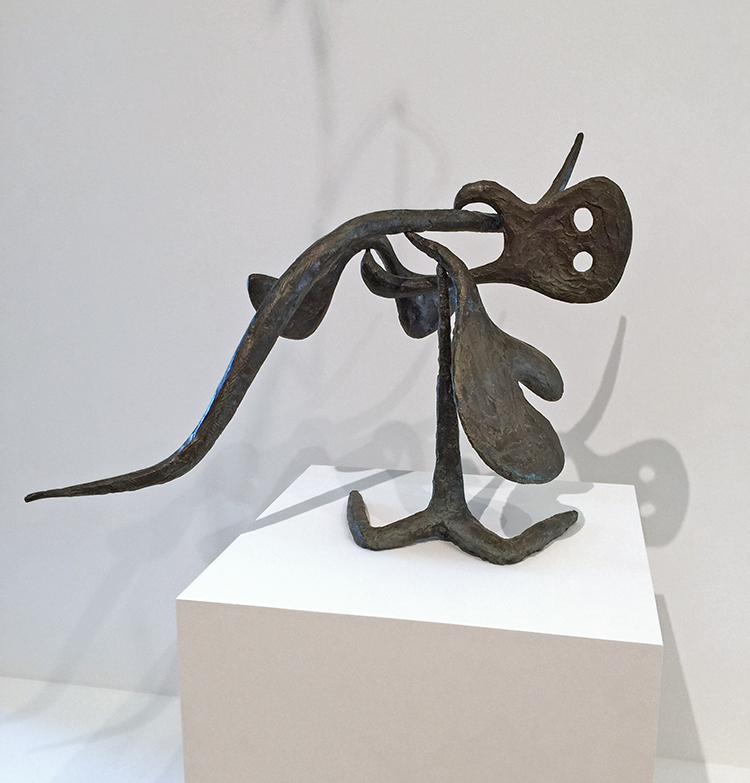
and his use of different materials. BTW Calder called his non moving sculptures “Stabiles” .

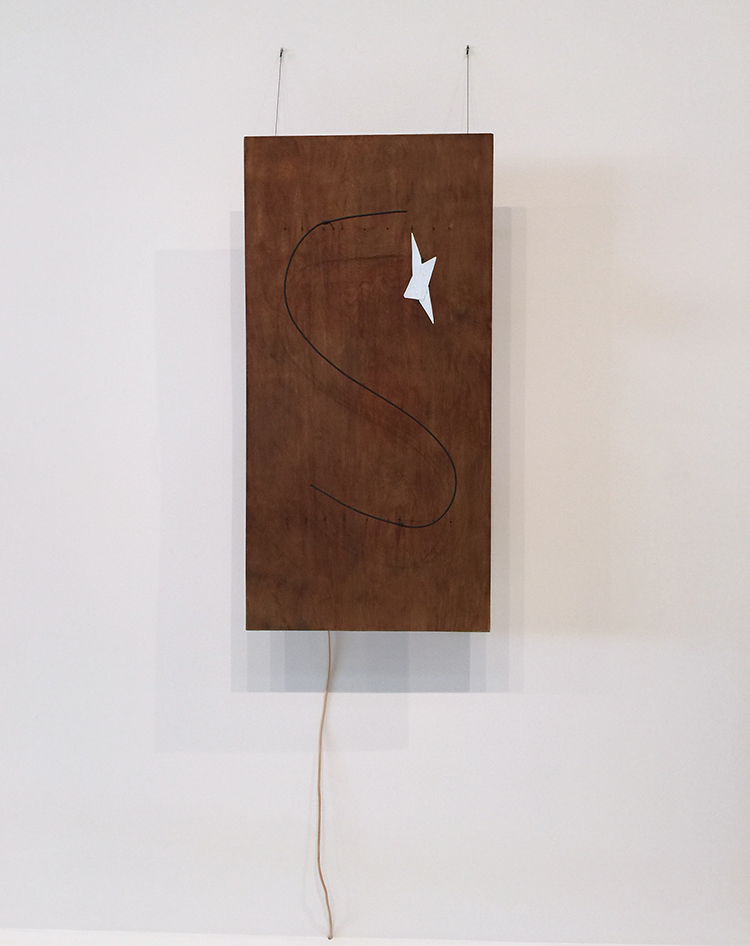
Some of the pieces were electrical and I wished they would have been working at the the time I was there – guess I have to come back.
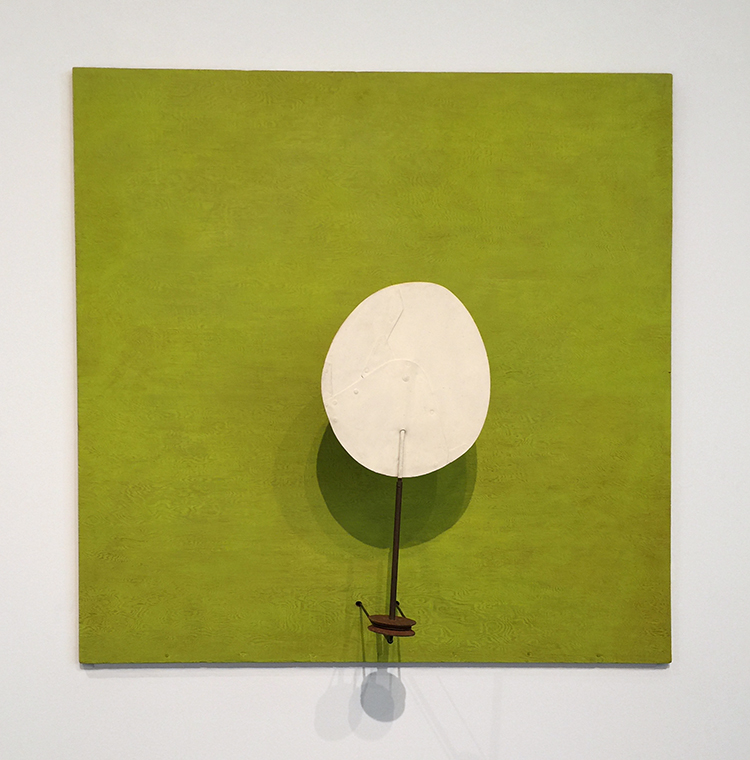
How does the one below not fall ….LOL- crazy !
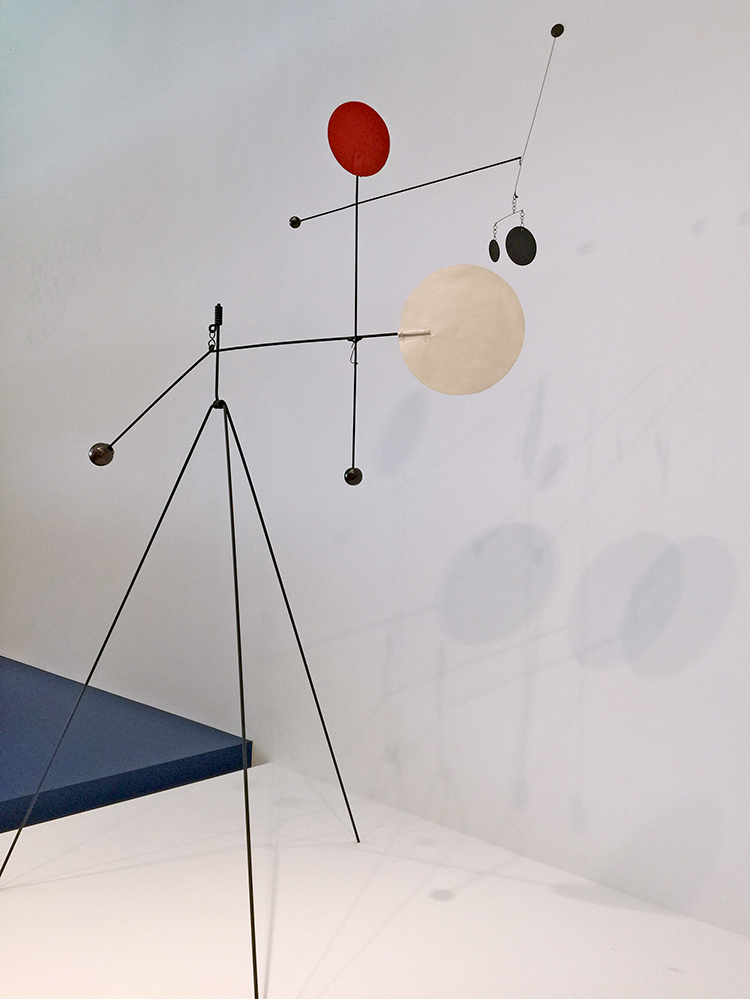
All the elements and principles of art can be found in his work- it is so fascinating.
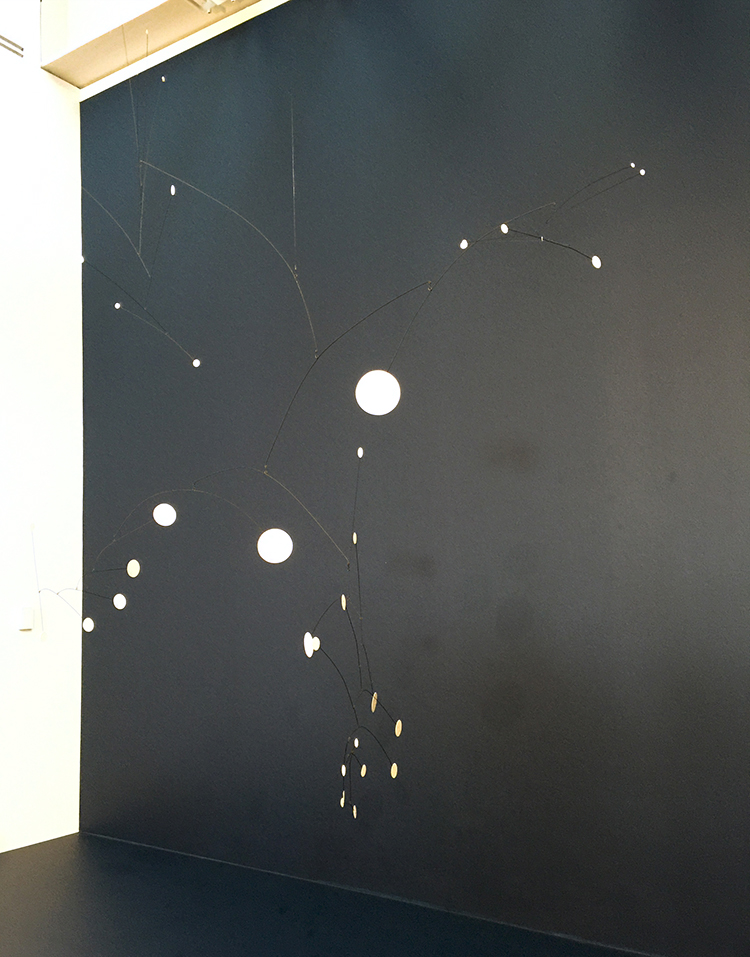
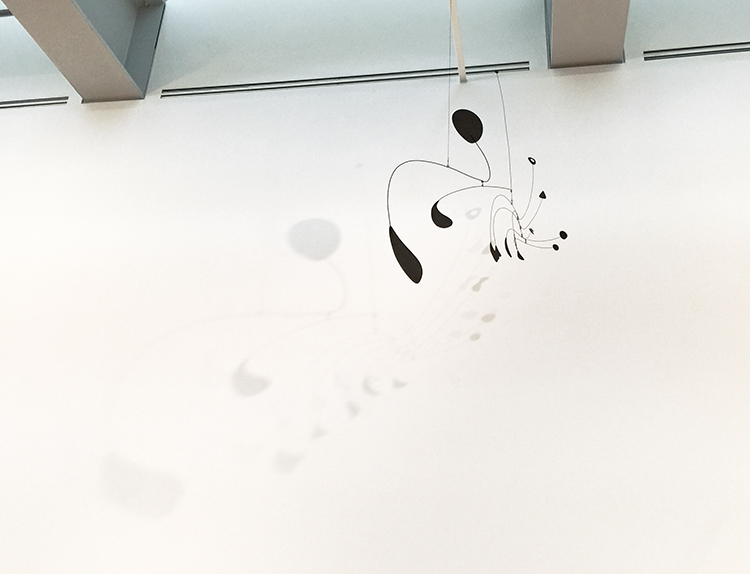
I loved this gigantic mobile on the wall
For a number of his work- like the one above – Calder intentionally designed the components to collide and even make a sound- which in I couldn’t hear in this one but assume it did make one :)
Each piece which didn’t move just by the moving air in the museum made me wonder how it would look moving. It is weird to see the work not in the way it is intended to be seen, at least once you realize it is intended to be moving…I wish there was a way to just keep them moving but I assume that from a conservatory perspective that would be really hard on the pieces.
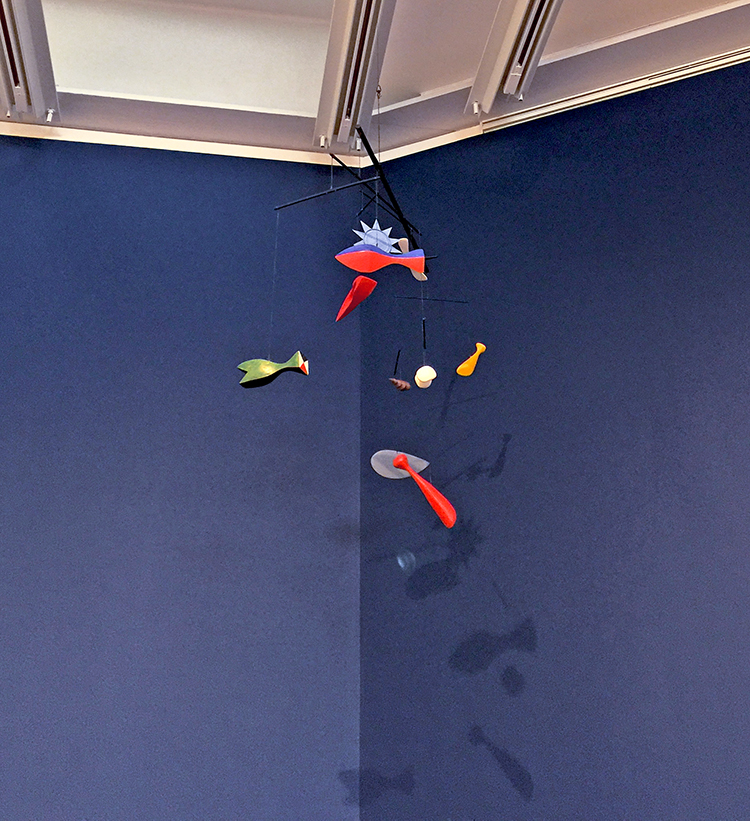
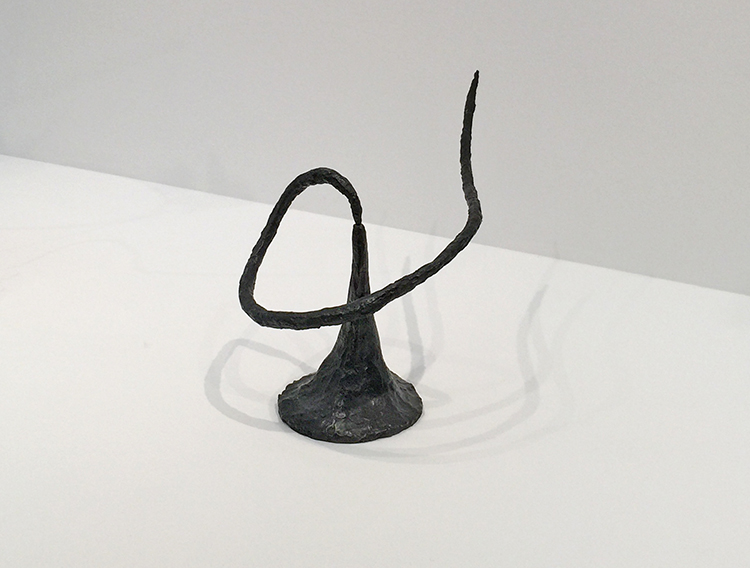
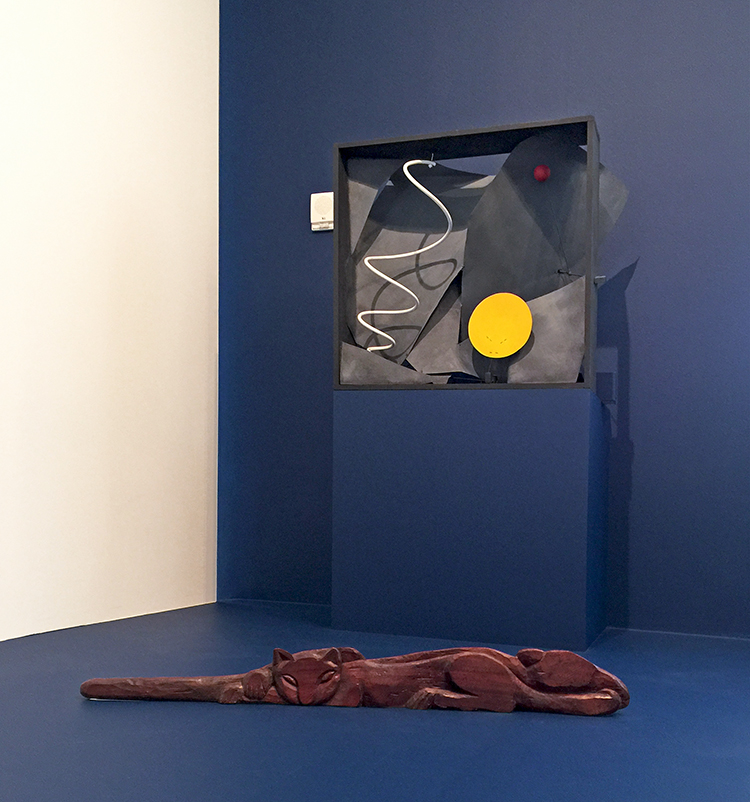
I found the fish surprising in regards to the other work on display – but still cool- look at the two shadows
It was a perfect and wonderful day in NYC
The exhibition is on display until October 23, 2017 – make sure to check out the Whitney Website for the activation times – it is well worth to go and see this!
Hope you enjoyed the Art Stroll today!


Comments (1)
Jean Goza
| #
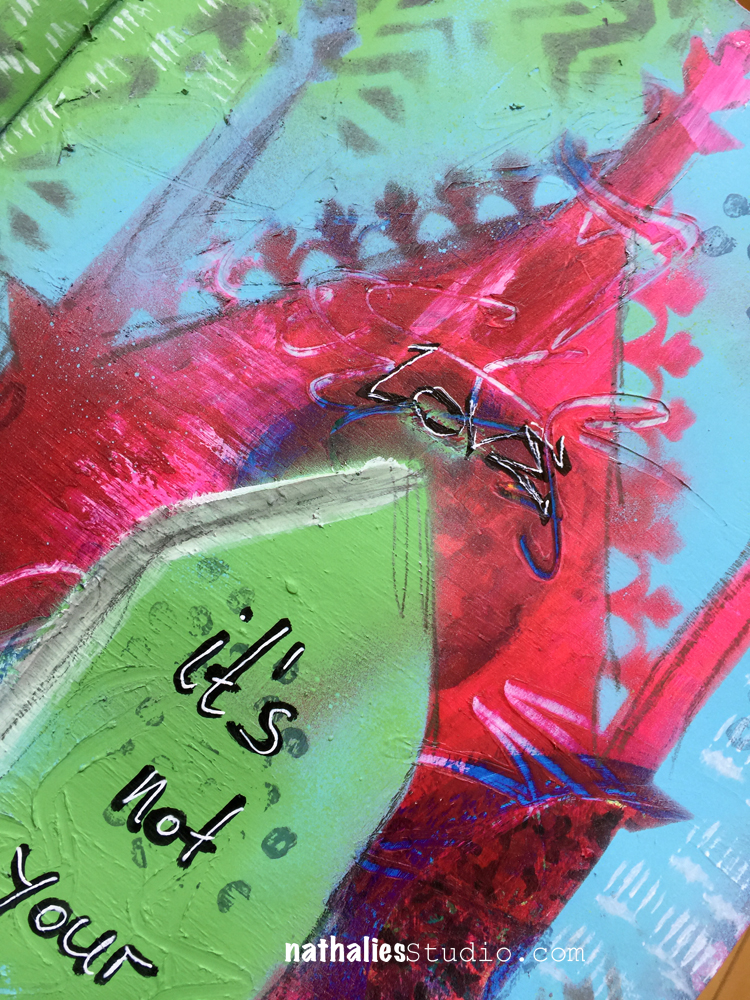
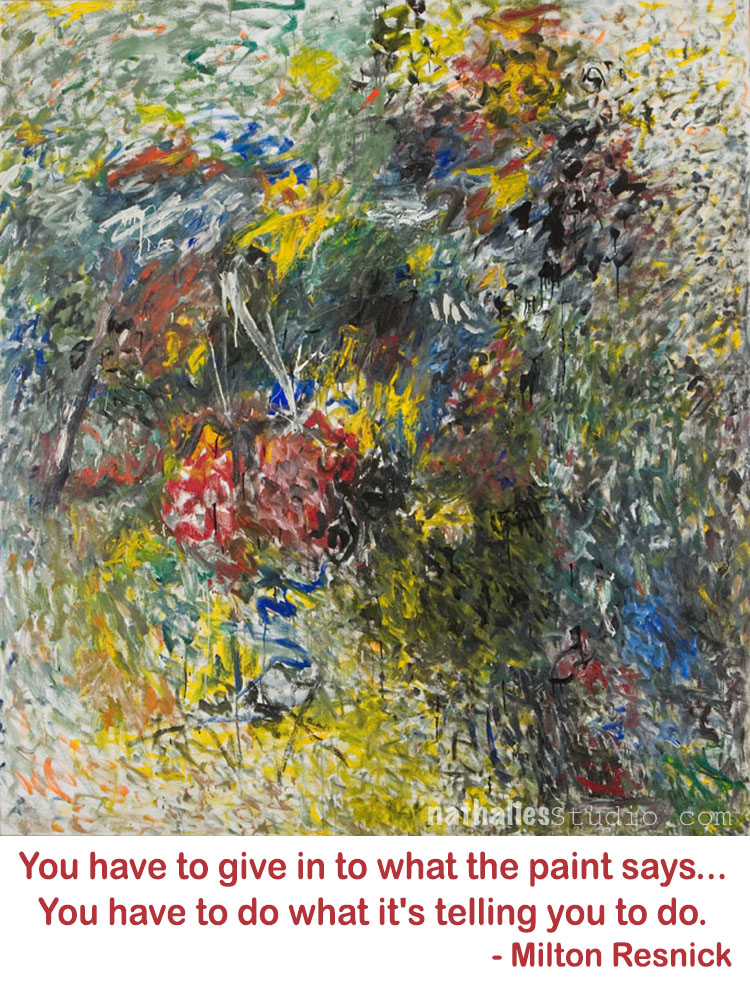
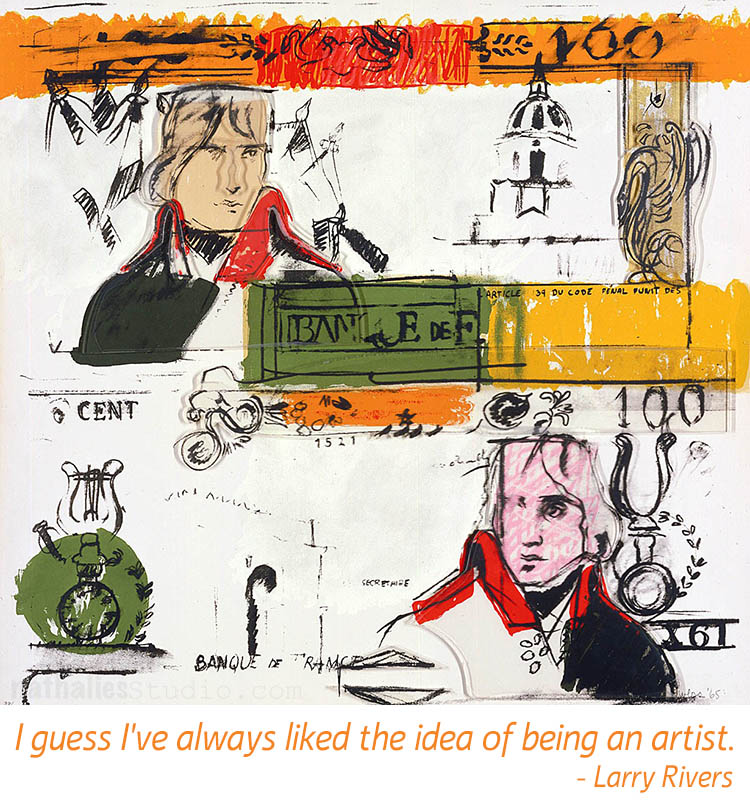
Cool layout. Love the quote!
Reply