Under the Sea – Jennifer Gallagher

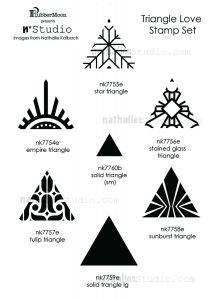
Hello from my Creative Squad! Today we are kicking off a new theme with a geometric homage to the sea from Jennifer Gallagher. Jennifer is using my Hamburg stencil, one of my Hex foam stamps, and my Groovy foam stamp, along with our theme: Under the Sea – There is something so fascinating about water. We love being in it, floating on it, relaxing next to it, and it remains one of the last frontiers here on the planet. Create something that is an ode to the sea.


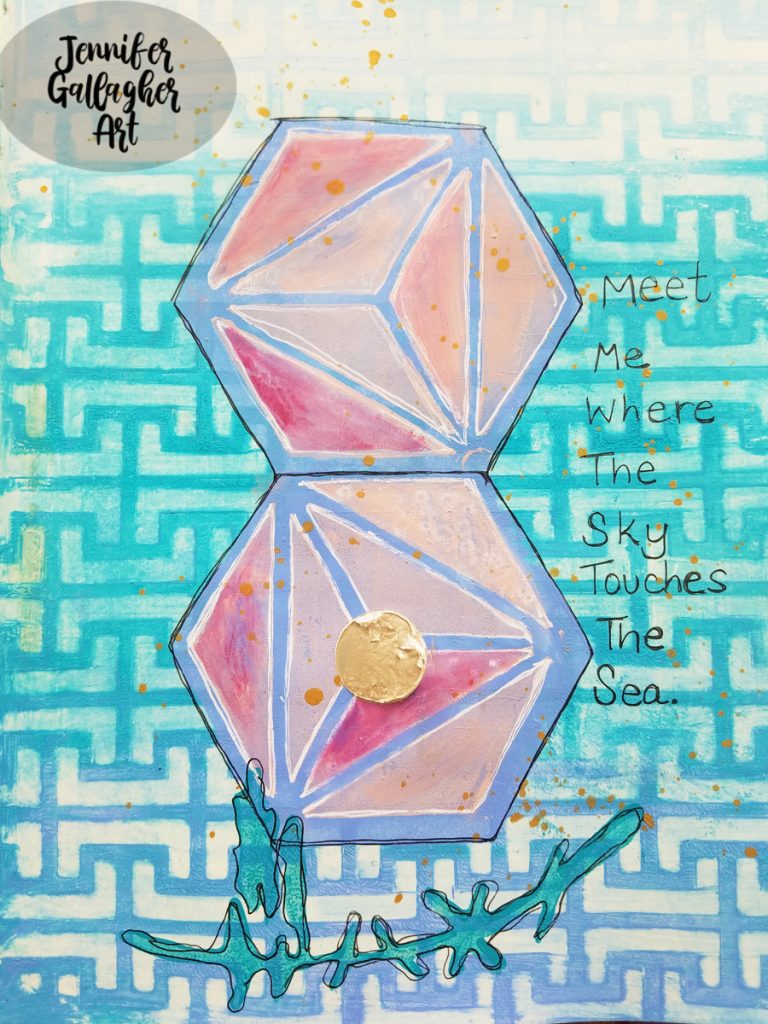
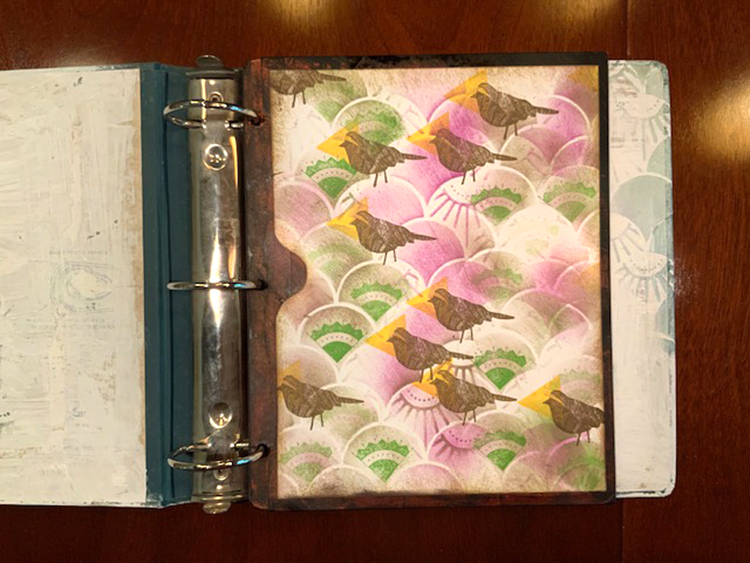
This month the creative squad is inspired by everything under the sea. The ocean is a beautiful and peaceful place. I love the heat of the sun, the cool breeze flowing off the water, and the serenity of the waves lapping against the shore. I was inspired to bring you the feel of the ocean in my favorite geometric style. I’ve created a really pretty art journal page for you so let’s get started.

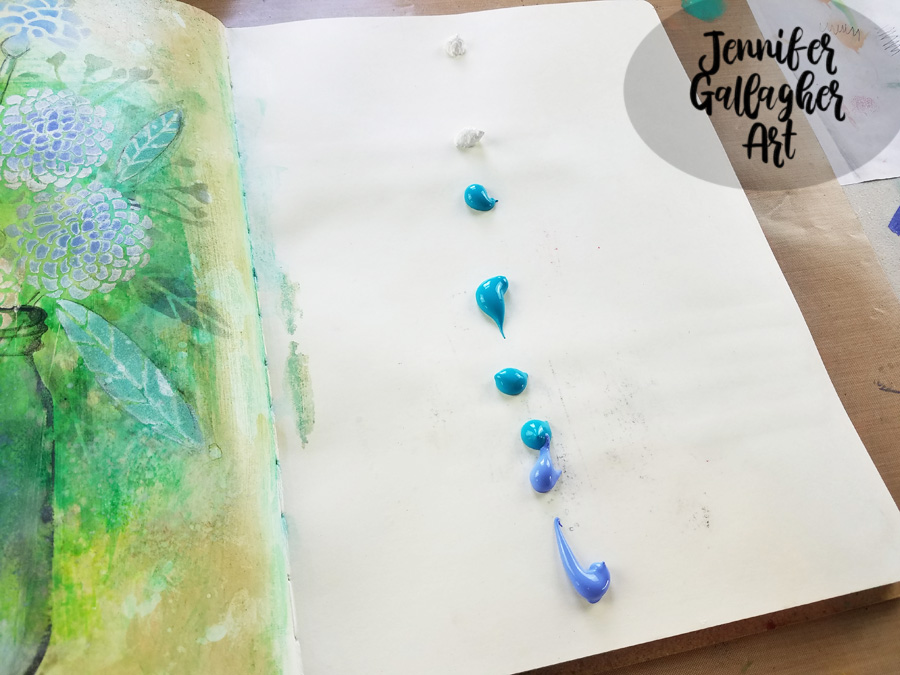
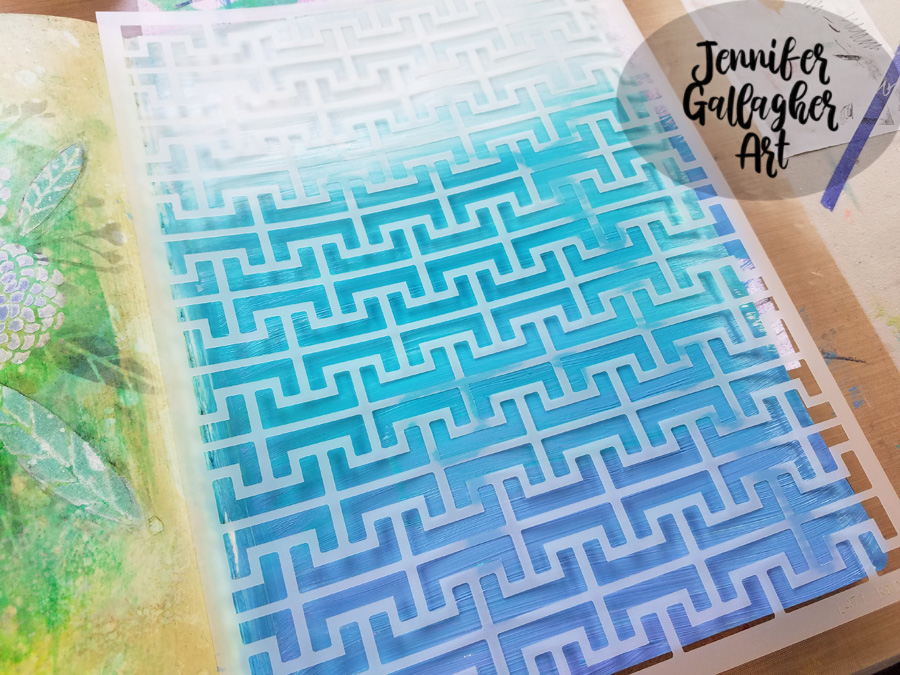
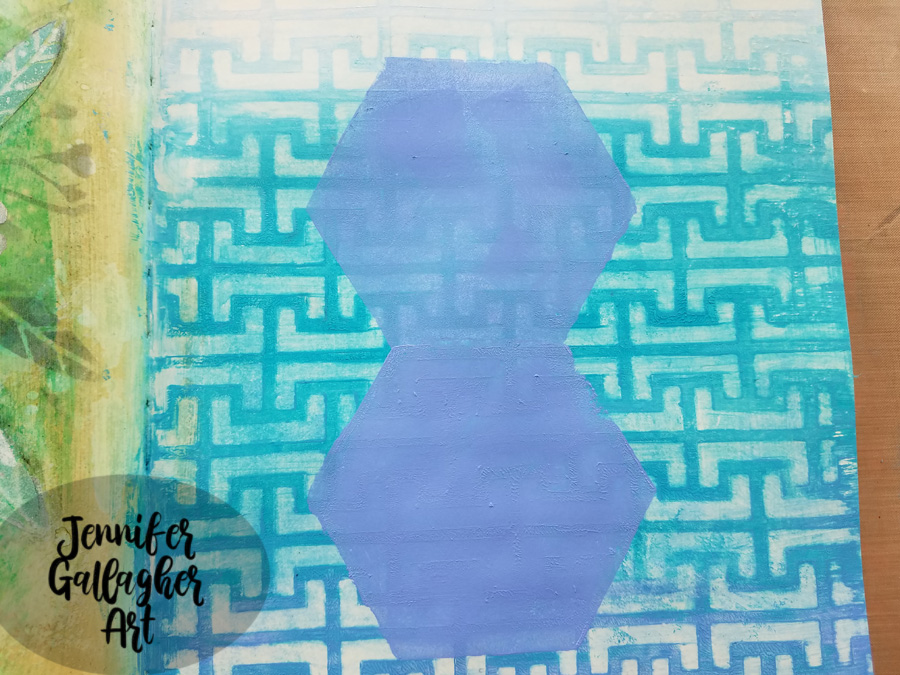
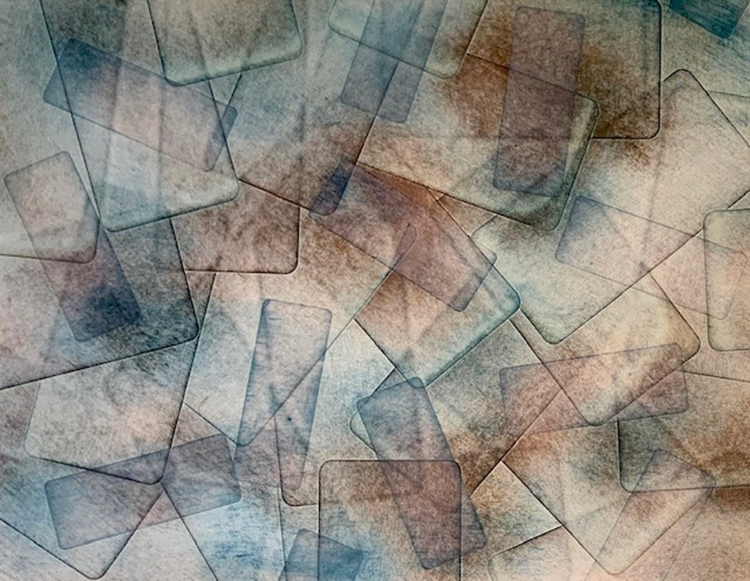
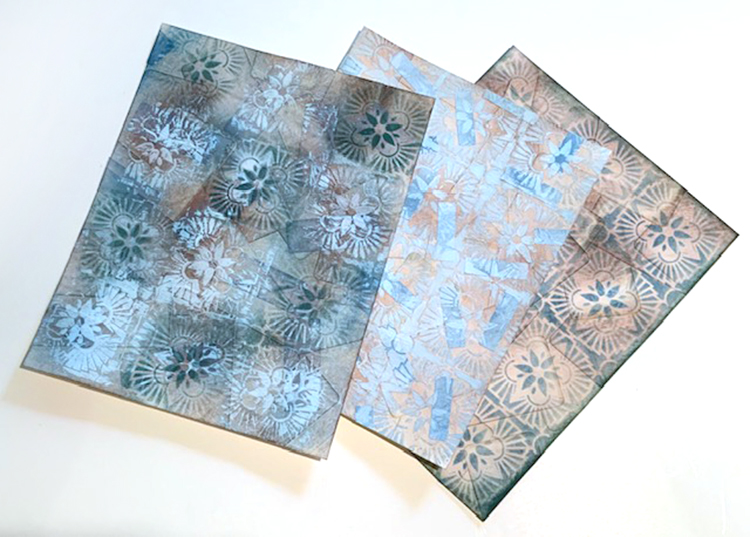
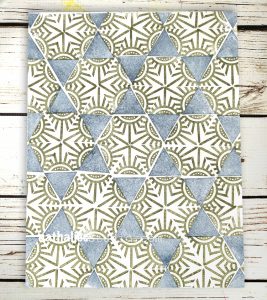
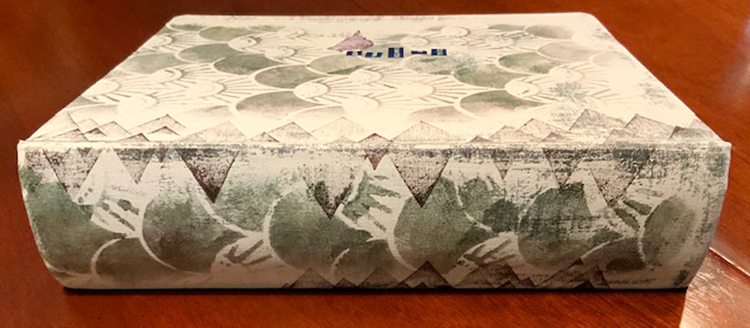
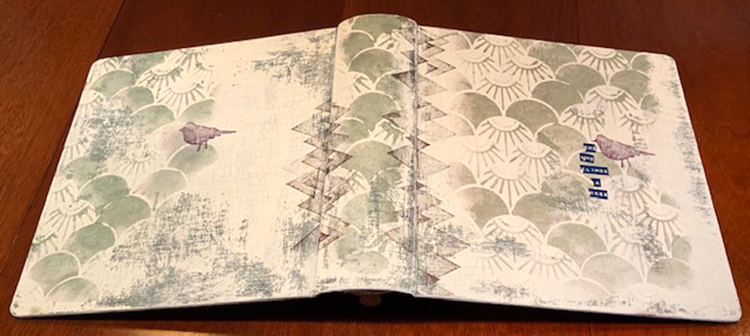
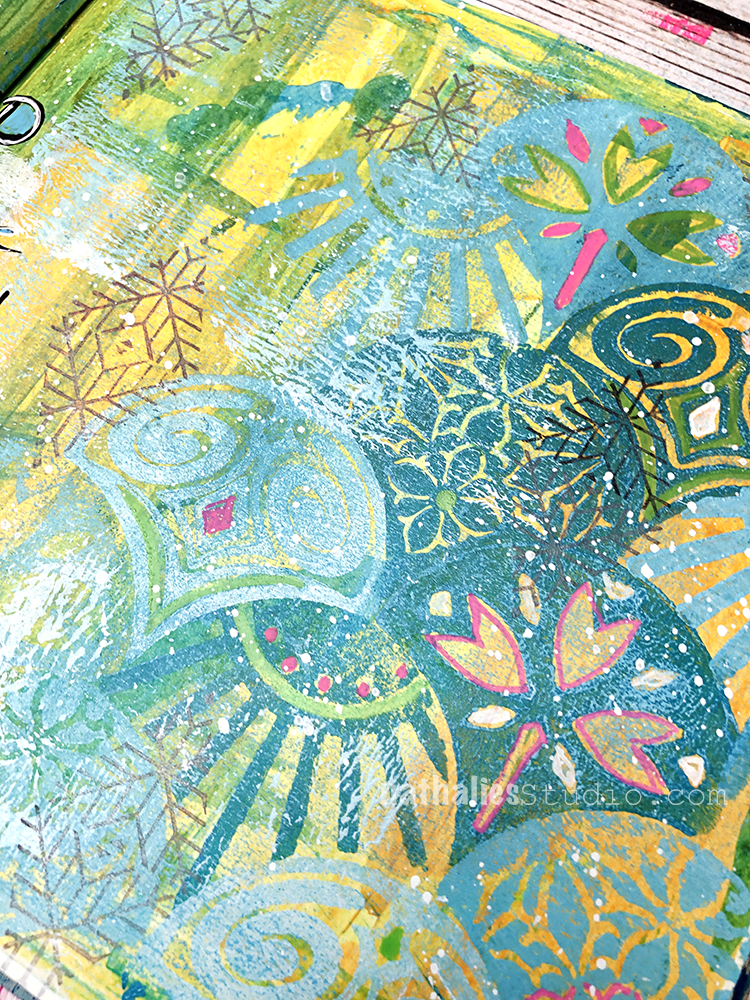
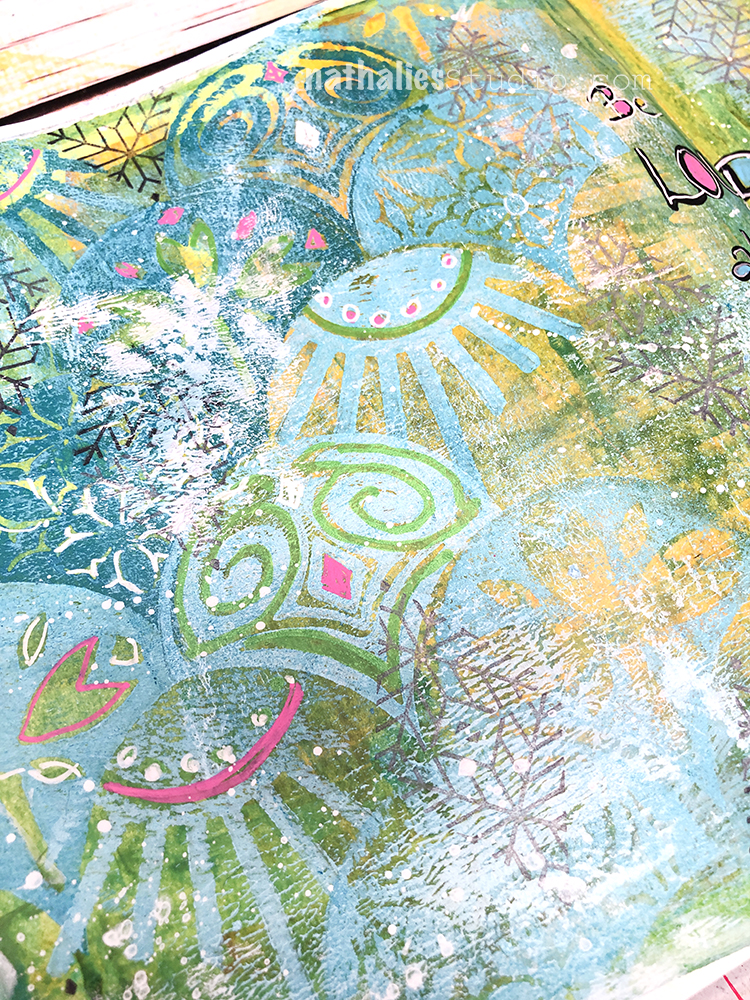
First, I prepped a page in my Dylusions journal with a coat of clear gesso. Then, I started the page by laying down a background in a gradient using Nat’s Hamburg stencil to give the impression of geometric waves. I laid down dots of acrylic paint down the center of the page to create a gradient of color. I used titanium white, cobalt teal hue, and light blue violet. Using a large brush I swiped back and forth across the page starting with the white and working my way down.

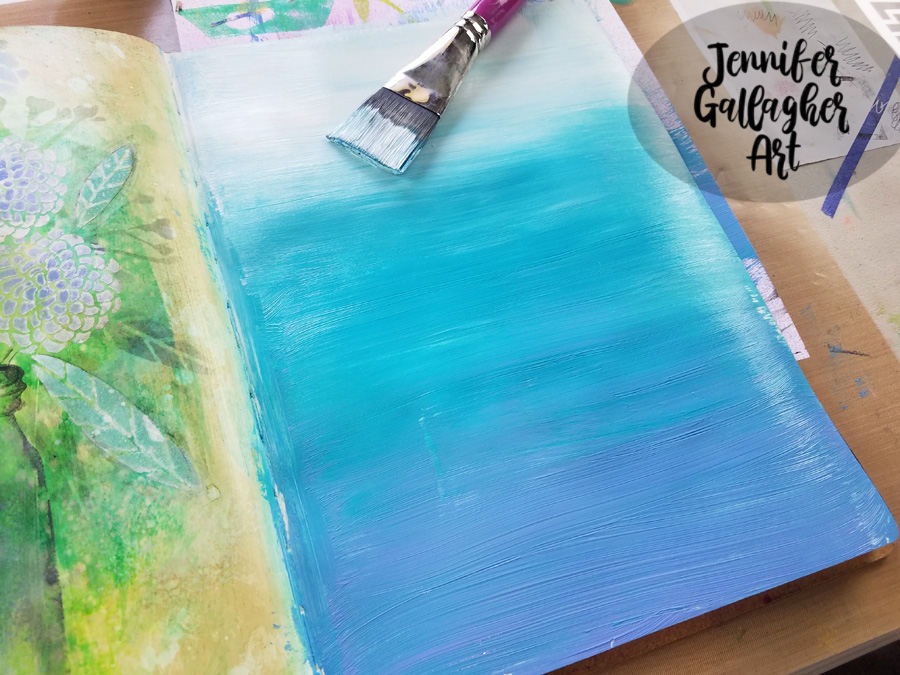
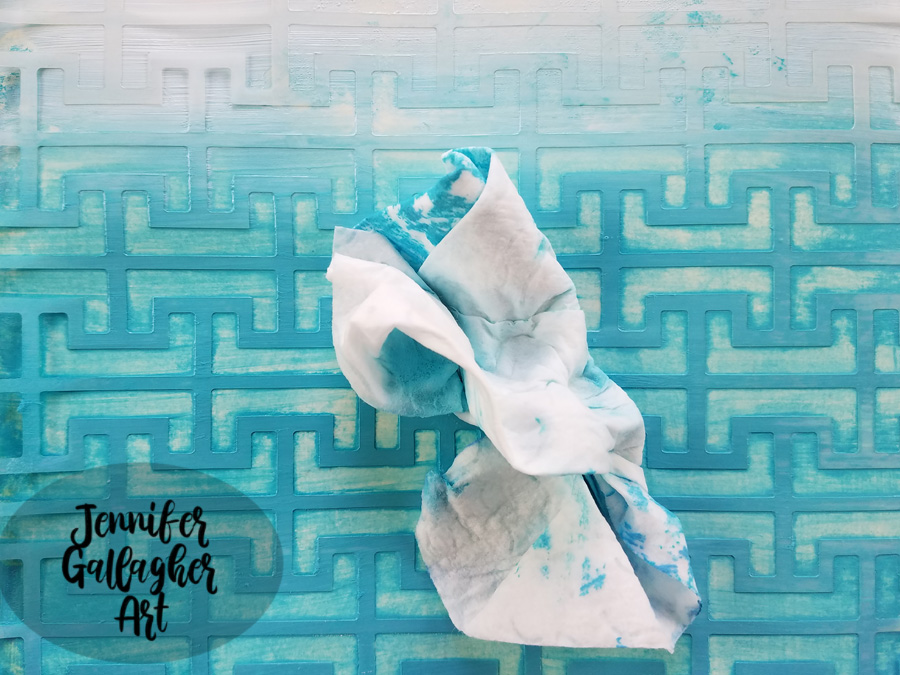
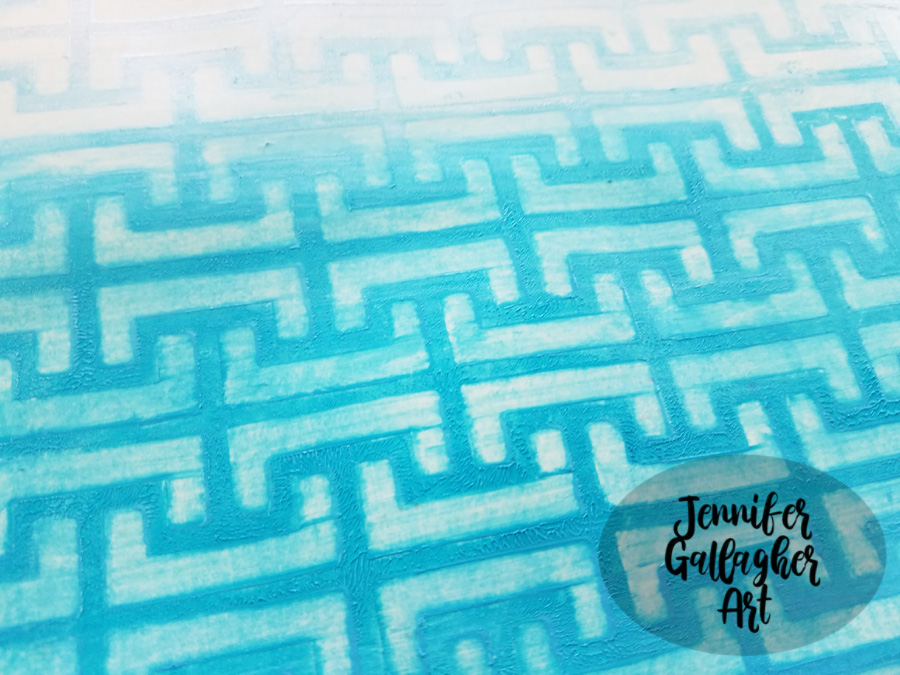
Next, I laid down Nat’s Hamburg stencil over the paint. You want to move quickly with this process as acrylic paint can dry rather quickly. While the paint was wet I removed paint through the stencil with a baby wipe.

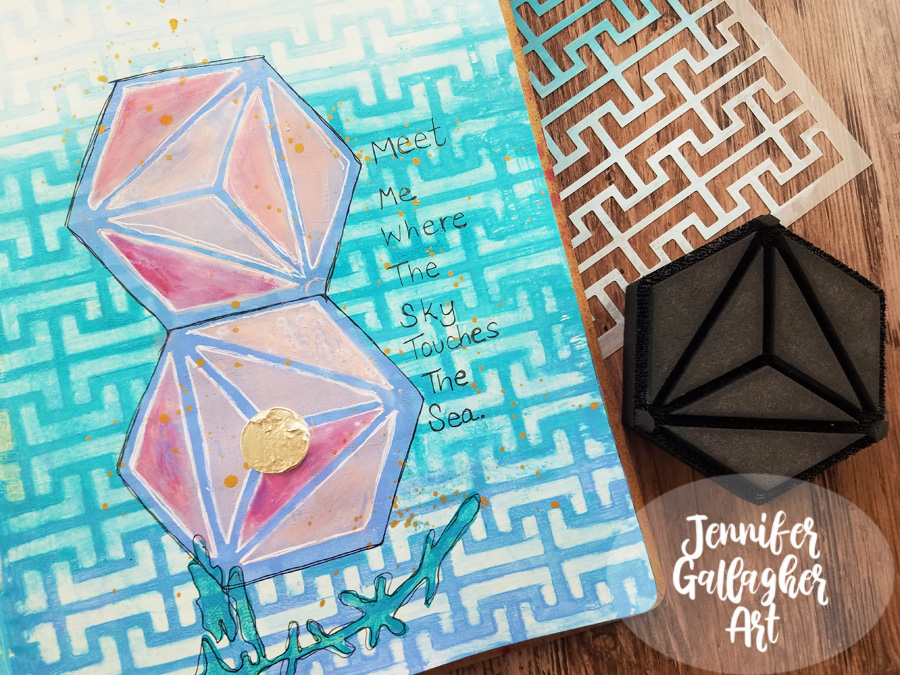
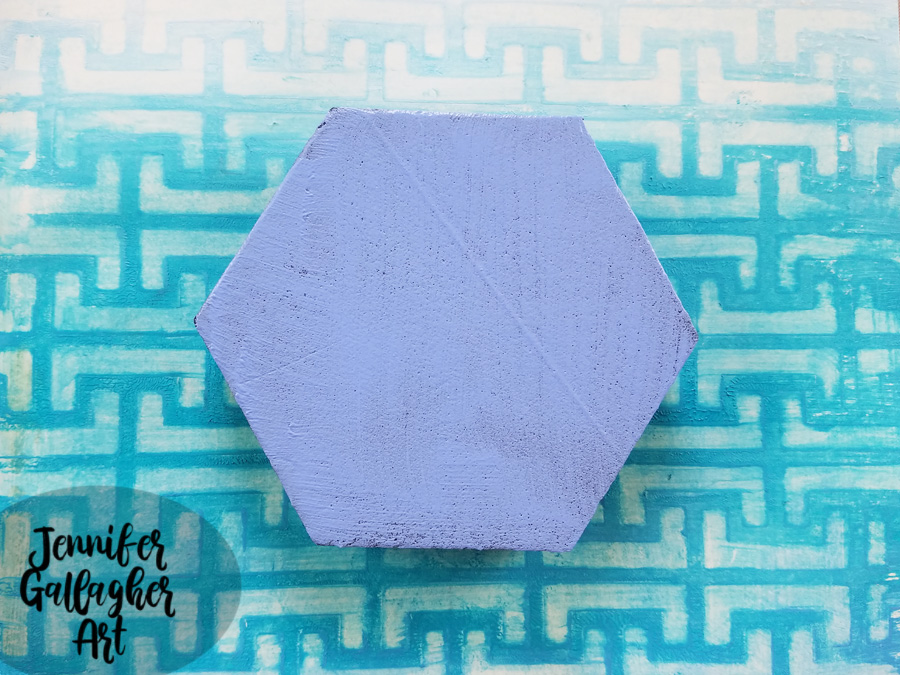
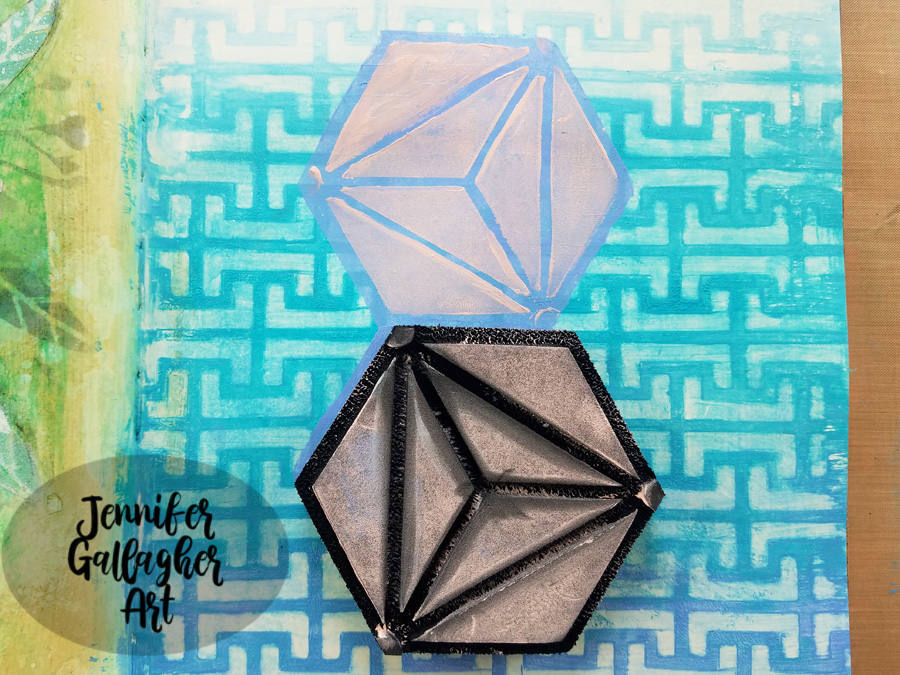
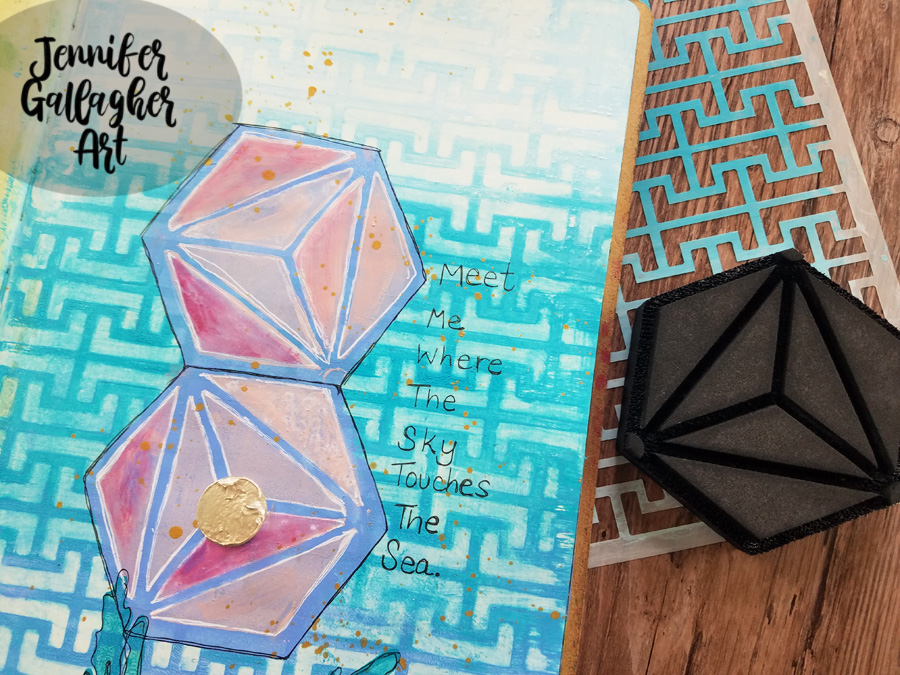
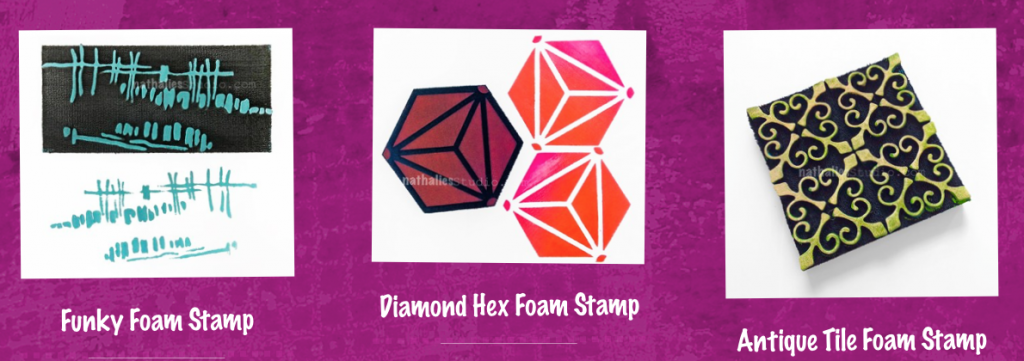
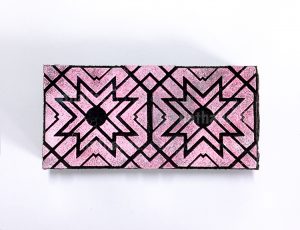
My focal image is a clam with a pearl inside. So, first I applied light blue violet paint to the back side of Nat’s Diamond Hex artfoamie. I then pressed it onto the page as the top piece of my open clam shell. I then repeated the process, connecting the bottom of the shell to the top.

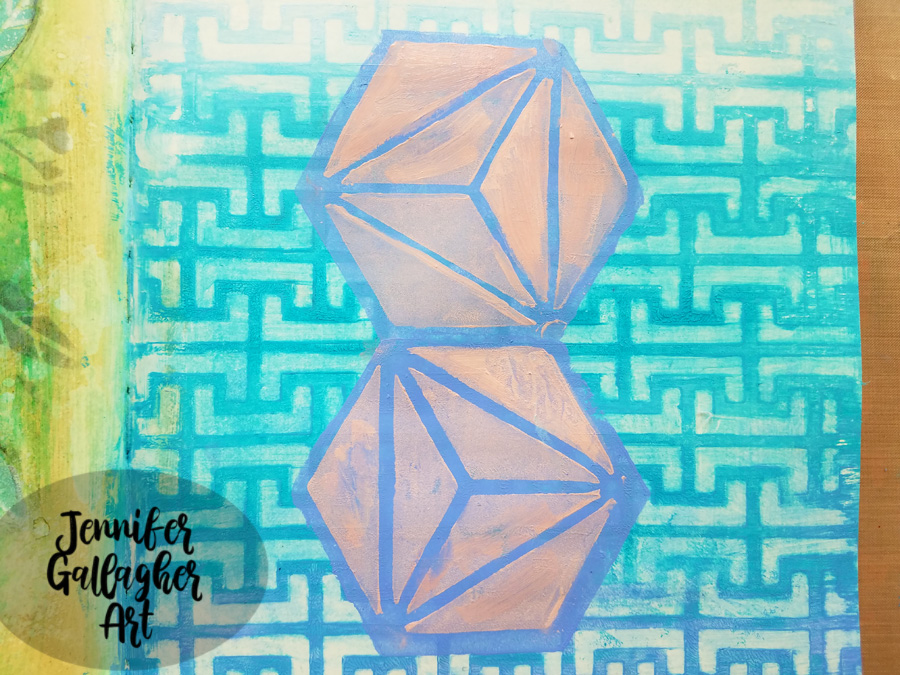
After the shell pieces have thoroughly dried, I applied Portrait Pink acrylic paint for the right side of the artfoamie and pressed the design onto the top and bottom of my clam shell.

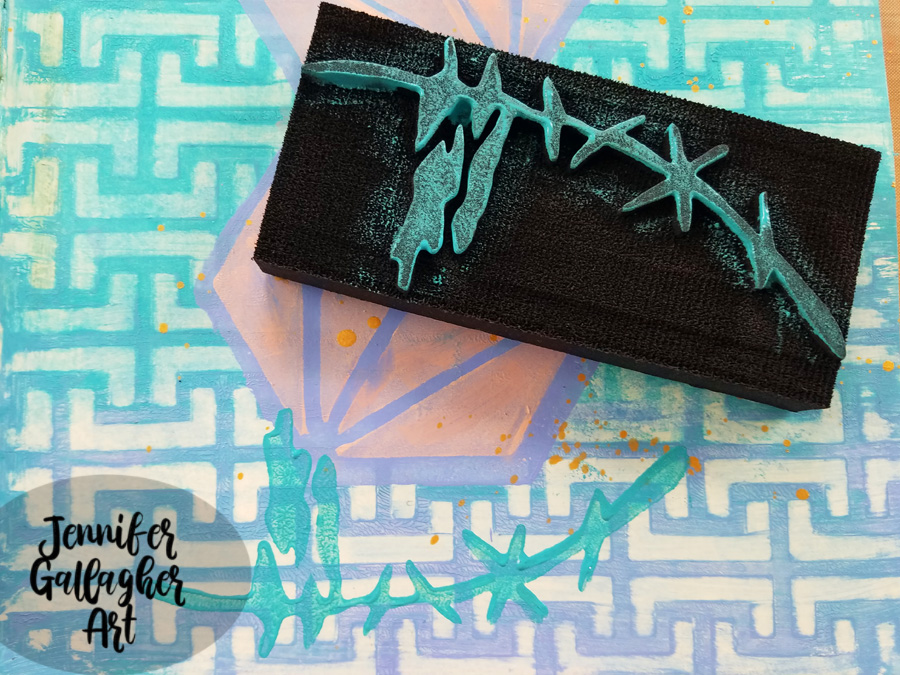
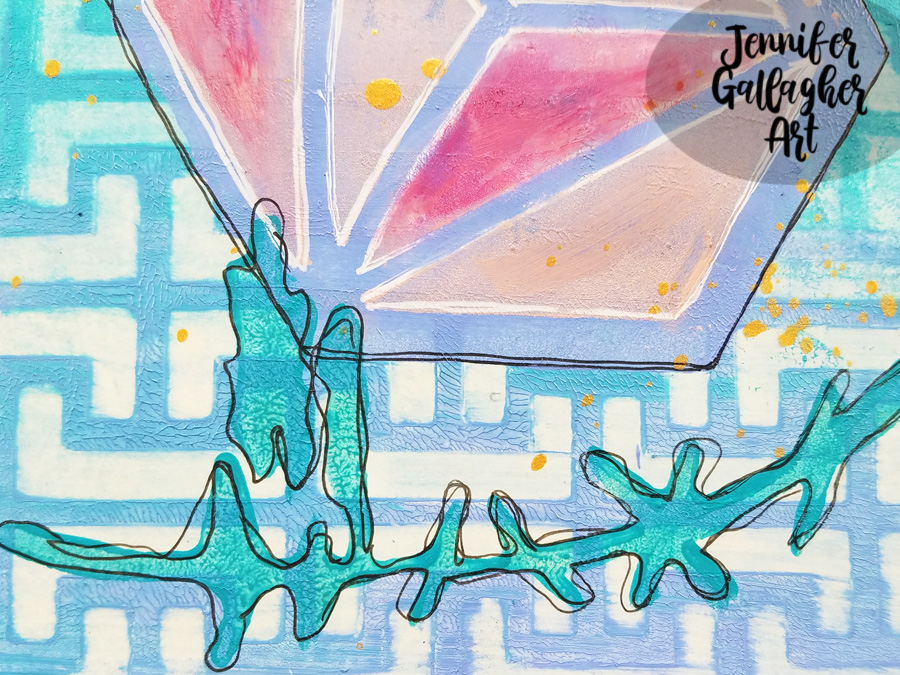
I added a spritz of Marabu Art Spray in gold for a little sparkle. I also used Nat’s Groovy artfoamie with cobalt teal hue acrylic paint for a little touch of seaweed.

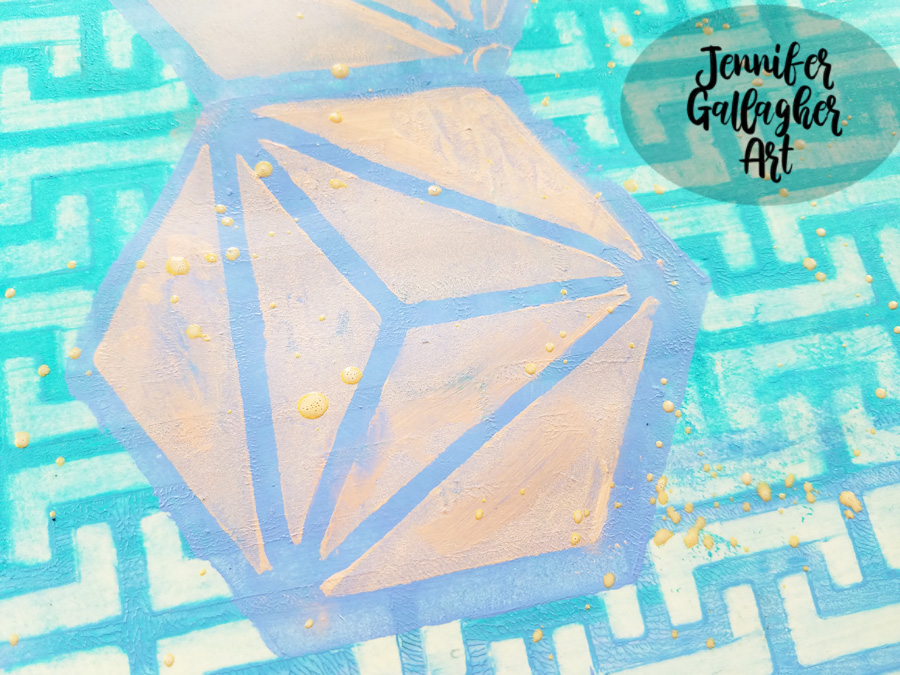
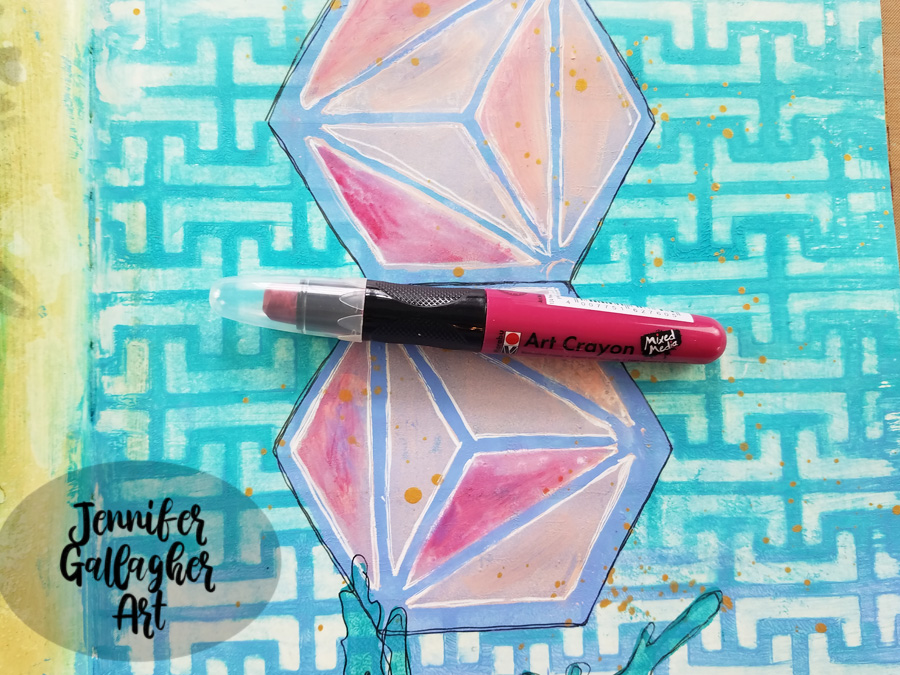
Next, I added some simple touches to pump up the visual volume. I added a little Marabu Art Crayon in pomegranate with a wet brush so the pink wouldn’t look so flat. I also doodled around with a black and white gelly roll pen.

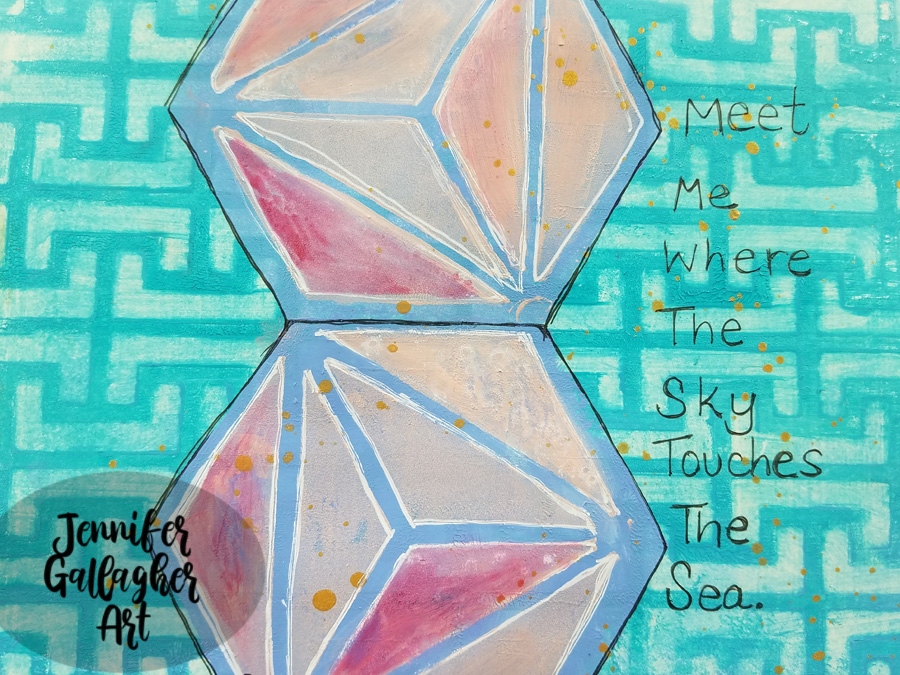
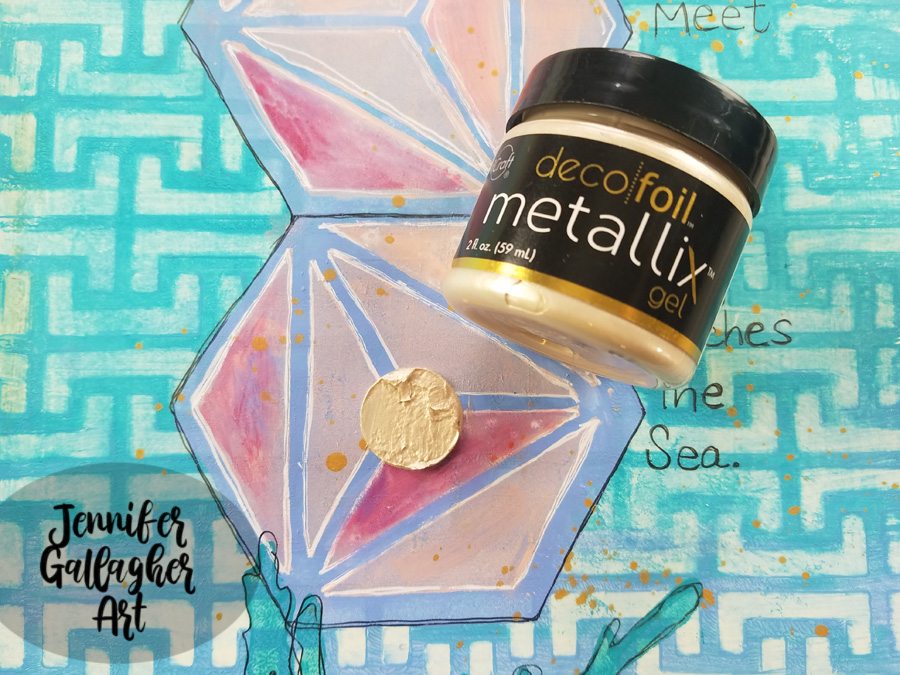
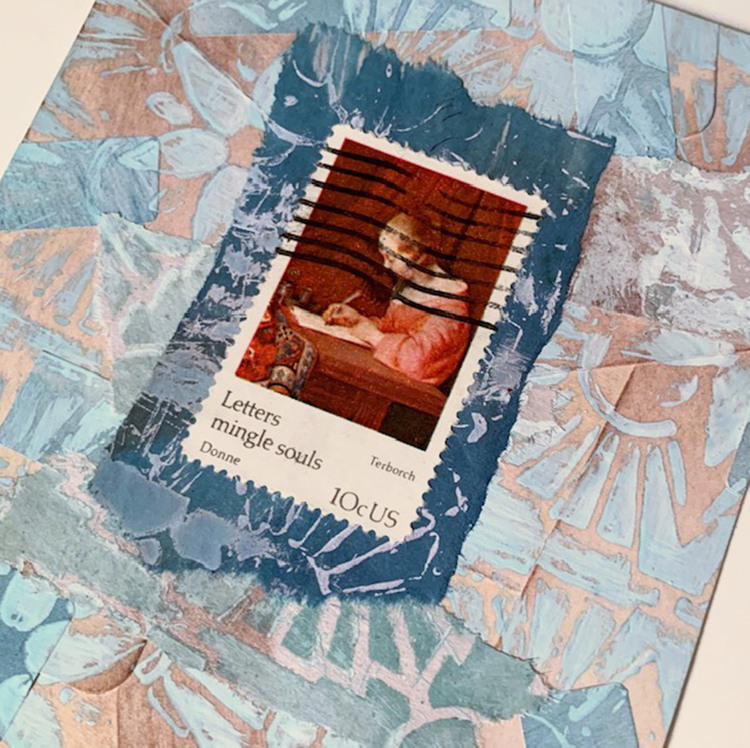
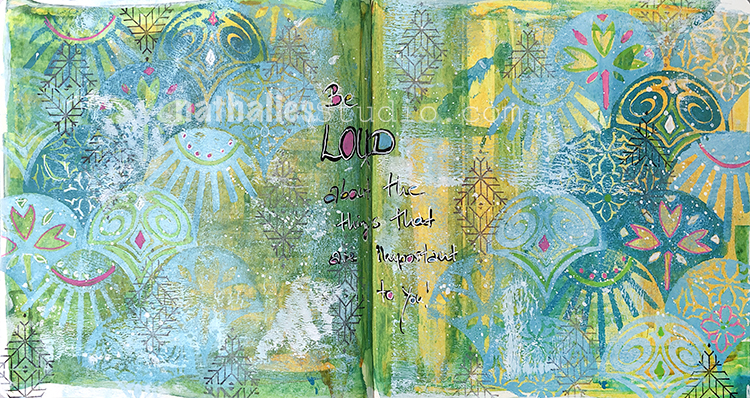
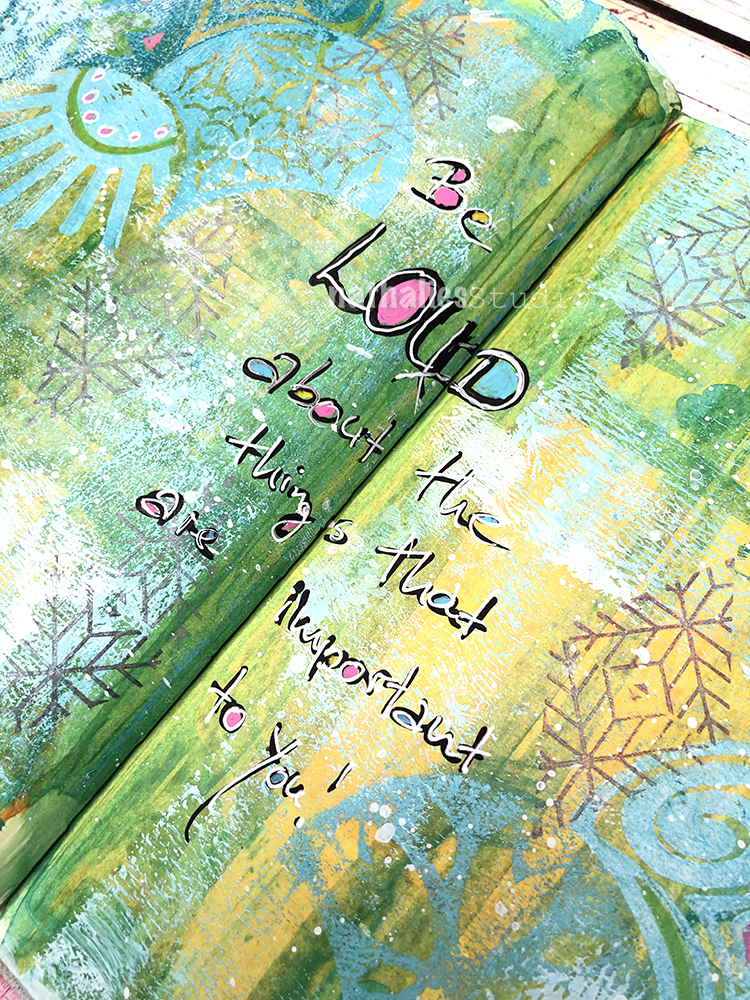
The final touches include a quote about the sea and a pretty pearl to sit inside our clam shell. Using a gelly roll pen, I wrote a nice sentiment in my own handwriting. Don’t be afraid to write in your own handwriting! Next, I applied some Champagne Mist Decofoil Metallix Gel in a circle inside the bottom shell.

I really love how you can use the backs of your artfoamies as a base for color to build your design off of. I hope you have enjoyed this tutorial. Be sure to play along with our theme each month.


Thank you Jennifer – love the idea of a geometric seascape – it’s so in keeping with your style!

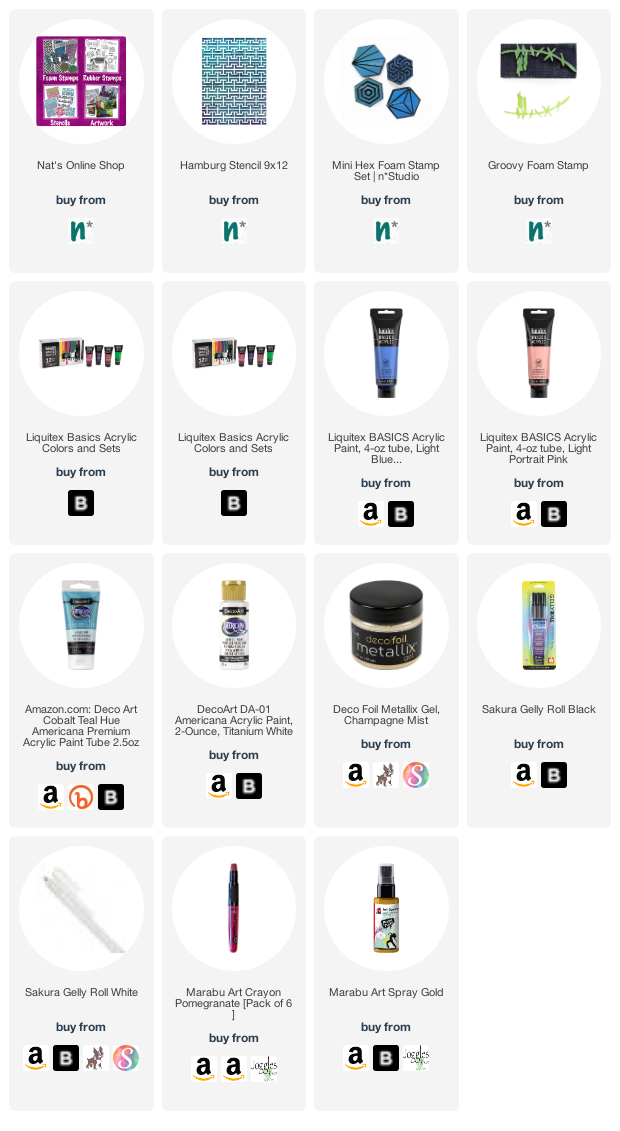
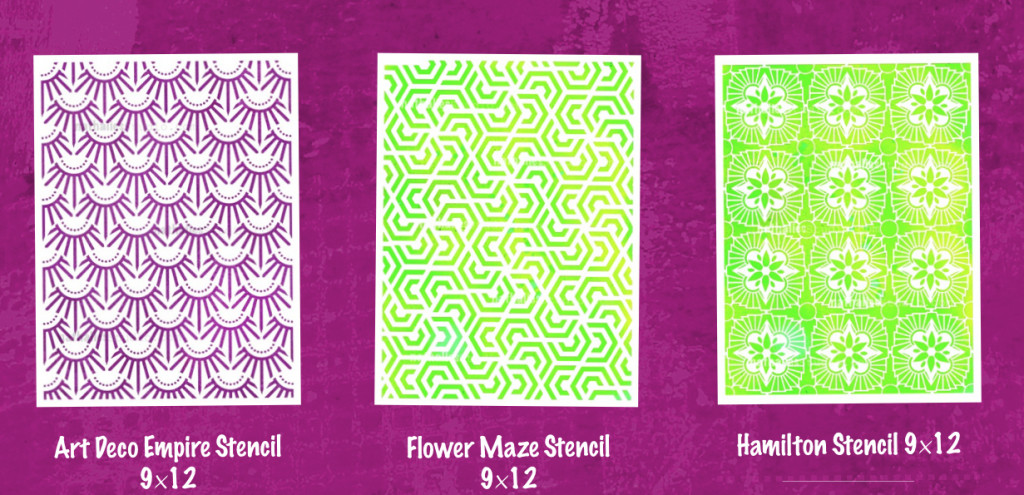
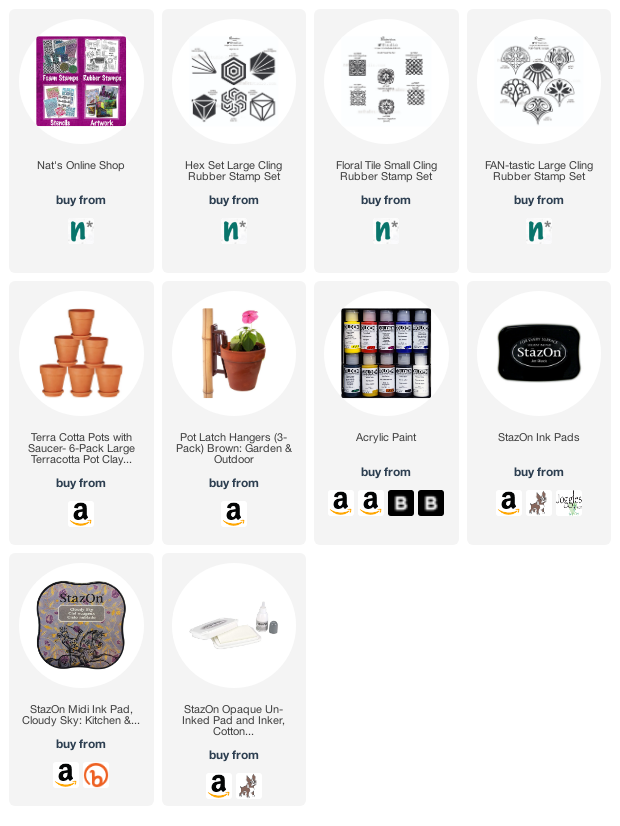
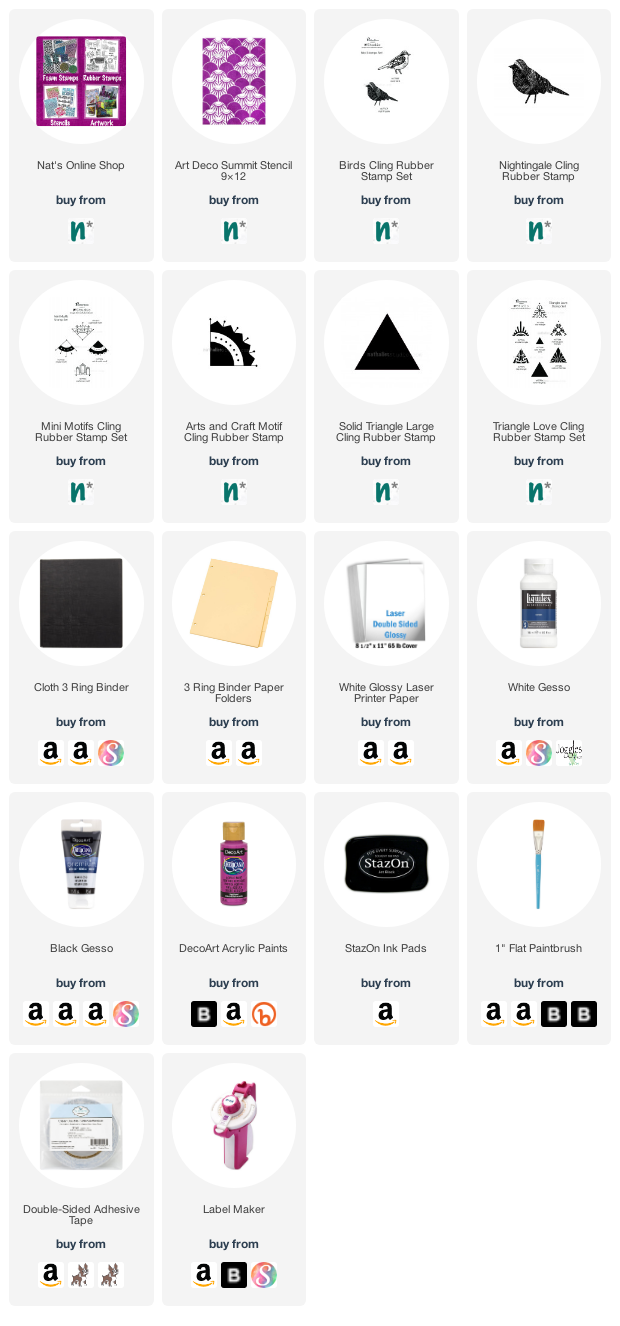
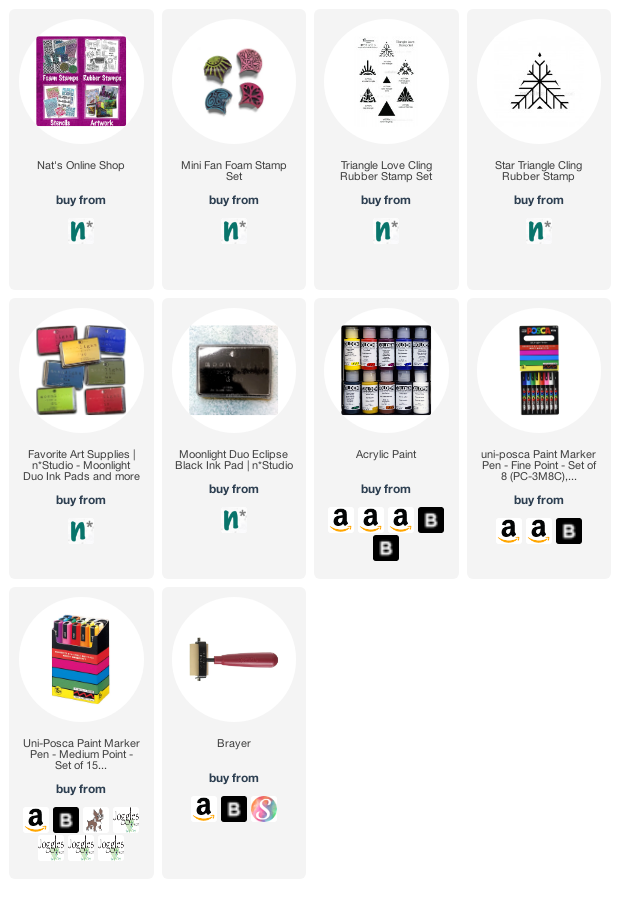
Give it a try: you can find all my Stencils and Foam Stamps in my Online Shop and here are some of the other supplies Jennifer used:

Feel inspired? Working on something yourself that you’d like to share?  I love to see how you interpret our monthly themes. Email me how you used my stencils and stamps with the theme and email me an image – I would love to share your projects in my next  “n*Spiration From Around the Globe“.

Leave a comment

Stencil Inspiration from my Creative Squad

Our friend and Creative Squad member Judi Kauffman surprised us with some envelopes and 4”x5.25” collages that she created with her newest Nathalie Kalbach  9”x12” stencil – Hamilton!

She dipped into her stash of vintage office supplies and covered three sheets of cardstock with randomly overlapped mailing labels.

She sponged them with dye inks before she stenciled the sheets using my Hamilton stencil with more ink and white acrylic paint.

She cut each sheet into four rectangles (sized for A2 card fronts or to put into her Traveler’s Notebook) and added more stenciled texture with torn newsprint scraps that were protecting her work table.

Her finishing touches: Canceled postage stamps and a few straight, thin strips from the cardstock sheets.

While she was at it, she stenciled a batch of envelopes with the Hamilton stencil too!

Thanks for sharing Judi!

Leave a comment

Last Day for Free US Shipping

Hurry into the Online Shop to save – If you spend more than $25 on physical products through TONIGHT, July 5th at 11:59pm EST in my online shop, you can get free shipping in the US. Just enter the coupon code BDAYFREE when you are checking out.

What counts towards the $25 minimum?

Foam Stamps:


Stencils do too:


And don’t forget about Rubber Stamps:


My Artwork is part of the deal too!


The sale ends tonight, Sunday July 5th at 11:59pm EST so NOW is the time to head over to the Online Shop to see what is there :)

Enjoy and hope you had a fun Weekend!

Leave a comment

FREE US Shipping Weekend!

Lots to celebrate this weekend: July 4th and my Birthday! Woohoo! Are those fireworks for me? LOL ;)

And how about we celebrate with Free US Shipping this weekend? If you spend more than $25 on physical products through July 5th in my online shop, you can get free shipping in the US. Just enter the coupon code BDAYFREE when you are checking out and all those goodies will get shipped to you for free! Who doesn’t like something for free?

It’s a great time to buy foam stamps like my Mini Toledo stamp:


Or how about a few of those rubber stamp sets like my Triangle Love set for making tons of cool patterns:


And of course my stencils are part of the deal too…


…And ALL my Artwork too like my Yas Queen mixed media painting…


…or my giclee prints


Shop around and see what there is – all physical products are part of the deal and the offer ends at 11:59pmEST this Sunday, July 5th. Just use the coupon code BDAYFREE when you check out :)

Leave a comment

DIY Vertical Garden – Stamped Flower Pots

This project has been a long time in the making – I began during the renovation of my house last year and then put it all on hold until this spring. Anyway, I’m happy to share with you my DIY vertical garden that I made with simple terra cotta flower pots, some acrylic paint, my rubber stamps, and stazon inks.

Here’s how I did it:

I painted a bunch of pots on the outside with a colorful array of acrylic paint. I know these may not last forever, but I am happy to enjoy them for definitely a few seasons :)

Can you tell I like happy colors lol

Then I went for rubber stamps that would work well around the rim. Here is one from my Hex Set Large set – and that set has 6 stamps that would work perfectly for this. I used Stazon inks.

Here is one of the stamps from my Floral Tile Small set in action – another great stamp set option for making a group of pots with an array of designs.

I created quite a few in a variety of colors and patterns.

I installed the pots on the fence in our back garden. The fence is old and a bit shabby and a new one is not in the budget right now, but until it is – here is a nice pop of color. I used some nifty brackets to hang the pots – see the link in the supplies below.

I got a variety of different flowers in a mix of colors to fill them.

Like these! I got a flat from a local plant shop that created a mobile plant store in a truck that they drove all over the city, selling plants, while we were being careful during the lockdown. Pretty cool way to support a local small business!

Ta-da! My colorful vertical garden :)

And a view of our happy oasis. I love spending time back here with hubby at the end of each day. 

Are you planting anything this year?

Here are some of the supplies I used for this fun project:

Comments (2)

  • Sue Clarke

    |

    So bright and cheery Nat. That’s a nice oasis you have there!

    Reply

Leave a comment

Sing Your Song – Judi Kauffman

Hello from my Creative Squad! Today we have a project from Judi Kauffman. She’s sharing a fabulous way to personalize notebooks and folders using my Art Deco Summit stencil and my Nightingale, Arts and Craft Motif, and Solid Triangle rubber stamps. This month’s theme is: Sing Your Song – Everybody has their own voice, their own groove, their own one-of-a-kind personality. What is something unique about YOU that you are proud of? Don’t be shy, Sing YOUR Song!


SHE WHO CLIMBS A TREE by Judi Kauffman

I wasn’t sure how to approach this month’s theme because I was taught that ‘kvelling’ (the Yiddish word for publicly celebrating someone’s achievements) was left to others and not the person who had won a prize, graduated from college, or had just purchased their first home. That would have been bragging.

And yet, I was also given a mantra that – in a toned-down form (no hollering!) – served me well during the years that I worked freelance as a graphic artist, copywriter, illustrator, and then in the craft and needlework industry. It goes like this:

She who whispers down a well
About the things she has to sell
Will not make as many dollars
As she who climbs a tree and hollers.

I learned to market myself, to cold-call potential clients and visit with existing ones to drum up more design work, and later to reach editors of publications I wanted to work with and manufacturers whose products I wanted to incorporate into my assignments.

The ‘tear sheets’ with my projects from magazines are proof that I once climbed that tree! (Not literally, of course, I can barely scale a kitchen step ladder…)

My Creative Squad project is a stenciled 3-ring binder with stenciled pocket folders to hold a small number of my favorite tear sheets (what I would like to think my nephew will someday keep as a remembrance).

I up-cycled an old denim-covered notebook and gave some damaged pocket folders a facelift for this project.

INSTRUCTIONS

NOTEBOOK:

1. Paint a denim- or canvas-covered 3-ring binder (inside and out) with white gesso, allowing some of the original color to remain visible.

2. Stencil the Art Deco Summit pattern randomly onto the front, spine and back of the outside of the notebook using acrylic paint a single color as shown. Repeat on the inside. (Alternatively, use two or more colors.)

3. Using permanent ink in a dark contrasting color, stamp the Nightingale bird stamp once on the outside of the front and back cover, and once on the inside of the front and back cover. (The bird is proudly standing alone!) Stamp Solid Triangle stamps along the spine in another dark color to accent that part of the notebook.

4. Use a label maker to spell out SHE WHO CLIMBS A TREE (or whatever words suit you!). Cut the words apart and arrange near the bird on the front cover.

FOLDERS:

1. Use black gesso and/or a mix of permanent inks to color the edges of the pocket folders. Set aside.

2. Using permanent inks, stencil an 8.5×11 sheet of heavyweight, glossy laser printer paper for each folder using the same Art Deco Summit stencil. Vary the colors as well as the amount of ink (light- or heavy-handed) and placement of the pattern.

3. Using permanent inks, stamp the Nightingale, Arts & Crafts Motif, and Solid Triangle as shown or as you prefer. Vary colors and placement. 

4. Cut stenciled/stamped sheets to fit the curve of the pocket folder. Sponge on a bit of ink to darken the edges of the sheets. Using double-sided tape or adhesive of choice, adhere to folder as shown.

THOUGHTS ON THE PROJECT:

The light color triangles stamped on each bird’s face echo the shape of the beak. I had thought of turning them in the opposite direction so they would look like megaphones, in keeping with the theme of singing my own song, but decided against it. 

This project was created during a time when those who are seniors or have health issues are still quarantined at home due to the coronavirus pandemic and by the time it is published that may still be the case. Therefore, I thought having the bird look like she’s wearing a protective mask made more sense. 

Though you have to listen more closely than usual, you can still hear a person’s voice when she’s wearing a mask; you can see her smile in her eyes. I’d like to think that no mask could ever mute a bird’s song.


Thank you Judi – love the way this turned out but also your thoughts that you share :)

Give it a try: you can find all my Stencils and Rubber Stamps in my Online Shop and here are some of the other supplies Judi used:

Feel inspired? Working on something yourself that you’d like to share?  I love to see how you interpret our monthly themes. Email me how you used my stencils and stamps with the theme and email me an image – I would love to share your projects in my next  “n*Spiration From Around the Globe“.

Comments (3)

  • Jean Marmo

    |

    Oh Judi _ that quote is just amazing! And so is your binder and folders! I love the colors and the wonderful stencils!!

    Reply

  • Kimberly O.

    |

    WOW! This binder is super cool!! What a great way to keep copies of your articles too!!

    Reply

  • Sue Clarke

    |

    Theses are terrific Judi!
    The color pallet is neutral and nice to cover a book/notebook.

    Reply

Leave a comment

Be Loud – Art Journal

“Be loud about the things that are important to you!” After all, they are the things that really matter, right?

I built up quite the background here with acrylic paint, a brayer, and my Mini Fan foam stamp set. I also used the black Moonlight Duo ink pad and stamped in both the black and white sides to get gray, and used my Triangle Love rubber stamps with that.

I also went back in and highlighted some of the shapes with Posca markers.

Here are some of the supplies I used:

Leave a comment