Blog: RubberMoon

Indexing Stamps in 7 Steps

You might have noticed that the new RubberMoon packaging includes a clear sheet with the images included in the stamp sets and the reason for that is, that you can then can index your stamps.
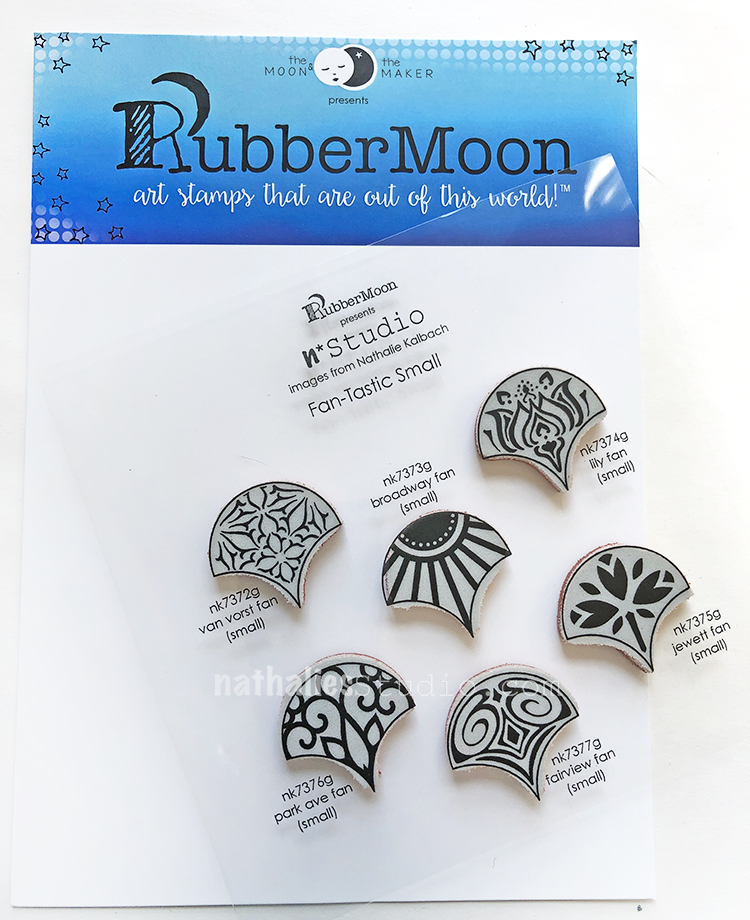
Especially with my new stamp sets which often have positive and negative images that can be stamped on top of each other that is really helpful. Check out what I do when I receive a new set of stamps:
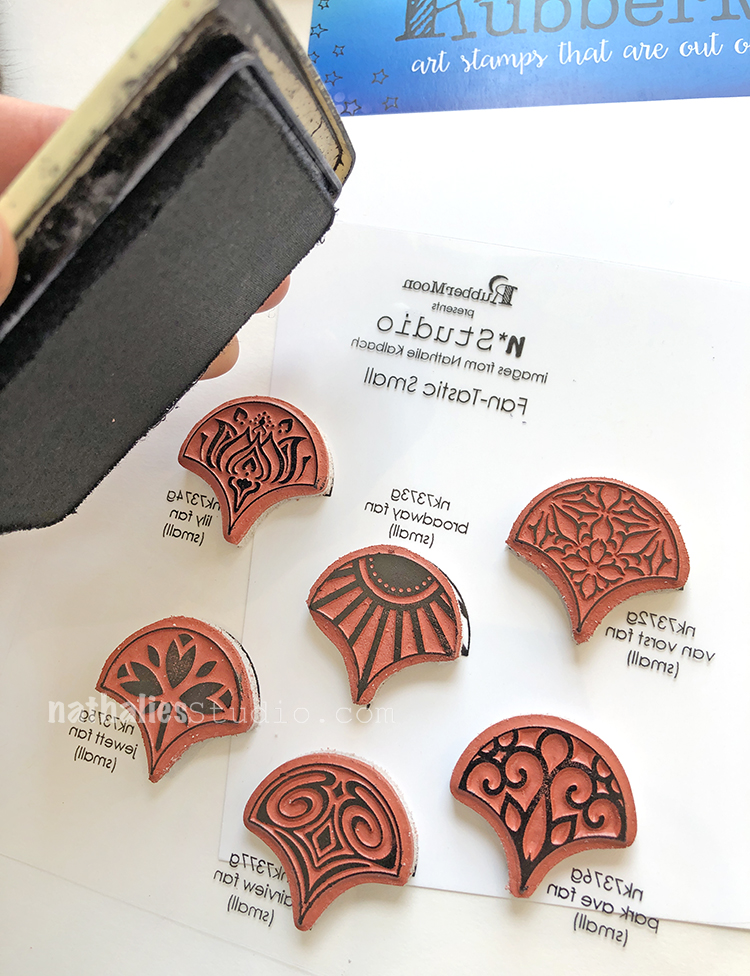
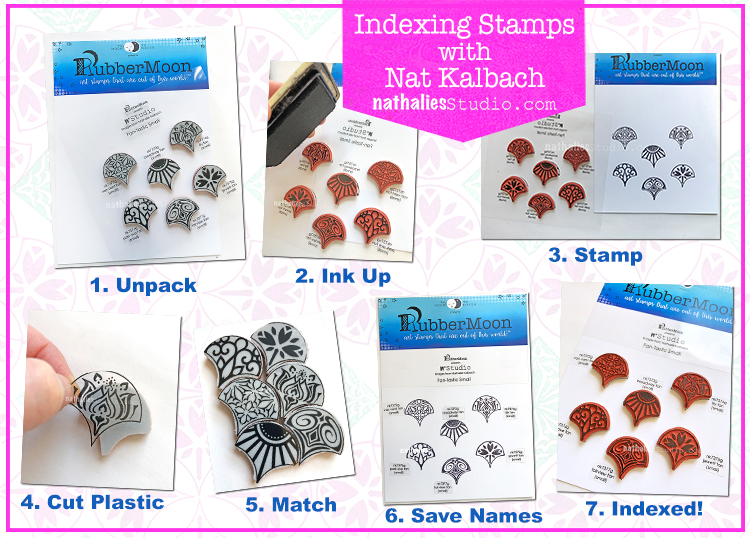
I store my stamps in my old letter press drawers and I love to keep them on the sheets. I also love to see first hand what the stamps look like when they are stamped. So I leave the stamps attached to the indexing sheet, ink them up with an archival ink and then
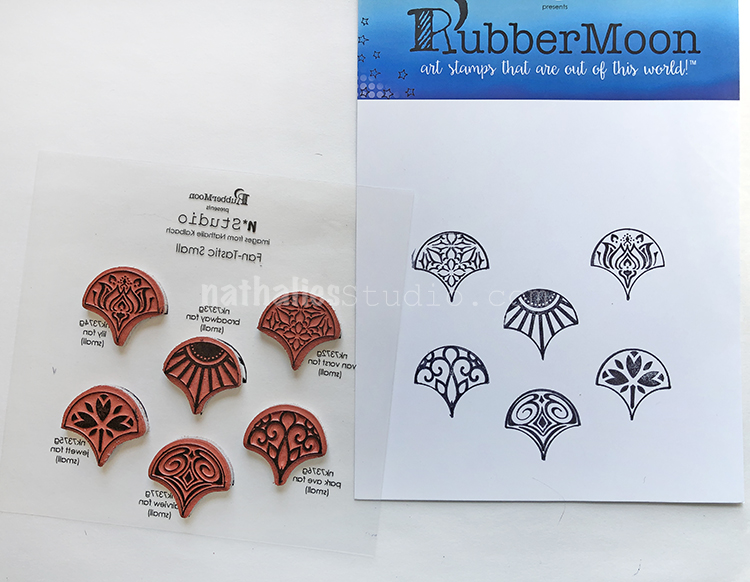
place the white packaging insert on top and press it down so that I get the imagery of the index sheet on there. It is like an initiation of your stamps if you will ;)
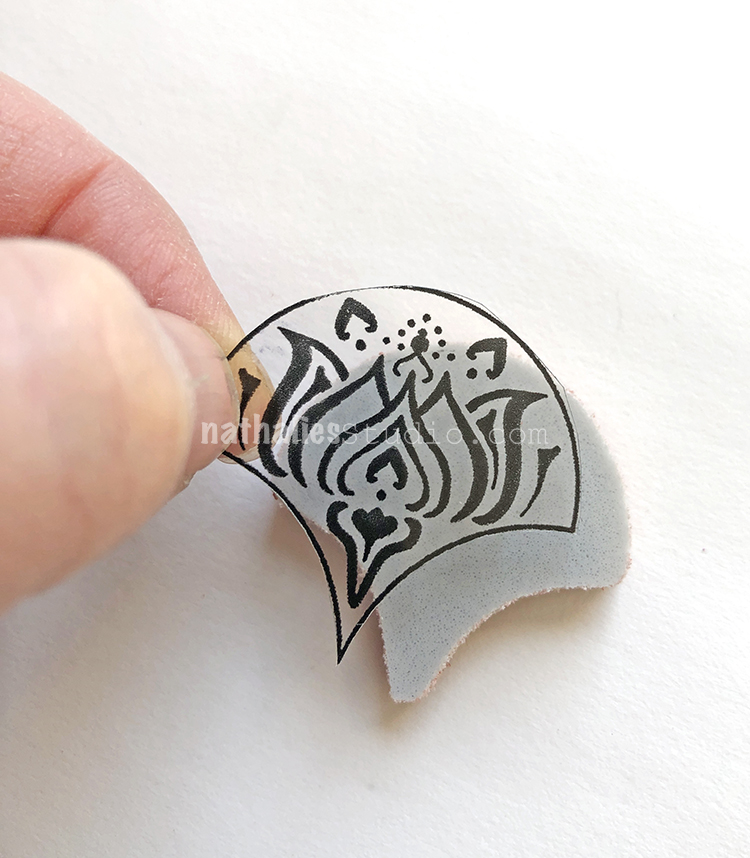
Next I cut out the images and put them on the backs of their appropriate stamps. Now for this sample I chose the Small Fan-Tastic Stamps and they are symetric on both sides- but some of my stamps have slight variations …so make sure you put the index sheet the right way on your stamp. The cling is fresh and new and will indeed cling to your plastic.
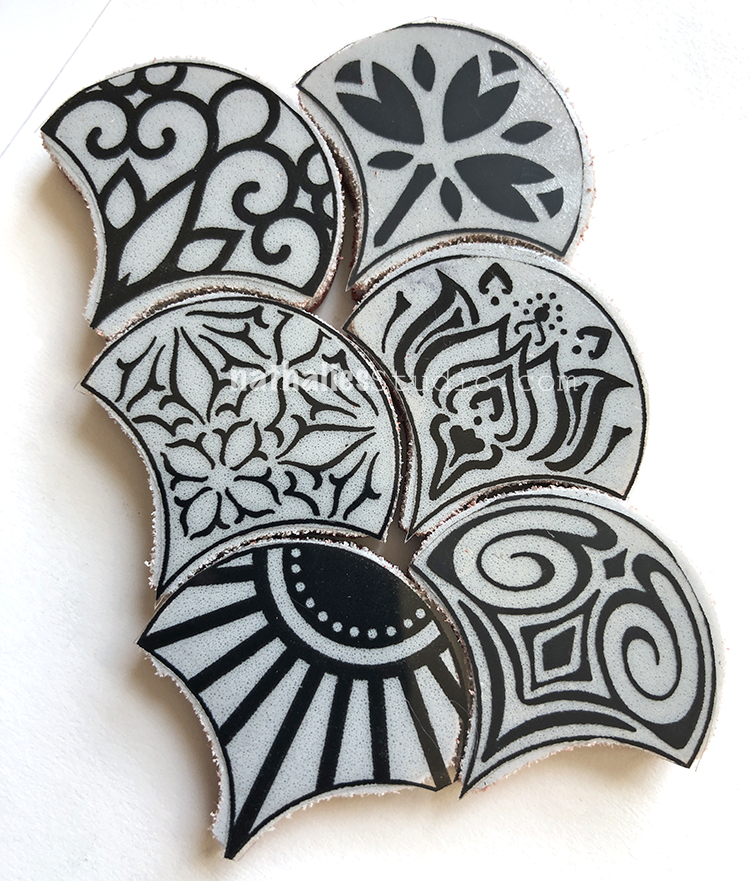
I do this with all of my stamps- and yes, the experienced stamper will rightfully ask “yeah but then those stamps do not cling to an acrylic block anymore” and I will say ” yes, you are right, BUT…” you have to decide if you rather want to see the image on the back and be able to line your stamps up more precise or if you rather want to use the acrylic block directly with your stamps- which …I admittedly do not really use that often anyway. In order for the stamp to hold on to an acrylic block if I need it, I use repositionable tape on the block – works like a charm and I can just rub it off when I am done.
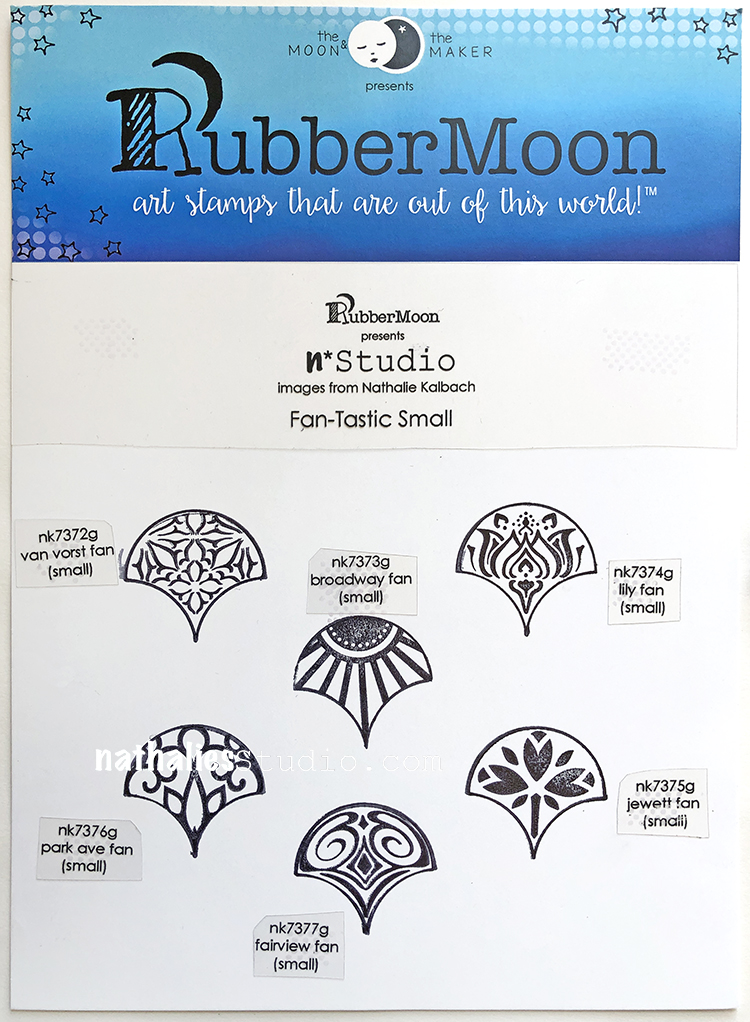
I personally also like to include the names of each stamp and the set name onto the sheet – Just because …I forget the names of my own stuff sometimes…crazy isn’t it LOL …well I am def. not getting younger ;)
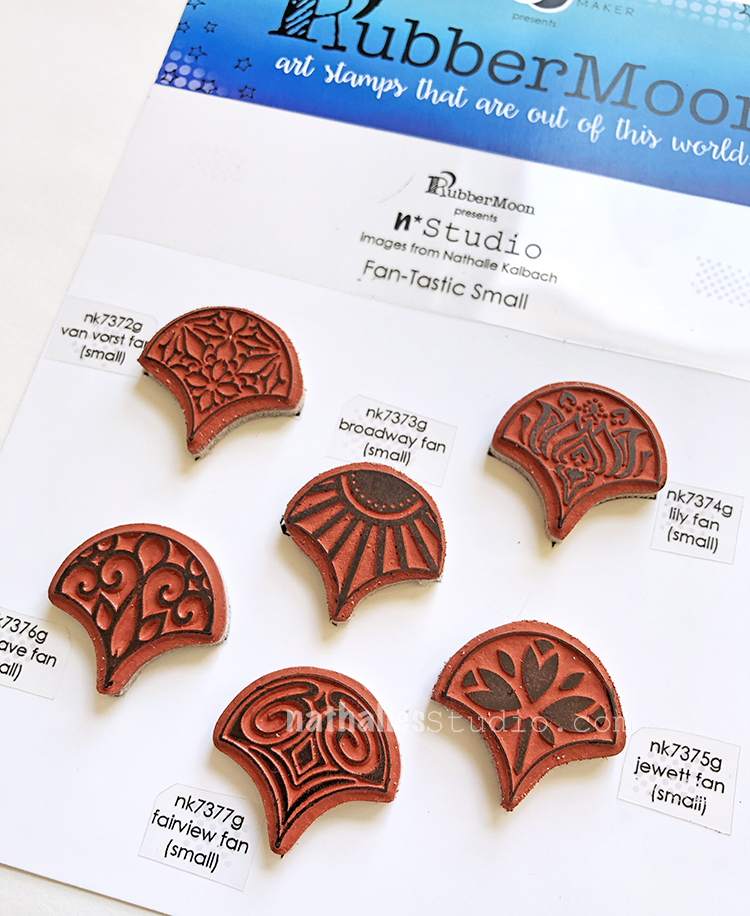
And then I can place my little stamps right on top and store them.

Is this the best way? Maybe not …but it works for me and maybe for some of you out there as well. If you have a different way of using the index sheets -let me know, I am happy to hear.

Leave a comment

Nat’s April Patterns Videos 1-4

When I received my new RubberMoon Stamp Designs I couldn’t stop making samples and patterns- so I decided to record a short inspirational pattern video each day and post them on Instagram. Here is a summary video of Patterns 1-4 – I hope you enjoy :)


Nat April Patterns 1-4 from Nathalie Kalbach on Vimeo.

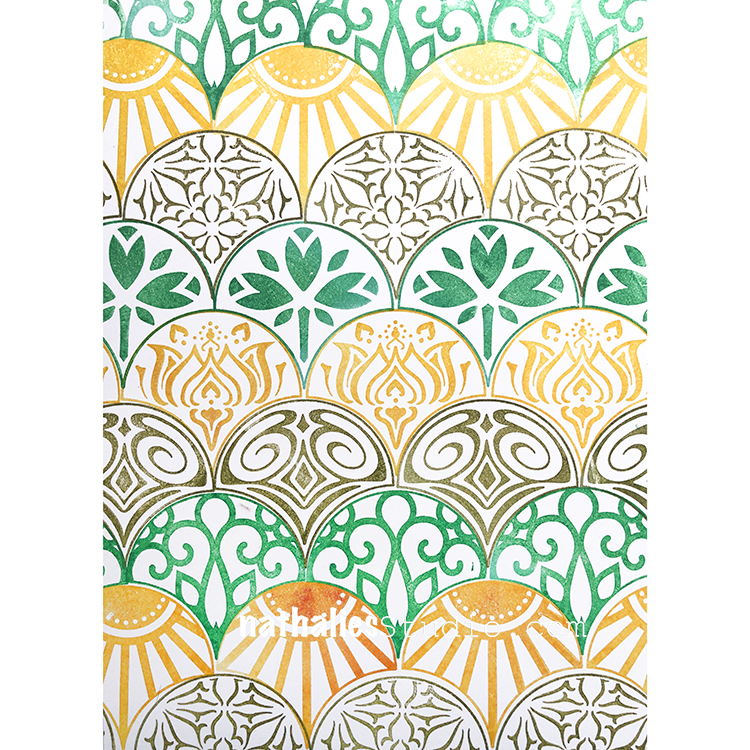
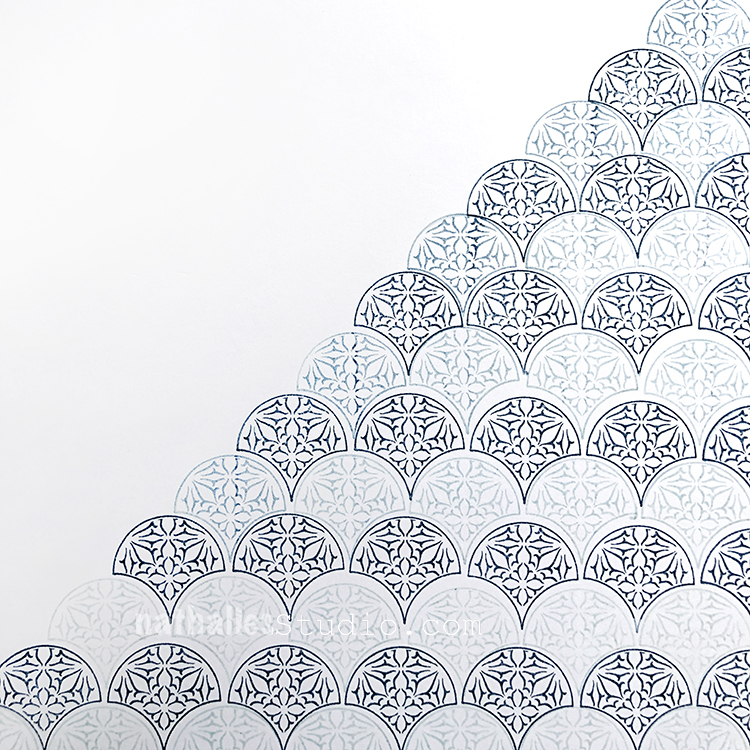
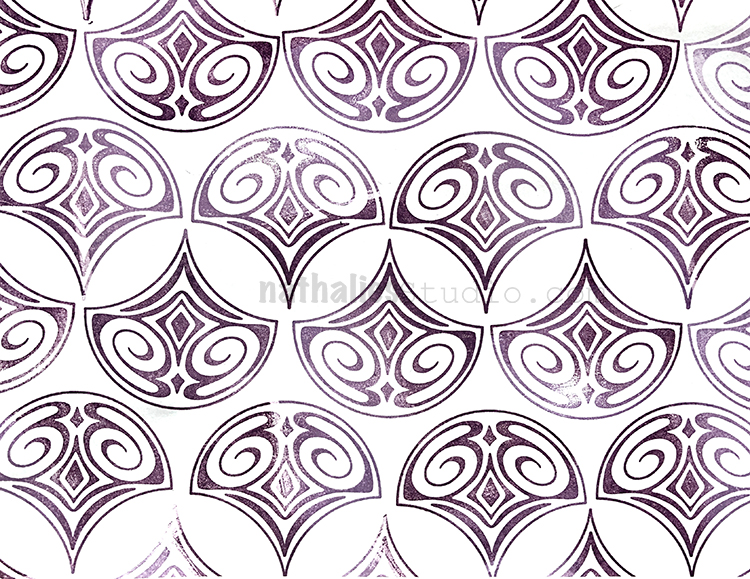
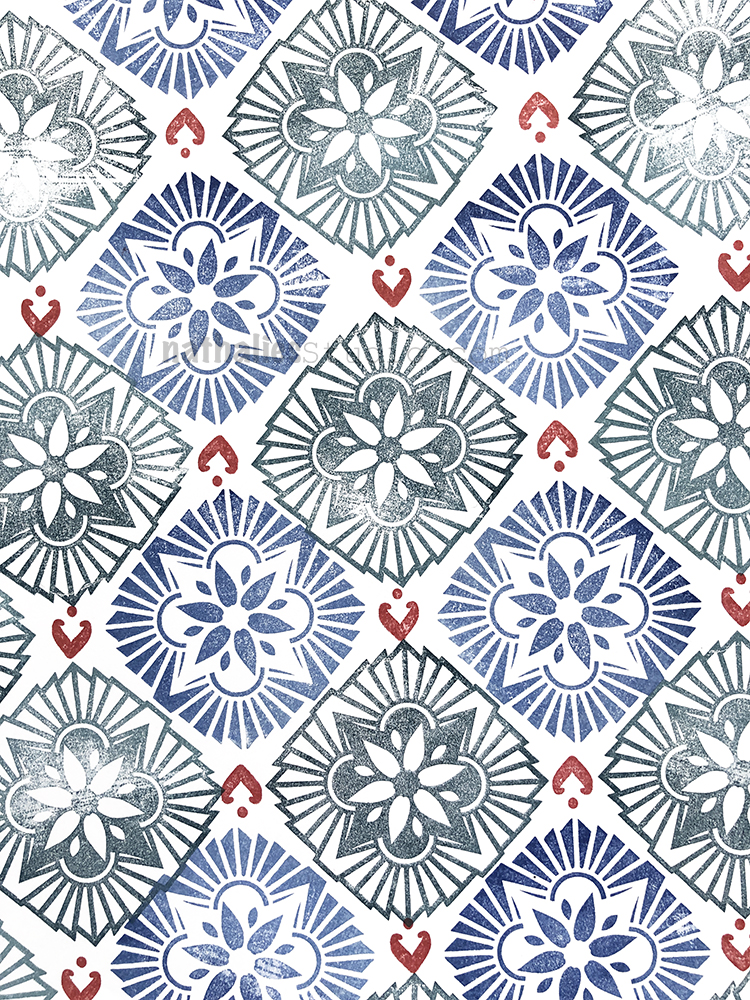
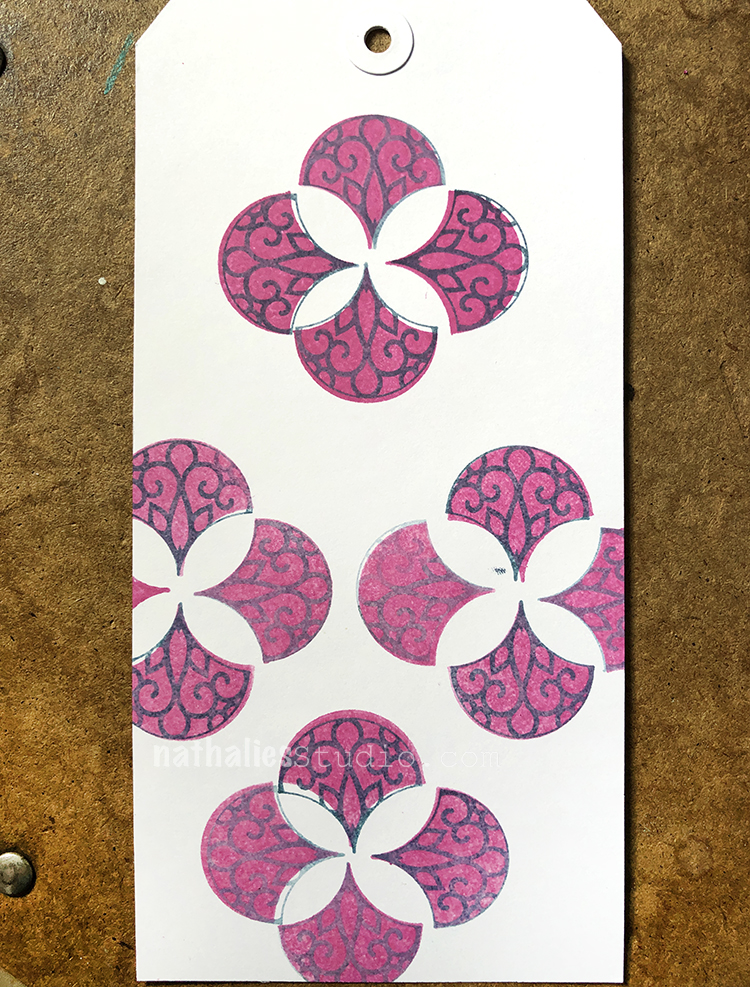
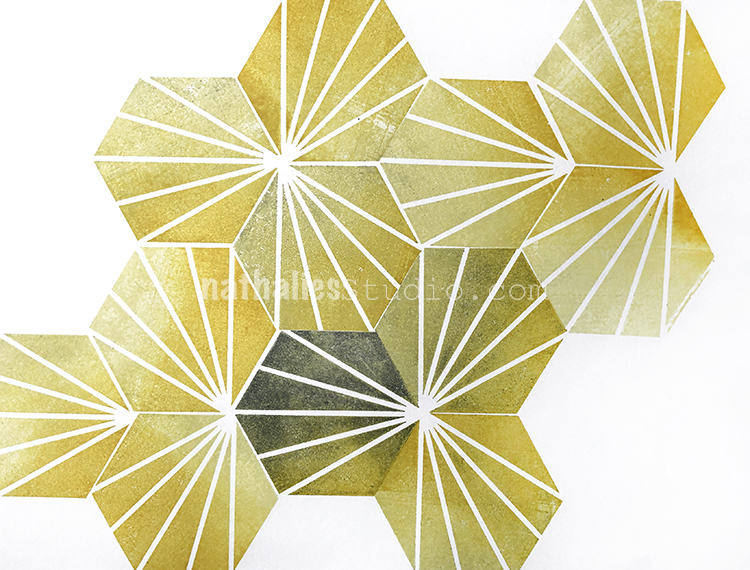
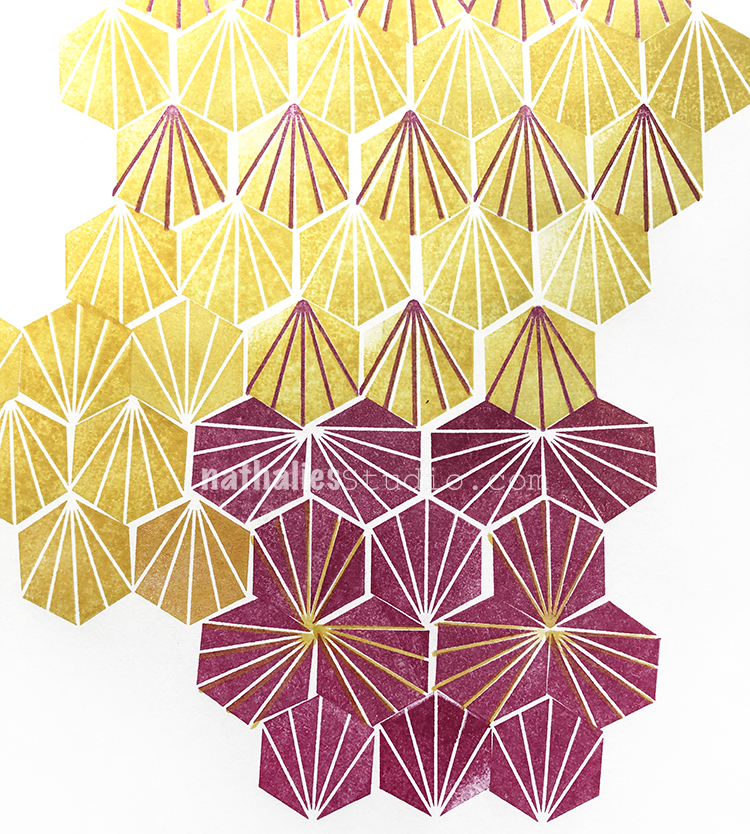
Here are the four patterns I made super fast ;) in the video:

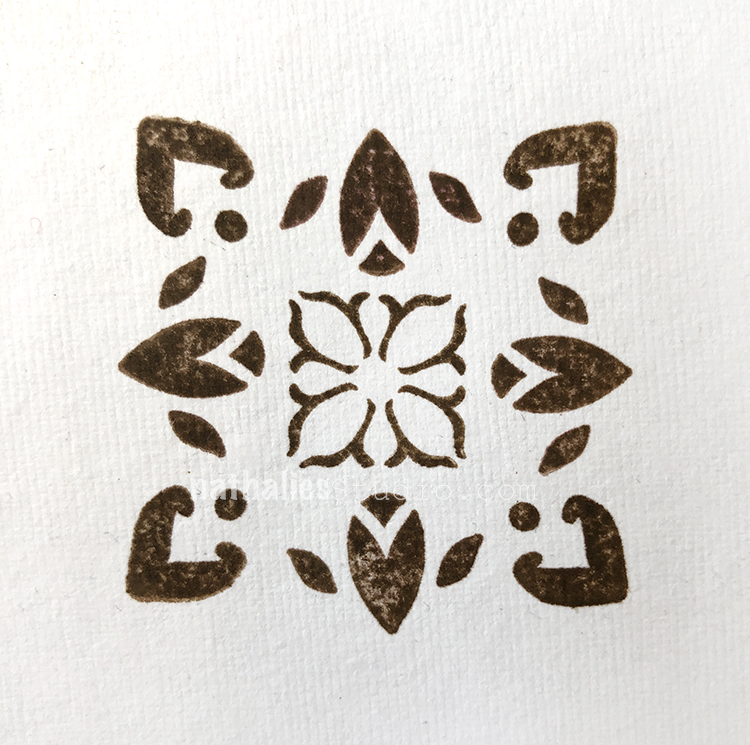
Here are the stamps I used for these patterns:


Leave a comment

Bridges of Choice – Art Journal

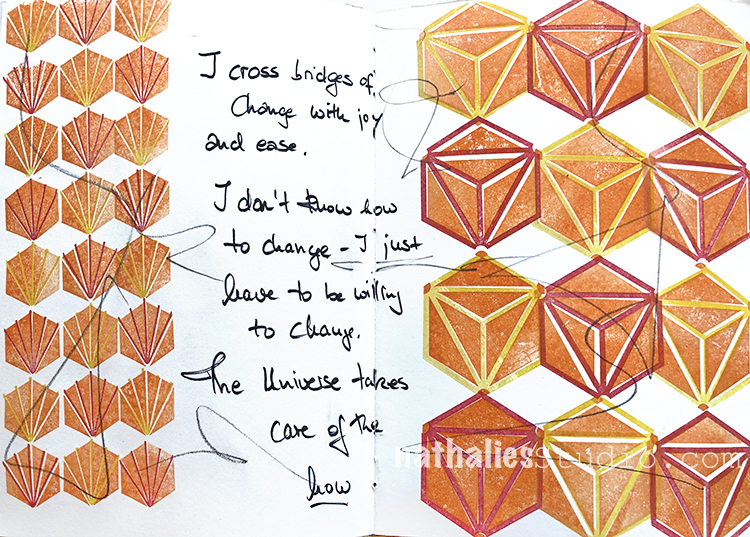
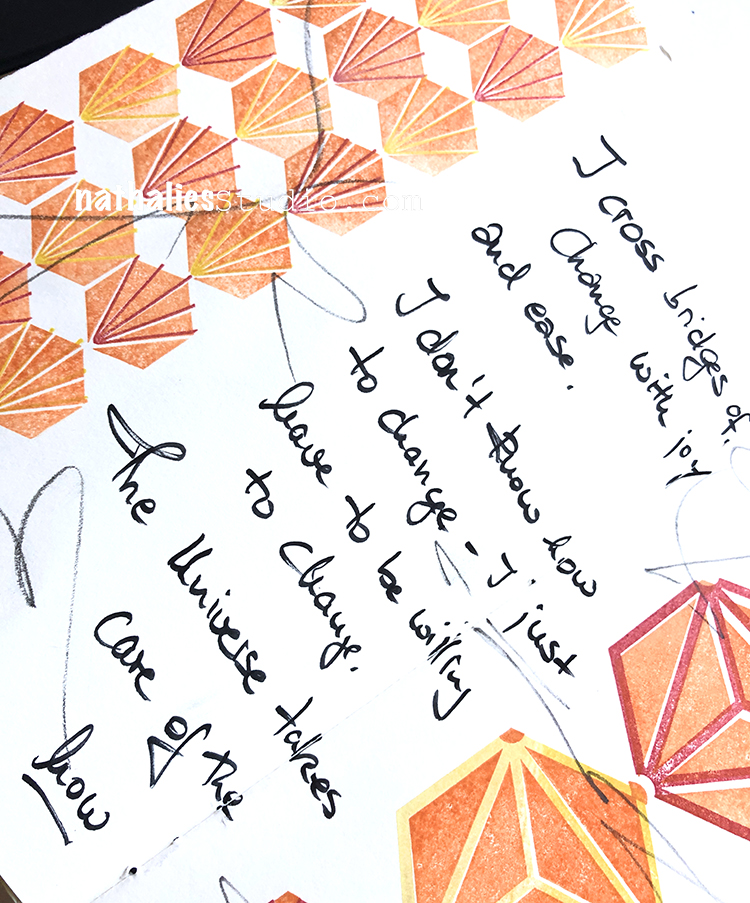
I saw this quote on instagram and I really liked it . “I cross bridges of change with joy and ease. I don’t know how to change – I just have to be willing to change. The Universe takes care of the how.”

Of course it is not always THAT easy- but I think I do like change and I have an instilled confidence in me that things will work out.

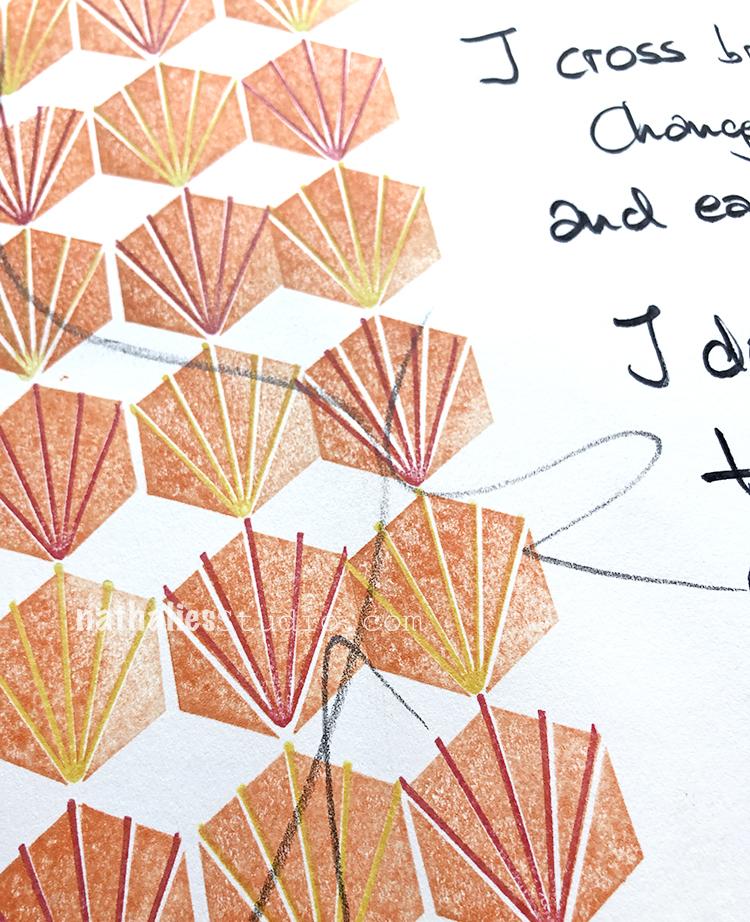
For this spread I used my new large and small Hex Rubber Stamp Sets with ink .

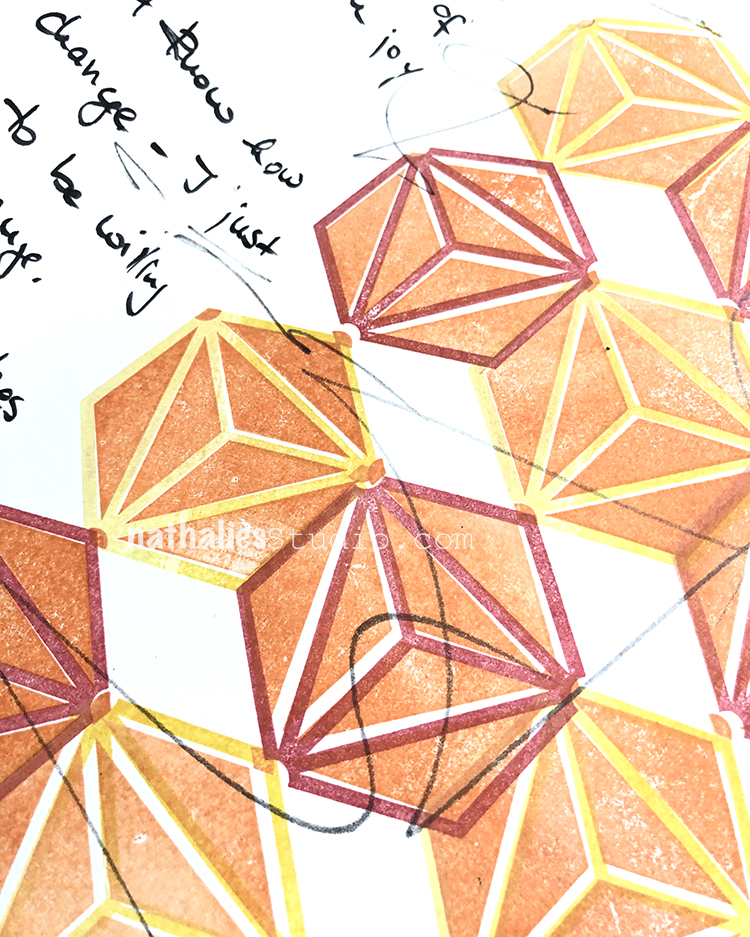
I stamped the positive and negative stamps on top of each other- I just love the dimension this gives.

Here are some of the supplies I used for this spread:


Leave a comment

NEW Rubber Stamps – FAN-tastic Designs & More!

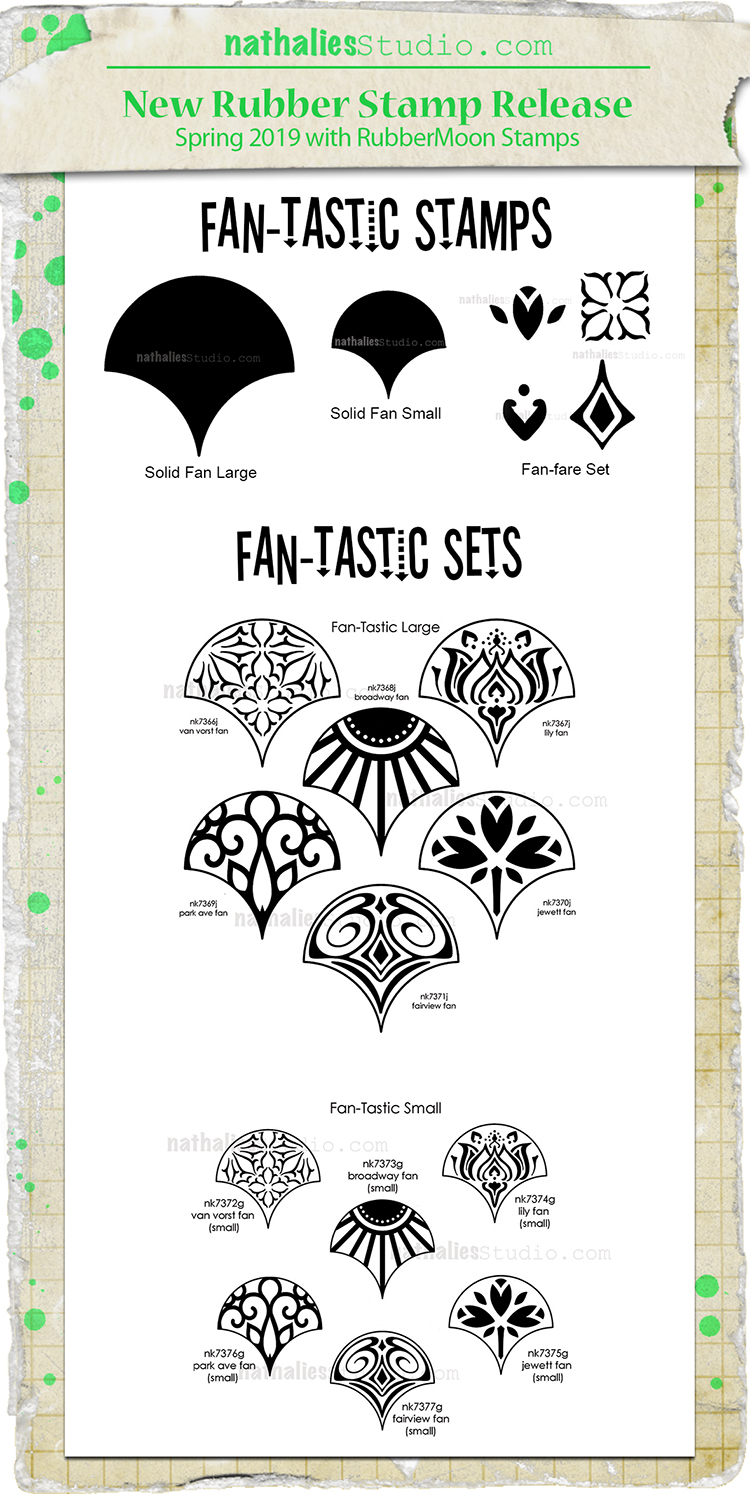
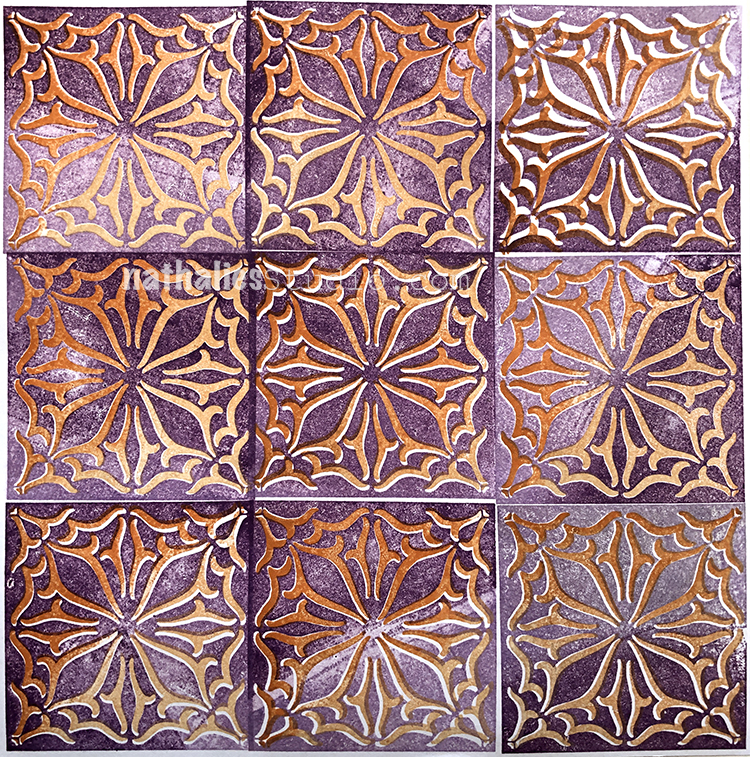
I have some NEW rubber stamps coming out today! These have been in the making for a while and ever since I have been playing with them I cannot stop – I keep building new patterns. Are you a pattern lover too? Well check these out: First is the FAN-tastic stamps:

There are the two sets: FAN-tastic Large and FAN-tastic Small. The large ones measure 2.75″ across while the small ones measure 1.18″ across. These have six patterns each and can be arranged in all sorts of ways.

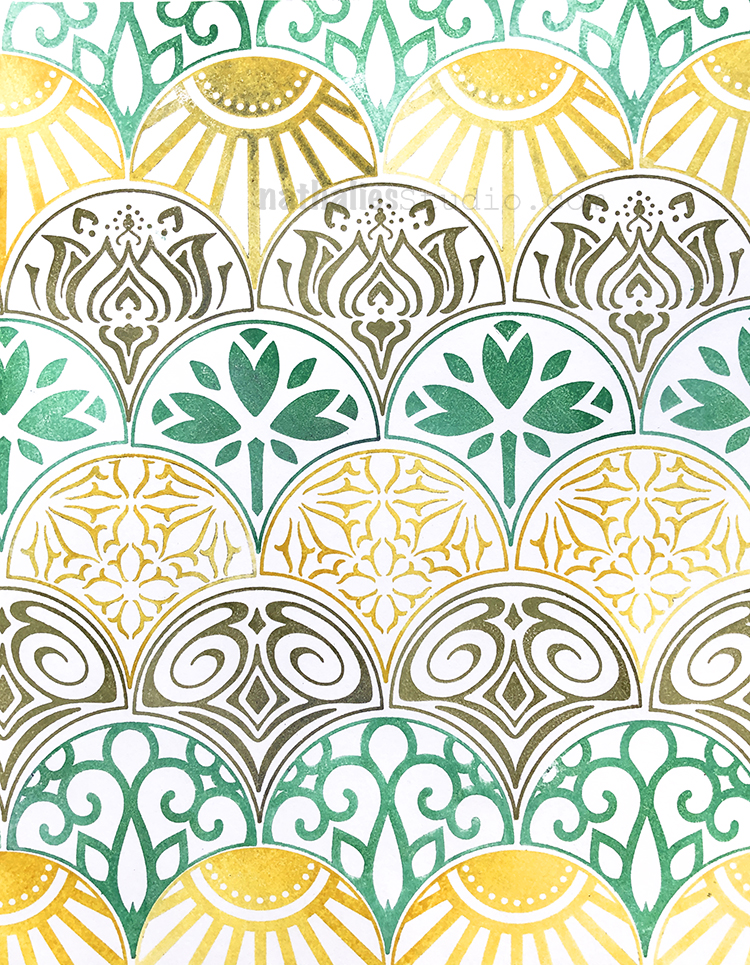
It makes me all giddy to see the Large Fan’s arranged in this colorful way. 

This is the Jewett Fan from the small set – tiled up in a classic art deco way.

But ooooo, they can also be arranged this way! This is the Broadway Fan.

And then there are the single stamps: Solid Fan and Solid Fan small – because maybe you want to put a color under your pattern fan…

And then there is also the Fan-fare set of four mini stamps…

These can make patterns on their own and wow are there so many ways to play…

Use them all together and make some awesome patterns! I am totally smitten with these :)

Ok but there’s more:

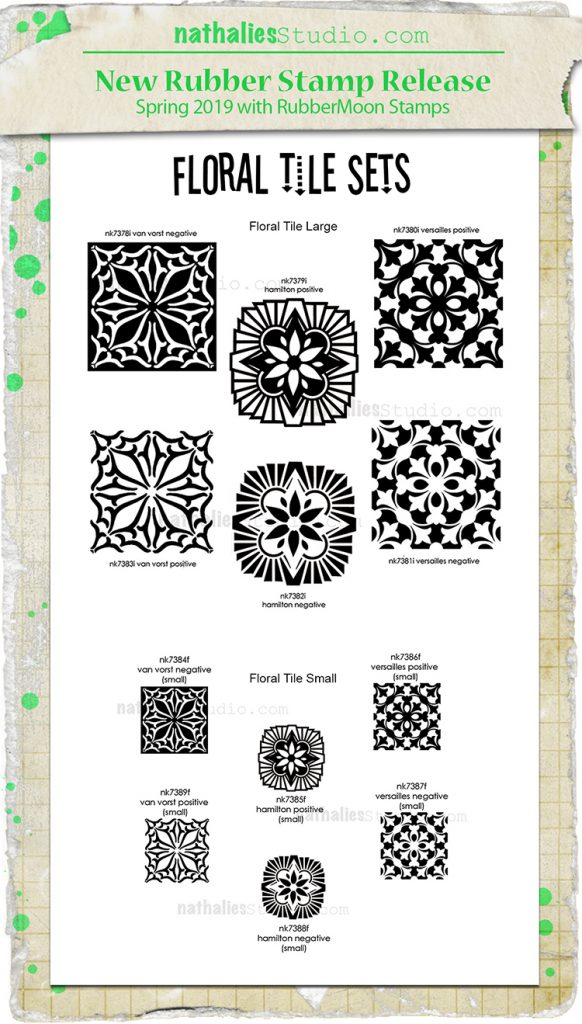
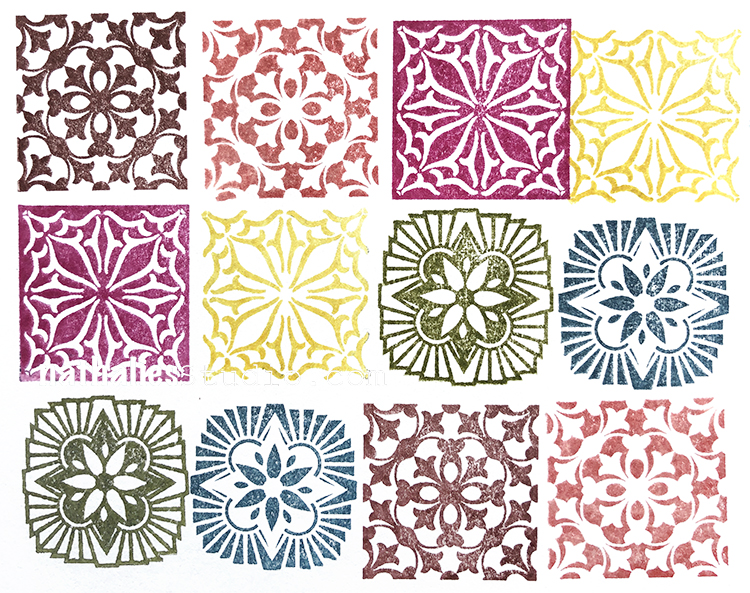
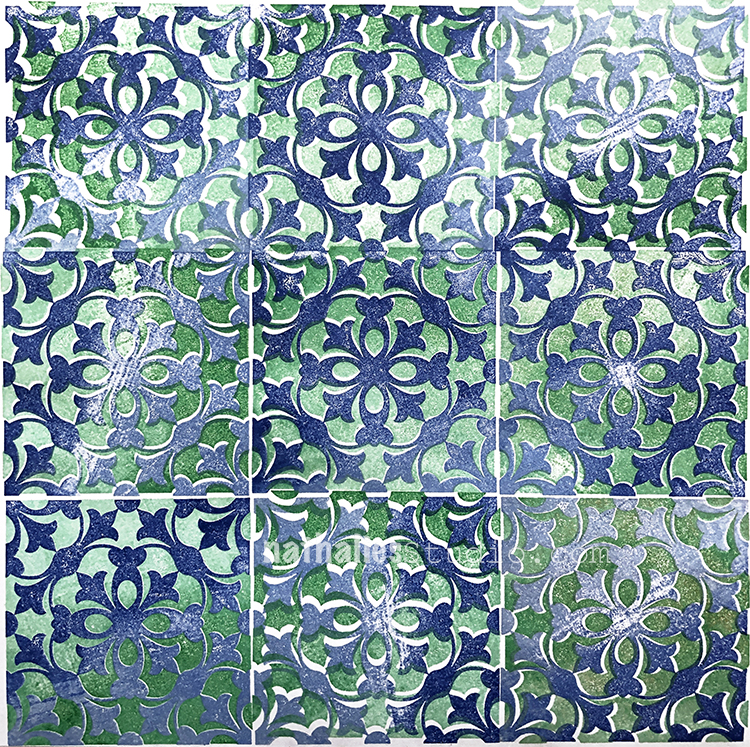
Those yummy Floral Tile Sets – one as a large one and one as a small one.

Here are the small floral tiles all next to each other

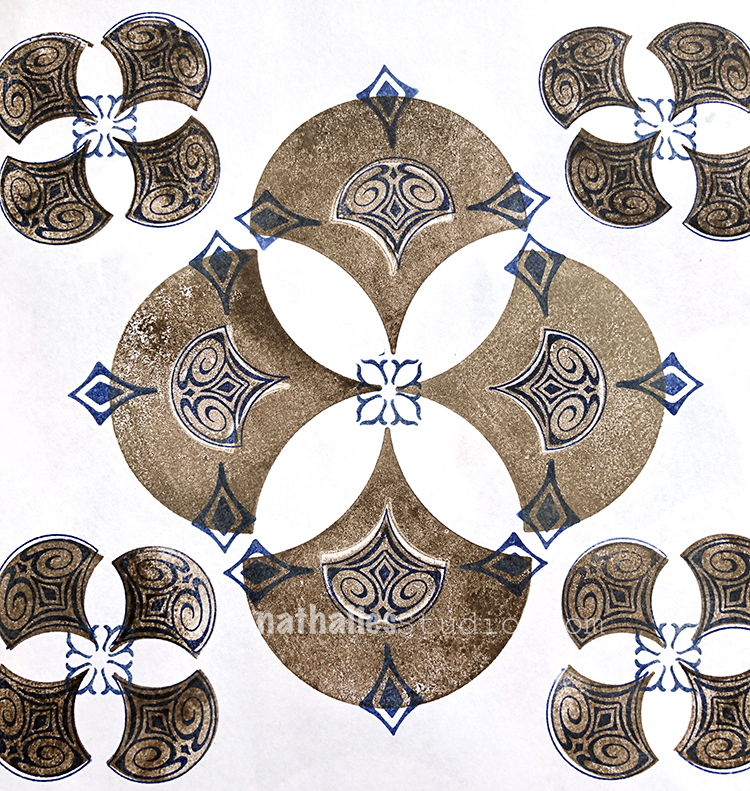
And the big positive and negative stamps used on top of each other.
You can use them as is, with some of the Stencils I have and also with some of the foam stamps. ANNNDDD of course they can be used with the other new stamps as well :)
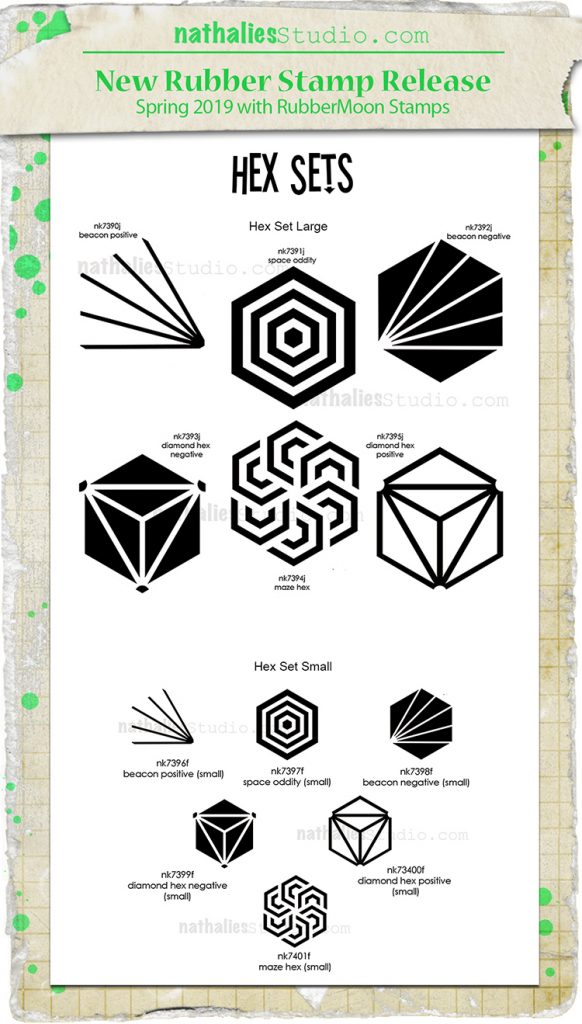
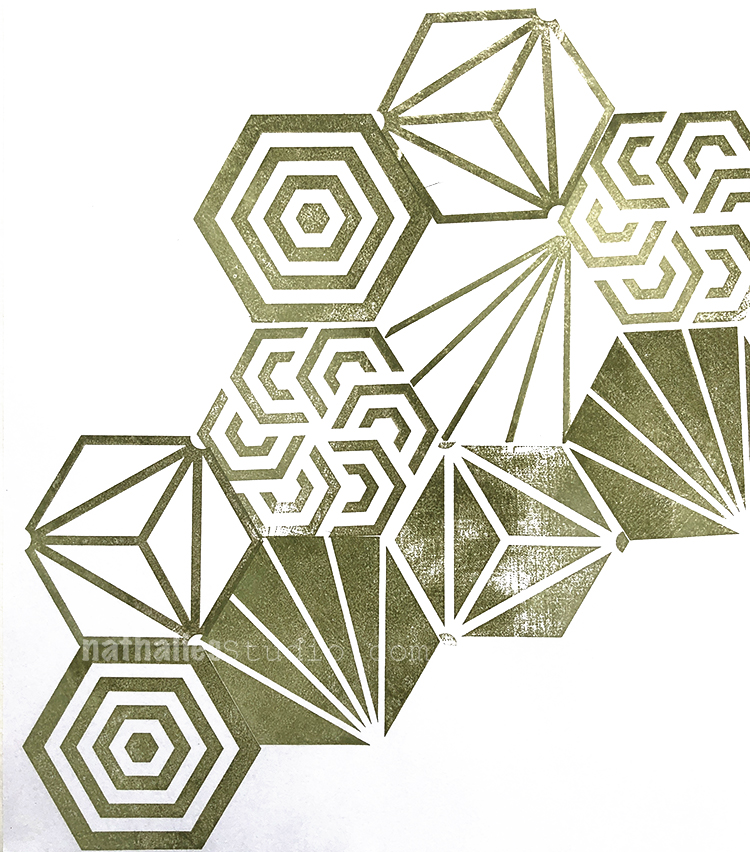
ANNNNDDD another one I am soooo excited about – the Hex Sets. Again they come as a Large Hex Set and a Small Hex Set.

This is the large Hex Set- which measures approximately 2.75″ across

There are so many ways to use the Hexagons and arrange them to make patterns

but also to use the positive and negative patterns on top of each other

I cannot wait to show you even more of the patterns and designs you can create with those stamps! I can honestly say:

The possibilities of these stamps are limited only by your imagination

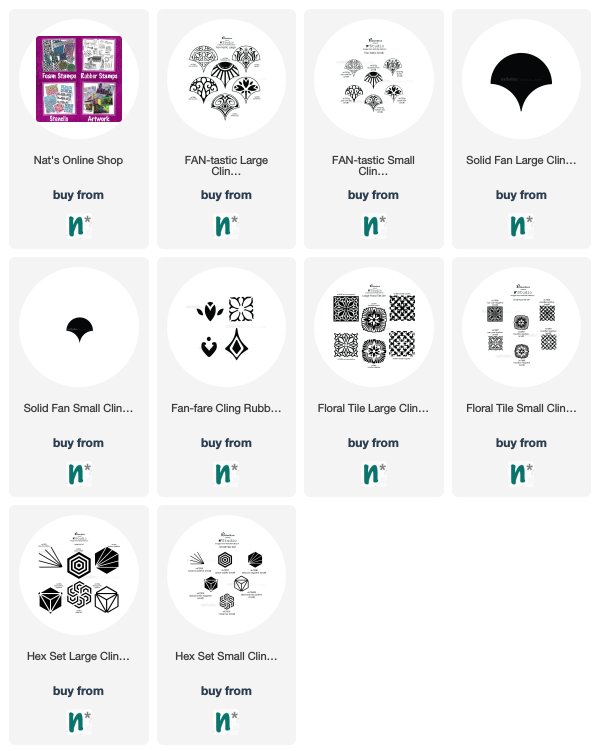
Here are all new sets now available in my store:

Comments (2)

  • Sue Clarke

    |

    Brilliant combos Nat…especially made with the fan set!

    Reply

Leave a comment

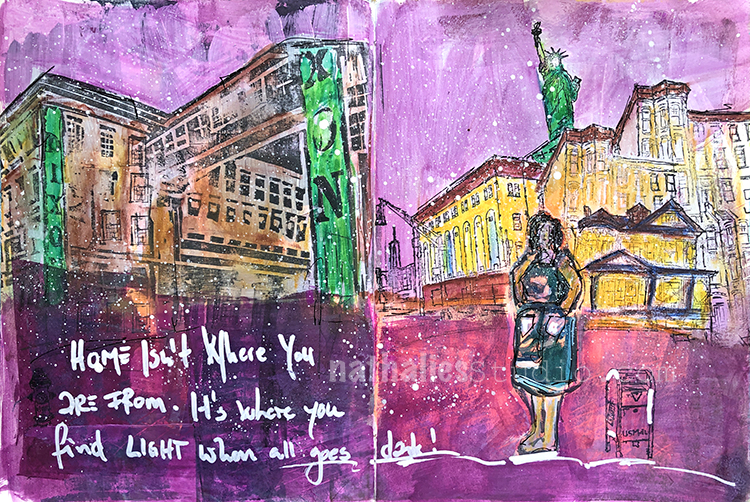
Where You Find Light – Art Journal

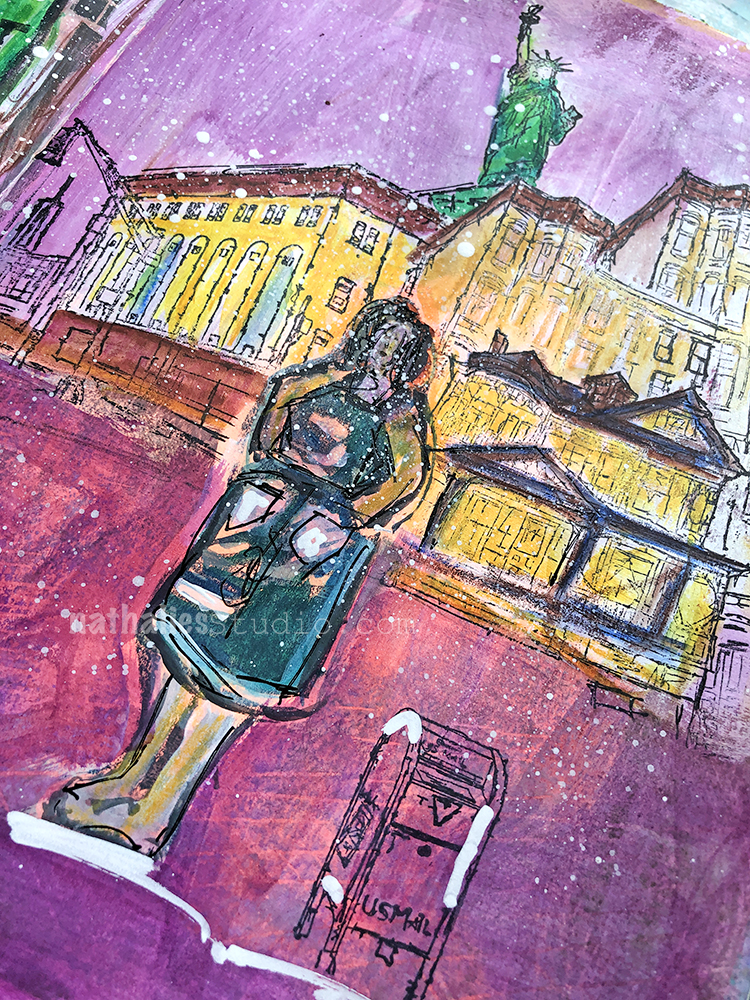
Here is a another art journal spread using the hand carved stamp I showed in my Creative JumpStart 2019 class video ( you can still join us if you want – lots of fun tutorials). Here I inked it up with black archival ink

and used it cut apart as shown in the tutorial. I also used it with my RubberMoon Rubberstamps – I love the mix of hand carved and hand sketched next to each other.

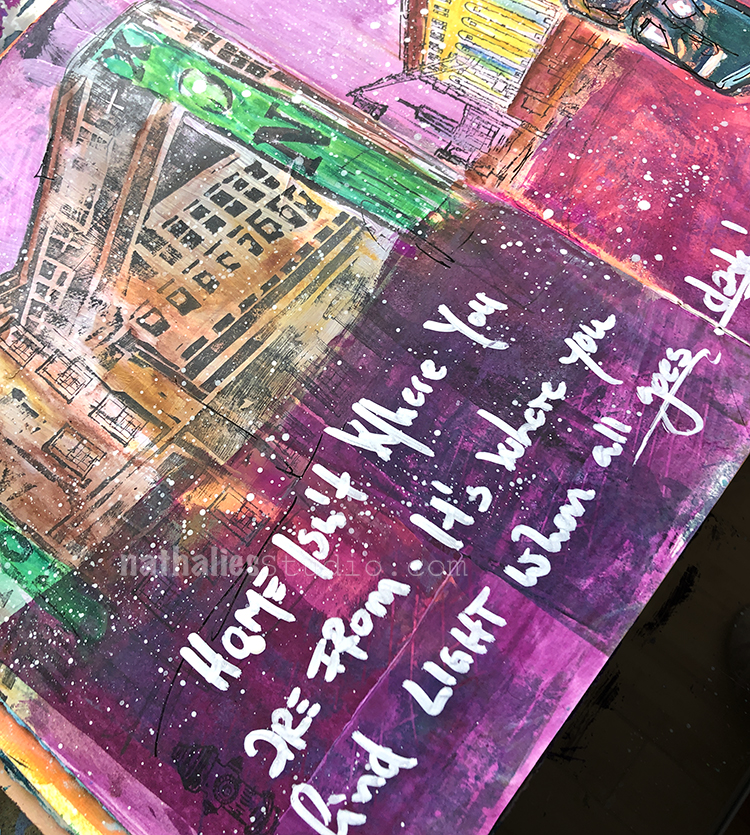
I painted the stamped images and the background in with acrylic inks and acrylic gouache and added the journaling with a white sharpie. Love how the colors glow.

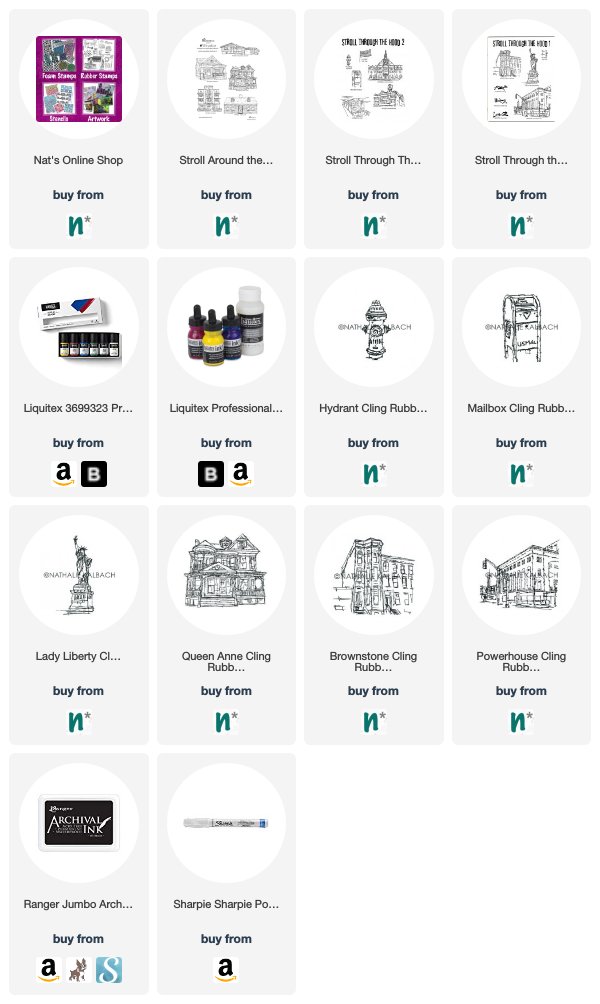
Here are some of the supplies I used for this spread:


Leave a comment

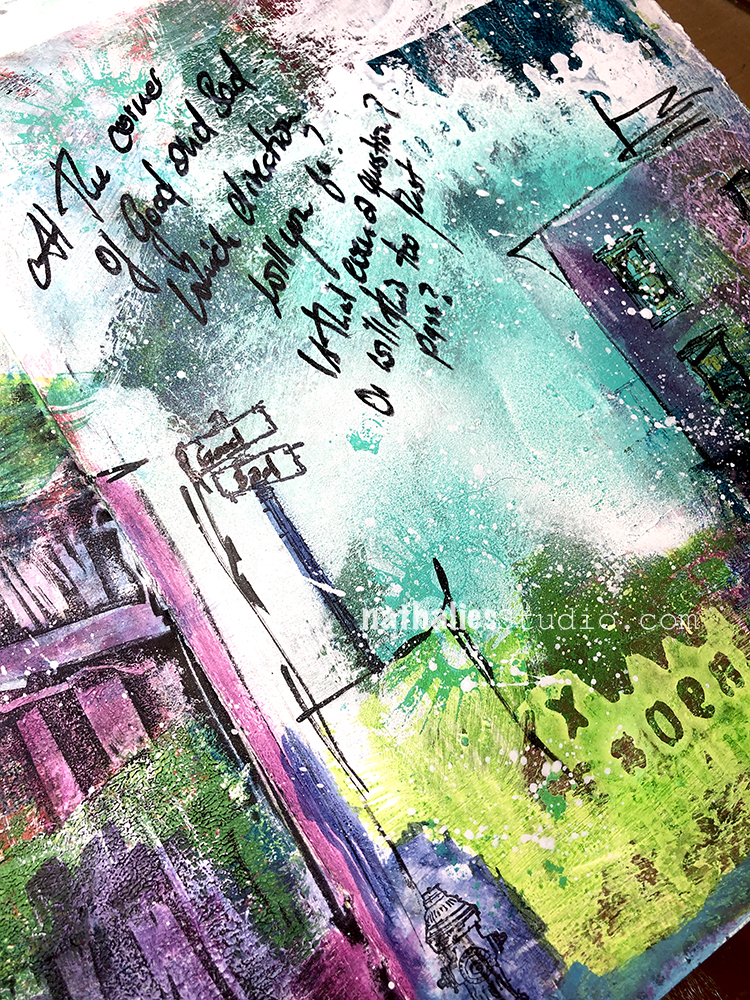
At the Corner of Good and Bad – Art Journal

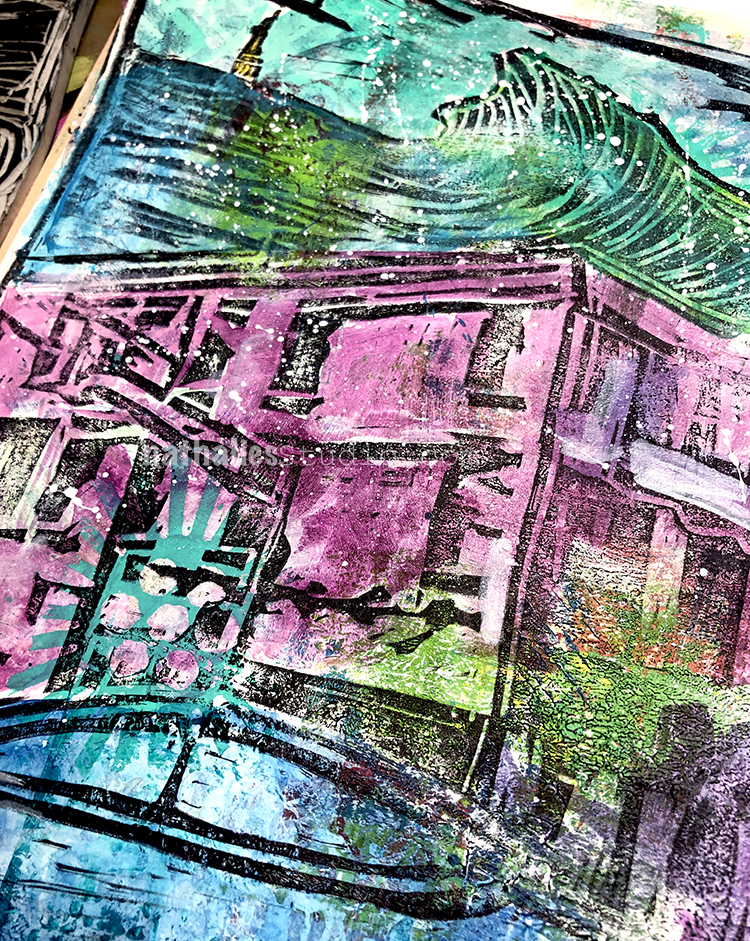
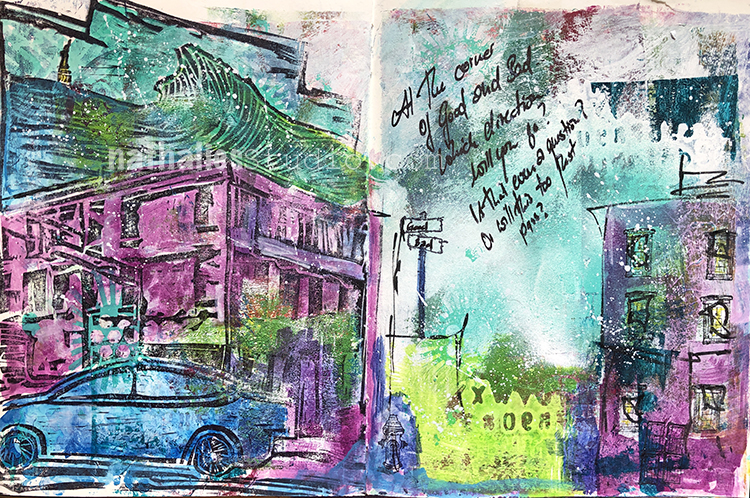
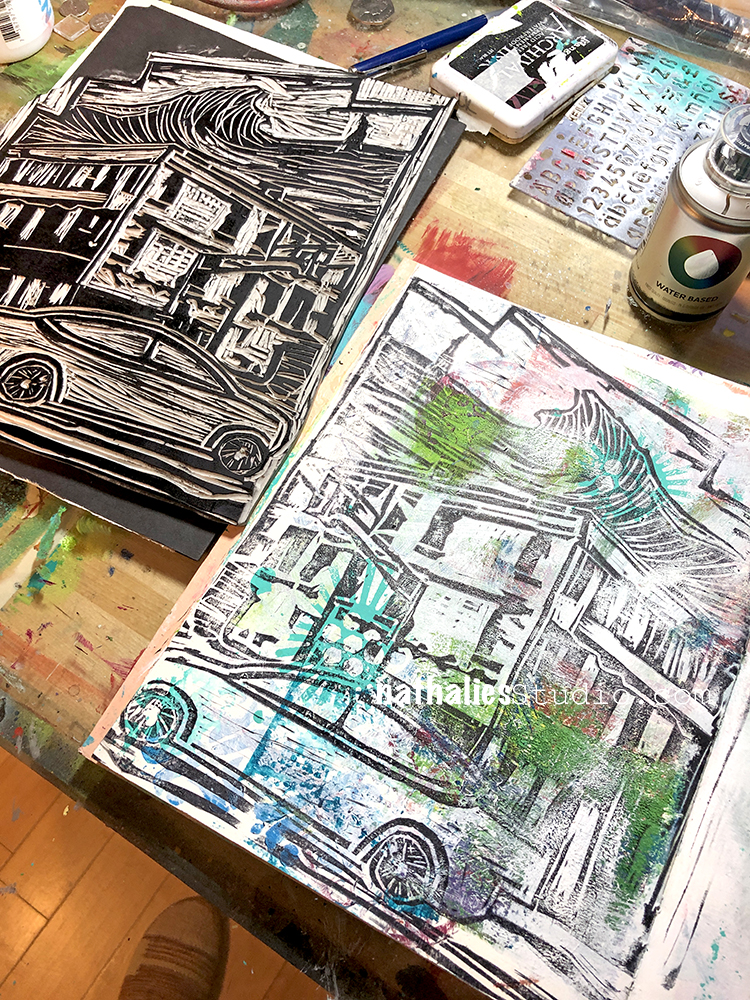
I had a lot of fun with this spread. I carved a big stamp of a building close by here in Jersey City with a mural by Shepard Fairey and used it for bags I made for the holiday market. But then of course I also wanted to use it in my journal.

I printed on a page that I had previously used as a “clean up” page and then painted over the tamped images with acrylic paints.

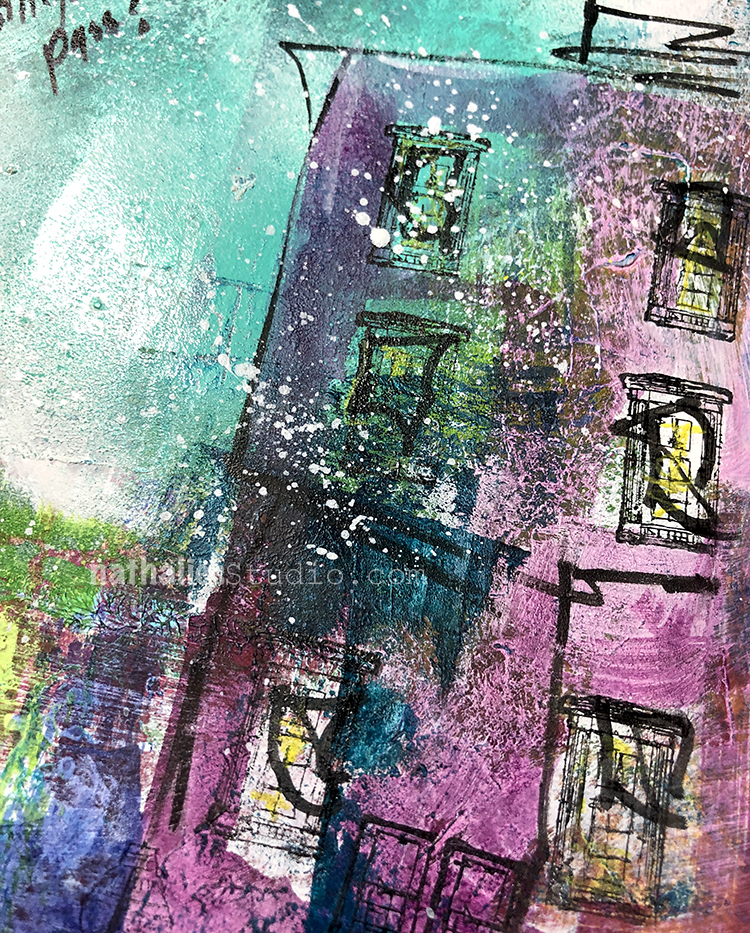
I added some hand drawn imagery and some of my Stamps as well

I love the contrast of very clean and fine line stamps and then the bold hand carved stamp. And all the texture – actual and optical that I created with brushstrokes, and spray paints.

That was fun :)

Here are some of the supplies besides Acrylic Paints I used for this spread:


Leave a comment

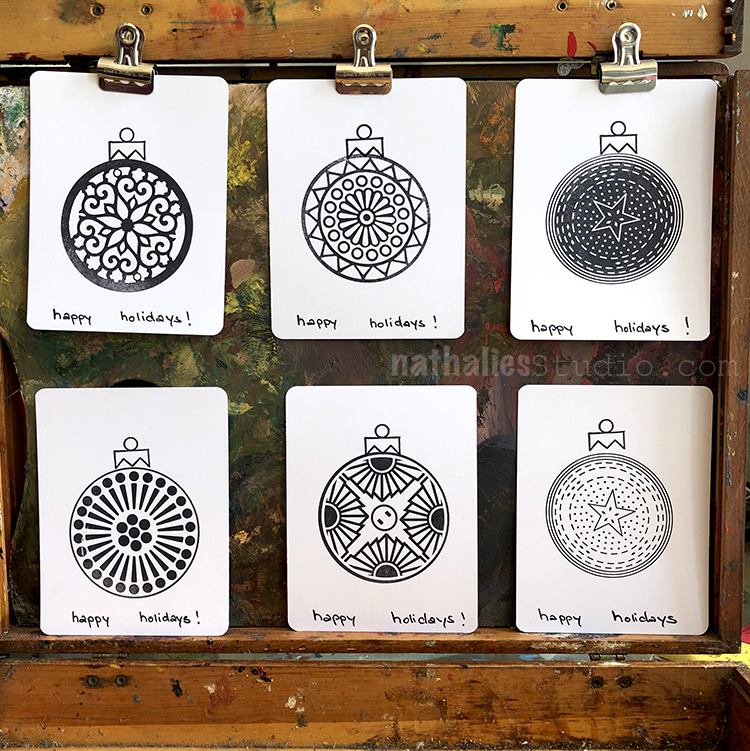
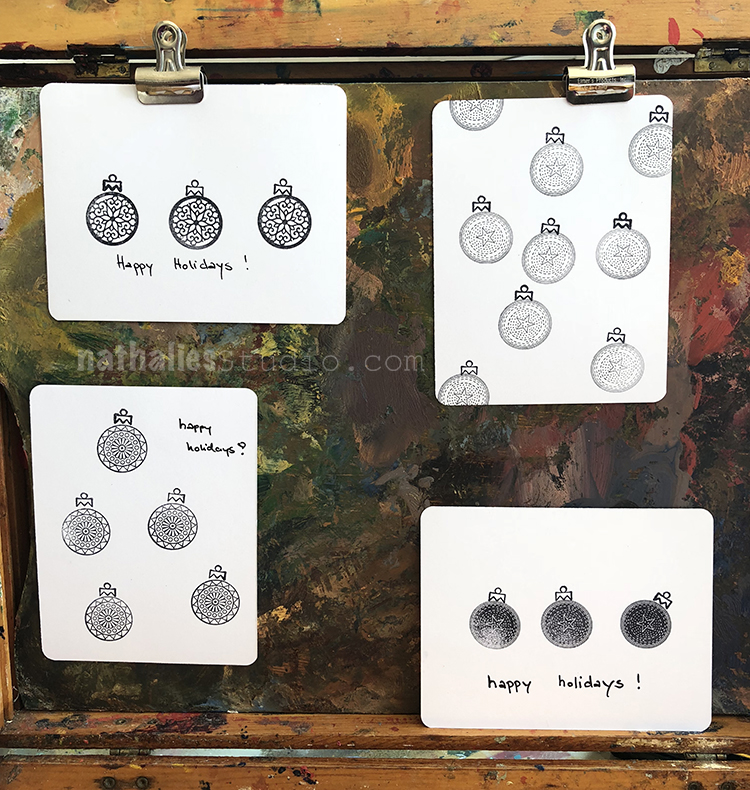
1,2,3 Easy Peasy Quick Holiday Cards

I love handmade holiday cards but let’s face it – it is tough at this time of the year to spend a ton of time to make them.

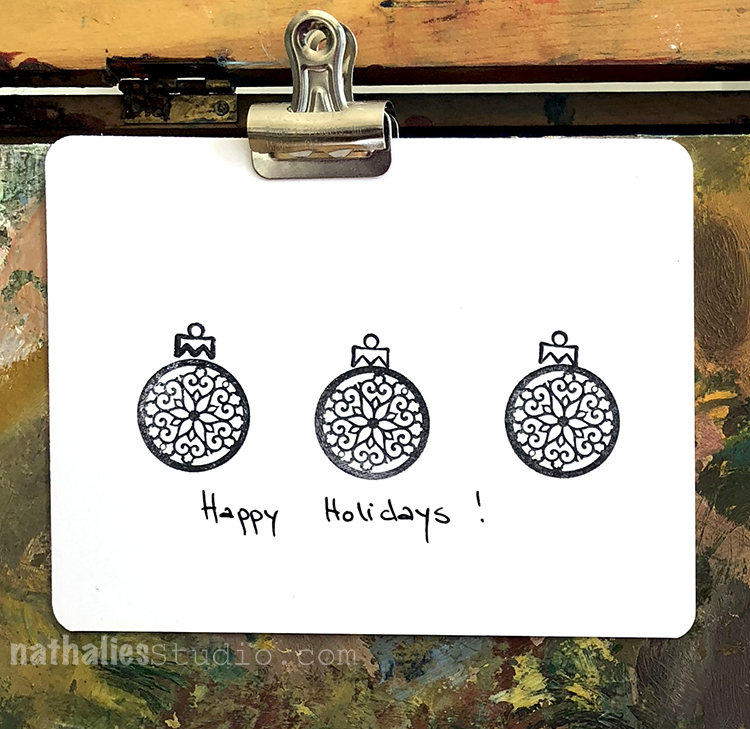
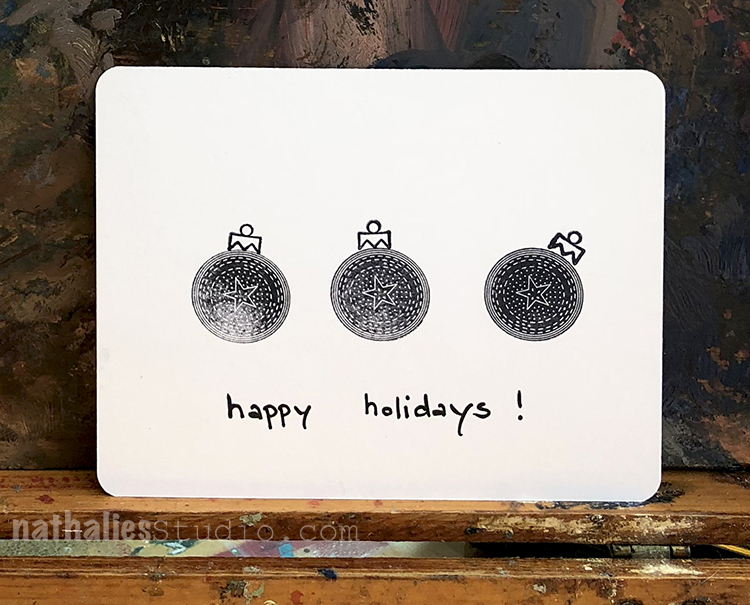
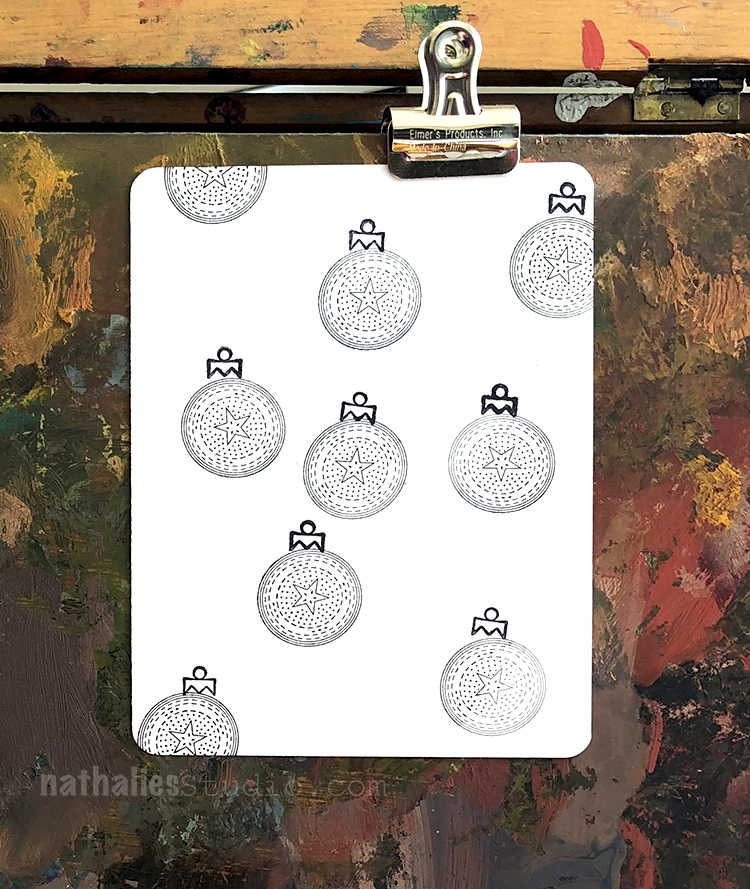
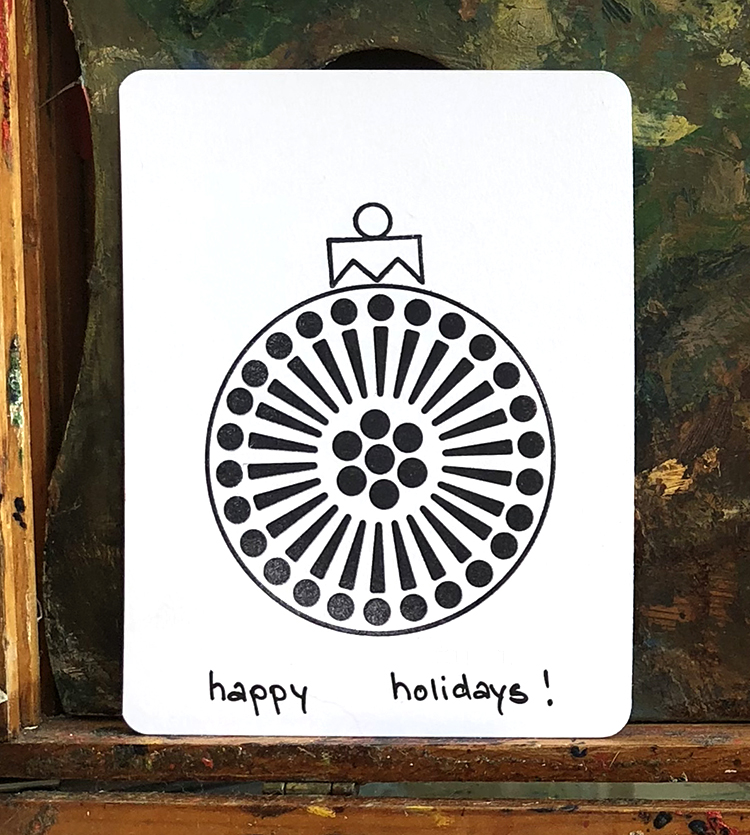
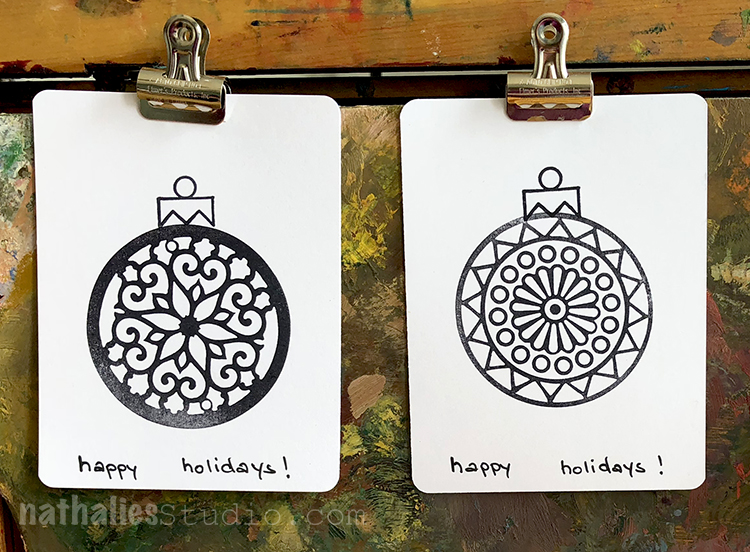
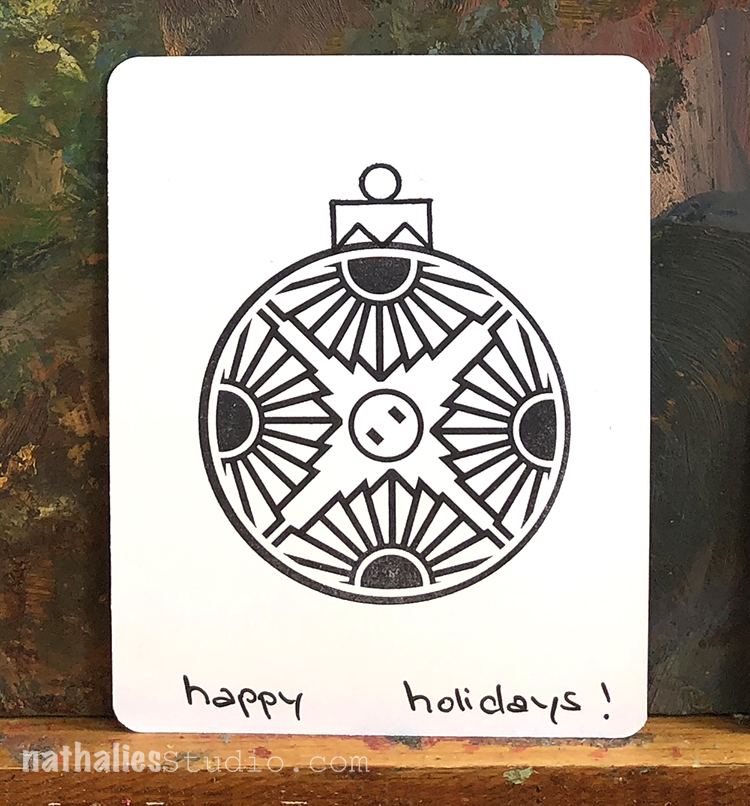
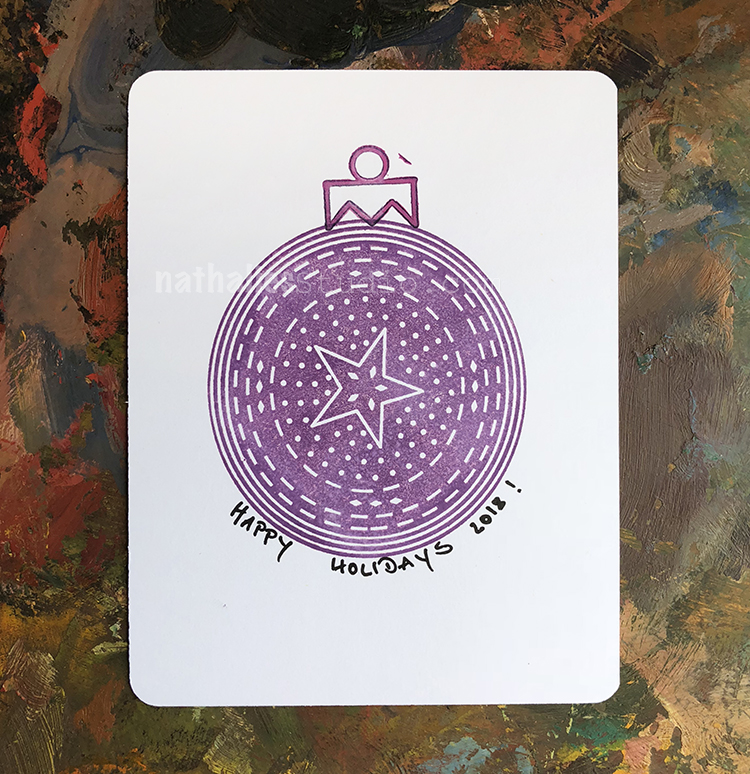
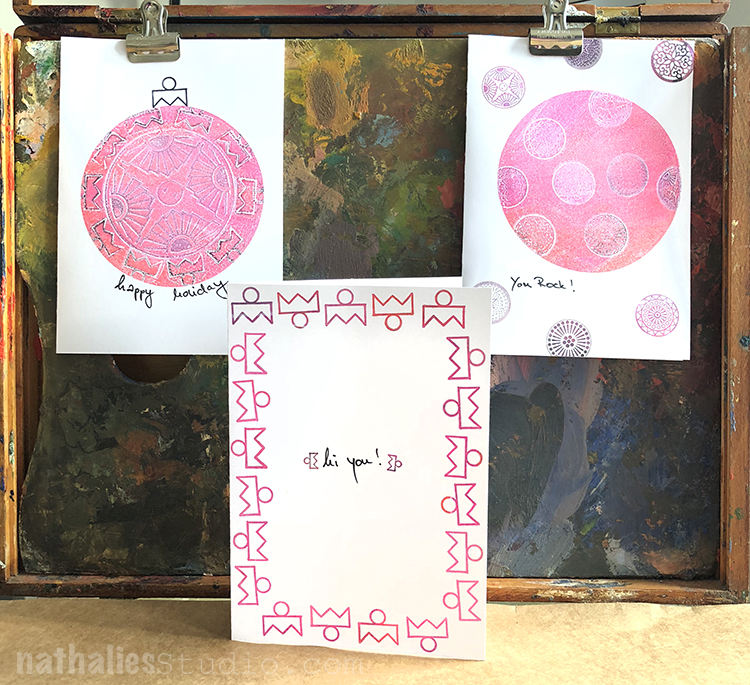
So, when I designed the Circle Jumble Rubber Stamps I wanted to make sure they are versatile and can be used all year long but added a little topper for the circles that can either be used on it’s own or for exactly what I did here. Create little holiday ornaments :)

I love how the tiny ones with the Small Circle Jumble Set turned out  in black and white

But I am also in love with the Large Circle Jumble Cards


Look I sneaked a little colorful one in here :)

Here are the supplies I used for these cards:


Comments (2)

Leave a comment

Cards Galore

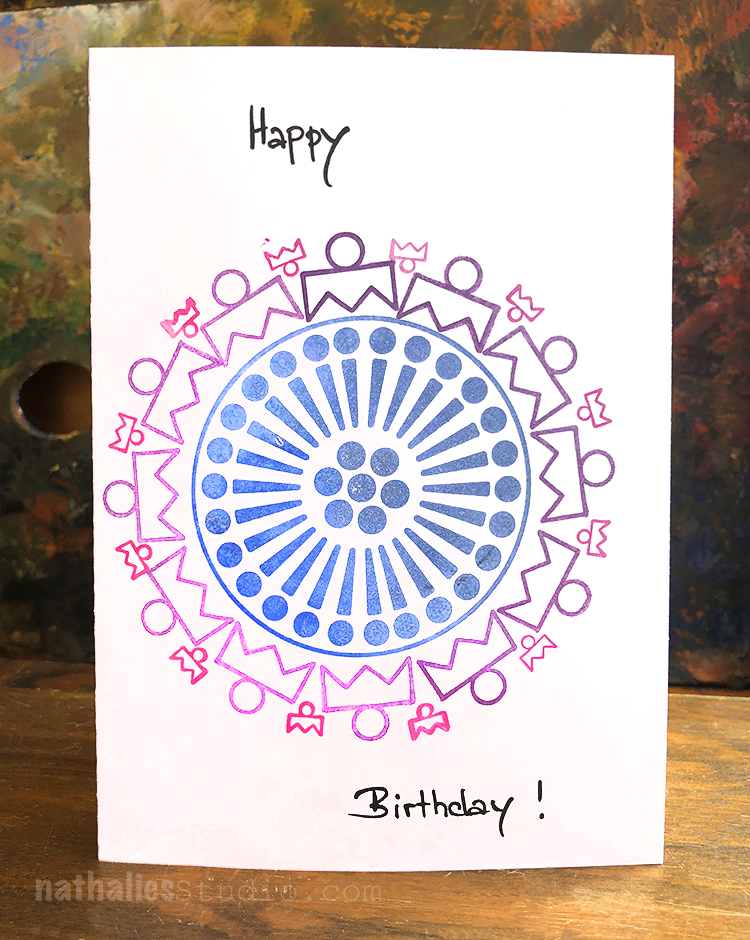
I am a card making machine ;) For the Birthday Card above I used the Grove St. rubberstamp from the Large Circle Jumble Stamp set for the middle. Then I used the toper stamp from the same set and its smaller sibling from the Small Circle Jumble Set to create a border. I really love those toper stamps, I used them all the time for pattern and mark making as well as for borders.

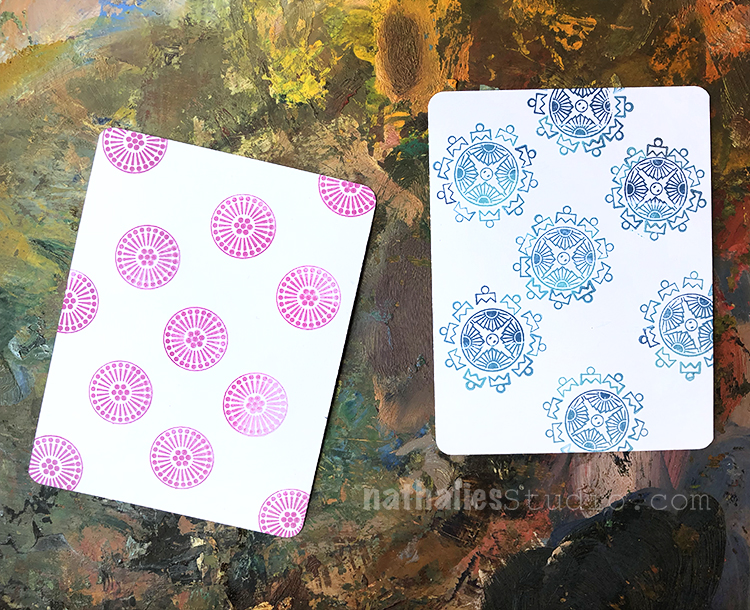
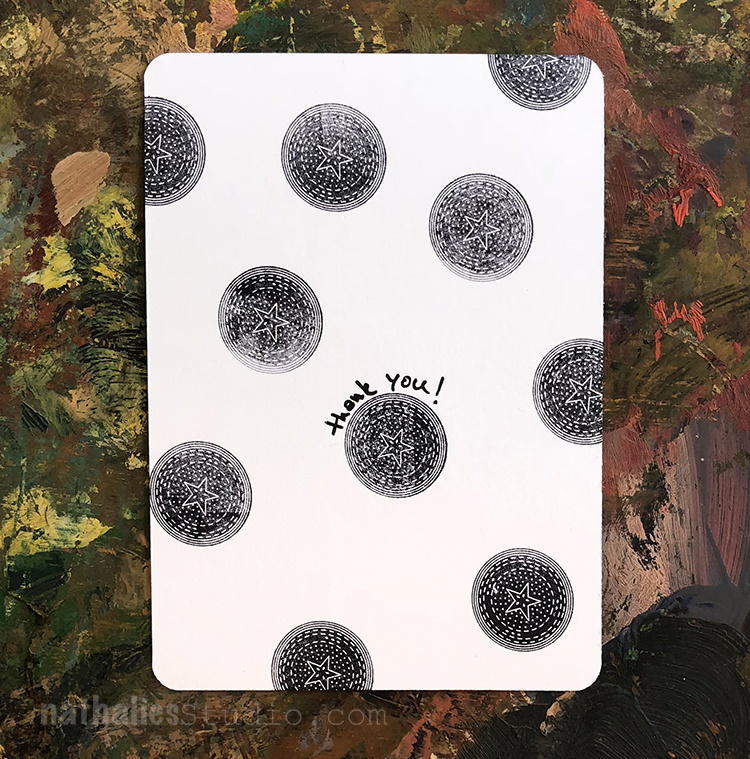
Some easy note cards – with the Small Circle Jumble Set.

And I really love the black and white – kinda grungy but yet elegant …well …Nat Elegance ;)

Here are the supplies I used for making this cards


Leave a comment

Jumble Cards

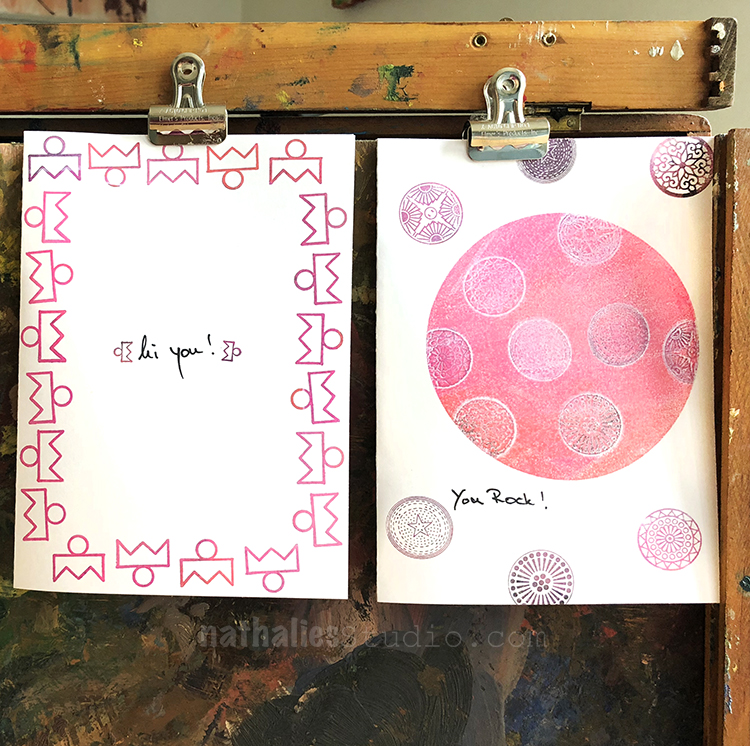
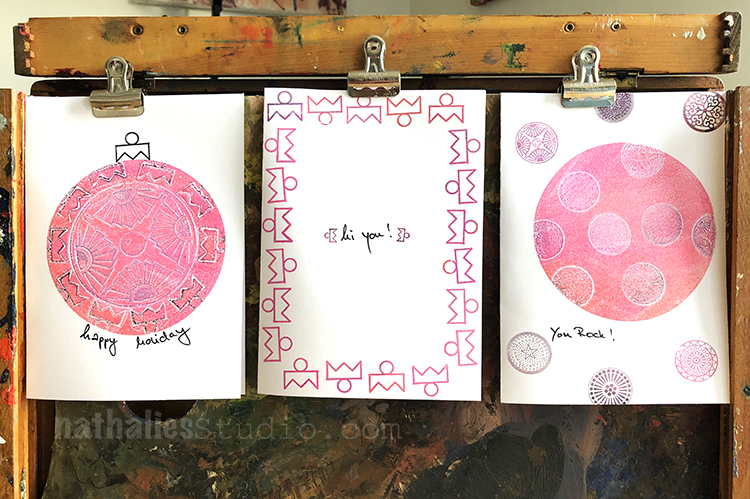
These are some cards I made using with Large Circle Jumble Stamp Set and my Small Circle Jumble Stamp Set.

I loved using the two “hanger” stamps from both sets for the border on the left. For the right card actually used a round gel plate and some inks and stamped the little circles onto it and then used the plate as a stamp.

I love playing with stamp sets and making cards, it is a great way to explore the possibilities of sets.

Which of the three cards is your favorite?


Comments (1)

  • Rosie Grey

    |

    Such beautiful cards! I love the “You rock”card on the right the most ?

    Reply

Leave a comment