Nat

Hello from the Creative Squad. Today we have a super cool project from Maura Hibbitts – a Love Alphabet – Wow! Read on to see how Maura pulls it together with my Small Circle Jumble rubber stamps, my Batik 1 & 2 foam stamps, my Far Out foam stamp, my Batik stencil and my New Orleans stencil. This month’s theme is: Whole Lotta Love – Who or what sets your heart aflutter this time of year? Let’s pay tribute this month to those warm fuzzy feelings of love and create something that celebrates that universal emotion.
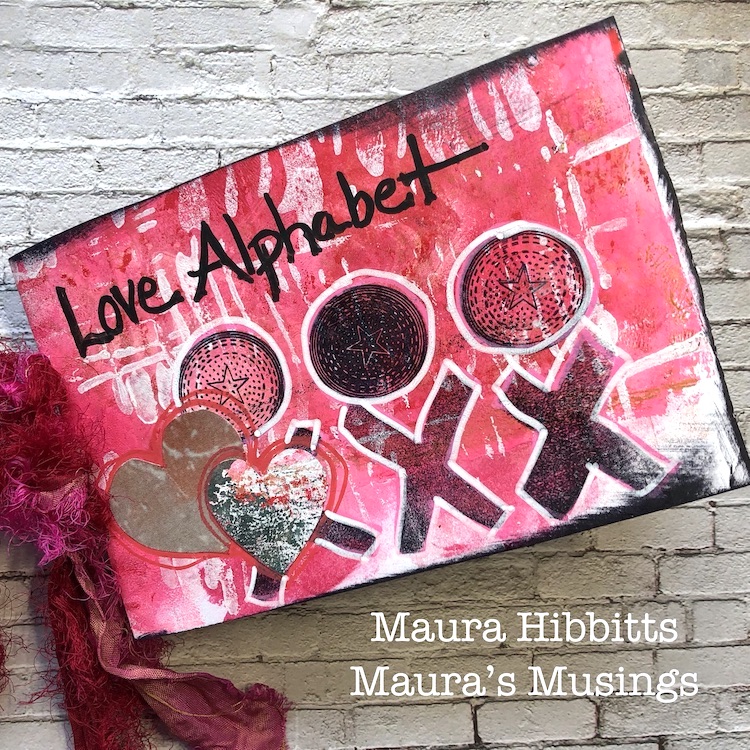
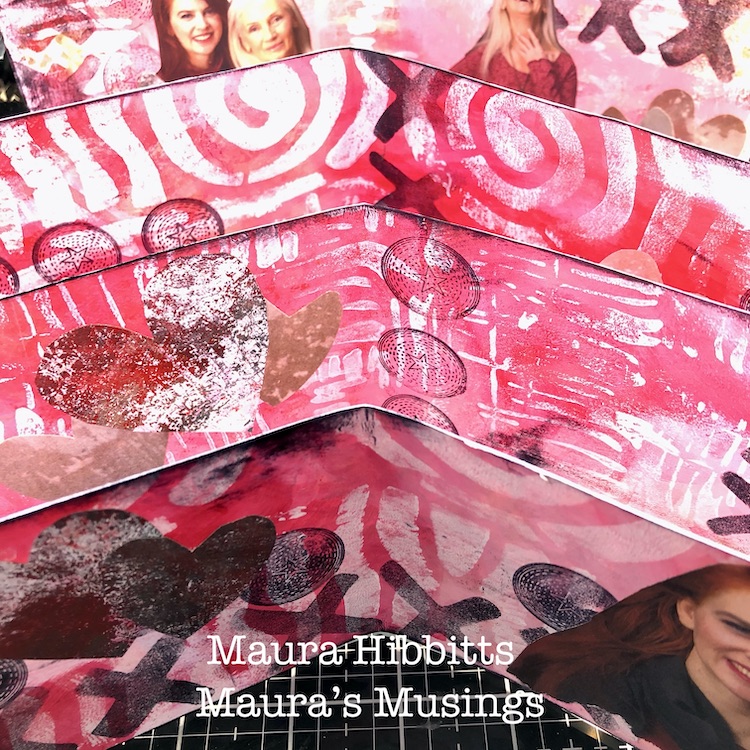
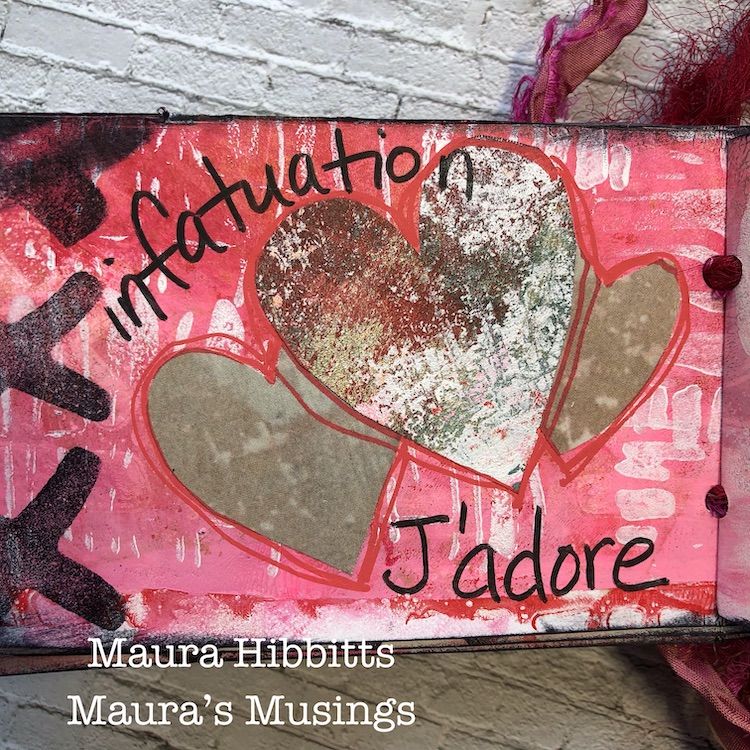
Happy February – the month for love of course, with Valentine’s Day smack dab in the middle! I pulled out lots of red, pink and white paint to play with, in traditional holiday colors. Originally when I started working, I was going to make cards, then that morphed into the idea of a mini album, and finally as I was putting the final touches on it, it became a Love Alphabet. Yes, you can find words from A to Z in it, all about Love and Valentines.
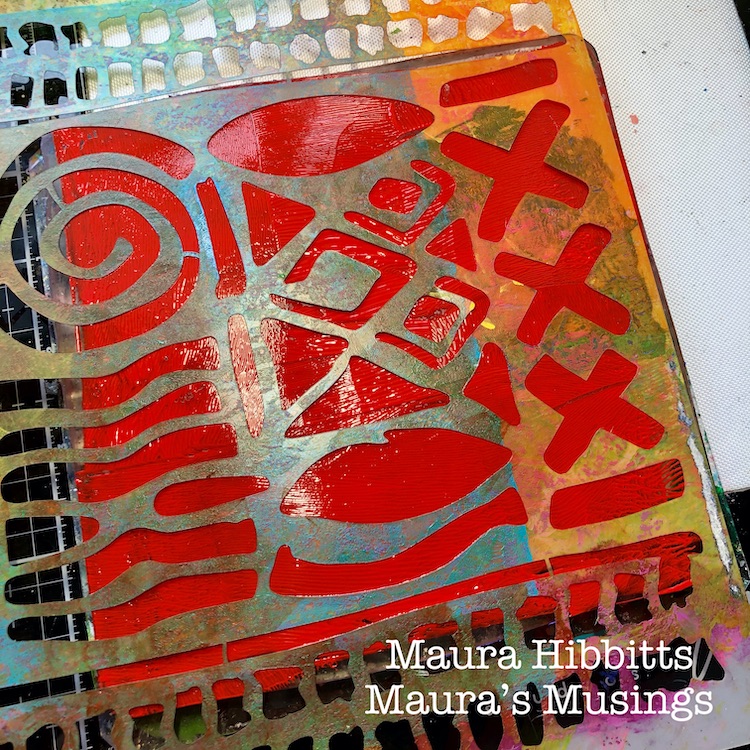
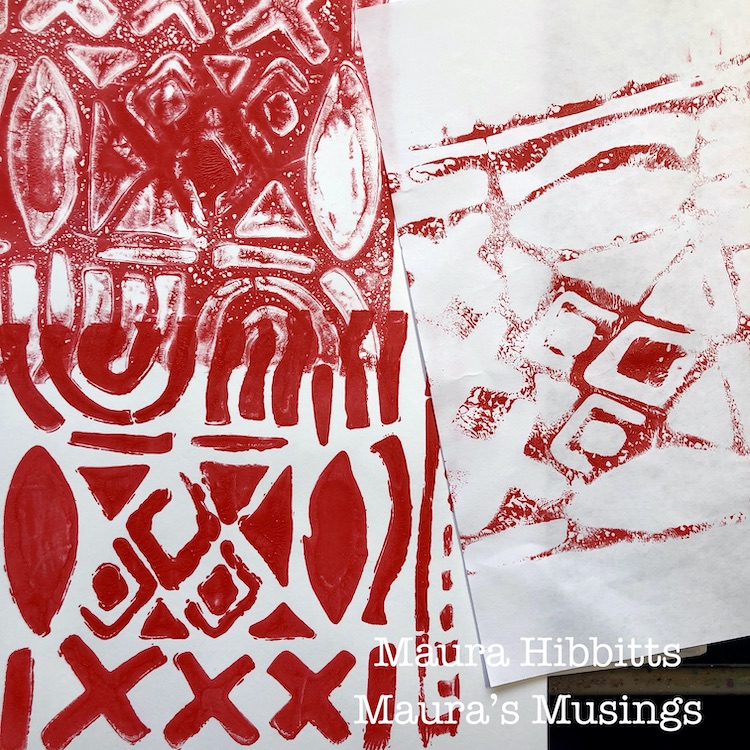
I started my first layer with Pyrrole Red and the Batik stencil on the gelli plate. I love stenciling in different ways – laying the stencil down and pressing the paper over it, pulling the painty stencil up and putting it down on paper, and pressing a piece of paper into the gel plate. This gives a wide variety of backgrounds to work with. I printed on both cardstock and copy paper, which later on turned out to work beautifully.
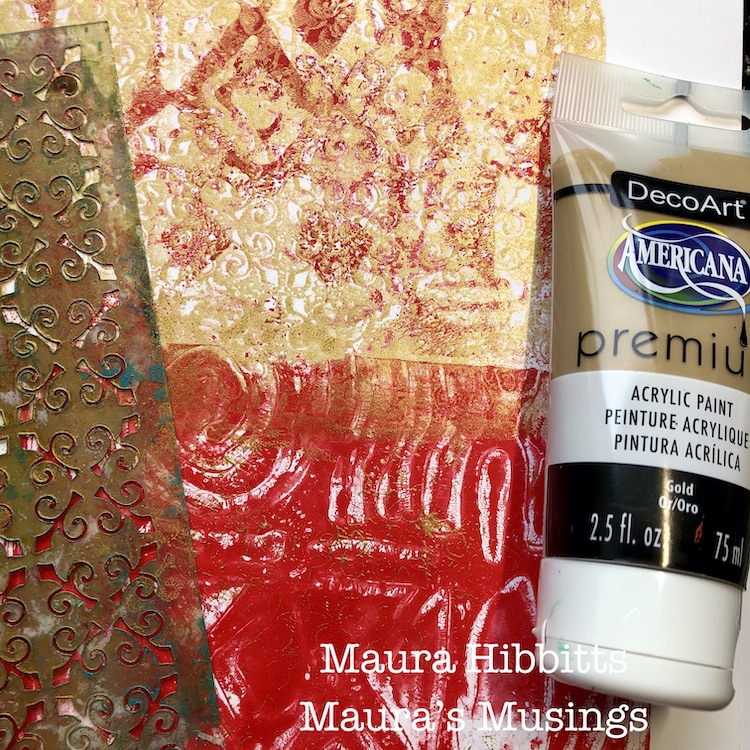
A little gold was needed as the second layer, so on some papers, I added it with the New Orleans stencil, and on others, I used the brayer.
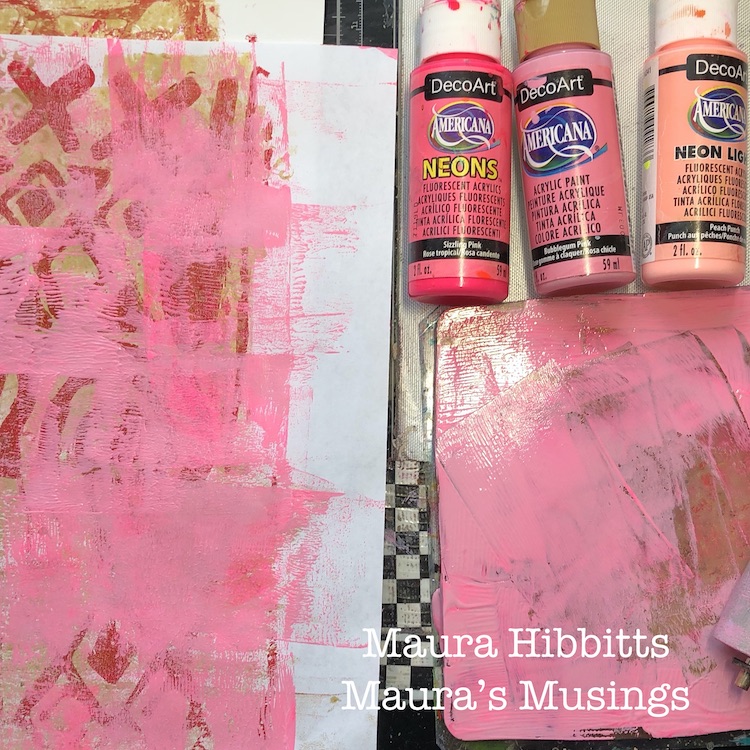
Time for the pink layer! I added a mix of pinks over the printed papers with paint and a brayer.
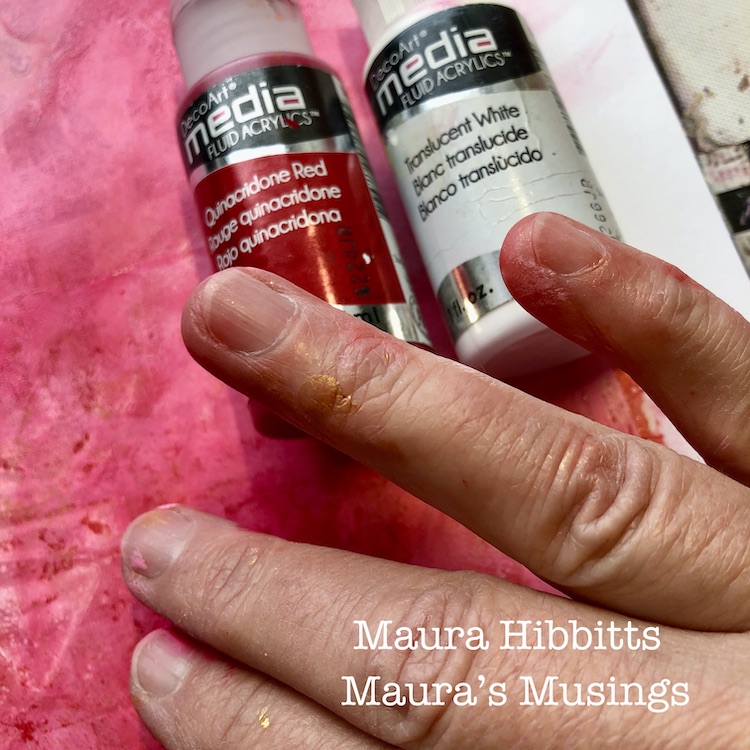
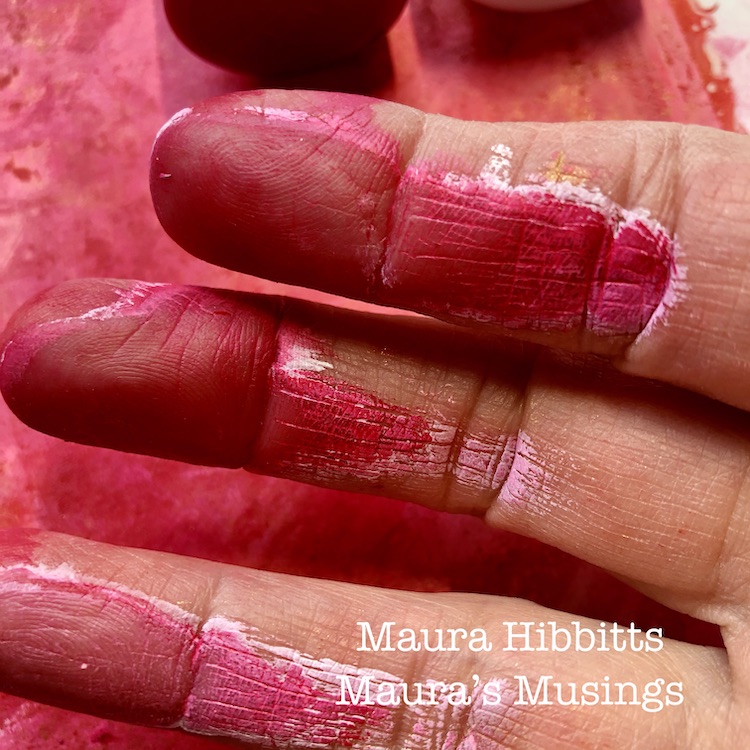
I added a final translucent layer on top with the fluid acrylics. For this layer, I just smudged the paint in with my fingers, which are great tools for blending, even if you get a bit dirty, it all comes out eventually. (Or use gloves)
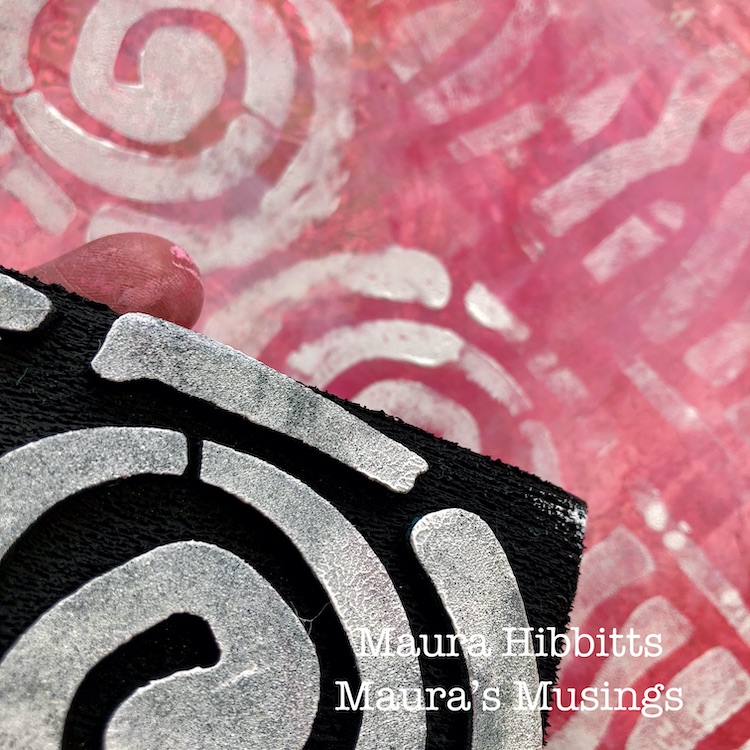
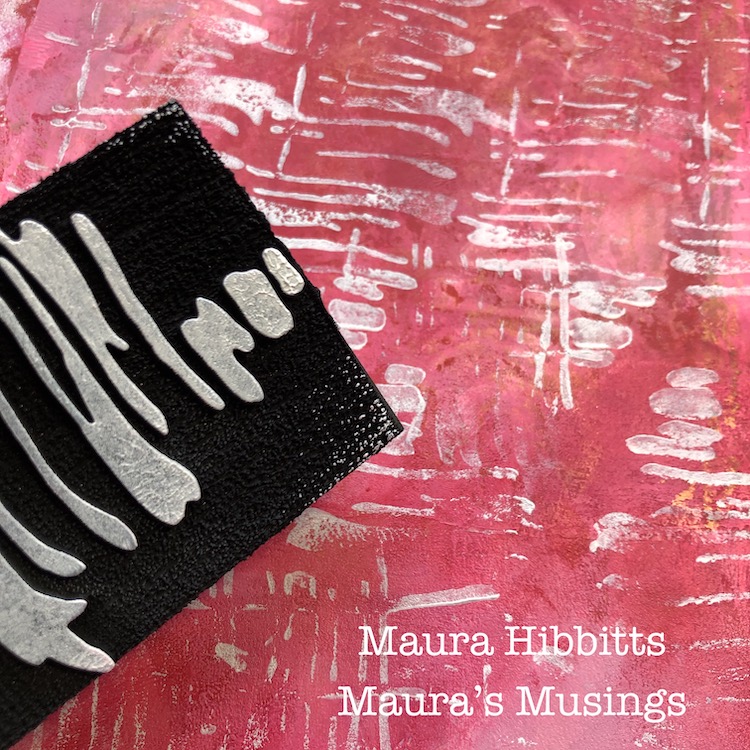
Now that the background is done, it’s time for some stamping. But first, I used matte medium to glue a piece of cardstock and a piece of copy paper together. Then, I used the Batik 2 and Far Out art foamies with white paint and repeated the pattern several times to cover the page. Once dry, I trimmed off the edges, and cut them approximately 3 1/2 x 10 1/2 inches to make my book.
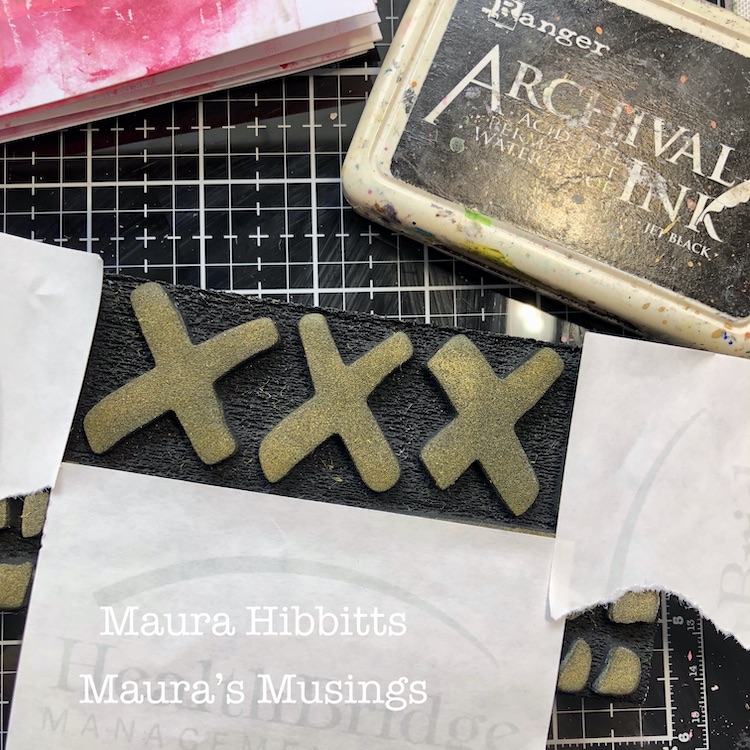
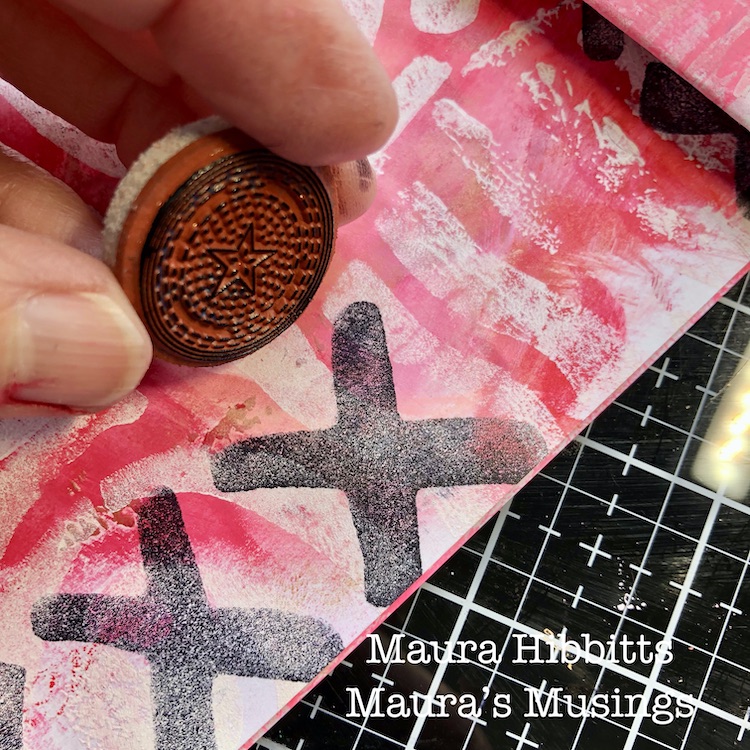
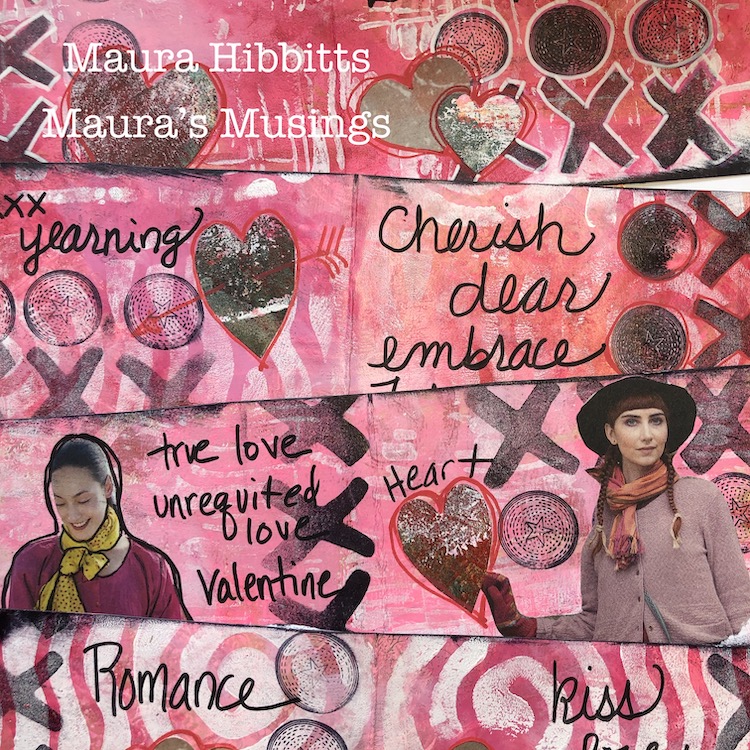
Now, to make things pop, I’m stamping with black ink using X’s and O’s (remember those XXXOOO’s? – hugs and kisses). I only want the X portion of the Batik 1 stamp, so I’ve masked off the rest with sticky notes. I’m stamping these with black archival ink and then the Circle Drive rubber stamps from the Small Circle Jumble set.
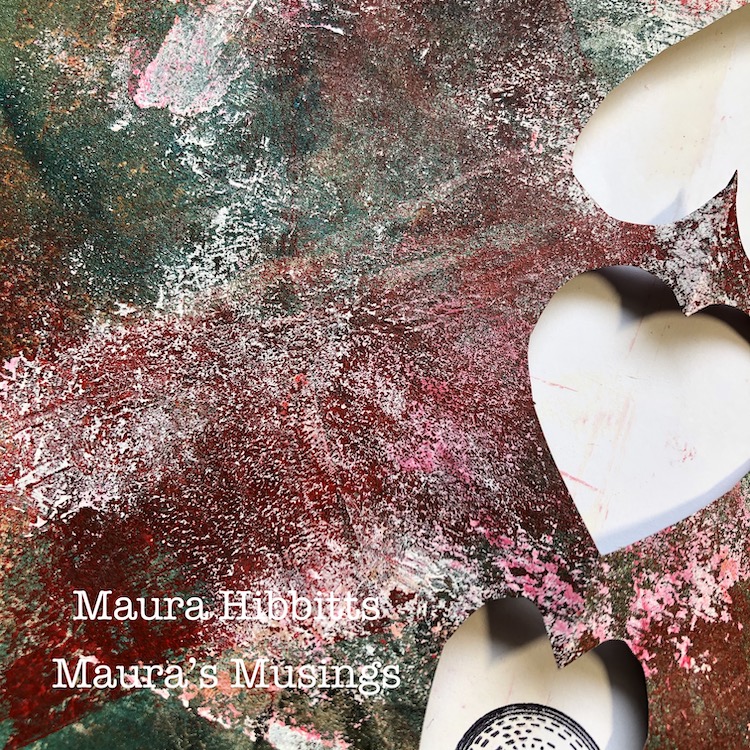
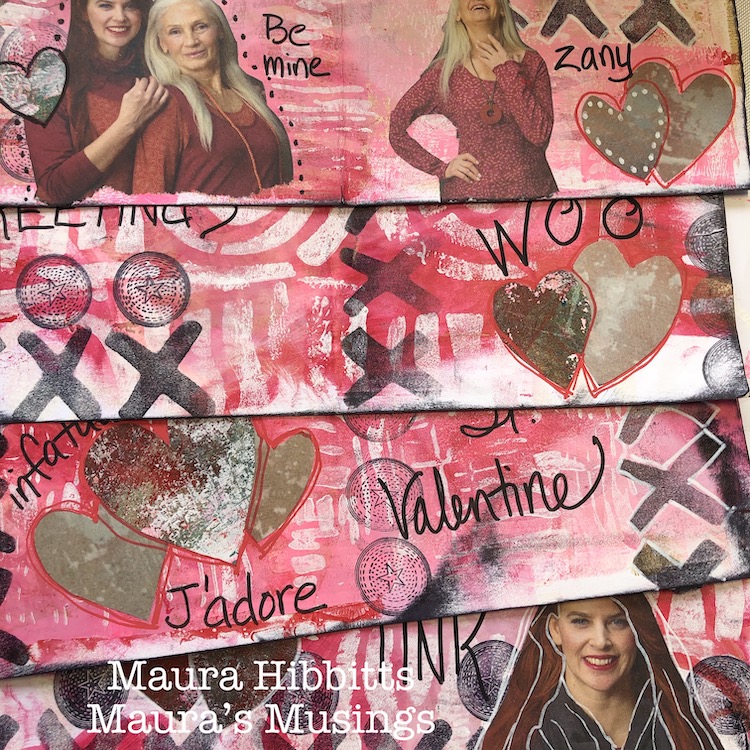
I cut out images from a Gudrun Sjoden catalog (now, I love these because they aren’t glossy, plus they are interesting) but you can use any magazine. I also found pages with neutral backgrounds and cut hearts. Then, I looked at my junk paper I use to wipe off extra paint from the brayer, and used it to cut more hearts to glue in.
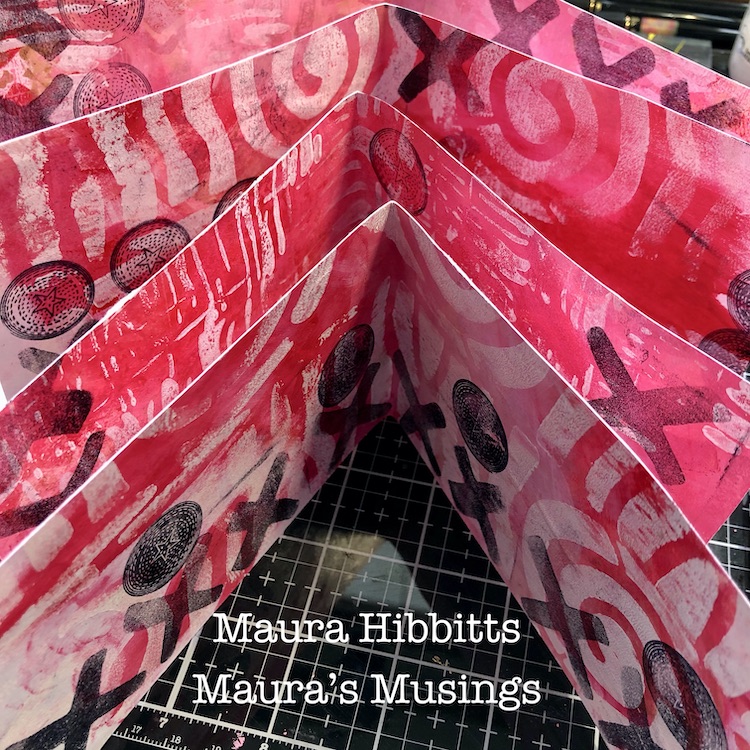
Final steps are to edge the pages with the black ink, add details with the Posca Paint pens, and write in my words. Then, I punched two holes in the center and tied it together with Sari ribbon. (I found it handy to mark the holes through all pages with an awl, then use the hole punch on each page.)
You too can make your own fun little alphabet book of love to give to that special someone. Or, it could be fun to fill it with snarky words instead!
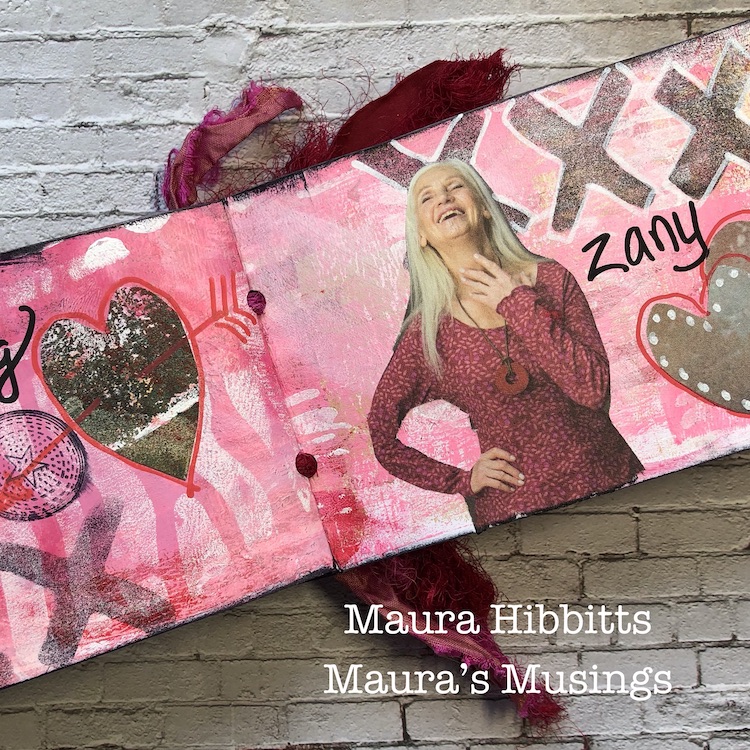
Sometimes I think Valentines Day is in the perfect place…all that love, giving and pinks and reds certainly brighten up the long winter around here. Happy Valentine’s Day to you all! Maura
Thank you Maura! We just love this project from A-Z!
Want to give Maura’s project a try? You can find all my Stencils, Foam Stamps and Rubber Stamps in my Online Shop. In addition to magazine images, here are some of the other supplies Maura used:
Feel inspired? Working on something yourself that you’d like to share? I love to see how you interpret our monthly themes. Email me how you used my stencils and stamps with the theme and email me an image – I would love to share your projects in my next “n*Spiration From Around the Globe“.
Thanks so much Catherine! It was fun to make.
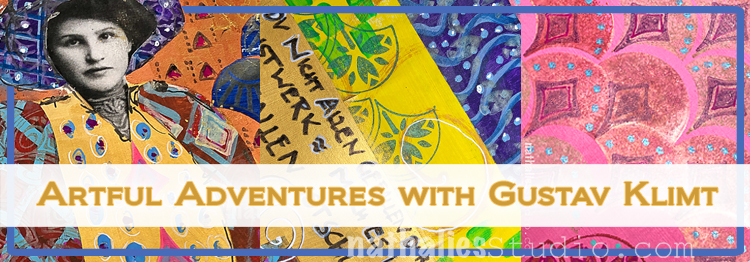
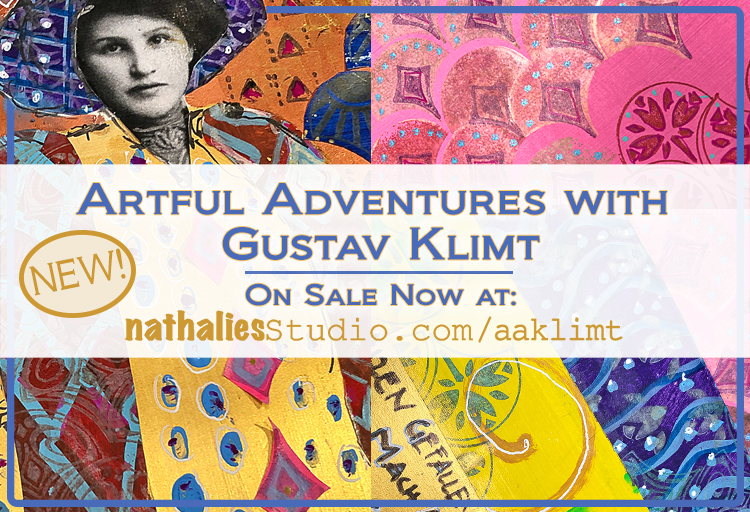
Today my newest online workshop Artful Adventures with Gustav Klimt goes on sale on my website!
Get ready to go on an Artful Adventure with us! Through 6 lessons you’ll learn a variety of fun and creative ways to translate elements of Klimt’s gorgeous signature style into your own unique art journaling and artwork.
Sign up NOW to enjoy great pricing: Early Bird pricing – 25% off the regular price of $39, so just $29.25!!! – now through Monday February 17th.
Check out the promo video:
Sign up now through Monday, February 17th and get the workshop for just $29.25. Throughout the workshop I show you ways to pull off Klimt style elements that are easy to do and can make a big visual impact in your own artwork. Creating Klimt inspired patterns and collage papers, combining different patterns in one piece, and adding the eye catching bling of metallics will all be explored in the lessons.
Class begins on Monday February 17th. If you are ready for another Artful Adventure, this is the perfect workshop for you! Sign up TODAY.
This workshop is the third in the series so far. The Artful Adventures workshop series introduces you to master artists from around the world and throughout history, and through their techniques and style inspires YOUR art journaling and artmaking. Check out Artful Adventures with Joan Miró and Artful Adventures with Andy Warhol in this series.
How long will each class be up to view in case I miss a class on the day it’s posted? Can each class be viewed more than once?
patty, for this class you have lifelong access and can also download the videos. nat
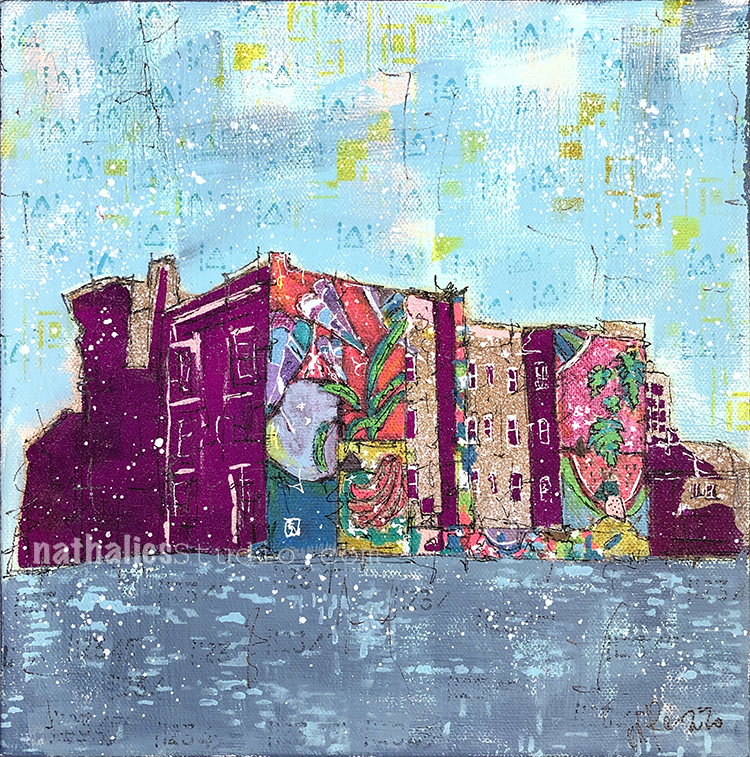
This painting is inspired by my strolls through the hood.
The back of this brick apartment building has this gorgeous colorful Mural by Zeh Palito – He called it Good Vibes Only and that is exactly what this mural oozes into the neighborhood.
The painting was created with spray paint, markers, acrylic paint, gouache, and stencils on canvas. and measures 10″x10″ on extra deep 1.5″ canvas. It is available for sale now here.
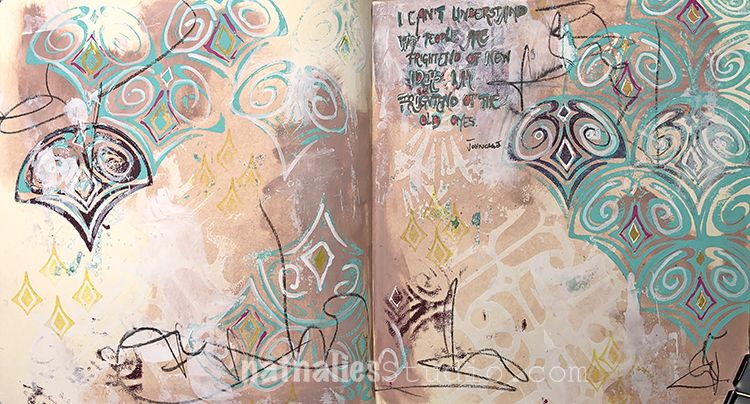
“I can’t understand why people are frightened of new ideas. I am frightened of the old ones.” John Cage. A great quote and definitely a nice reminder to not get stuck in the same old same old.
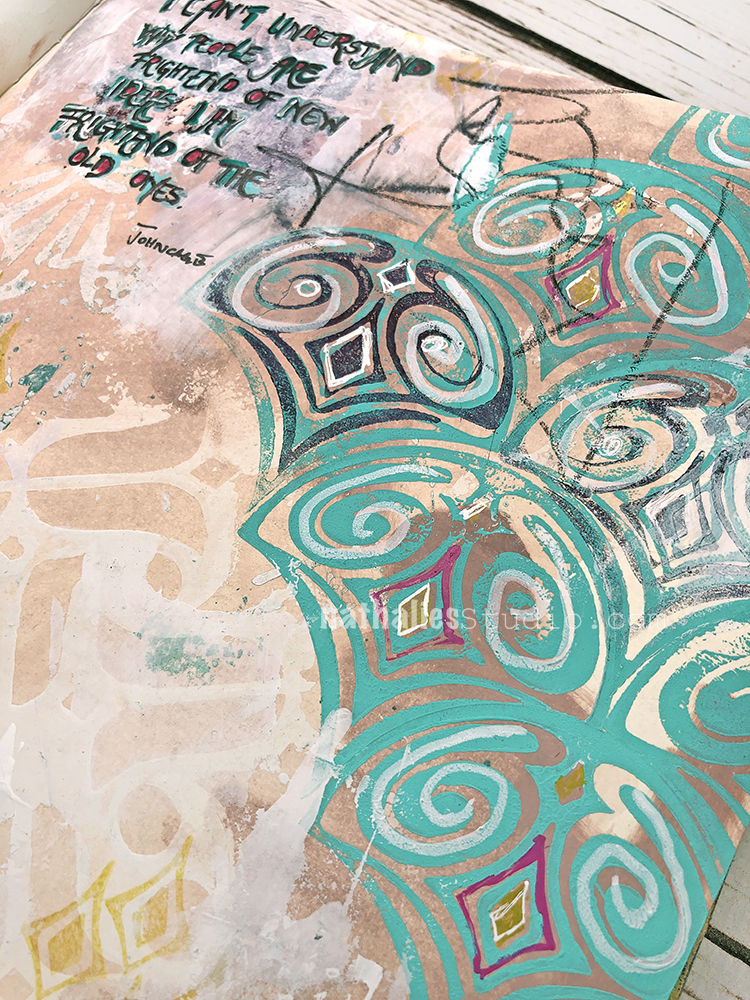
There is a lot of little techniques going on in the background here – I used my Amsterdam stencil to make a negtive print with spray paint. Then a wash with gouache and acrylic paint on top. Next I used a Fan-fare rubber stamp with yelllow Moonlight Duo ink. And finally I finished with my Fairview Fan foam stamp and brayered on paint.
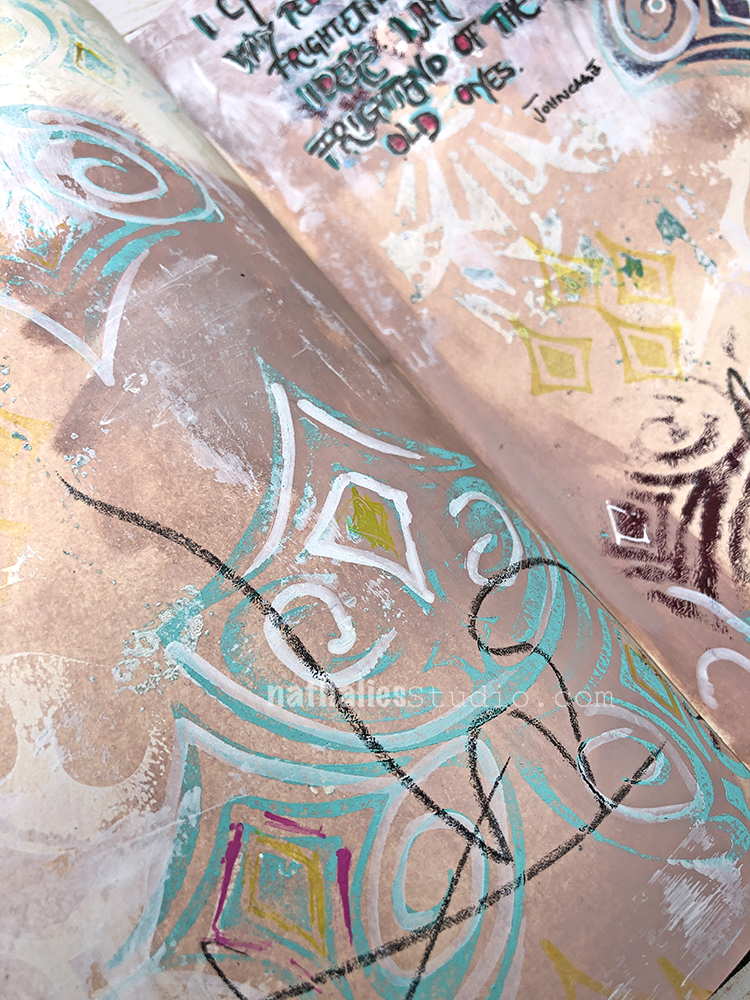
At the end I added a bit of scribble with a Stabilo All pencil.
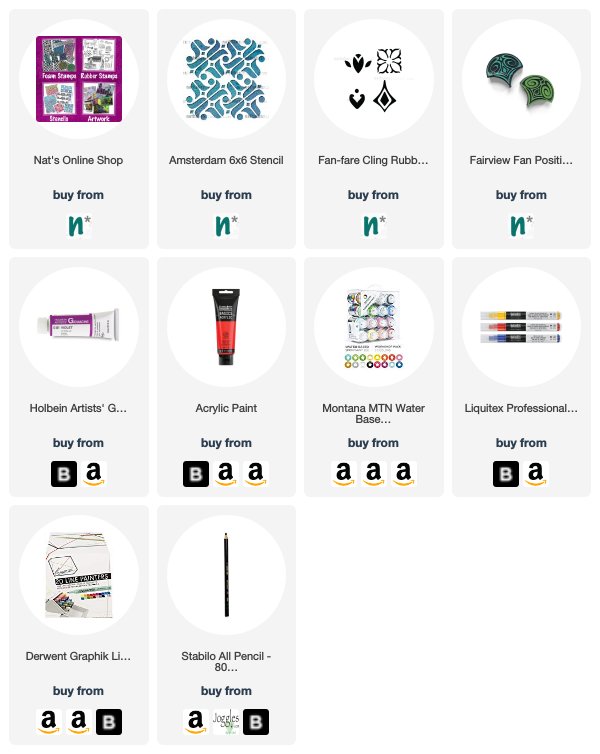
Here are some of the supplies I used:
Absolutely beautiful art journal spread, Nathalie. Awesome colors, layers, stamping. Very Inspiring!!
Another Painting with the same theme that I did at the same time as the bigger canvas here
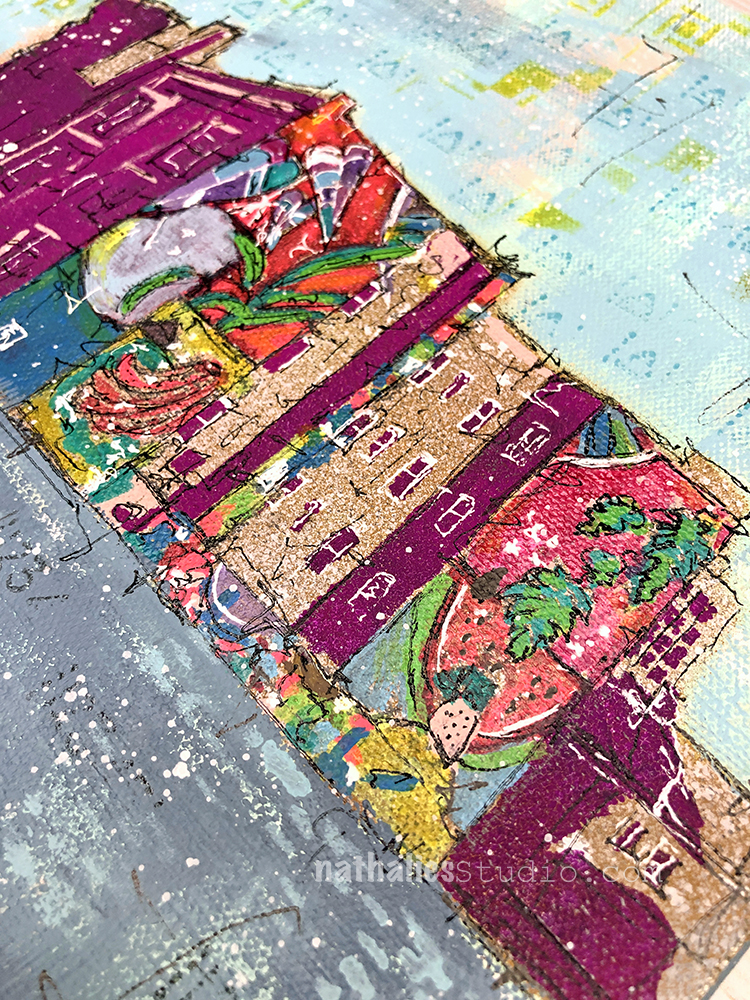
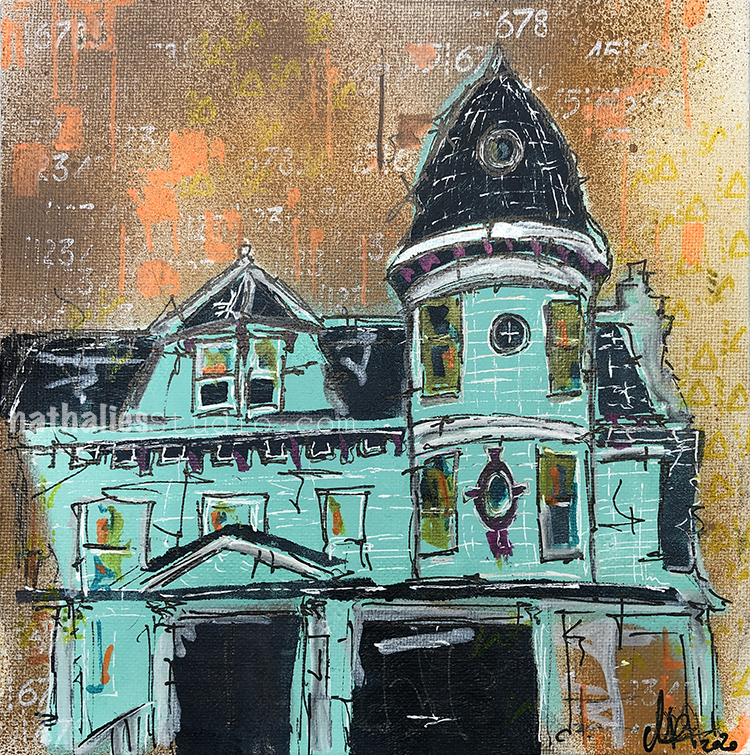
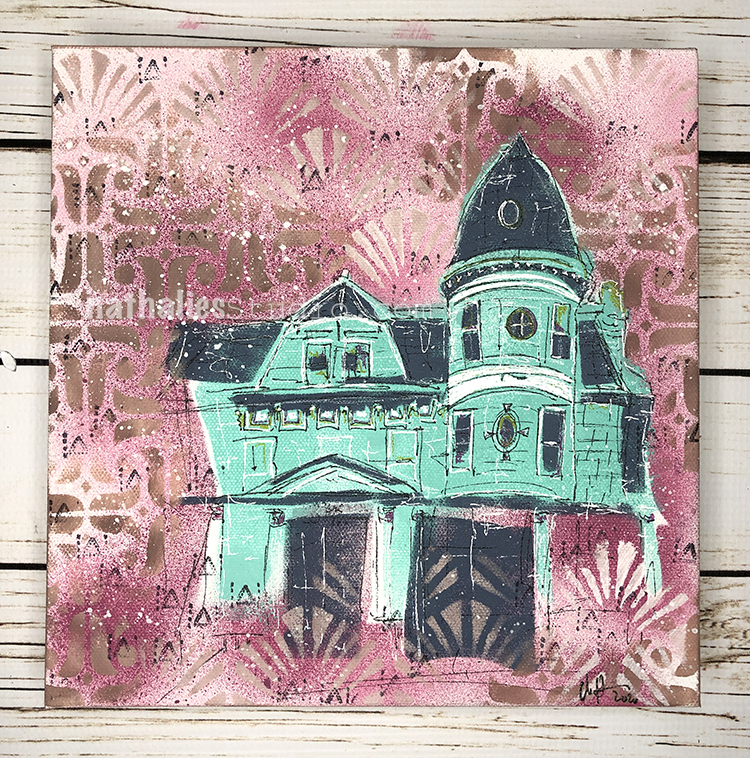
This painting is on a 8×8 Canvas board – and I loved exploring different line qualities along with different stencil work as well.
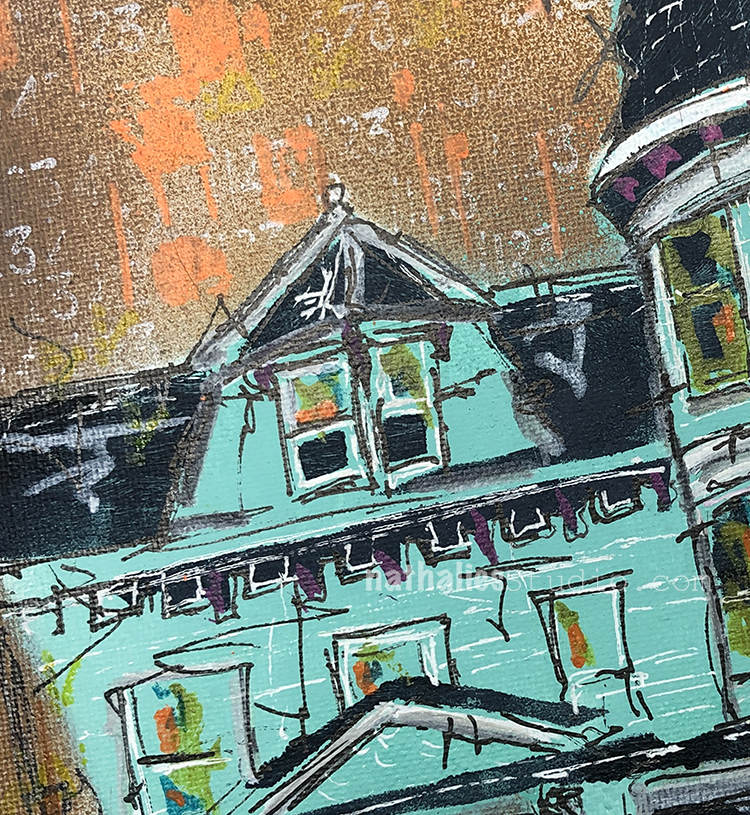
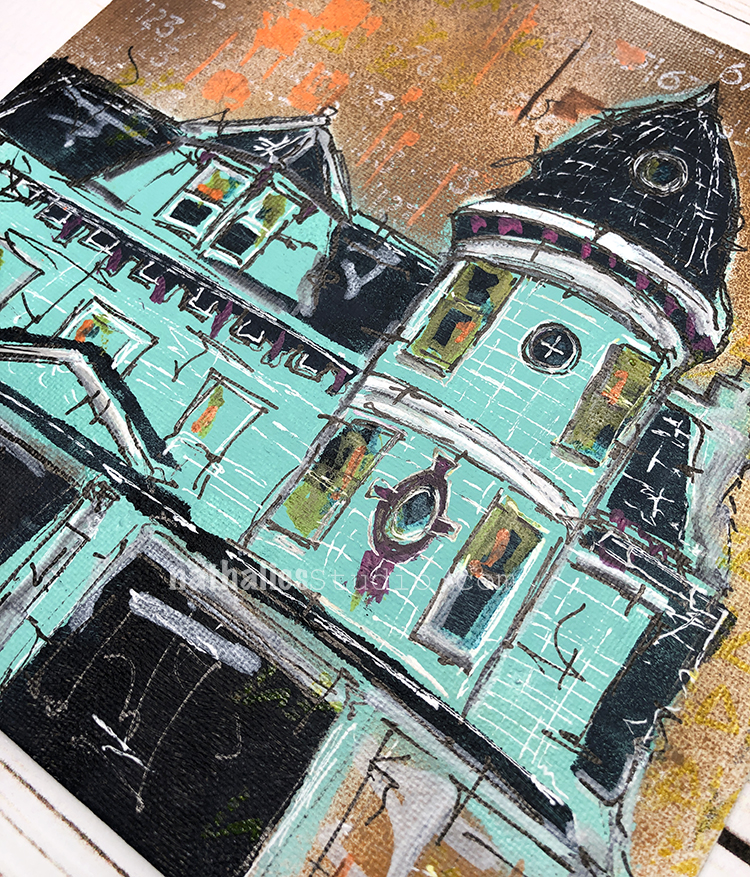
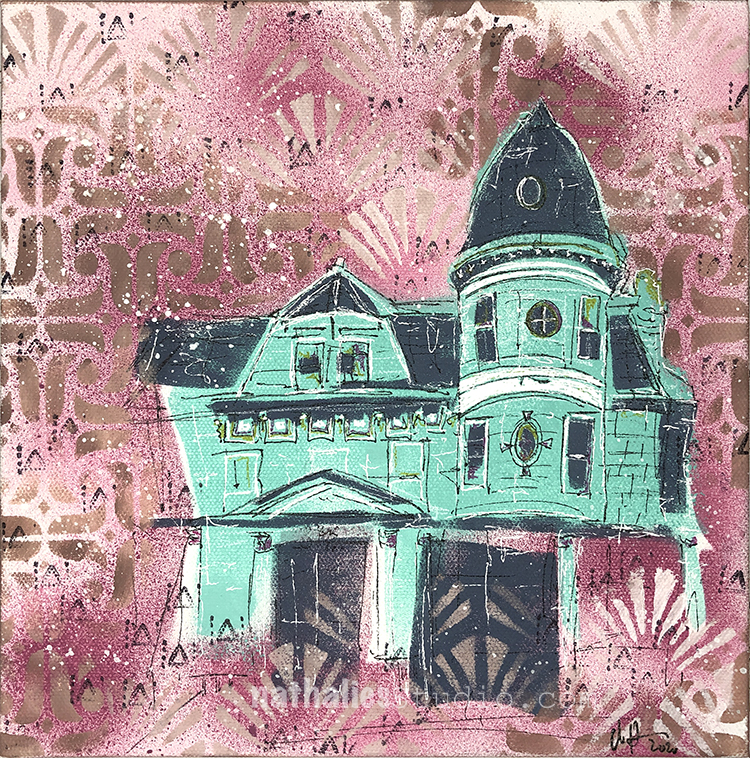
I was inspired by my Strolls through the Hood in Jersey City for this little mixed media painting. This historic area and some of its beautiful vintage homes are undergoing the familiar transformations caused by gentrification.
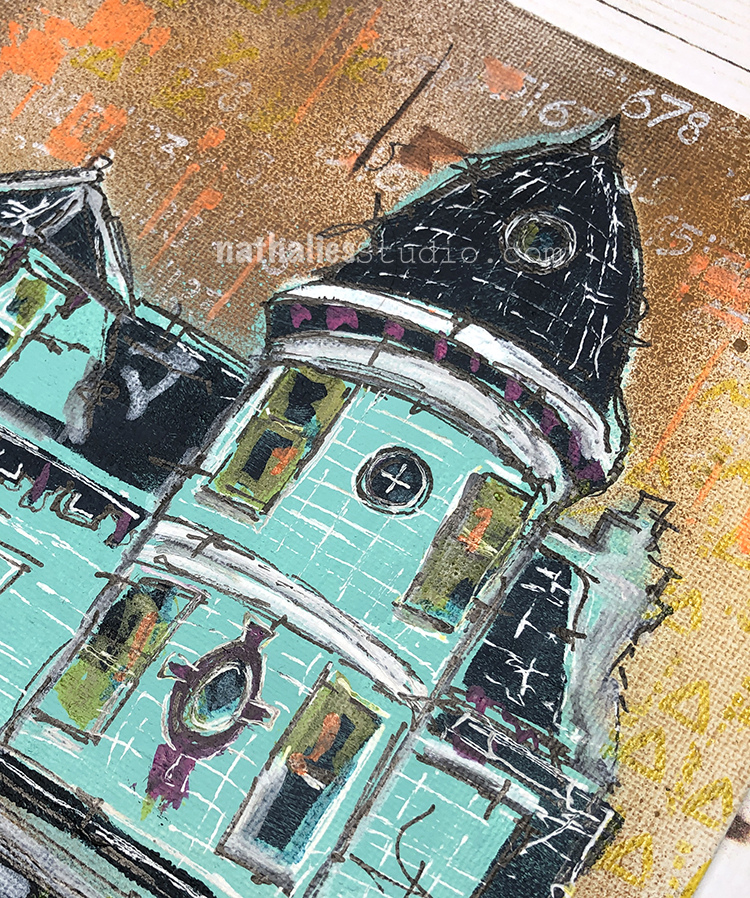
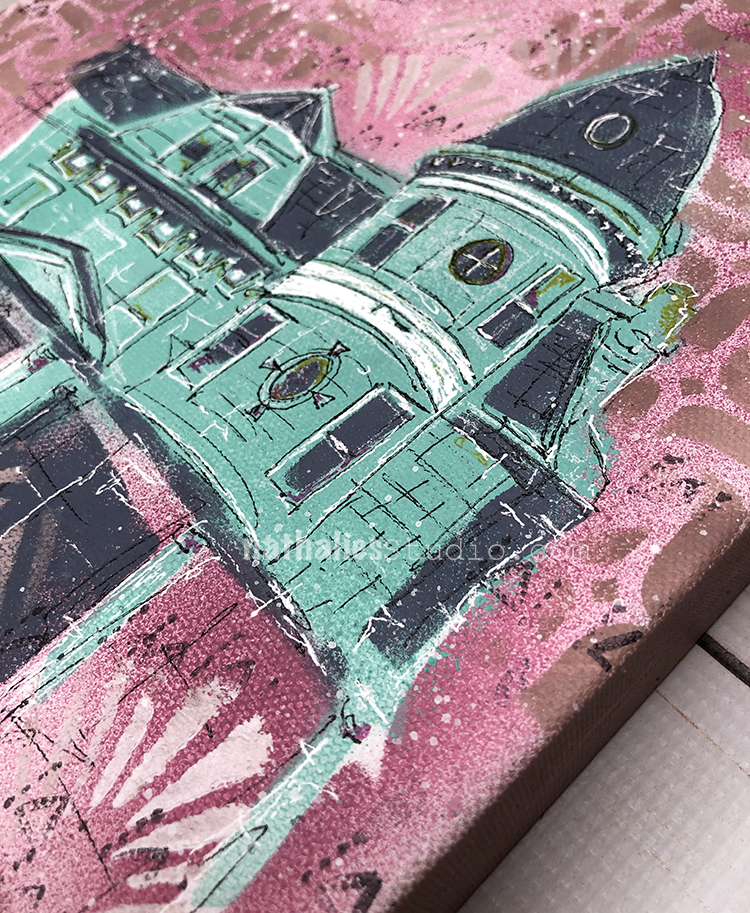
Here I was trying to capture this transition in action with a looming visage of victorian architecture, wearing with age but still proudly dominating the landscape.
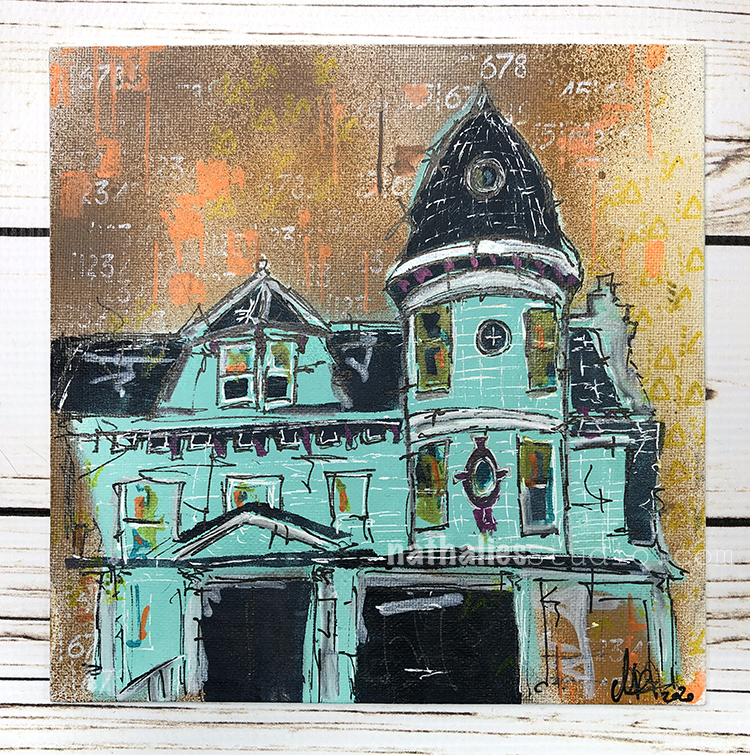
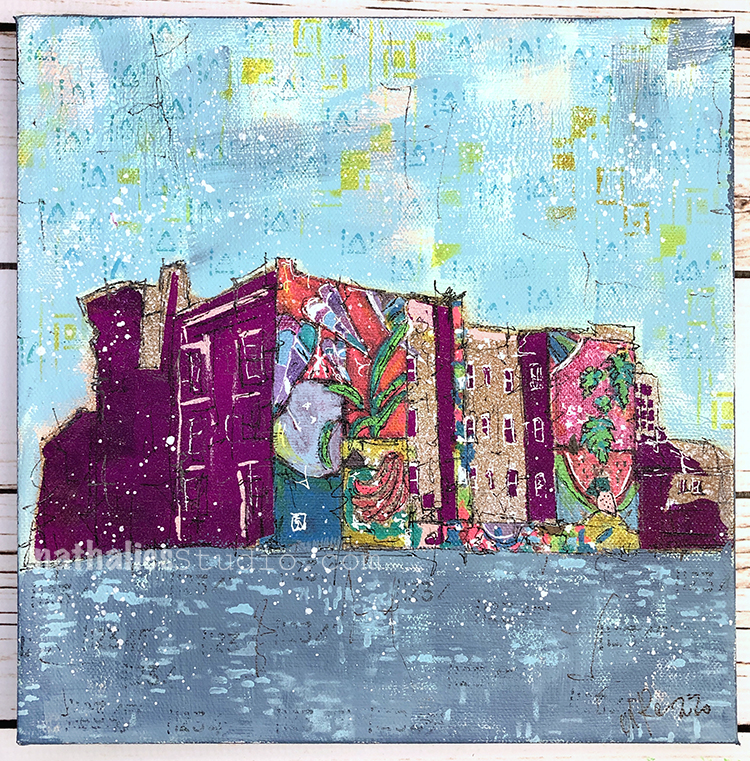
This painting is now also available in my store here. I would love to have someone give it a new home :)
Gorgeous but out of stock already.
Sad for me but happy for the person who bought it!
Awe- Sue! It went super quick but hey- hopefully one of my future paintings will catch your eye- I am making more time for painting this year for sure :)
Hello from the Creative Squad! Today we have a post from Jennifer Gallagher that is definitely from the heart :) She is using my Large Hex rubber stamp set and this month’s theme: Whole Lotta Love – Who or what sets your heart aflutter this time of year? Let’s pay tribute this month to those warm fuzzy feelings of love and create something that celebrates that universal emotion.
This month we are feelin’ the love with a “Whole Lotta Love.” As soon as I read the prompt for this month, I got super sappy with an art journal page dedicated to my sweet husband. It is the time of year where we celebrate those that we love and show our appreciation for them. This page does just that. Let’s get started.
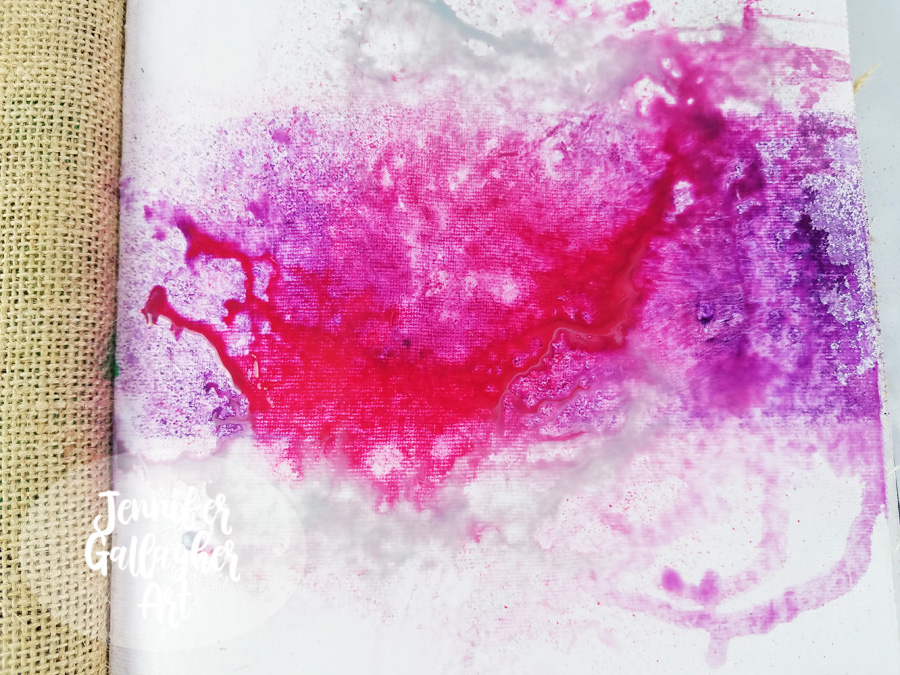
I am working in my Dina Wakley Media journal on one of the cotton rag pages. Before starting, I applied two coats of clear gesso to this page to prepare the surface. Once the gesso was dry, I chose a few colors of Marabu Art Spray and got to work. First I applied Cherry Red and then Aubergine. I protected the top and bottom of the page with some scrap paper to concentrate the color through the center of the page.

To encourage mixing and movement, I applied a small sprtiz of water into the art sprays.
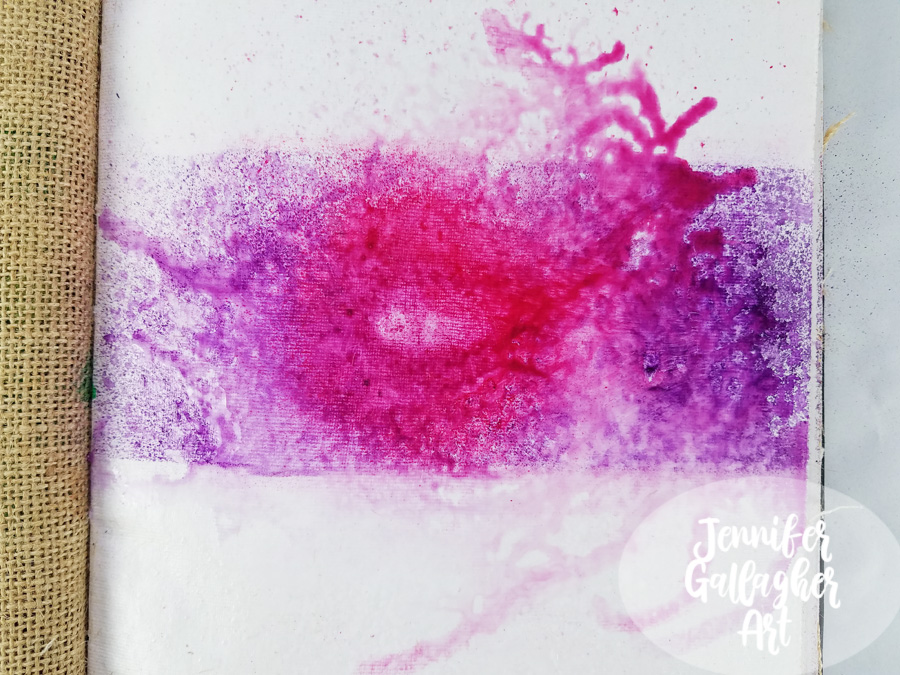
I dabbed up any excess moisture and then applied Marabu Art spray in silver.
Then, over a towel I keep for art project clean-up, I tipped the book up and let the art spray trickle down the page until a good bit of the moisture was on the towel. Then I tipped the book the opposite direction to allow drips at the top of the page.
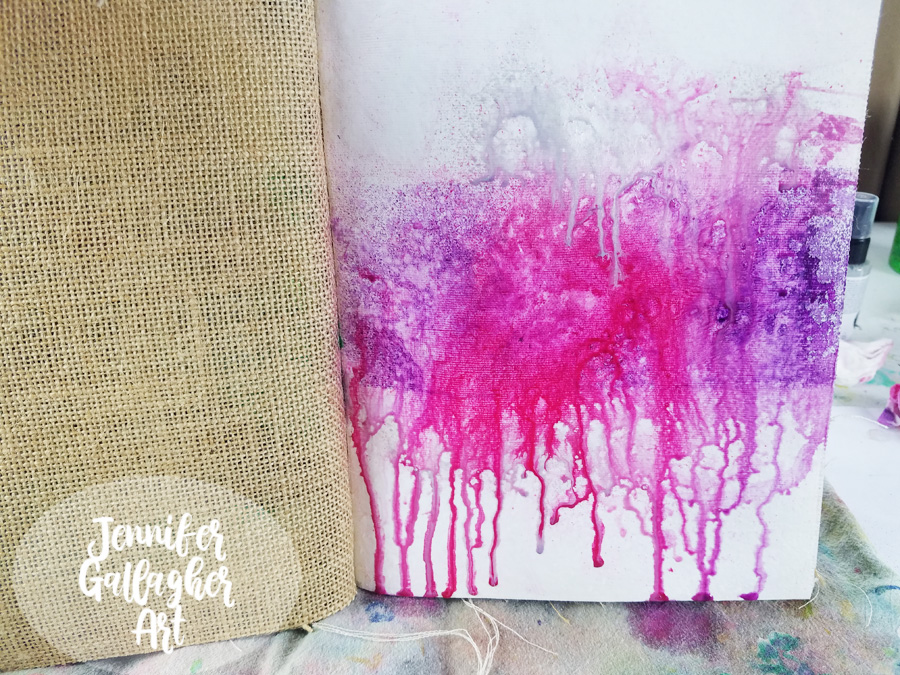
As soon as I finished letting it drip, I took a baby wipe and wiped the top and bottom of the page until it was pretty close to white again. I am not scrubbing hard or looking for perfectly white background areas. I just want to get a lot of the color off the top and bottom section. We are left with a far more organic looking page.

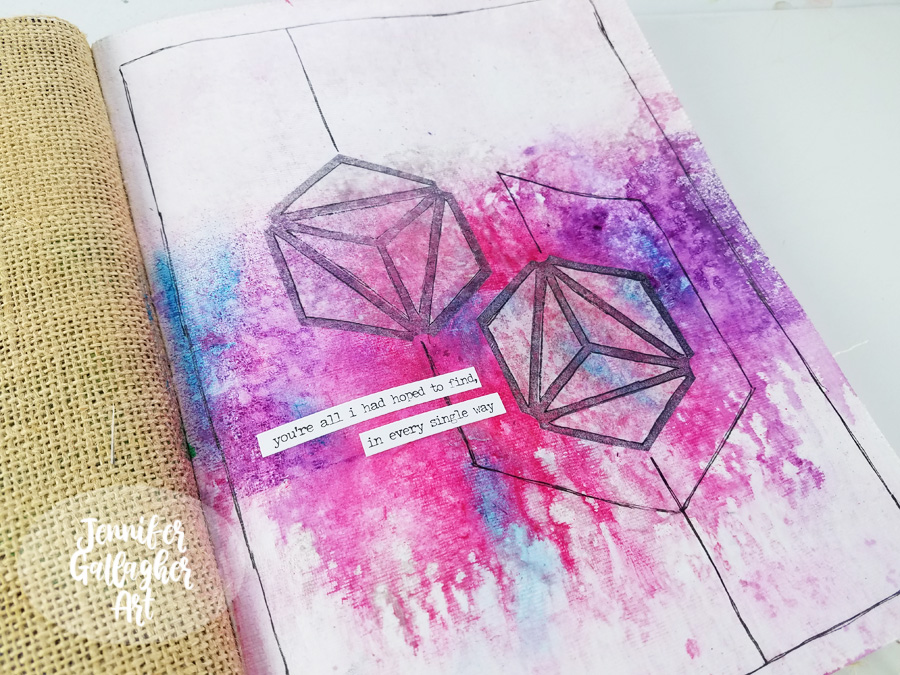
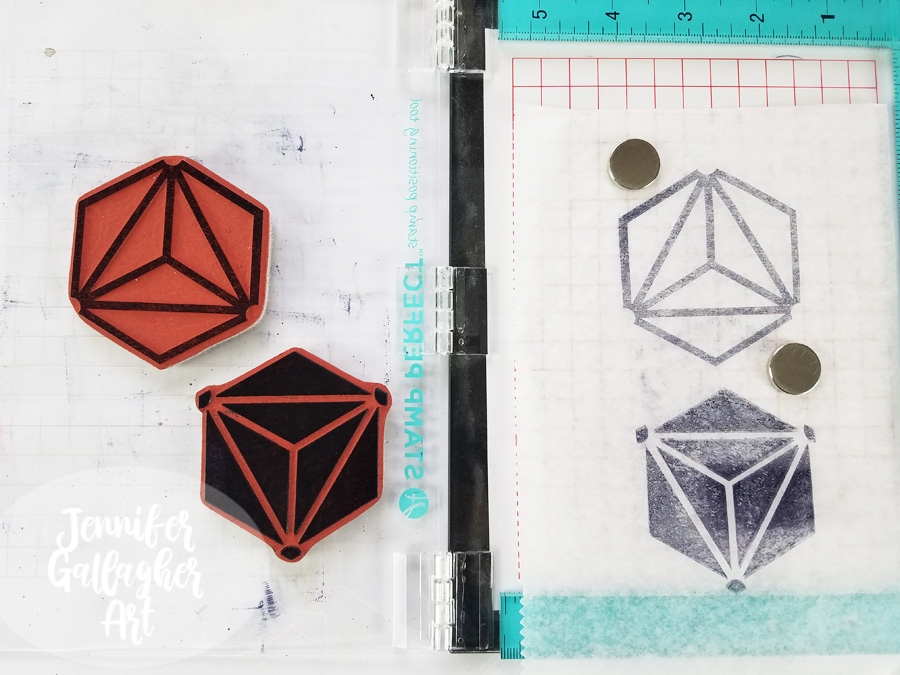
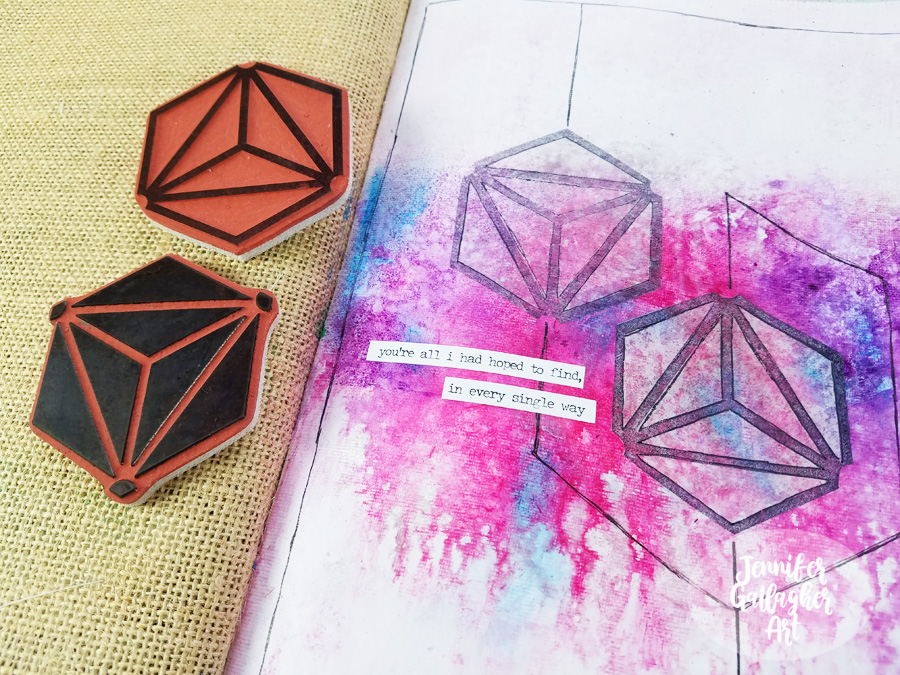
Using a stamp platform, I stamped Nat’s large Diamond Hex Positive and Negative stamps onto deli paper with black archival ink. I ended up only using the positive images.
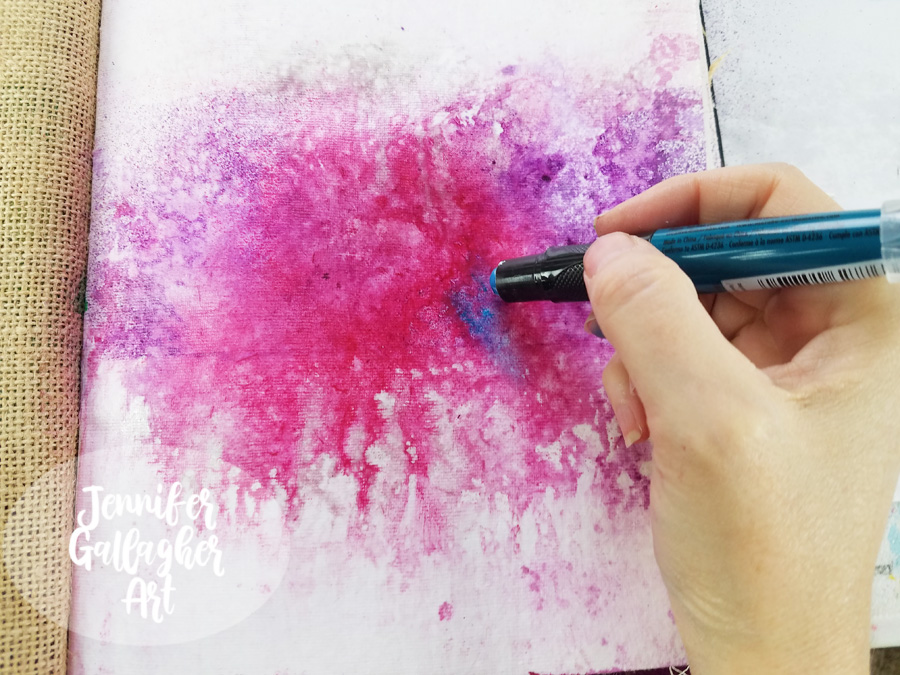
Next, I went back to the completely dry background with a Marabu Art Crayon in Aqua Green and applied a little color here and there. Art crayons are soft enough to spread with your finger.
I cut out two of the positive stamped images and figured out where I wanted to place them. These images represent my husband and I.
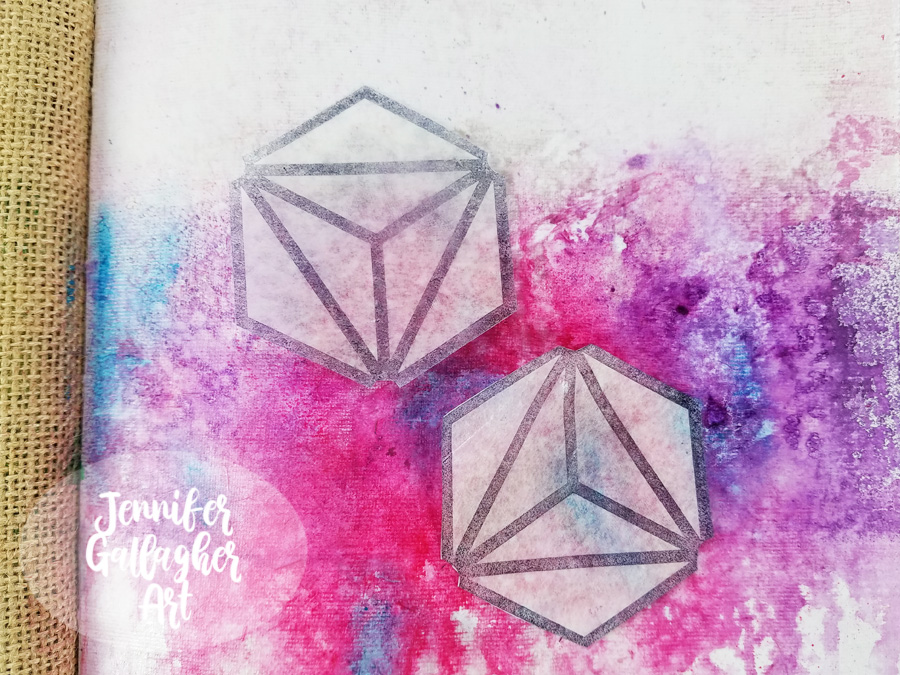
Once I settled on the placement, I applied them to the background with matte medium.

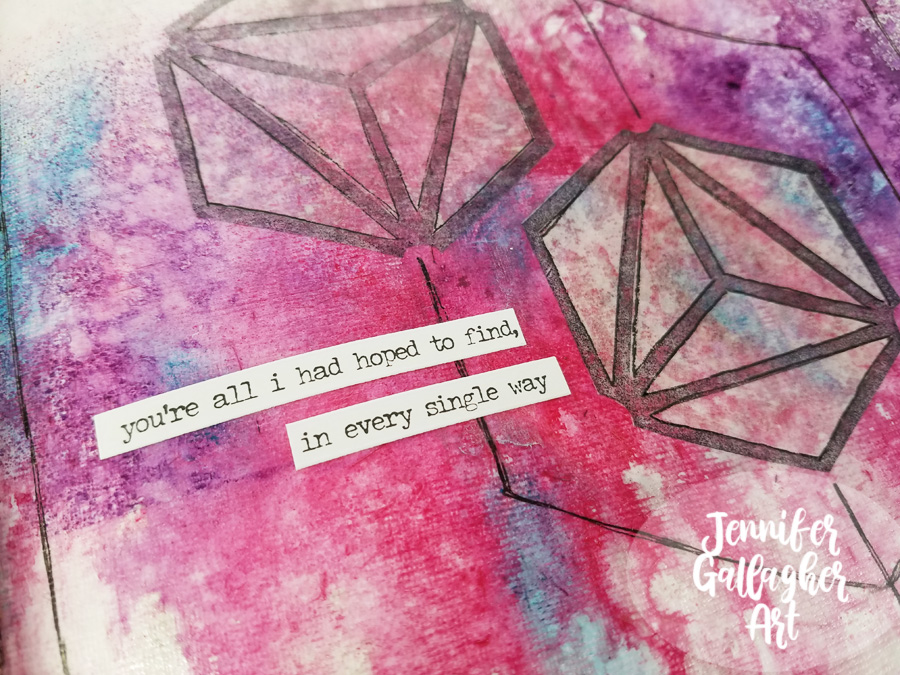
Using a Sakura Black Gelly Roll pen, I connected the shapes with lines and carried it around the page.

I chose a sentiment from a set of Tim Holtz Small Talk stickers and applied it to the page.
I hope you enjoyed this tutorial and found it a source of inspiration for your own art journal. Stamping on deli paper is a fun technique that you should try at home. Being inspired by love has reminded me how much I love sharing my ideas and processes with all of you. Thank you for stopping by.
Thank you Jennifer! Awww that definitely warms our hearts and makes us want to do our own little tributes in our art journals :)
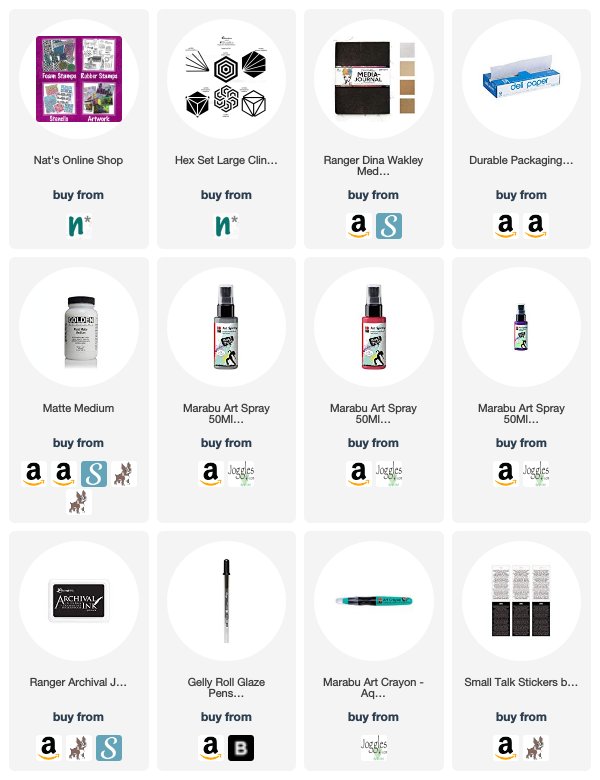
Give it a try: you can find all my Rubber Stamps in my Online Shop and here are some of the other supplies Jennifer used:
Feel inspired? Working on something yourself that you’d like to share? I love to see how you interpret our monthly themes. Email me how you used my stencils and stamps with the theme and email me an image – I would love to share your projects in my next “n*Spiration From Around the Globe“.
This victorian building in my new neighborhood has seen quite some changes.
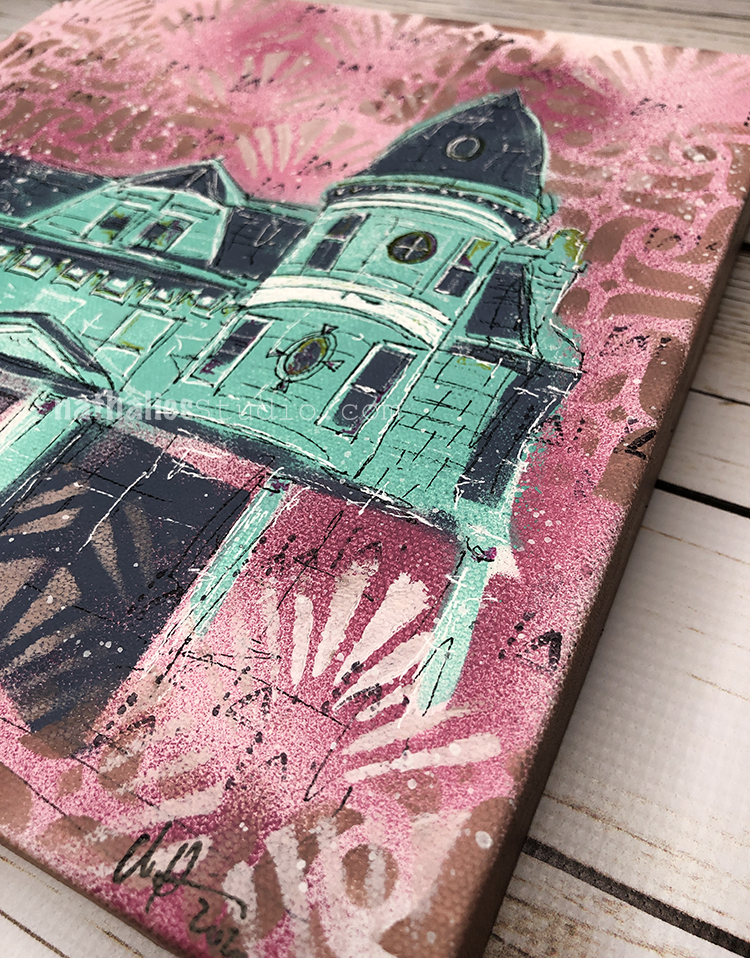
The push and pull of old and new keep fascinating me and expressed this through color and pattern and the layers to recount this story of change.
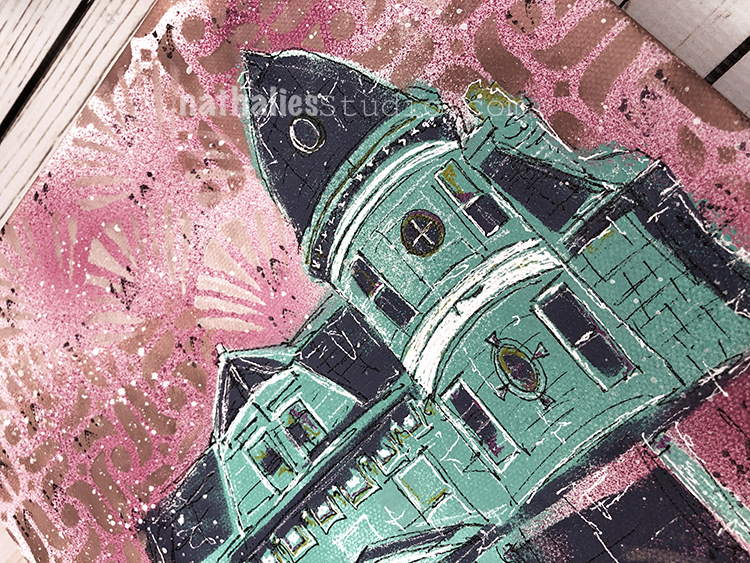
What could this building tell?
Push & Pull is made with stencils, stamps, spray paint, acrylic paint, and markers on 10″x10″ on extra deep 1.5” canvas.
It is available for sale in the store here and is looking for a new home :)
What a beautiful little book! I love the colors and the images!
Reply