ART JOURNAL YOUR ARCHETYPES by Gabrielle Javier-Cerulli—Book Giveaway

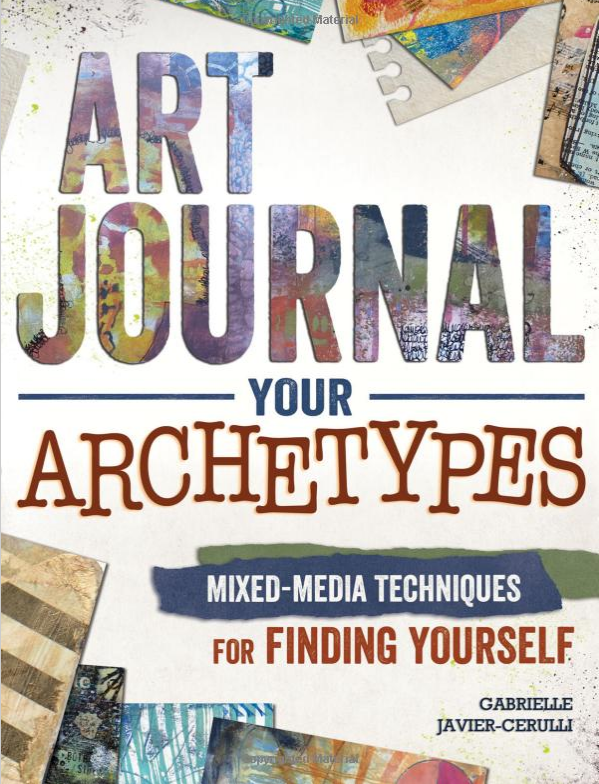
I just received two copies of this wonderful book by Gabrielle Javier-Cerulli

archetypes

ART JOURNAL YOUR ARCHETYPESMixed Media Techniques for Finding Yourself

“In this unique book, you will learn processes for discovering your core archetypes and using that knowledge to create highly personal visual expressions, all the while embracing the personal revelations and creative breakthroughs that result”. -Gabrielle

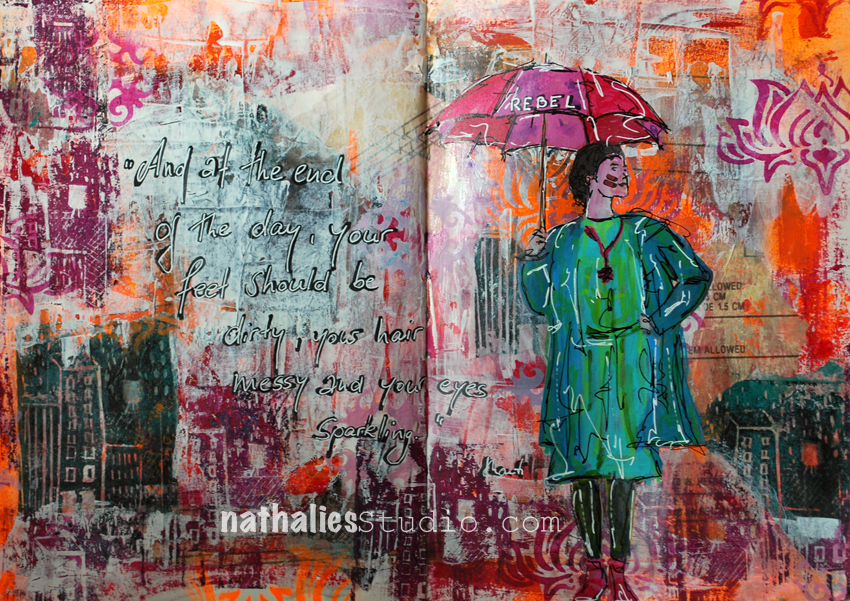
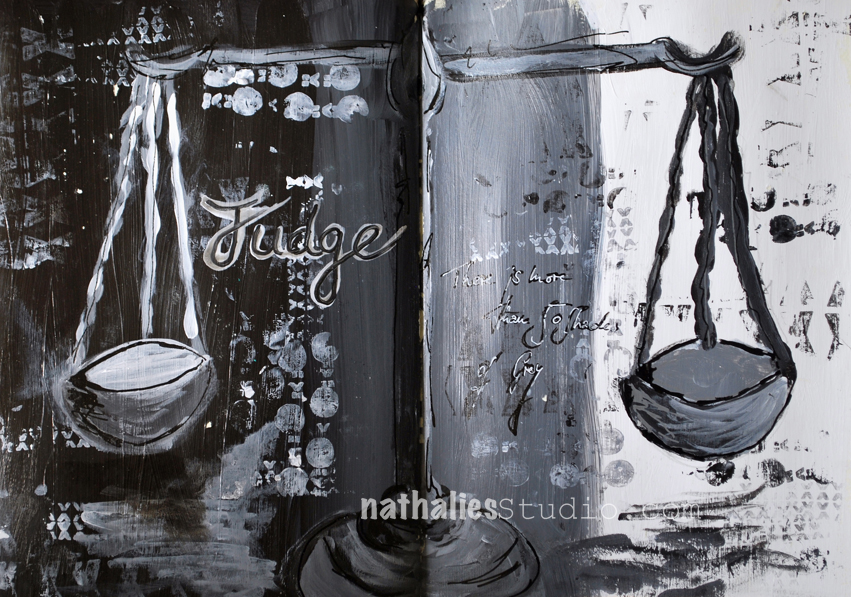
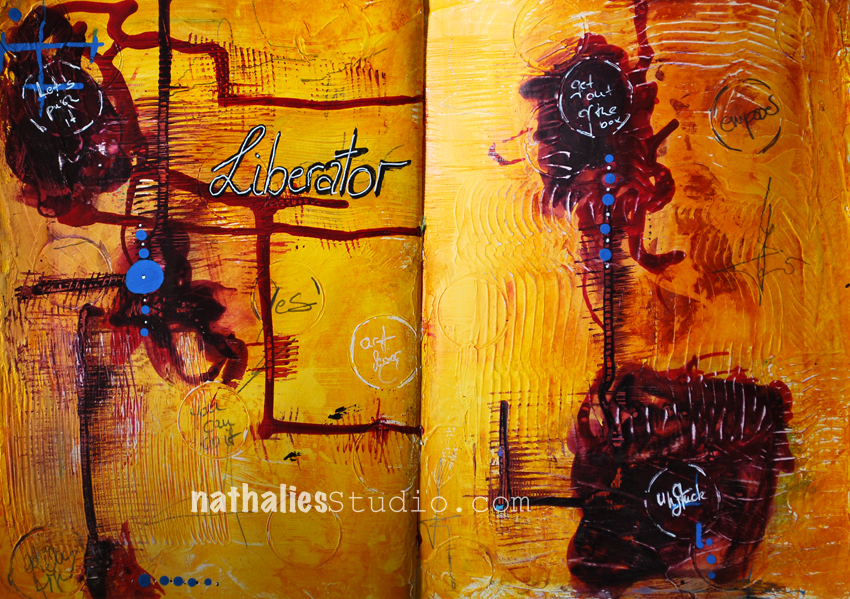
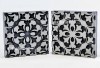
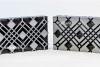
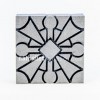
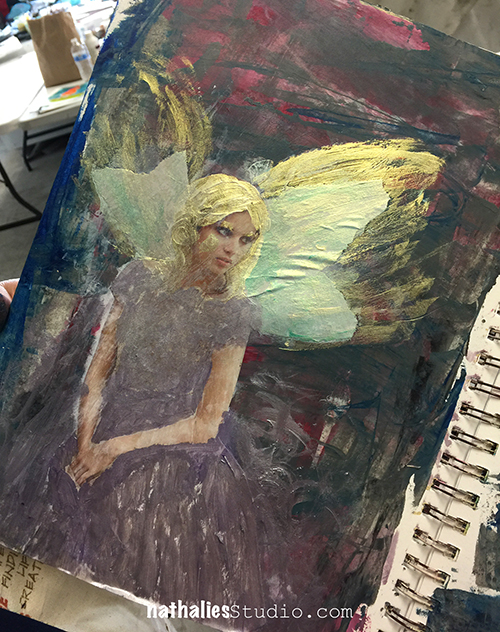
Gabrielle asked me along with a couple other wonderful artists if I’d contribute to her book. I was super honored and of course I said yes. Gabrielle had a long conversation with me to explore my archetypes which was very interesting to learn about. After the interview and after she told me my archetypes I created art journal pages based on those. It has been so much fun and I learned a lot about myself. Here are the pages I contributed:

rebel_01_aj_natkalbach judge_01_aj_natkalbach liberator_01_aj_natkalbach


Find out more about Archetypes, your own archetypes and how they can prompt your art journal pages in this book. Thank you so much Gabrielle for including me!

Get yourself a copy or leave a comment here for a chance to win one of the copies of the book I received. You can comment until October 26, 2016 midnight EST and I will pick one lucky winner randomly and announce the winner shortly after.

Comments (25)

  • Sandra L.

    |

    Gorgeous book and your pages are always so powerful. I am new to art journals and for months have sat and stared at the blank pages. Winning a copy of the book would hopefully spark what is needed to get me on the correct path. Thanks for the opportunity.

    Reply

  • Kim Johnny

    |

    Love your bold and bright pages! Fabulous! The book looks so wonderful and would love to learn from it. Thanks so much for sharing and a chance to win!~kim

    Reply

  • Crystal Korzep

    |

    Oh my goodness, I grabbed a bunch of books here in Barnes and Noble, looking at page 25 in Art Journal Your Archetypes, and came across your blog Nathalie. I am looking you up on my cell phone, and saw you are friends with Jennifer and were in Boston. I live 30 minutes out if Boston. I am in time for your deadline to win this awesome book. Oh boy, would I live to win. I am on a new journey iny art; going to try to paint, draw and do mixed media daily.

    Reply

  • elle

    |

    First I heard of this term! How fascinating. I’m intrigued.

    Reply

  • esther

    |

    looks really interesting! would love to win a copy!

    Reply

  • Julie B

    |

    What a cool experience for you! This is intriguing and looking forward to more revelations on your blog and can’t wait to you visit to California in January. Thank you!

    Reply

  • Martine M.

    |

    You always have great pages! Book seems a very interesting. Thanks for the chance to win!.

    Reply

  • susan debourguignon

    |

    wow, Nathalie! your pages are always so colorful — the black and white pages are so striking to me. glad you are included in your friends’ book. the whole archetype business is intriguing to me. if i don’t win it, i will likely buy it.

    Reply

  • Gill K

    |

    This sounds a fascinating book. Thank you for the opportunity to win a copy. Your pages are powerful and striking.

    Reply

    • nathalie-kalbach

      |

      Hi Gill, you won the Archetypes book! Congratulations! I send you an email directly- so please contact me until November 7th, so that I can send out the book to you -Nat

      Reply

      • Gill K

        |

        Hi Nathalie,
        Thank you so much for your generosity. I look forward to working from the book in due course. Gill

        Reply

  • Linda S Richards

    |

    Awesome giveaway & such a great book! Thank you for the opportunity!

    Reply

  • Suz

    |

    This looks like a lot of fun! I’d love to win this book and learn more about myself and my art. Thanks for the chance!

    Reply

  • April Lopez

    |

    This looks like an I tersting book to dig into. I love your pages.

    Reply

  • Sue Clarke

    |

    JUDGE really caught my eye. I think that black and white just makes it stand out more (as much as I love how you mix bright colors Nat).
    Thanks for the chance to win this very cool book.

    Reply

  • Lori B

    |

    Wow your work is beautiful. This book looks very interesting. Thank you for offering this.

    Reply

  • Bec Miller

    |

    How interesting!! Congrats!

    Reply

  • Bea Savellano

    |

    Looks like an inspiring book. Love your pages…

    Reply

  • Gwen L

    |

    I’m so intrigued by everything I’ve seen about this book – what an interesting concept! Love your contributions – gorgeous!

    Reply

  • Kathy P

    |

    As a relative newcomer to mixed media art, this is a new term to me. I’m intrigued! Will have to get a copy because it sounds like it will expand my knowledge of ‘self’, which I am discovering is so important to making art.
    And I love the pages you’ve included in it, Nat!

    Reply

  • Susan

    |

    I have always struggled with what I want to put on an art journal page and hopefully this book would help me to overcome that uncertantity.

    Reply

  • Melinda

    |

    Archtypes are so interesting to me — in some way they make me feel more connectd to the rest of the world,

    Reply

  • Nancy

    |

    So bold and colorful. There is always so much to learn and this looks like a wealth of information.

    Reply

Leave a comment

Teaching with Birgit Koopsen in NY, Syracuse in March 2017

color-crush-ver-2

Super duper excited that my friend Birgit Koopsen and I will again teach a workshop together in the U.S. – March 24-26, 2017 a three day Art Journaling workshop in Syracuse, NY organized by OOAK Artisan Showcase.

Check out more details in this video:

Ready for some Color Crush? Check out more details and register here.

It is going to be super fun – come and join us !

Leave a comment

Stepping Up The Game or … In my Art Journal Today

gameup_natkalbach01

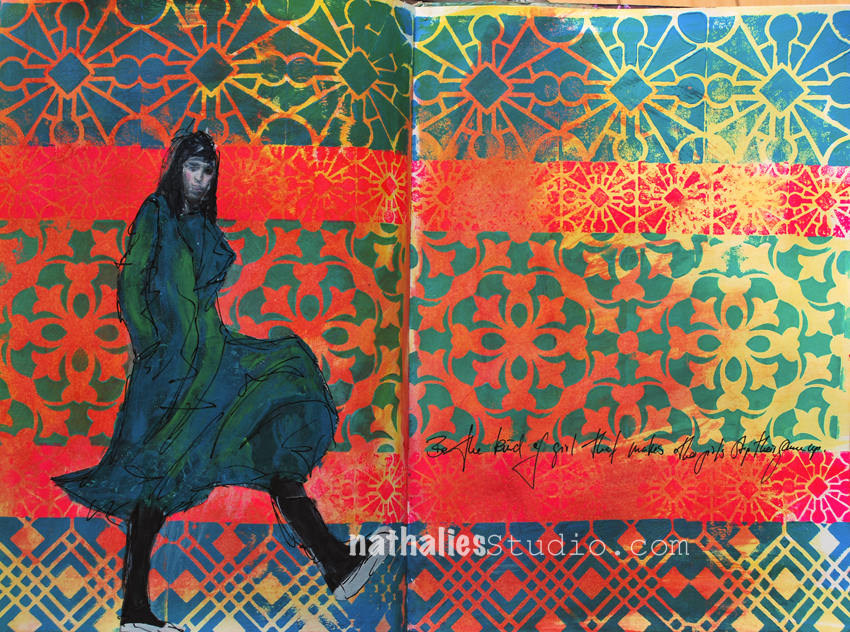
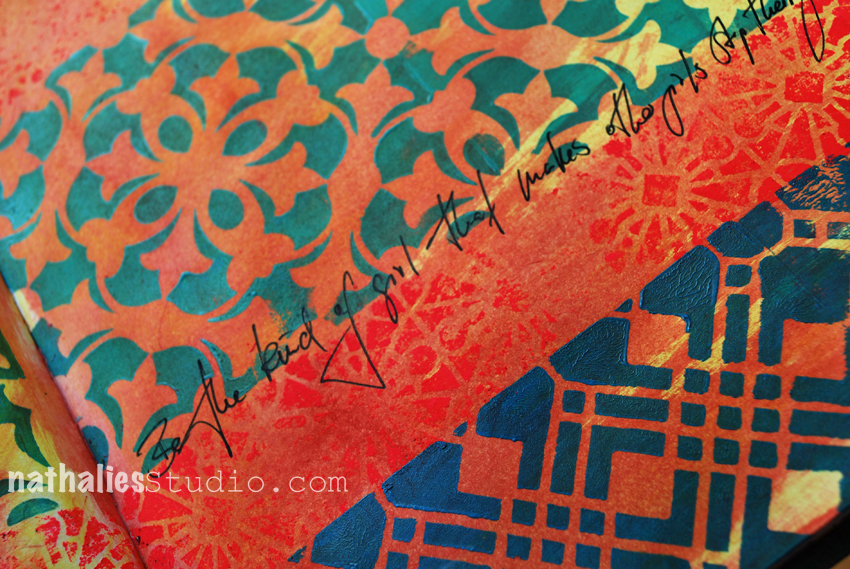
“Be the kind of girl that makes other girls step their game up”

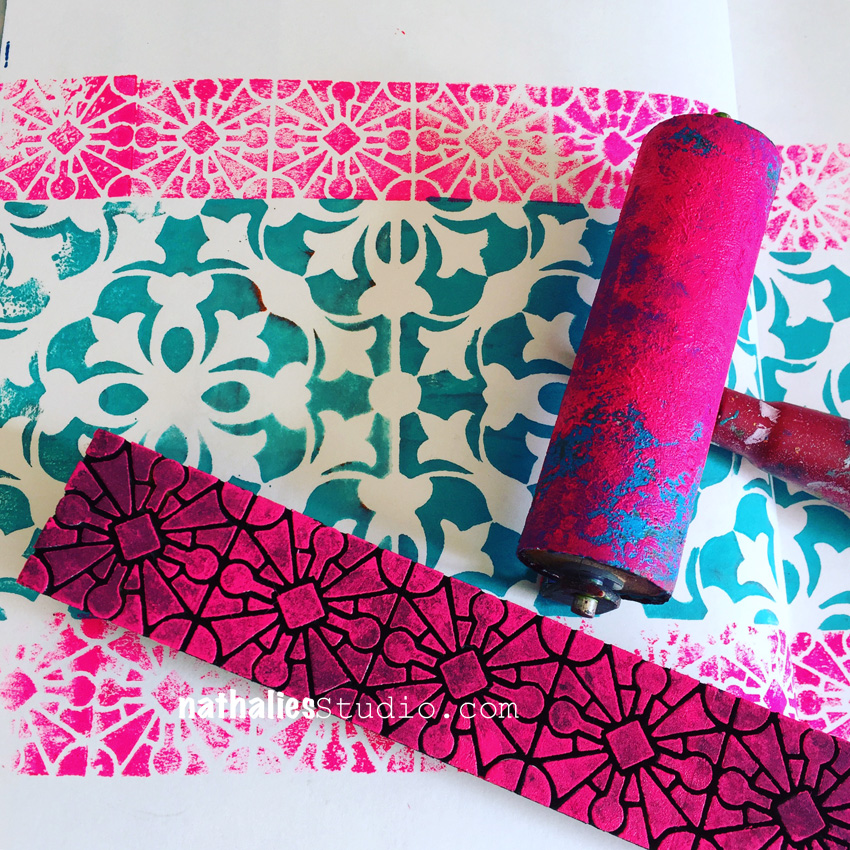
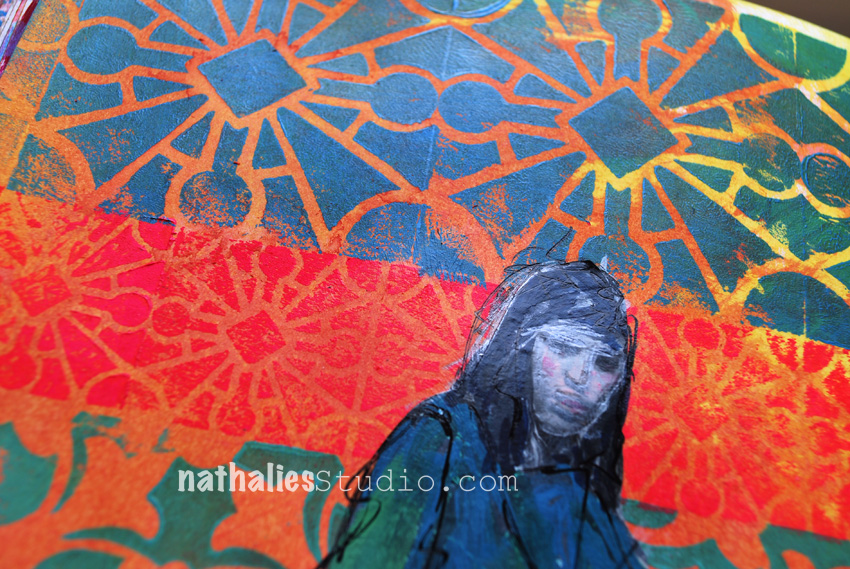
I started this page in one of my classes with the middle pattern showing one of the Versailles Foam Stamps stamped with acrylic paint.

gameup_natkalbach02

and then kept on going at home adding more patterns using the Buenos Aires Border Stamp and the Buenos Aires Tile Stamp on top.

gameup_natkalbach03

On the bottom I used one of the Chicago Stamps. To finish it up I layered some acrylic ink on top which was mostly resisted by the stamped images. This is a good way to add some color to the background after you stamped.

gameup_natkalbach04

But it looked also very good without the colored backgrounds – next time I guess *wink.

Here are some of the supplies I used for this journal spread – some links are affiliate links:

SuppliesCJS


Hope you are having a wonderful day

Leave a comment

Photos of the Workshop at The Ink Pad, NYC

kalbachartrulescollage

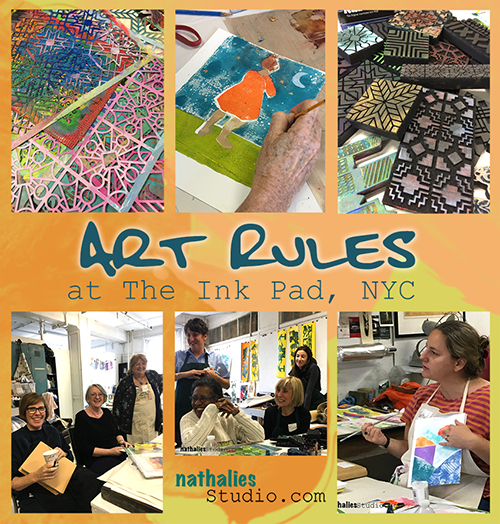
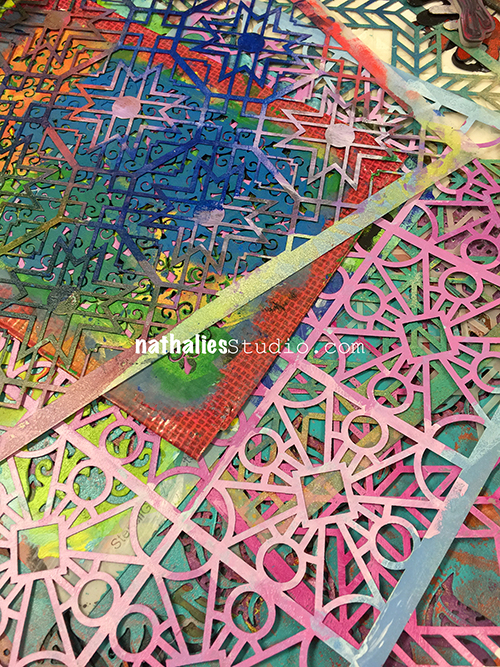
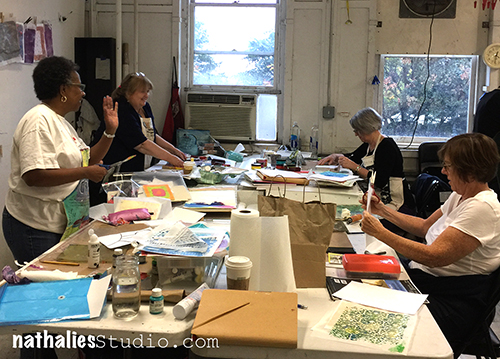
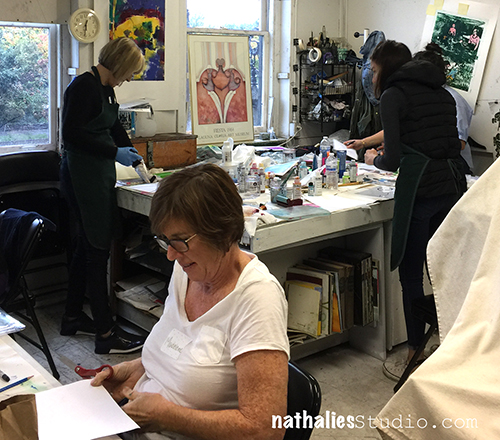
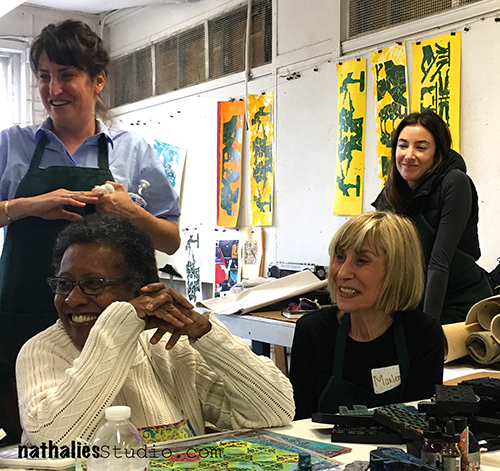
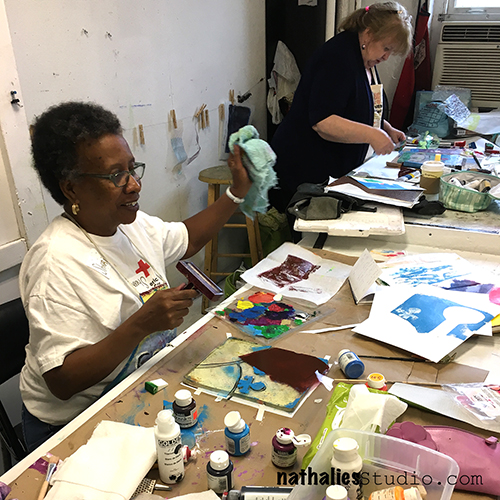
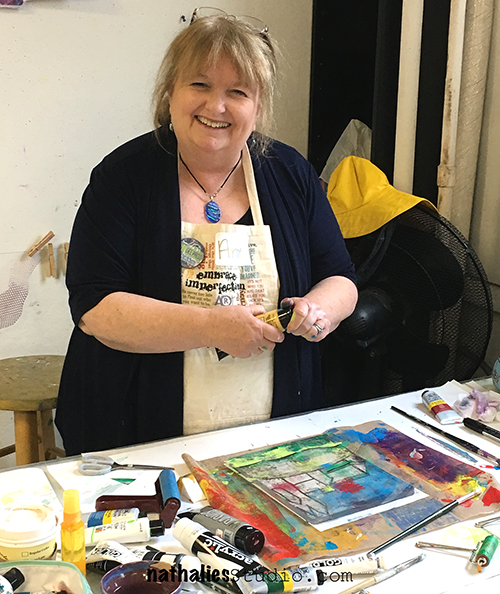
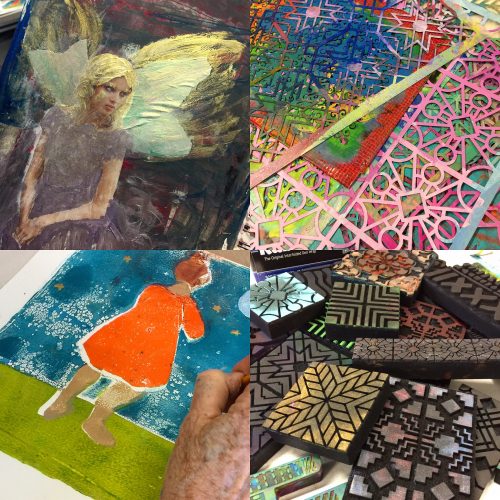
I had such a wonderful time teaching my Art Rules Workshop at The Ink Pad in NYC. It was a two day workshop and we explored lots of wonderful artists.

kalbachartrules01

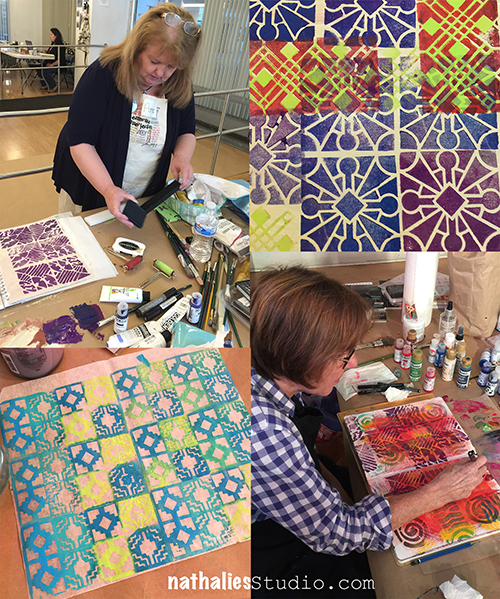
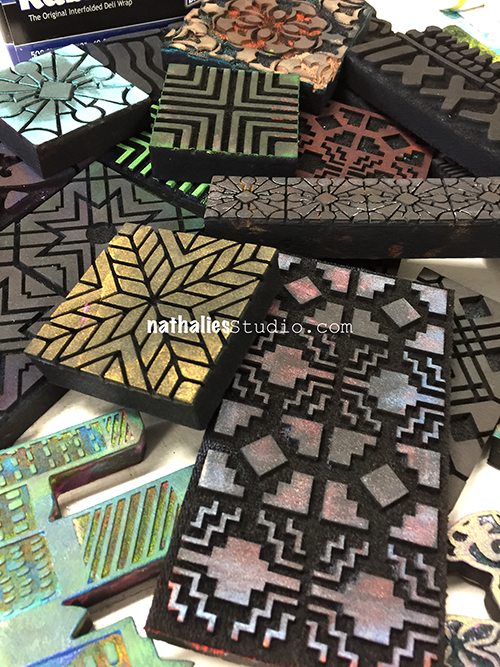
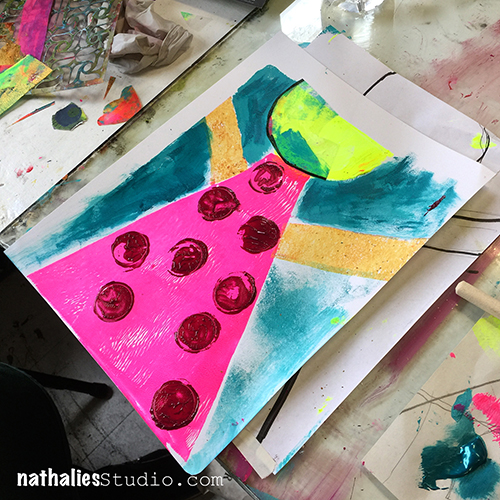
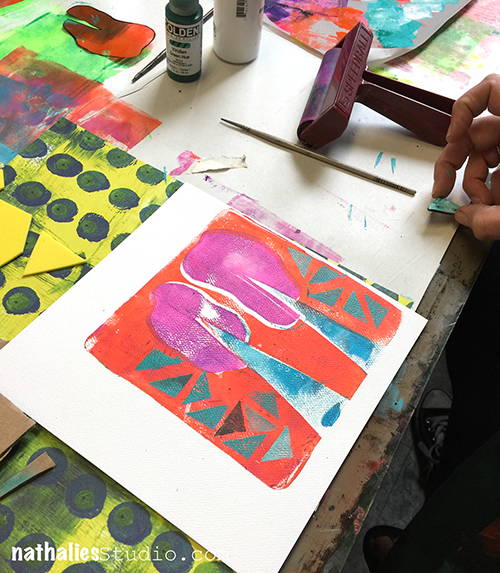
We created a huge amount of pattern using my new ArtFoamies designs which were …quite liked :)

kalbachartrules02

We played with color combinations

kalbachartrules03

and pushed and pulled layers in our art journals

kalbachartrules04

kalbachartrules05

and ….even played with some not yet released supplies …can you spy them ?

kalbachartrules06

The second day we had to move into a different class room due to a little mistake by Westbeth but due to the amazing organization skills of Anna from The Ink Pad and our wonderful and helpful students, that wasn’t a big deal and we actually liked our second home a lot – it was a real printmaking studio.

kalbachartrules07

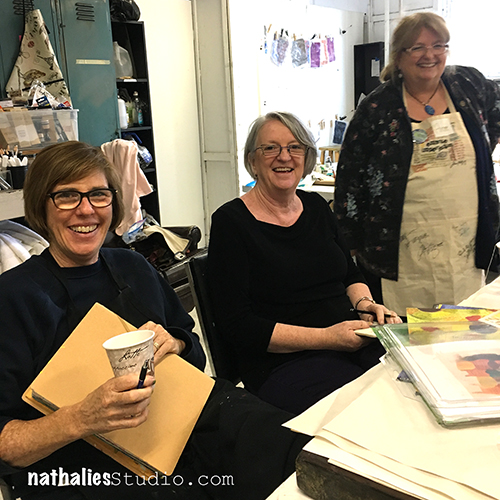
It was such a wonderful group of students,

kalbachartrules08

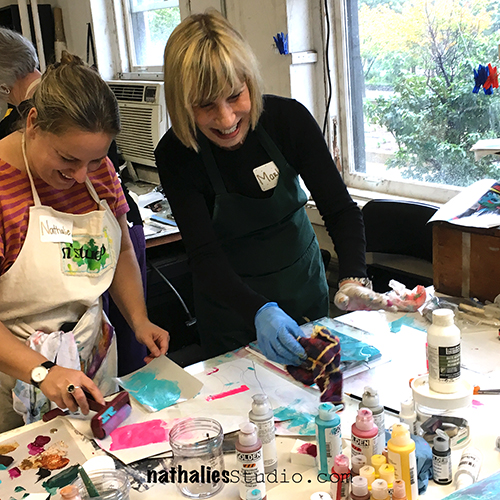
lots of laughter during the class

kalbachartrules10

and happy faces

kalbachartrules11

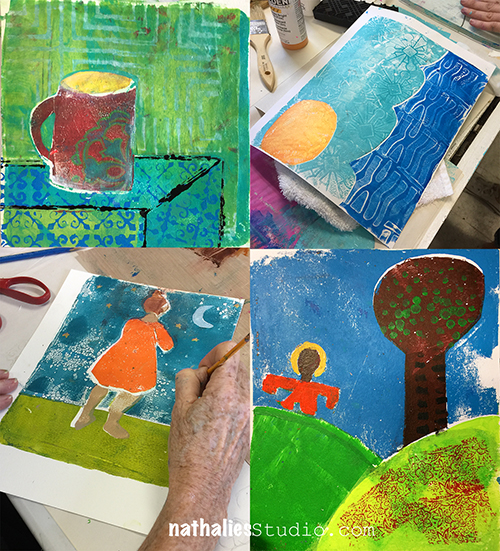
and beautiful artwork

kalbachartrules12

each student exploring their own style.

kalbachartrules13

Combining new and old techniques

kalbachartrules14

and getting out of the box to be rewarded with awesome results.

kalbachartrules15

Aren’t they the cutest?

kalbachartrules16

kalbachartrules17

kalbachartrules18

kalbachartrules19

kalbachartrules20

kalbachartrules21

Beautiful finished art journal pages  make me happy  …and I assume the students too :)

kalbachartrules22

kalbachartrules23

Thank you all so much for joining me, you rocked. And a huge thank you to Anna from The Ink Pad -it is always wonderful to teach for you!!! Cannot wait for the next time at The Ink Pad!

Would you like to come to one of my In-Person? Check out my next workshops at The Queen’s Ink in Maryland and more on my In-Person Workshop Page.

I would love to have you!

Comments (5)

  • Joi@RR

    |

    So love seeing you and your students at work Nat. And YES… beautiful outcomes. I know you were a great blessing to them all. Xj.

    Reply

  • Anne Lemay

    |

    These photos are a treasure – they truly capture the fun we had as well as our creative work. Your teaching – and your Art Foamies – rock!

    Reply

    • nathalie-kalbach

      |

      Anne, it was so wonderful to have you ! You guys were amazing and I had the best time- right back at you – Your rock !

      Reply

  • Michelle Ward

    |

    WOW! Looks like a super fun class! Look at all those happy faces and layers and layers of great pattern. I spy some amazing stencils and stamps!! Well done girl!

    Reply

    • nathalie-kalbach

      |

      thank you Michelle! We had a great time and you know those guys are always fun!

      Reply

Leave a comment

Today is the Day – Cheiron Brandon

cs-october-theme

This Tuesday, Cheiron Brandon from my Creative Squad is happy to share with you some amazing cards using my new Manhattan ArtFoamies and inspired by this month’s theme: “Today is the Day.”  I invite you to join me and my Creative Squad to stop procrastinating and be inspired to make today the day you finally tackle that artsy thing you’ve been meaning to get to for so long.  Start that new project you’ve been planning for months.  Try out that new product you bought ages ago.  Experiment with that new technique you read about last year.  Try it!  Today is the Day!


cheiron-october-headshot

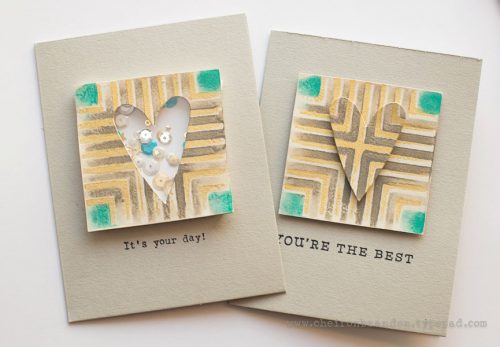
Hi there! It’s Cheiron here with my monthly post for N*Studio. This month ‘Today is the day’ is our theme, and our mission was to tackle the artsy thing you’ve been meaning to get to. As a card maker, I make tons of cards…but I never seem to have one when I need to send for a birthday, thank you etc. I kept saying I would make a stack of cards, like at least a dozen to have on hand for occasions that come up. I also always say that I will take new products and spend some just for fun playtime with them, but that does not always work either. I set aside two hours the other day to play with Nat’s new art foamies and two things happened 1) I had a great time playing, and 2) I made a dozen cards! 
 
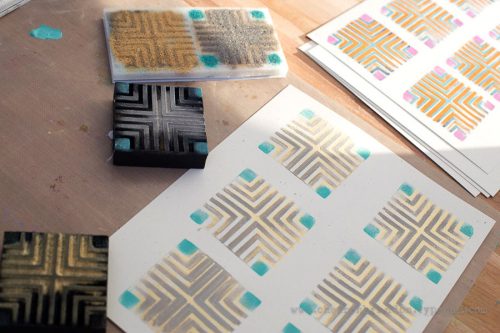
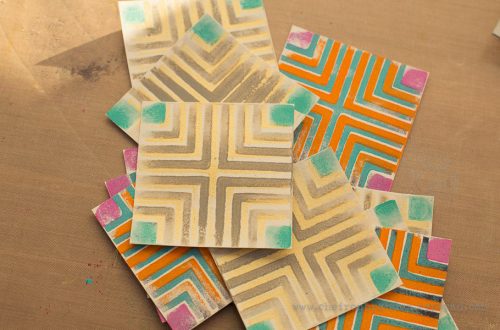
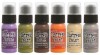
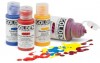
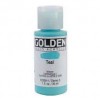
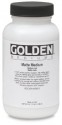
I started out just playing with the Manhattan foamies. The set includes a positive and a negative, so you can add two different layers of color to the stamped image. I tried them out with all different kinds of paints including Distress Paints, Golden Fluid Acrylics and Blick Matte Acrylics and got great results with all 3! 
 
n-studio-oct-photo-1
 
Once I was finished stamping, I cut all the images into squares.
 
n-studio-oct-photo-3
 
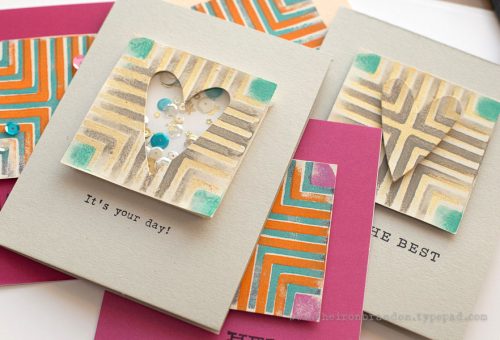
Then I turned them into cards. For some cards I used just the square and a simple sentiment. For a couple I turned them into a shaker card and used the cut out heart on the shaker card on another card. I think you can be real simple or fancy depending on the recipient. It sure feels good to know I have built up my card stash AND have managed to throw in some play time at the same time!
n-studio-oct-photo-4
n-studio-oct-photo-5
——————————————————————————————————————-
Aren’t these cards awesome! I colors Cheiron used and the shakerbox is just too cute!
Here are the supplies she used to make those cards – note that some of the links are affiliation links:
SuppliesCJS

Maybe you will even play along with us -I would love to see how you interpret our monthly themes. Email me how you used my stencils and stamps with the theme and email me an image – I would love to share your projects in my next “n*Spiration From Around the Globe“.

See you next Tuesday for another project from the Creative Squad!

Leave a comment

Workshops at The Queen’s Ink in Savage, Maryland Oct 21-22

This year I have taken a big break from teaching due to the book, and I do have to say I really missed teaching. I had a fantastic time at The InkPad with a 2Day workshop on the weekend – here is a little peek of what we did and the new fun things we used. I will post more pix in a couple days. It was wonderful to spent time with super creative and fun students, see my new products in action and be equally inspired by my students and how they put their own spin on things!

img_3916

Now I am getting ready for my classes at The Queen’s Ink in Savage, Maryland in two weeks. I am bringing three super fun workshops with me, which I have taught before and were a big hit – I cannot wait to spice them up with some super duper cool ArtFoamies and …did you spy them? – new stencils. There are still a couple seats left – so join me if you are in the area!

QueensInkWS

Friday October 21, 2016 – 11am-3pm

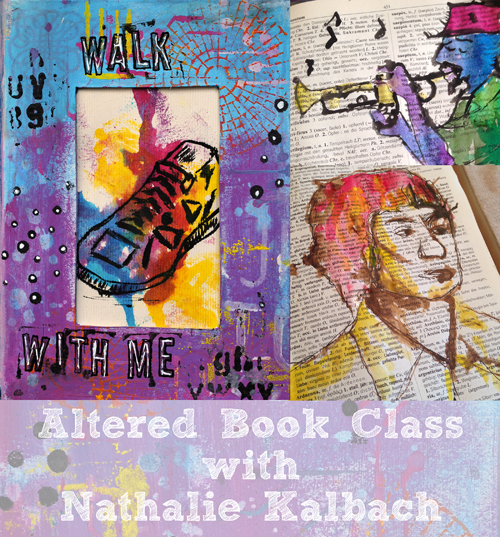
Walk With Me – Altered Book Class

WalkWithMeAd2

Registration Open Now


Friday October 21, 2016 – 5pm-9pm

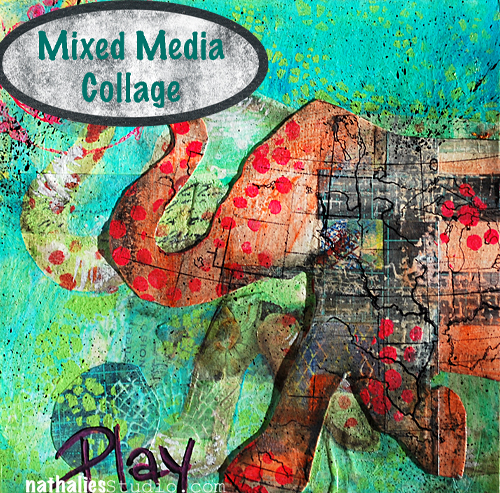
Play – Transform – Mixed Media Collage Class

MixedMediaCollage

Registration Open Now


Saturday October 22, 2016 – 10am – 6pm

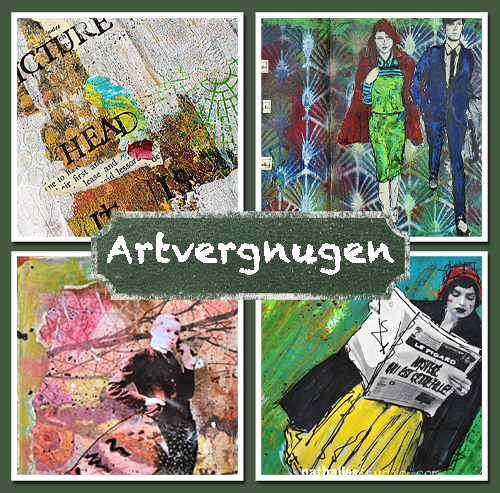
Artvergnugen – Art Journaling Class

ArtvergnugenAd

Registration Open Now

Have a gorgeous day!

Leave a comment

Battles Won or … In My Art Journal Today

battleswon_01natkalbach

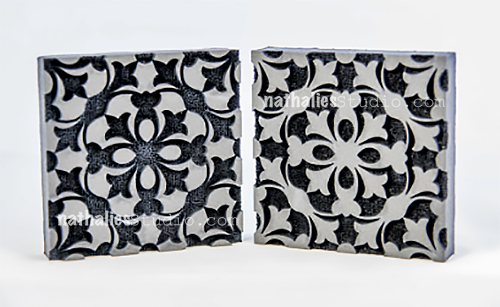
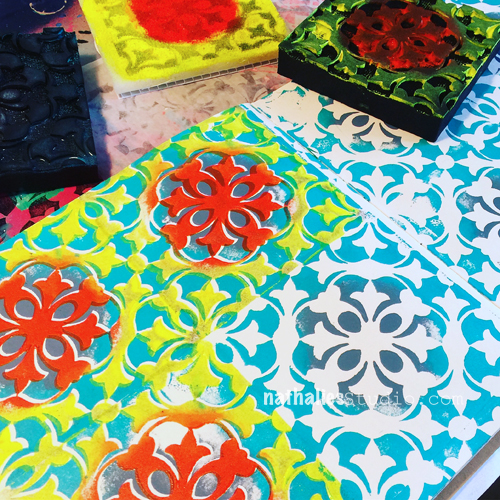
For this Art Journal Spread I played a bit with my new Versailles Positive and Negative Foam Stamp Set.

battleswon_02natkalbach

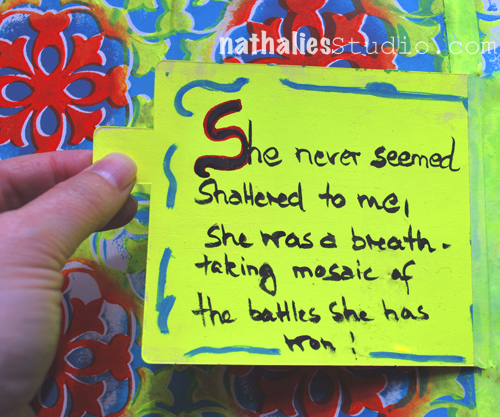
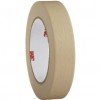
I created a flap for the journaling by using a shipping tag which I applied with artist masking tape to create a hinge.

battleswon_03natkalbach

I love this quote: She never seemed shattered to me. She was a breathtaking mosaic of the battles she has won! (unknown source)

Versailles

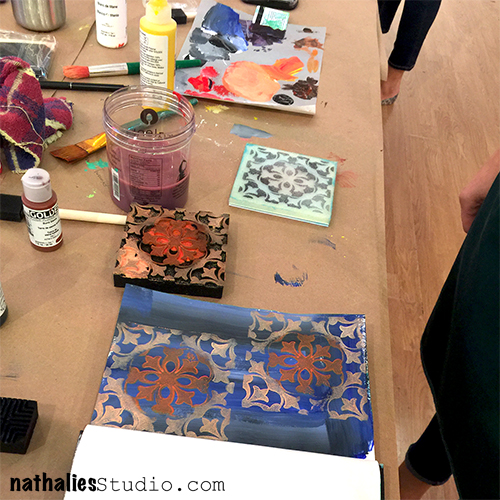
I used the Versailles Stamp Set  which comes with two Foam Stamps – positive and negative pattern- and I also used two StampBuddies, one for each stamp. Now what can you do with the StampBuddy? Wellllllll…some seriously cool stuff. Instead of applying acrylic paint with a brayer onto the Stamp -like in this Rule of Three Video – 3Ways to “ink” up foam stamps – which also shows you two more application ways, you can also use the nifty StampBuddy the following way :)

battleswon_04natkalbach

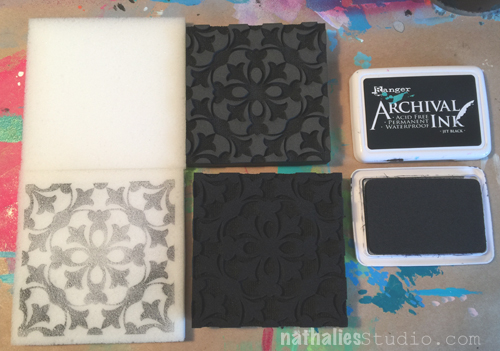
Using Archival Ink (any ink pad that is waterproof) I stamped each of the stamps on a StampBuddy.

battleswon_05natkalbach

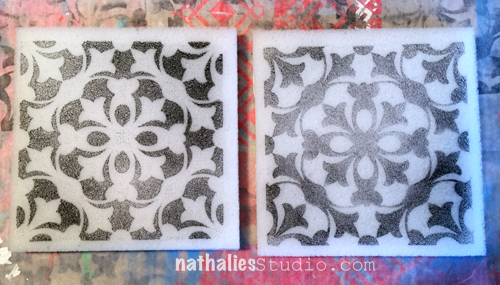
The picture above also shows you how the stamps look like when stamped with a solid color – pretty cool – huh?

battleswon_07natkalbach

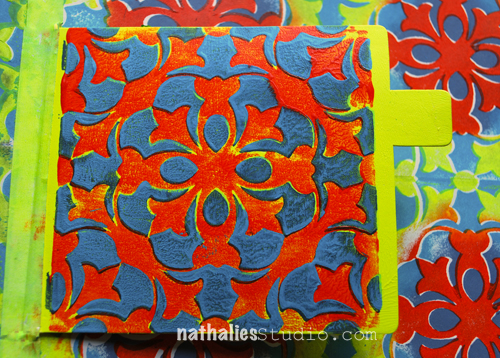
What I want to do though is coloring the stamps with different colors – like in the picture above.

battleswon_06natkalbach

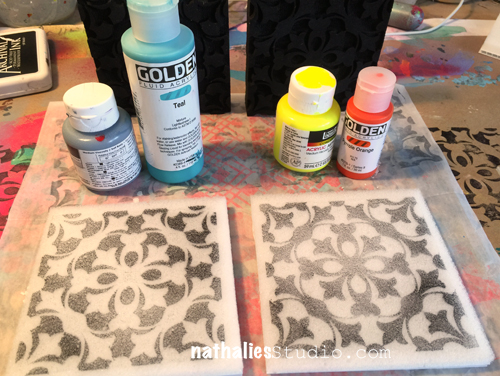
So I gathered the colors that I would want to have appear on the stamps

battleswon_08natkalbach

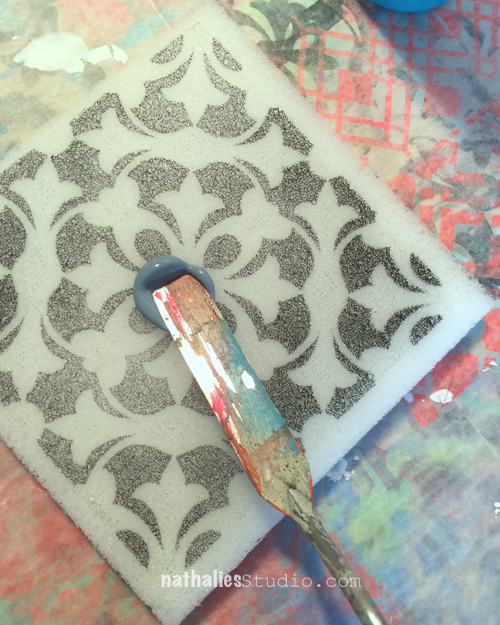
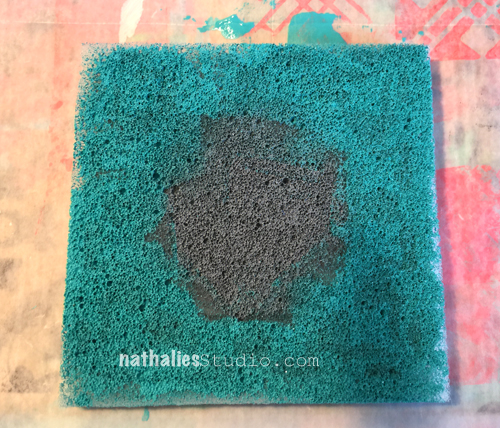
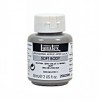
and started to apply grey  acrylic paint using a palette knife into the middle section of the StampBuddy. This is never going to be a perfect circle but that is beyond the point  in my view. Soft Body or Fluid Acrylic paint works best, and you have to work a bit fast to not use too much paint as it soaks quite quickly into the StampBuddy.

battleswon_09natkalbach

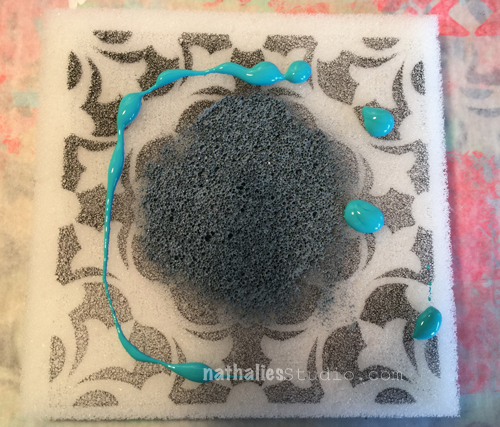
Next I massaged some teal acrylic paint into the remaining uncovered area.

battleswon_10natkalbach

which results into this fuzzy guy – but don’t worry- since your StampBuddy is always approximately the size of your stamp – you will get the different colors at the areas where you want it.

battleswon_11natkalbach

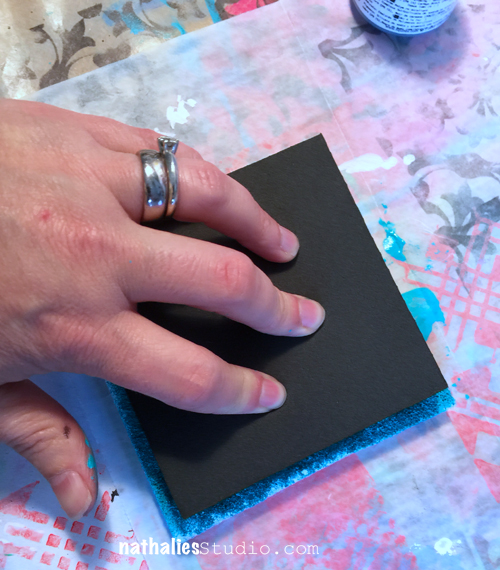
Your StampBuddy has now become your “Ink” Pad – filled with acrylic paint instead of ink.

battleswon_12natkalbach

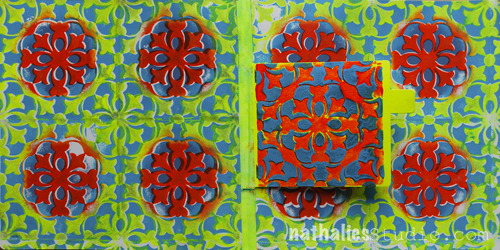
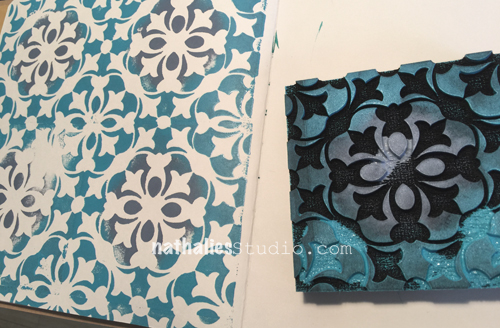
I stamped a tile background into my art journal by lining up the stamp in rows. You can easily see how to line up the stamp when you look from the side. LOOOOOVEEE!

battleswon_13natkalbach

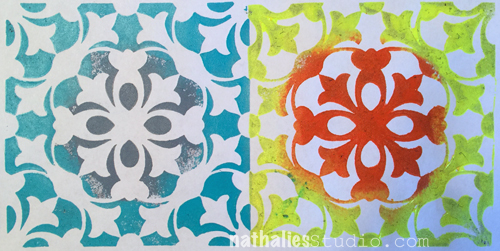
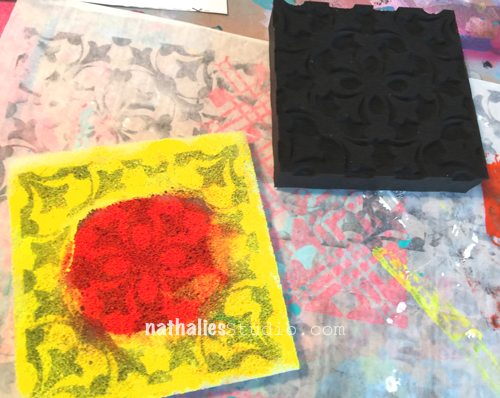
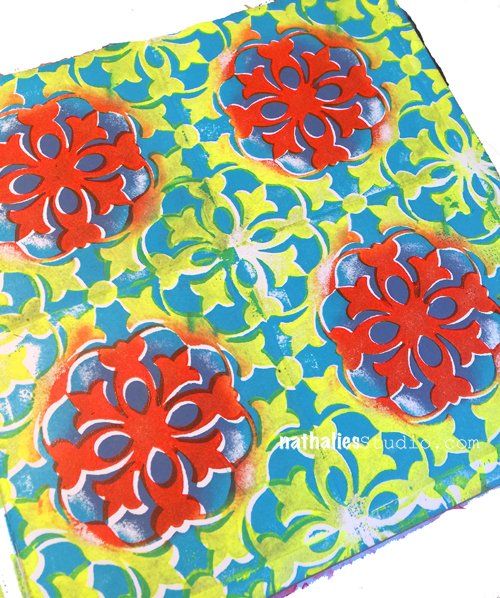
Now I did the same thing with different colors on the second StampBuddy. Since the yellow I used is not opaque you can still see the stamped image peeking through. I could have stamped different rows but HA – here is another cool thing you can do with those stamp sets :)

battleswon_14natkalbach

You can actually just line up the second stamp on top of the other stamped image – again you will see where it lines up from the side – and it will stamp perfectly into the white space filling it up with juicy yummie colors.

battleswon_15natkalbach

I love this – such a cool tile pattern, don’t you think???? Yes- I jumped up and down like a little kid when I did this because it was exactly how I envisioned my stamps to work *Wink.

Just a couple tips:

  • The StampBuddy will contain a lot of paint, so use it only if you have time to actually use it up in one session or when you want to do the different color method
  • I used the paint up by stamping a sheet of gift wrapping paper – boom – one sheet down for the next presents.
  • Clean the StampBuddy when you are done with your creative time, wash it out with water until the water is clear. The stamped archival ink impression will remain on your StampBuddy.
  • Clean your Foam Stamp – I know there are different approaches- I do not clean it super crazy scrubby, but I want most of the acrylic paint off. For me this is a foam stamp and it should remain cushiony as this is what creates this kind of impression and it also let’s me use other paint media than just acrylic paint on it – I will get back to this some time later.
  • Do only use a small amount of paint with your StampBuddy – you will be surprised how far it will get you and it also prevents seeping paint into the creases of your stamps- which a) wastes paint and b) makes it harder to clean up your stamp and c) gives less nice stamped images.

I cannot wait to show you more fun stuff and patterns with my new ArtFoamies Foam Stamps.

Here is what I used for the art journal – some links are affiliate links:

Hope you enjoyed this post and wishing you a wonderful day!

Leave a comment

Today is the Day – Tina Walker

cs-october-theme

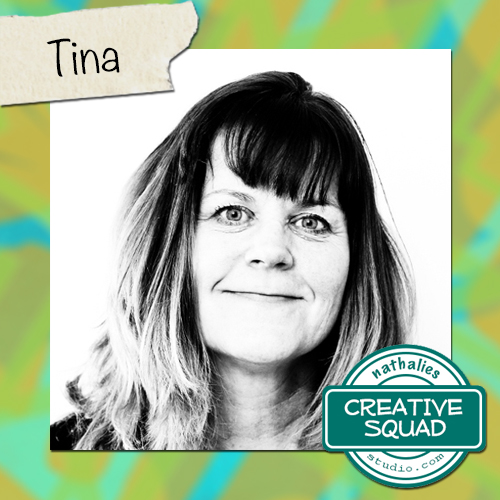
This Tuesday, Tina Walker from my Creative Squad is happy to share with you two super cool projects using Ultra Thick Embossing Enamel and inspired by this month’s theme: “Today is the Day.”  I invite you to join me and my Creative Squad to stop procrastinating and be inspired to make today the day you finally tackle that artsy thing you’ve been meaning to get to for so long.  Start that new project you’ve been planning for months.  Try out that new product you bought ages ago.  Experiment with that new technique you read about last year.  Try it!  Today is the Day!

—————————————————————————————————
tina-october-headshot

Hi!  Tina Walker here today to kick off the new month with a new Theme.  This month, our theme is ‘Today is the Day’.  As the old adage by Benjamin Franklin goes, ‘Don’t put off until tomorrow what you can do today.”

The Creative Squad was challenged to tackle an arsty thing that we’ve been meaning to do.  It could be a new project or a new technique.  I love trying new ideas and techniques so I was super excited to get started.  Let’s get to it!

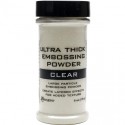
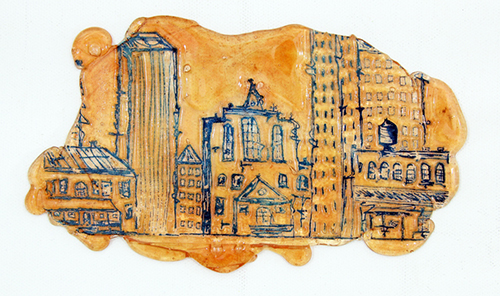
Have y’all heard about Ultra Thick Embossing Enamel (UTEE)?  It’s been around f.o.r.e.v.e.r and it’s been sitting on my shelf for YEARS just begging to be used.  I thought this month would be the perfect time to create with it! I’ve watched several videos on how to stamp into UTEE and wanted to try for myself, so the two projects I am sharing today are the result of this technique.

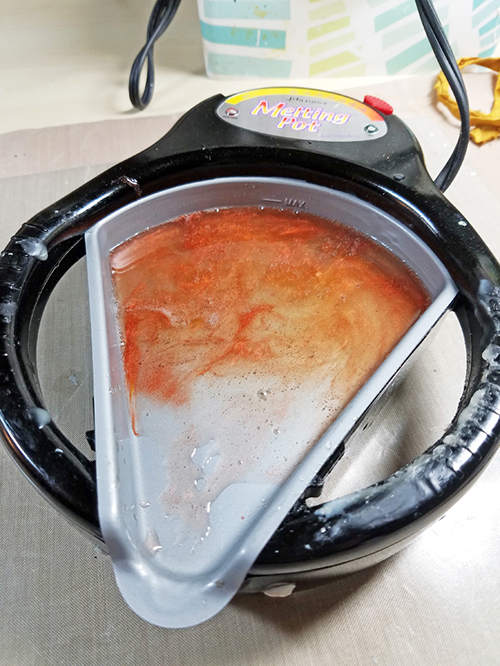
Step One: Melt UTEE per instructions.  You can either add color with embossing powder or metallic powders or use clear.
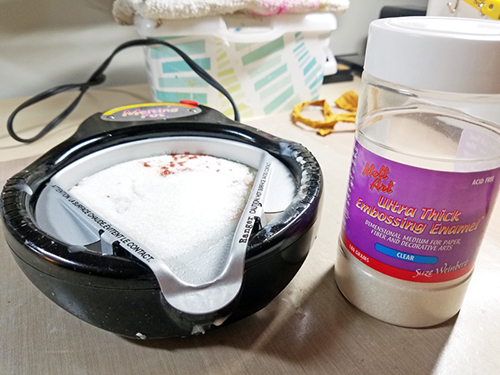
oct-tw1

oct-tw2

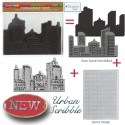
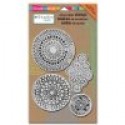
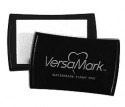
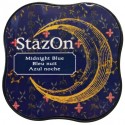
Step Two: Prep your stamp.  (Only rubber stamps can be used.  Acrylic will not work for this technique).  To create a ‘resist’, apply Versmark ink to your stamp.  You can either stamp without color or add color with Staz On Ink.  I used a colored ink with Nat’s Urban Scribble cling stamp so it would show on the UTEE.
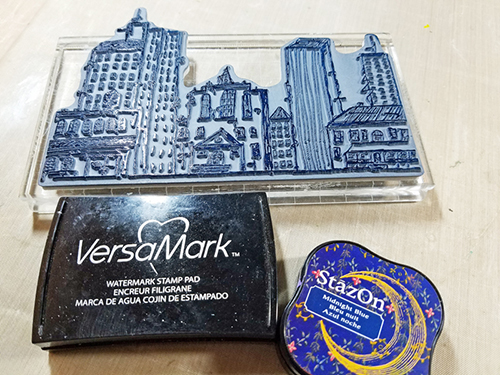
oct-tw3

Step Three: Pour melted UTEE on heat resistant craft mat.  Immediately stamp into the melted UTEE and let sit for approx. 15 min.  Once cool, carefully remove your stamp from the UTEE.
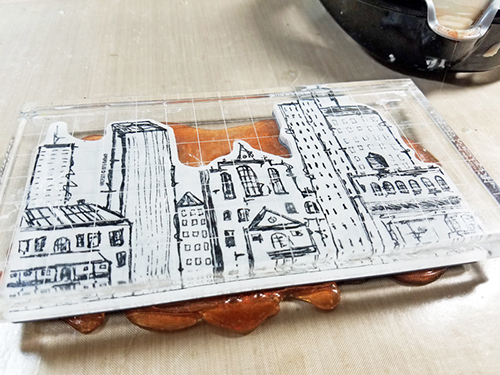
oct-tw4

Special Note:  UTEE is very fragile and I cracked several in the process.  Using a thicker layer vs. a thin layer adds to the stability.
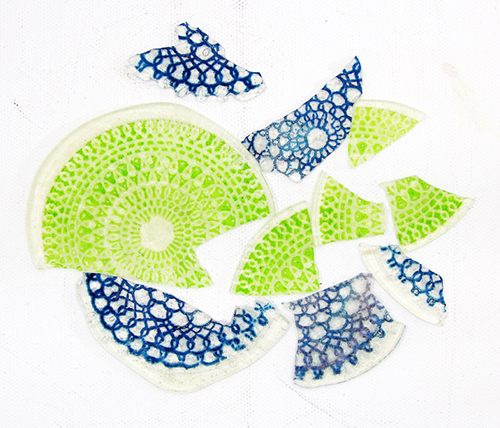
oct-tw5

Step Four: You can use your piece *as-is* or add paint, spray, or other mediums.
oct-tw6

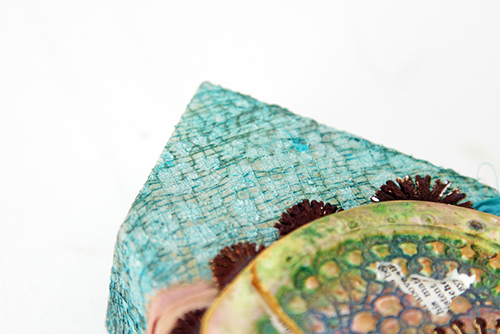
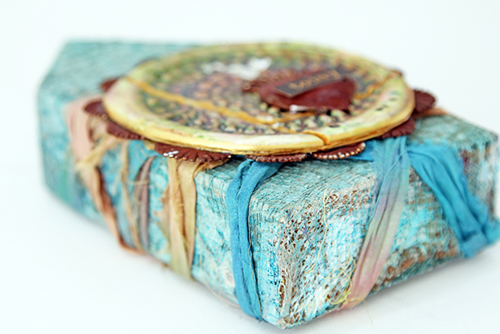
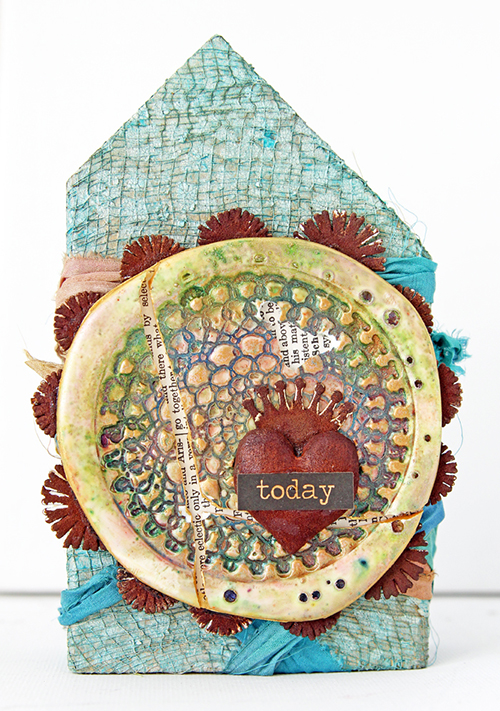
Project One – Today Wooden House

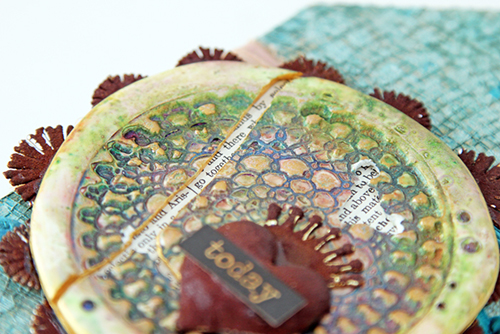
I added white embossing powder to the UTEE with Nat’s Kaffee Klatsch cling stamp.  Once cool, I colored the piece with metallic powders.  As I was ‘painting’ the piece it cracked.  L  But, instead of starting over, I continued to use the cracked piece, highlighting the cracks with dictionary paper.
oct-tw7

oct-tw8

oct-tw9

oct-tw10

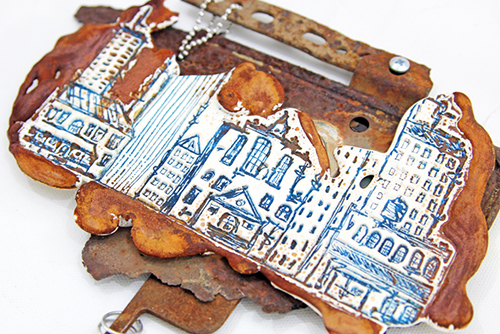
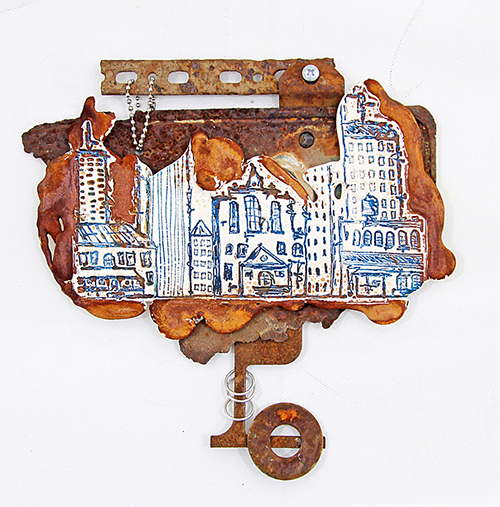
Project Two – Rusty Cityscape

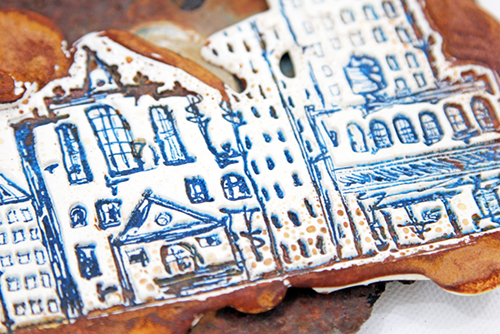
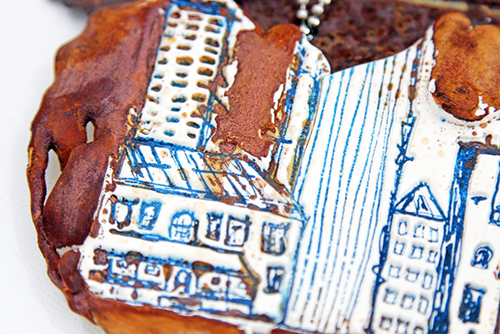
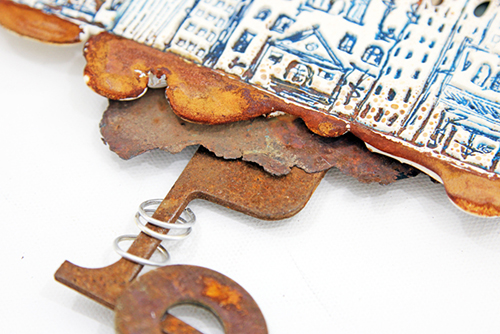
Using the same UTEE mixture, I stamped with another stamp.  Once cool, I rusted the edges of the piece to blend with the other rusty elements in the project.  Funky and unique!
oct-tw11

oct-tw12

oct-tw13

oct-tw14

oct-tw15

What new technique or product are you dying to try/use?  I’d love to hear about it!  Thank you for taking time today to take a peek at projects.  See you next month.

—————————————————————————————————

I love love love both of these projects and can’t wait to play around with the UTEE myself!

In addition to some wood, gauze, various rusty findings, Dusty Attic Rusting Powder, sari ribbon, and a sticker, Tina used the supplies listed below (some are affiliate links):
SuppliesCJS


Maybe you will even play along with us -I would love to see how you interpret our monthly themes. Email me how you used my stencils and stamps with the theme and email me an image – I would love to share your projects in my next “n*Spiration From Around the Globe“.

See you next Tuesday for another project from the Creative Squad!

Comments (2)

Leave a comment