Blog: Buenos Aires

Kind Heart – Fierce Mind – Brave Spirit

Pretty much how I want to feel right now with everything!

This spread started out as a demo page at my workshops in San Jose in January . I actually showed how to use spray paints with stencils and we used some Montana water based spray which I really fell in love with. They have a matte finish – and the look is so different from the look of the more shiny glossy finish of my Liquitex Spray paints. Plus…they come in those mini spray cans! I am still debating if I should buy those…because I do have…enough …spray paint…but ….you know ;)

I used the Versailles Stencil on the left and the Buenos Aires Stencil on the right. I added some of the background color and added it with my finger to the middle top, smoothing it out and bringing both sides together by journaling over that part.

This page makes me happy – happy memory from the process of making it and my awesome students , happy colors and good message :)

Here are some of the supplies I used for this spread – some links are affiliate links


Wishing you a wonderful day!

Comments (4)

  • Julie B

    |

    Thank you for the inspiration to integrate two very different pages into one whole piece (God only knows how many of those pages i have; now i just need to carve out some time). I love this page…it makes me very happy two and brings back fond memories of your visit. Thank you, thank you!

    Reply

    • nathalie-kalbach

      |

      So glad you like it Julie! Go get your time :) Even if it is only 10 minutes a day- I am always surprised how much you can actually do in just 10 minutes ….the downside is …many paint splatters on clothes that are not meant for painting “oh ….I am dressed for going out but hey…only 10 minutes and I should not get paint on my clothes” yeah – sure ;)

      Reply

  • Sue Clarke

    |

    You can never have enough paint as it gets used up…just saying. Enjoy your day Nat.

    Reply

    • nathalie-kalbach

      |

      Hehehe- I know ;) I bought it …ahem ;) Enjoy your day too Sue and have a wonderful weekend!

      Reply

Leave a comment

Return to the Light – Marsha Valk

cs-december-theme

Today, Marsha Valk from my Creative Squad is sharing a wonderful and illuminating project using my small Santiago, Toledo, and Buenos Aires stencils for this month’s theme: “Return to the Light.” As we pass through the Winter Solstice here in the Northern Hemisphere, the ever lengthening nights turn to ever lengthening days. This ancient marker in the calendar has always been a celebration of light and the promise of a new day. Let’s Return to the Light with some bright and luminous mixed media projects!


marsha-dec-headshot

I do not like the dark days of December. I mean: it’s OK when the sun comes out for a couple of hours, but here in the Netherlands December weather is mostly gloomy and grey… Candles and fairy lights are a must, because they make even the greyest days a bit brighter.

marshavalk_nstudio_light-4

These votives do not take long to make and chances are that you already have everything you need to make them. They look cute on a festive table, but they will also keep until after the holidays!

marshavalk_nstudio_light-step-1

Choose two colours of StazOn ink that when blended will make a third colour. In my sample I chose teal and pink and those two colours together make a purple shade. Darker shades will ensure that your stenciled pattern is still visible once a tealight is lighted inside the jar.

marshavalk_nstudio_light-step-2

Use a cosmetic sponge to apply StazOn ink through your stencil onto a sheet of vellum. I used Nathalie’s Buenos Aires, Santiago, and Toledo stencils.  Just dab the cosmetic sponge onto the ink pad and then lightly dab the ink onto the vellum.
Tip: Use rubbing alcohol to clean your stencils afterwards.

marshavalk_nstudio_light-step-3

Find three small jars and cut the vellum to size so you can wrap the vellum around the jars.

marshavalk_nstudio_light-step-4

Add a strip of double-sided adhesive to one side of the vellum, remove the backing and then place the vellum around the jar.

marshavalk_nstudio_light-step-5

Add LED tealights and enjoy the lights!

marshavalk_nstudio_light-1

marshavalk_nstudio_light-3


Thank you Marsha for brightening these dark winter days!  I love this idea – it is simple and yet so beautiful.  It’s definitely something I’m going to make. In addition to some small jars, Marsha used these supplies – some links are affiliate links:

supplies


Play along with us! I love to see how you interpret our monthly themes. Email me how you used my stencils and stamps with the theme and email me an image – I would love to share your projects in my “n*Spiration From Around the Globe“.

Comments (6)

Leave a comment

Return to the Light – Cheiron Brandon

cs-december-theme

Today, Cheiron Brandon from my Creative Squad is sharing a beautiful art journal spread using my Buenos Aires stencil and this month’s theme: “Return to the Light.” As we pass through the Winter Solstice here in the Northern Hemisphere, the ever lengthening nights turn to ever lengthening days. This ancient marker in the calendar has always been a celebration of light and the promise of a new day. Let’s Return to the Light with some bright and luminous mixed media projects!


cheiron-dec-headshot

Hi there, Cheiron here with my December post on the Return to the Light theme. I am not a big fan of winter at all, and the only thing that gets me through is waiting for summer! I don’t look forward to the sky growing dark before I even leave work, and I look forward to any sunshine I get. I certainly don’t mind bundling up in some warn winter clothes and heading out for a walk in the snow just to get a little sun. My journal page this month reflects just that…a bundled up gal enjoying some sun while the ground is covered with snow.


cheiron-photo-1


I started this page by creating texture and warmth with a lot of stamps and stencils in bright colors.


cheiron-photo-2


I added a coat of snow to my page by adding white matte paint mixed with a bit of pearl and mica flakes to create a snowy scene.


cheiron-photo-3


I hope this page gives you a bit of warm for the winter if it is cold where you are!

Thank you Cheiron for reminding us that winter is tolerable – as long as the sun is shining ;)  And I just love those bright colors all layered up using some of my stencils!  In addition to her art journal, a magazine cut out, and some alphabet stickers from her stash, Cheiron also used these supplies – some links are affiliate links:

supplies


Play along with us! I love to see how you interpret our monthly themes. Email me how you used my stencils and stamps with the theme and email me an image – I would love to share your projects in my “n*Spiration From Around the Globe“.

Comments (2)

  • shelley-rydellie

    |

    I love how you used the stamps and stencils to create such beautiful color and texture! It makes me feel warmer just to look at it!

    Reply

  • Gerrie Johnnic

    |

    Ohhhh, luv this spread! Color, texture and such a great feeling! Thanks for posting!!

    Reply

Leave a comment

Upcycled , Recycled: Stenciled Coasters Project

kalbachcoasterscollage

These coasters were so much fun to make. A couple years ago, someone had given me those coasters, which were pretty, but not quite my taste. Time to upcylce and recylce!

kalbachcoaster10

I painted all coasters in the same color  mix of two different blues with acrylic paint and let them dry.

kalbachcoaster11

Then I grabbed the Buenos Aires, Santiago and Toledo 4×4 stencils which fit exactly onto the coaster. For some coasters I simply placed the stencil on top of the surface and stenciled with a different acrylic paint color through.

kalbachcoaster12

For some I layered some color directly on top of my blue background and then placed the stencil in the wet paint surface and removed paint through the stencil with a baby wipe.

kalbachcoaster13

Once all the stenciling was done and the paint was dry, I coated the coasters with Pouring Medium. I let everything dry overnight and gave them another coating with Pouring Medium to seal the surface off and also to give the coasters some depth and sheen.

kalbachcoaster14

And here you go – the different coasters

kalbachcoaster02

kalbachcoaster03

kalbachcoaster04

kalbachcoaster05

kalbachcoaster06

kalbachcoaster07

I gave those to my sister in law and she really loved them as they are in her favorite colors. Now …time to make some for myself…maybe for Thanksgiving .

kalbachcoaster01

Here are the supplies I used to make those coasters – some are affiliate links:

supplies


What have you put aside to upcylce or recylcle, but haven’t gotten around to do it yet?

Comments (2)

  • Joi@RR

    |

    These turned out so much more YOU Nat! Perfect way to showcase your stencils. Xj.

    Reply

Leave a comment

Good Things Just Keep Happening – Marsha Valk

cs-november-good-things

Today, Marsha Valk from my Creative Squad is sharing two gorgeous prints using this month’s theme: “Good Things Just Keep Happening.” I invite you to join me and my Creative Squad this November, in the spirit of the Thanksgiving holiday in the US, to remind ourselves to be thankful for even the smallest things.  Every once in a while it feels nice to slow down and recognize the good stuff that’s all around us.  What Good Thing happened to you today?


marsha-november-headshot

I already had a long and hard thought about the theme before it occurred to me that the answer had been staring me in the face each morning:
One of the smallest things that I’m thankful for nearly every single day is the pot of tea that my husband prepares before he leaves to go to work. So each week day morning, when I get up and go into the kitchen, there’s a warm pot of tea sitting there to greet me. Just for me! It’s the small things that count and I know this is just one of those things that will be etched in my memory forever.


marshavalk_nstudio_goodthingsjustkeephappening-7


So the idea for my project formed in my head and I wanted to use the Gelli Plate to execute it. That meant that I needed a mask of the teapot. I decided that the easiest way was to just take a photo, print it and then use the print as the mask.


marshavalk_nstudio_goodthingsjustkeephappening-1
marshavalk_nstudio_goodthingsjustkeephappening-2


I wanted the backdrop for the teapot to look like wallpaper, so I printed solid colours on the background first and then I printed over those colours using n*Studio stencils.


marshavalk_nstudio_goodthingsjustkeephappening-3
marshavalk_nstudio_goodthingsjustkeephappening-4


To get a (fairly) crisp edge I masked off the edge in the middle before placing the stencil on the Gelli Plate. I also stuck the teapot mask to the already printed paper before I pulled the stencil print and I used the lines on my glass mat to line up the paper.


marshavalk_nstudio_goodthingsjustkeephappening-5


Once the printing was done I sketched in the details with graphite pencil and I used a paper stump to create the shadows. I also added a little bit of colour with Inktense pencils. That’s it!


marshavalk_nstudio_goodthingsjustkeephappening-8
marshavalk_nstudio_goodthingsjustkeephappening-9

Ohh , I love this – thank you Marsha!  Looks wonderful and is such an awesome idea.  I love the teapot!
Here are the supplies Marsha used to create her prints – some links are affiliate links:


supplies


Play along with us!  I love to see how you interpret our monthly themes. Email me how you used my stencils and stamps with the theme and email me an image – I would love to share your projects in my “n*Spiration From Around the Globe“.

Leave a comment

Sorry Not Sorry or … In my Art Journal Today

kalbachsorrywinteraj01

“I’m sorry for the things, I said when it was winter”

I am just preparing myself for the winter ….I am a grumpy winter person – LOL .

For this art journal spread I used my brand new Buenos Aires 9×12 Stencil.

buenosairesbackground-watermarked

I really love this stencil – I mean …I love them all but this one is probably one of my super faves. For the spread I had scraped off left over red and yellow paint to the background during a workshop and it really wasn’t looking too great. I added some stamping with black ink and while that was looking interesting it still wasn’t really inspiring me to do something. But when I saw my new stencil I know it would look great.

kalbachsorrywinteraj02

I used some blue acrylic paint spray (you can of course also use acrylic paint) and sprayed over the stencil I love how the red and yellow as well as the intricate stamping is peeking through.

kalbachsorrywinteraj03

Finished off with an overpainted magazine image and a grumpy quote and there you go …winter can come ;)

Here is a list of the supplies I used- some of those links are affiliate links:

SuppliesCJS

What is your favorite season of the year?

Comments (4)

  • Sandra

    |

    definitely not winter! I’m with you, Nathalie!

    Reply

    • nathalie-kalbach

      |

      LOL – we have to bundle up soon …yikes :) Stay warm, Sandra! hugs, Nat

      Reply

  • trevors4thnana

    |

    Hi Nat!

    Great page! My favorite season is FALL, especially in New England. The colors are amazing, the crisp air, cozy sweaters, outdoor walks.

    Thanks again for the fabulous class at The Queen’s Ink.

    Nancy

    Reply

    • nathalie-kalbach

      |

      Hi Nancy, thank you so much for coming to The Queen’s Ink-that was so much fun! I love fall too- actually I also find the ocean kind of cool in fall – the light is so amazing :) – huge hugs, Nat

      Reply

Leave a comment

Good Things Just Keep Happening – Cheiron Brandon

cs-november-good-things

Today, Cheiron Brandon from my Creative Squad is sharing three wonderful cards using this month’s theme: “Good Things Just Keep Happening.” I invite you to join me and my Creative Squad this November, in the spirit of the Thanksgiving holiday in the US, to remind ourselves to be thankful for even the smallest things.  Every once in a while it feels nice to slow down and recognize the good stuff that’s all around us.  What Good Thing happened to you today?


cheiron-november-headshot

Hi there! It’s Cheiron with my post for November and we are playing with the theme of Good Things just keep happening. I am thankful today that I finally have my own studio in my house where I can create and I get to relax there every night even if its just for a small amount of creative time. I couldn’t wait to try out Nat’s new stencil release and wanted to try out all the patterns. You know I am a card maker, so I cut a bunch of card panels, took out the stencils and made 3 cards with 3 different techniques.

cheiron-nov-photo-1

For my first card, I wanted to do some basic ink blending through the Santiago stencil, but decided that I wanted to keep the squares in the center white…so I masked them off with some masking paper.

cheiron-nov-photo-3

Then I blended my inks through the stencil with the foam blending tool.

cheiron-nov-photo-4

Once that was done I removed the masking paper

cheiron-nov-photo-5

And then adhered the panel with foam tape to a card base:

cheiron-nov-photo-2

For my second card, I played around with some Distress Paints in Fossilized Amber, Aged Mahogany, Gathered Twigs and Spiced Pumpkin and pounced paint through the Toledo stencil. Then I sprayed the entire thing with a bit of Tarnished Brass Distress Mica Spray. This one will be perfect to send as a Thanksgiving card!

cheiron-nov-photo-6

For my last card, I pulled out my Gelly Roll Moonlight pens and colored through the Buenos Aires stencil, I have not played with these in a while and forgot how good they look on black paper.

cheiron-nov-photo-7

I am thankful today that I got to play with these fun new stencils and that I get to create something almost every day! 

————————————————————————————————————————————————————————————————————————————————–
Thank you Cheiron for those amazing cards! I love them all so much – the Gelly Roll – Card blew me away though – it looks like stained glass- yum!
Here are the supplies Cheiron used to create her cards- some links are affiliate links:
supplies


Maybe you will even play along with us -I would love to see how you interpret our monthly themes. Email me how you used my stencils and stamps with the theme and email me an image – I would love to share your projects in my “n*Spiration From Around the Globe“..

Comments (1)

  • Joi@RR

    |

    Love them. So fun, cheerful and unique. j.

    Reply

Leave a comment

Good Things Just Keep Happening – Tina Walker

cs-november-good-things

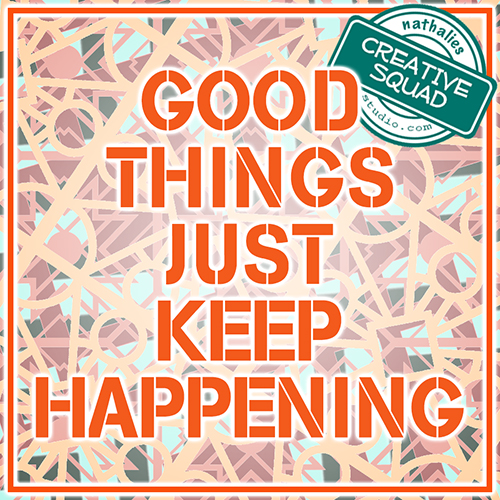
Today, Tina Walker from my Creative Squad is sharing two beautiful mini book journals and a bonus project using this month’s theme: “Good Things Just Keep Happening.” I invite you to join me and my Creative Squad this November, in the spirit of the Thanksgiving holiday in the US, to remind ourselves to be thankful for even the smallest things.  Every once in a while it feels nice to slow down and recognize the good stuff that’s all around us.  What Good Thing happened to you today?


tina-november-headshot

Hi! Tina Walker here today to kick off the new month with a new Theme. This month, our theme is ‘Good Things Just Keep Happening’. This is a great mantra and reminder as we enter the month of Giving Thanks.

I have been through a lot in my short 50+ years and staying positive every day can be a challenge. I have had relationships come and go, as well as jobs and cities, but I’ve always been thankful for what adventures I’ve had and for what is to come.  Creatively, my life has been a whirlwind of excitement, wishes, and success. Art is something that makes me feel complete and fulfilled. In order to celebrate my life and good fortune, I created two pocket sized journals that can be used to record those special thoughts and memories no matter where I am.  Let’s check them out!

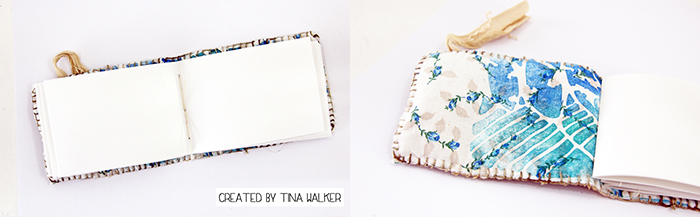
Floral Fabric Mini Book

nov-tw1

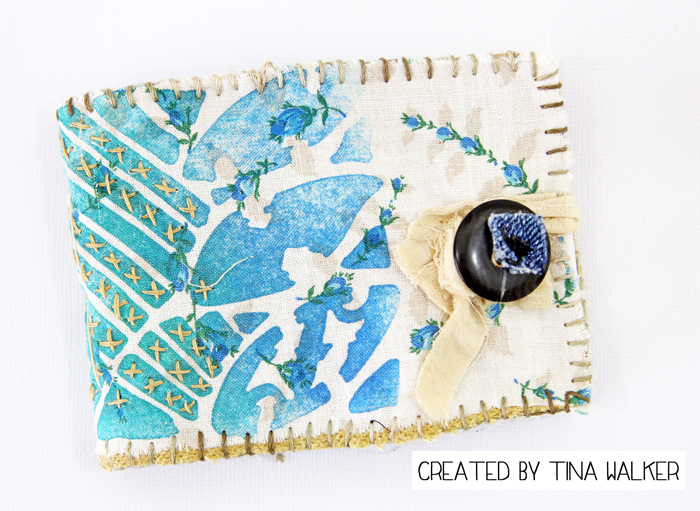
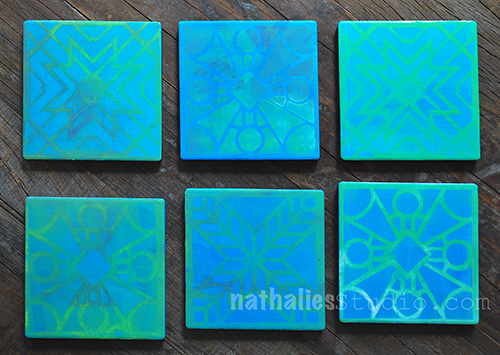
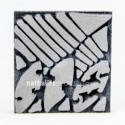
Apply fabric paint to a piece of vintage cloth using your favorite Nathalie Kalbach new ArtFoamies stamp. I used the Batik Pattern 4 foam stamp. Set paint per manufacturer instructions.  When applying the stamp to the fabric, stamp the image twice, back to back. This way, you will have the image on the front and back of the book. Do this step twice, one double stamped image for the outside of the book, and one double stamped image for the inside of the book.

Here’s a picture of the front and back of the book for reference.

nov-tw2

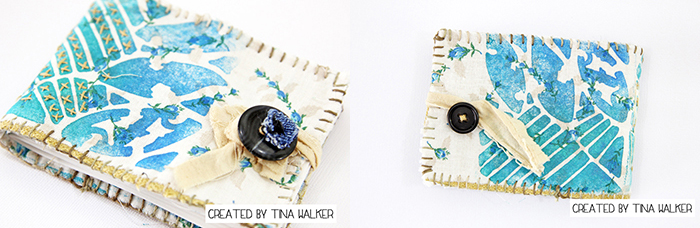
Add hand-stitching embellishments to one of the stamped images. I choose the image that would be on the outside front of the book. Sew a button to the outside front and back layer. The buttons will serve as the closure.

Sandwich a layer of cotton batting between the two stamped pieces, wrong sides together. Hand-stitch the 3 layers together using a blanket stitch.

nov-tw4

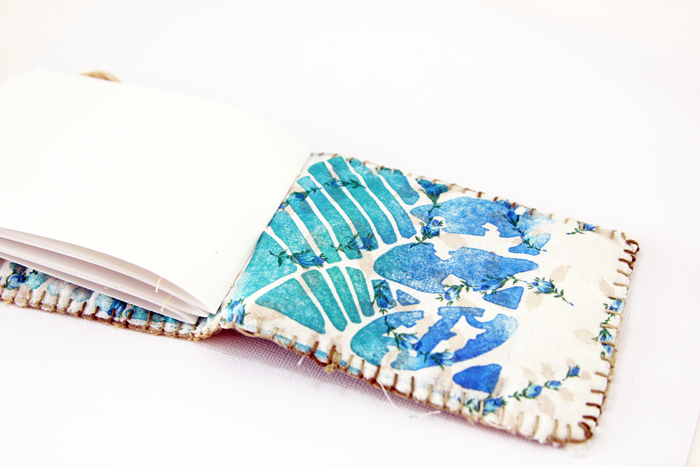
Cut to size, 3 signatures of 7 pages each. I used vellum paper for my paper inserts.  Sew signatures to book using a three hole saddle stitch and Enjoy!

nov-tw5

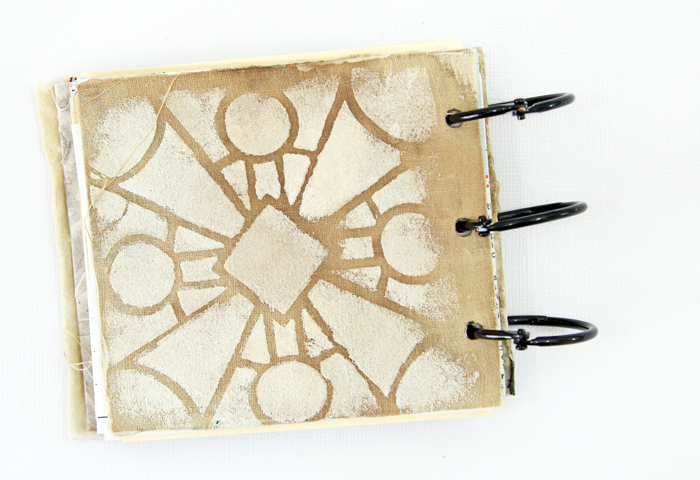
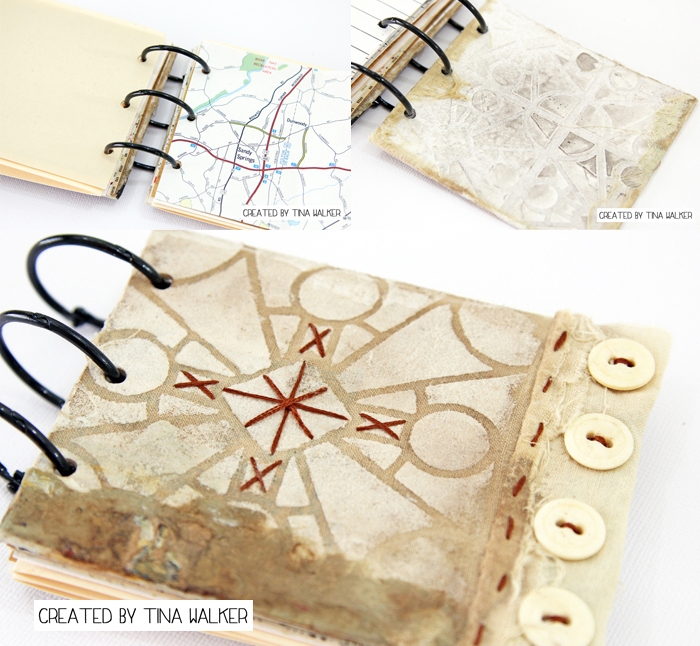
Vintage Paper Mini Book

nov-tw7

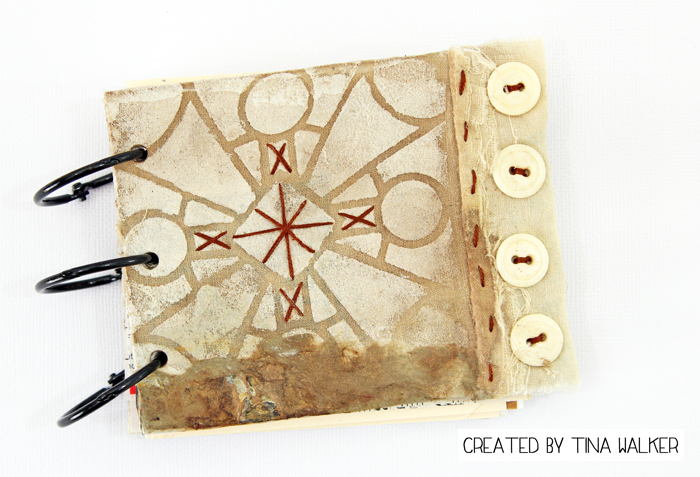
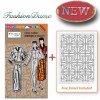
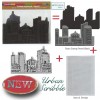
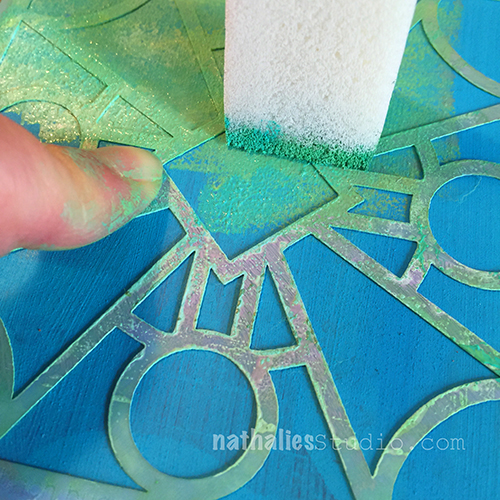
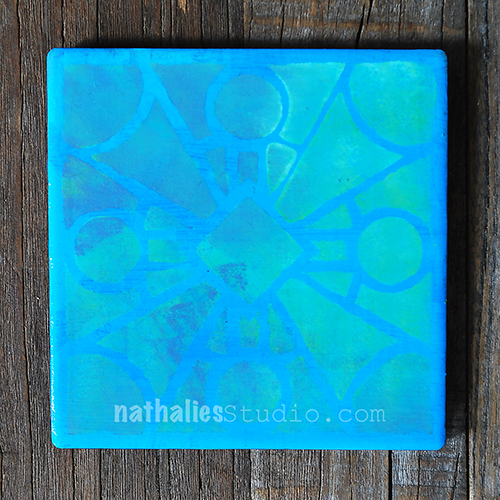
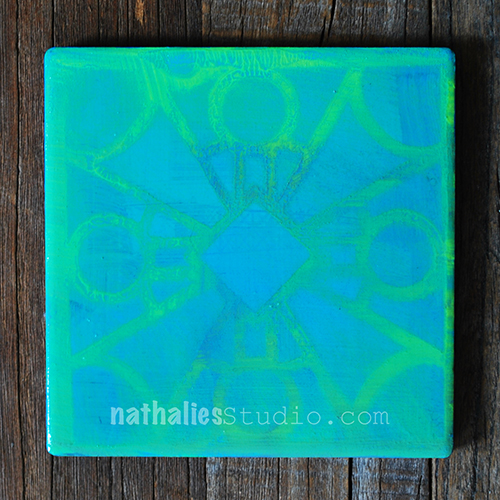
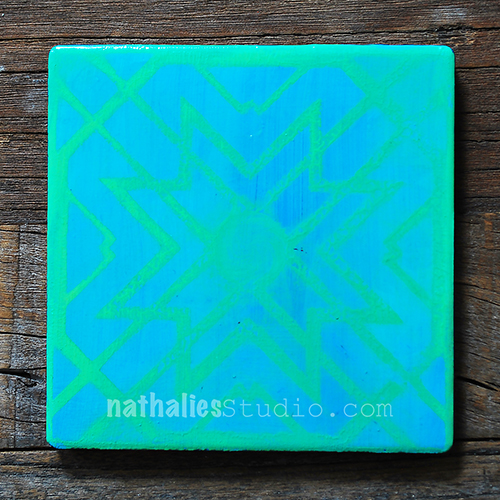
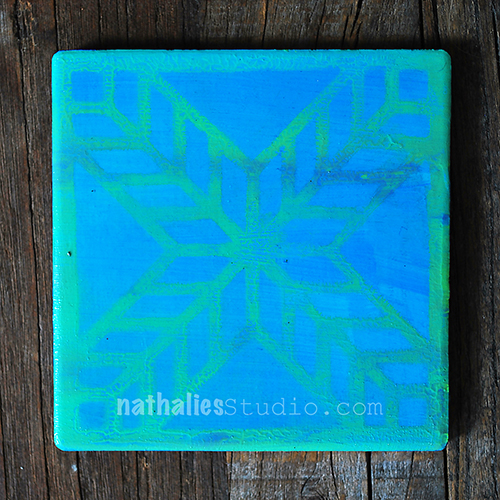
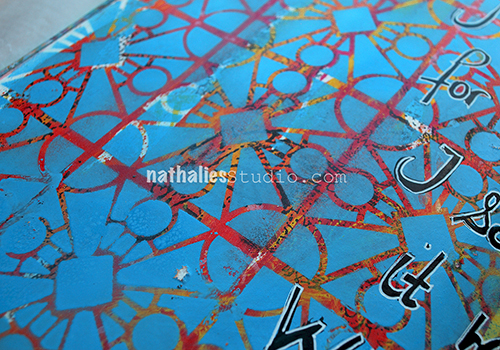
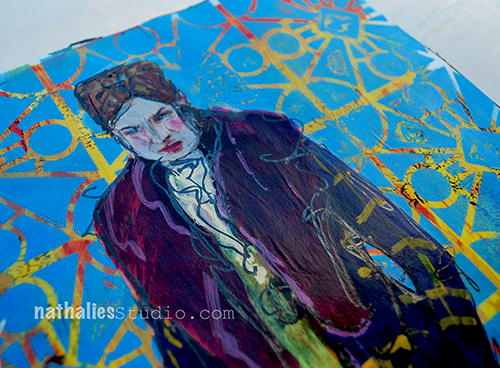
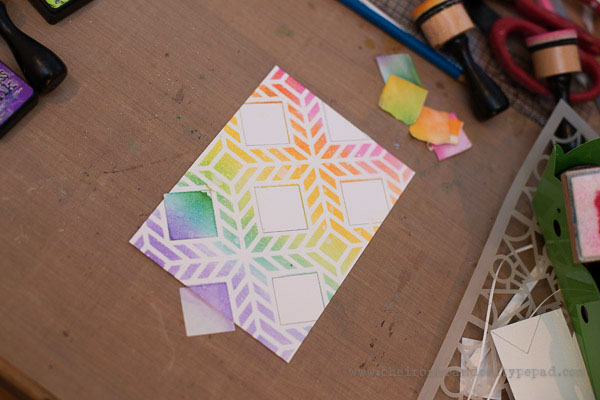
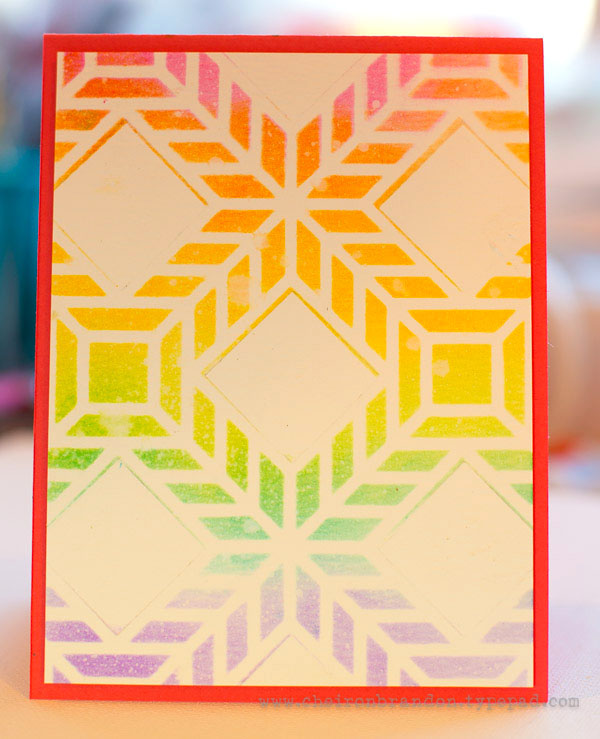
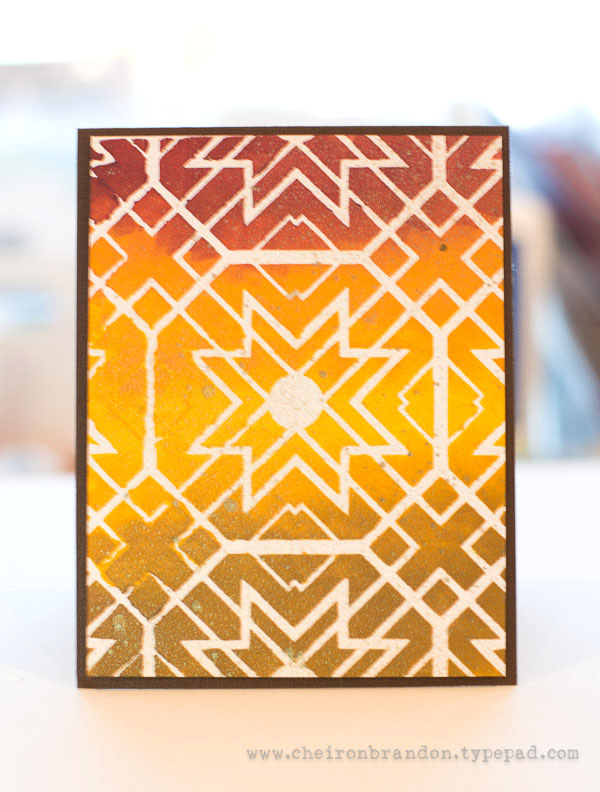
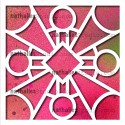
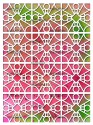
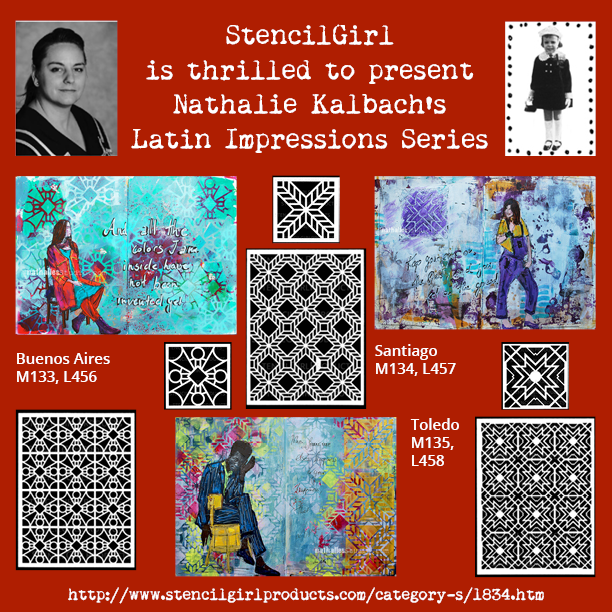
This mini book uses the same beginning techniques as above, except we will be using your favorite Nathalie Kalbach stencils for this one, I chose the new Buenos Aires 4×4 and the Buenos Aires 9×12 stencils.

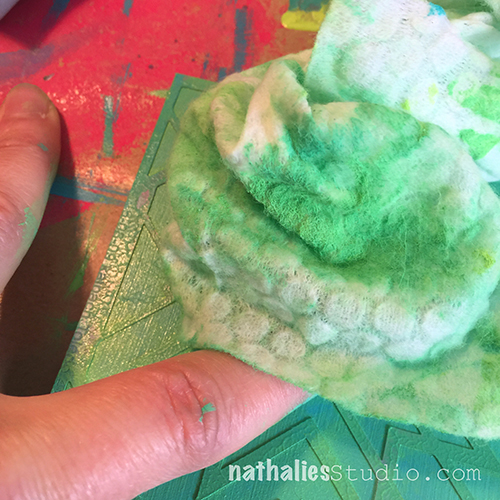
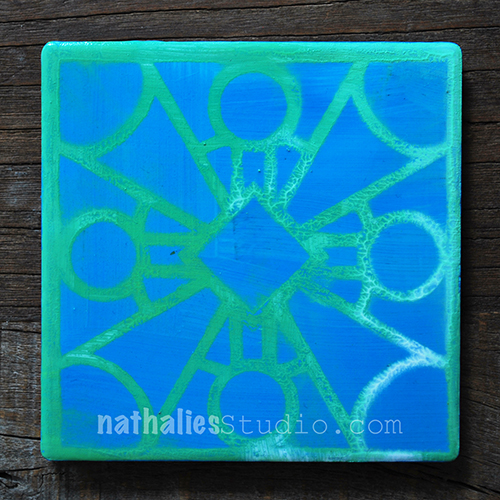
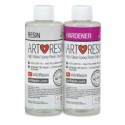
Using the same stencil, apply modeling paste to an 8.5 x 11 piece of chipboard. Spray with your favorite spray mist.

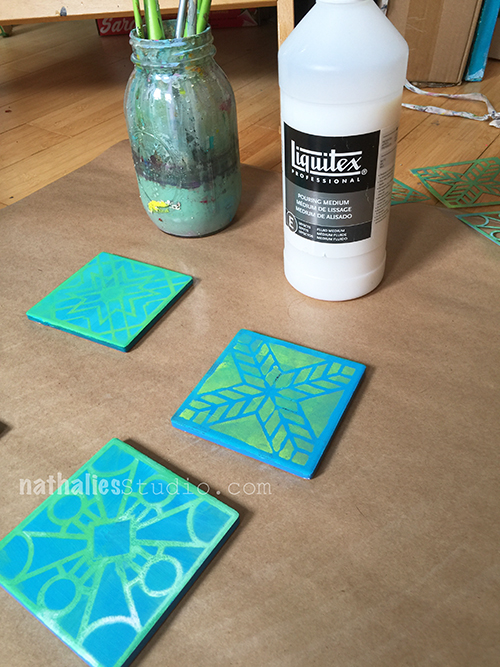
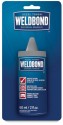
Cut stenciled chipboard to your mini book size and adhere fabric stenciled image with heavy gel medium. Allow to dry completely.

nov-tw8

Cut to size various vintage papers. I used vintage music paper, receipt paper, glassine paper, tags, lined paper, plus others.

nov-tw10

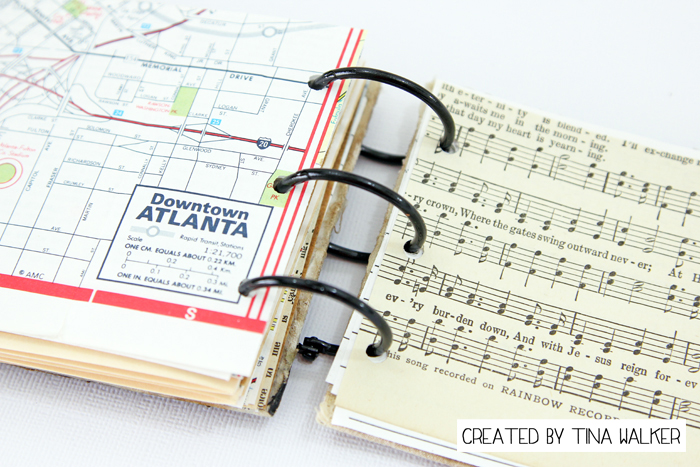
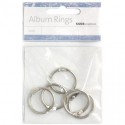
Using a Crop-a-dile or similar tool, cut three holes in the front and back and each piece of paper. Assemble and bind with 3 metal o-rings.

nov-tw15

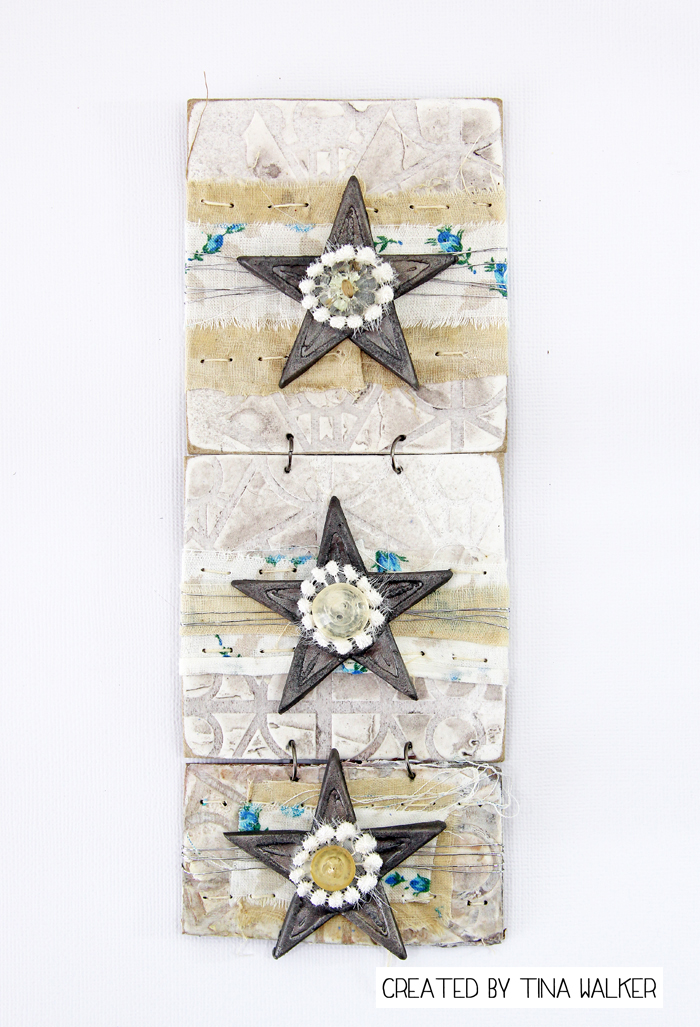
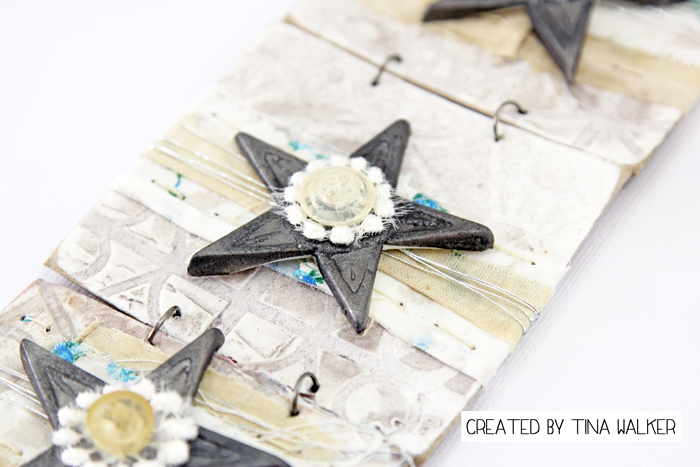
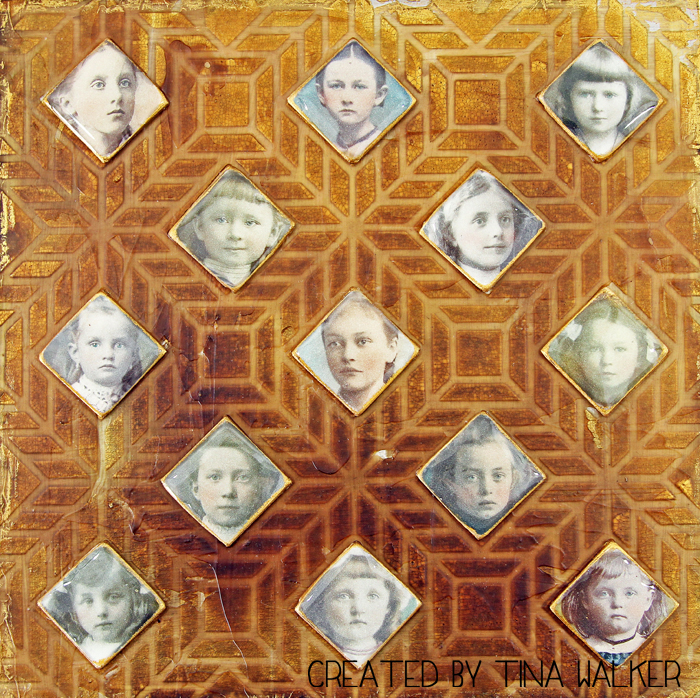
After I was done creating my mini books, I had several pretty scraps that were too nice to throw away. So I created a mini hanging, using the leftover stenciled chipboard and fabric pieces. Bonus!

nov-tw16

nov-tw17

What good things are happening to you? Do you create art to celeberate? I’d love to hear about it! Thank you for taking time today to take a peek at my projects. See you next month.


Thank you Tina for these gorgeous ideas!  I’m gathering my own collection of papers to turn into some mini books now. Besides some vintage fabric, vintage buttons, vintage papers and gun metal metallic casting powder, here are the supplies Tina used – note that some of the links are affiliation links:

supplies


Maybe you will even play along with us -I would love to see how you interpret our monthly themes. Email me how you used my stencils and stamps with the theme and email me an image – I would love to share your projects in my “n*Spiration From Around the Globe“.

See you next time for another project from the Creative Squad and DON’T FORGET: As we are celebrating the launch of my new website, everything in the n*Studio Store and all Online Workshops are 20% off until Sunday November 6th!  Use the coupon code NEWNAT20 during checkout to take advantage of the savings!

nstudiowebsitelaunch-coupon-code-graphic

Comments (1)

  • Joi@RR

    |

    Your mini-books are darling Tina but my fav is the wall hanging… so pretty – love the stars and stitching.

    Not too many celebrations at our house since it’s just the two of us now but… since I paint every day, if I was celebrating I probably wouldn’t paint! I would be more likely to write about it!!!

    Thanks bunches for such lovely inspiration with these great patterns. j.

    Reply

Leave a comment

n*Studio + StencilGirl present: Latin Impressions

nathalie-nov-sq-graphic

I am super excited that I have six new Stencils being released today with StencilGirl Products.

Let me tell you a little bit about those stencils

n*Studio and StencilGirl Fall Release: Latin Impressions from Nathalie Kalbach on Vimeo.

The Creative Squad has been busy with the new stencils as well, check out their amazing projects:

Here is Michelle’s beautiful book mark using the Santiago Stencil.

michellerydellelatinimpressions

And Tina did a really cool Faux-Encaustic project using the Santiago Stencil as well.

img_5002a

Marsha did these super cute colorful wood block houses using the Buenos Aires and the Toledo Stencil.

marshavalklatinimpressions

I hope you like my new Stencil Designs! Which one is your favorite?

The Stencils are available in the shop now and …don’t forget there is still the Website Launch Party on and you get 20% off in the Shop and on Online Workshops – use the Coupon Code NEWNAT20 when checking out!

nstudiowebsitelaunch-coupon-code-graphic

Have a wonderful day!


Comments (5)

  • Jill

    |

    Can’t wait to get my hands on these babies! I absolutely love your journal pages.

    Reply

  • stresso

    |

    Woo hoo! Loving these. Congrats on the release

    Reply

    • nathalie-kalbach

      |

      Thank you so much Stephanie :) have a wonderful rest of the week! Nat

      Reply

  • Joi@RR

    |

    COMPLETELY AWESOME – love them all. And so excited for you Nat. Great projects from all the design team too. Just WONDERFUL. Xj.

    Reply

    • nathalie-kalbach

      |

      Thank you so much Joi! They are really fun to work with and I love the creative squad’s projects a lot too :) Nat

      Reply

Leave a comment