Creative Squad

Vacation Mode – Maura Hibbitts


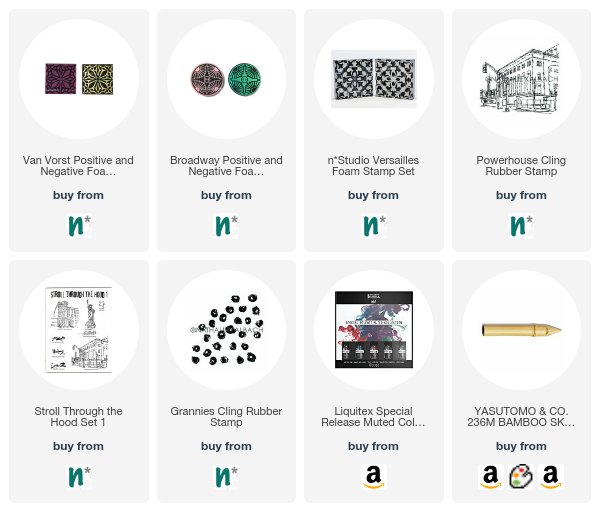
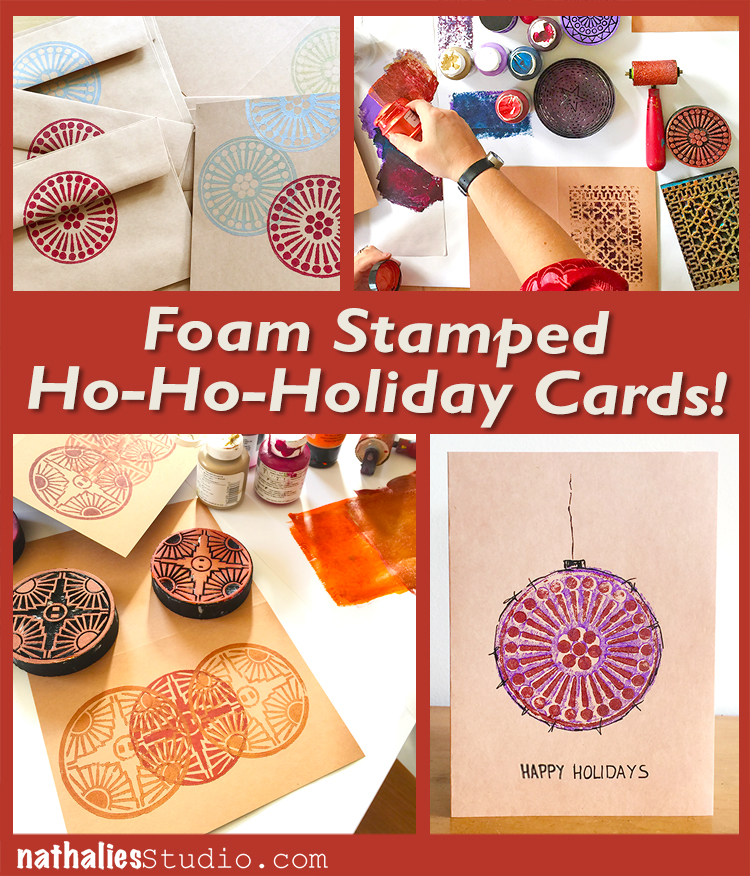
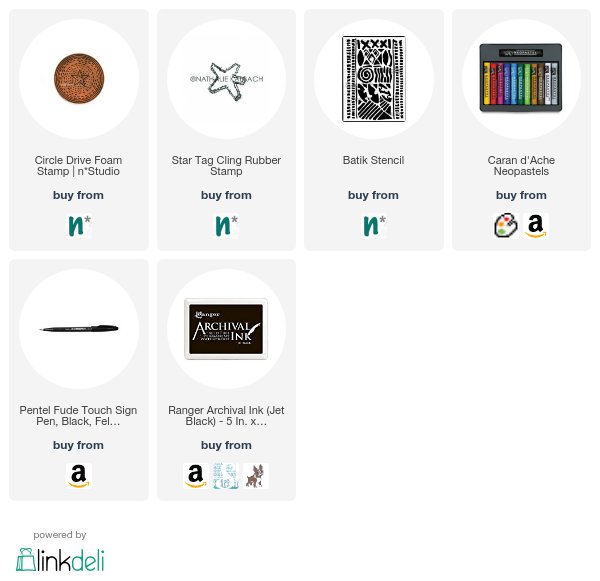
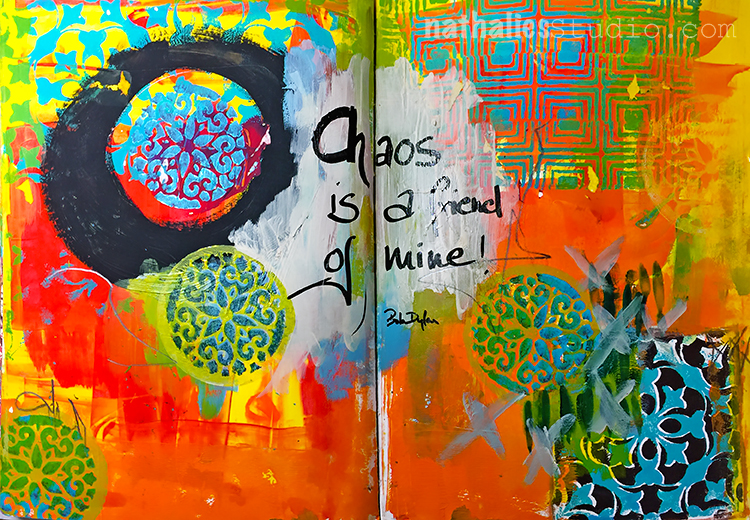
Happy Tuesday from the Creative Squad! Today we are excited to share with you a wonderful little upcycled travel bag from Maura Hibbitts. She is using my Versailles foam stamp set and my Urban Scribble stamp set (no longer available but if you’re looking for building stamps here is a good place to start) along with this month’s theme: Vacation Mode – Here in the Northern Hemisphere, we are slogging through winter with only one thing on our minds – vacation! Whether it’s Spring Break, a weekend getaway, or an hour with a good book, everyone needs an escape to Vacation Mode now and again.


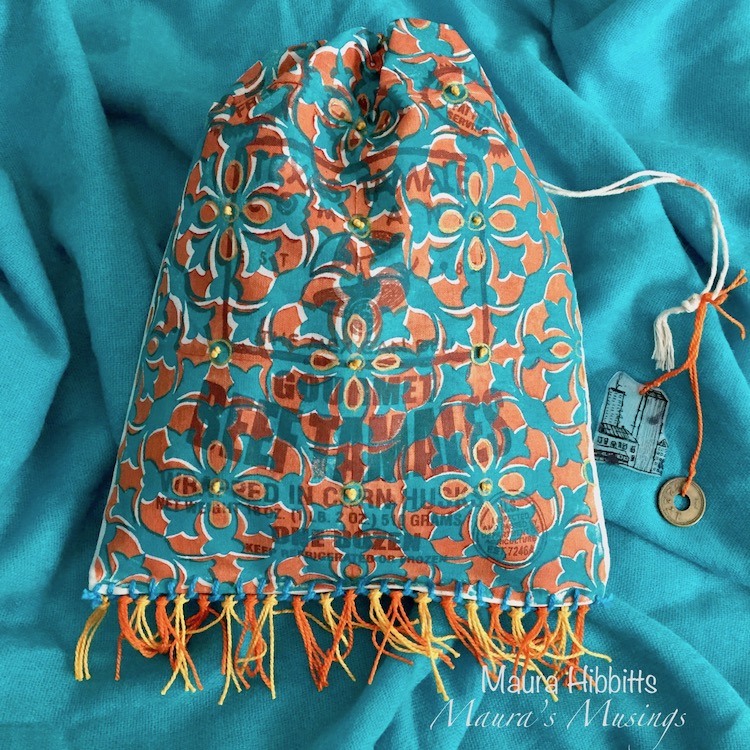
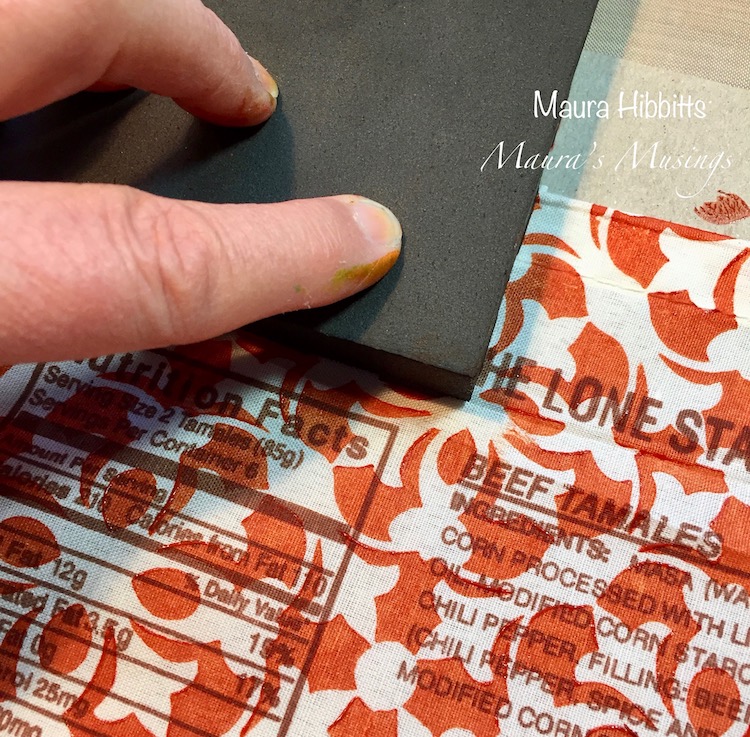
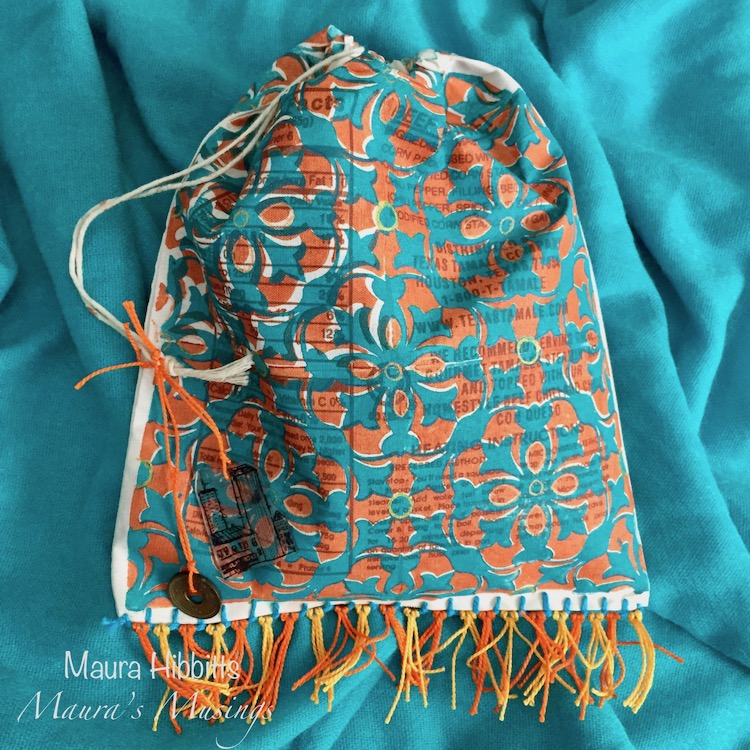
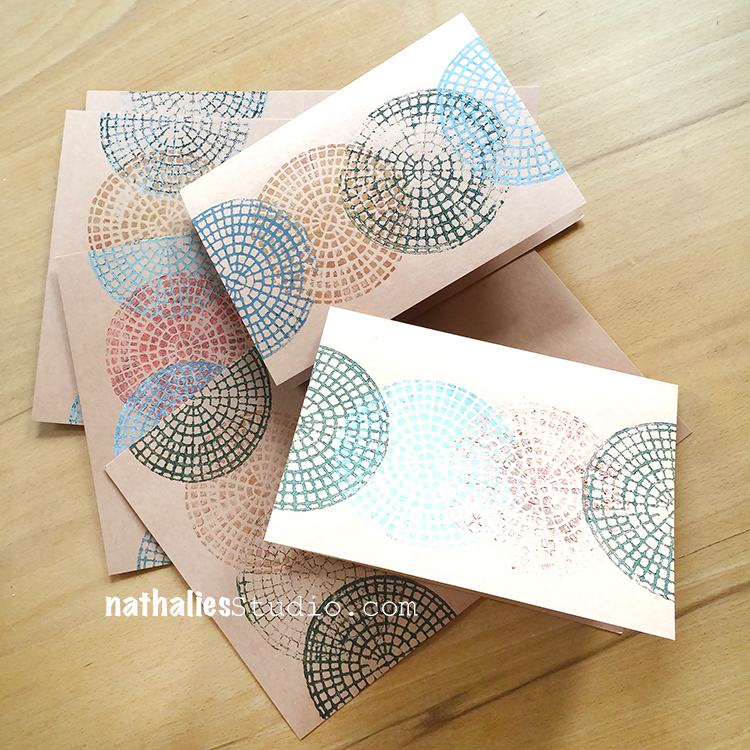
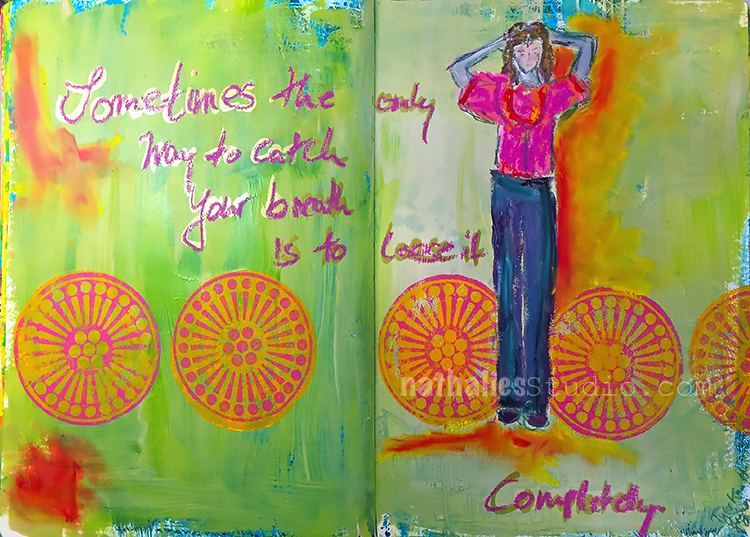
When I go on vacation, I like to take along an art project or travel journal to capture my experiences. I up cycled a small canvas bag that came filled with some yummy tamales for my project. You could use a purchased canvas bag, or sew one yourself if desired. (Mine is about 8 x 10 inches/20.5 x 25.5 cm) I like how the printing peeks through my stamped design. Now I have a fun bag I can fill with art supplies, or use to fill with found treasures on my vacation.

Start by inserting a piece of cardboard into the canvas bag. This will keep the paint from leaching through the other side.

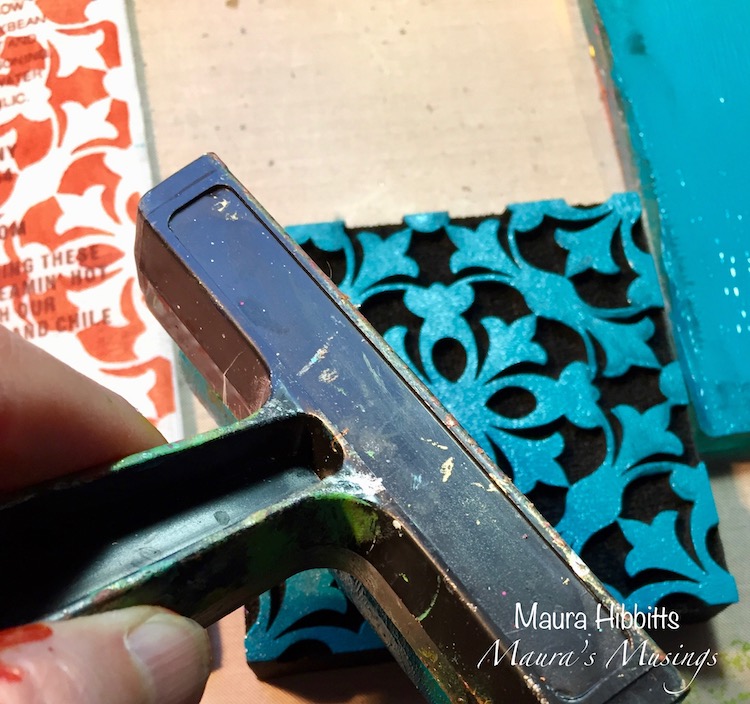
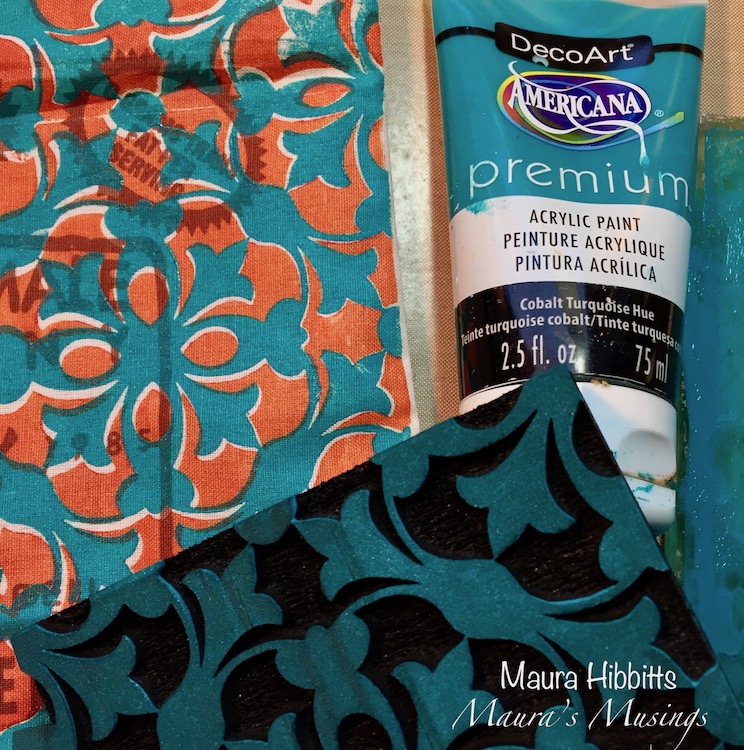
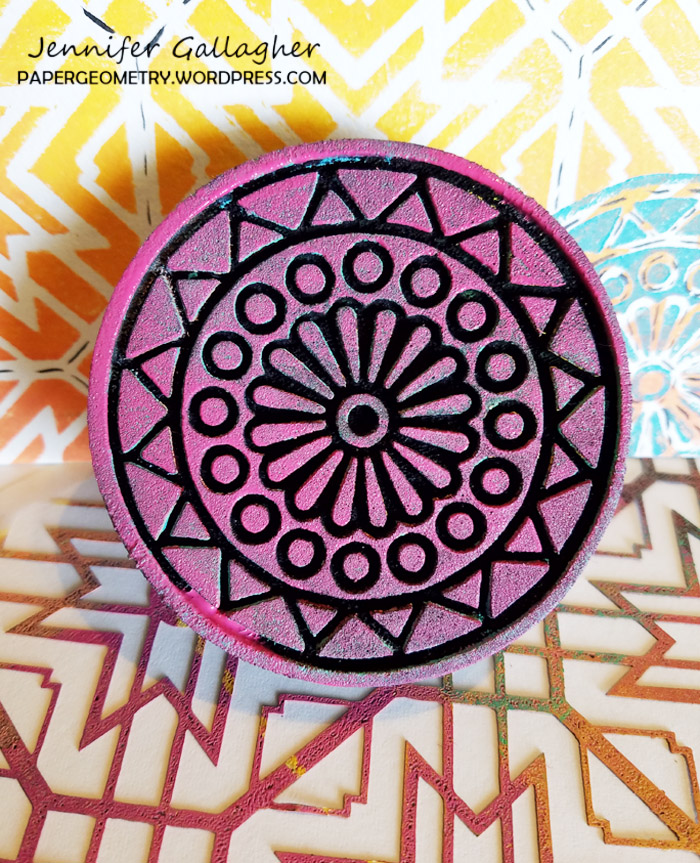
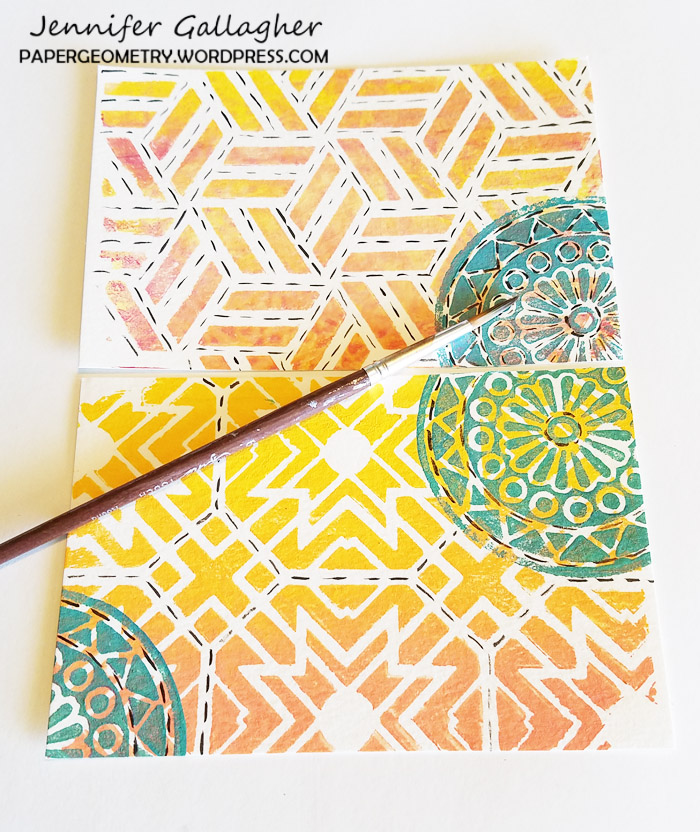
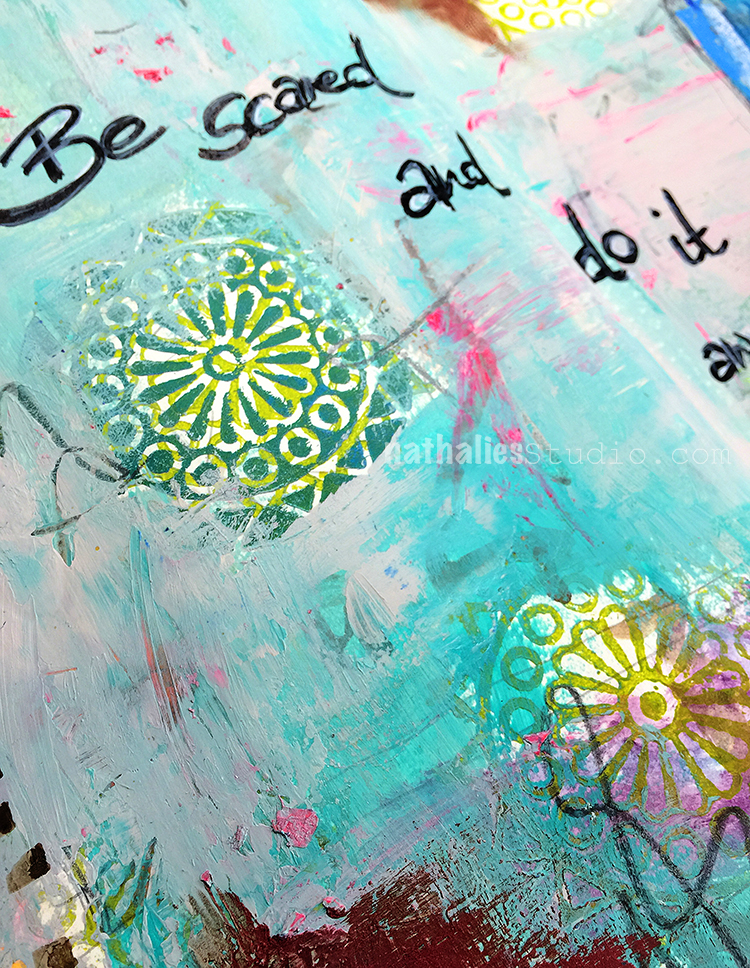
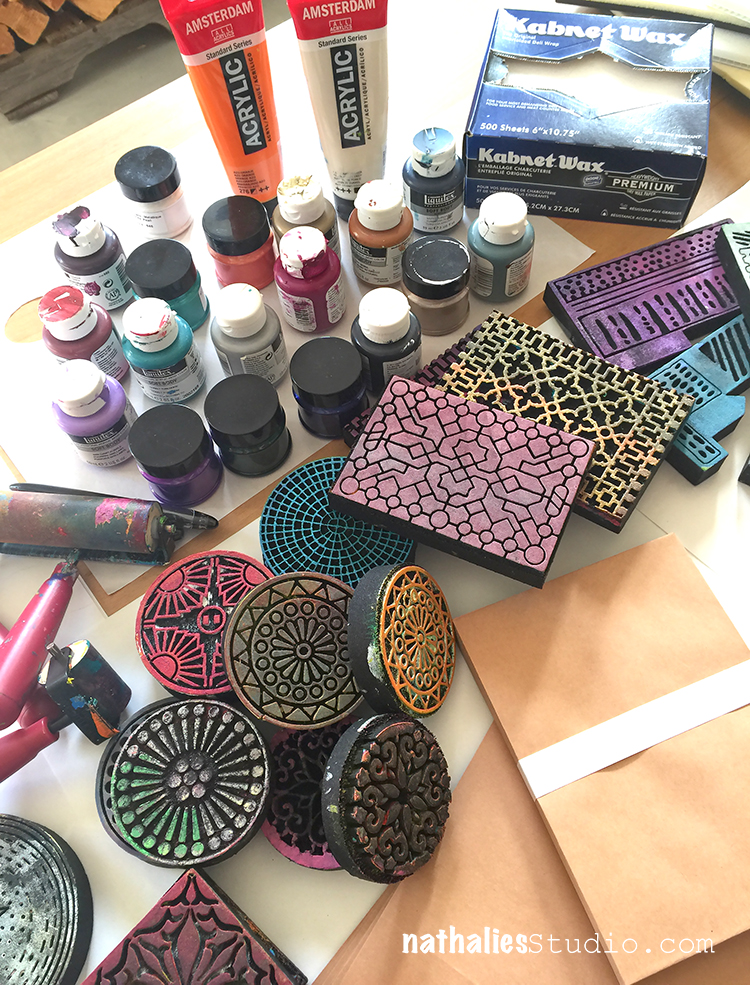
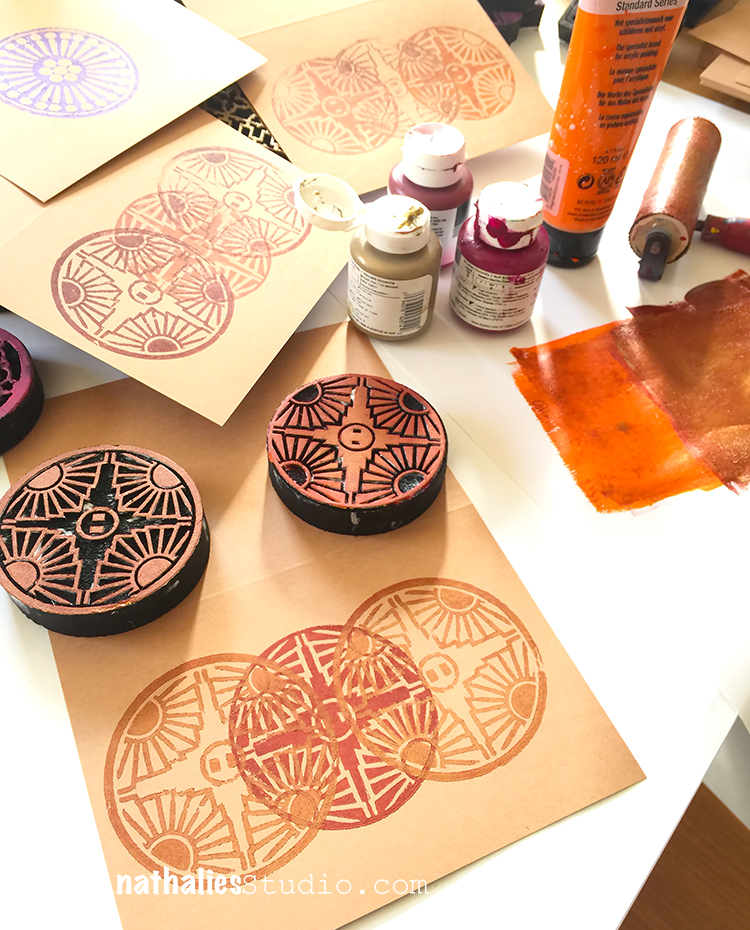
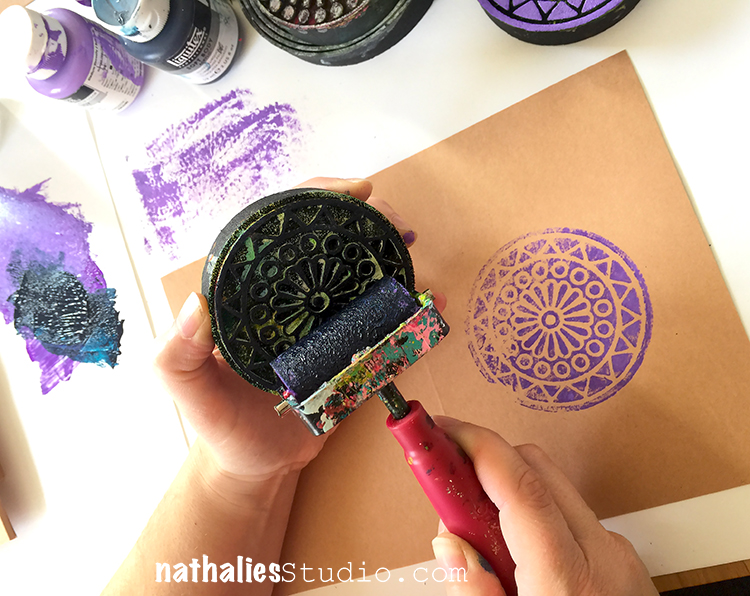
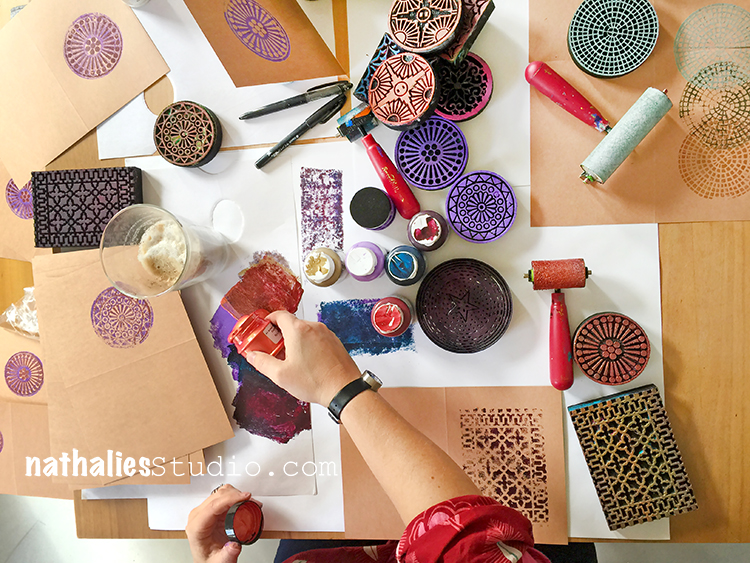
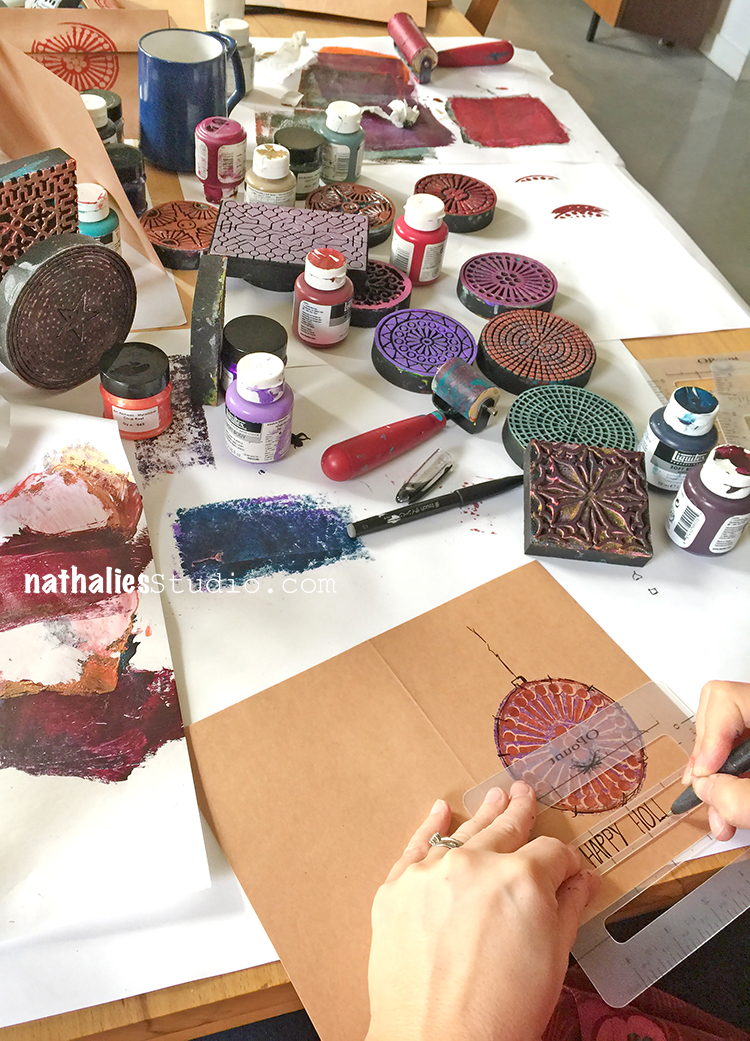
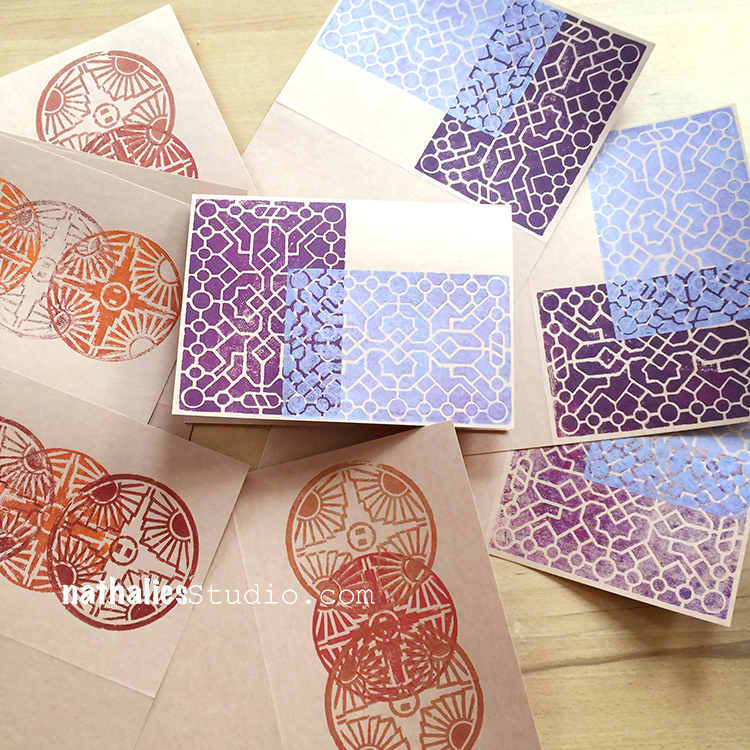
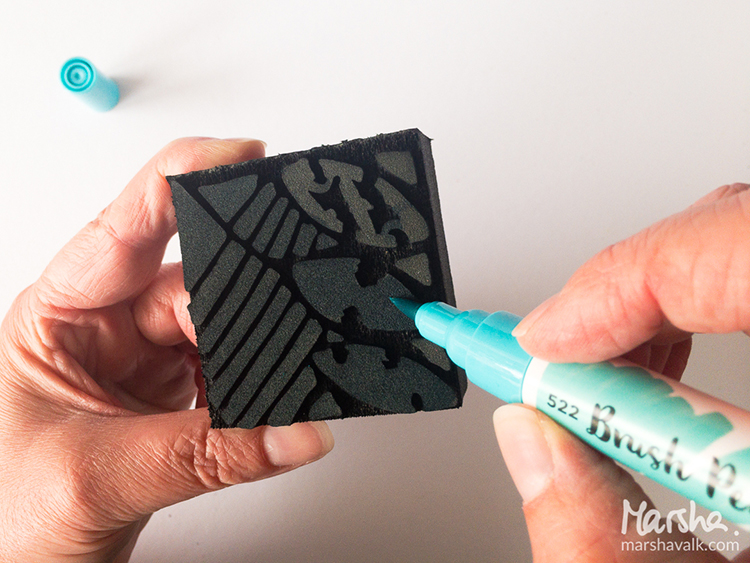
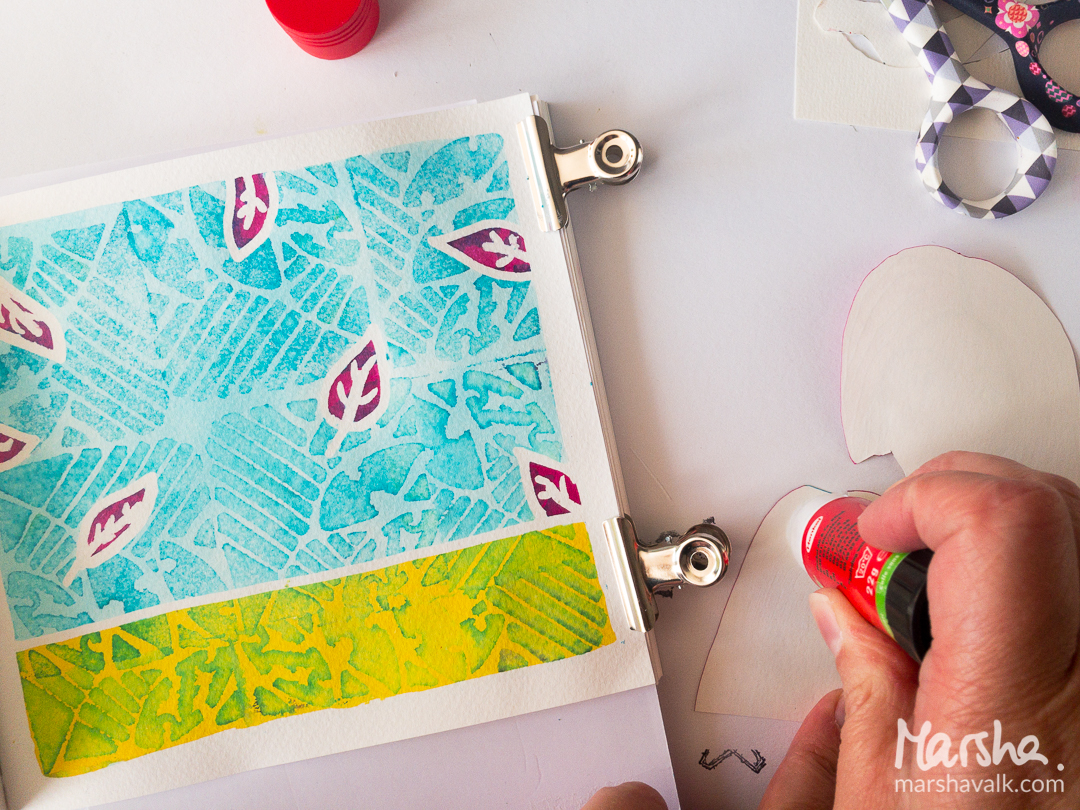
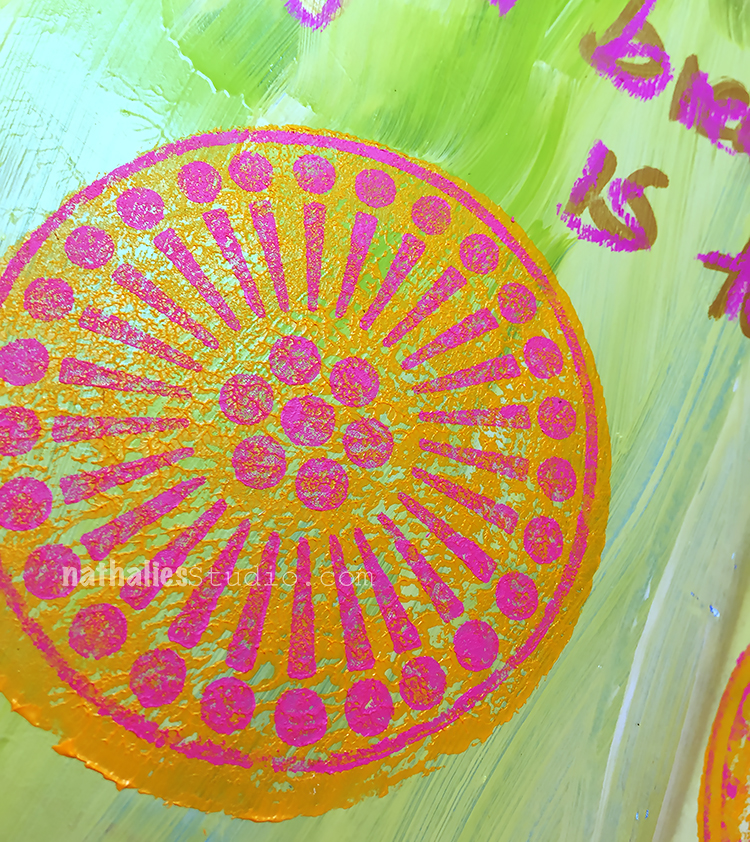
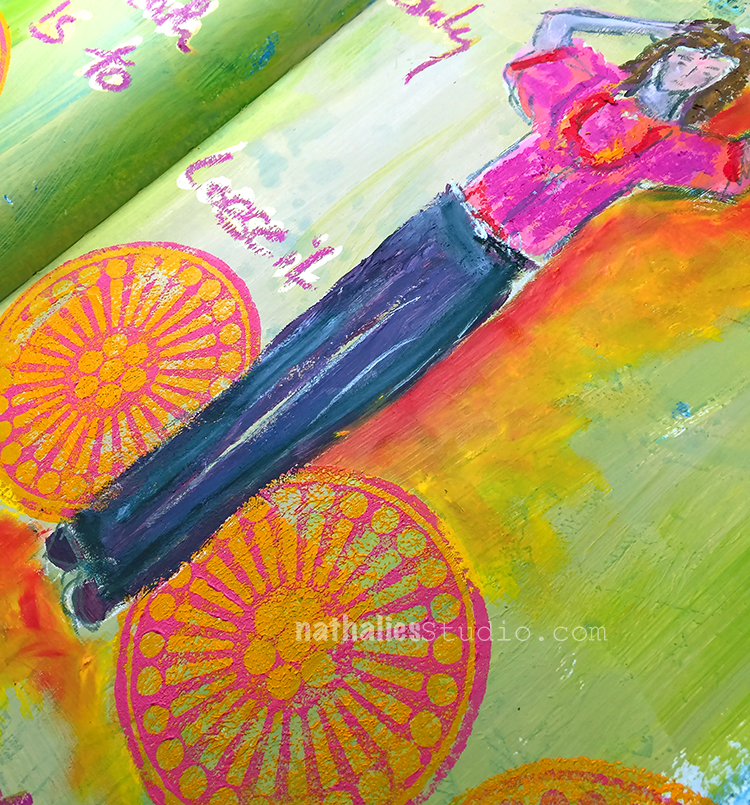
I found the best way for me to get good paint coverage on the Versailles ArtFoamies stamps was to use my gel plate and a brayer to adhere the Quinacridone Gold paint onto the foam. You could also use a palette instead of the gel plate. Do both sides of the bag, and be sure this paint layer is completely dry.

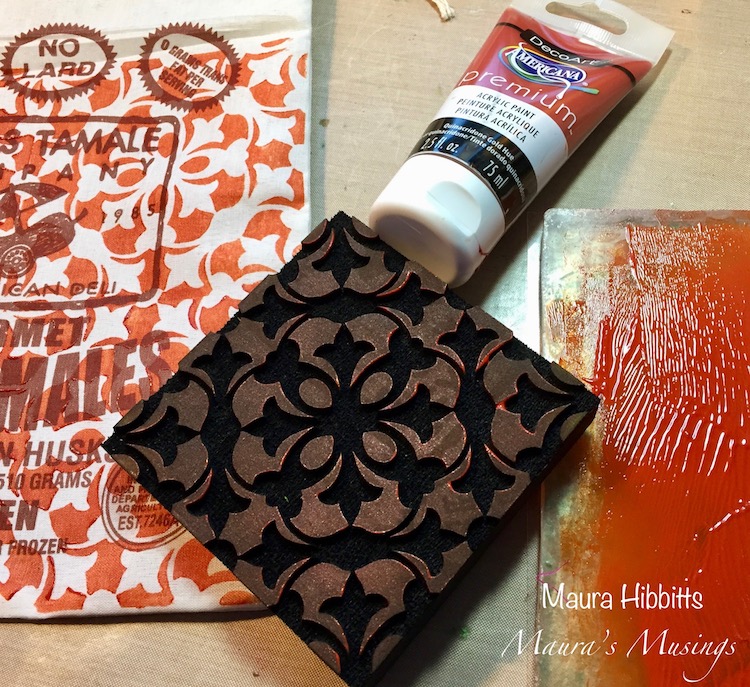
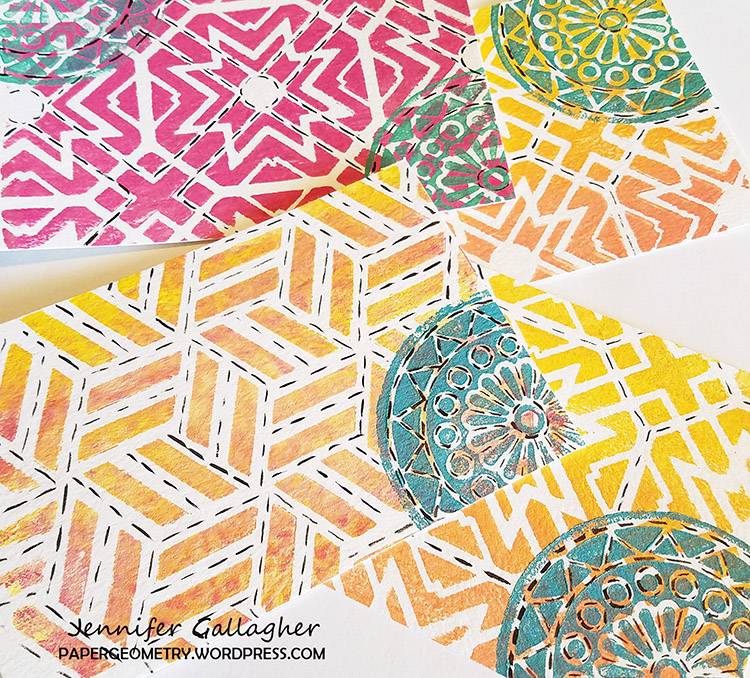
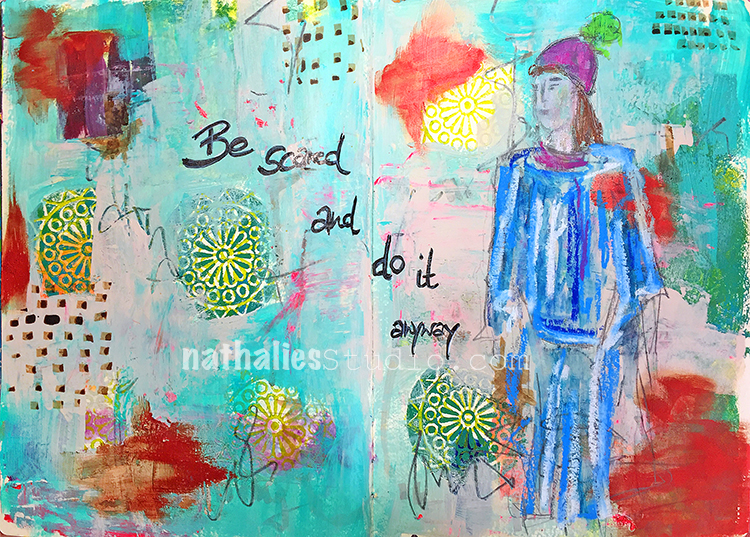
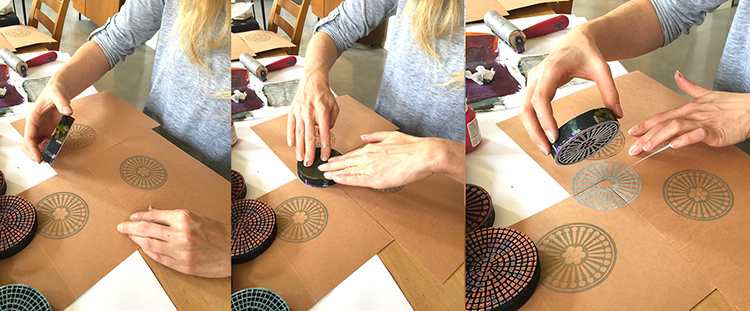
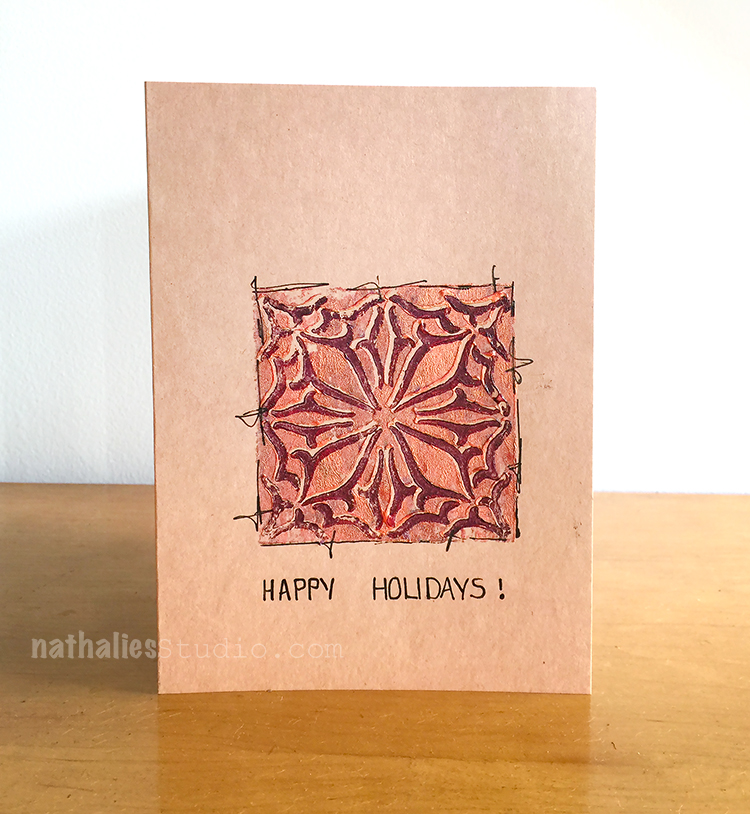
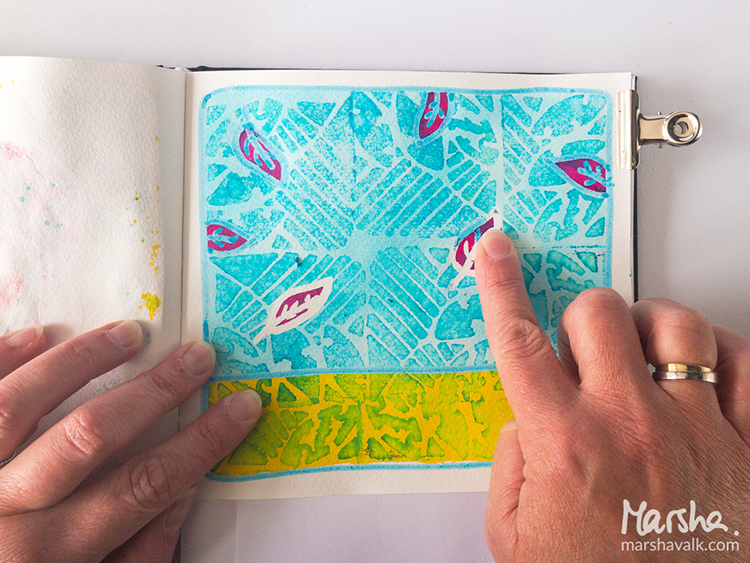
Through trial and error, I discovered I was able to match the stamped images up better if I started with the negative impression, and then stamped the positive with the Cobalt Turquoise Hue acrylic paint. Let dry. As you can see, there are a lot of imperfections in matching the images, but I’m ok with that.

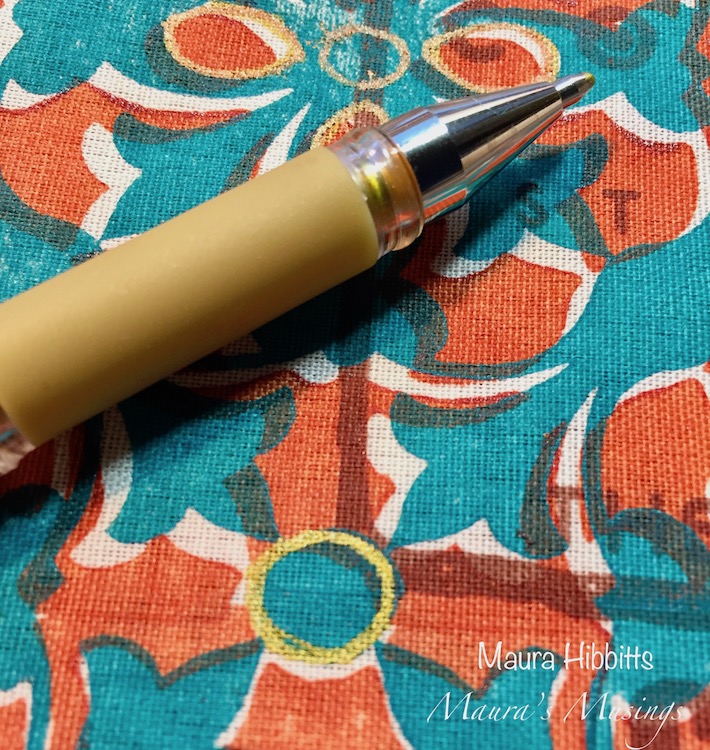
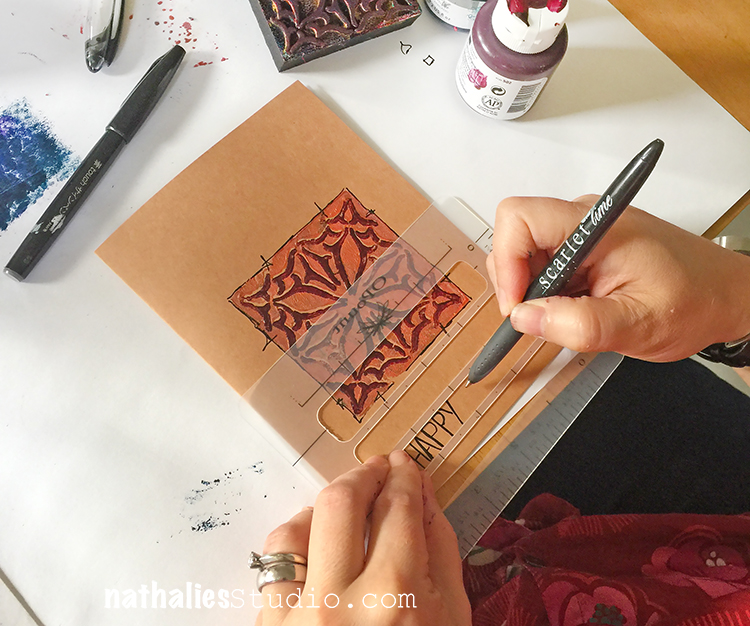
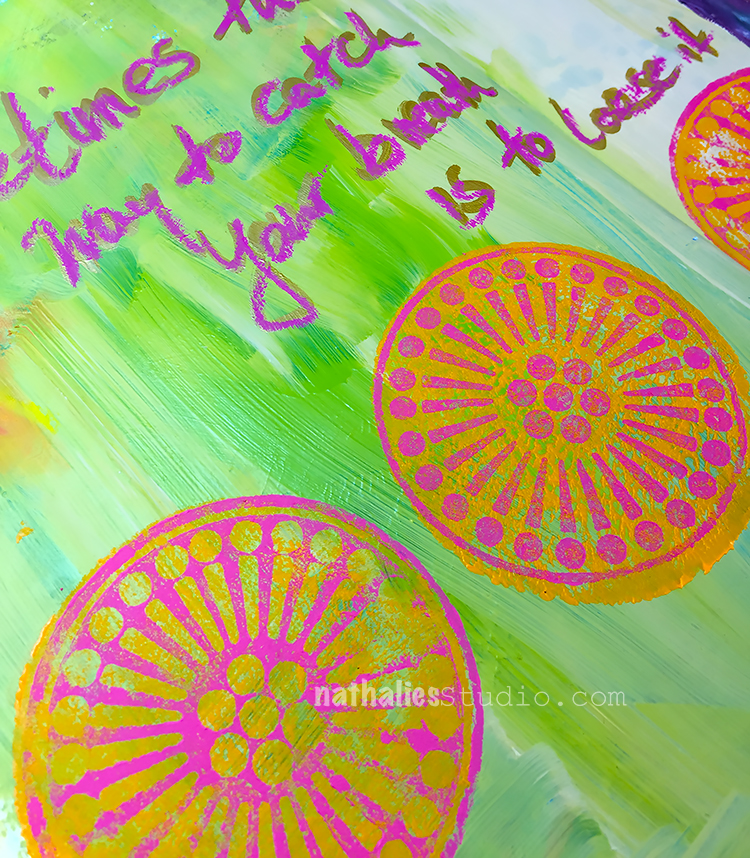
I used a gold pen, and a Posca metallic orange pen to add some doodles to the bag on both sides. I don’t plan to wash this bag, so did not worry about using washable pens, but take that into consideration if you plan to wash your bag.

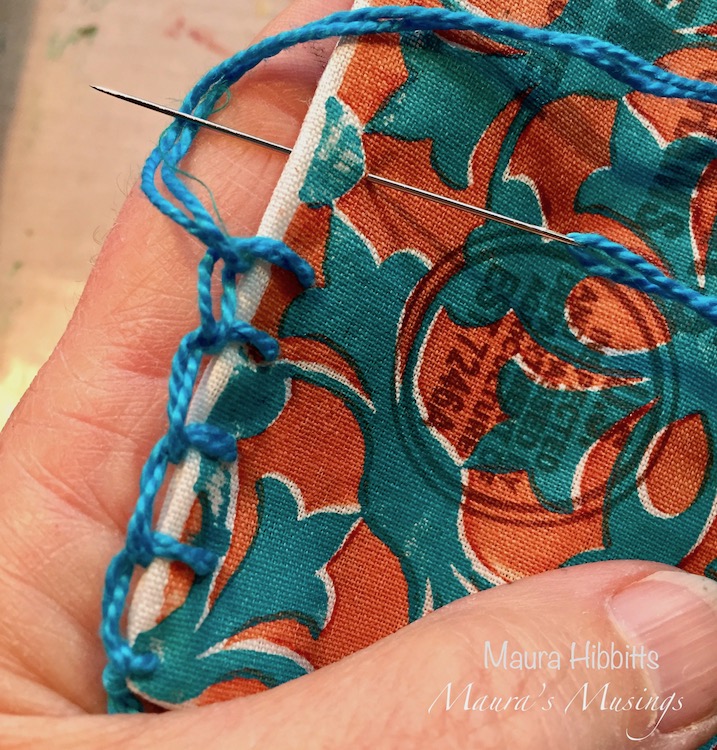
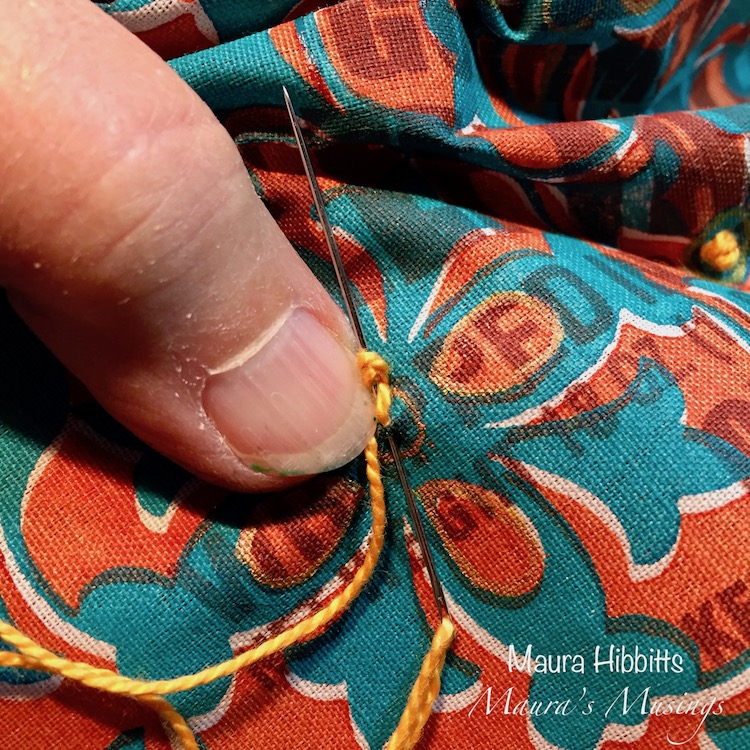
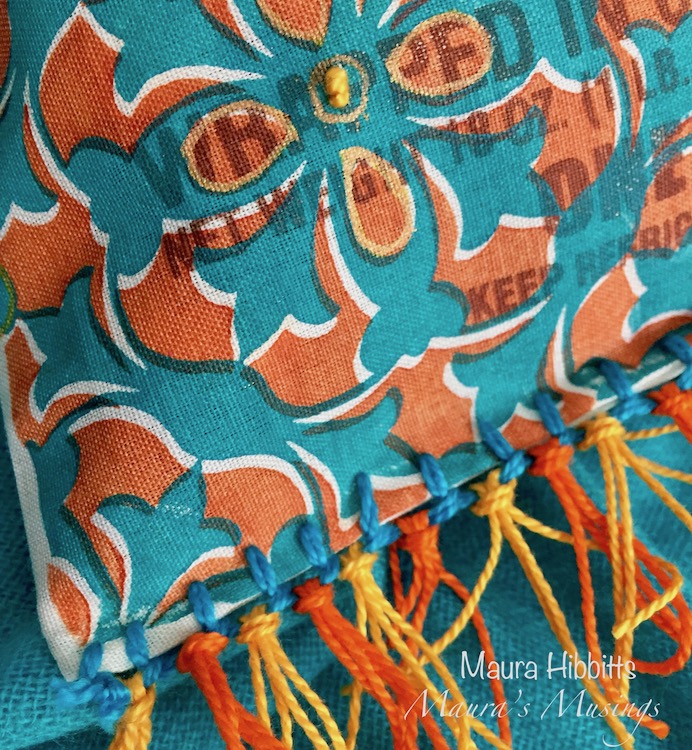
Now, it’s time to add some embroidery. I used turquoise thread and stitched the bottom of the bag with a Blanket Stitch. Next, on the front panel, I added French Knots inside the circles I’d drawn with the pens, using a yellow orange thread.

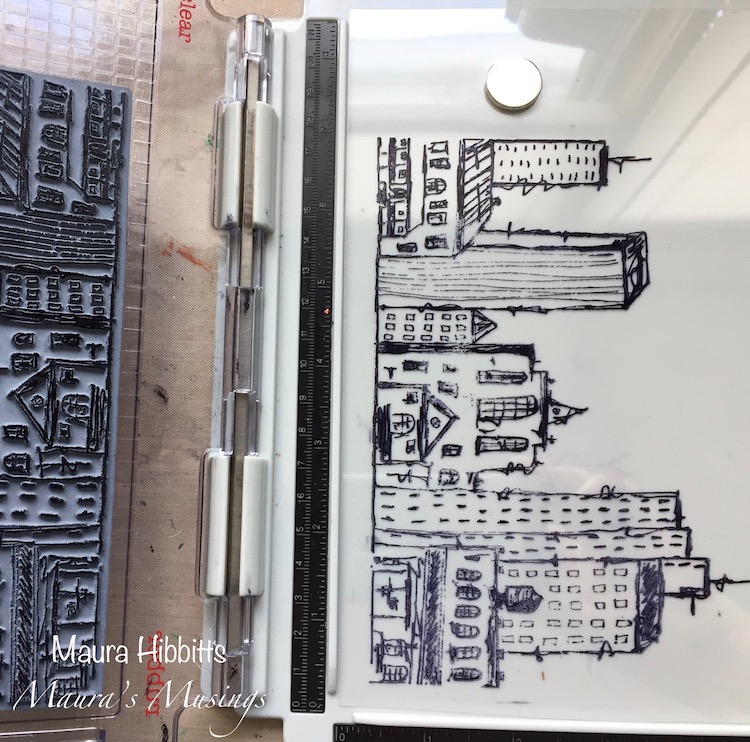
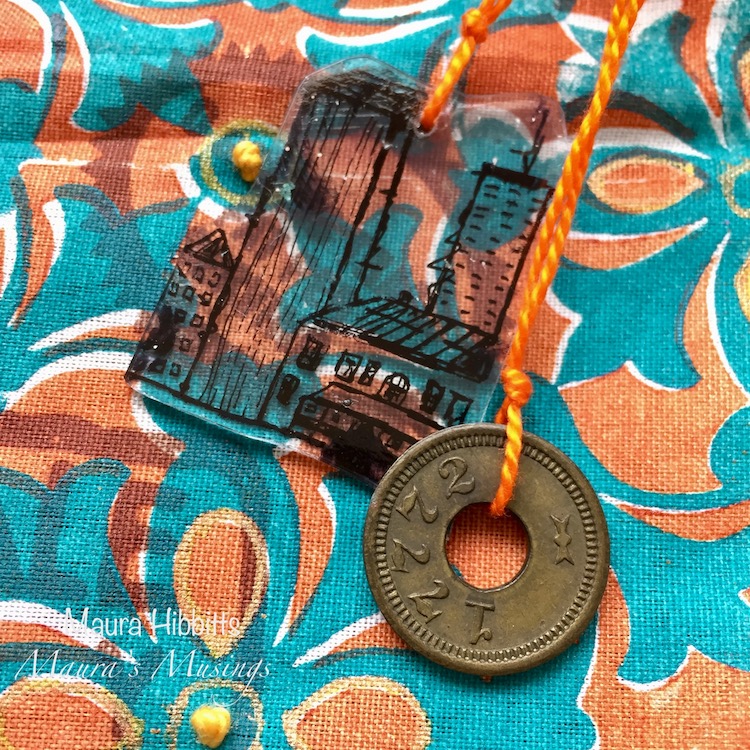
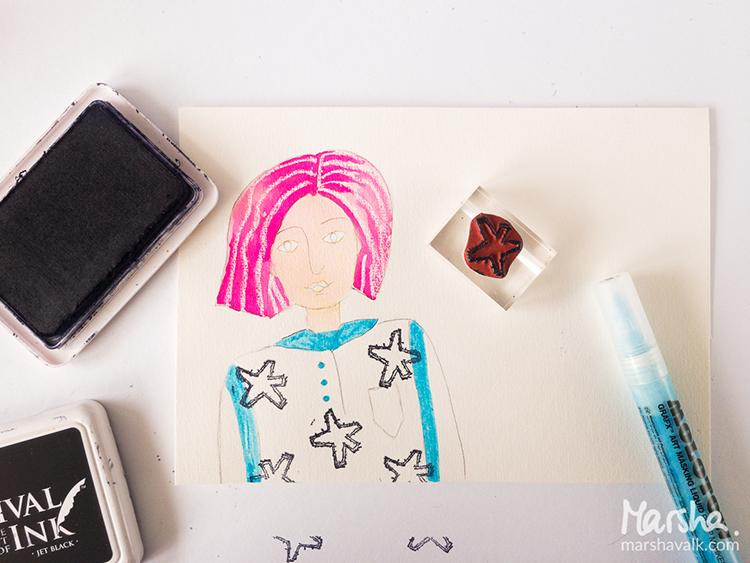
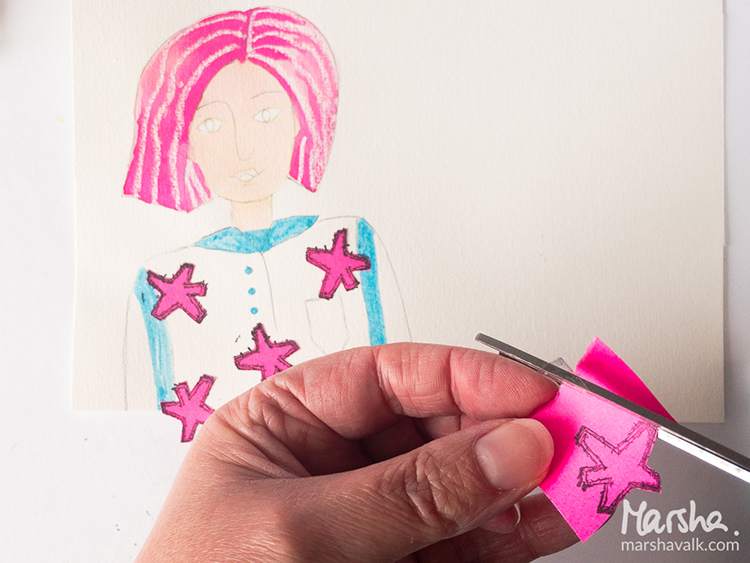
I wanted to make a charm to add to the bag, so I stamped the Urban Scribble image onto Shrink Plastic with archival black ink, and cut a section of it to use. Punch a hole into the plastic, then heat it and shrink it with your heat gun.

My final touches on the bag were to add the shrink and metal charms with embroidery thread, and tie loops of bright orange and yellow orange threads to each section of my blanket stitch at the bottom. Once I’d tied the loops on, I trimmed them to the same length. Now I just have to plan my next trip and decide what to fill my artsy travel bag with!


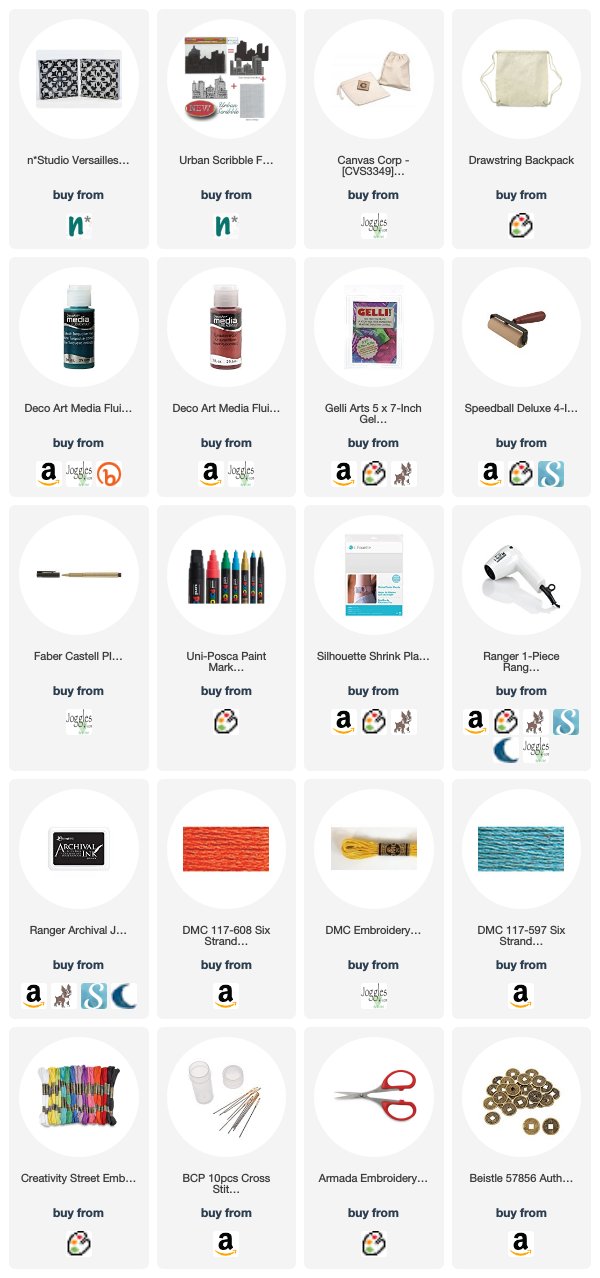
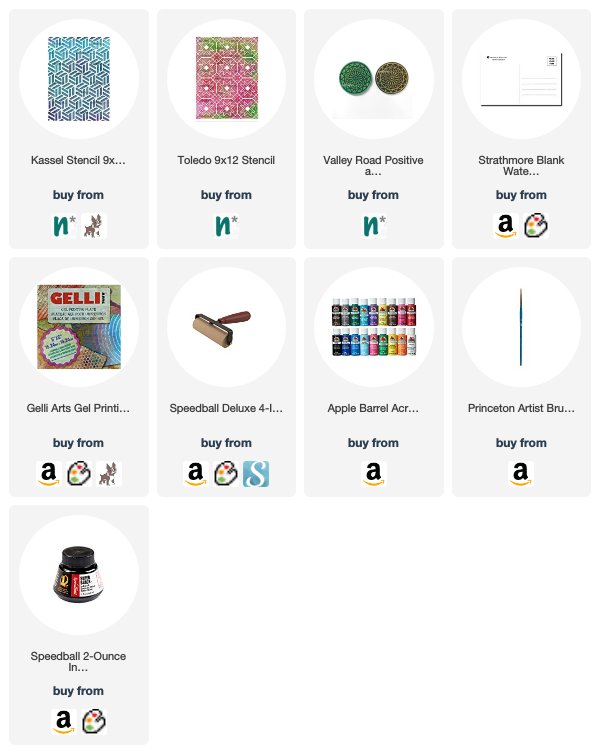
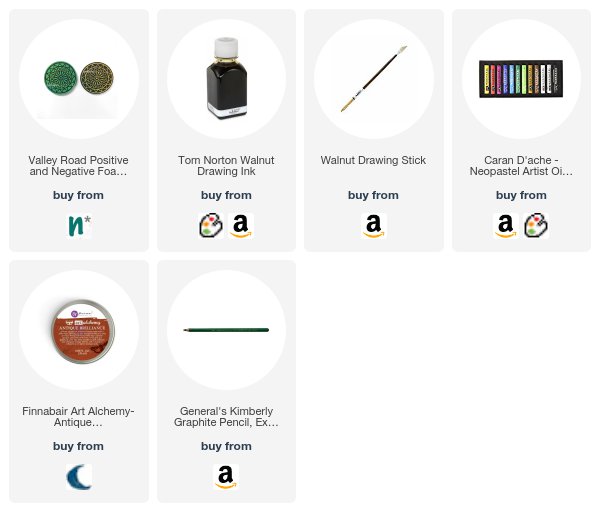
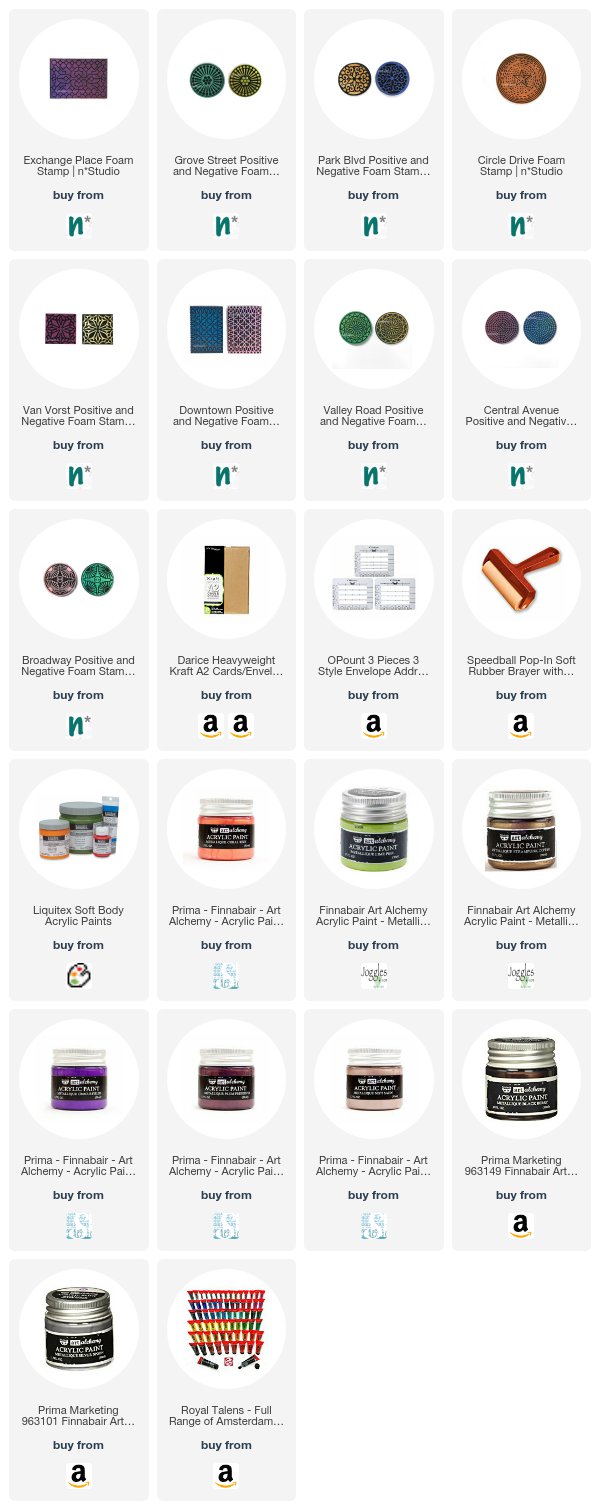
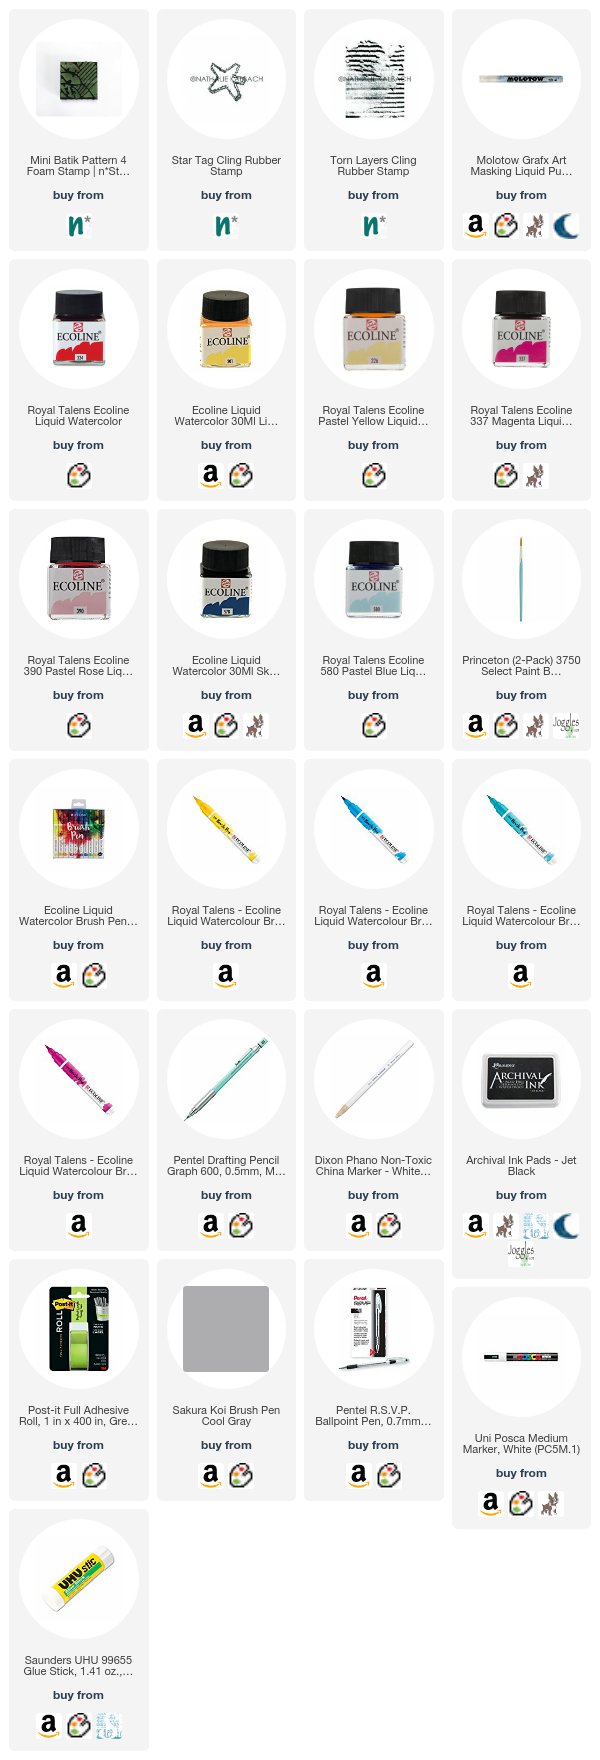
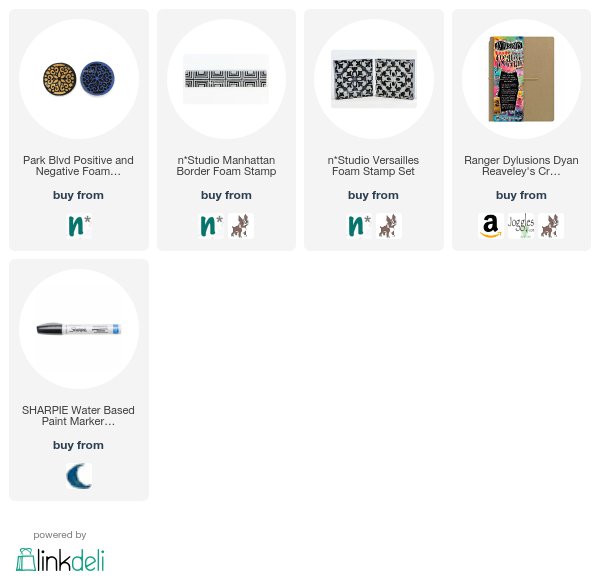
Thank you Maura! I could see using this bag for a fun evening out too! I just love the bold colors and the embroidered details – so cool!! In addition to an upcycled canvas bag (there are some possible choices in the list below) and some cardboard, Maura used the following supplies for her project :


Feel inspired? Working on something yourself that you’d like to share?  I love to see how you interpret our monthly themes. Email me how you used my stencils and stamps with the theme and email me an image – I would love to share your projects in my next  “n*Spiration From Around the Globe“.

SaveSave

Comments (1)

  • Sue Clarke

    |

    I absolutely love this Maura! The color and the tag you made are awesome.

    Reply

Leave a comment

Vacation Mode – Jennifer Gallagher


Hello from the Creative Squad! Today we have Jennifer Gallagher and her set of absolutely lovely postcards to send from your vacation destination. She is using my Toledo and Kassel stencils and my Valley Road foam stamp, along with our theme: Vacation Mode – Here in the Northern Hemisphere, we are slogging through winter with only one thing on our minds – vacation! Whether it’s Spring Break, a weekend getaway, or an hour with a good book, everyone needs an escape to Vacation Mode now and again.


This month we are in Vacation Mode here at the Nstudio Creative Squad. What better time to beat my current winter blues than looking ahead to Summer and family vacations. I love the warm Summer sun, sand between my toes, and the salty ocean breeze. So, today I will walk you through making some adorable beach-inspired postcards to send to family and friends from any destination.

These fun postcards are quick and easy to make and you can use your favorite Nstudio stencils, stamps, and artfoamies to make them uniquely you. I used my six by six inch gelli plate, brayer, watercolor postcards, and inexpensive acrylic craft paints. To make some really standout postcards I used Nat’s Toledo stencil, Kassel stencil, and Valley Road Artfoamies.

I layered my paint onto my gelli plate from light to dark in coordinating colors with my brayer. I put down my stencil and pressed my watercolor postcard down. Press firmly!

I chose complimentary colors, in this case turquoise and teal, and applied the paint to my artfoamies. I applied the design in interesting places on my postcards.

After the paint dried, I decided to add some interest with black India ink. Following the spaces between the stencil gives an interesting line for the eye to follow.

Now all that is left is to send them out. Thanks for stopping by and be sure to visit every Tuesday for the latest Creative Squad post. Enjoy!


Thank you Jennifer! Those colors are sure to brighten any gloomy winter day :)  Here are some of the supplies that Jennifer used:


Feel inspired? Working on something yourself that you’d like to share?  I love to see how you interpret our monthly themes. Email me how you used my stencils and stamps with the theme and email me an image – I would love to share your projects in my next  “n*Spiration From Around the Globe“.


Join us on Thursday March 22nd at 4pm EST for my latest Kaffeeklatsch on Facebook! I’ll be chatting about all the latest and greatest here at Nathalie’s Studio. Special this time is a GIVEAWAY you will not want to miss, tales from my trip to Japan, and lots of news about exciting upcoming in-person workshops! Join us and say hi!

SaveSave

SaveSaveSaveSave

Comments (1)

  • maura

    |

    Love how you made your own postcards with the stencils and stamps, Jennifer! Cool idea and colors! Maura

    Reply

Leave a comment

The Small Things in Life – Art Journal

I created this Art Journal spread on a snowy day last week – as you can probably guess :)

The lady is drawn on deli paper, stamped and pasted into the journal. I stamped with different of my ArtFoamies Designs and then painted with grey and white. I like how it came out.

For the journaling I used a bamboo sketching pen and ink – I love using a bamboo sketching pen – have you ever seen my video I once made of the match made in heaven? It is a bit older but you might still find it interesting to see how I use those pens with the ink

Liquitex Ink and Bamboo Sketching Pen from Nathalie Kalbach on Vimeo.

Here are some of the supplies I used with the art journal spread


Leave a comment

Do it Anyway – Art Journal

Be scared and do it anyway …it’s a good motto don’t you think?

In a recent class I had shown my Valley Road Foam Stamps stamped with acrylic paint and then added some blocks of acrylic paint partly over them here and there for a background.

I tried out some of the Finnabair Alchemy Wax – love it- it actually dries permanently and you can see the red/brown areas on the art journal page which are created by rubbing some of the wax on.

I also made some marks with my new Tom Norton tool and walnut ink and it was all in all a playful spread trying out new supplies – fun, fast and educational :)

Are are some of the supplies I used besides Acrylic paints:

did you get some new art supplies over the holidays?

Comments (1)

  • Sue Clarke

    |

    Yes to new supplies and I’ve been making a paint mess on my kitchen table!

    Reply

Leave a comment

Foam Stamped Ho-Ho-Holiday Cards

Last week Kim and I got into the holiday spirit a little early and made some stamped cards with my newest ArtFoamies.

We had some craft paper card and envelope sets, my ArtFoamies foam stamps, a whole bunch of acrylic paint, brayers, and some deli paper or palette paper.

First Kim used my Broadway Positive Negative foam stamps and made a few cards for Thanksgiving – one of my favorite upcoming holidays (hosting again this year woot woot!).

We didn’t limit ourselves to the typical holiday colors – here I am doing a card with my Valley Road Positive Negative set and just decided to go with purple. Why not?

We overlapped and mixed colors and here used my Central Avenue Positive Negative stamps for a modern card. Maybe it’s a snowflake or Christmas ornaments or just festive and fun :)

We went a little nuts and both made enough cards for just about everyone on our lists. Here I layered up the Downtown Positive Negative stamps and used a bit of metallic paint.

I love how intricate this design is. Maybe I will go back to this card as I got a bit too much paint on the stamp. It will not go to waste.

Kim chose an unusual arrangement for this card using my Exchange Place stamp and some mauve and purple paint. She could write a personalized message in the corner when she’s ready to send.

It was easy to stamp out a bunch at a time.

Kim lined up the edges of a few cards and stamped them at once to get the designs moving off the edge of the paper.

In the end I decided to add a message on this one (stamped with my Van Vorst Positive Negative stamps), using an Opount envelope addressing guide.

I dressed this one (used the Grove Street Positive Negative stamps) up with a bit of black pen to look like an ornament.

At the end of our play date we had made a bunch of cards for all the upcoming holidays! It was quick and easy and took a little of the stress of the season away knowing we have them ready to go!

Here are some of the supplies we used (some are affiliate links):


Hope you enjoyed our HO-HO-Holiday playdate :) We already have some fun project lined up for the December one.

Comments (2)

  • Sue Clarke

    |

    I especially love the one that is a purple ornament.
    Fun fun fun creating right there!

    Reply

    • nathalie-kalbach

      |

      Thank you Sue- it was super fun and so easy too – stress free holiday card making in this case :)

      Reply

Leave a comment

Each Day is a New Adventure – Marsha Valk


Hello from the Creative Squad! Today we have a fun art journal page from Marsha Valk.   Marsha uses my Mini Batik Pattern 4 foam stamp, my cute little Star Tag stamp , and my Torn Layers stamp to create a colorful page with this month’s theme: Each Day is a New Adventure – Be adventurous this month and try something new in your art-making! Use a new tool, medium, or technique that you’ve been meaning to try for too long now. Go on a new adventure TODAY!


Liquid watercolour Ecoline has been around forever. It’s a staple you can find in every Dutch school art room, and it’s very likely that the first time I ever used it was in kindergarten. I was very excited to see that Royal Talens was releasing Ecoline brush pens and I bought three or four colours the moment I could get my hands on them. I always intended to buy more, but once I had them, I couldn’t find a good use for them besides brush lettering, and I forgot about them.

Fast forward to last week. Ecoline brush pens were back on my radar, and I treated myself to a big set. With no intended purpose, just for play. Then I read this month’s n*Studio Squad theme… And it was the perfect excuse to break in my new pens!

Start with drawing some doodles with masking fluid. Leave to dry completely.

Apply Ecoline to the paper. Ecoline works just like watercolour, so you apply it straight out of the pen or from the bottle with a brush. Or you can wet the page with a brush first and then apply the Ecoline to let it spread. Wait for the Ecoline to dry.

Colour the Mini Batik Pattern 4 ArtFoamies stamp with an Ecoline brush pen and stamp the pattern on the page.

You can get multiple images from one layer of Ecoline if you lightly spritz some water (from a distance) onto the foam stamp in between stamping.

Rub away the masking fluid once the paper is completely dry.

Take a separate sheet of paper and use a pencil to draw a girl.

Use a China Marker or a crayon to add a couple of white stripes to the hair. The grease in the marker will create a resist when you apply Ecoline over it.

Add some interest to the girl’s outfit by stamping a couple of stars on her sweater with the Star Tag stamp and a permanent stamping ink.

Use masking fluid or post-it tape to mask off any areas you do not want to be stamped.

Then use the Torn Layers stamp to add texture to the sweater.

Finish colouring the girl with Ecoline and Ecoline brush pens. Add details with a black waterproof fineliner. Use a black ballpoint pen instead if you need to draw over the China Marker.

Cut out the girl and adhere her to the background page.

Happy November!


Thank you Marsha – now we’re super excited to try the Ecoline brush pens on my foam stamps too! In addition to her art journal, Marsha used the following supplies (some are affiliate links):


Play along with us too: I love to see how you interpret our monthly themes. Email me how you used my stencils and stamps with the theme and email me an image – I would love to share your projects in my next  “n*Spiration From Around the Globe“.

SaveSave

SaveSave

Leave a comment

Chase Your Stars Fool!

“Chase your stars fool, life is short” – I toned down this very bright red, orange and yellow acrylicpaint-ed background with some gesso and added some stenciling in yellow on top using my Batik Stencil.

I stamped with my new Circle Drive ArtFoamie Stamp and black acrylic paint and added some stars with black archival ink using my Star Tag Cling Rubber Stamp.

I adhered a magazine image and painted over it with acrylic paints and Neopastels. I love how soft those Neopastels are and how beautifully they can be blended.

Here is a supply list with most of the materials I used to create this page:


Leave a comment

How to Catch your Breath

“sometimes the only way to catch your breath is to loose it completely.”

Love the the color combination -this makes me happy. I played with my new Grove Street Pos. + Neg. ArtFoamies and love the texture they created.

I painted the figure with Neopastels  and I love how they look together with the background I painted with acrylic paint.

I am totally addicted to the neopastels and I am hoping that the big set will be somehow showing up in December ;) HINT HINT

Here are some of the supplies:


Comments (1)

  • Sherry Canino

    |

    Beautiful and how true is the quote lol ❤️❤️❤️

    Reply

Leave a comment

Chaos is a friend of mine

Seriously! LOL- how about you?

I love how this page turned out – it was a demo page for a workshop and there were different areas of color and stamping and I thought I will tie it all together buy using the same colors and embracing the chaos :)

I used my brand new Park Blvd Pos + Negative ArtFoamies as well as the Versailles Pos +Neg. and the Manhattan Border Stamp.

Now …off to getting ahold of some chaos in my studio …because honestly it starts to be not so friend’ly’ anymore- LOL.

Here are some of the supplies that I used for this spread:


Comments (4)

  • karen bearse

    |

    Oh yes same! My studio is currently being called the monstrosity!

    Reply

    • nathalie-kalbach

      |

      LOL- I read first “Monastery” – I like Monstrosity :)

      Reply

  • Sue Clarke

    |

    Great words for that colorful page.
    Chaos throws me off but it also makes me rise to the occasion.

    Reply

    • nathalie-kalbach

      |

      Sue, depends for me where the chaos is. I am actually in a lot of areas a crazy organized person – but not in my artmaking- LOL

      Reply

Leave a comment