So happy to share with you today a special video interview I did with one of our Creative JumpStart 2020 teachers: Tonia Jenny. This is Tonia’s first year with CJS and because I have known her a few years already, I am very excited that she is joining our awesome lineup this year.
A little about Tonia: Tonia was an editor for many years for North Light craft and art books where I met her, before she started her own editorial, writing, and life coaching biz. And of course she is also a super talented and versatile mixed media artist, who is very attuned to self exploration and also seeing the potential in everyday materials and items. I think you will love seeing her talk about her creative philosophy and also you may find it inspiring to hear how she approaches tackling new tools, media, and artistic challenges, because hey, Creative JumpStart is all about having fun while trying some new things :) And… she talks about the most creative job application I have probably ever heard about. You don’t want to miss it LOL
Please enjoy this Jumping with… Tonia Jenny Interview!
Thank you Tonia!
You can learn more about Tonia Jenny here on her website and also here on Facebook and Instagram.
Are you ready to Jump into something new in January? Sign up TODAY for Creative JumpStart 2020 and get 31 lessons from 31 Super Hero Artists like Tonia Jenny. Learn, have fun, and challenge yourself in the New Year! Hope to see you in the CJS classroom soon :)
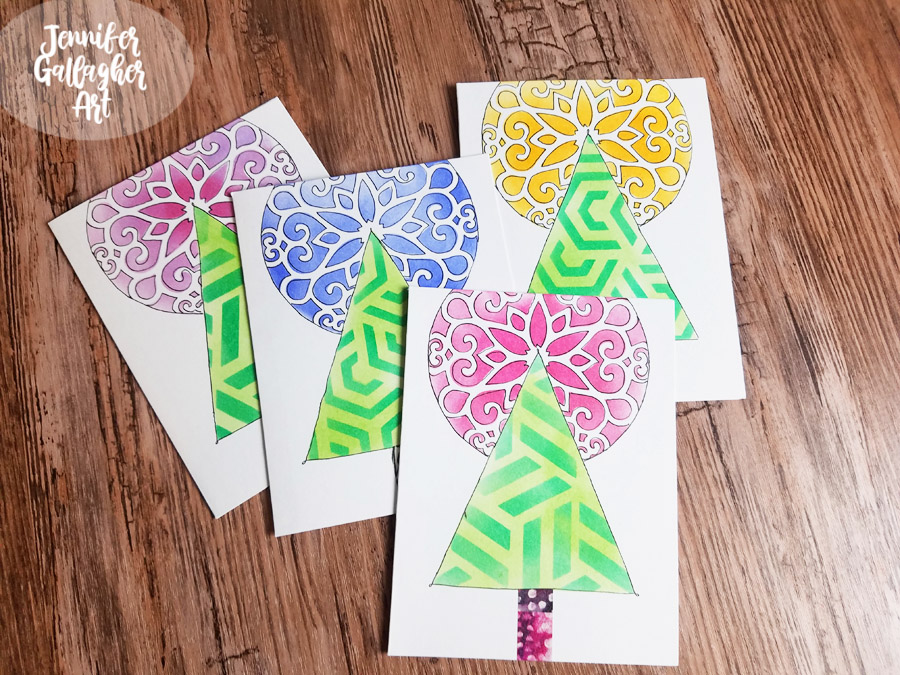
Hello everyone and welcome to a Happy Holidays post from our Creative Squad. Today we have a group of super cool looking cards from Jennifer Gallagher that you can make with the whole family! Jennifer is using my Kassel, Park Blvd 4×4, and Flower Maze stencils and this month’s theme: Happy Holidays – It is a time of year where we are celebrating and coming together and enjoying some merriment. Create something holiday related (whatever holiday you may be celebrating) and enjoy the season!
This month we are celebrating the holiday season and what better way than to create some fun holiday cards. You’re going to love this tutorial because it’s fun, easy, and family friendly. So break out your favorite n*Studio stencils and let’s get started.
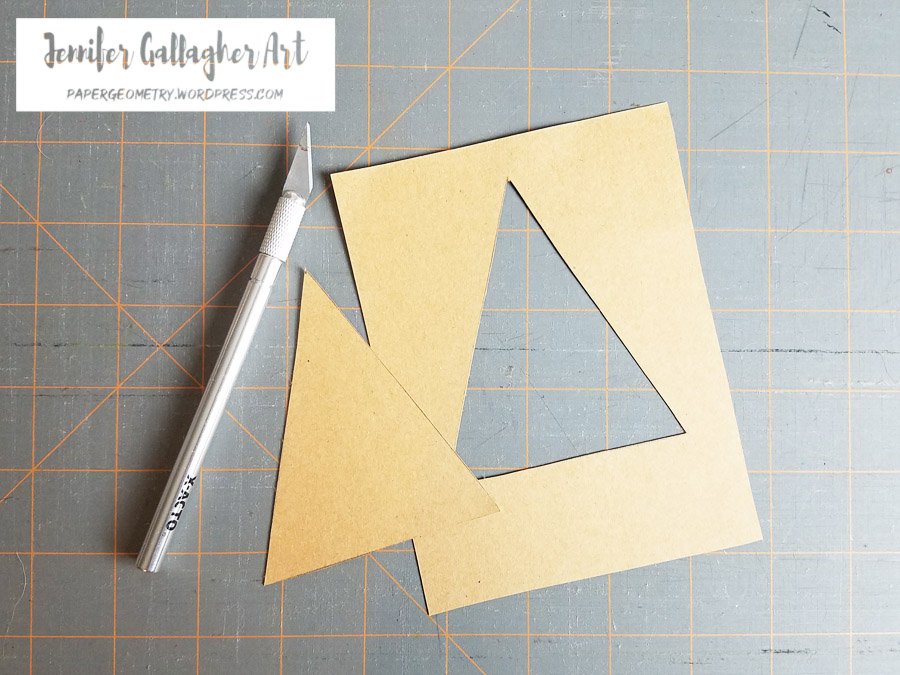
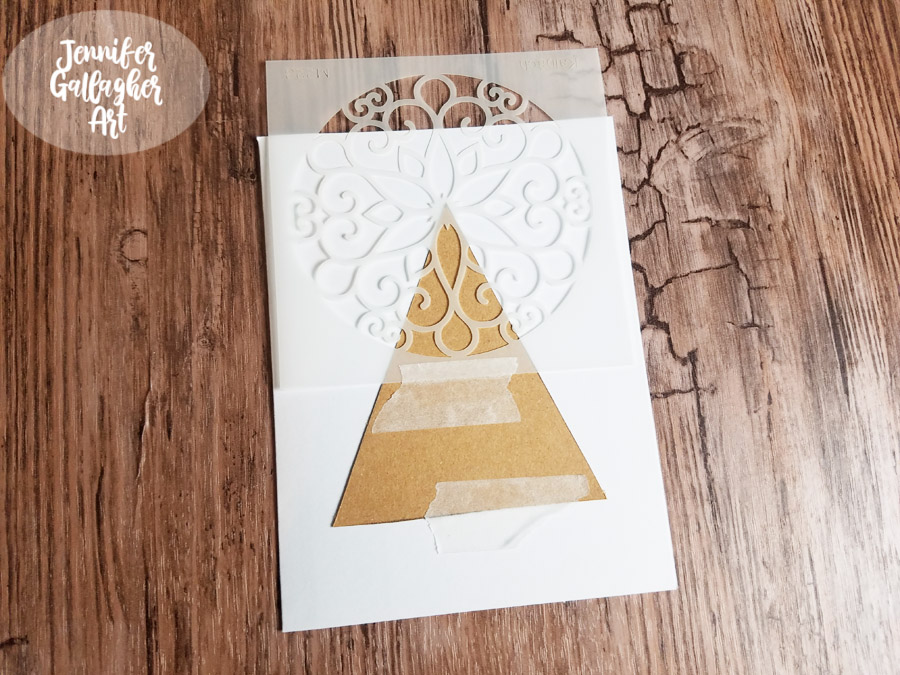
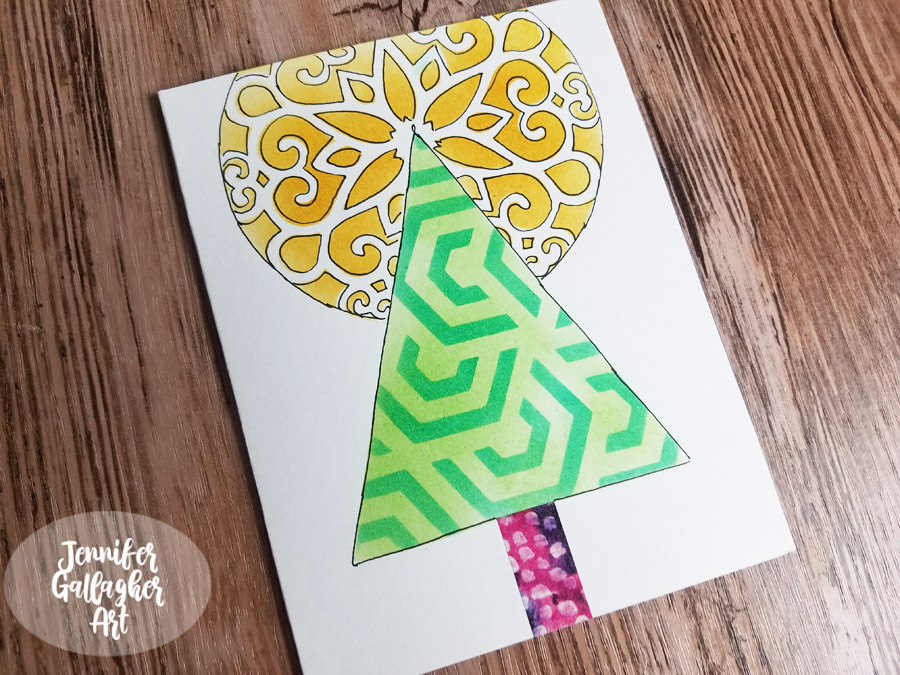
I began by drawing a simple tree shape onto craft card stock and cutting it out with a craft knife. I kept both pieces, one we will use as a stencil and the other as a mask.
Using the tree mask and Nat’s Park Blvd 4×4 stencil, I placed the designs down using a low tack washi tape. The mask allows me to protect the area where I don’t want to apply color.
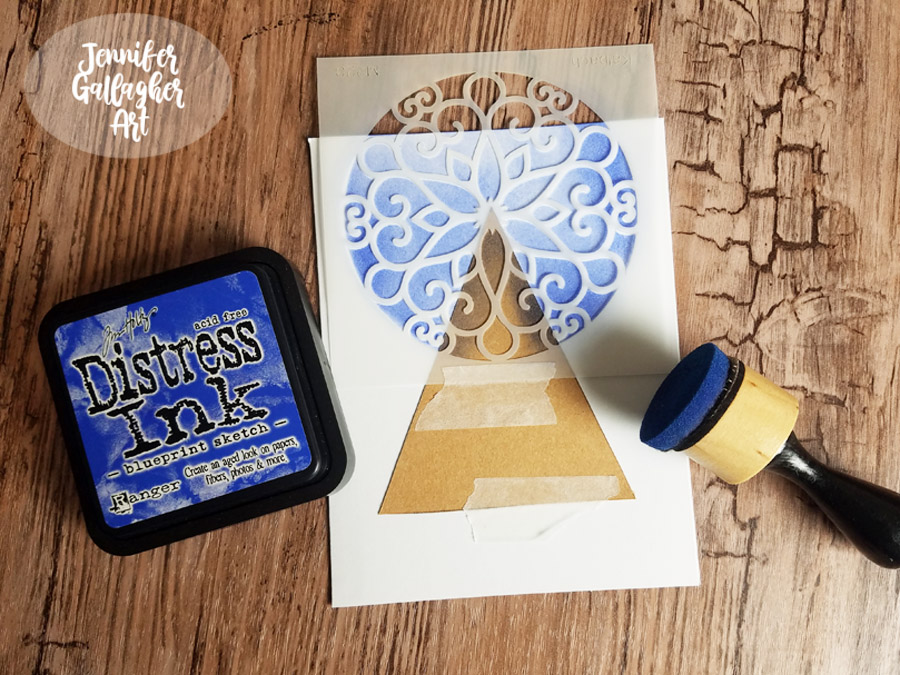
Next, I applied distress ink in blueprint sketch to the Park Blvd. stencil. This creates a lovely halo around the tree.
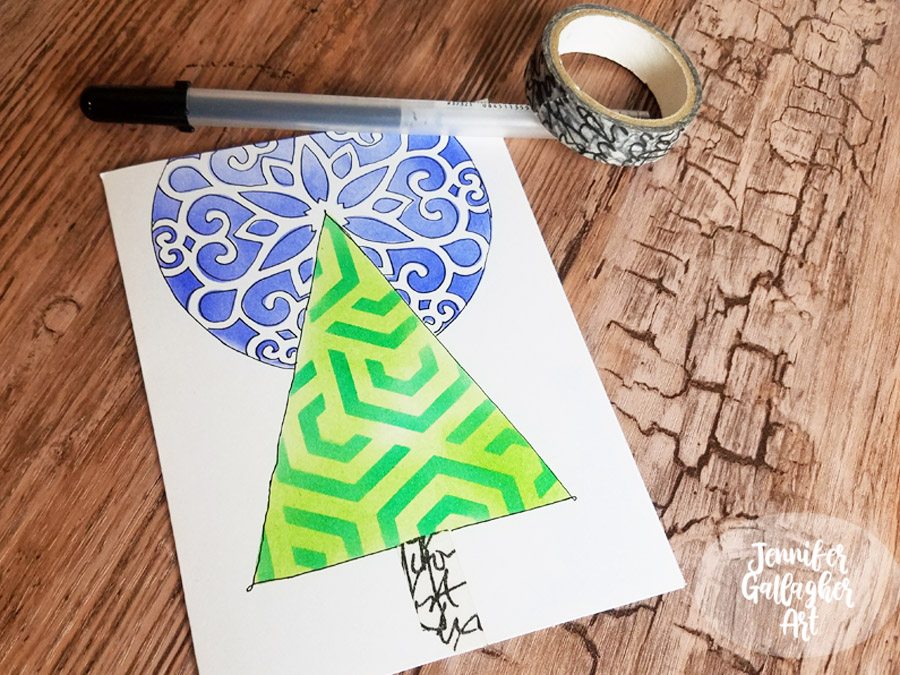
I placed the tree stencil in the spot where the mask was and applied mowed lawn distress ink. Next, I laid Nat’s Kassel and Flower Maze stencils down and applied lucky clover distress ink over that.
Now is the time to pull out all of your favorite washi tapes. I chose one of my favorites and used a small piece to create the tree trunk. Then, using a Sakura Gelly Roll in black, I outlined my tree and halo.
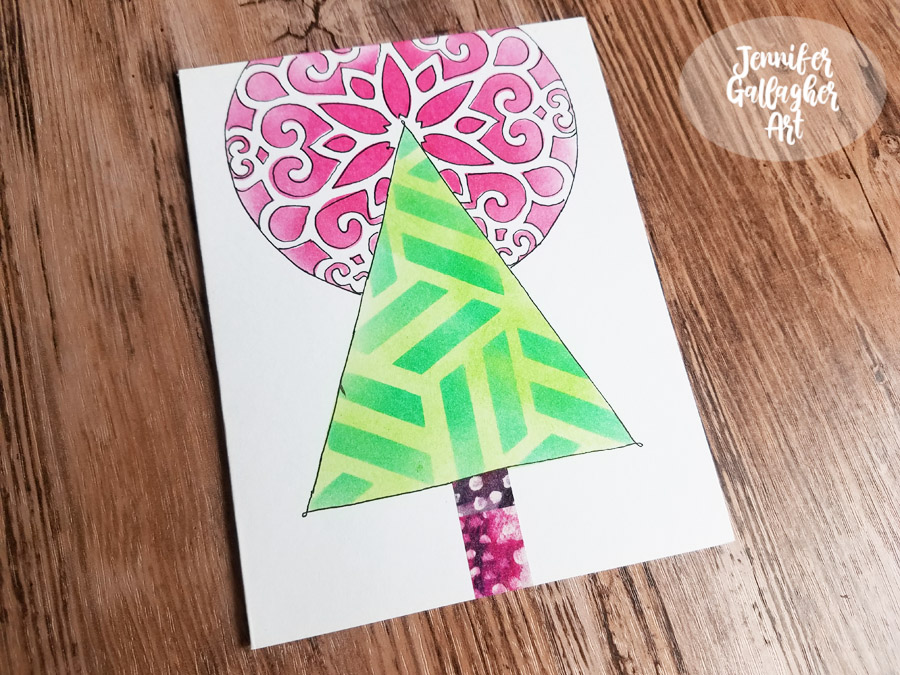
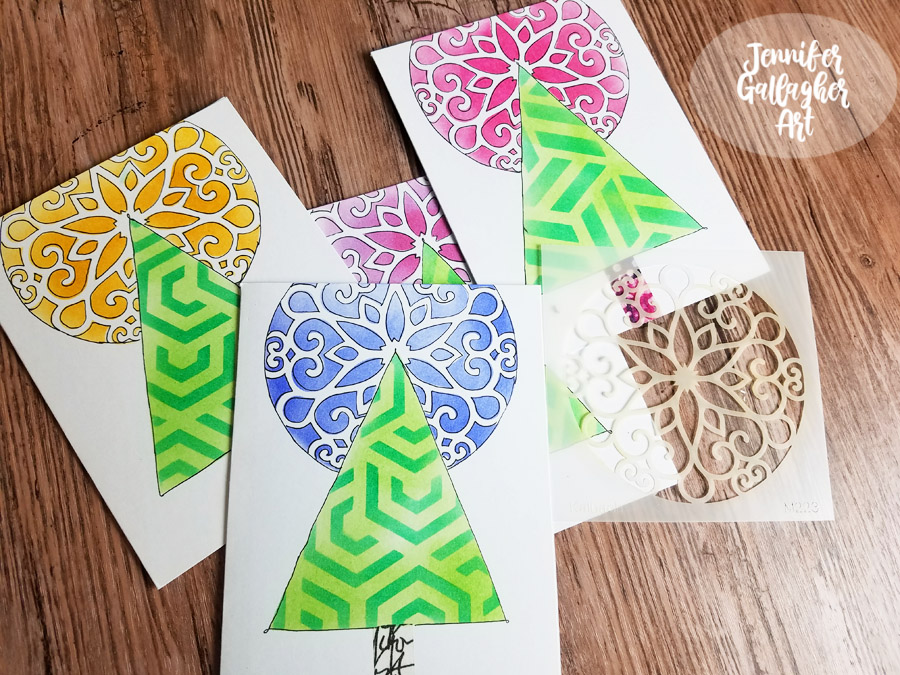
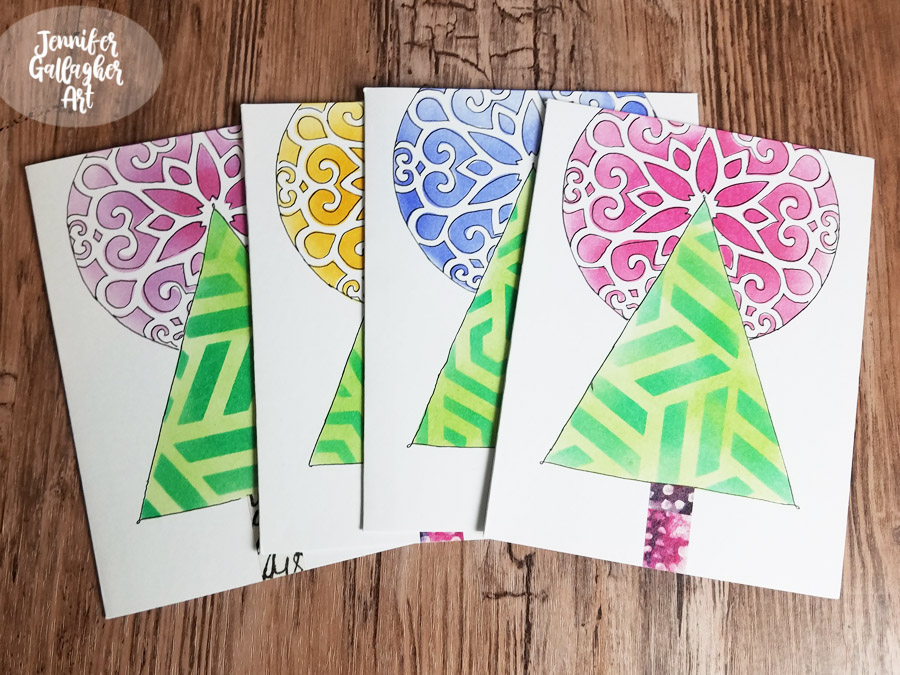
Now it’s time for the remix! Change up your ink colors, stencil designs, and washi tapes to create different designs. I suggest trading out the Kassel stencil for Nat’s Flower Maze stencil in your trees. Some additional ink colors I used are picked raspberry, wild honey, and shaded lilac. Check out these variations:
I hope you have enjoyed this tutorial. This would be a great craft to make with your kids and grandkids. There is nothing better than receiving a handmade card around the holidays. If you try out any of this month’s tutorials, be sure to share with us. Happy Holidays!
Thank you Jennifer for this kick off to our December Creative Squad posts – love how doable the cards are and the very fun results – great design!
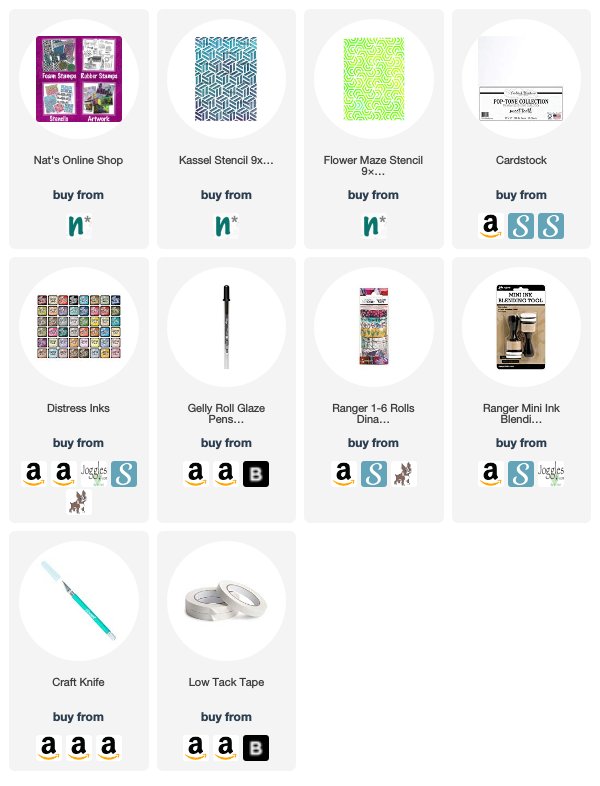
Give it a try: you can find all my Stencils in my Online Shop and here are some of the other supplies Jennifer used:
Feel inspired? Working on something yourself that you’d like to share? I love to see how you interpret our monthly themes. Email me how you used my stencils and stamps with the theme and email me an image – I would love to share your projects in my next “n*Spiration From Around the Globe“.
I’m excited today to announce Creative JumpStart (CJS) 2020! What is CJS? It’s a one-of-a-kind online mixed media workshop, now in it’s 9th year, designed to kick your creativity into high gear throughout January 2020. And it goes on sale TODAY!!!
With the Creative JumpStart workshop you will learn techniques, discover new materials, and connect with other artists and crafters. Learn more HERE.
I’m proud to be the founder of Creative JumpStart and one of those artists, called “JumpStarters.” See for yourself what it’s all about:
How does it work? Throughout January participants get access to 31 downloadable videos from 31 featured artists. With easy-to-digest 10 minute lessons, you get over 5 hours of video content. You can also participate in our online classroom with the other “Jumpers” and even share your creations in our classroom gallery. There will be product giveaways from our sponsors too. So much fun!
And today only, you can get CJS20 for just $40USD. You better hurry though, this Cyber Monday Sale ends tonight, December 2 at 11:59pmEST. Sign up HERE.
The Theme this year is “Super Power”. There is no doubt about it: art can be beautiful, personal, and really fun to make. It can capture a once-in-a-lifetime moment, feeling, or idea. And artists can influence everything from the walls of a home to world events. If you think about it, creativity really is a Super Power! Whether you are creating simply for the joy it brings you or creating to share your ideas with others, that is a pretty awesome pursuit.
So we asked our artists: What is your artistic Super Power? Is it a tool or technique that helps you achieve your unique style? Is it a way of thinking, organizing, or planning that leads up to a finished piece? Is it something else entirely? What Super Power do you use to create?
They have created video lessons that explain and show their artistic Super Power in action. They take us step-by-step through their creative process and signature art making style. Creative JumpStart 2020 is this collection of mixed media lessons to help us learn about different artistic Super Powers and how to use them in our own artmaking.
You get 31 videos – over 5 hours worth of video content – for just $40 (USD) if you sign up by December 2nd, 11:59 pm EST. Afterwards it will be $45USD until December 6th 11:59pmEST, and $50USD until December 31 11:59pmEST, before it goes to its normal sale price of $60USD.
So can this Cyber Monday get any better???? YES IT CAN!!!
My Five Day Frenzy SALE in my Online Shop ends TODAY at 11:59pm EST. This is the BIGGEST sale of the season. Just use the coupon code FRENZYFIVE when you check out for a 25% discount on all physical products: stamps, stencils, books, mugs, original paintings, prints, cards and more. This is your last chance to get 25% off and buy for everyone on your list – maybe even yourself ;) – the sale ends at 11:59pm EST TONIGHT December 2nd, 2019.
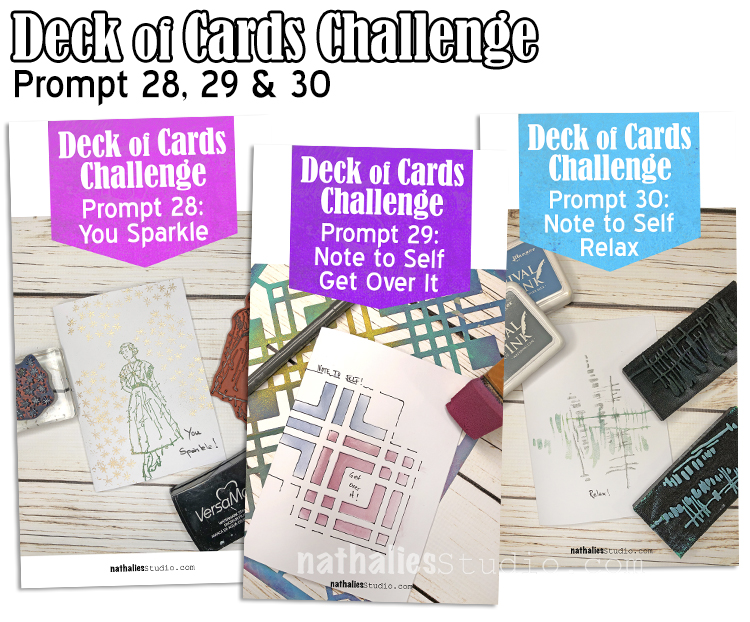
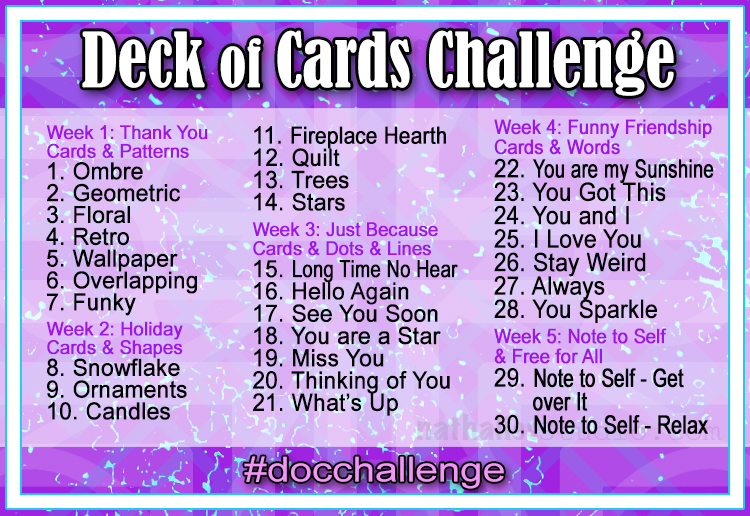
Today I am recapping the final days of my Deck of Cards Challenge that has run all month long on Instagram. I hope you played along with us and created your own deck of greeting cards for all sorts of occasions. These are the last few prompts, one from the funny friendship cards/words genre and two that deal with boosting yourself. Enjoy this card making fun.
Here is a recap of Prompts 28, 29 and 30:
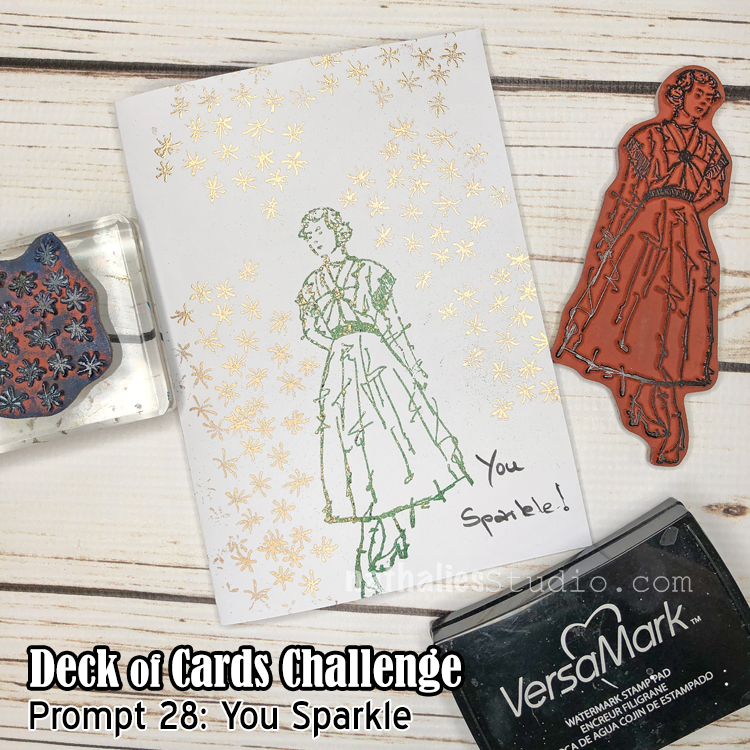
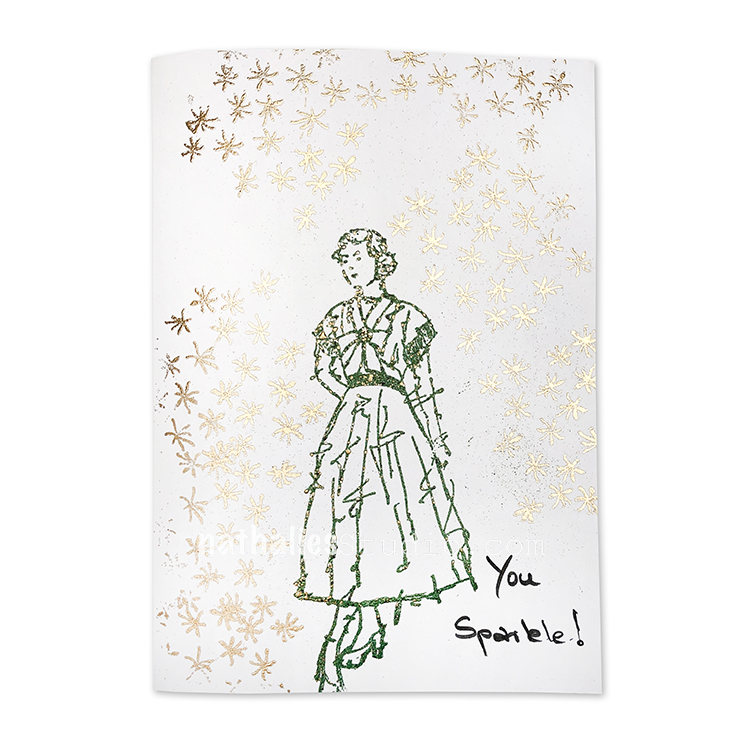
Day 28 – You Sparkle
Let someone in your life know how brilliantly they shine with this card.
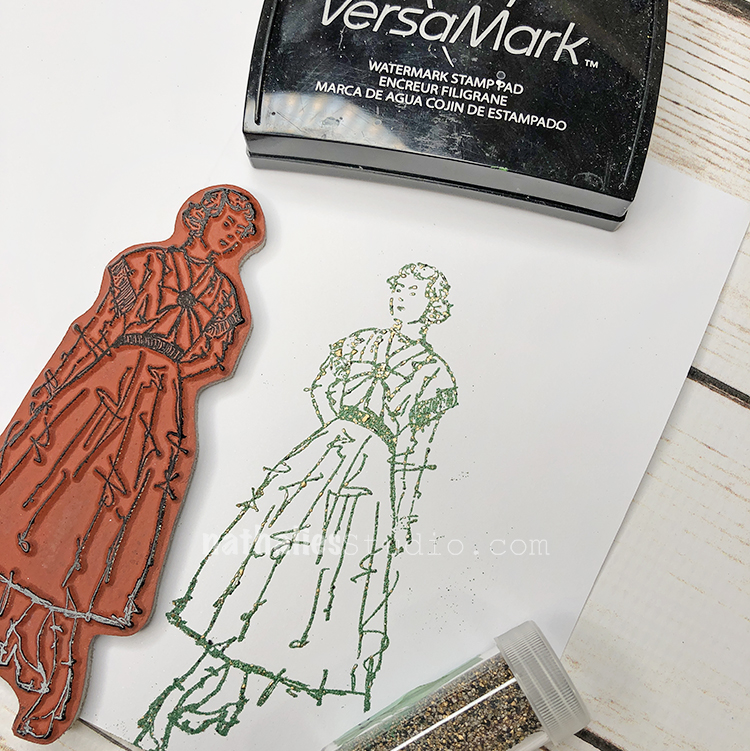
I used my Millie stamp with embossing and then to really amp up the sparkle I added in my Star Fish stamp with gold embossing powder. Nice empowering card.
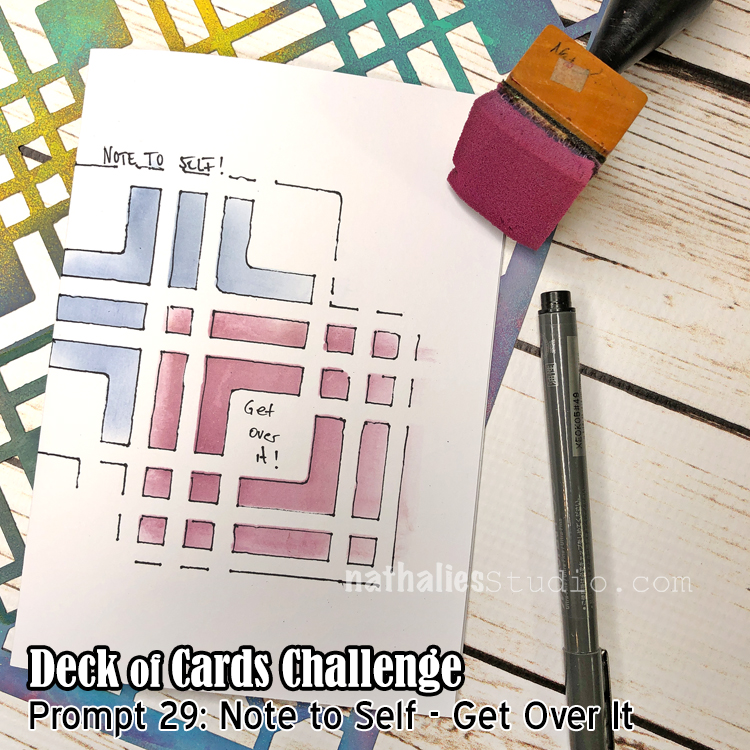
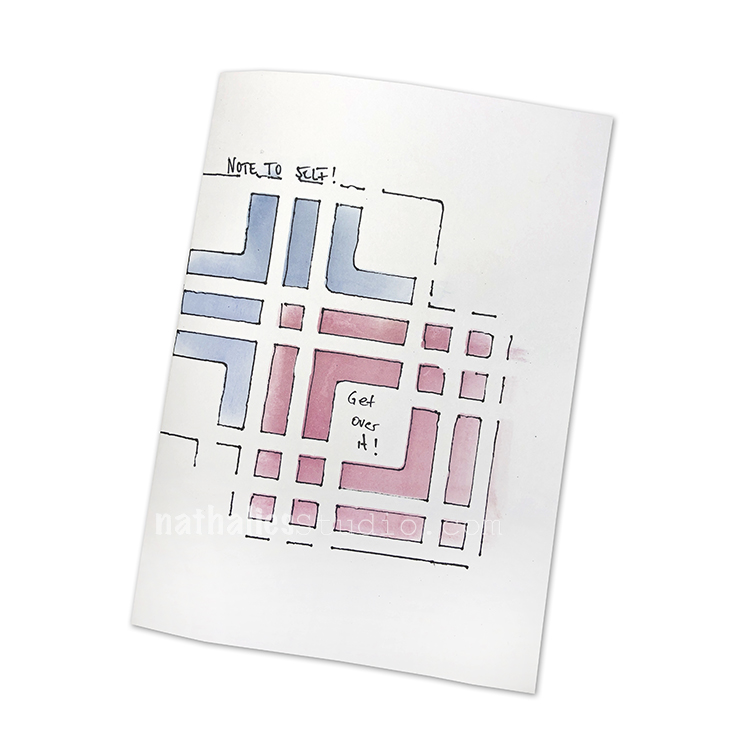
Day 29 – Note to Self – Get Over It
For these last two days of the challenge we are focusing on some personal pep talks.
I used my Chicago stencil and blending tool with Distress Inks, taping off one part of the pattern for one color and then moving on to another area and color.
Next I went in with a fine liner to emphasize the pattern and add my Note to Self!
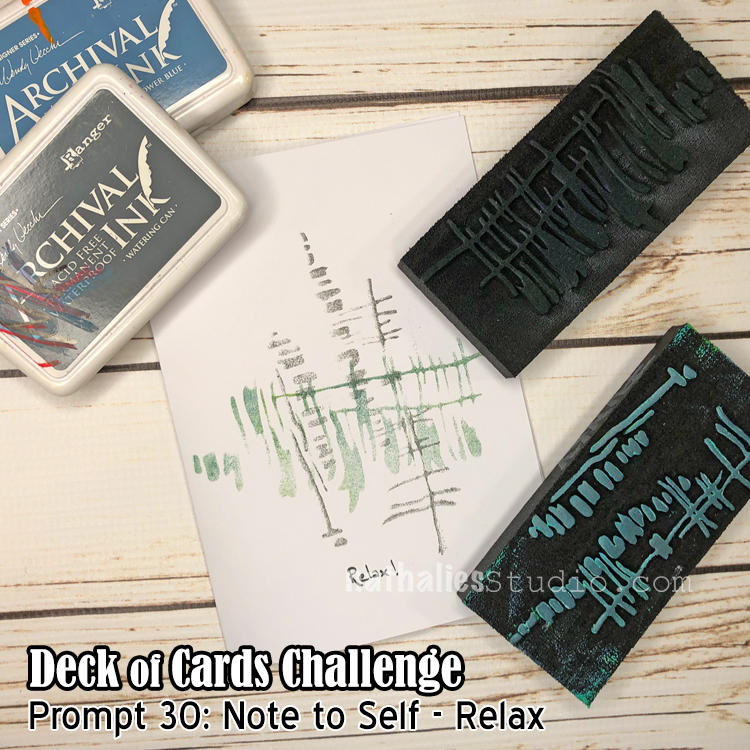
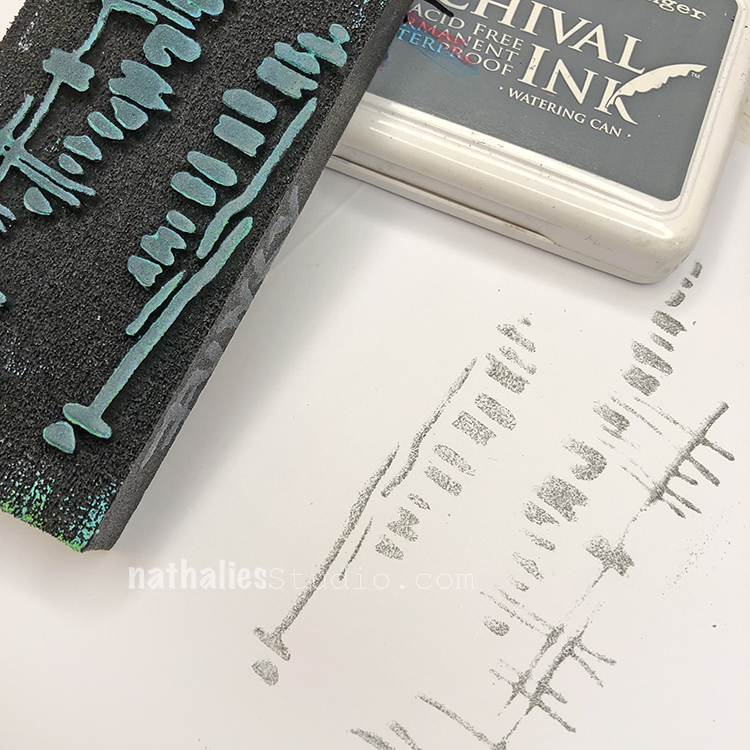
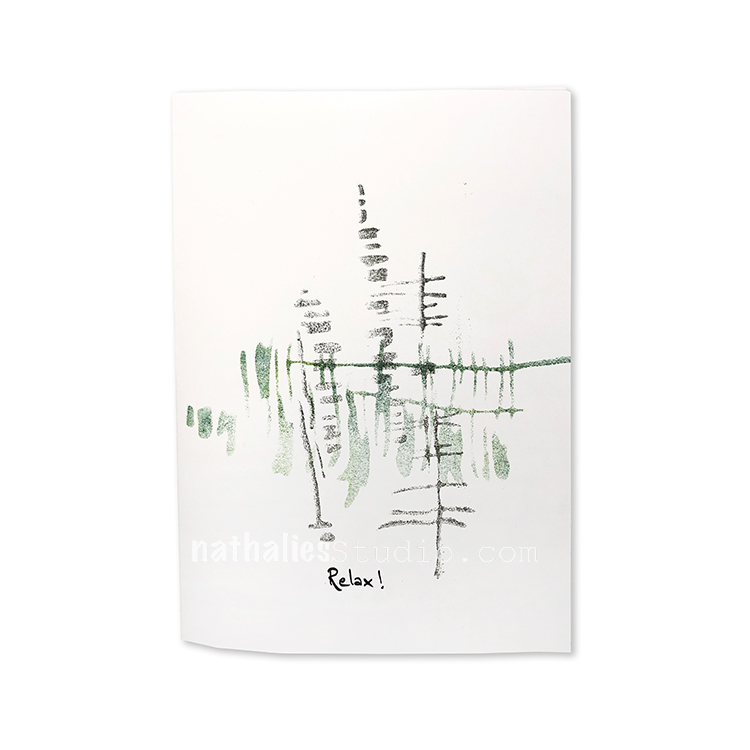
Day 30 – Note to Self – Relax
With how busy life is, who doesn’t need a little reminder to relax? And I think a great way to do it is to create!
So today I grabbed my Far Out and Funky foam stamps and some archival ink. I stamped and rotated a couple times and ta-da!
An easy and fun card that now I guess I can put under my pillow or something. Ha!
Here are some of the supplies that I used in these cards:
I hope you enjoyed the challenge and tried some of the different card making ideas I shared :)
One last thing: Don’t forget about my Five Day Frenzy Sale that is happening through tomorrow – December 2. You can save 25% off ALL physical products (even sale items) by using the coupon code FRENZYFIVE when you check out. Enjoy the savings!!!
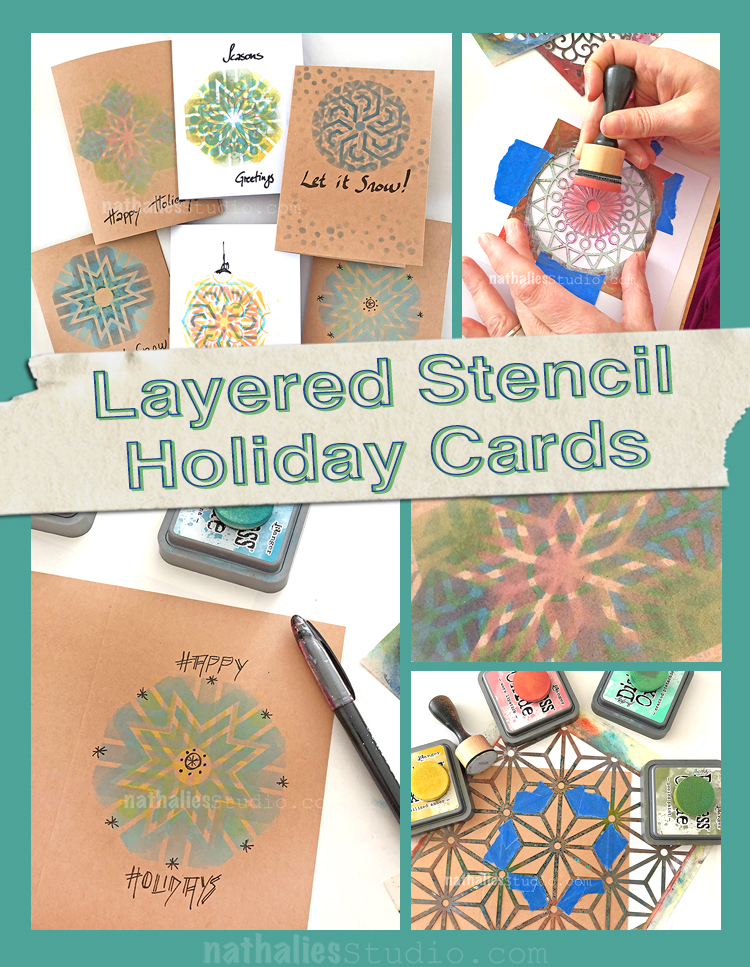
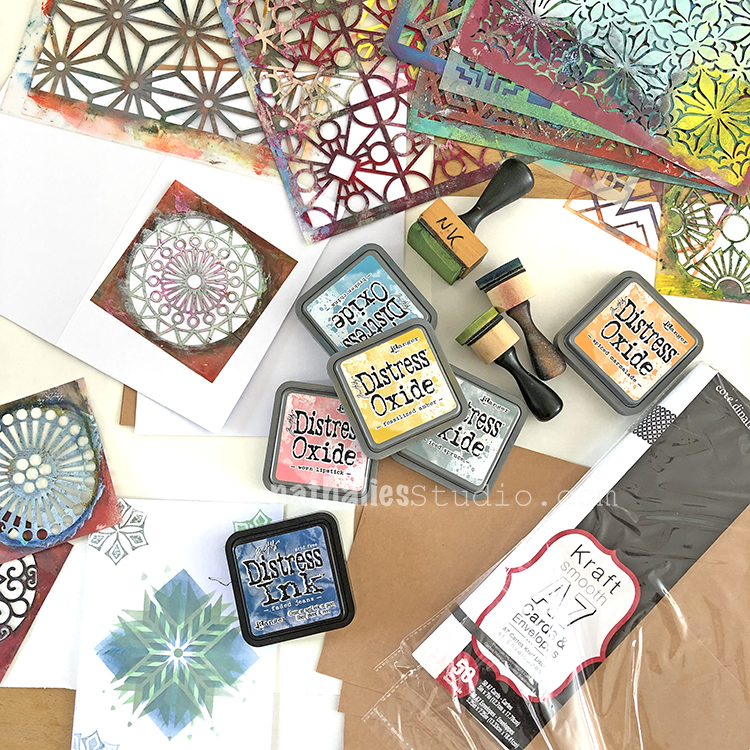
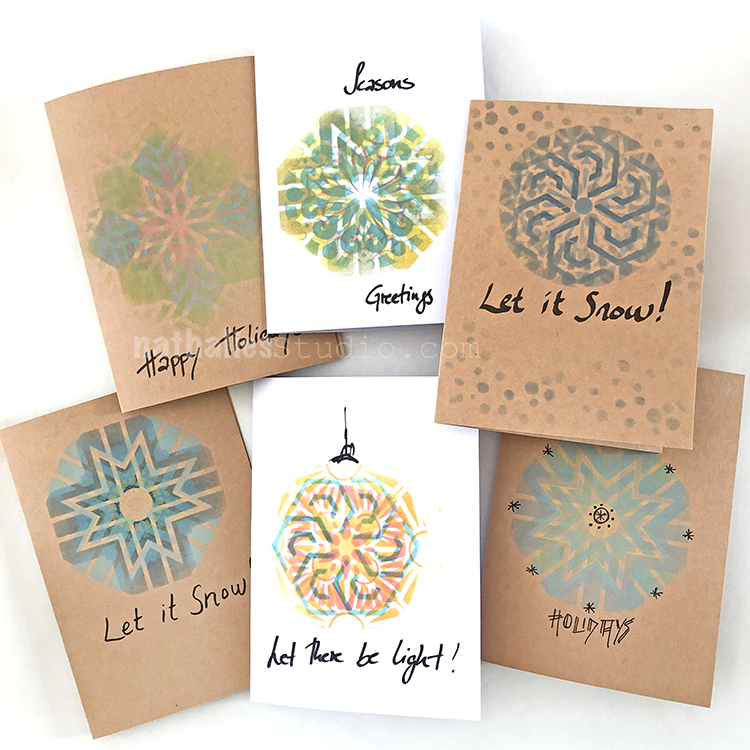
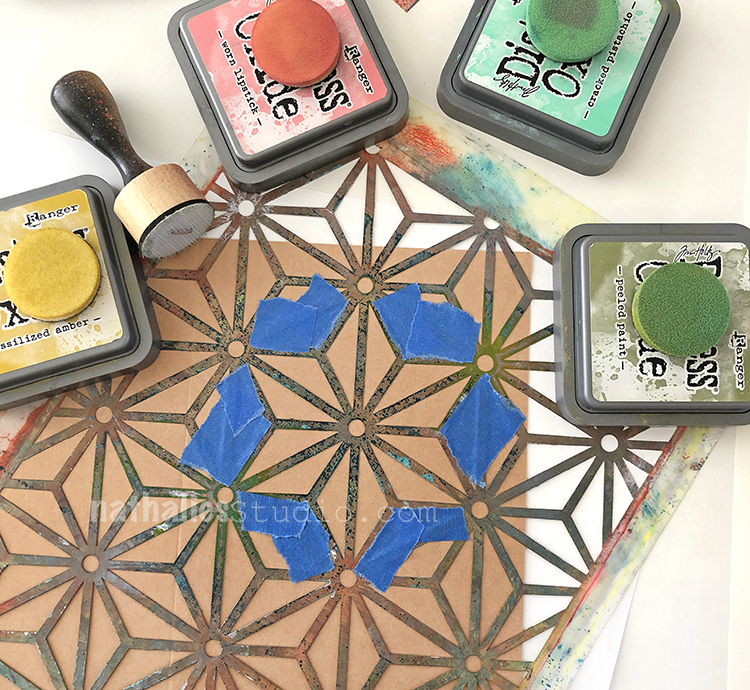
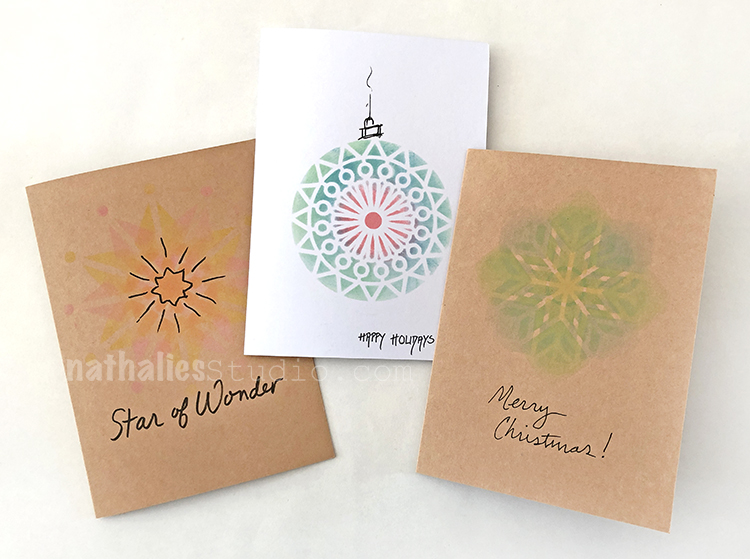
Last week Kim and I got together to make some holiday cards based on this snowflake card I made for my Deck of Cards Challenge – Kim was really excited about playing with the process. It is so simple and easy and wow does it make some gorgeous cards. We made a stack of layered stencil cards – snowflake inspired designs, patterns that reminded us of stars, and just festive layers of color and shape that would bring joy to the season.
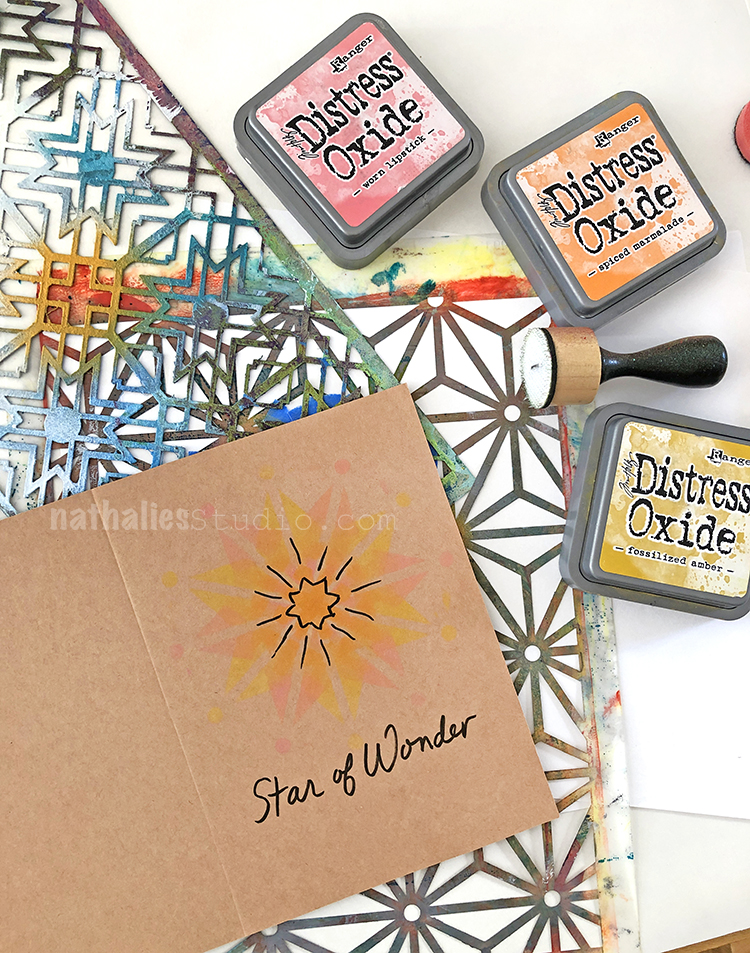
All you need is: blank cards, stencils with a radial pattern, Distress Inks, ink blending tools, masking tape, and some pens or markers to finish them off.
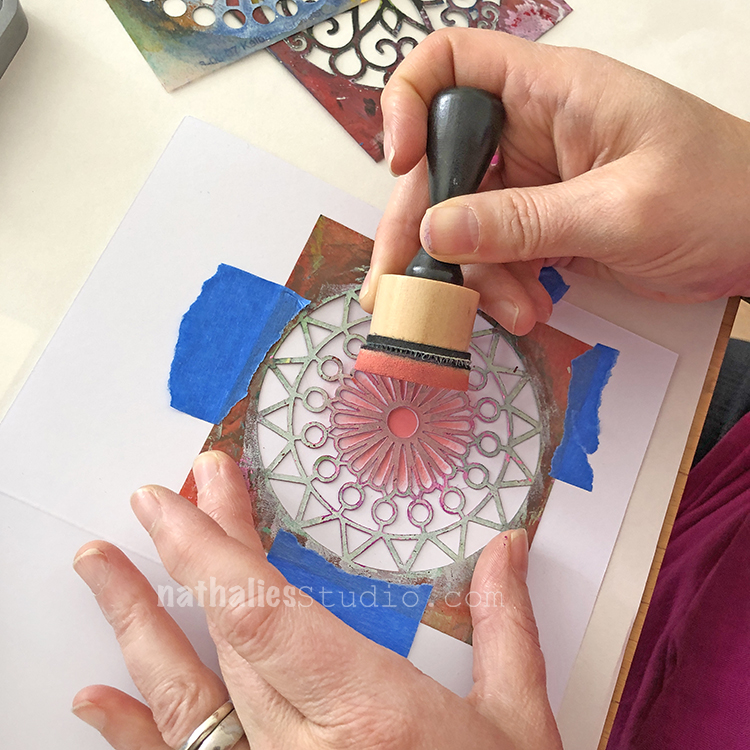
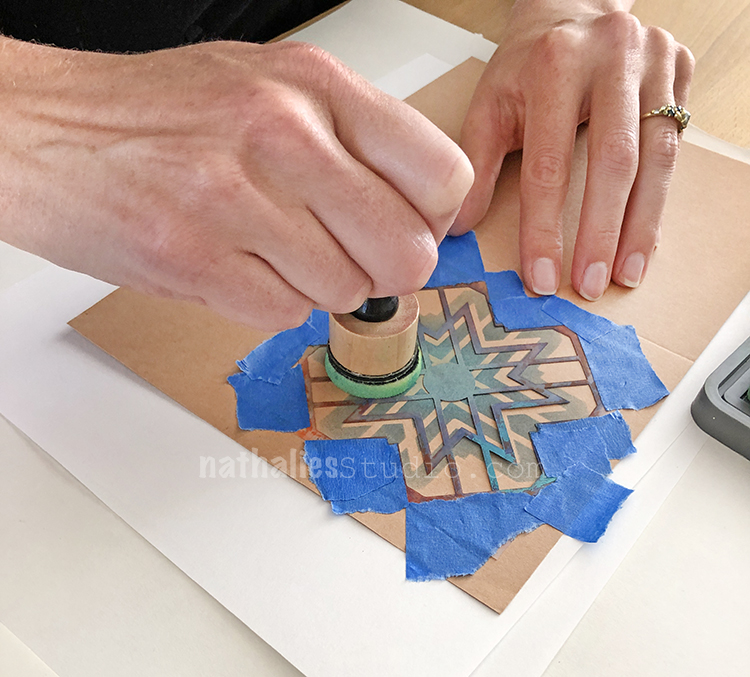
We began applying the Distress ink through a stencil, held in place with masking tape, onto the front of a blank card. Here is my Valley Road stencil.
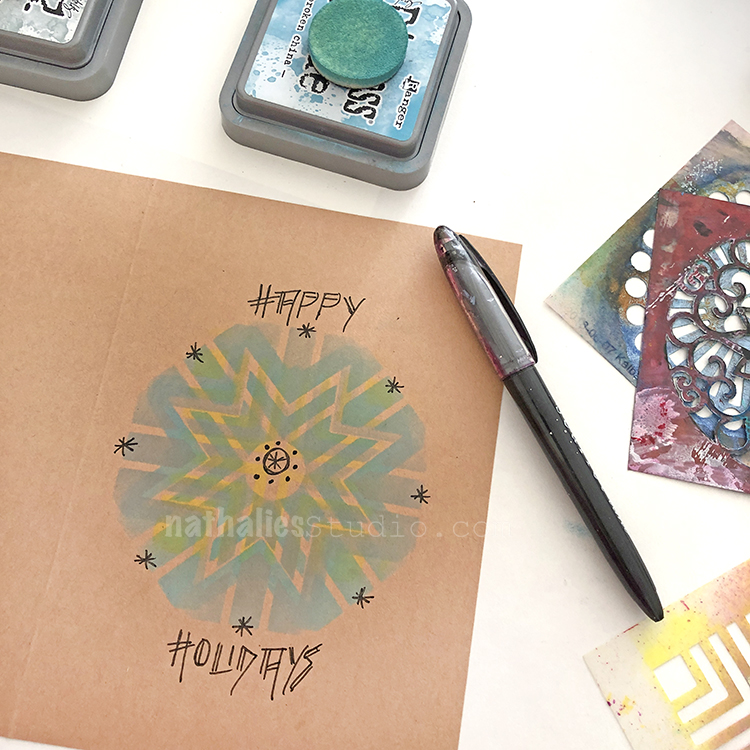
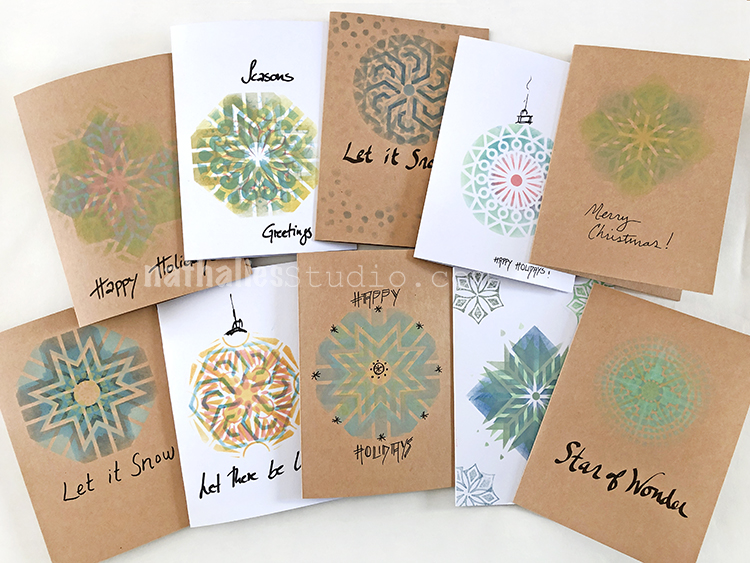
This one we blended out the color – the inks work really well for blending – and kept the design a single layer. I would later add a top to the design as if it were a tree ornament.
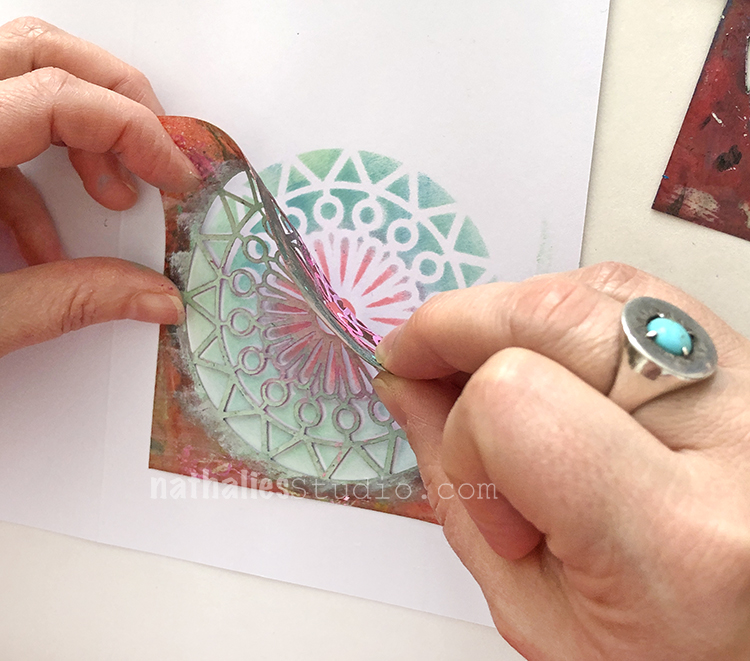
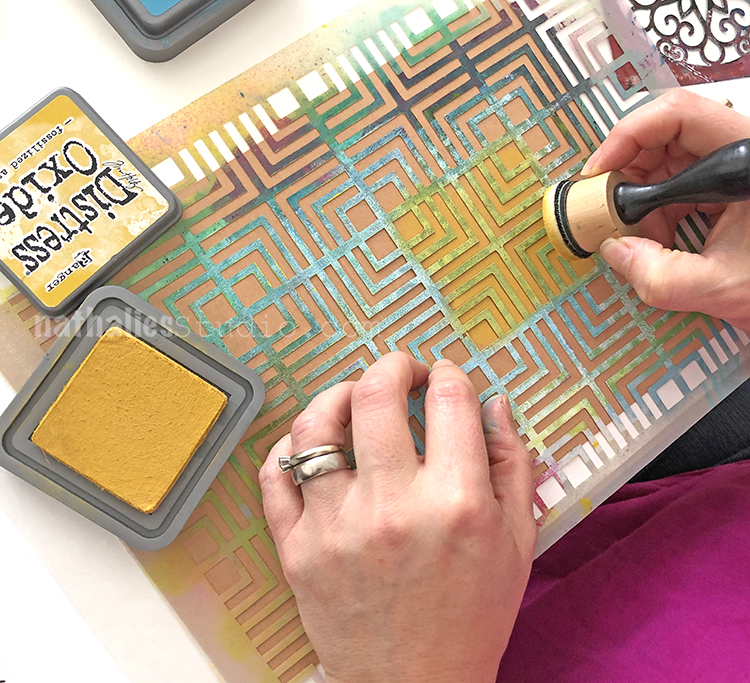
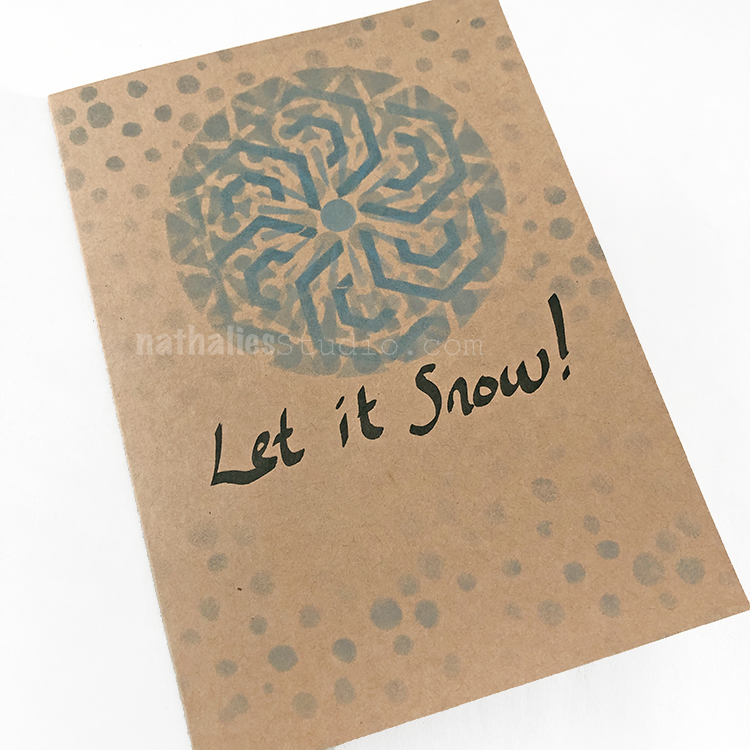
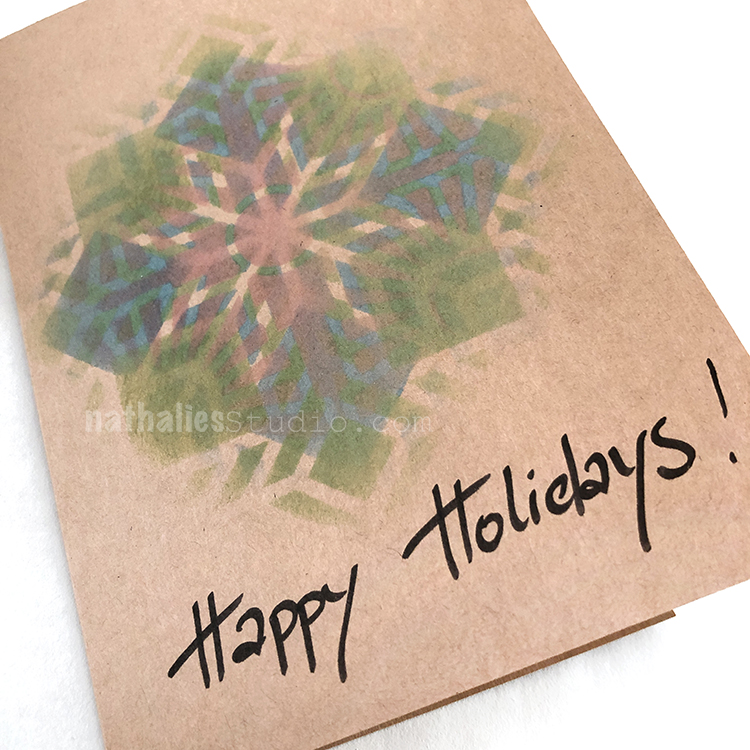
But the real magic happens when you start building up layers of color and pattern. Here is my Toledo stencil as a first layer in blue.
Then we rotated the stencil and added another layer in green. Be sure to have several different ink blending pads for different colors – so you do not contaminate the colors.
The resulting layers of color and pattern have a softness that is quite lovely. Here I added in some extra sparkle and lettering with a fine point pen.
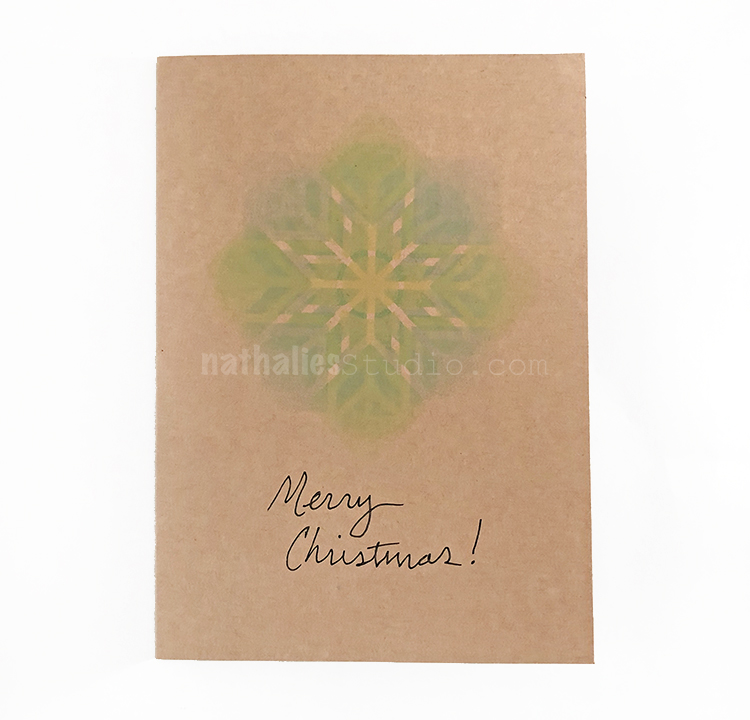
In this way, layering up different stencils with different colors, we created some beautiful holiday cards.
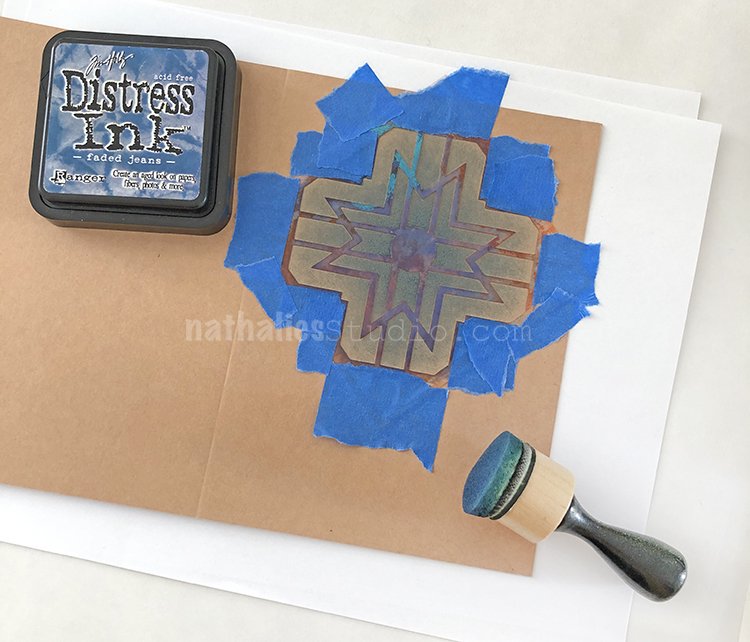
Sometimes we used larger stencils like my Manhattan stencil here, and only stenciled a small part of them.
Here we taped off a part of my Star Struck stencil.
We found that about 3 layers of pattern and color gave us the most successful designs. We also played with the color wheel – the above cards use all warm colors, just perfect for a star.
We hope you give this technique a try – get some stencils and ink and try layering up some designs. You will love the results!
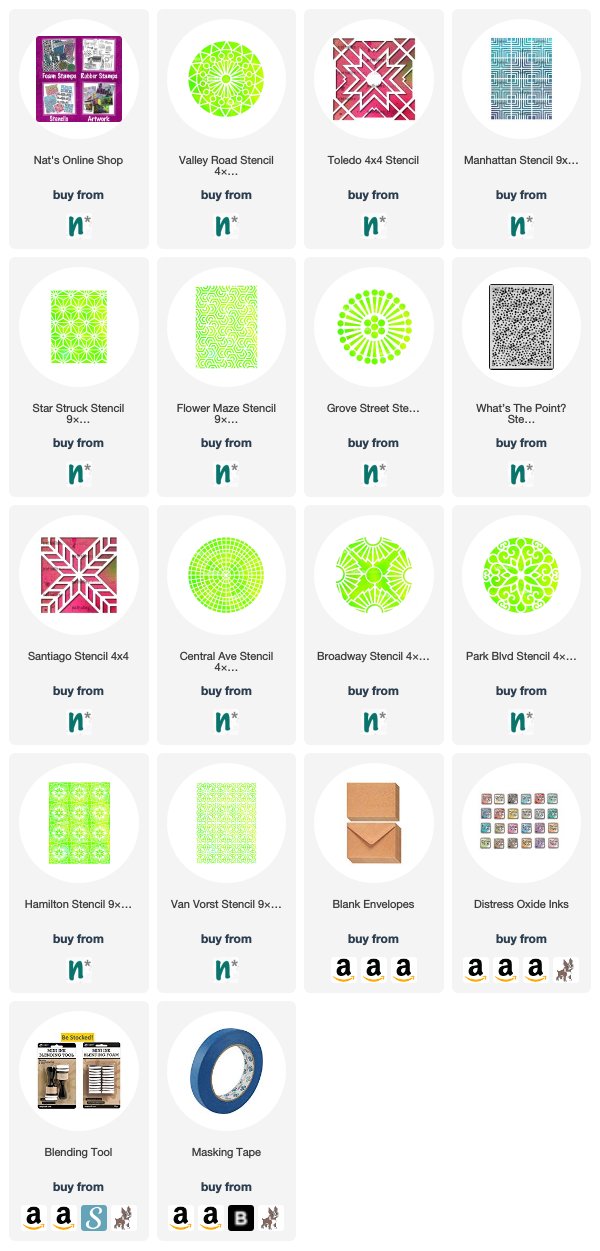
Here are some of the supplies we used for these cards:
Have you stopped by my shop yet for my Five Day Frenzy Sale? You can save 25% off ALL physical products – my biggest sale of the year! It’s a great way to take part in Small Business Saturday – we appreciate your support :) Just use the coupon code FRENZYFIVE at checkout to save. Enjoy!
I want to take a moment today and just wish all of you a very Happy Thanksgiving! I know I have tons to be thankful for and one thing that I always think about this time of year is all my readers :) Thank you for tuning in each day and hopefully you are enjoying what I share and learning and finding lots of creative inspiration. Thank you!!!
For those of you who are beginning your shopping today or maybe just need a little break from eating (haha), I am starting my BIG sale today. You can save 25% off all physical products in my online shop now through Cyber Monday, December 2nd.
Rubber stamps, stencils, foam stamps, original artwork, mugs, giclee prints, destash and much more is all 25% off – just use the coupon code FRENZYFIVE when you check out. Even sale items are eligible so yup those Fan-tastic rubber stamp sets are in it while supplies last. Woohoo!
And for those of you who like to wait until Friday to shop – no worries. This sale goes through 11:59pm EST on December 2, so you can return to your Thanksgiving festivities and please enjoy!!!
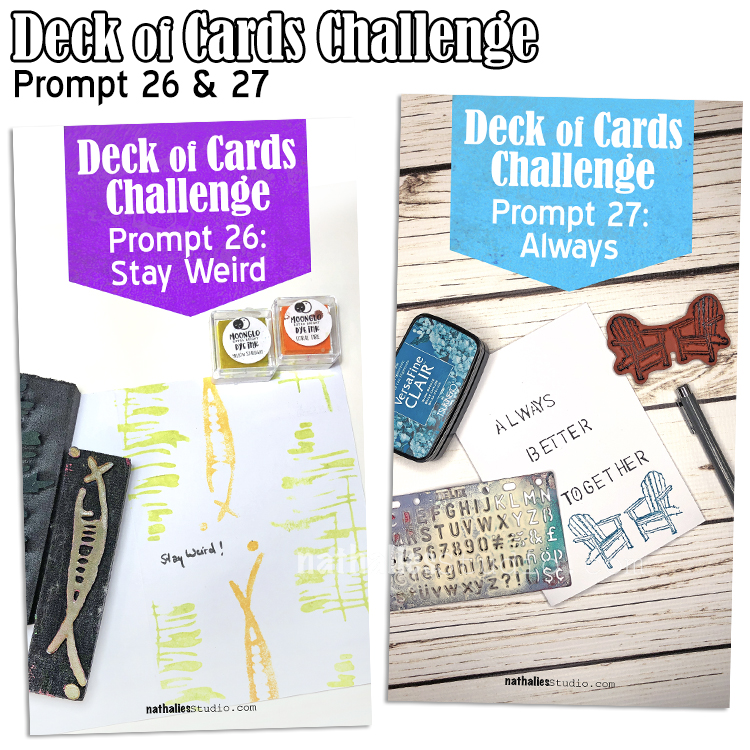
Only a few more days left in my Deck of Cards Challenge that has run all month long on Instagram. This week we are focusing on funny friendship cards and words. I hope you have been joining us for some card making fun.
Here is a recap of Prompts 26 and 27:
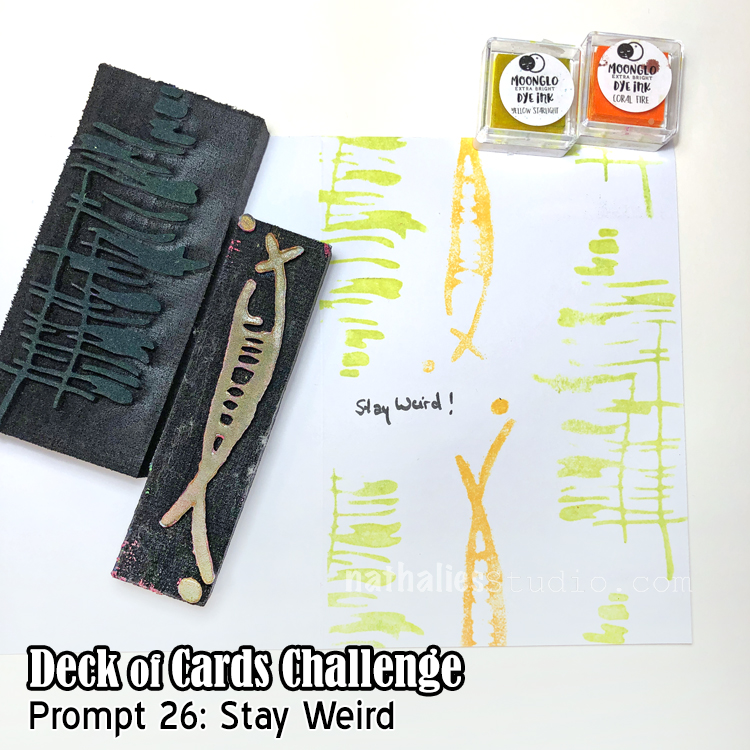
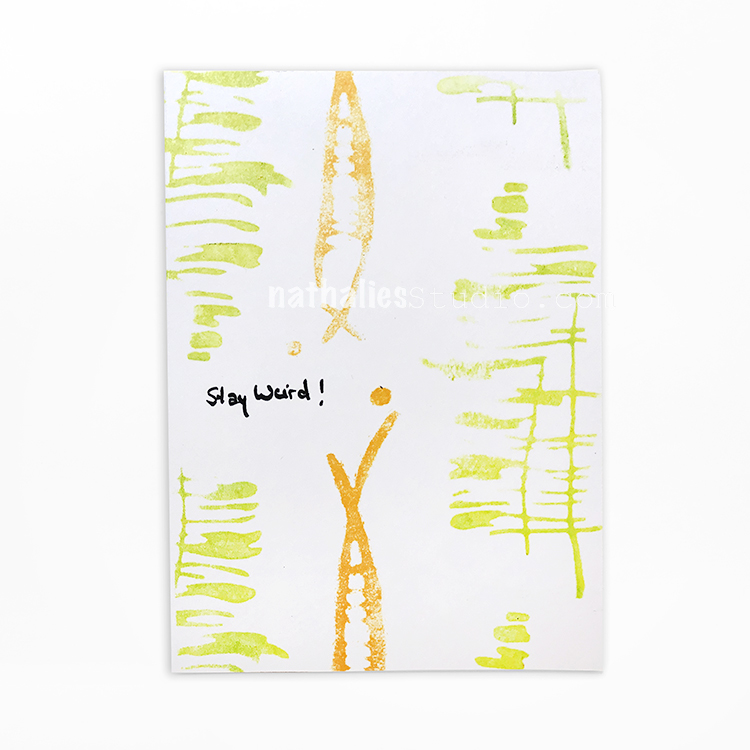
Day 26 – Stay Weird
I like to keep company with the weird ones because well, they are so much more interesting! So today for the Deck of Cards Challenge I made a card to hopefully encourage someone to stay unique and awesome and interesting.
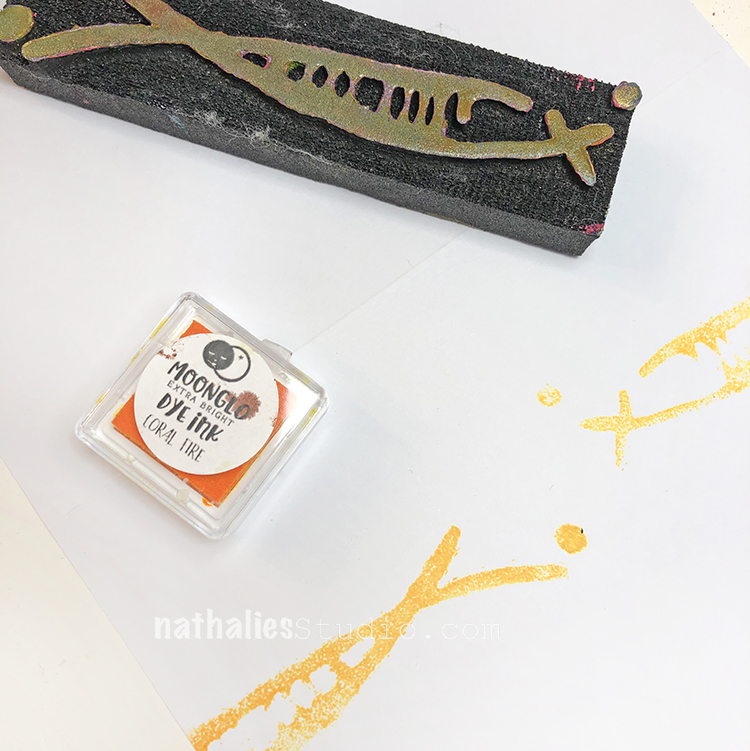
I stamped a background with my Neato and Far Out foam stamps with Moonglo dye inks and wrote my sentiment.
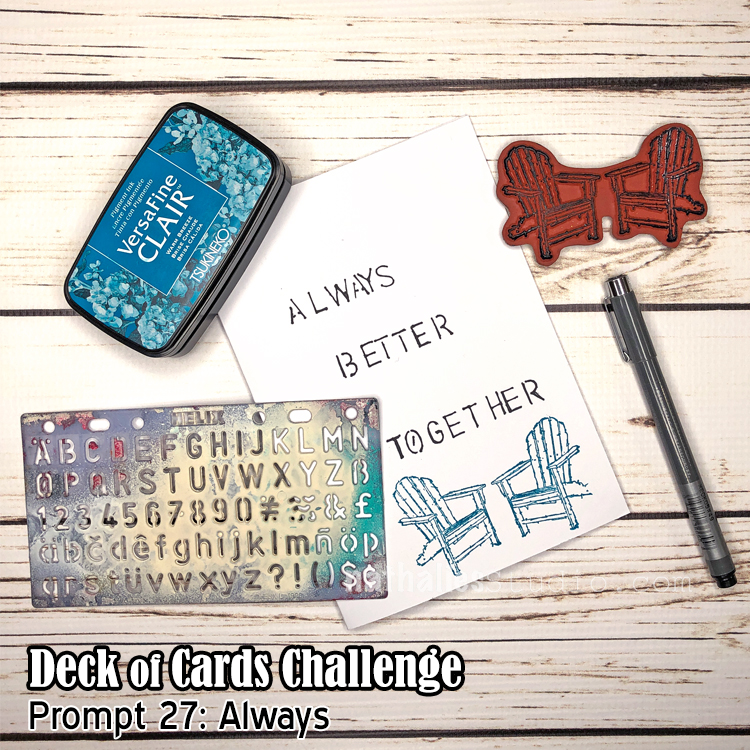
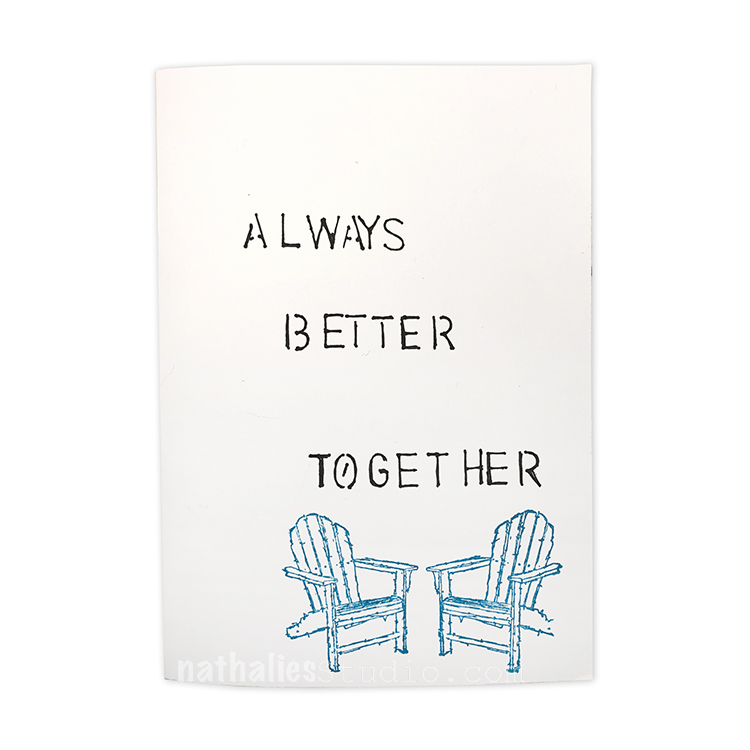
Day 27 – Always
Here’s a card for that someone who you just can’t do without.
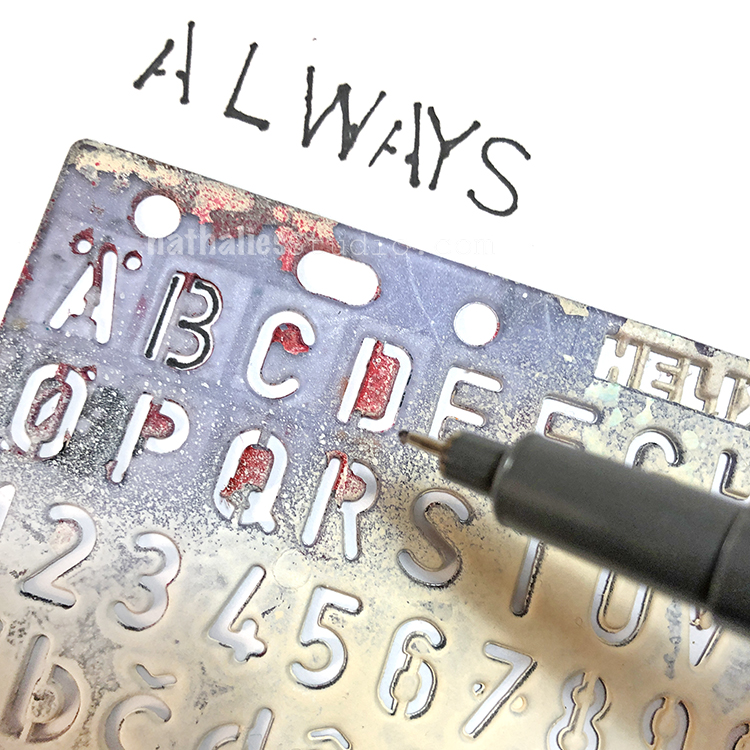
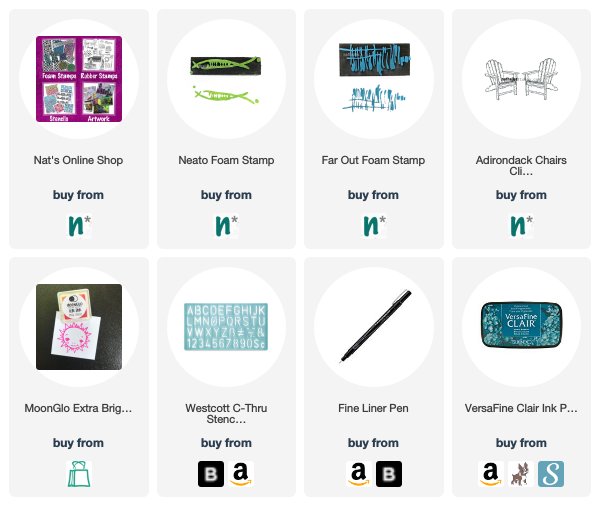
I started out with a black fine line pen and a lettering stencil for my sentiment.
Then I went in with my Adirondack Chairs stamp to really push the idea that 2 are better than 1:)
Hello from my Creative Squad. Today we have a beautiful collage and stencil project from Linda Edkins Wyatt to inspire you. Linda is using my Manhattan, Ornament Wallpaper, and Versailles stencils and this month’s theme: Mirror Mirror – A mirror can be a reflection of many things. We look into them every day and can see who we are outside and in. But they can also just be a fun visual tool to play with as we flip and reverse images and patterns. Play with reflection this month.
I adore playing with mirror images! But, when I pulled out my Nat Kalbach stencils, I had a Homer Simpson “D’oh!” moment. They were all geometric and already in a mirror image layout! I freaked out a little. I had to move my orderly Virgo mind outside the box to tackle the mirror image theme in a new way.
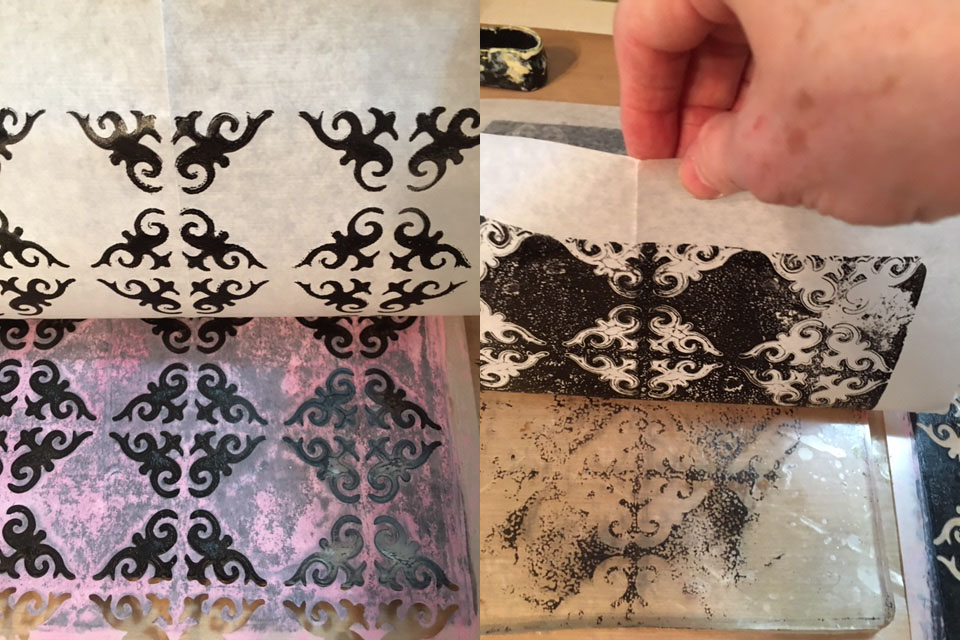
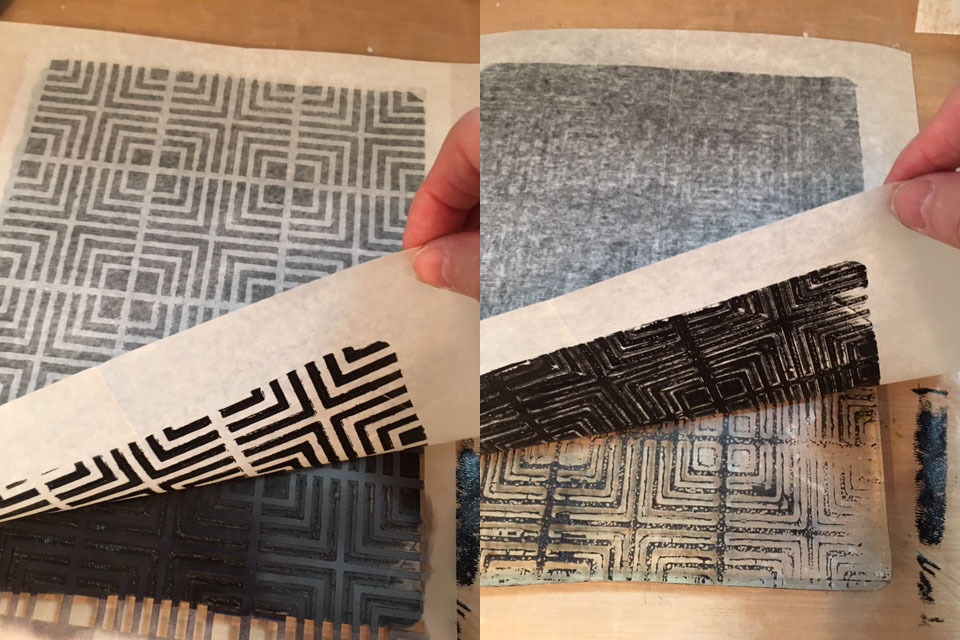
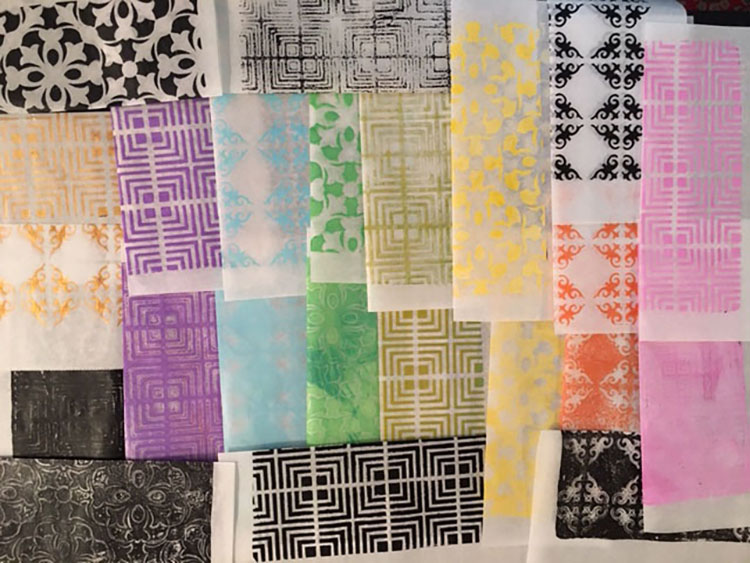
I didn’t really have any idea of how to create a mirror image with stencils that were already in a mirror image, so I calmed myself by gelli printing in a rainbow of colors, plus black and white.
An interesting aspect of the gelli plate is that after you pull the first print, the image left on the plate is the exact opposite. I got a bit excited when I saw my pile of printed deli paper growing and started thinking about the mirror image using both color and the reverse images.
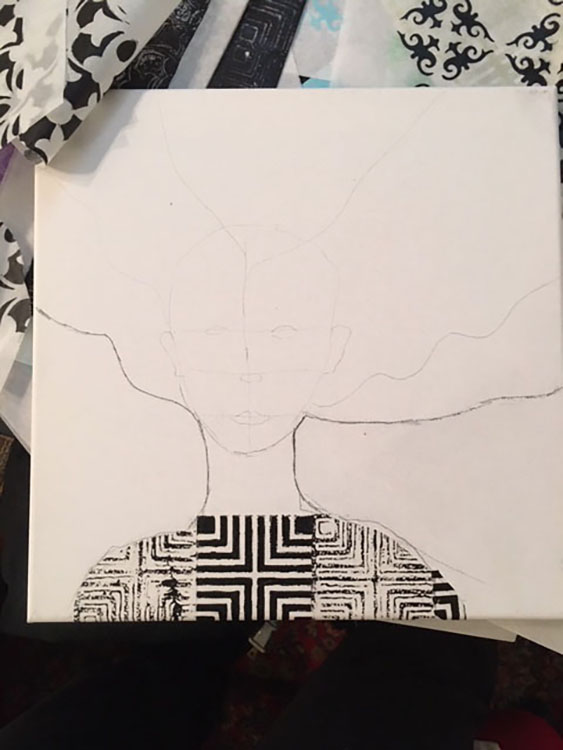
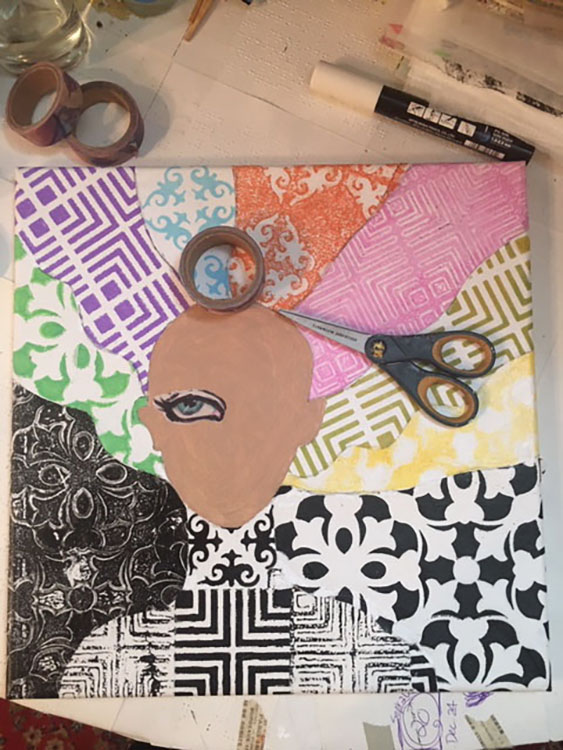
I love portraits, so I decided to try a face…after all, that’s what you usually see in the mirror, right? I sketched out a face shape, slightly off center, and added marks for the features and hair.
I decided to make her clothing a mirror image. I used both the positive and negative gelli prints and cut them to fit the space I had sketched in pencil.
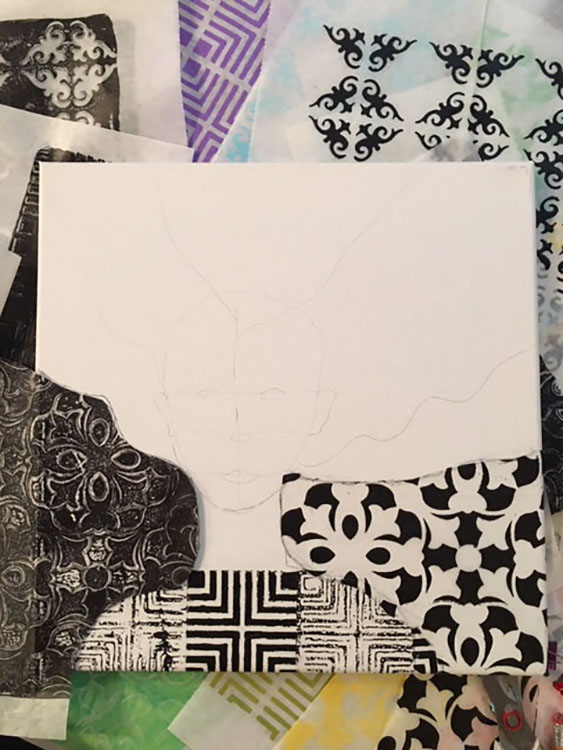
Next, the background. I again used a positive/negative, but this time one on the left and one on the right.
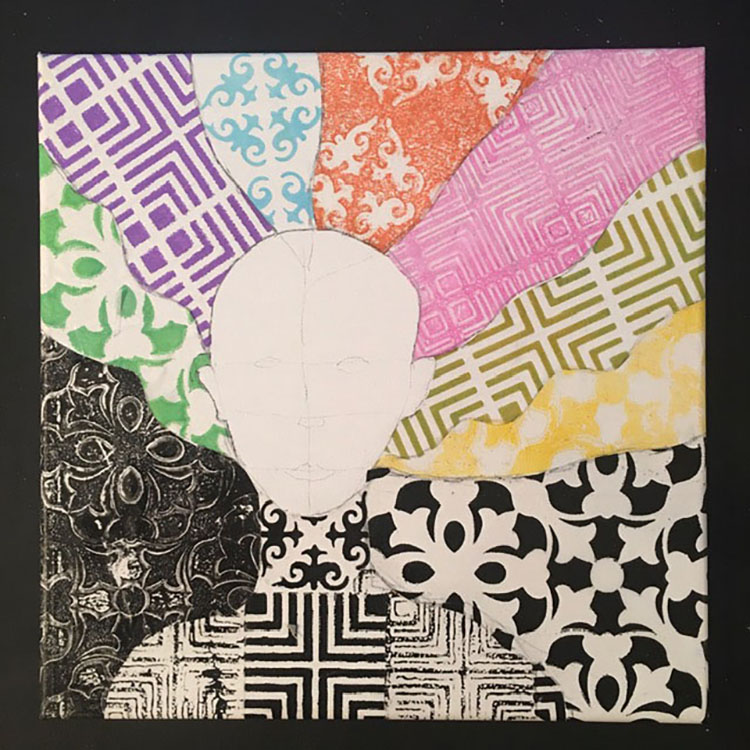
My concept was that society often sees things in black and white, but inside my head there is usually an explosion of colors and shapes and ideas. To convey that, I decided to have the hair made up of a rainbow of deli paper gelli prints.
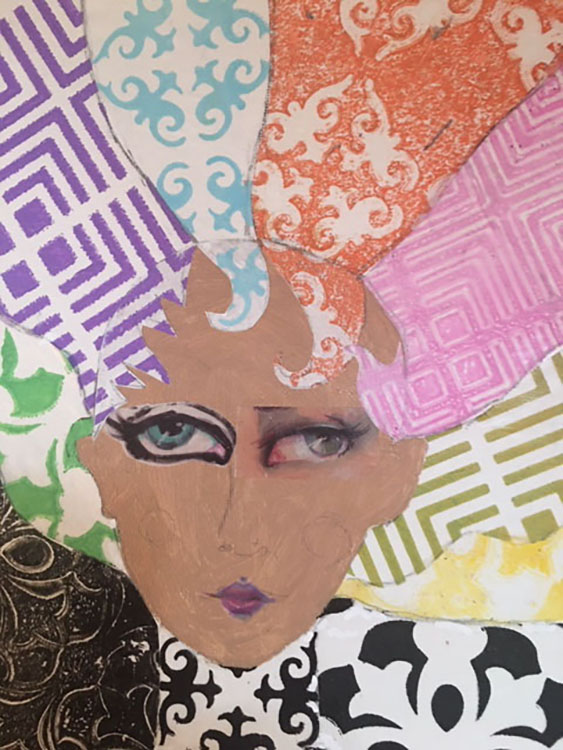
When the hair was done, it was time for a face. First, I painted a skin tone. Next, I chose some Jane Davenport washi tape with eyes and a mouth. I added extra paints, colored pencils and posca pens until the face was complete and the washi tape sections blended with my own colors. I tend to subconsciously make my women look like me, so I tried to do a “not Linda face” and went for a deeper, multicultural skin tone.
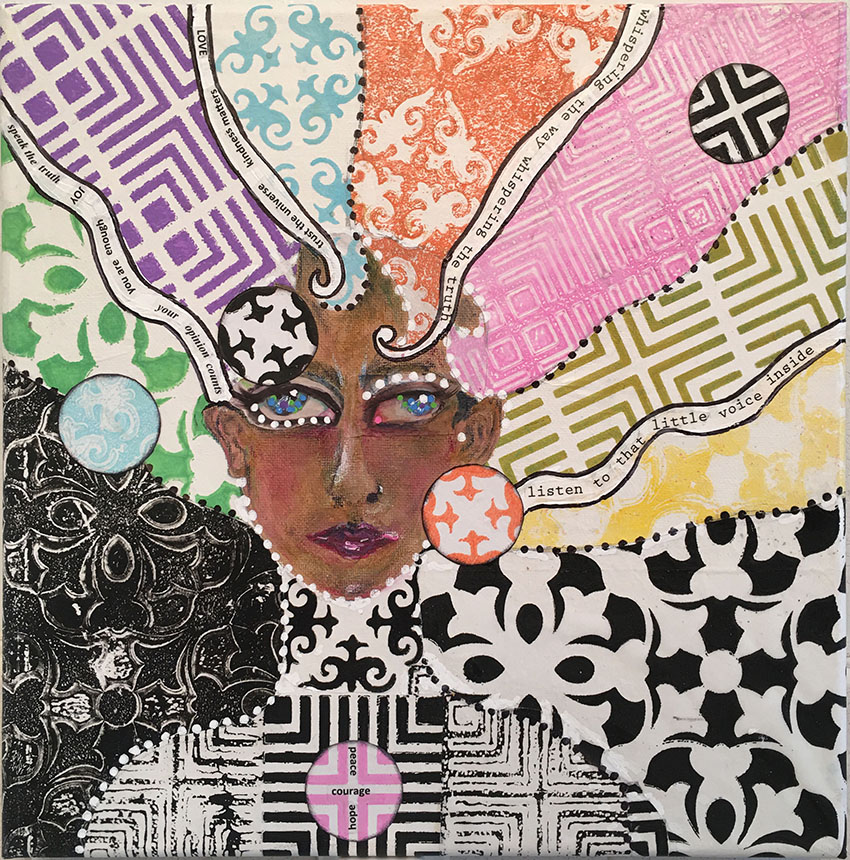
Once the gelli prints were all on the canvas (I used both a glue stick and Golden heavy gel gloss to adhere the cut paper to the canvas), I wanted to add words, lines and dots. The words were printed on Avery clear mailing labels; I carefully cut them to fit in the white swirls running through her hair. (Be sure to have very clean hands when handling the printed words. Also, using tweezers helps get the words exactly where you want them.)
I also added colored deli paper circles floating in the hair to add visual interest and to spot the colors around the canvas. Since deli paper is sheer and I wanted the circles to pop, I glued the printed deli paper to white cardstock first, then cut the circles and placed them around the canvas.
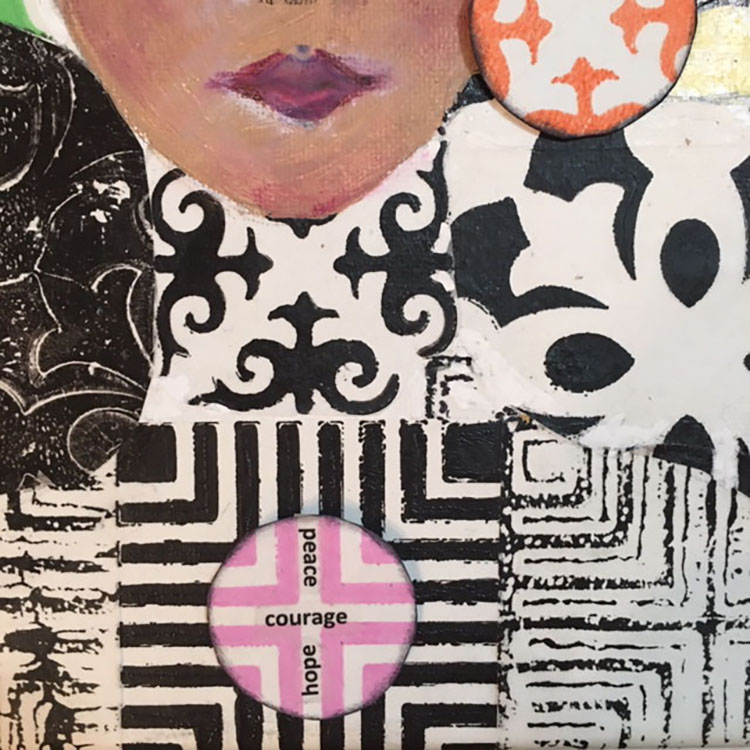
For the center of the body, I added a pink “button” with the words of encouragement for both the soul and the world: peace, hope and courage.
Thank you Linda! Love that you were able to interpret the theme in a way that inspired you to create such a striking canvas – looks awesome!
Want to give Linda’s project a try? You can find all my Stencils in my Online Shop and here are some of the other supplies she used:
Feel inspired? Working on something yourself that you’d like to share? I love to see how you interpret our monthly themes. Email me or tag me #natkalbach how you used my stencils and stamps – I would love to share your projects in my next “n*Spiration From Around the Globe“.
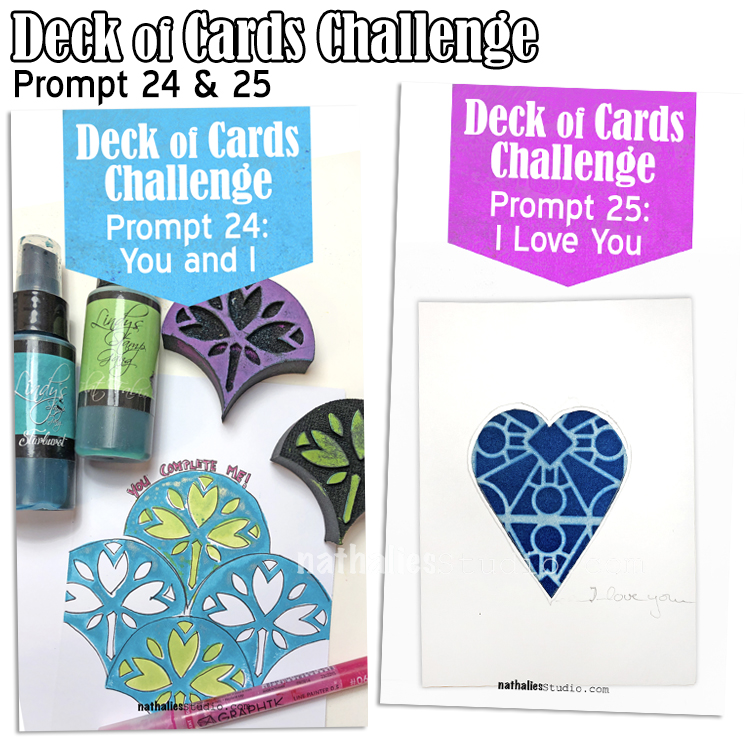
Today I am recapping Days 24 and 25 of my Deck of Cards Challenge that is running all month long on Instagram. This week we are focusing on funny friendship cards and words.
Here is a recap of Prompts 24 and 25:
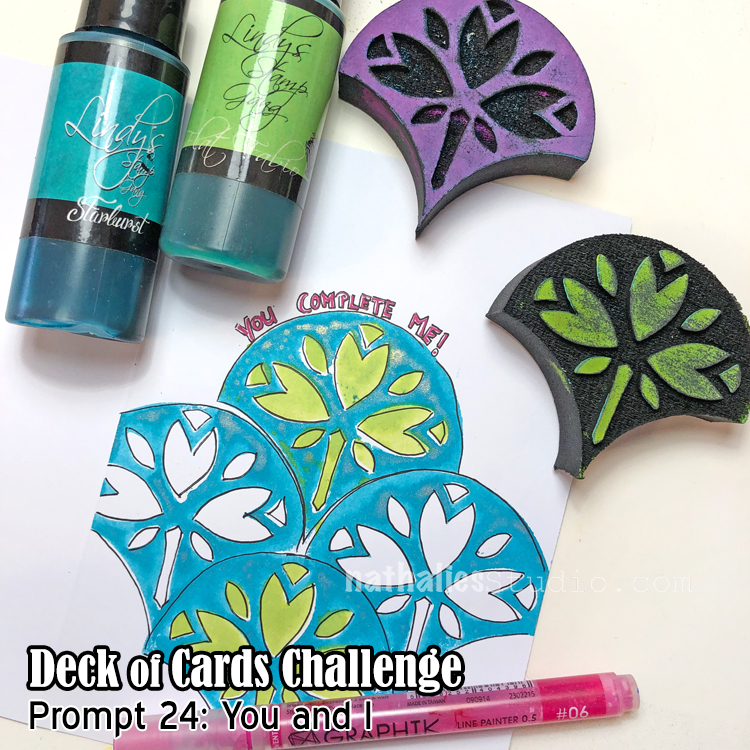
Day 24 – You and I
How about a classic love sentiment for today’s Deck of Cards Challenge? Oh the memories of cinema history here with this one. Haha!
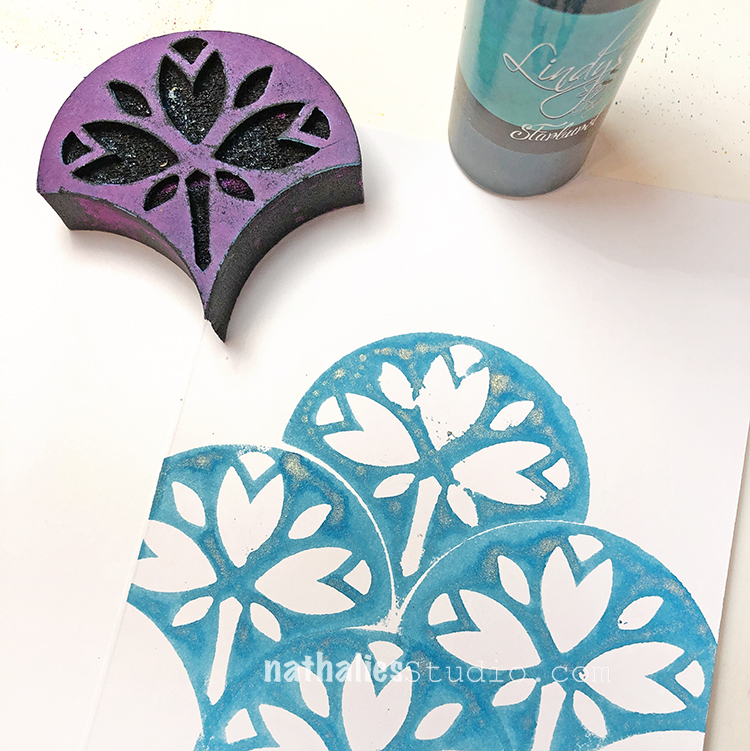
I started with my Jewett Fan foam stamp set and stamped them with Lindy’s Starburst Spray. I love the watercolor like effect it gives with foam stamps.
Then I added some color and You Complete Me with Graphik Line Painters. Don’t worry, this one is already in the mail to Jerry Maguire :)
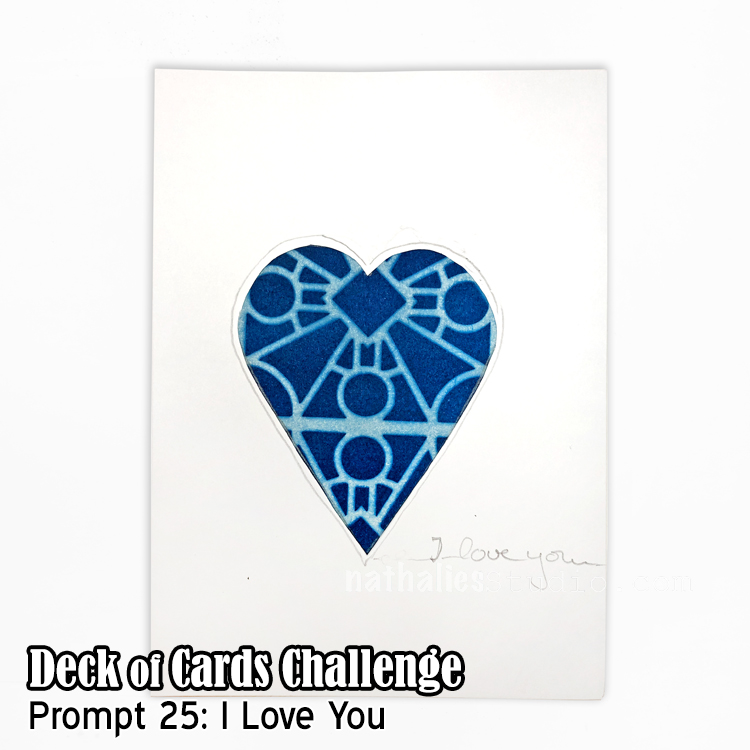
Day 25 – I Love You
Three little words that can change your life JToday’s Deck of Cards Challenge is a card with a bit of collage to it and some pencil… and that’s it. Because when you say “I Love You” there is really not much more you need to do.
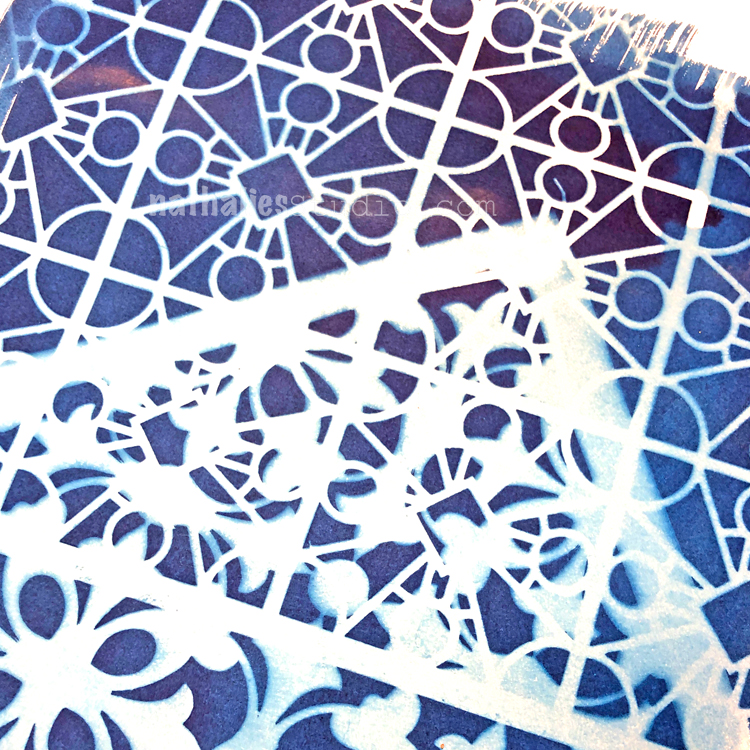
Oh and that cool collage paper is from my experiments with cyanotype printing and I used my Buenos Aires and Versailles stencils.
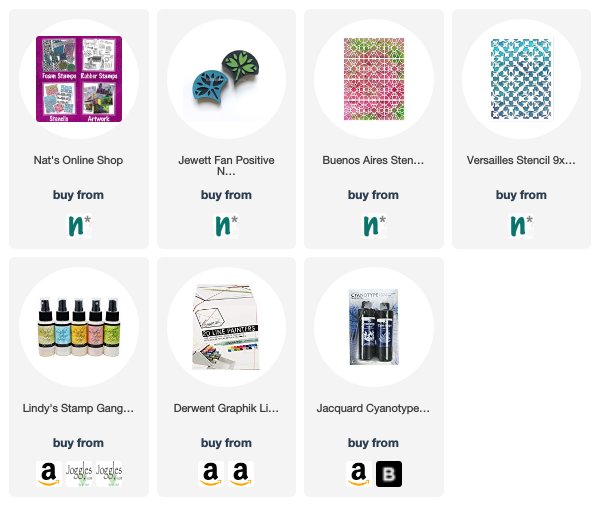
Here are some of the supplies I used:
Join us for thefinal days of the Deck of Cards Challenge on Instagram and share your work with #docchallenge. Here are the prompts:


Hi Nat,
Hi Nat, So looking forward to CJS 2020 – it is always so well done and the artists you select are all inspiring. My January is made. Thanks. JoAnn
Reply