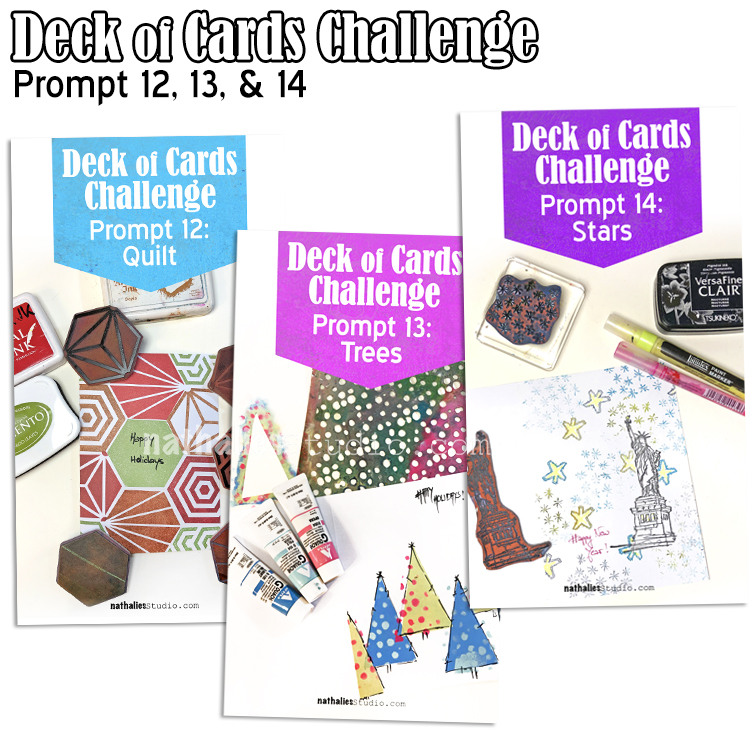
Today I am recapping Days 12, 13 and 14 of my Deck of Cards Challenge that is running all month long on Instagram. Join us for some fun and relaxing card making- this week we are focusing on holiday cards.
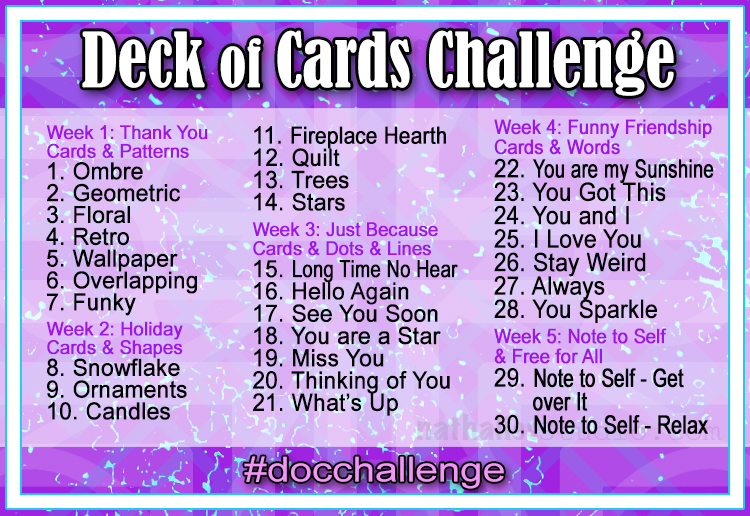
Here is an overview of Prompts12, 13 and 14:
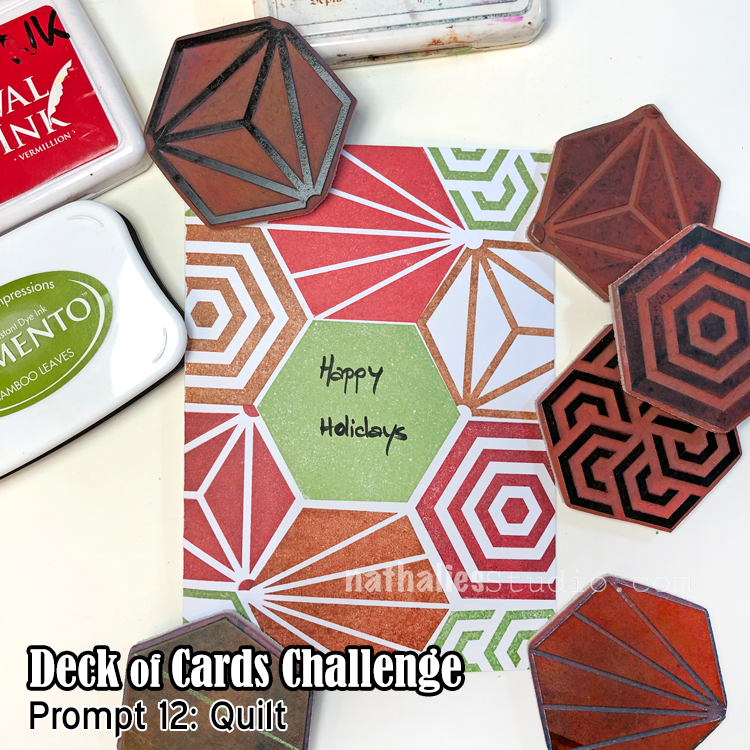
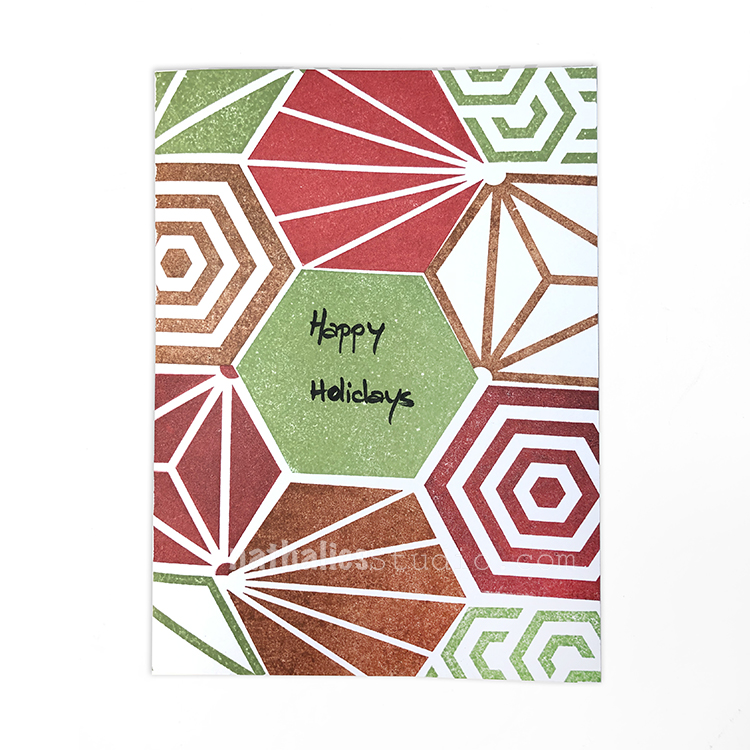
Day 12 – Quilt
Today I am using the classic Christmas colors of red and green with my Hex Large rubber stamps and creating a Happy Holidays quilt design.
Each day for the Deck of Cards Challenge I am bringing you a card idea for a lot of different occasions and this one is a perfect one to make a bunch of for everyone on your Christmas list. Simple, easy, and nice and bold and modern.
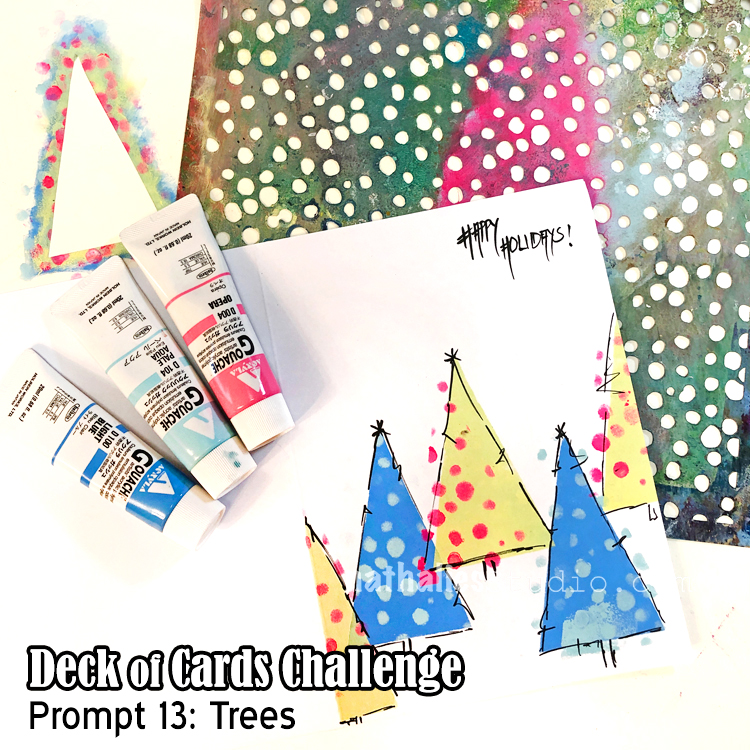
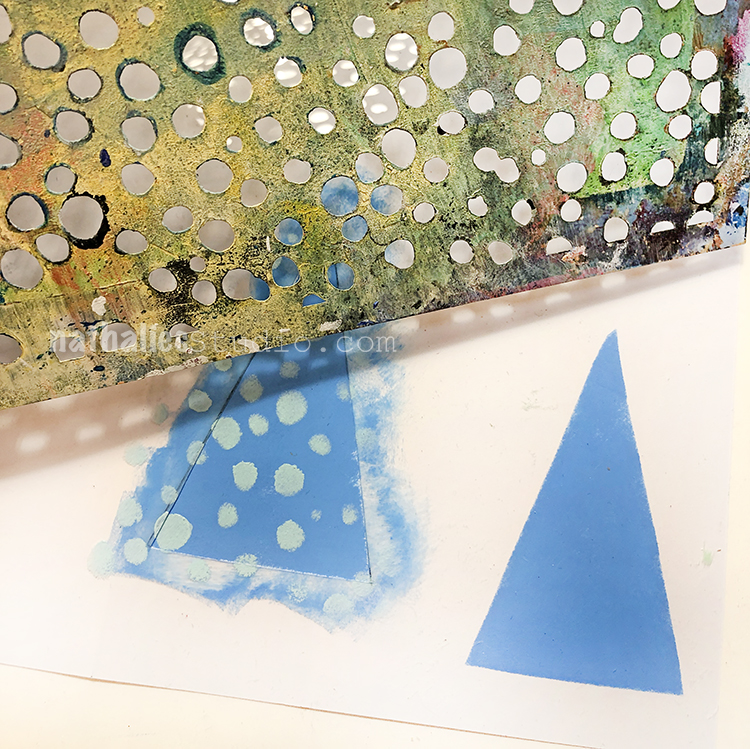
Day 13 – Trees
For my Deck of Cards challenge today I am making a holiday card with some funky little trees on it.
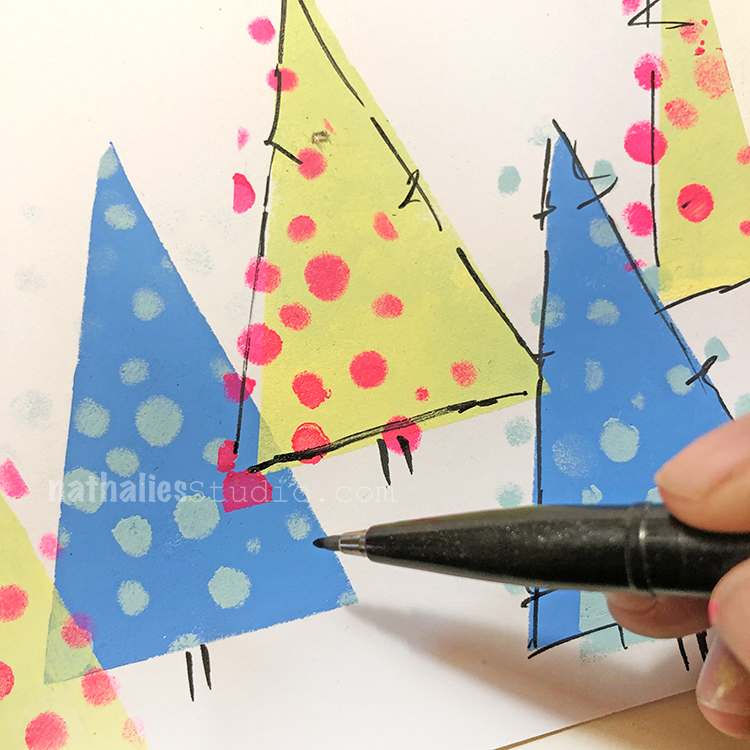
I cut out a triangle shape in some paper and then sponged acrylic gouache – presto I made a tree :) Then I decorated my tree with my What’s the Point stencil – charming little “ornaments”.
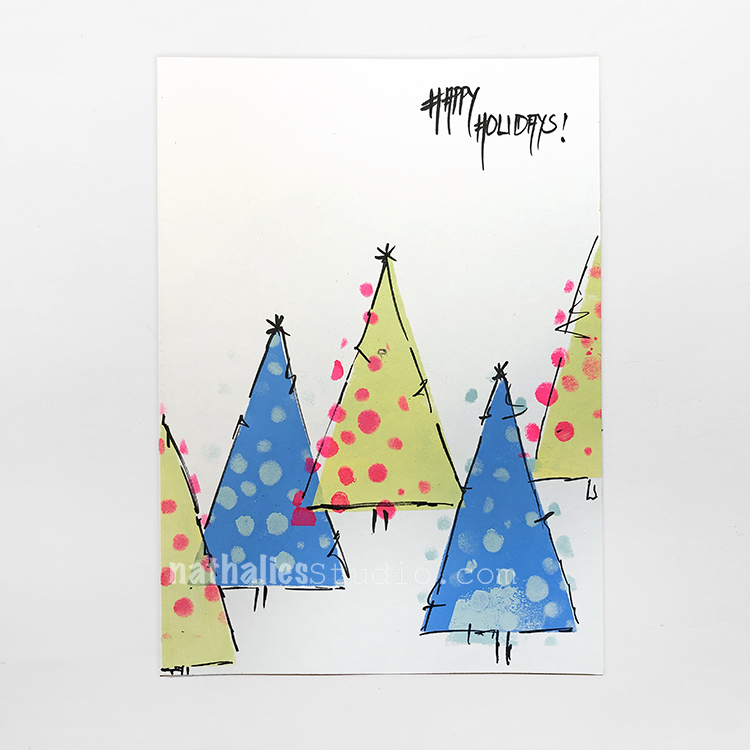
Next I oomphed up the edges with pen and even topped them with a little star.
This is a really cute card idea and perfect for making in multiples.
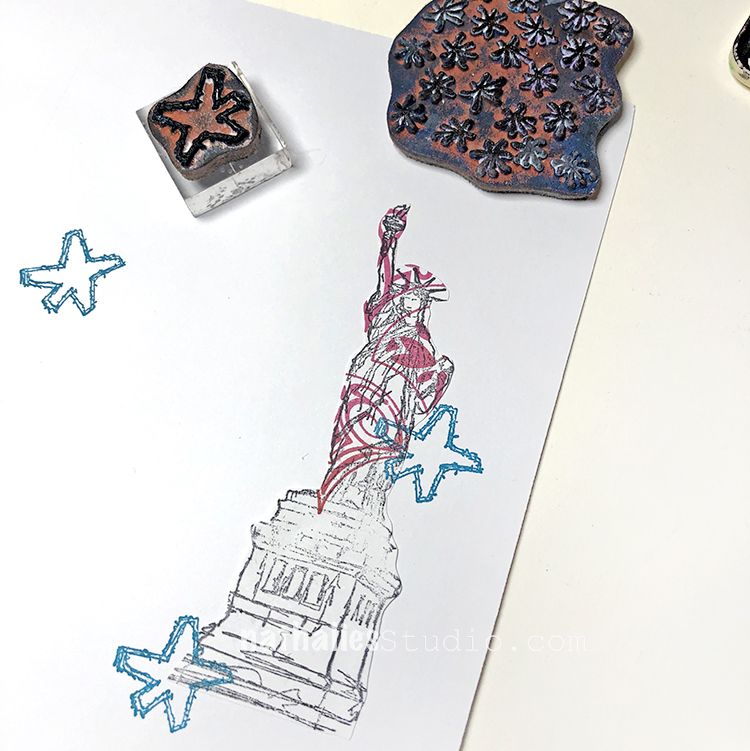
Day 14 – Stars
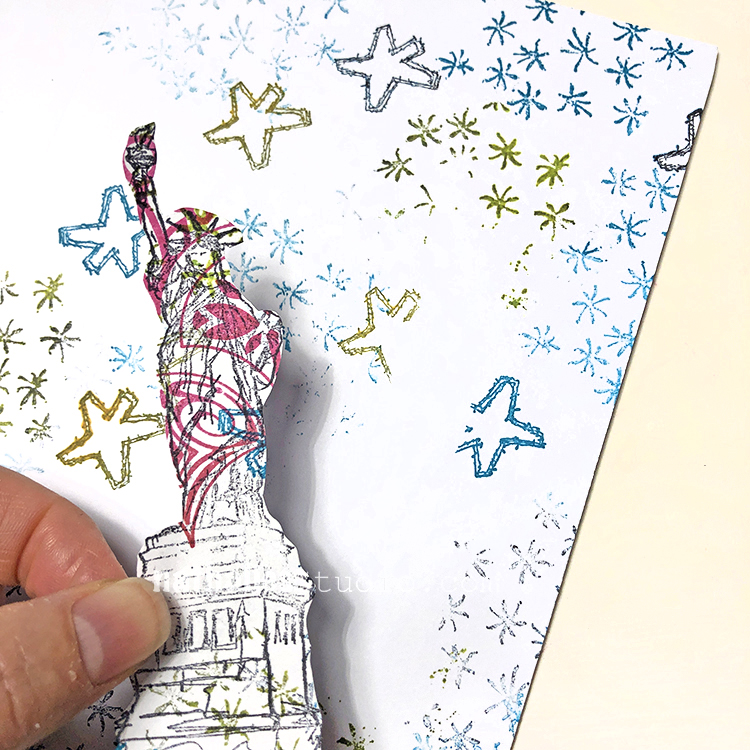
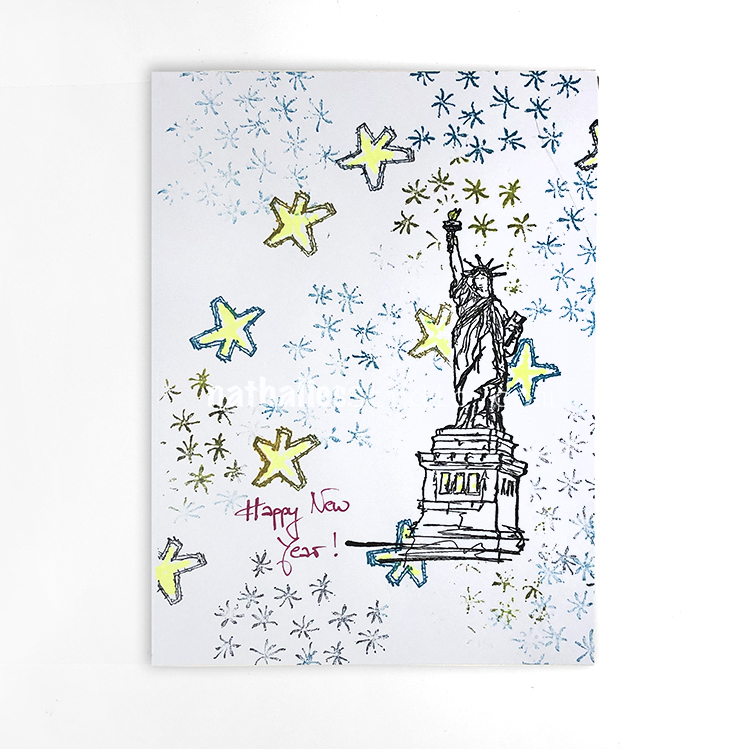
For our last holiday card in the Deck of Cards challenge, I thought we need a New Years card.
Here in NYC they always have fireworks on the big night so I thought hey, why not create that scene. I made a mask with my Lady Liberty stamp, then stamped out a festive sky with my Star Tag and Star Fish rubber stamps.
Next I removed the mask and stamped my Lady Liberty in black. I added some color with acrylic markers. Happy New Year!
I hope you share what you are working on using #docchallenge and stay tuned for more prompts.
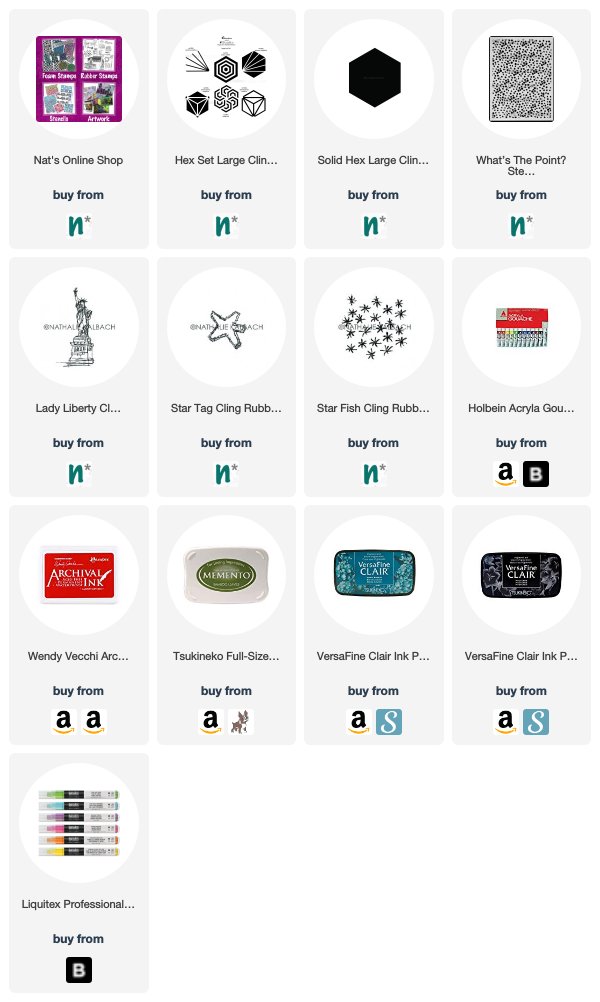
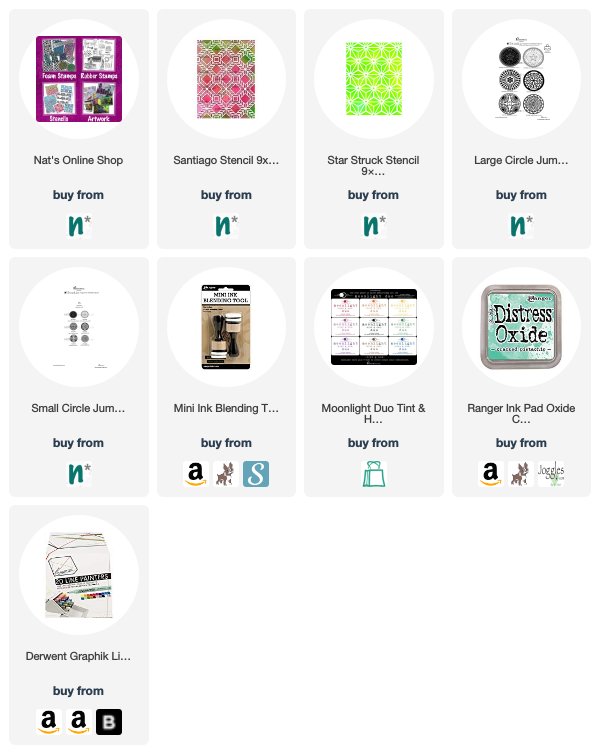
Here are some of the supplies that I used in these:
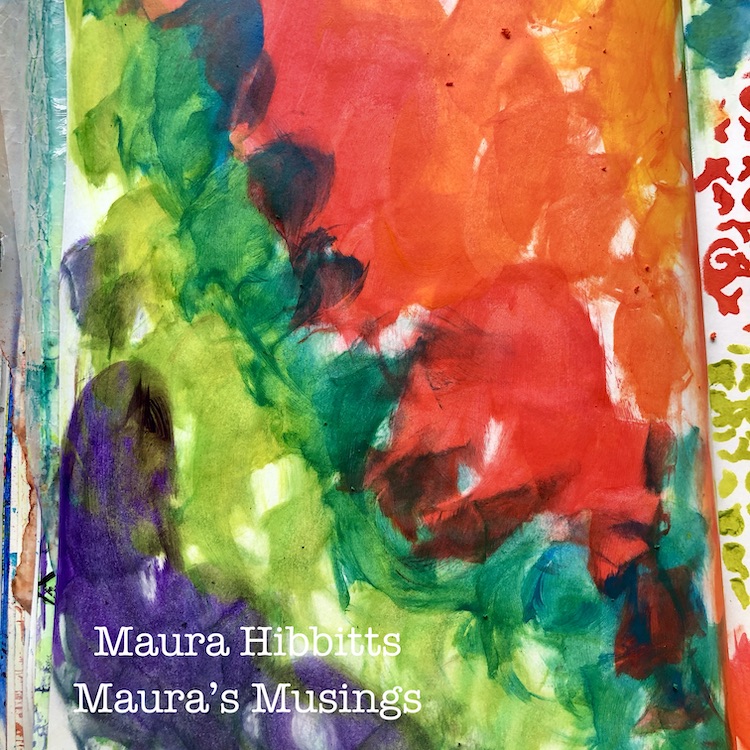
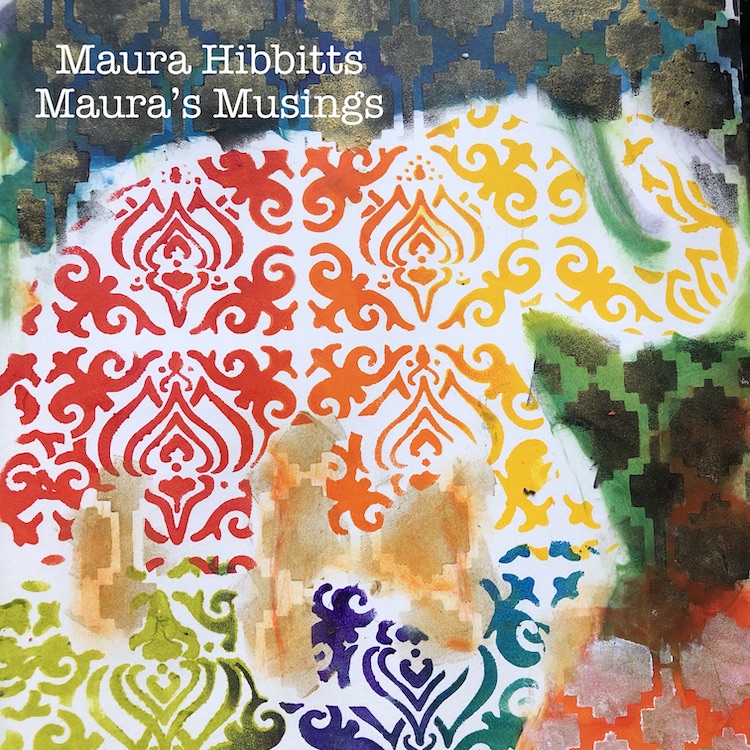
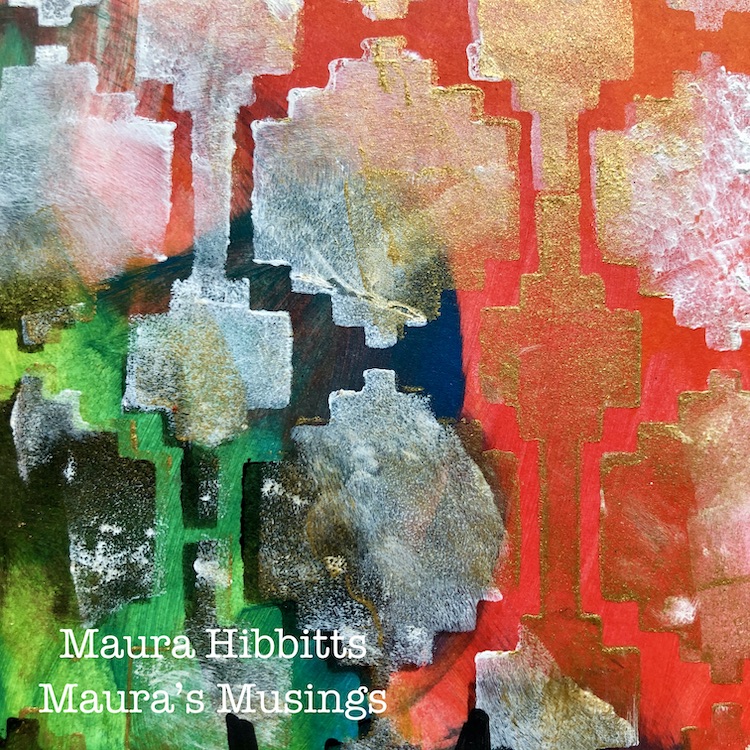
Happy Tuesday folks and welcome to a post from my Creative Squad. Today we have Maura Hibbitts sharing a colorful and intriguing art journal page with us that uses my Elephant Parade and Mesa Verde stencils and this month’s theme: Mirror Mirror – A mirror can be a reflection of many things. We look into them every day and can see who we are outside and in. But they can also just be a fun visual tool to play with as we flip and reverse images and patterns. Play with reflection this month.
As I was looking through my stencils for this month’s project, I came across Nat’s Elephant Parade and knew I wanted to work with this one. A few days ago, I was speaking with a former student and her parents about her Peace Corps work in Botswana, I am so proud of her! Among the many things we talked about were elephants, as there is a large wildlife refuge near her village with lots of elephants. It also took me back to a trip to India a few years ago with my husband, and I know neither of us will ever forget our ride on an elephant. Color is always a part of my creative soul, and our autumn colors have been so beautiful this year. My sons have captured the reflections of trees and sky in the lakes here, in their photos. These are the ideas that meshed together in my art journal.
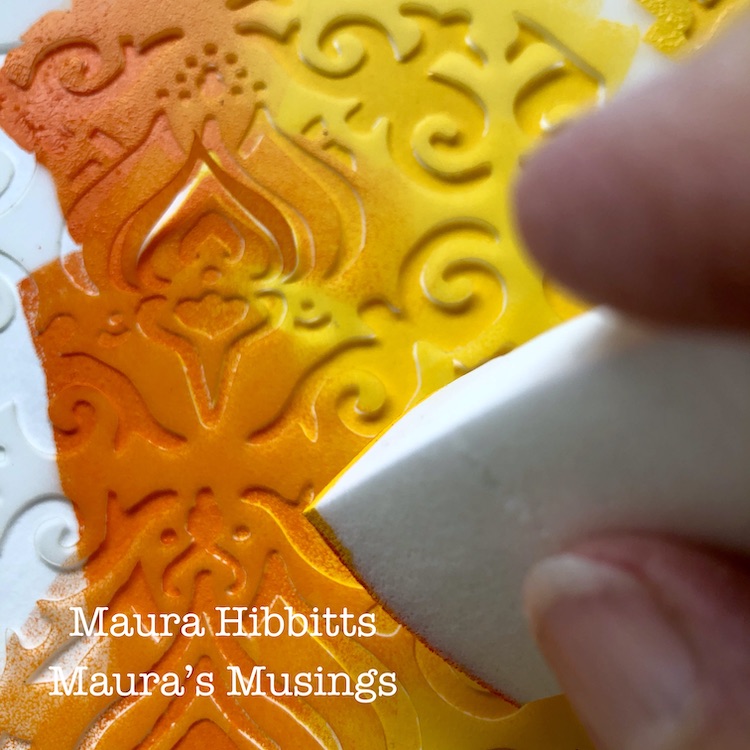
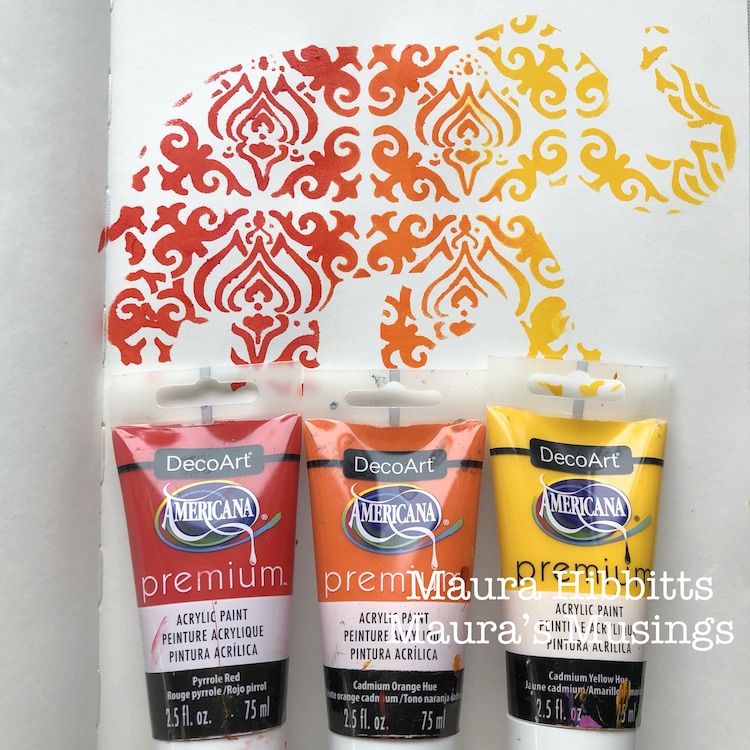
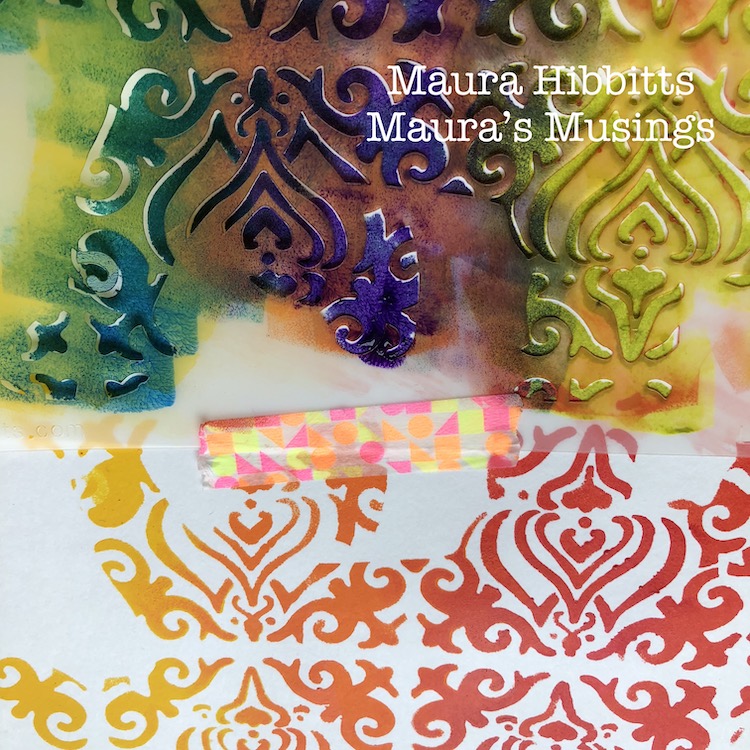
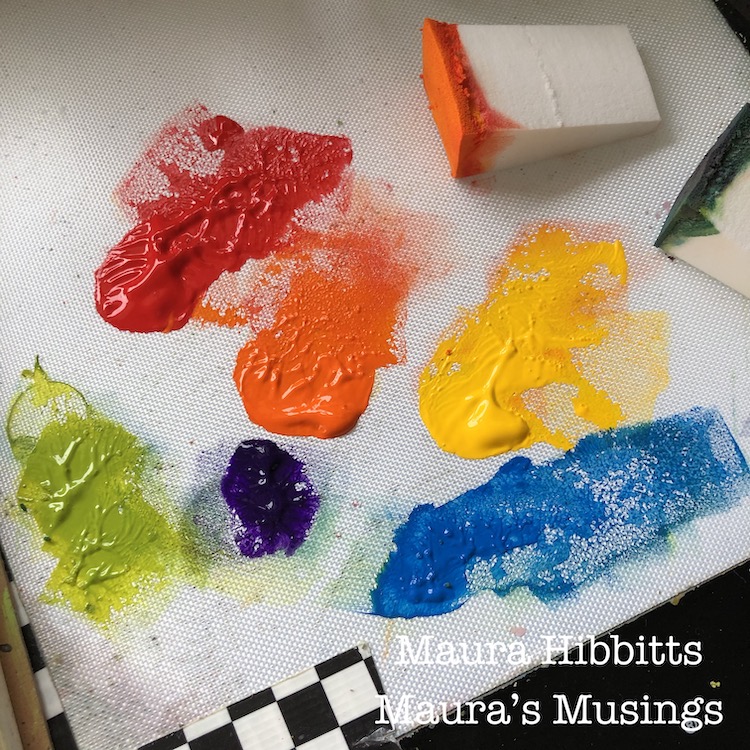
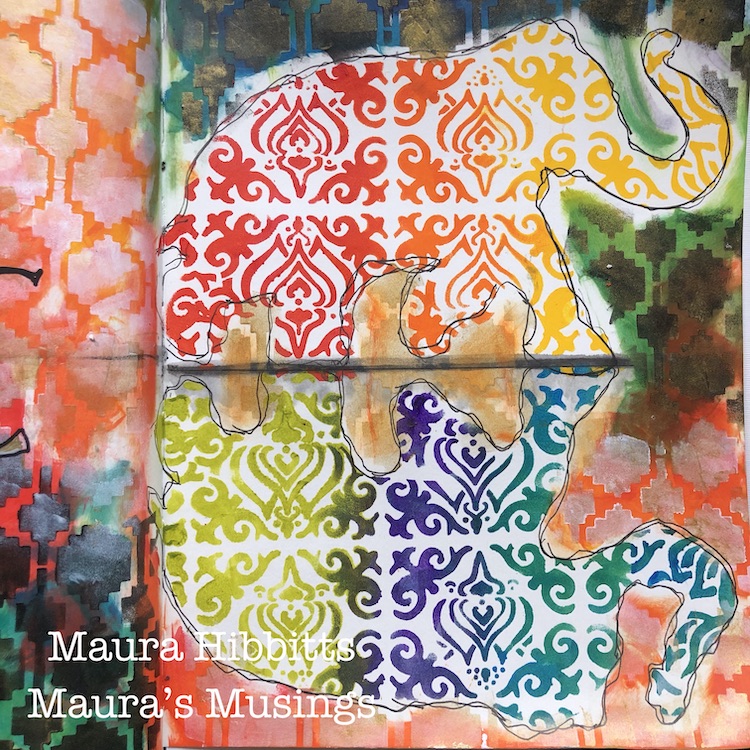
I decided to go with the primary colors with the elephant and began with the top one, using the Elephant Parade stencil, a cosmetic sponge, and yellow, orange and red paints. As I worked across the stencil, I blended between the colors a bit. Since I was changing colors as I worked, I took a bit of washi tape (since I have a huge collection) and taped it in place.
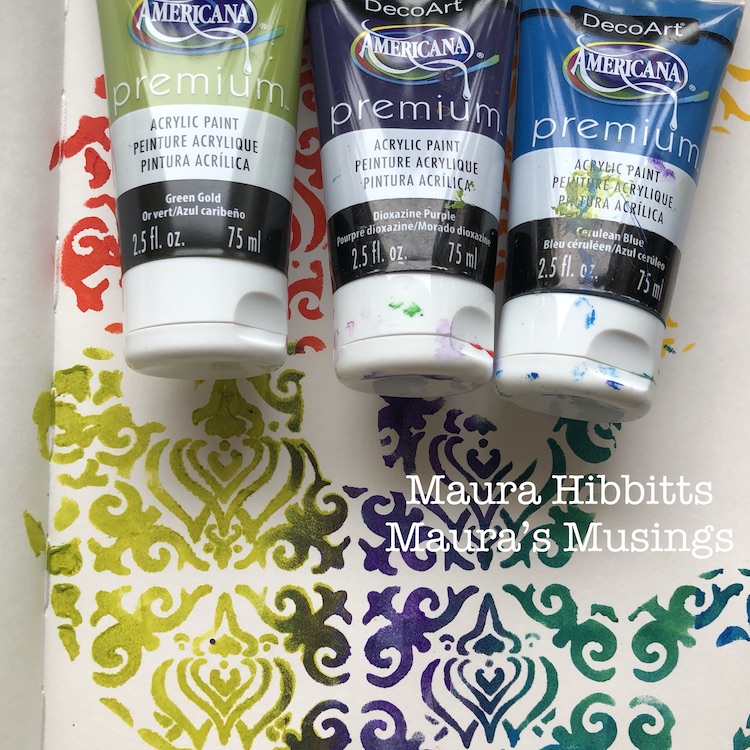
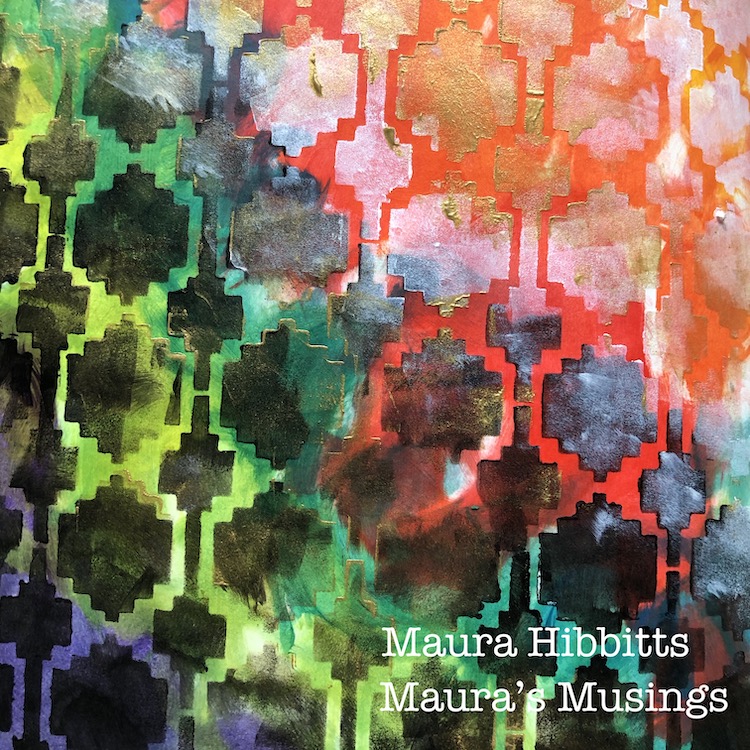
I turned the stencil upside down in my art journal, taped it in place, and started sponging in the contrasting colors, red with green, but then I goofed and put orange and purple together instead of orange and blue. Oh well, I still like how it looks with warm colors on top and cool colors below.
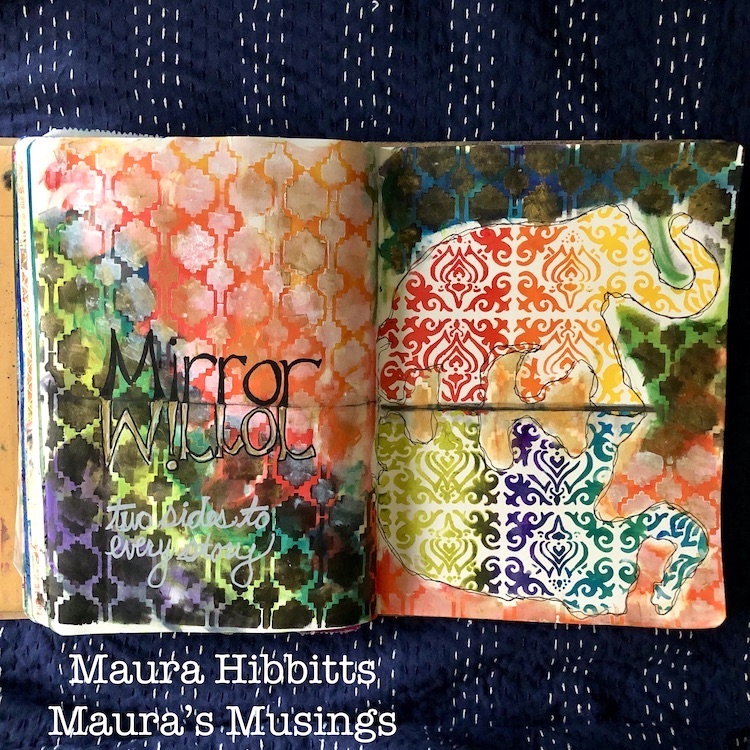
With colors left over from my palette, I decided to also do the opposing page (not in my original plan), so took the sponges and swiped the leftover paint onto the page in a circular motion.
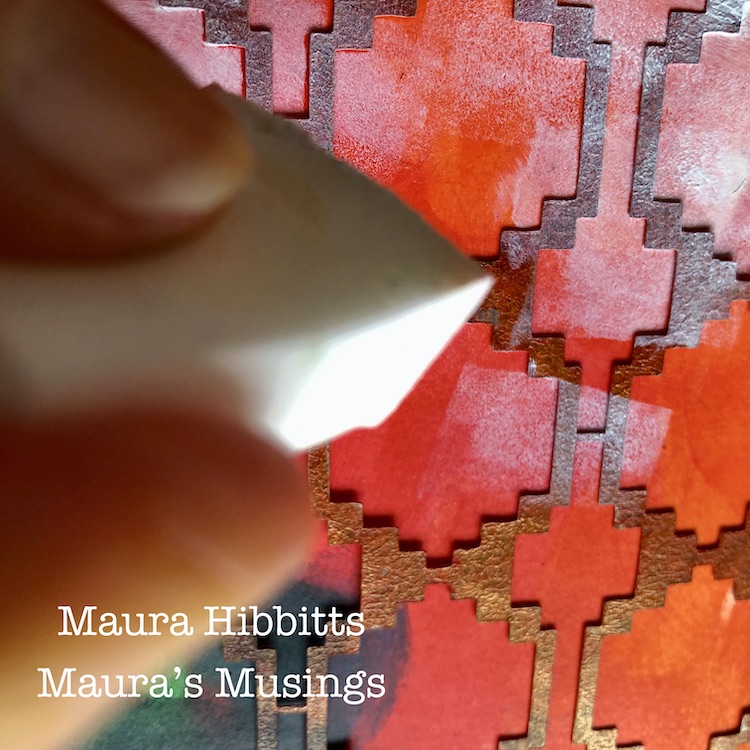
Now that I had a second page, I needed to work with it and wanted to find a stencil with an Indian feel to it to go with the elephants. Mesa Verde stencil to the rescue! I taped it in place, and used black paint over the dark colors, white over the light colors, and then I just had to add in some gold. (bright colors and gold remind me of India). After I finished the left side, I looked over at the elephant page, and decided to repeat with the stencil here also.
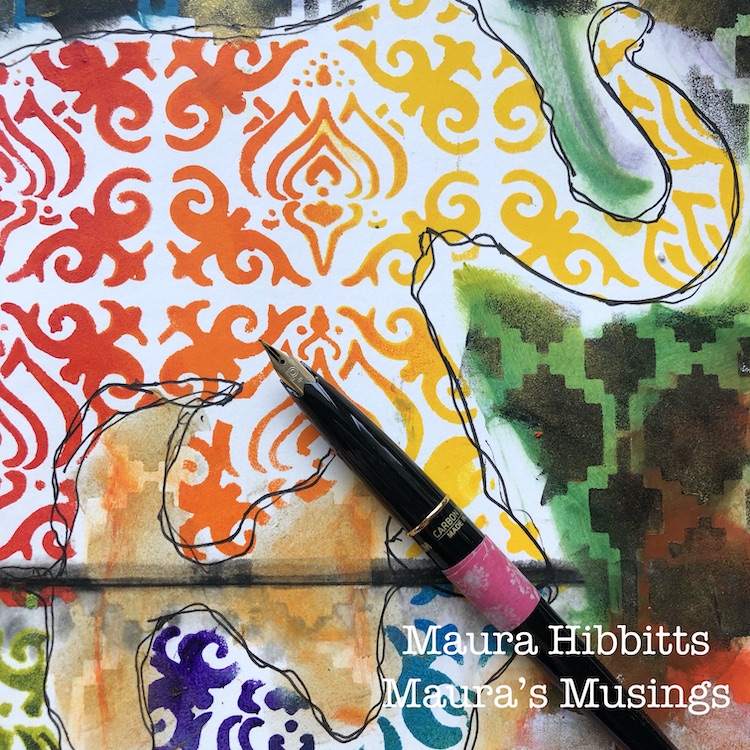
To create an idea of a reflection with the elephants, I added a line with the graphite pencil and water brush. Once that dried, I felt the elephants needed to stand out more, so added some scribbly lines with a carbon ink pen.
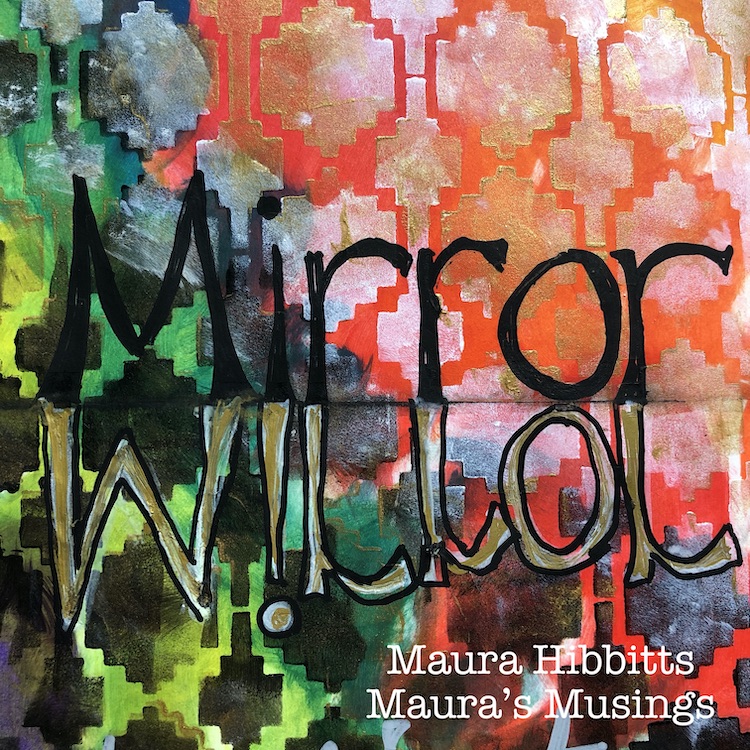
Now for the words…I started with Mirror at the top in hand lettering with a black paint pen. Then, I turned the page upside down and did a reverse of Mirror with a white paint pen, added gold and went around it with black to make it stand out.
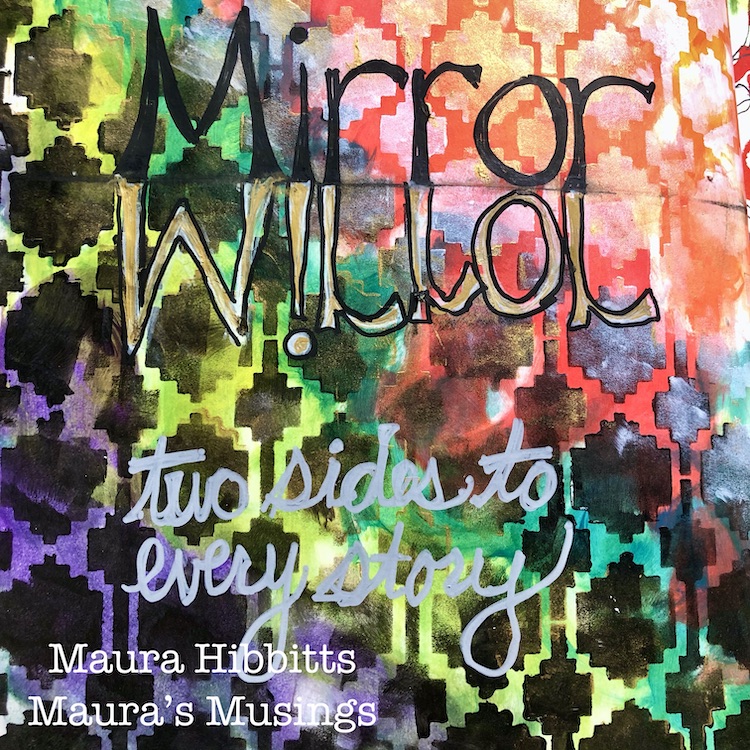
While I was writing my Mirror reflection I started thinking about mirrors showing us two images (or more), and how there is often two sides to every story, so I added these words in with a grey paint pen.
Bright colors, reflections, and journeys all play a part in my art journal pages.
Mirrors can reflect our images, calm waters can act like mirrors to reflect the landscape and sky around them. Artists have used mirrors in their paintings, adding intrigue with a glimpse into that small bit of the painting. We find mirrors in fairy tales…”mirror, mirror on the wall”…and stories. I’ve been thinking about the stories on both sides of the mirror. Thanks for sharing my reflective journey, Maura
Thank you Maura – love the resulting page with those lovely colors AND love your thoughts on mirrors and their stories.
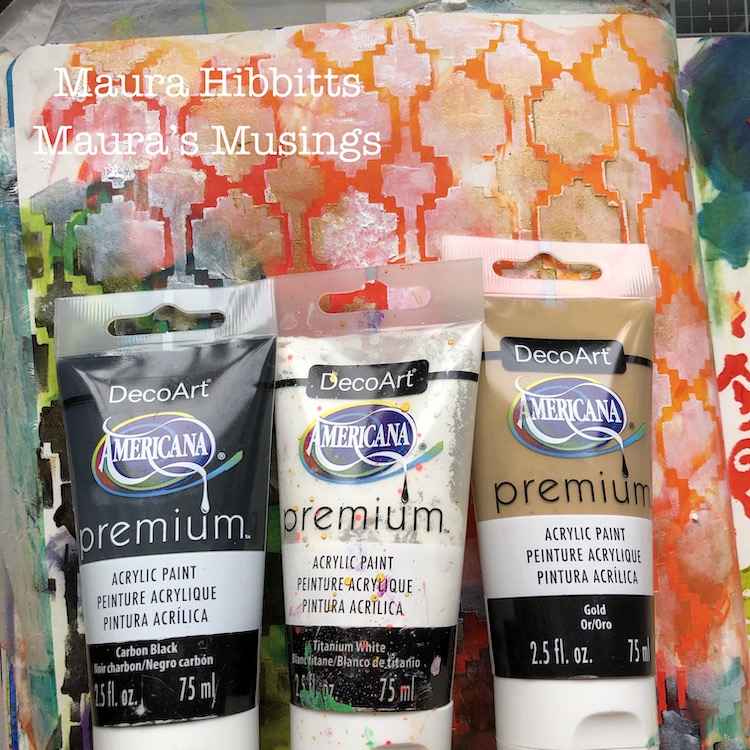
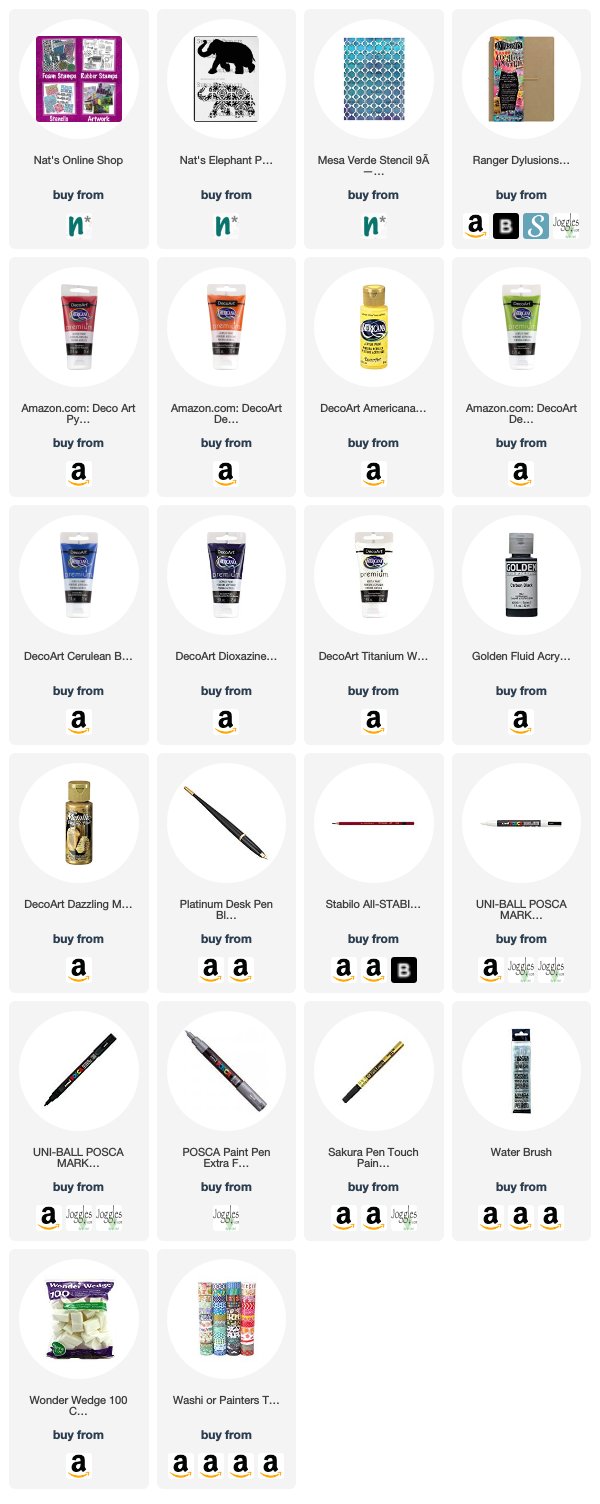
Want to give Maura’s project a try? You can find all my Stencils in my Online Shop and here are some of the other supplies Maura used:
Feel inspired? Working on something yourself that you’d like to share? I love to see how you interpret our monthly themes. Email me or tag me #natkalbach how you used my stencils and stamps – I would love to share your projects in my next “n*Spiration From Around the Globe“.
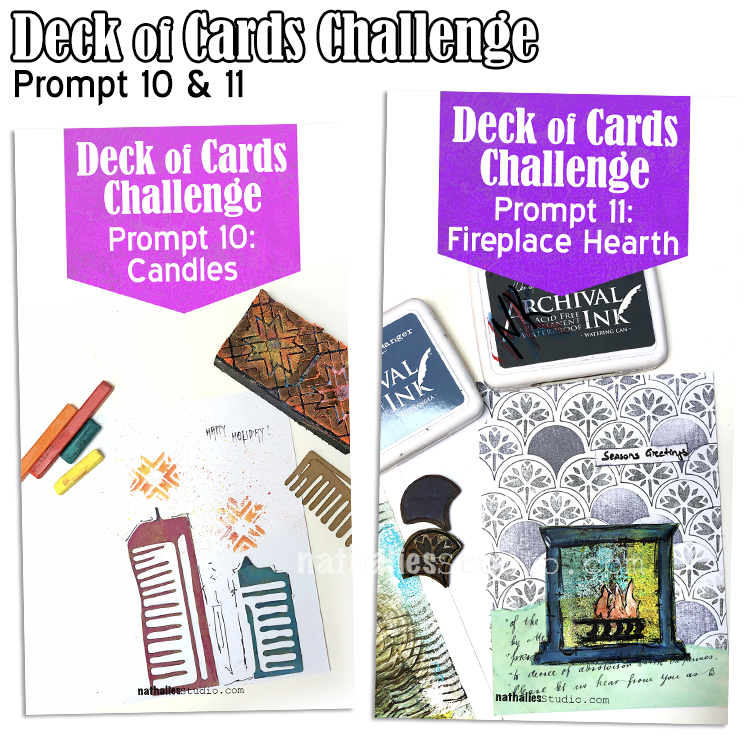
Today I am recapping Day 10 and 11 of my Deck of Cards Challenge that is running all month long on Instagram. Join us for some fun and relaxing card making!
Here is an overview of Prompts10 and 11:
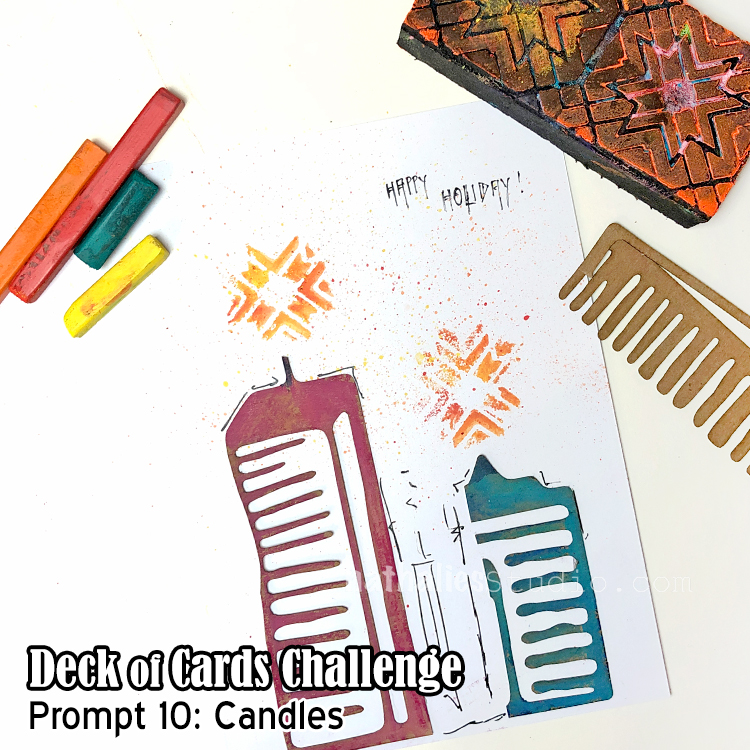
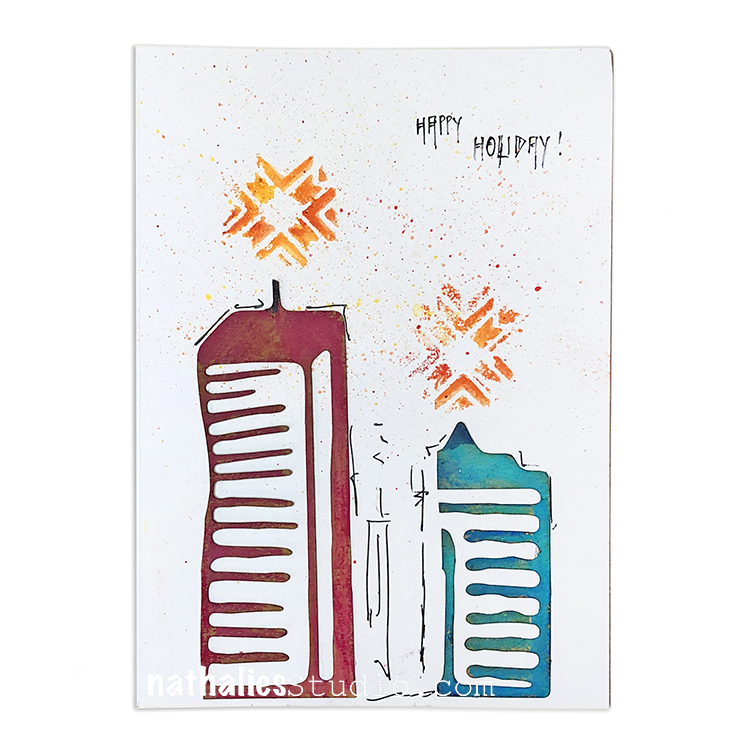
Day 10 – Candles
Here we are making a card for the Deck of Cards Challenge that is all about bringing light to the holidays. I used Derwent inktense blocks and rubbed those on my Mixed Media Chips and then with a wet brush diluted them. I rubbed some on the top later – undesolved it has more texture.
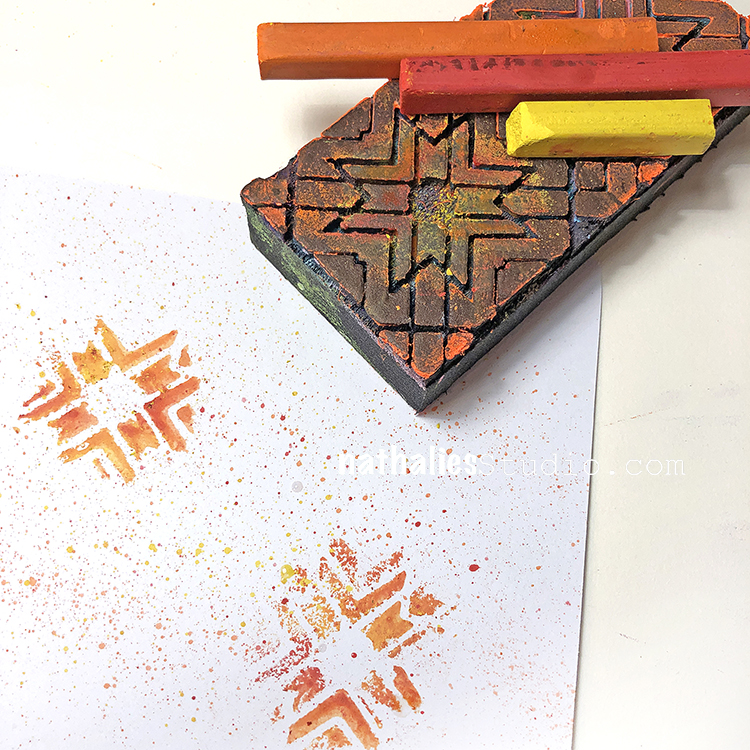
For my Toledo foam stamp I also used the blocks and just rubbed them on the area I wanted to stamp for the “flame” – then I used a wet brush to activate and stamped. I also loaded up some inktense on a wet brush and flicked some droplets around on the card. Hope you give some of these inktense block techniques a try too!
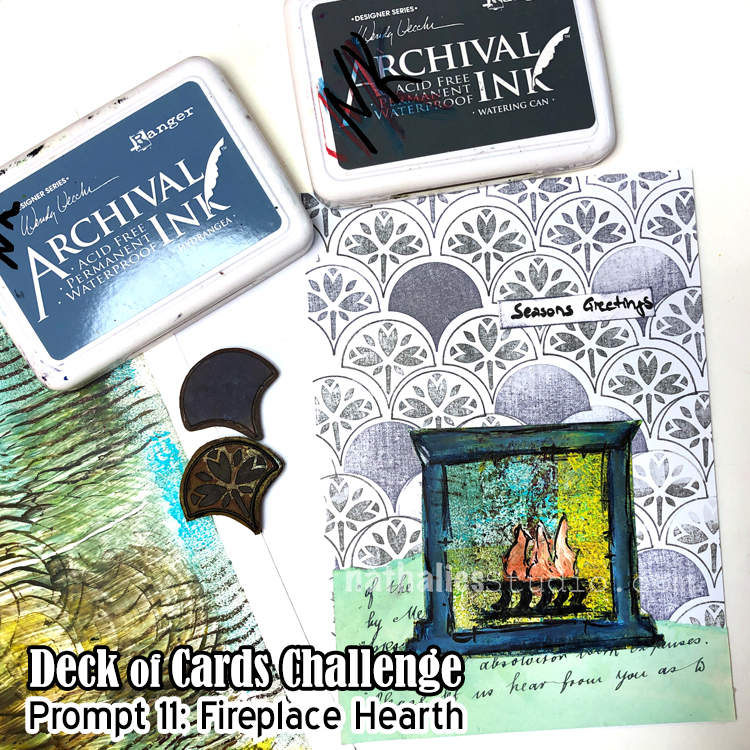
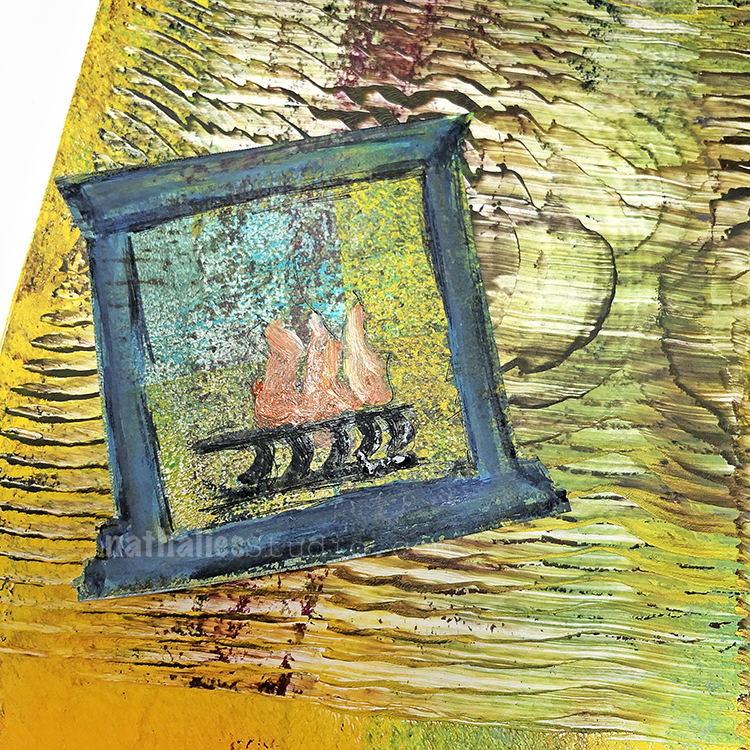
Day 11 – Fireplace Hearth
Today we are gathering around the hearth – something my family loves to do as soon as it gets cold outside.
I used some monoprinted collage paper I had in my stash for the fireplace and added some elements on top to create the warm and cozy scene.
For the wallpaper-esque background I stamped my Jewett Fantastic rubber stamp and the Solid Fan stamp. The old letter piece at the bottom is inked up with some green Oxide distress ink. Where do you gather when it is time to wish Seasons Greetings?
Tune in for more card making fun and I hope you share what you are working on using #docchallenge
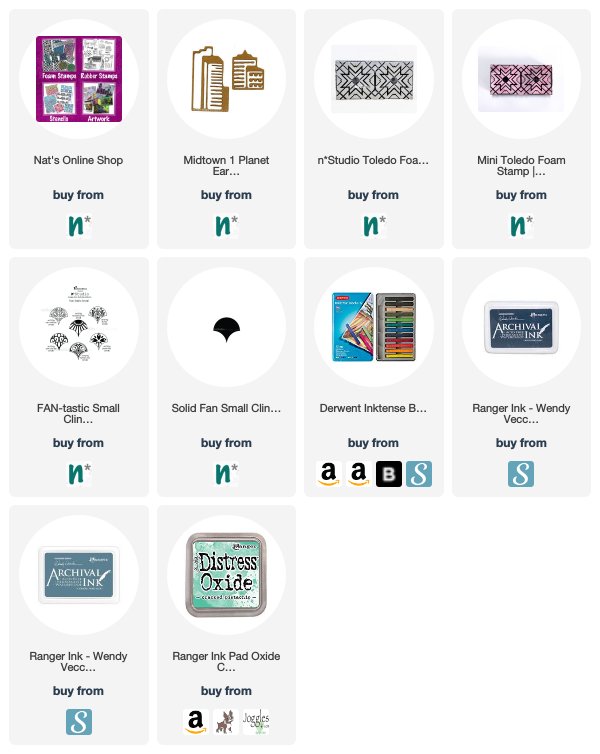
Here are some of the supplies that I used in these prompts:
Join us for the Mixed Media Journaling online workshop with Sketchbook Skool. I am teaching alongside Seth Apter, Mary Beth Shaw, and Kecia Deveney for this 4 week course that begins tomorrow, November 11th!!!
Check out my little chat to learn a bit more about this class:
This is a great line up of teachers and wow did they do a nice job producing the videos and website for this one. I hope you check it out HERE and we see you in the skoolyard :)
Today I am recapping Day 8 and 9 of my Deck of Cards Challenge that is running this month on Instagram. This week we are making holiday cards with a focus on shapes.
Here is a recap of days 8 and 9:
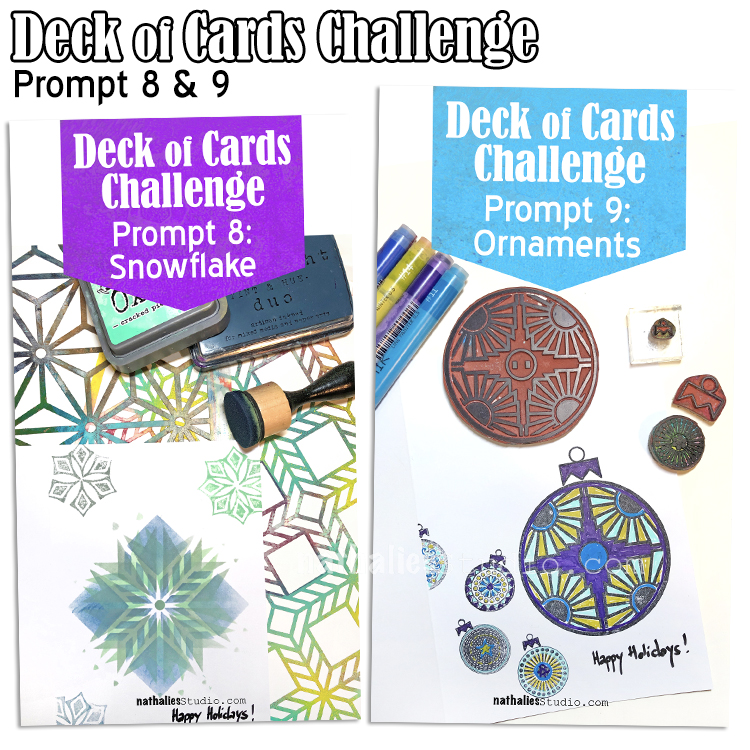
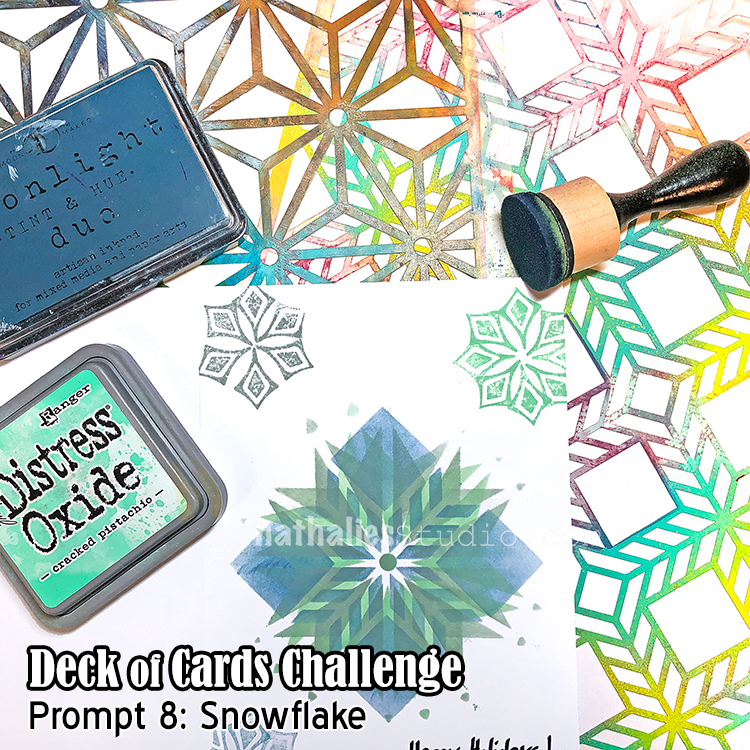
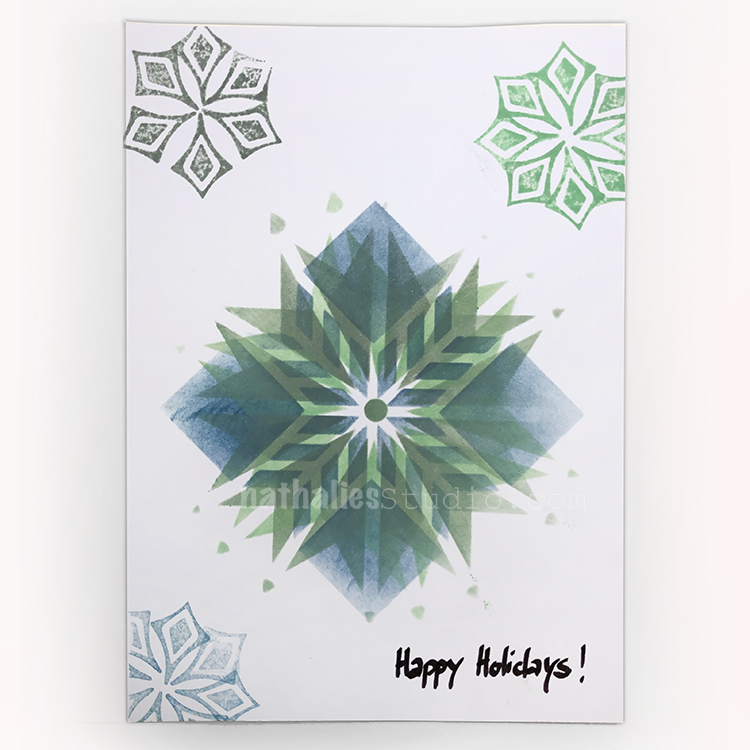
Day 08 – Snowflake
For week 2 of the challenge we are making holiday cards so I thought I’d start off with a classic winter motif – the snowflake.
Using an ink blending tool and masking off a shape in my Santiago stencil…
and then Star Struck stencil, I layered up a very nice snowflake. Because no two snowflakes are the same, I added a few more with my Fanfare stamps. This is one snow storm that will brighten anyone’s day :)
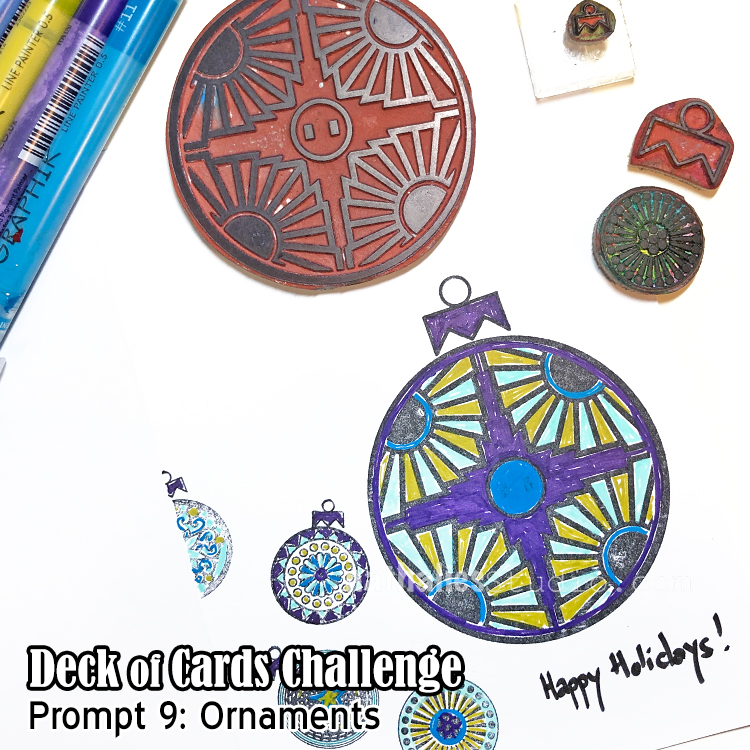
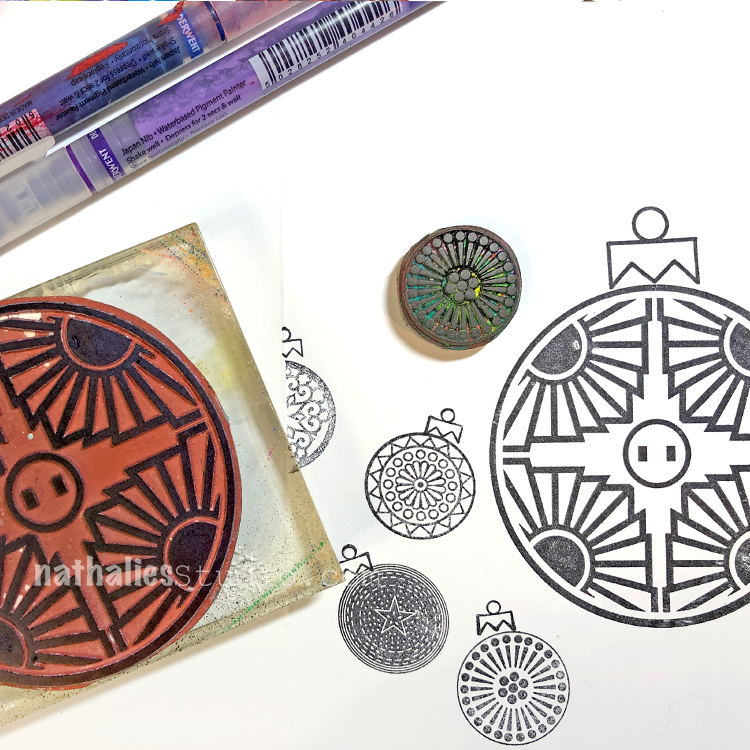
Day 09 – Ornaments
Today we are making a holiday card with Ornaments on it.
My Small and Large Circle Jumble stamp sets actually include an ornament topper stamp in them – so it couldn’t be easier. You could fill these in with lots of different colors – I’ve chosen to use Graphik Line Painter markers in some merry and bright colors.
Keep following us and I hope you share what you are working on using #docchallenge
Here are some of the supplies that I used in these prompts:
Here is the prompt list so you can play along too! Follow the daily prompts on Instagram and tag your creations with #docchallenge
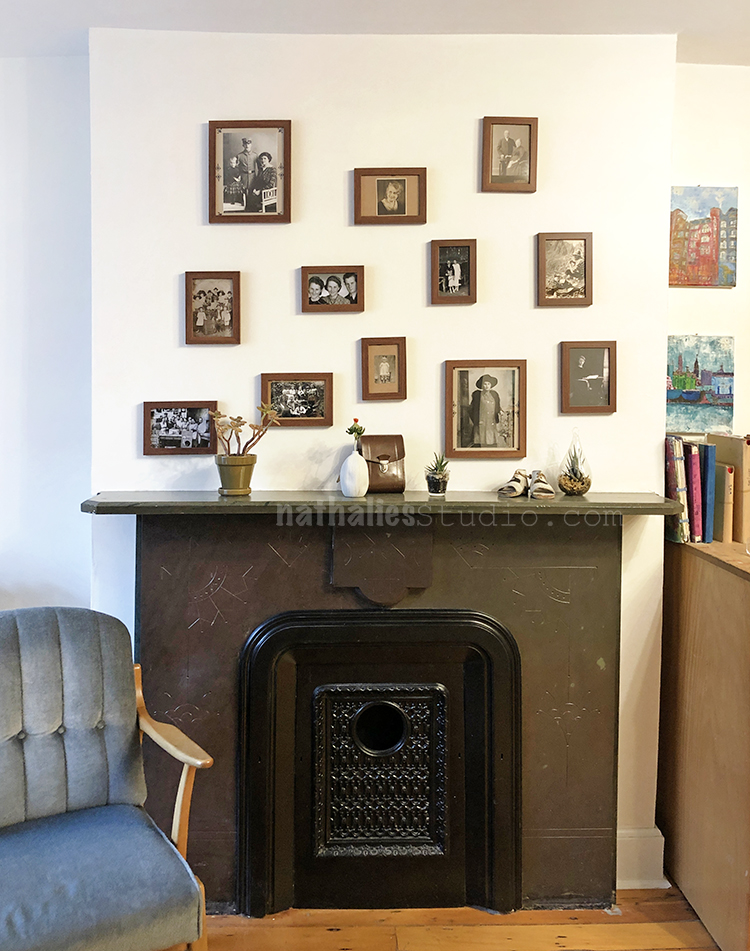
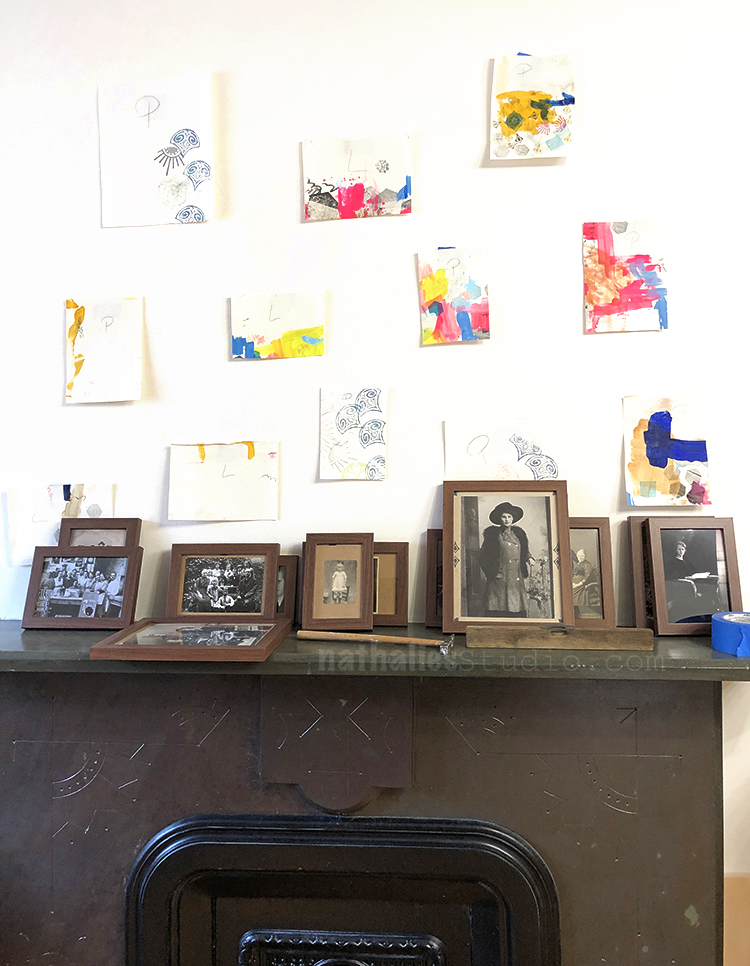
Now that we live for about a month in our new house, my studio is taking shape. One of the early decoration projects I knew I would want to do was a gallery wall right above the fireplace in my studio – because- come on …that space was screaming for it.
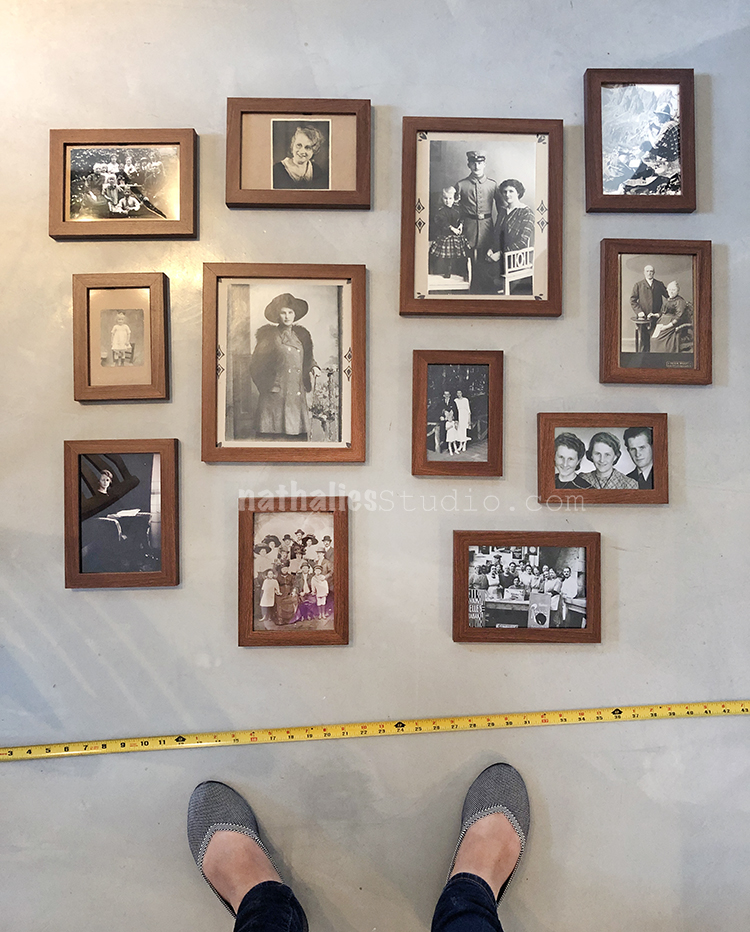
I have a lot of very dear-to-my-heart photos of my ancestors and lots of those photos are tied with memories of my grandaunt Margot telling me all those background stories when I was a child and also when I was an adult. We both shared a deep love for photos.
So still back in my old apartment I framed all the photos – I bought a pack of differently sized frames for that matter and started laying them out on the floor. I realized really quickly that was not the way to go – how do you arrange different sized photos in a way that it is balanced but doesn’t look contrived?
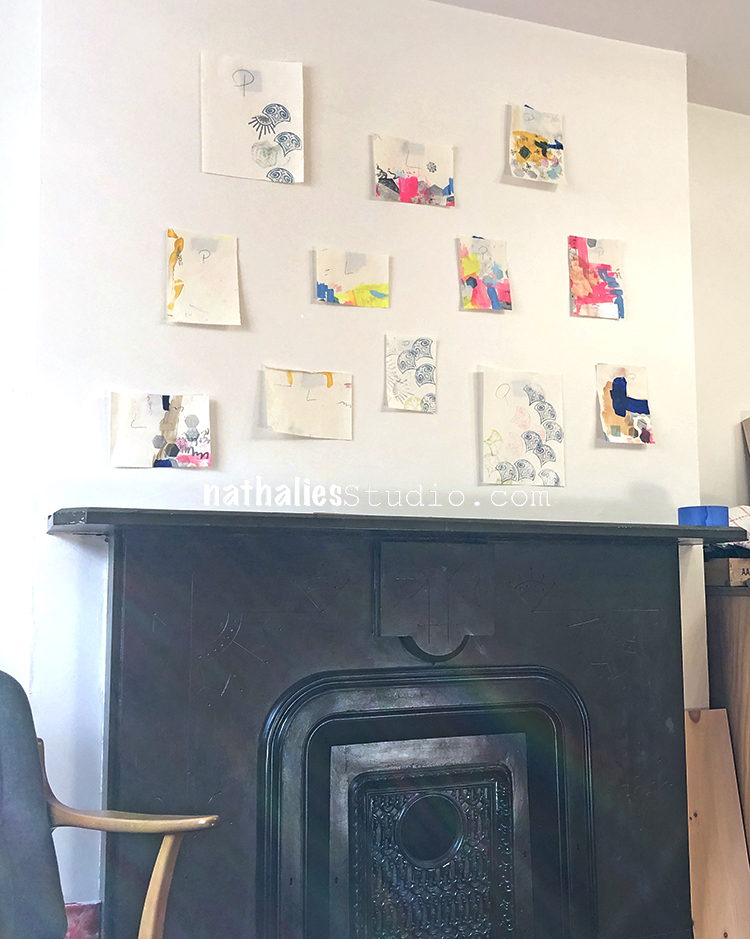
So I asked around on Instagram and some of my friends and it came down to one valuable tip or me: cut out paper mock ups of the different frames and start arranging them on the wall with masking tape until you are satisfied. Easy peasy when you think of it …but I didn’t …
What a great practical tip though – I was able to let different arrangements sit for a couple hours, step back and look from different angles and rearrange until I was satisfied. It also made the placements of the nails easy.
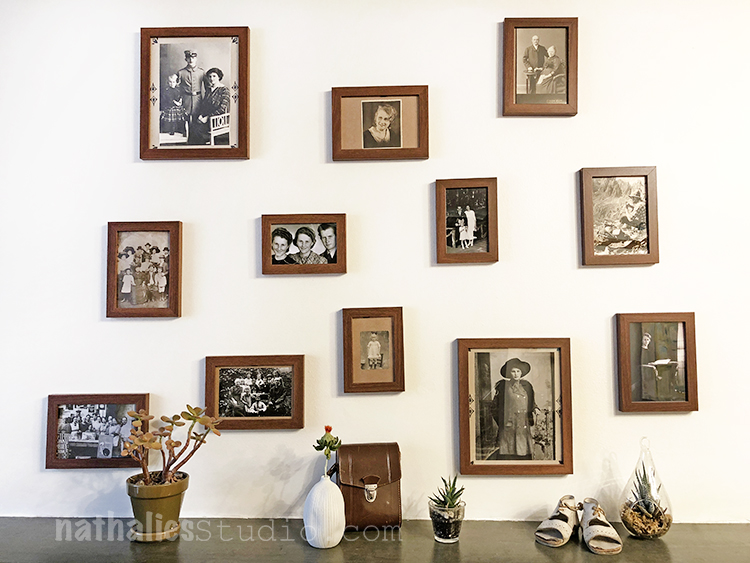
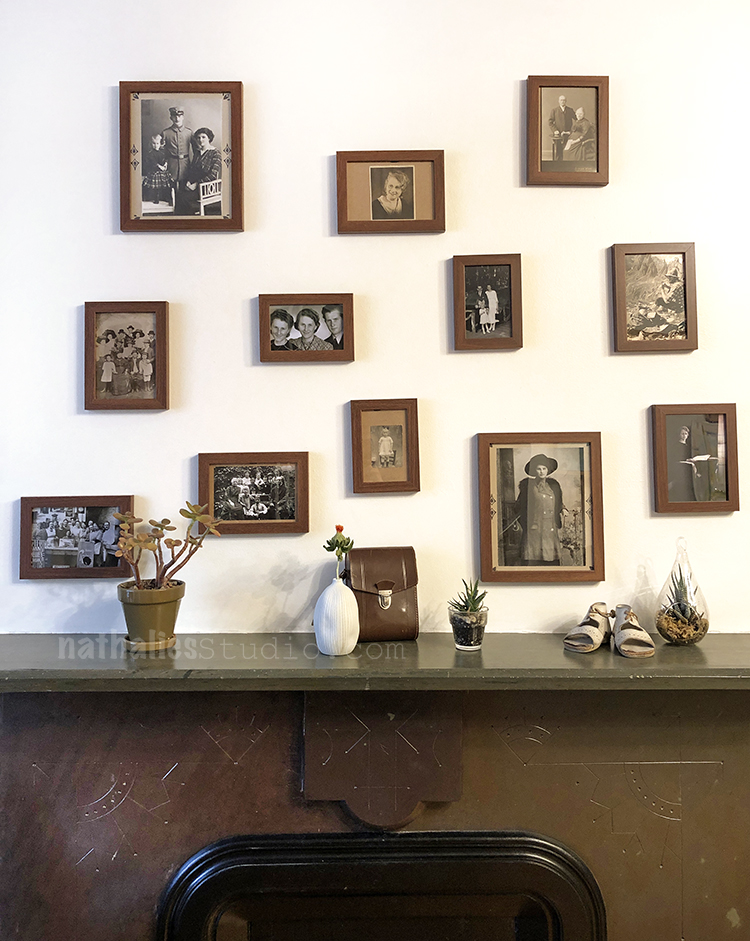
It makes me really happy to see those pictures of my grandparents, great-grandparents, great-great-grandparents, granduncles and grandaunts on the wall .
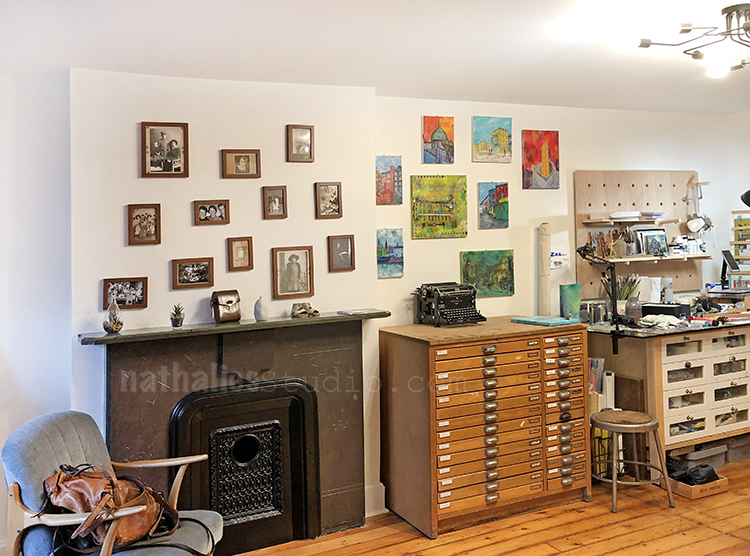
My studio still needs some adjustments and work – but overall it is coming together and I love it very much. I love that now I have also a little reading-sitting area …still finding a spot for my many bags that are inhabiting the chair.
I think my grandaunt Margot would have approved :)
Have you created a gallery wall? Do you have any tips on how to arrange it? I would love to hear!
Great tip for a gallery wall. I wouldn’t have thought of it either. How about a decorative basket under the chair for your bags?
Soooo jelly of a fireplace in your studio…that is amazing! Loving seeing how your new house is coming together. Thank you for sharing it with us!
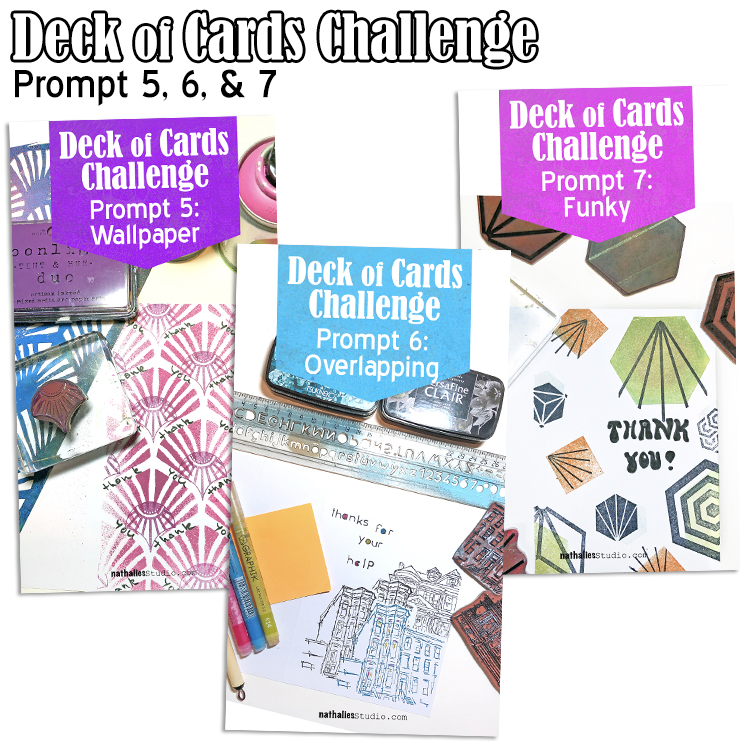
Today I am recapping Day 5, 6, and 7 of my Deck of Cards Challenge that is running this month on Instagram. We are finishing up a week of Thank You cards and patterns. Check it out and play along with us to make your own “deck” of greeting cards.
Here is the overview of prompts 5-7:
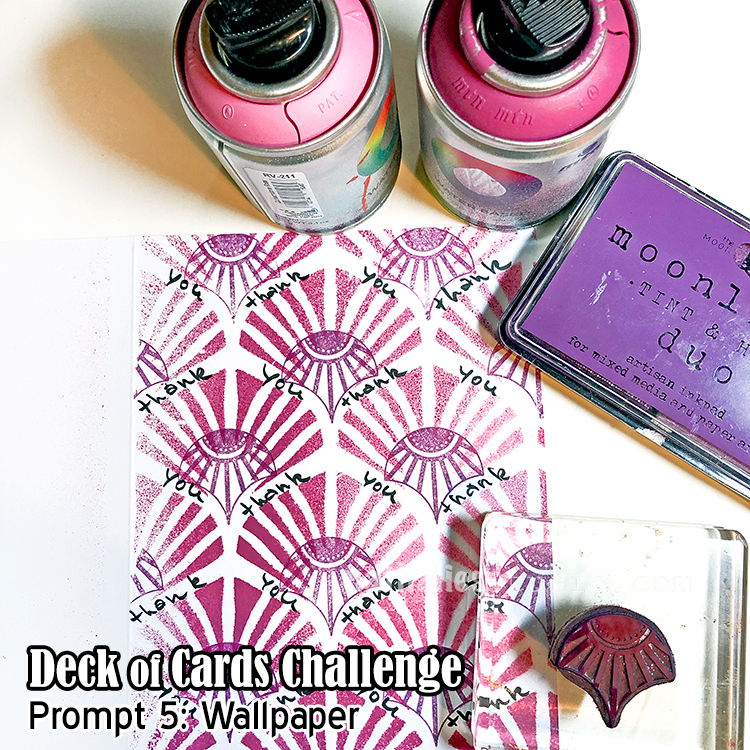
Day 05 – Wallpaper
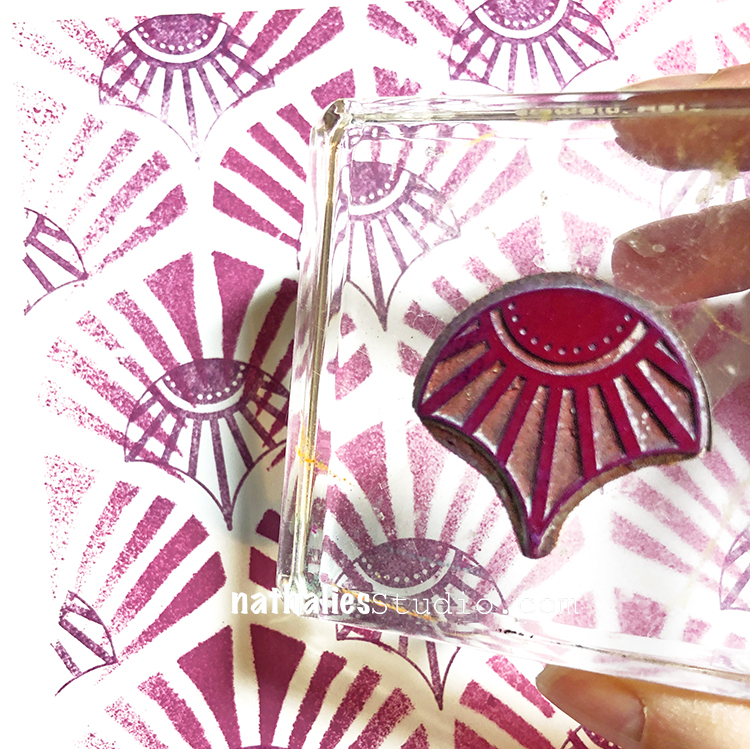
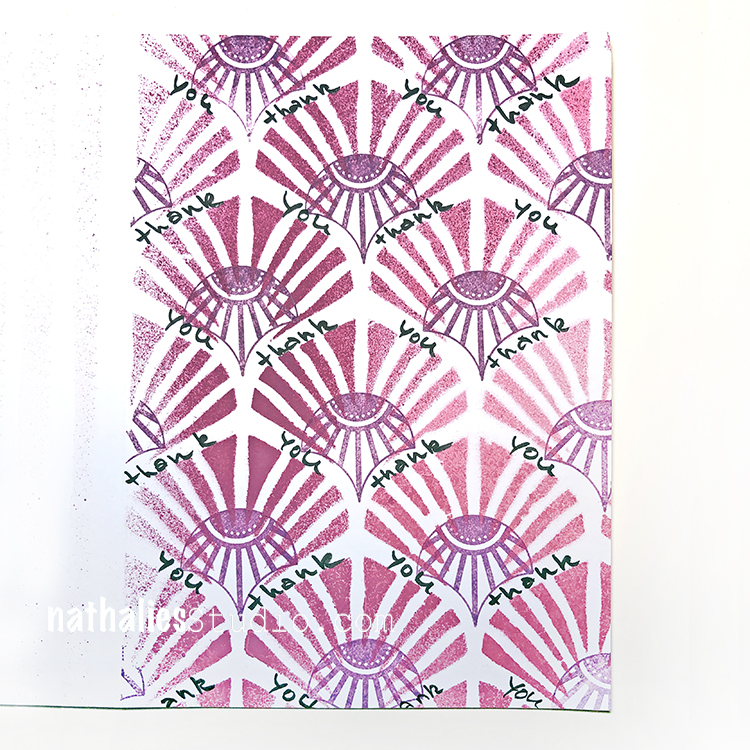
Welcome to Day 5 of the challenge and today is all about pattern. I love the bold patterned wallpaper of the Art Deco era and so I thought hey, why not use this concept for a card? A continuous design for the background AND the sentiment.
I got my Art Deco Wallpaper stencil and some spray paint and put that down. Then for a bit more delicacy and detail I went back in with one of my Fantastic Small rubber stamps. I kept everything in the magenta/pink family and finally I added my Thank You as if it were part of the repeating design too.
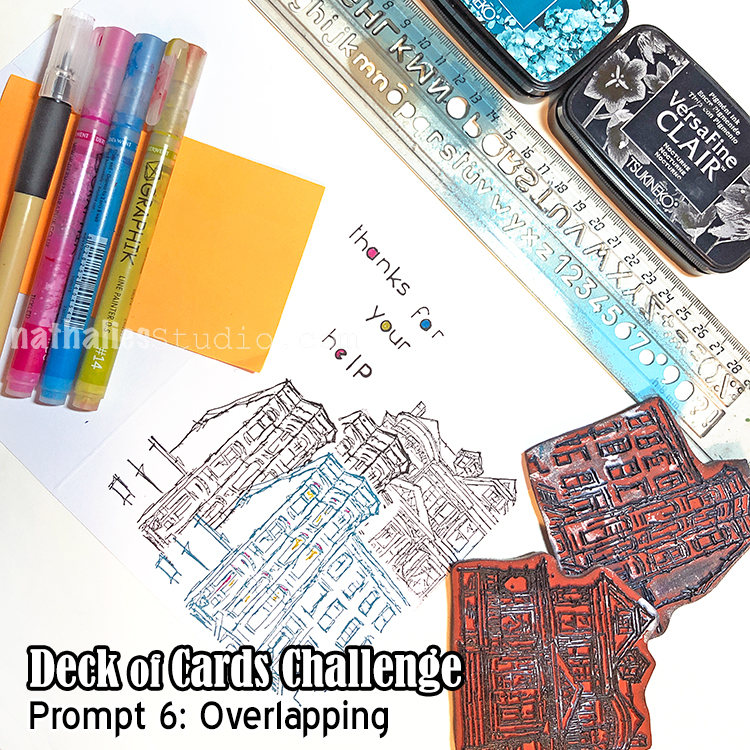
Day 06 – Overlapping
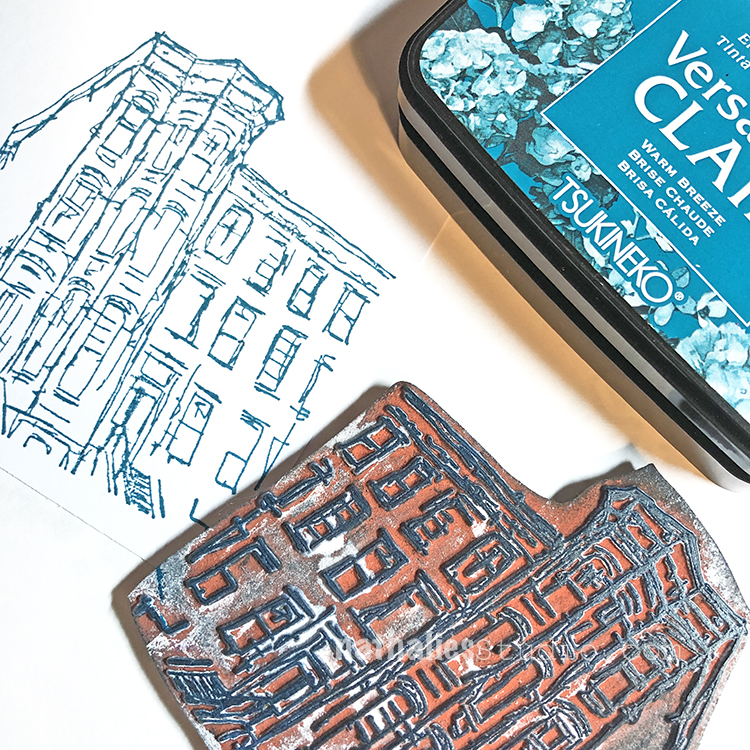
I hope you are playing along with us in the challenge. Today is a fun technique that you can do with rubber stamps, especially my building stamps like the Stroll Through the Hood ones, to build a cityscape.
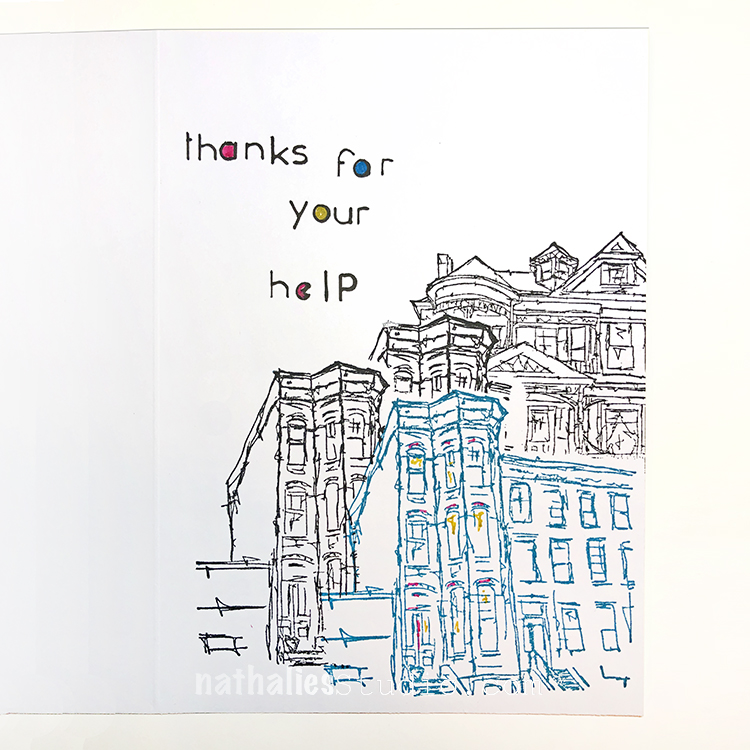
You start by stamping the foreground, next stamp on and mask with something like post-its, and continue stamping to build your scene.
I love to create a 3D look this way. For my lettering I used this nifty type ruler that gives a funky font. I think this card is perfect for after a move or reno like we went through, where so many people helped us. Time to say thank you :)
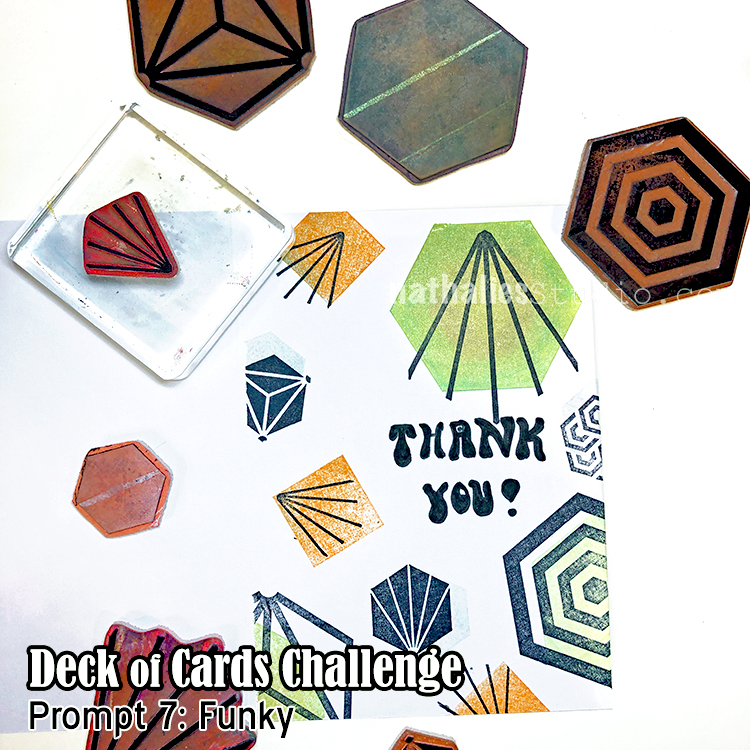
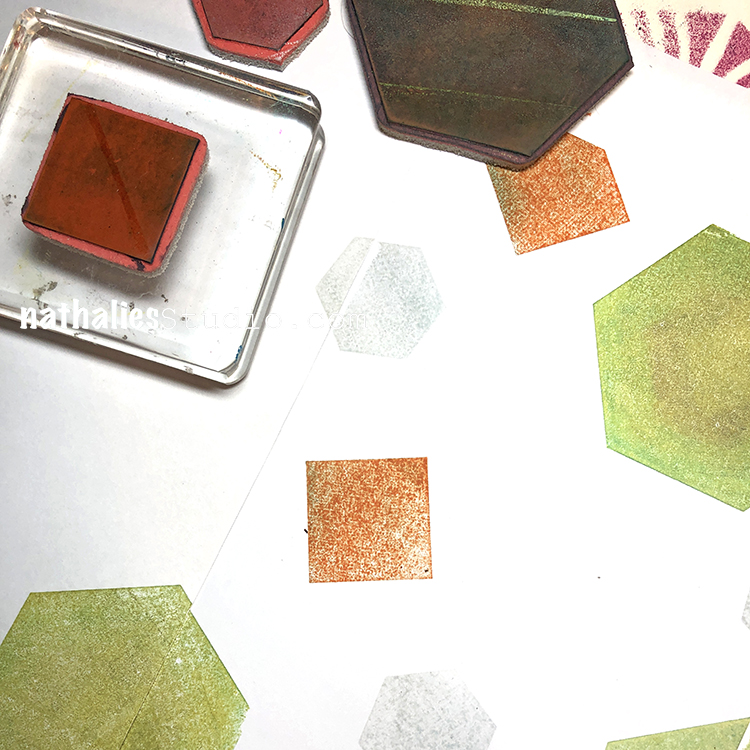
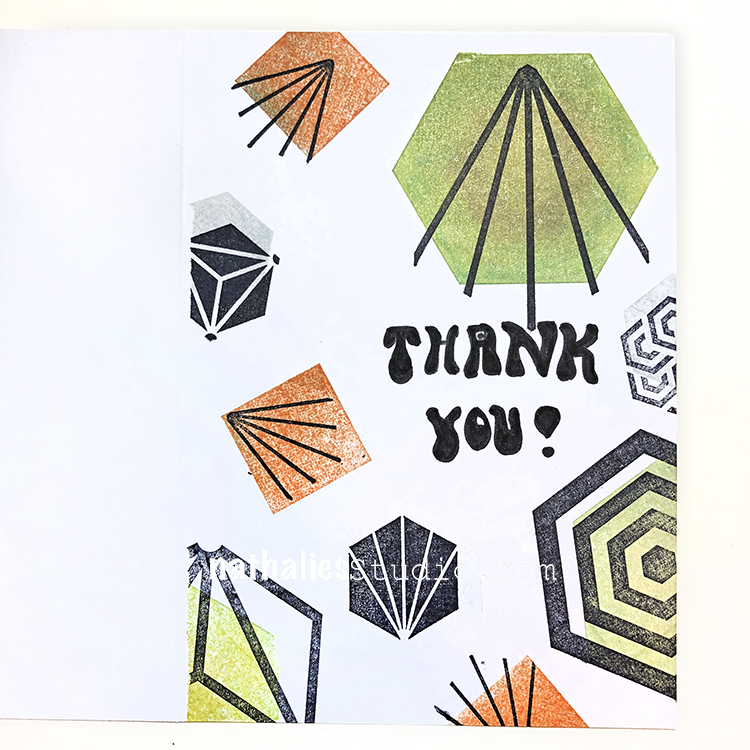
Day 07 – Funky
Today we have a card idea for one of those groovy people on your list.
I created a random pattern background with funky colors using my Hex Small and Large stamps and some of my solid shape stamps. I started with the solids and then layered some of the patterns on top. A random background is always a little tricky to balance but fun to try. Then I added my thank you in a super funky font – reminds me of those psychedelic posters from the 1960s!
Tune in tomorrow on Instagram for the next prompt and I hope you share what you are working on using #docchallenge
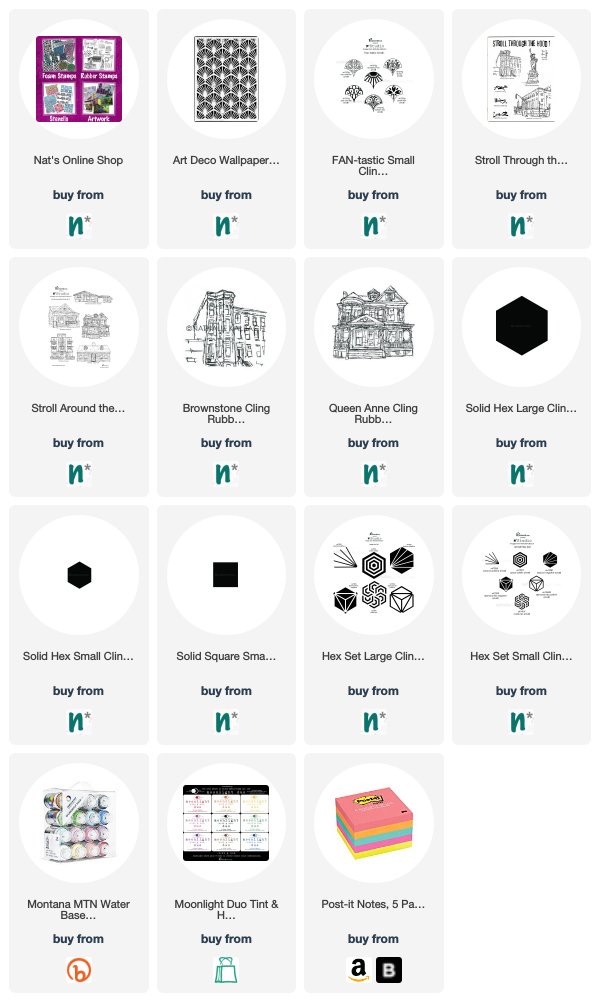
Here are some of the supplies that I used in these prompts:
Here is the prompt list so you can play along too! Follow the daily prompts on Instagram and tag your creations with #docchallenge


Wonderful art journaling with a wise message. xoxo
Reply