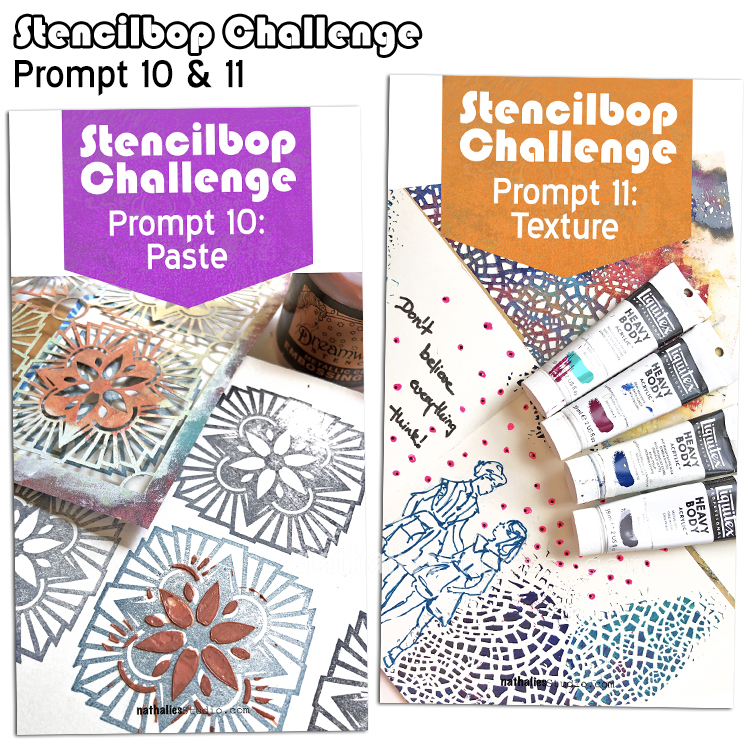
Here is a recap of prompts 10 and 11:
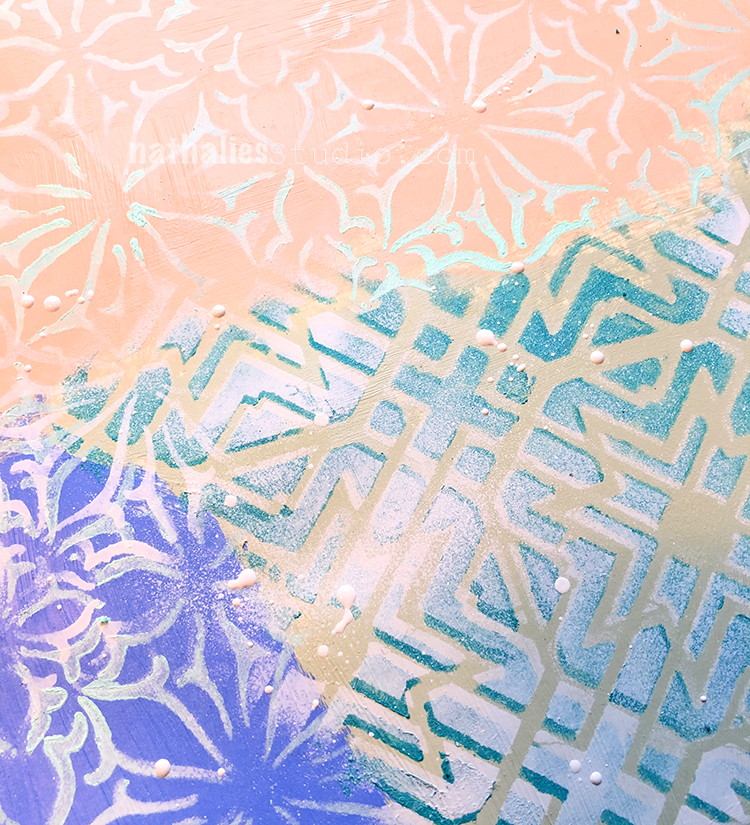
August 10 – Paste
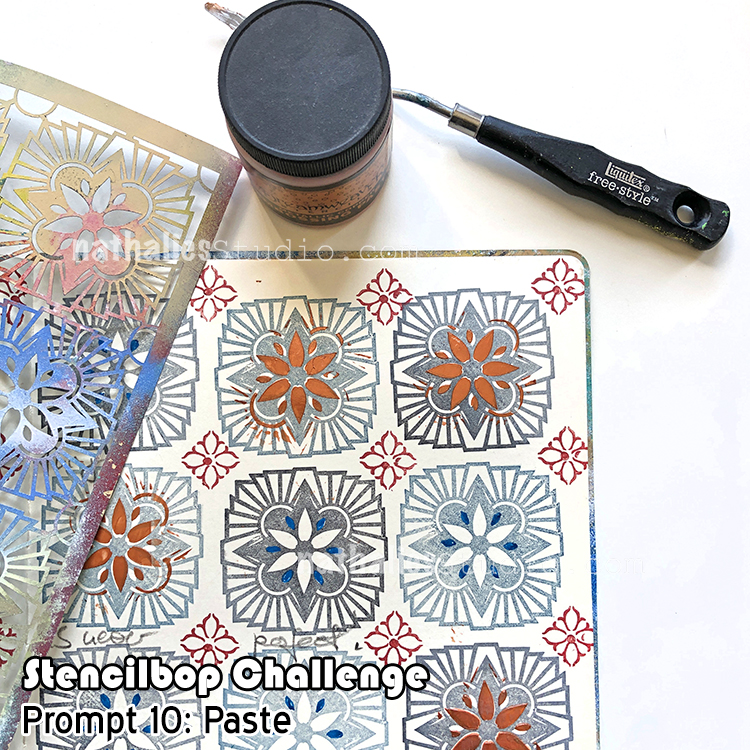
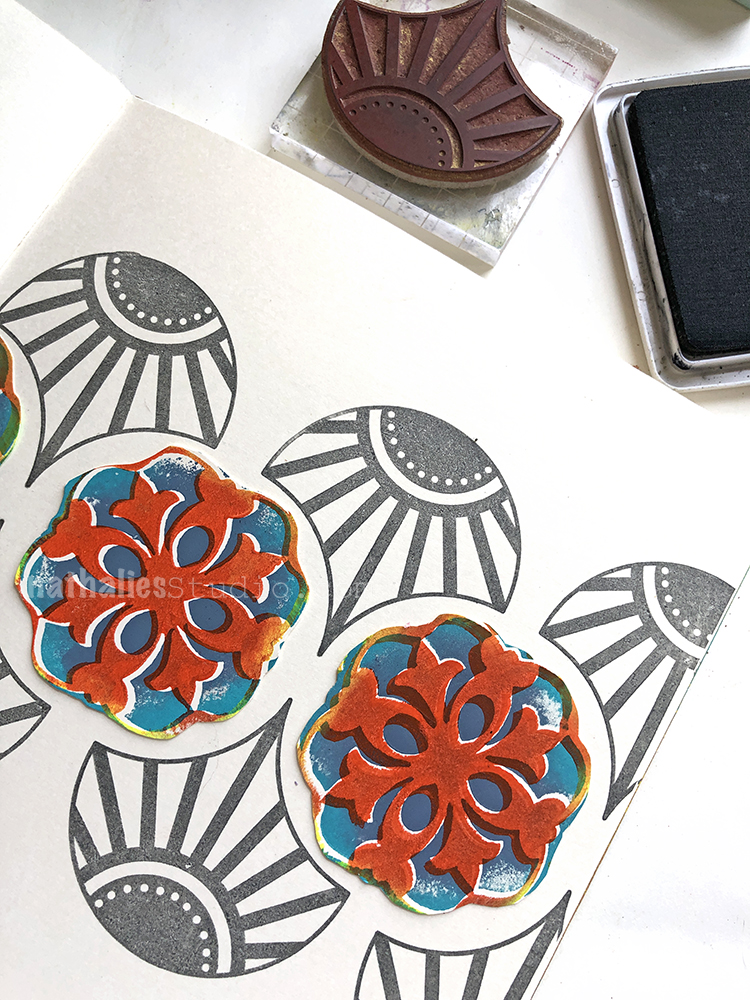
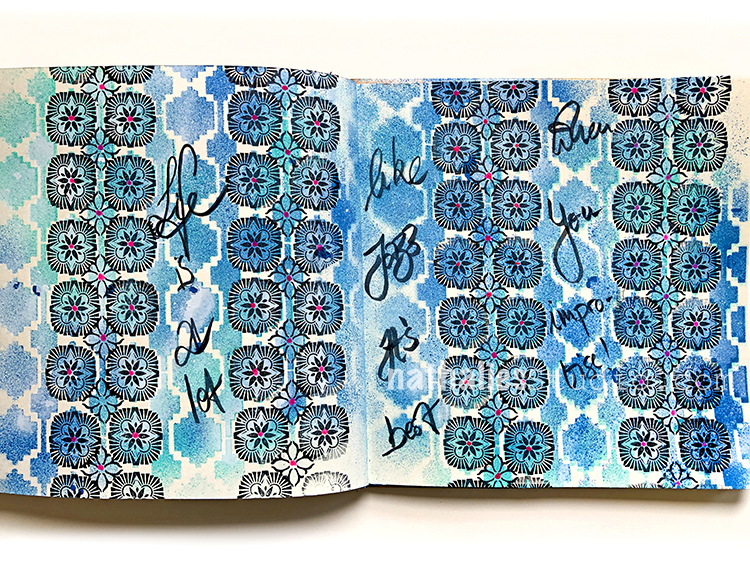
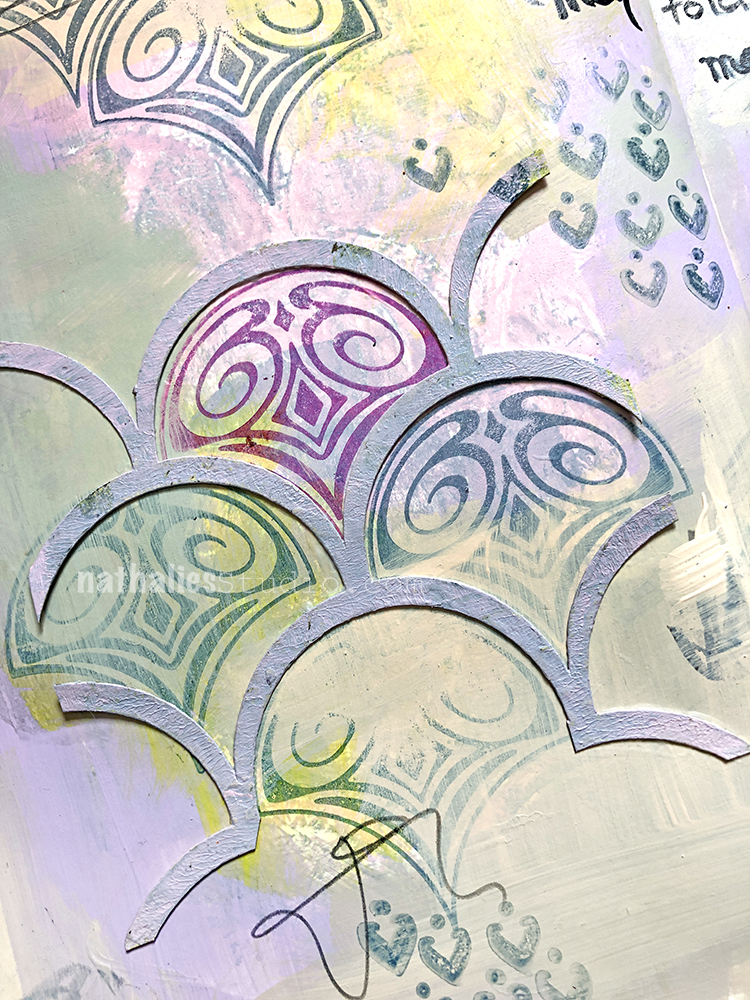
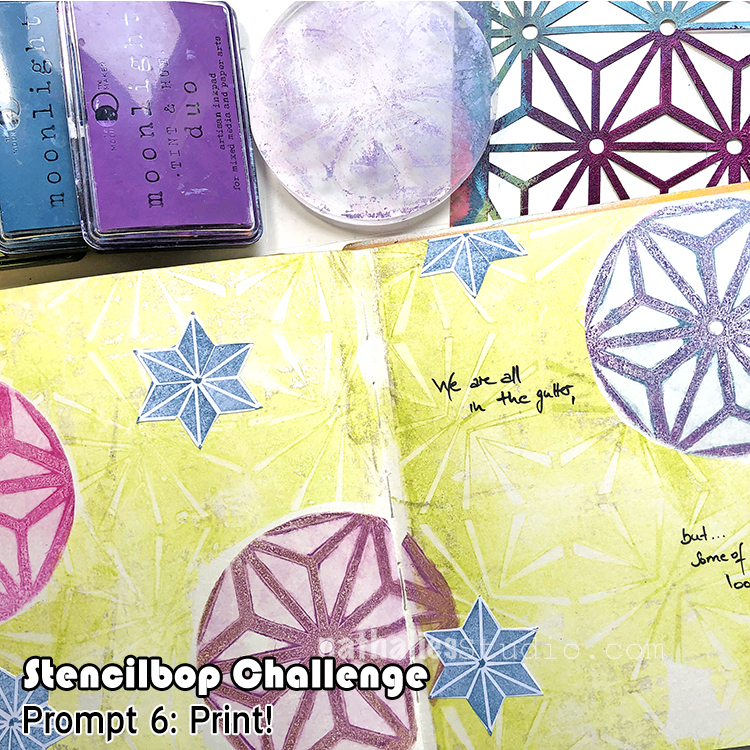
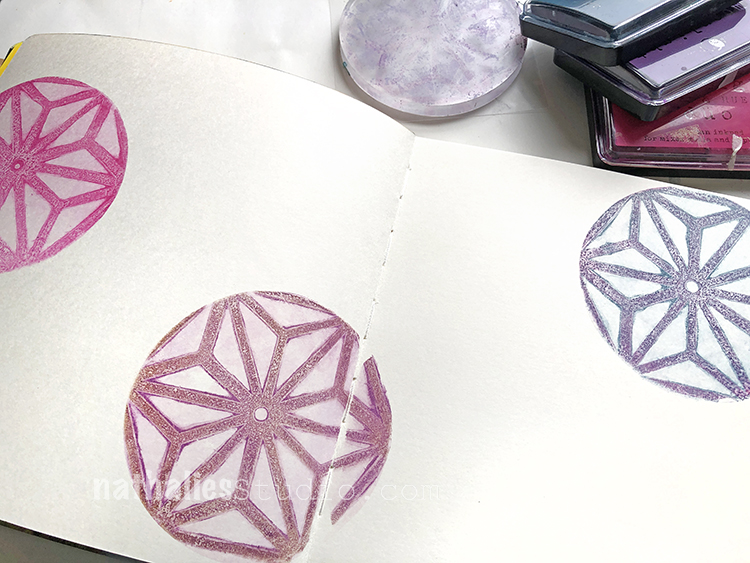
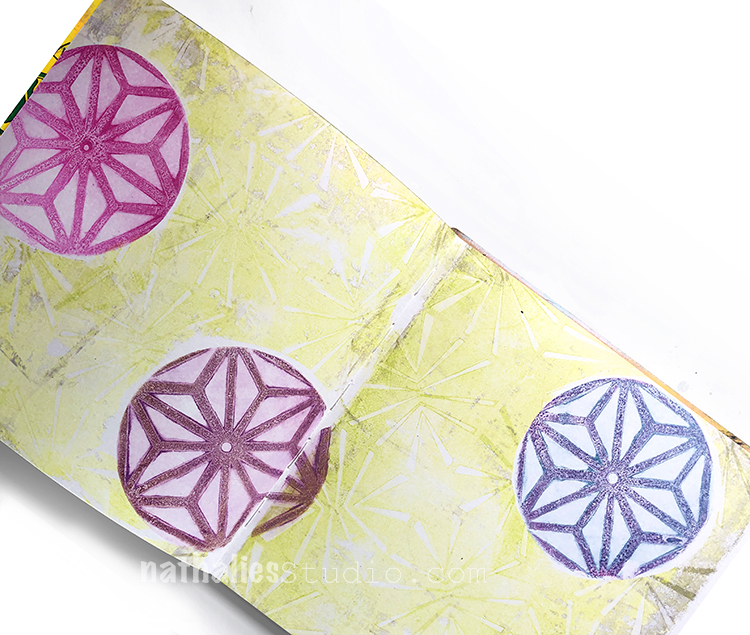
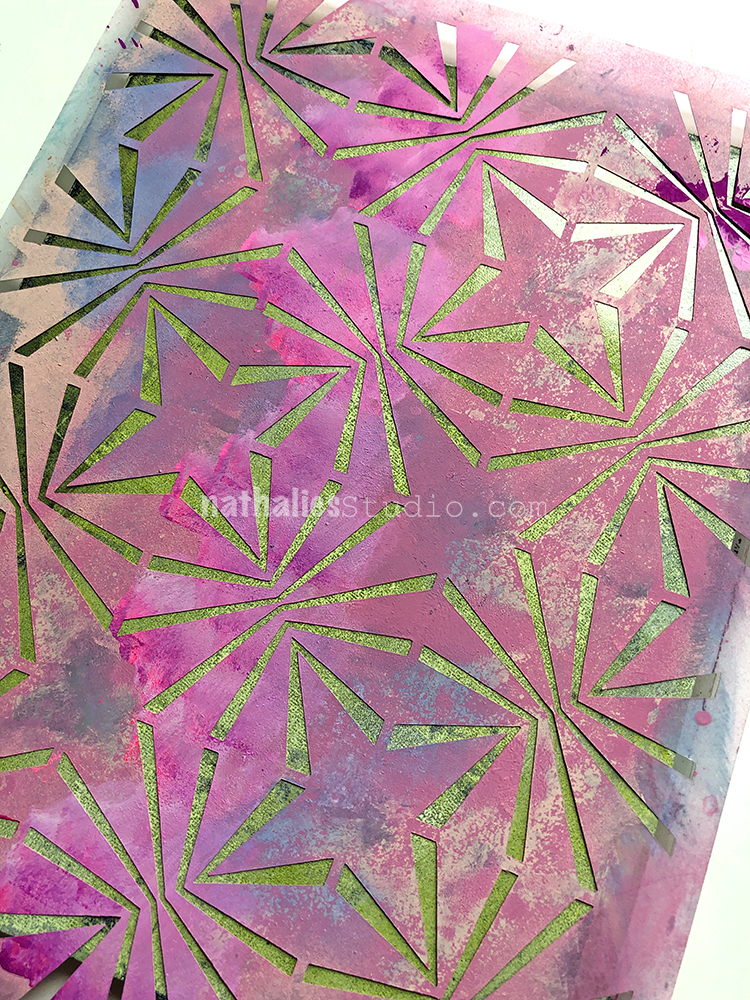
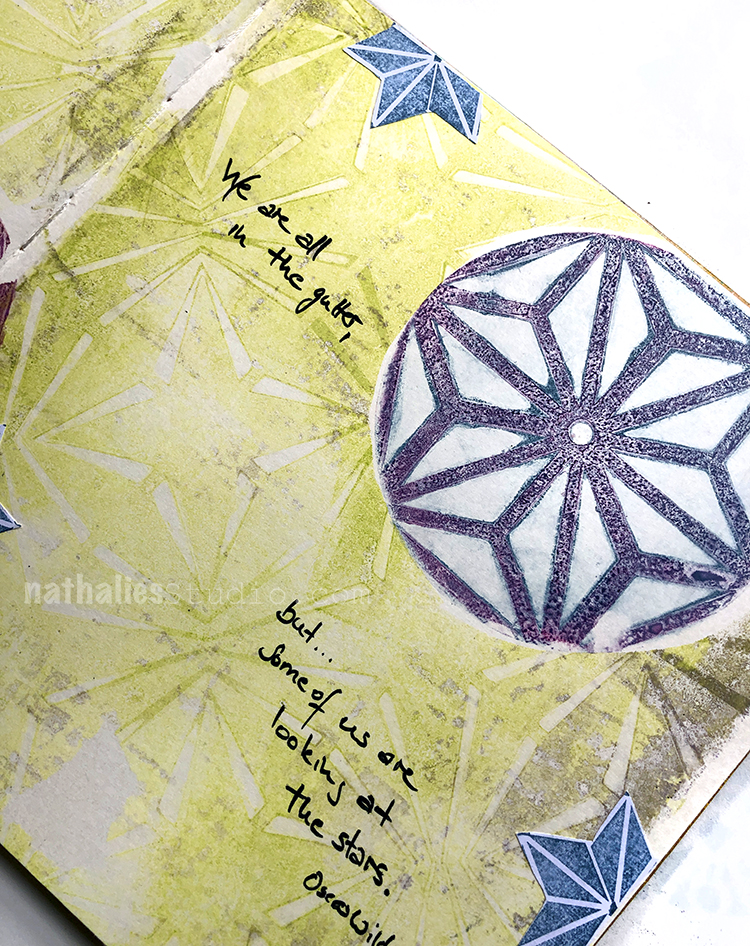
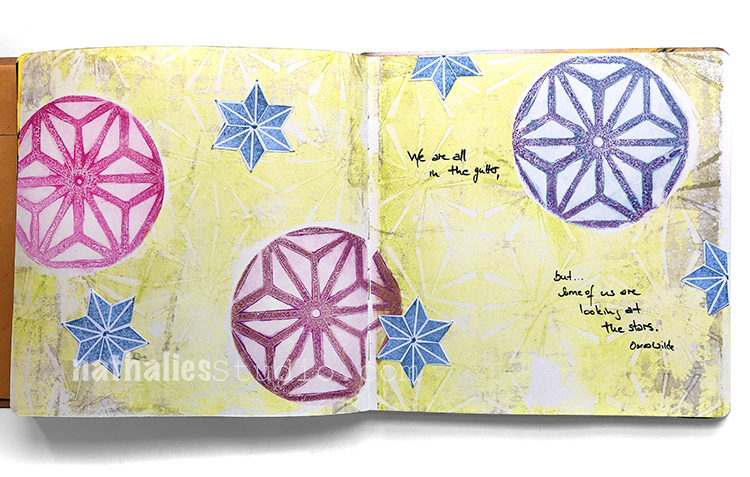
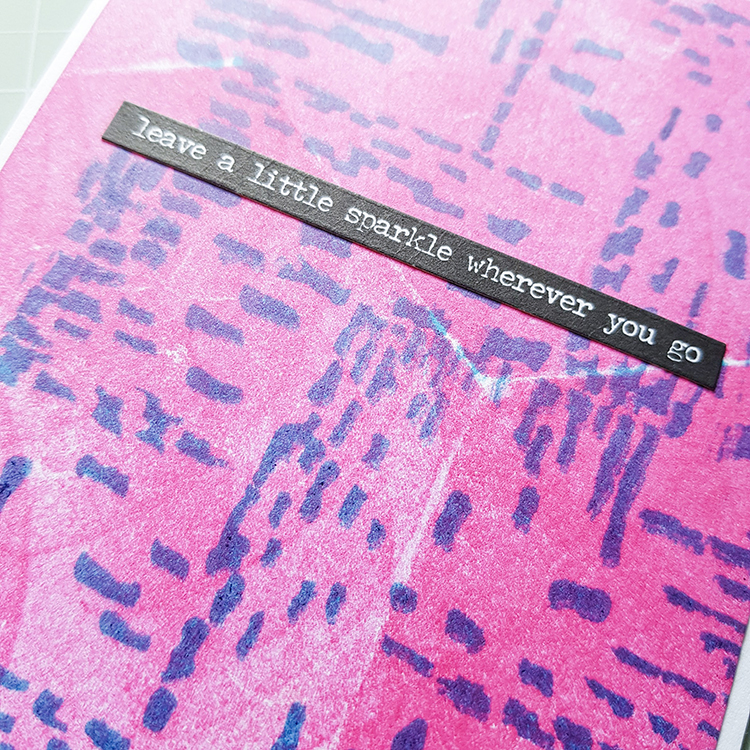
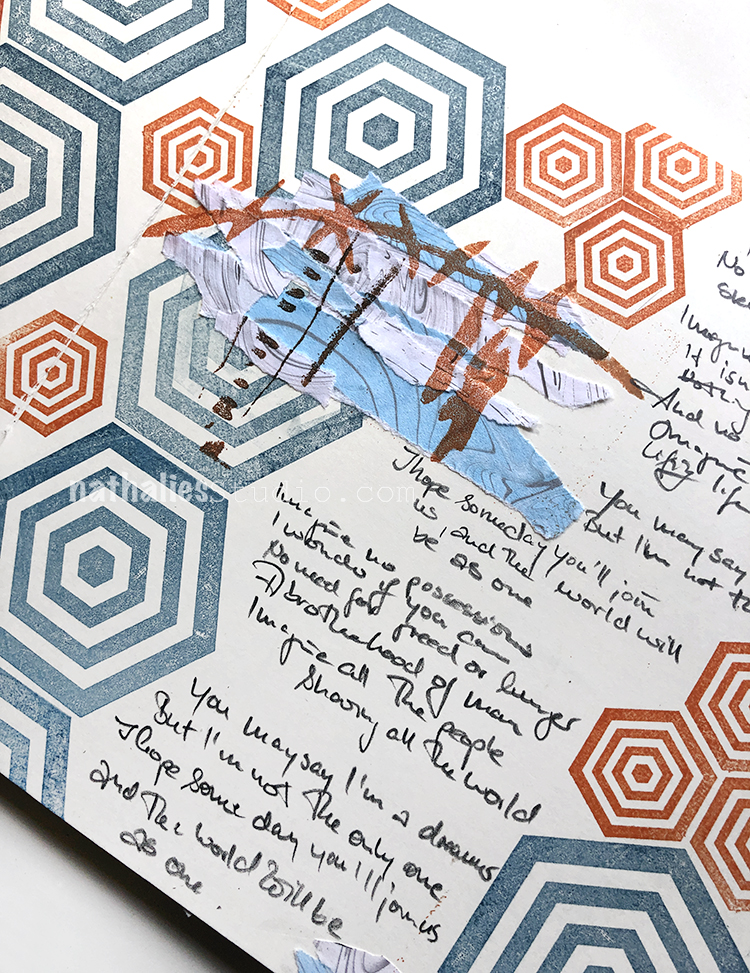
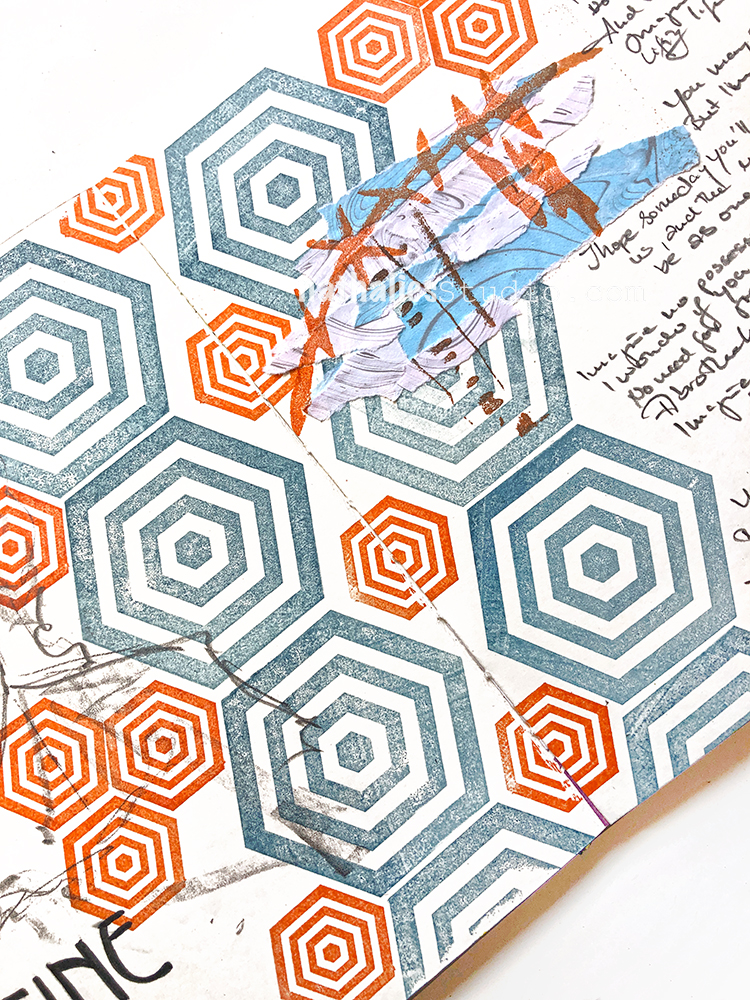
There is something utterly satisfying about spreading modeling paste or embossing paste through a stencil and create a nice small crisp raised pattern on top of a flat surface ….or it might be that I am just weird. But try it yourself ;)
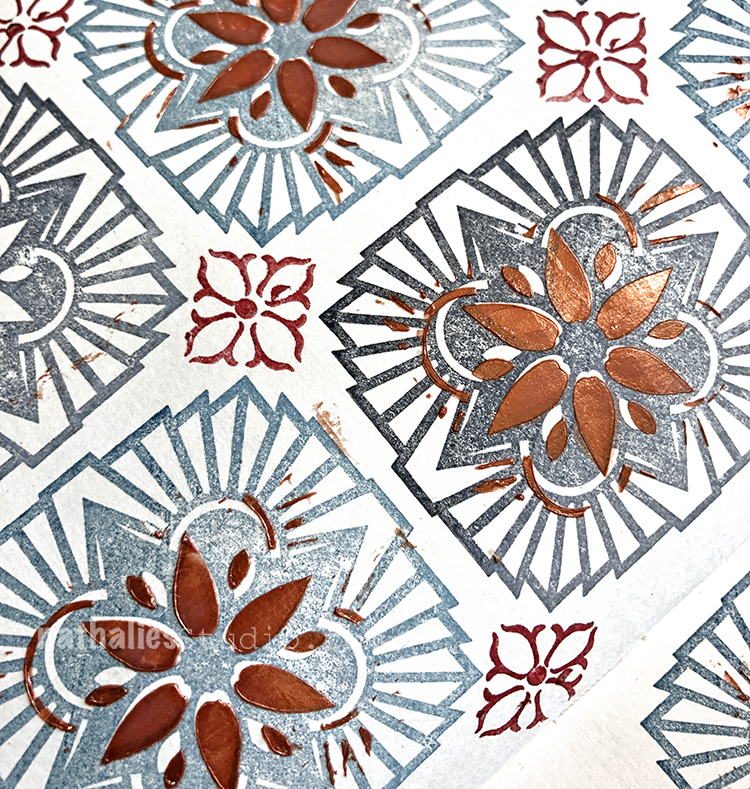
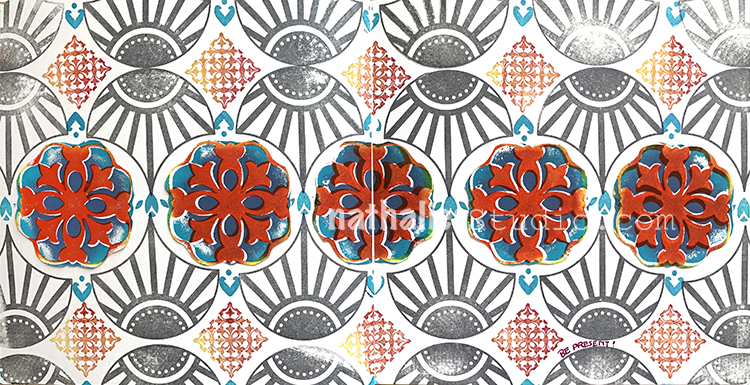
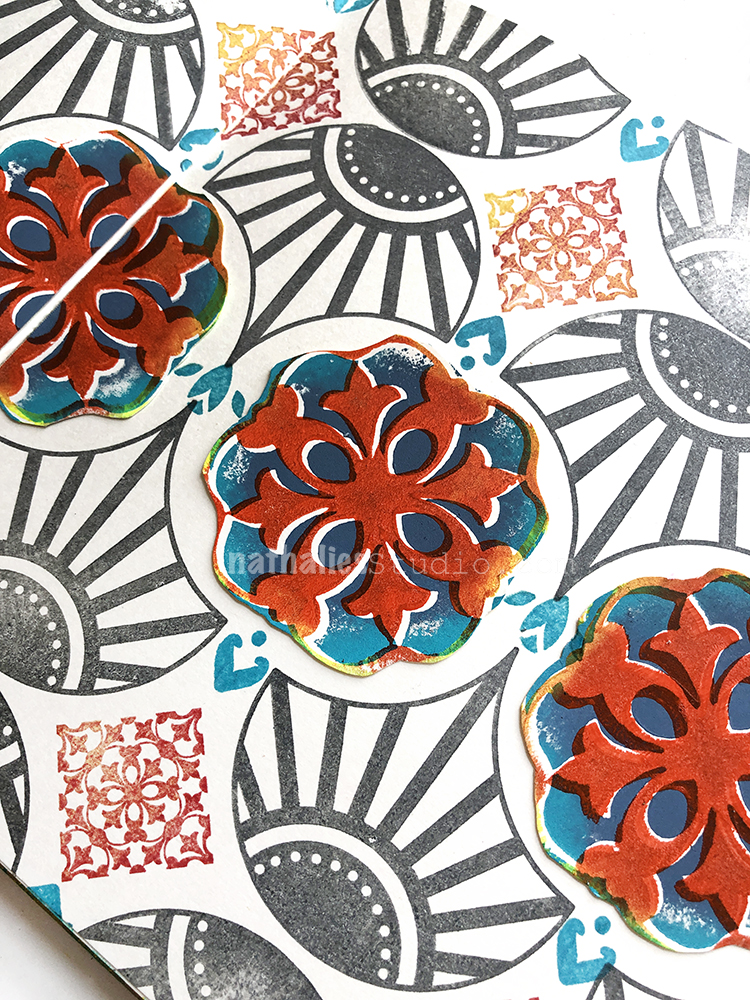
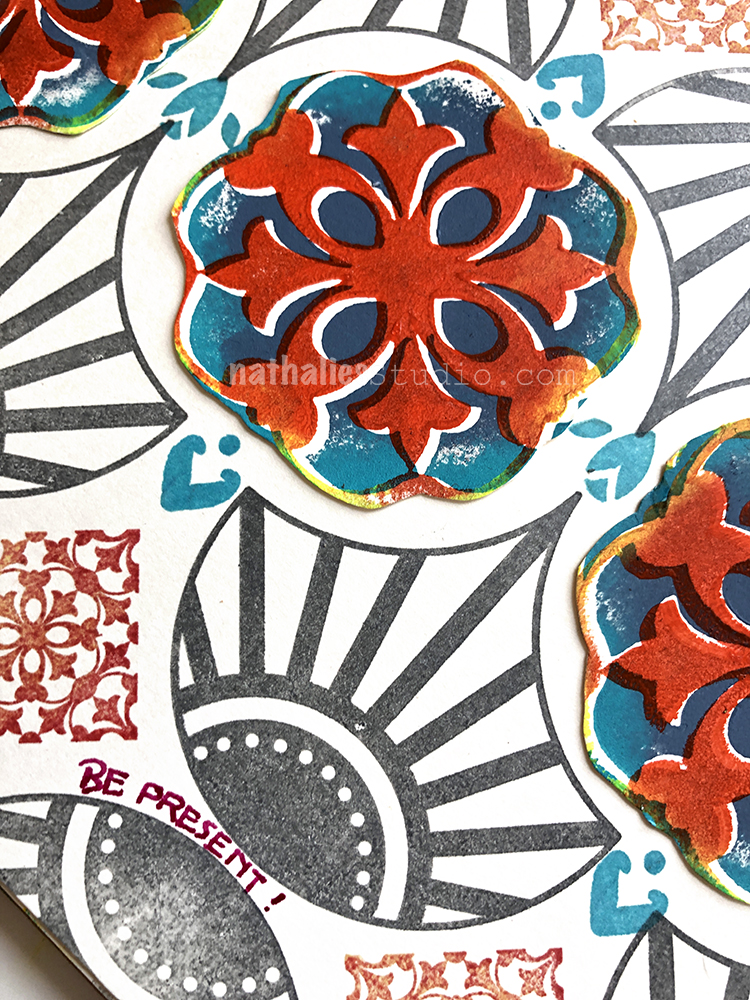
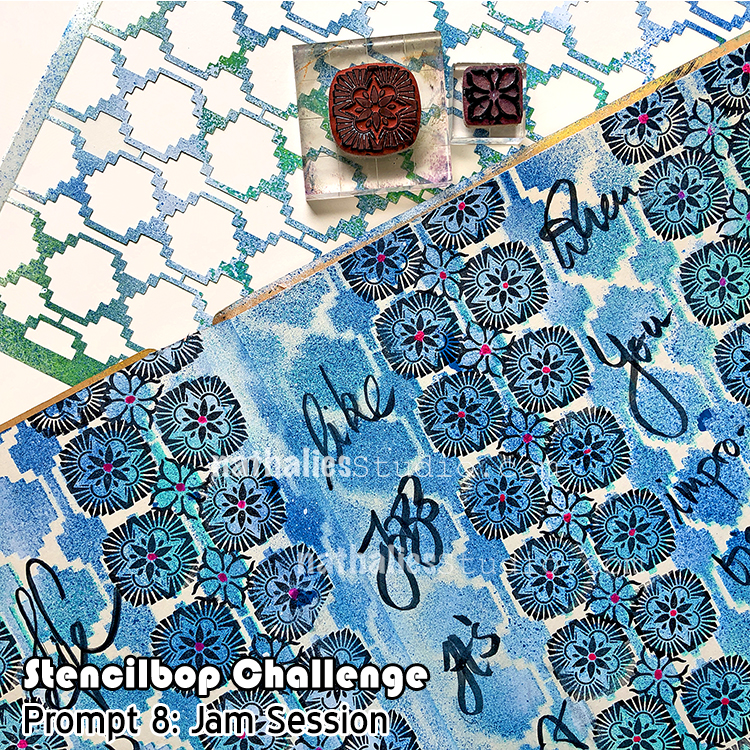
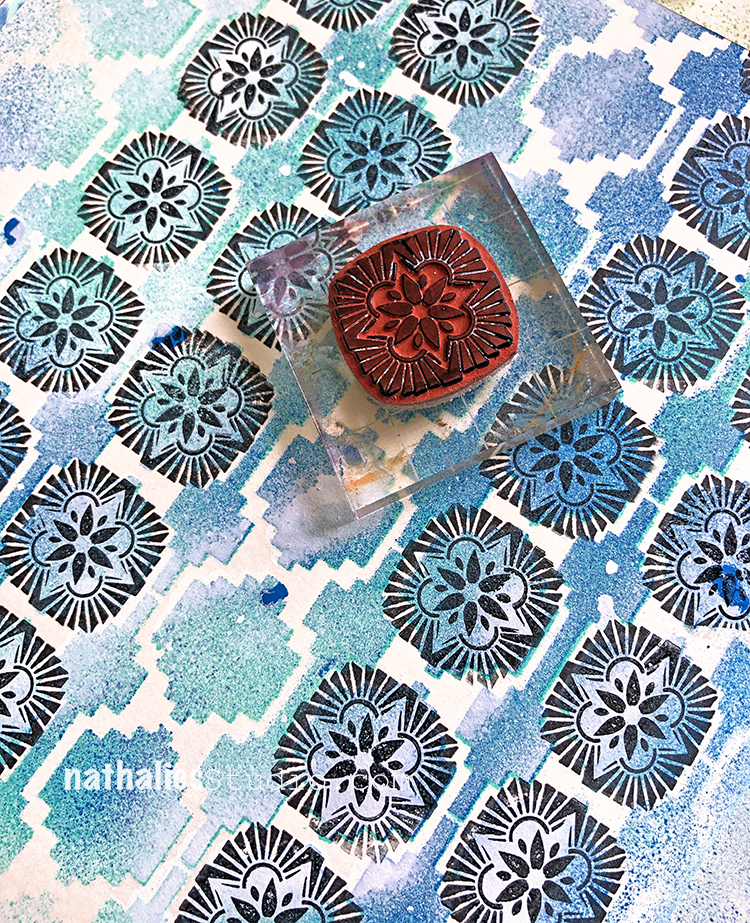
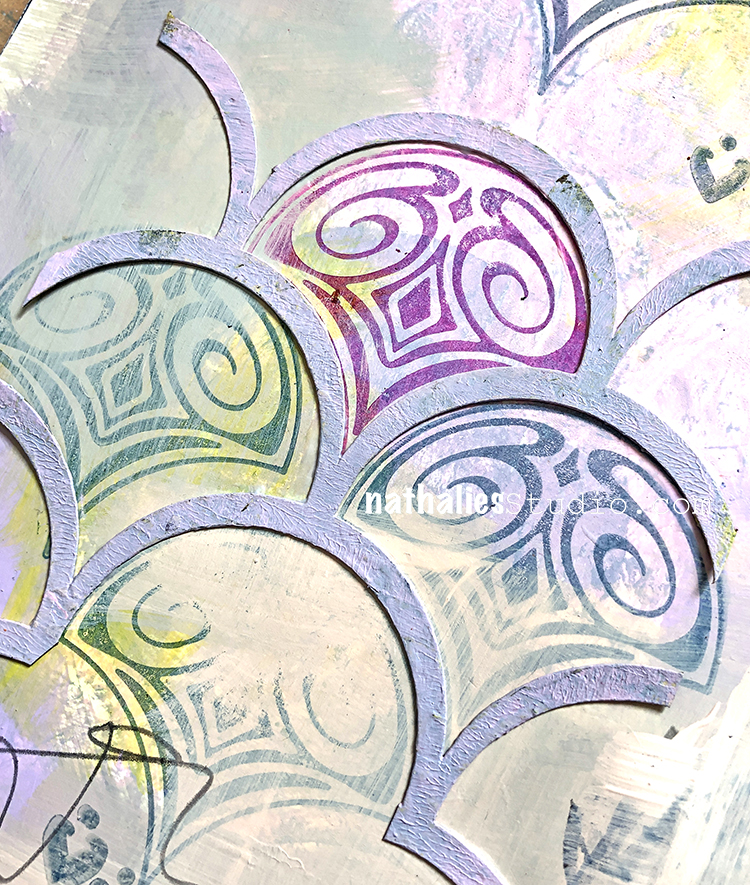
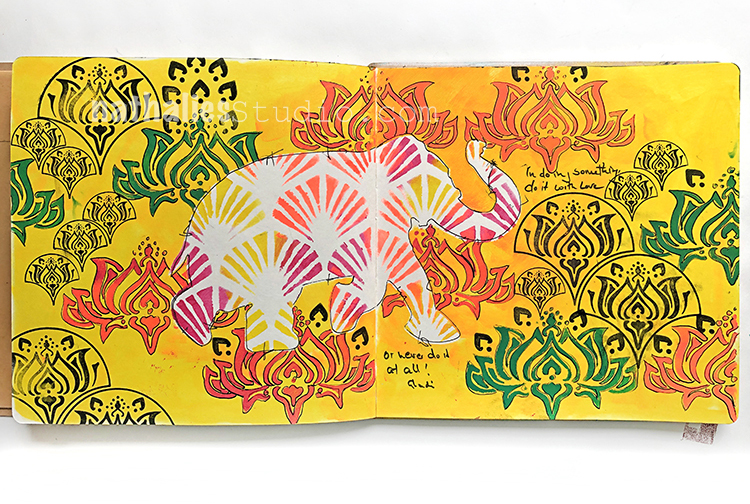
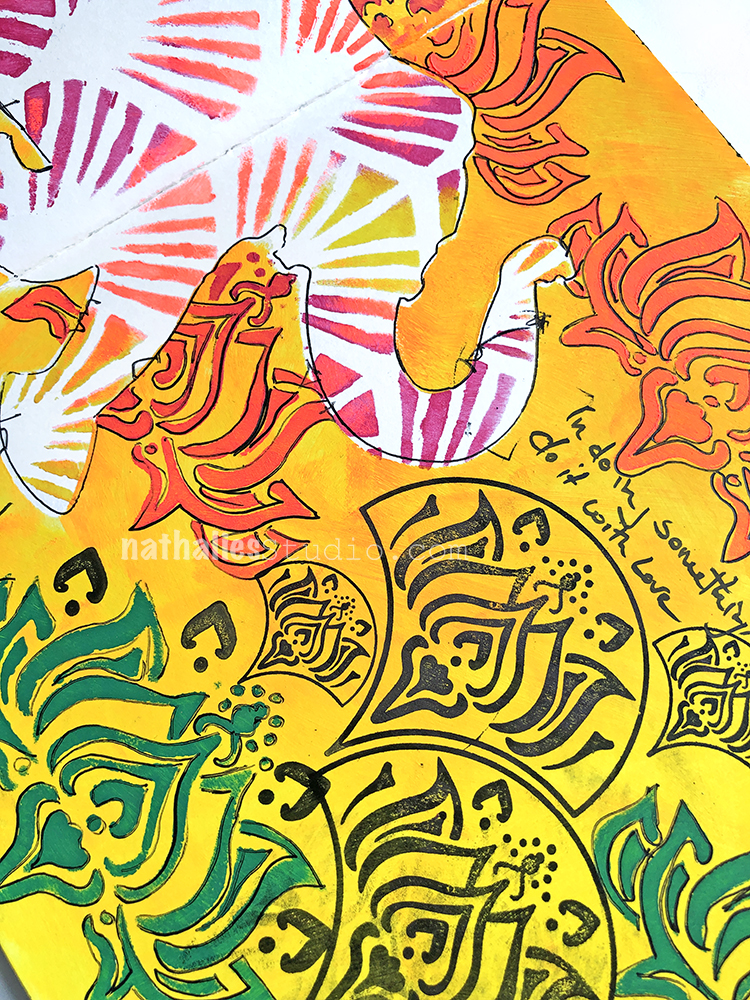
I used my Hamilton stencil on top of my Hamilton stamp – the middle part is almost identical in size. I found some metallic embossing paste in my stash and applied it with a palette knife over the middle.
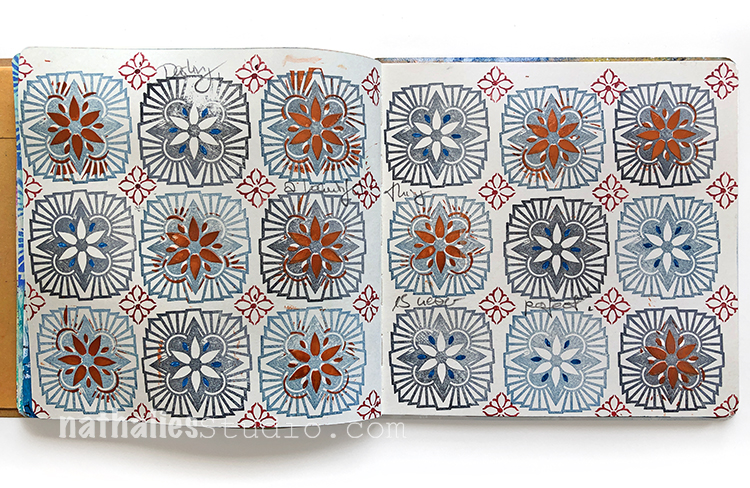
I love how this turned out. A little bit of sparkle and a little bit of texture- nom!
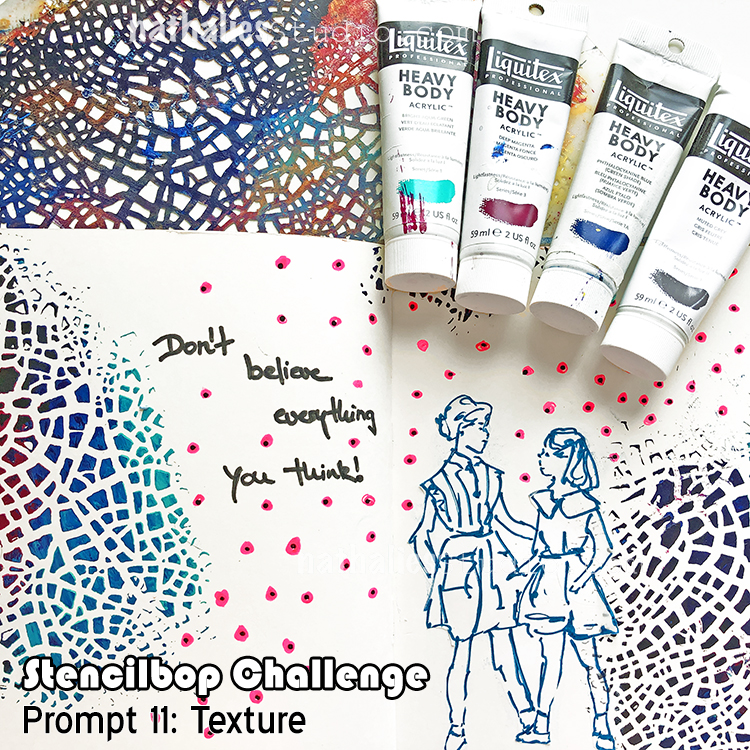
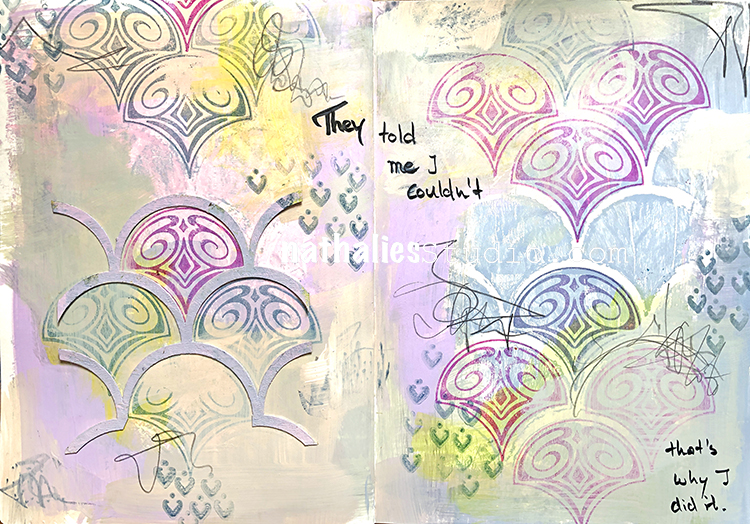
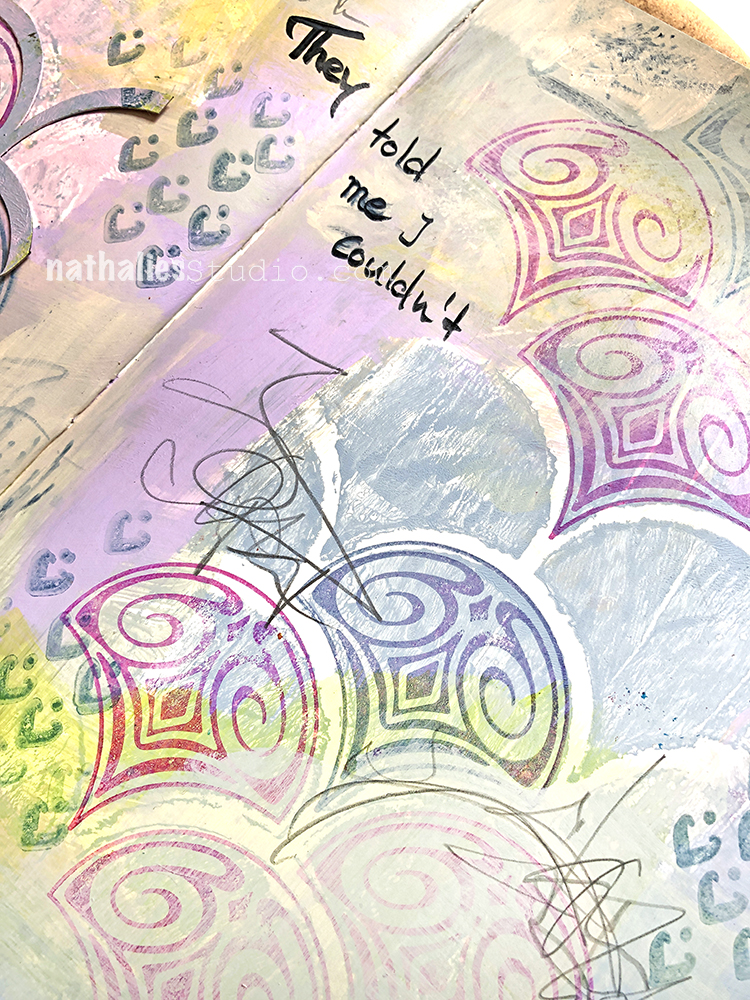
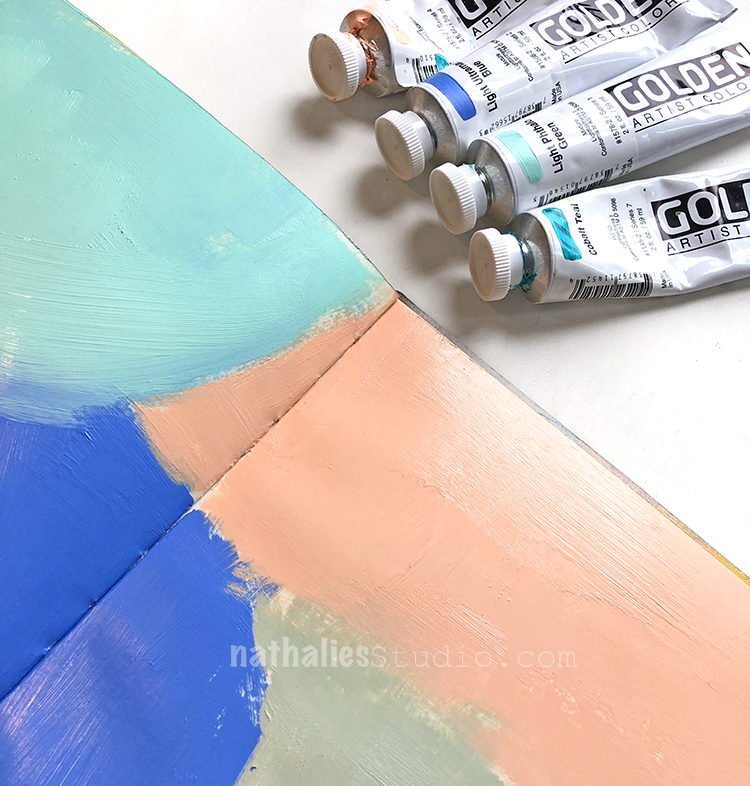
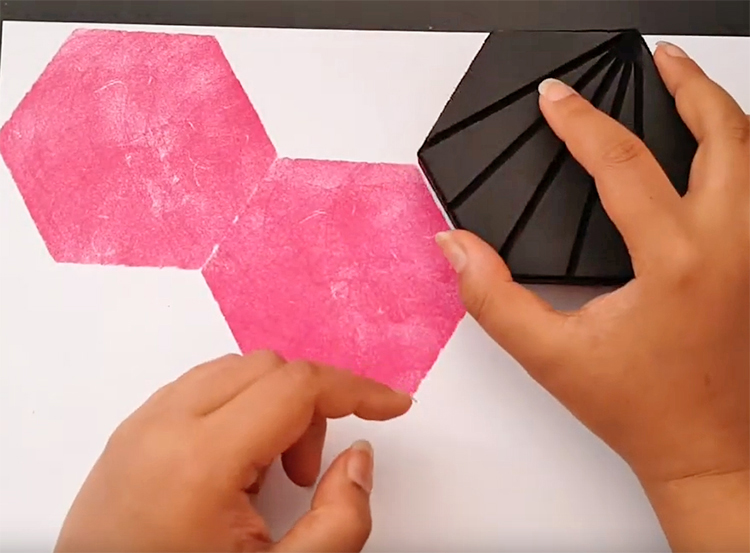
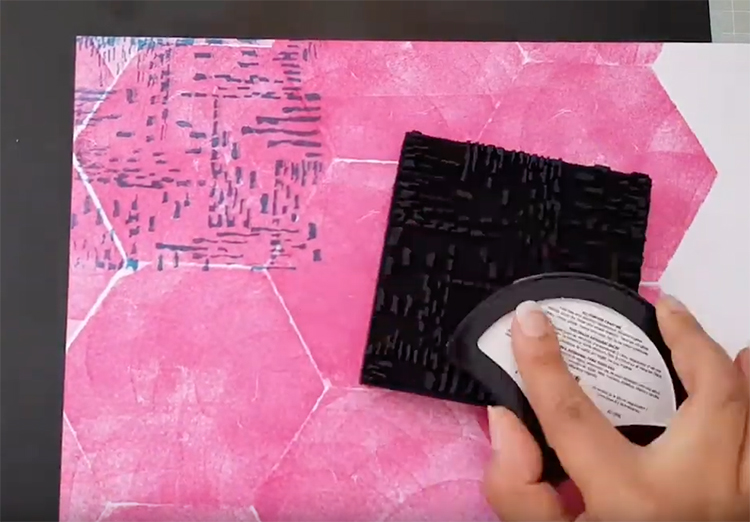
August 11 – Texture
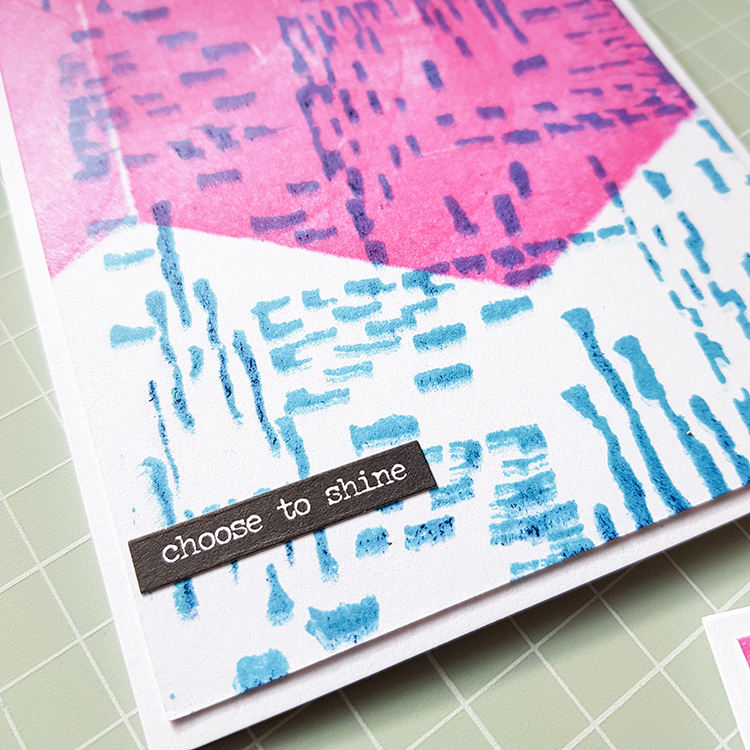
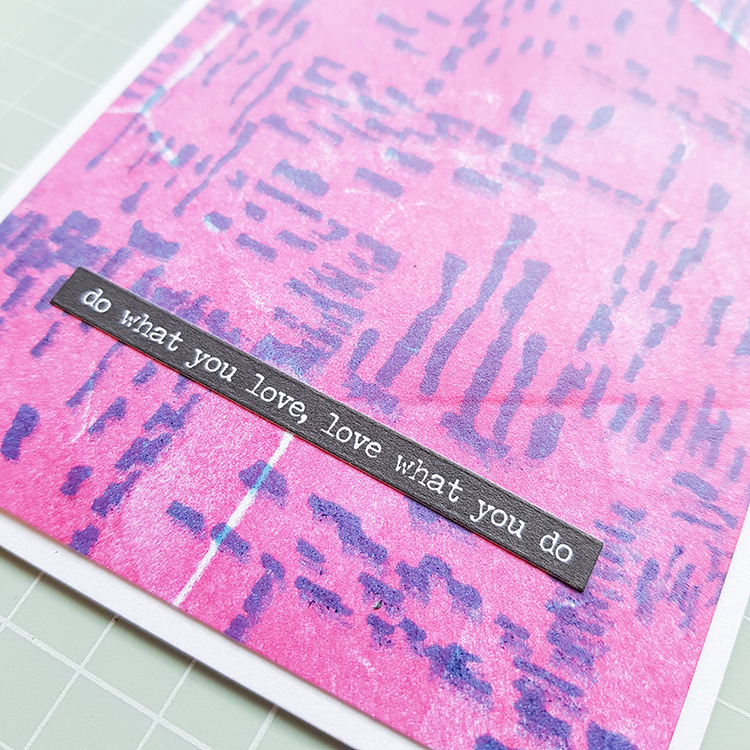
Texture is – besides Color – one of my favorite elements to use in my artwork and it is no coincidence that one of my very first stencils I designed in 2013 was my Crackle Stencil.
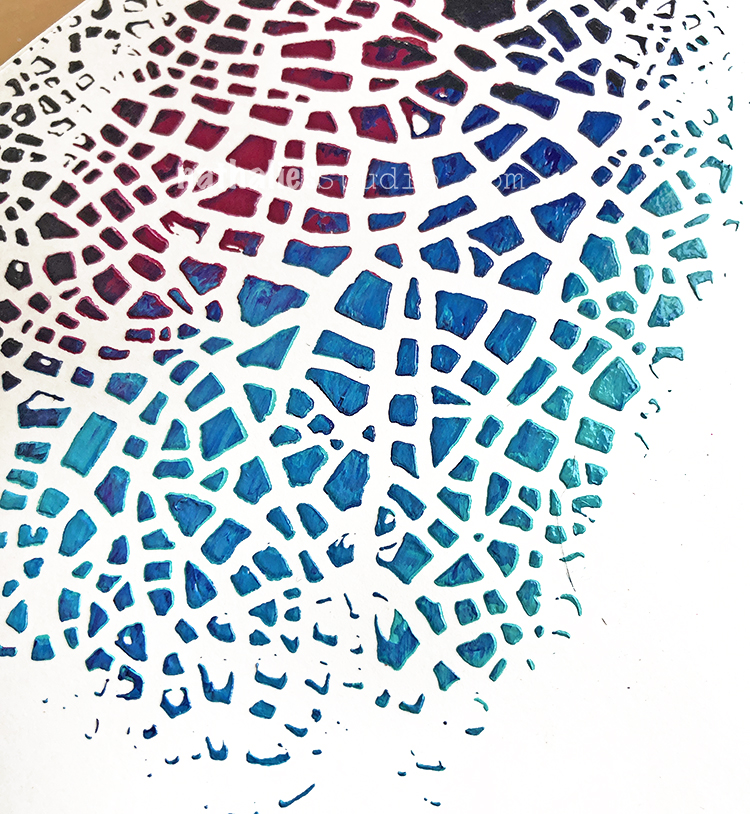
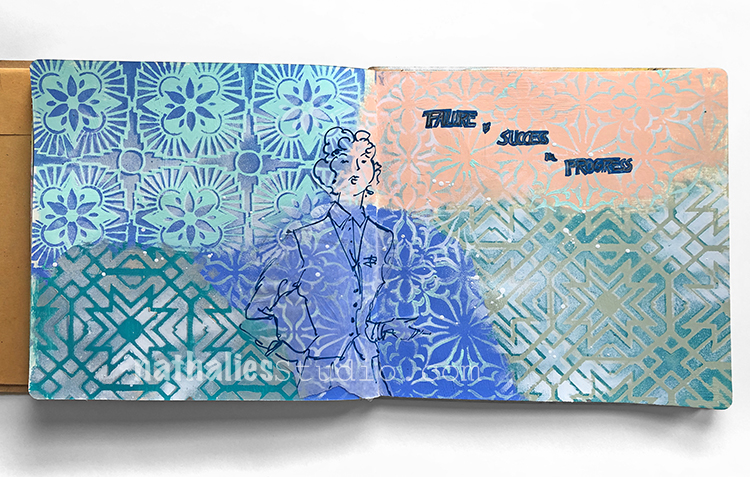
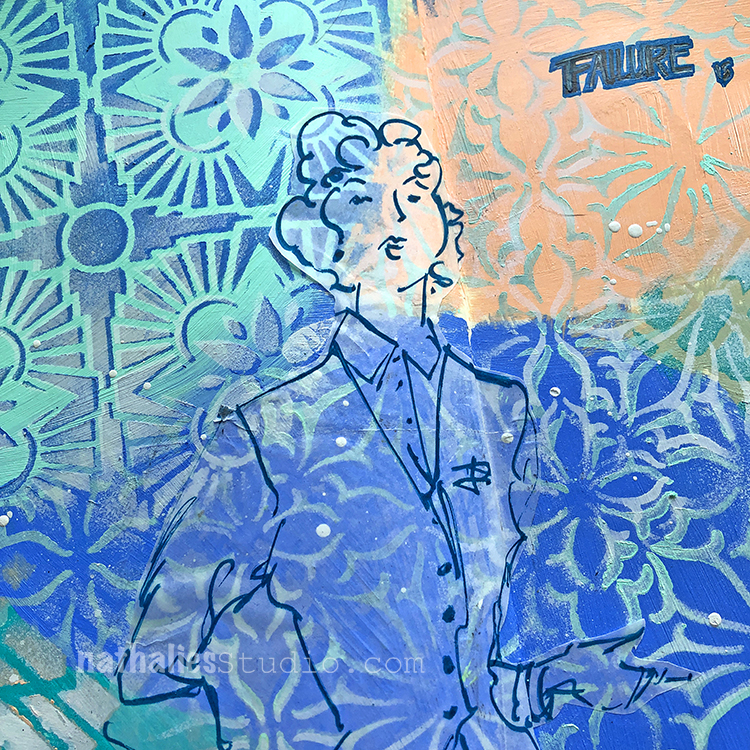
I loved adding crackle texture to my artwork but boy did I dislike how long the different applications with mediums took – or how messy it was with some of the “old school” ways like Vaseline and acrylic paint. And so I was dreaming of a Crackle stencil – there was none out there and I am so glad Stencil Girl liked my idea and design.
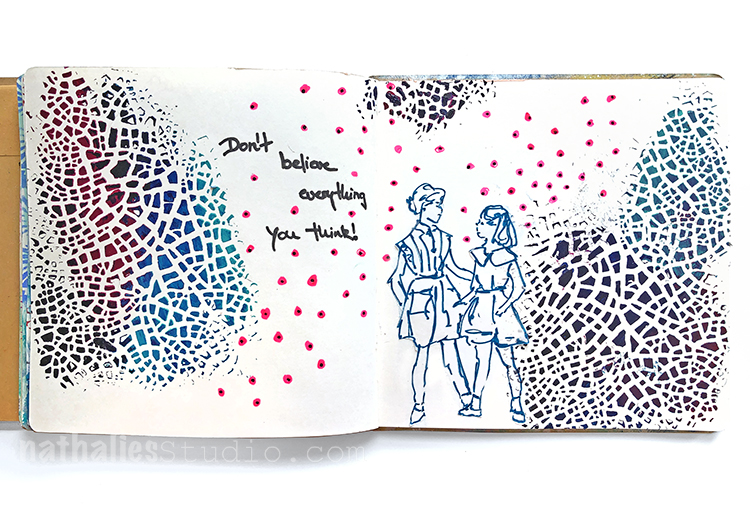
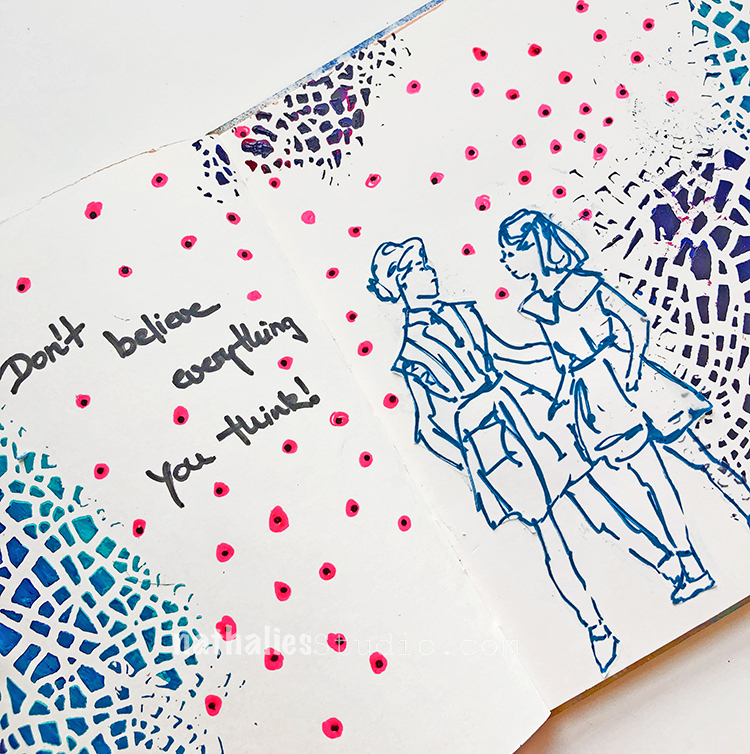
To this day it is one of my favorite and apparently one of your favorite stencils of mine as well. It has found a home more than any other stencils of mine. One of my favorite ways to this day to use the Crackle stencils is with heavy bodied acrylic paint. Simply spread over the stencil with a palette knife- let dry and there crackle bliss!
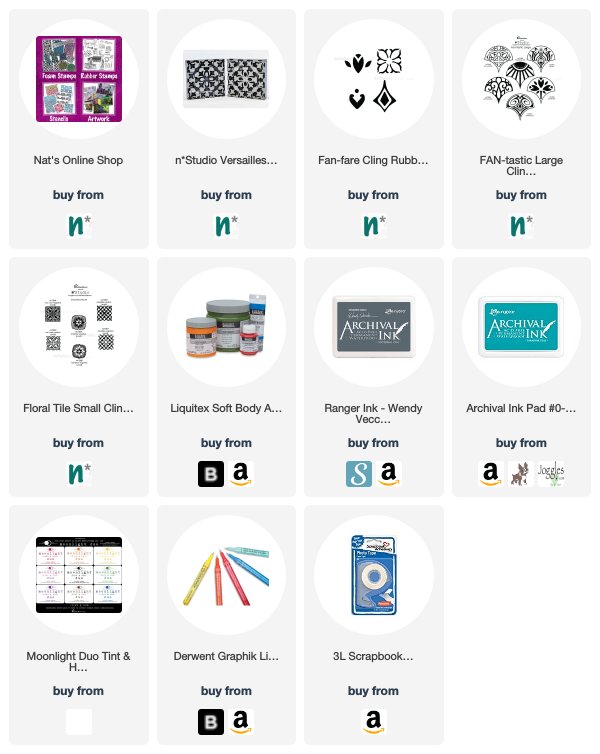
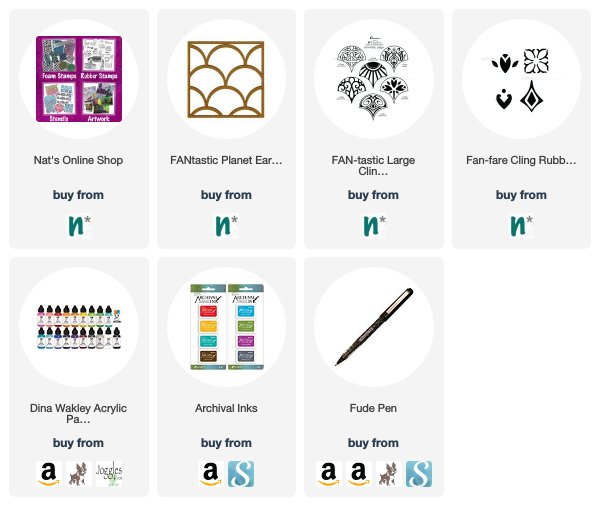
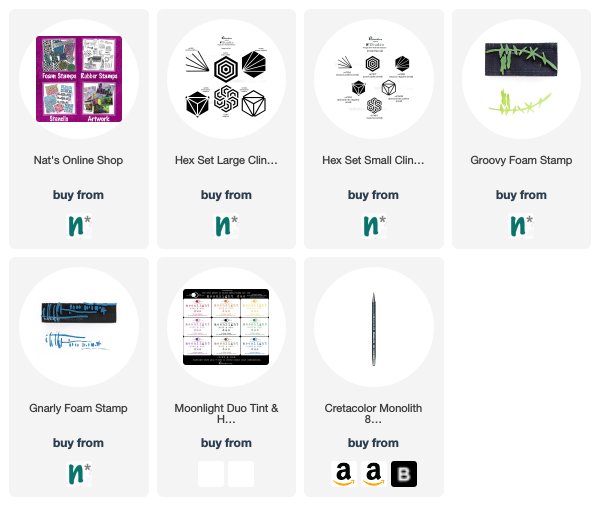
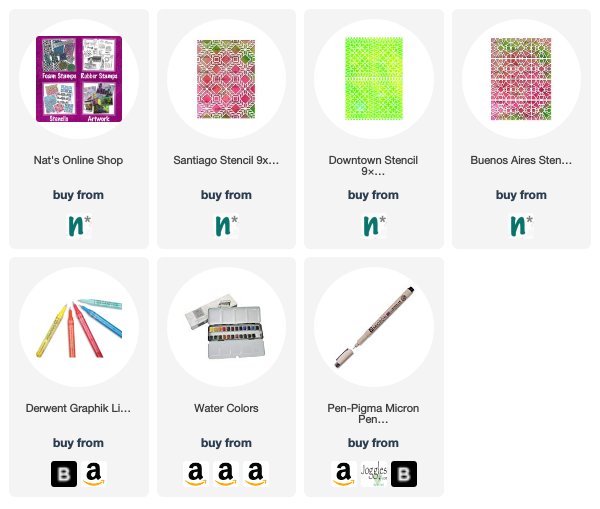
Here are some of the supplies I used:
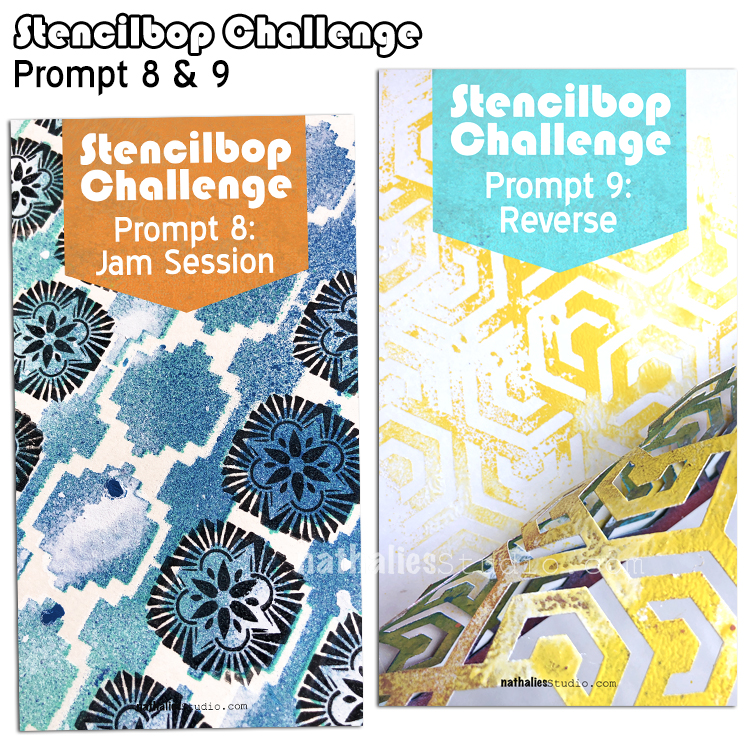
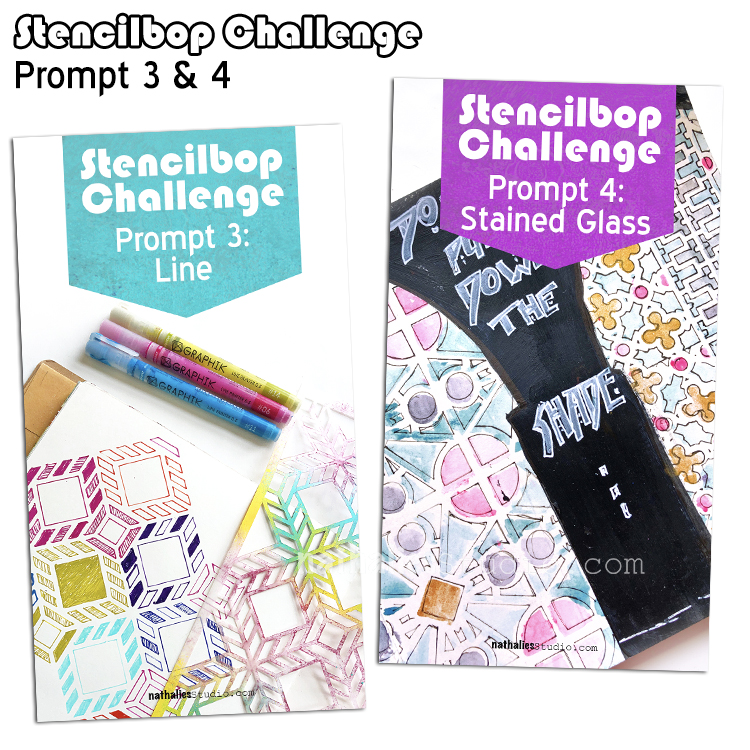
Here are the daily prompts. I hope you play along with us on on my insta feed!
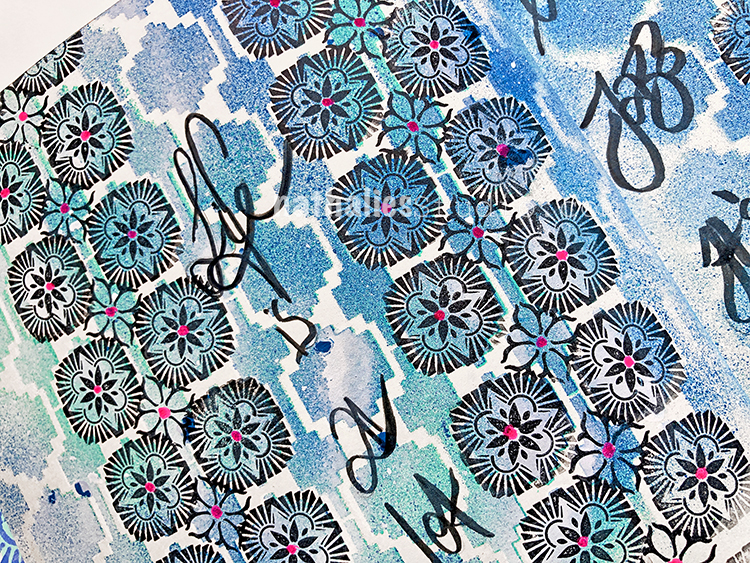


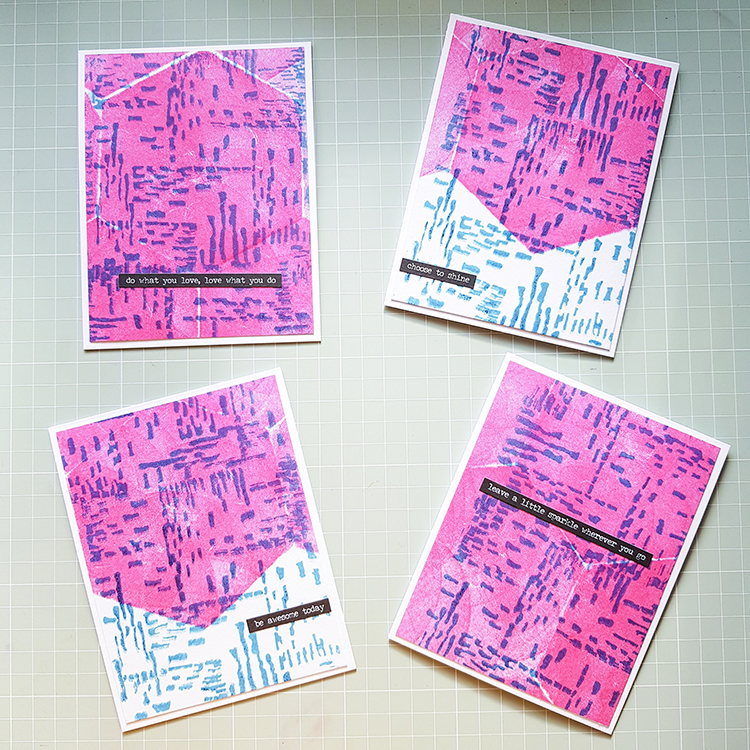
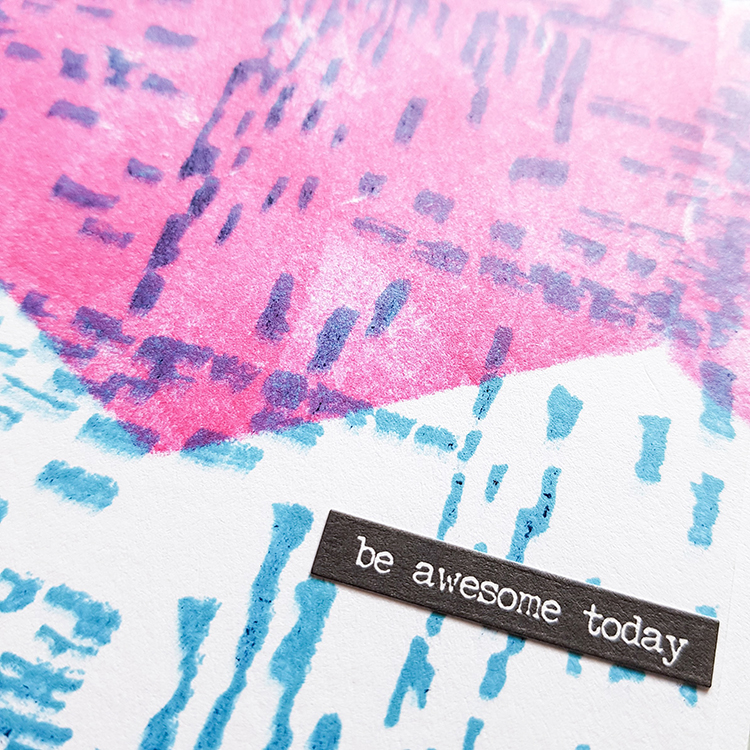
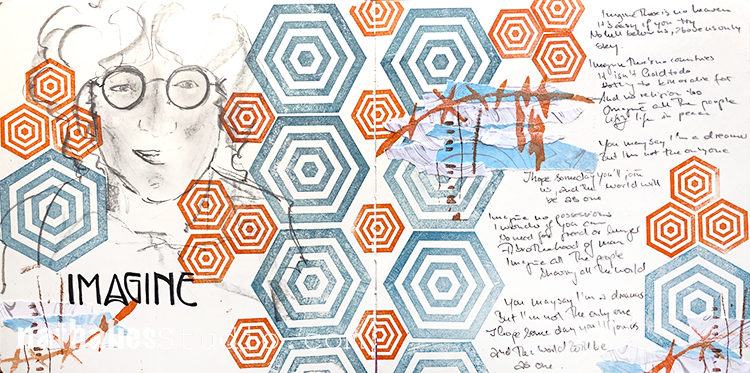
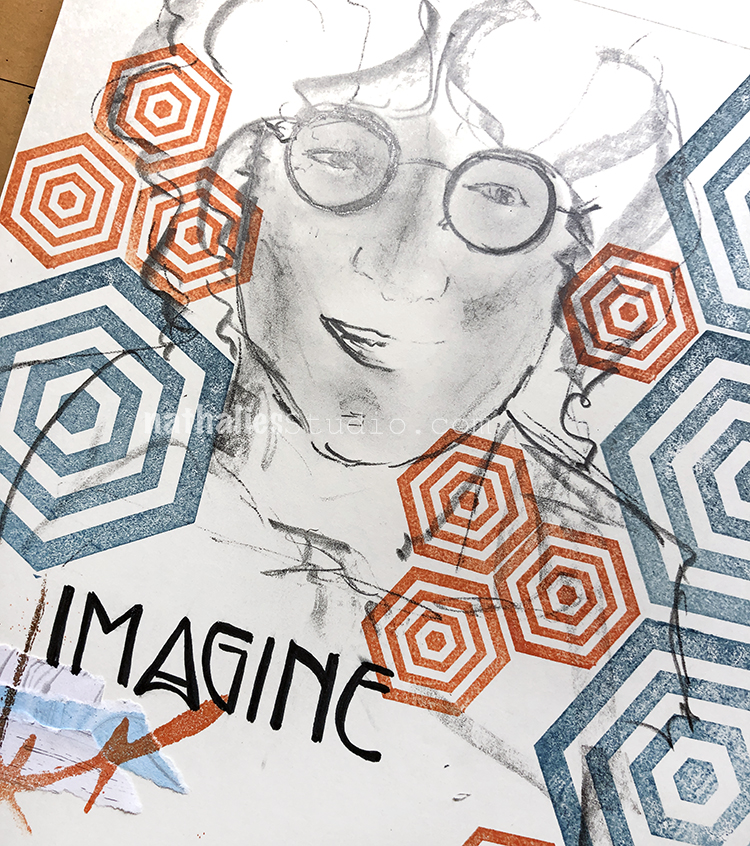
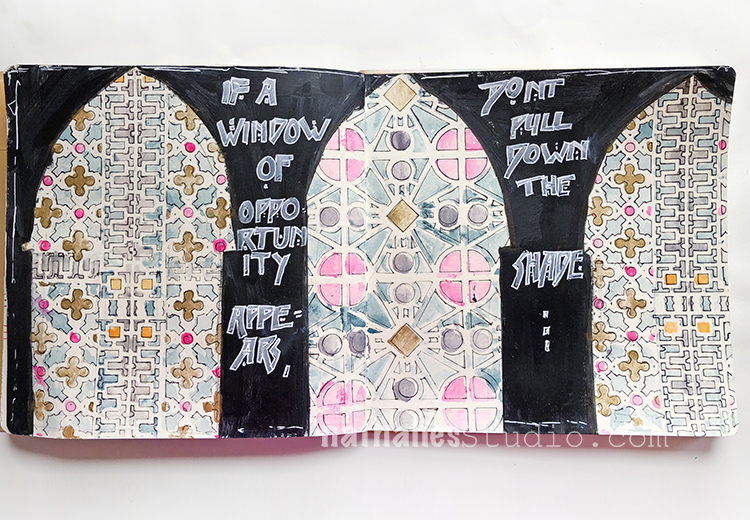
I just love the colour contrasts! Thanks for the inspiration!
Reply